In the last few weeks, more garden pests have arrived! It is a fact of life in northwest Florida that we will have a few things in our garden including heat, moisture (humidity and rainfall), and BUGS! With a cooler spring the arrival of some of the troublesome pests in the garden seemed to be delayed a few weeks. It was nice while it lasted but the insect pests are here to stay until frost in the fall or winter (at least we hope for a frost this year).
There are thousands of insects that you can see in your garden. It’s wise to identify them before making a decision to spray an insecticide or remove them by another method. Insect samples can be taken to your local county extension office for identification.
In this article we will just discuss one of the top insect pests in the vegetable garden, caterpillars, and what you can do about them.
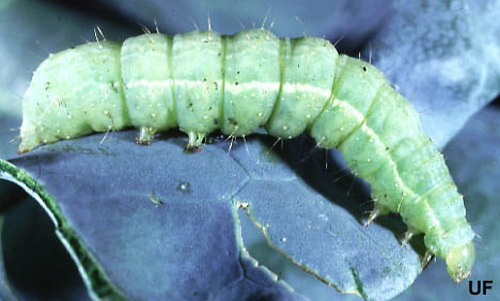
Mature larva of the cabbage looper. Photograph by John L. Capinera, University of Florida.
Beet armyworms, fall armyworms, hornworms, cabbage loopers, southern armyworms, tomato fruitworms, and other caterpillars love to feed on tomato foliage and fruit. They will show up eventually on tomato plants in the garden, if not this year then in the future. These larvae are immature moths and cause a lot of damage if left unchecked. The homeowner can control them effectively with Organic Materials Review Institute (OMRI) approved pesticides. A bacterial biological insecticide called Bacillusthuringiensis, also referred to as B.t., can be very effective in controlling these caterpillar pests. B.t. is a stomach toxin to these pests and will cause them to quit eating and starve to death. The key to using B.t. effectively is to routinely apply it before the caterpillars hatch from their eggs as the smaller caterpillars are easiest to control. Larger caterpillars are more difficult to control.
For more information related to using OMRI pesticides:
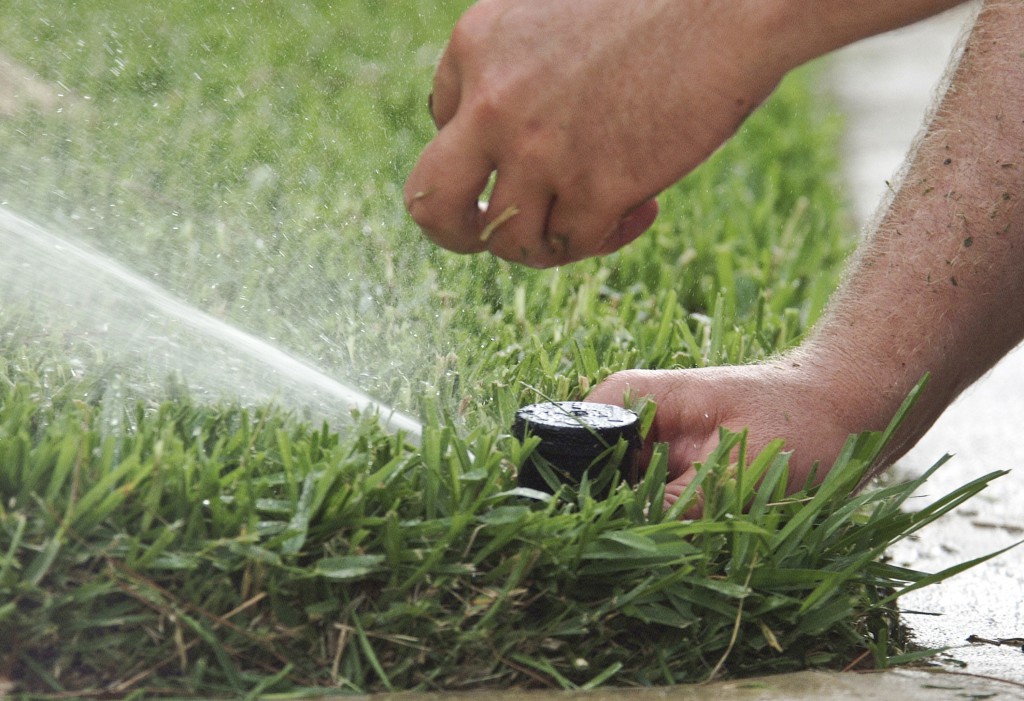
Setting the sprinkler head for an irrigation system. UF/IFAS Photo: Josh Wickham
Lawns and landscapes require water to flourish and provide the green surroundings desired around homes and recreational areas. Often nature provides water for the landscape in the form of rain, but that is not always adequate. Turf and ornamental plants in the establishment stage need supplemental irrigation during hotter months, especially in the sandy soils of northwest Florida, which can dry out at a rapid pace. February is typically a time when very little supplemental irrigation water is needed because most of the desired landscape plants and grasses do not use much water in the cooler temperatures. The warmth of spring and the heat of summer are around the corner and preparations should be made now to ensure that irrigation systems are working properly before being needed. Here are a few things to think about when prepping irrigation systems for spring:
Maintain, Repair, or Replace the Rotors, Nozzles, and Heads. Many sprinkler heads get damaged over time from riding lawn mowers, utility workers, vehicles, or other causes. To avoid having a geyser in the irrigation zone, it is a good idea to test run the system to make sure the rotor and heads are working properly and the nozzles have not been knocked loose. Many times broken rotor or spray heads can be replaced simply by taking the interior mechanical parts out and replacing them with new parts. This may not even require digging! Sometimes repairs are as simple as replacing a filter or spray nozzle that has popped off over time.
Calibrate the system to provide 1/2 inch to 3/4 inch during an irrigation event. Many Florida homeowners and horticultural professionals apply too much or too little water while irrigating. Most do not even know how much irrigation water is being applied. It is important to calibrate the irrigation system to apply only 1/2 inch to 3/4 inch of water during an irrigation event to promote a healthy lawn and landscape. To little water will stress the plants while too much water may promote disease and insect problems. Irrigating improperly may also cause environmental issues, from soil and fertilizer runoff, to develop. Watch this short video on irrigation calibration.
Inspect and make sure the Rain Shutoff Device is working properly. In Florida, it is state law to have a rain shutoff device on an automatic irrigation system. Most systems have a device installed that utilizes a small cork disc that expands when wet and physically clicks a button to tell the system to skip the next automatic cycle. As the cork degrades over time, it will cause system malfunction and should be replaced periodically. It is best to skip using an automatic timer and instead watch the weather and the plants for symptoms of drought stress. If an automatic timer is used, a functioning rain shutoff device is essential for proper irrigation management. Other types of shutoff devices are available as well.
The following University of Florida / IFAS publications contains more information on proper irrigation management for landscapes:
It is cold right now…at least it is this week. Even though the winters in northwest Florida do not have consistent cold temperatures, it is not warm enough to grow warm season vegetables all year around. The cold spells come and go but will soon be gone and spring will have sprung. With spring comes birds chirping, flowers blooming, and spring vegetable gardening. Now is the time to begin to prepare for what is ahead. Here are a few things to begin to think about before the work begins:
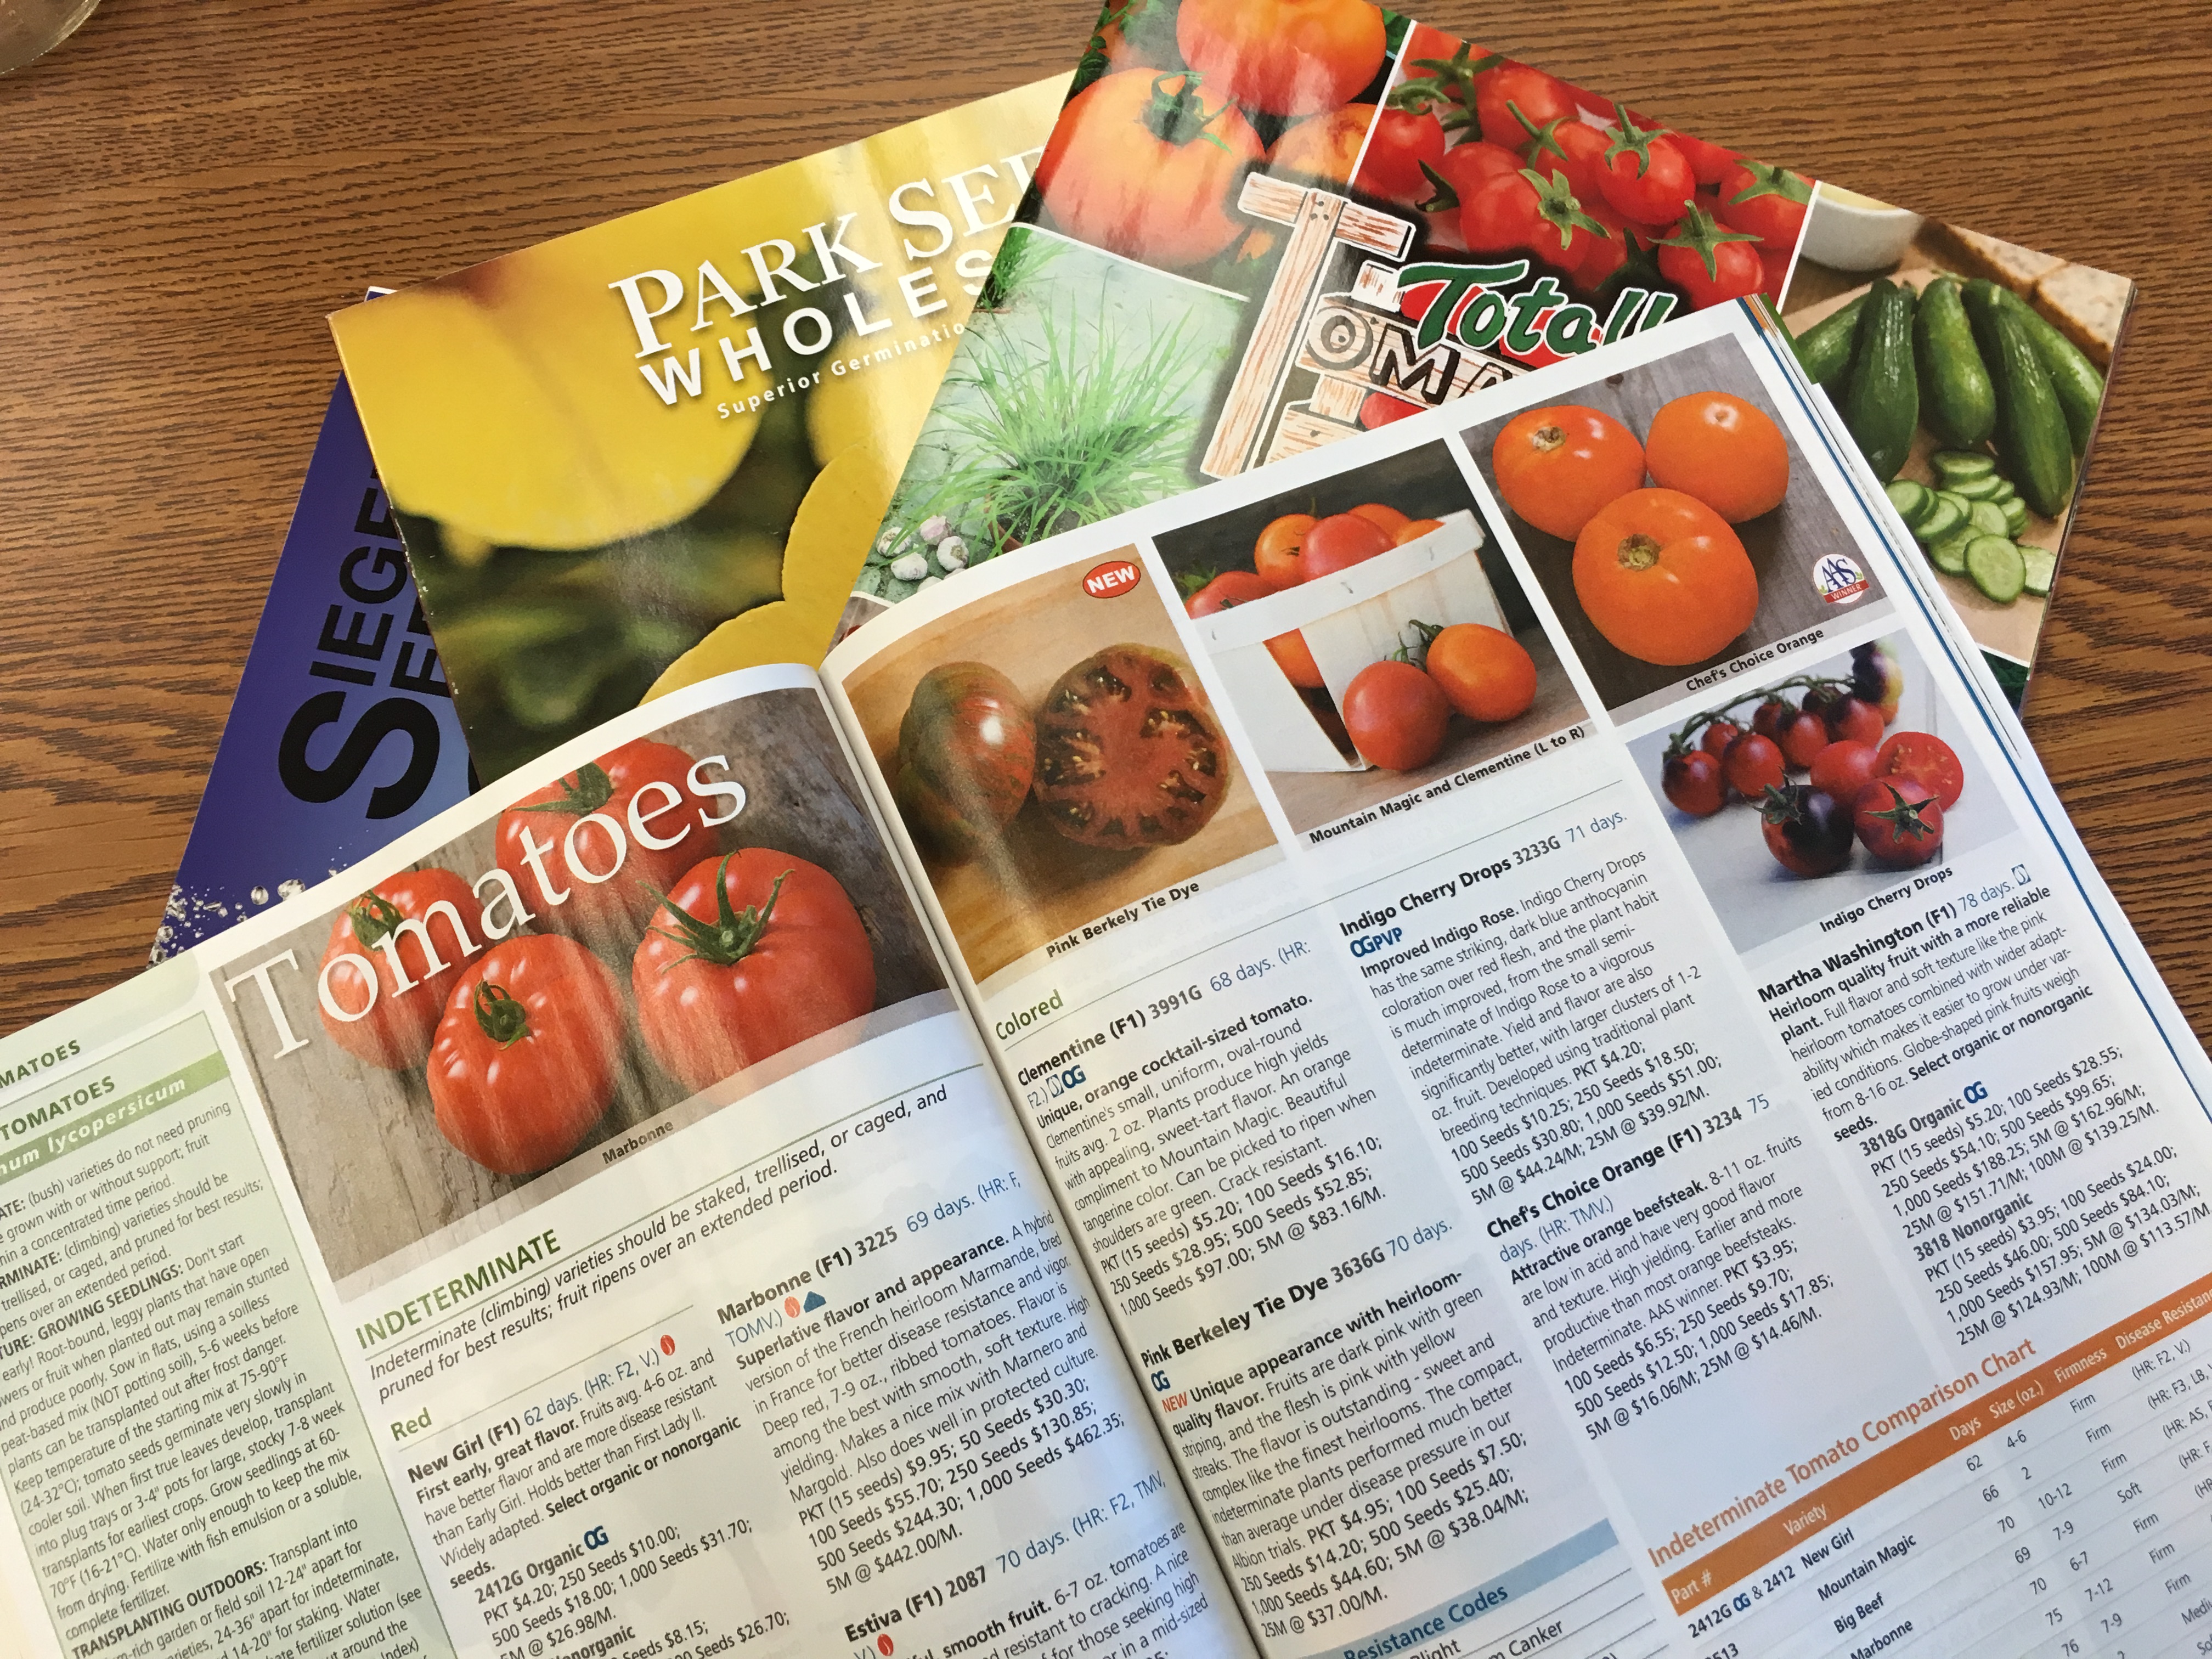
Variety Study – This is a great time of year to sink into a seed catalog and pick out the different vegetables and fruits to try this year. Make sure to explore University of Florida/IFAS recommended varieties before making final selections. Think of problems that have occurred in past years and search for varieties that tolerate these conditions. Look through the Florida Vegetable Guide to see recommended varieties.
Seed Catalogs.
Seed Searching – Recommended varieties are not always available at the local seed and feed store and sometimes take a little bit of searching. Of course, the internet can assist greatly in finding desired varieties. A simple search engine inquiry could help in locating and purchasing desirable selections.
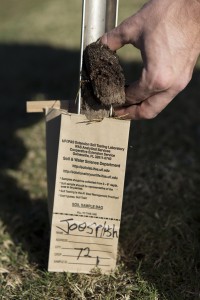
A man taking a soil sample with an auger. UF/IFAS Photo by Tyler Jones
Soil testing – Soil testing is the cornerstone of having a healthy garden that has been fertilized correctly. Although it would not be appropriate to put out fertilizer this early before the crop, the pH should be adjusted through liming if there is an indicated need on the soil test. This will give time for the pH to begin to adjust before the crops are planted.
Starting transplants – Another activity that can begin before the actual planting in the garden takes place is seeding inside. Transplants are vegetable and fruit seedlings that begin in potting soil in small containers. This can happen in make shift containers made out of Styrofoam coffee cup with drainage holes or multi celled commercial plastic trays. Seeds can be started in the house and moved inside and out of the climate control depending on the weather or in a greenhouse. Wherever they are, they need to be in high light conditions to prevent plants from becoming stretched and weak. Learn more about Starting the Garden with Transplants.
Now It’s time to start thinking of consistent warm days. The vegetable garden tasks will be overwhelming soon enough. Go ahead and get an early start with some of the winter tasks of spring vegetable gardening.
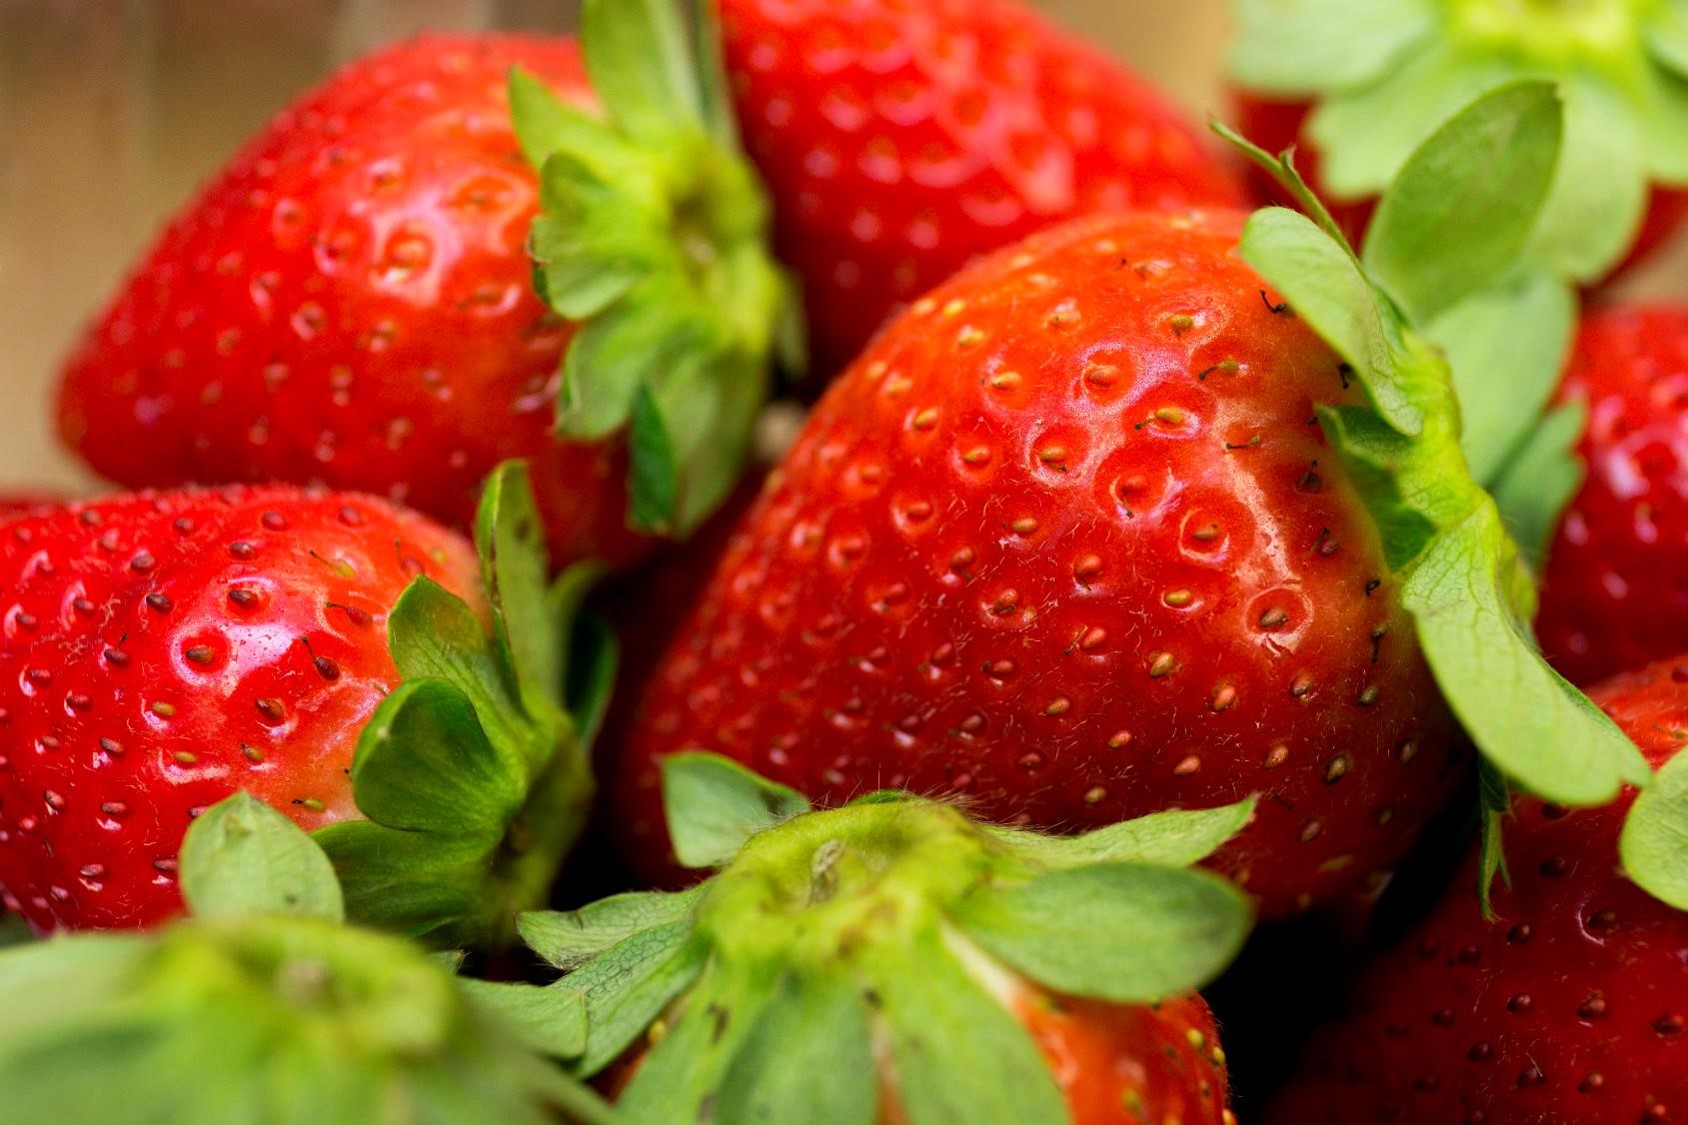
It’s time to bed up some earth and plant strawberries! That right! Fall is the proper time to set out strawberry plants for a spring harvest. It is a common misconception that strawberries should be planted in the spring in the home garden. If planted in spring, such poor timing will result in a very reduced delicious strawberry harvest. Plant in the fall to ensure a tasty treat from your garden come spring time.
Strawberries do well on soil beds built to as tall as 10 inches and 20 inches wide. Two rows 12 inches apart can be planted on each bed. The plants should be spaced 12 inches within the row. Prepare your soil in you garden where it receives adequate sunlight, eight hours of direct sunlight is best. Two pounds to 10-5-10 can be mixed into the soil bed for every 10 foot of bed. It is even better to take a soil sample for analysis to know exactly what your garden needs to produce the best strawberry crop possible. Contact your local UF/IFAS extension office for more information on soil analysis.
Once a bed has been formed and you are ready to set plants it is important to have a plan for irrigation. The type of strawberry you plant will help you come up with the correct plan.
For freshly dug bare-root strawberry plants:
Water with overhead irrigation frequently during the hottest parts of the day (10am-5pm) to ensure the plants to not wither and die. This will need to be done for one to two weeks until the plants are established.
For plug or containerized transplants:
Very little overhead irrigation will be required as the root system is intact and functioning at the time of planting. Be sure to keep the soil moist for adequate establishment of this kind of strawberry plant.
For more information regarding growing strawberries in Florida visit solutionsforyoulife.ufl.edu or contact your local extension office.
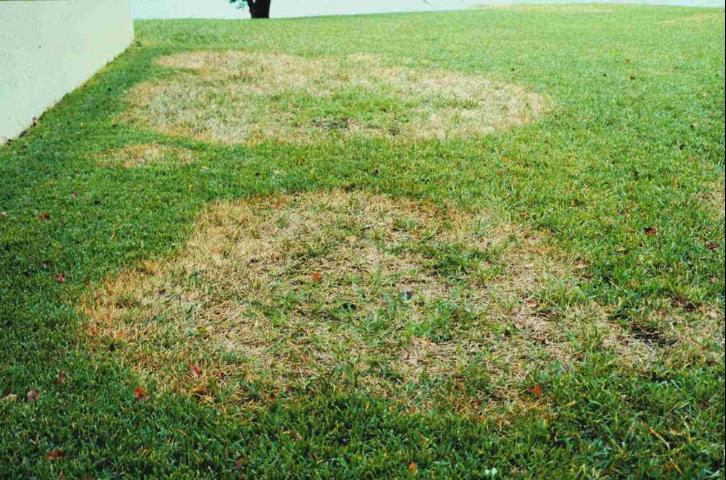
Brown patch symptoms on St. Augustinegrass. Credit: M. L. Elliott
Beautiful weather and pleasant cool temperatures have made their way into the Florida panhandle in the last week. They will not stay long. It will be scorching hot again this year before the relief of fall settles in for good. As nice as the weather has been, it could cause problems for lawns in the panhandle. Temperatures below 80° F with moisture from rainfall can be a trigger for Brown Patch, also known as Large Patch.
The disease damages the turf by rotting the lower portion of the grass blade. When inspected closely and smelled, Brown Patch has a rotted odor associated. The disease does not affect the roots of the grass but will totally rot the base of the leaf and eventually kill the entire leaf. Patches generally die out in a 1 foot diameter area and move out from there.
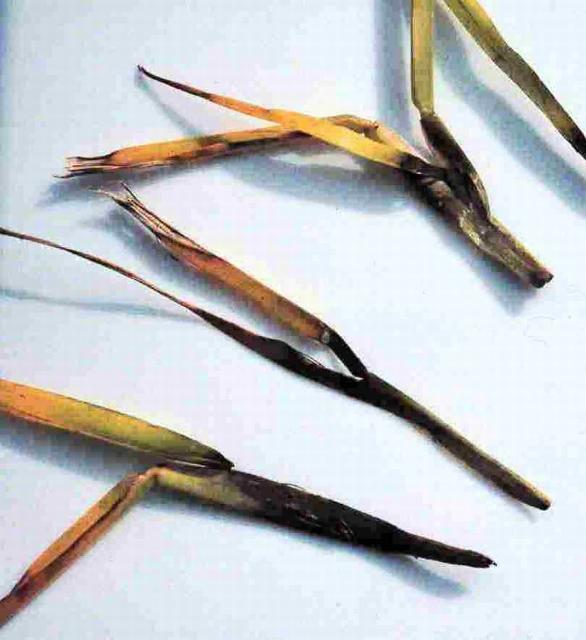
Base of leaf is rotted due to brown patch. Credit: UF/IFAS photos
Some homeowners apply a fall application of fertilizer this time of year to “winterize” their lawns. Excess nitrogen can exacerbate the problem during times of favorable conditions. Many of the “winterizer” fertilizer on the market have a high percentage of nitrogen; so avoid these fertilizers this time of year. Choose a fertilizer with little to no nitrogen but a high percentage of potassium to encourage strong root growth headed into winter.