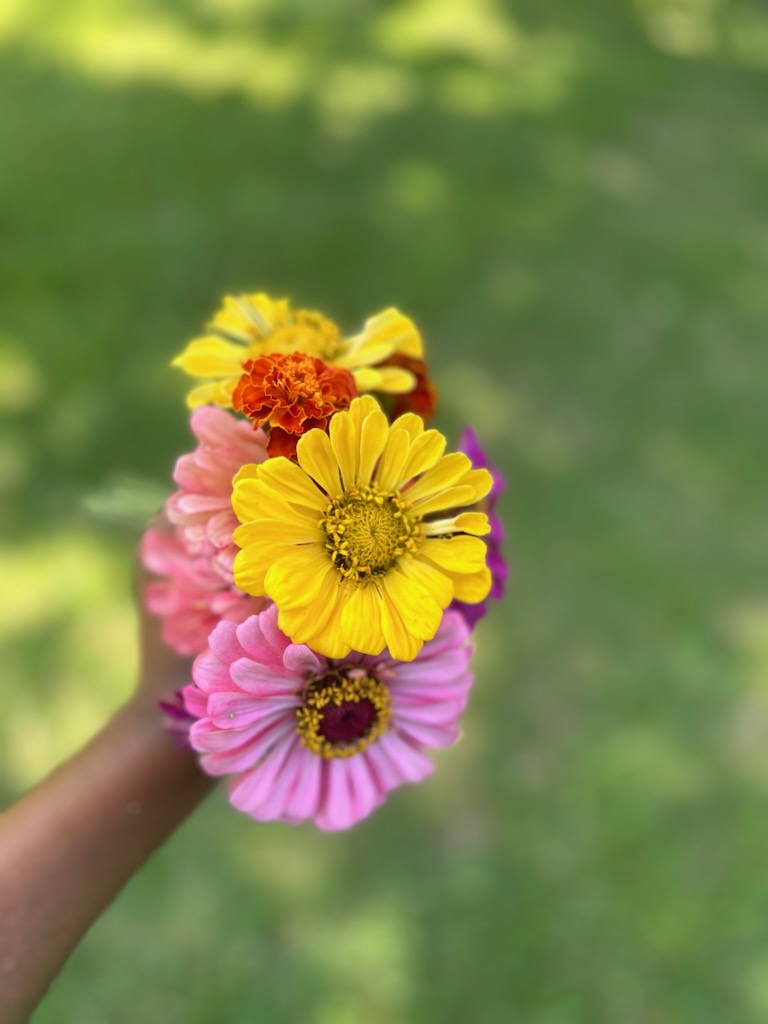
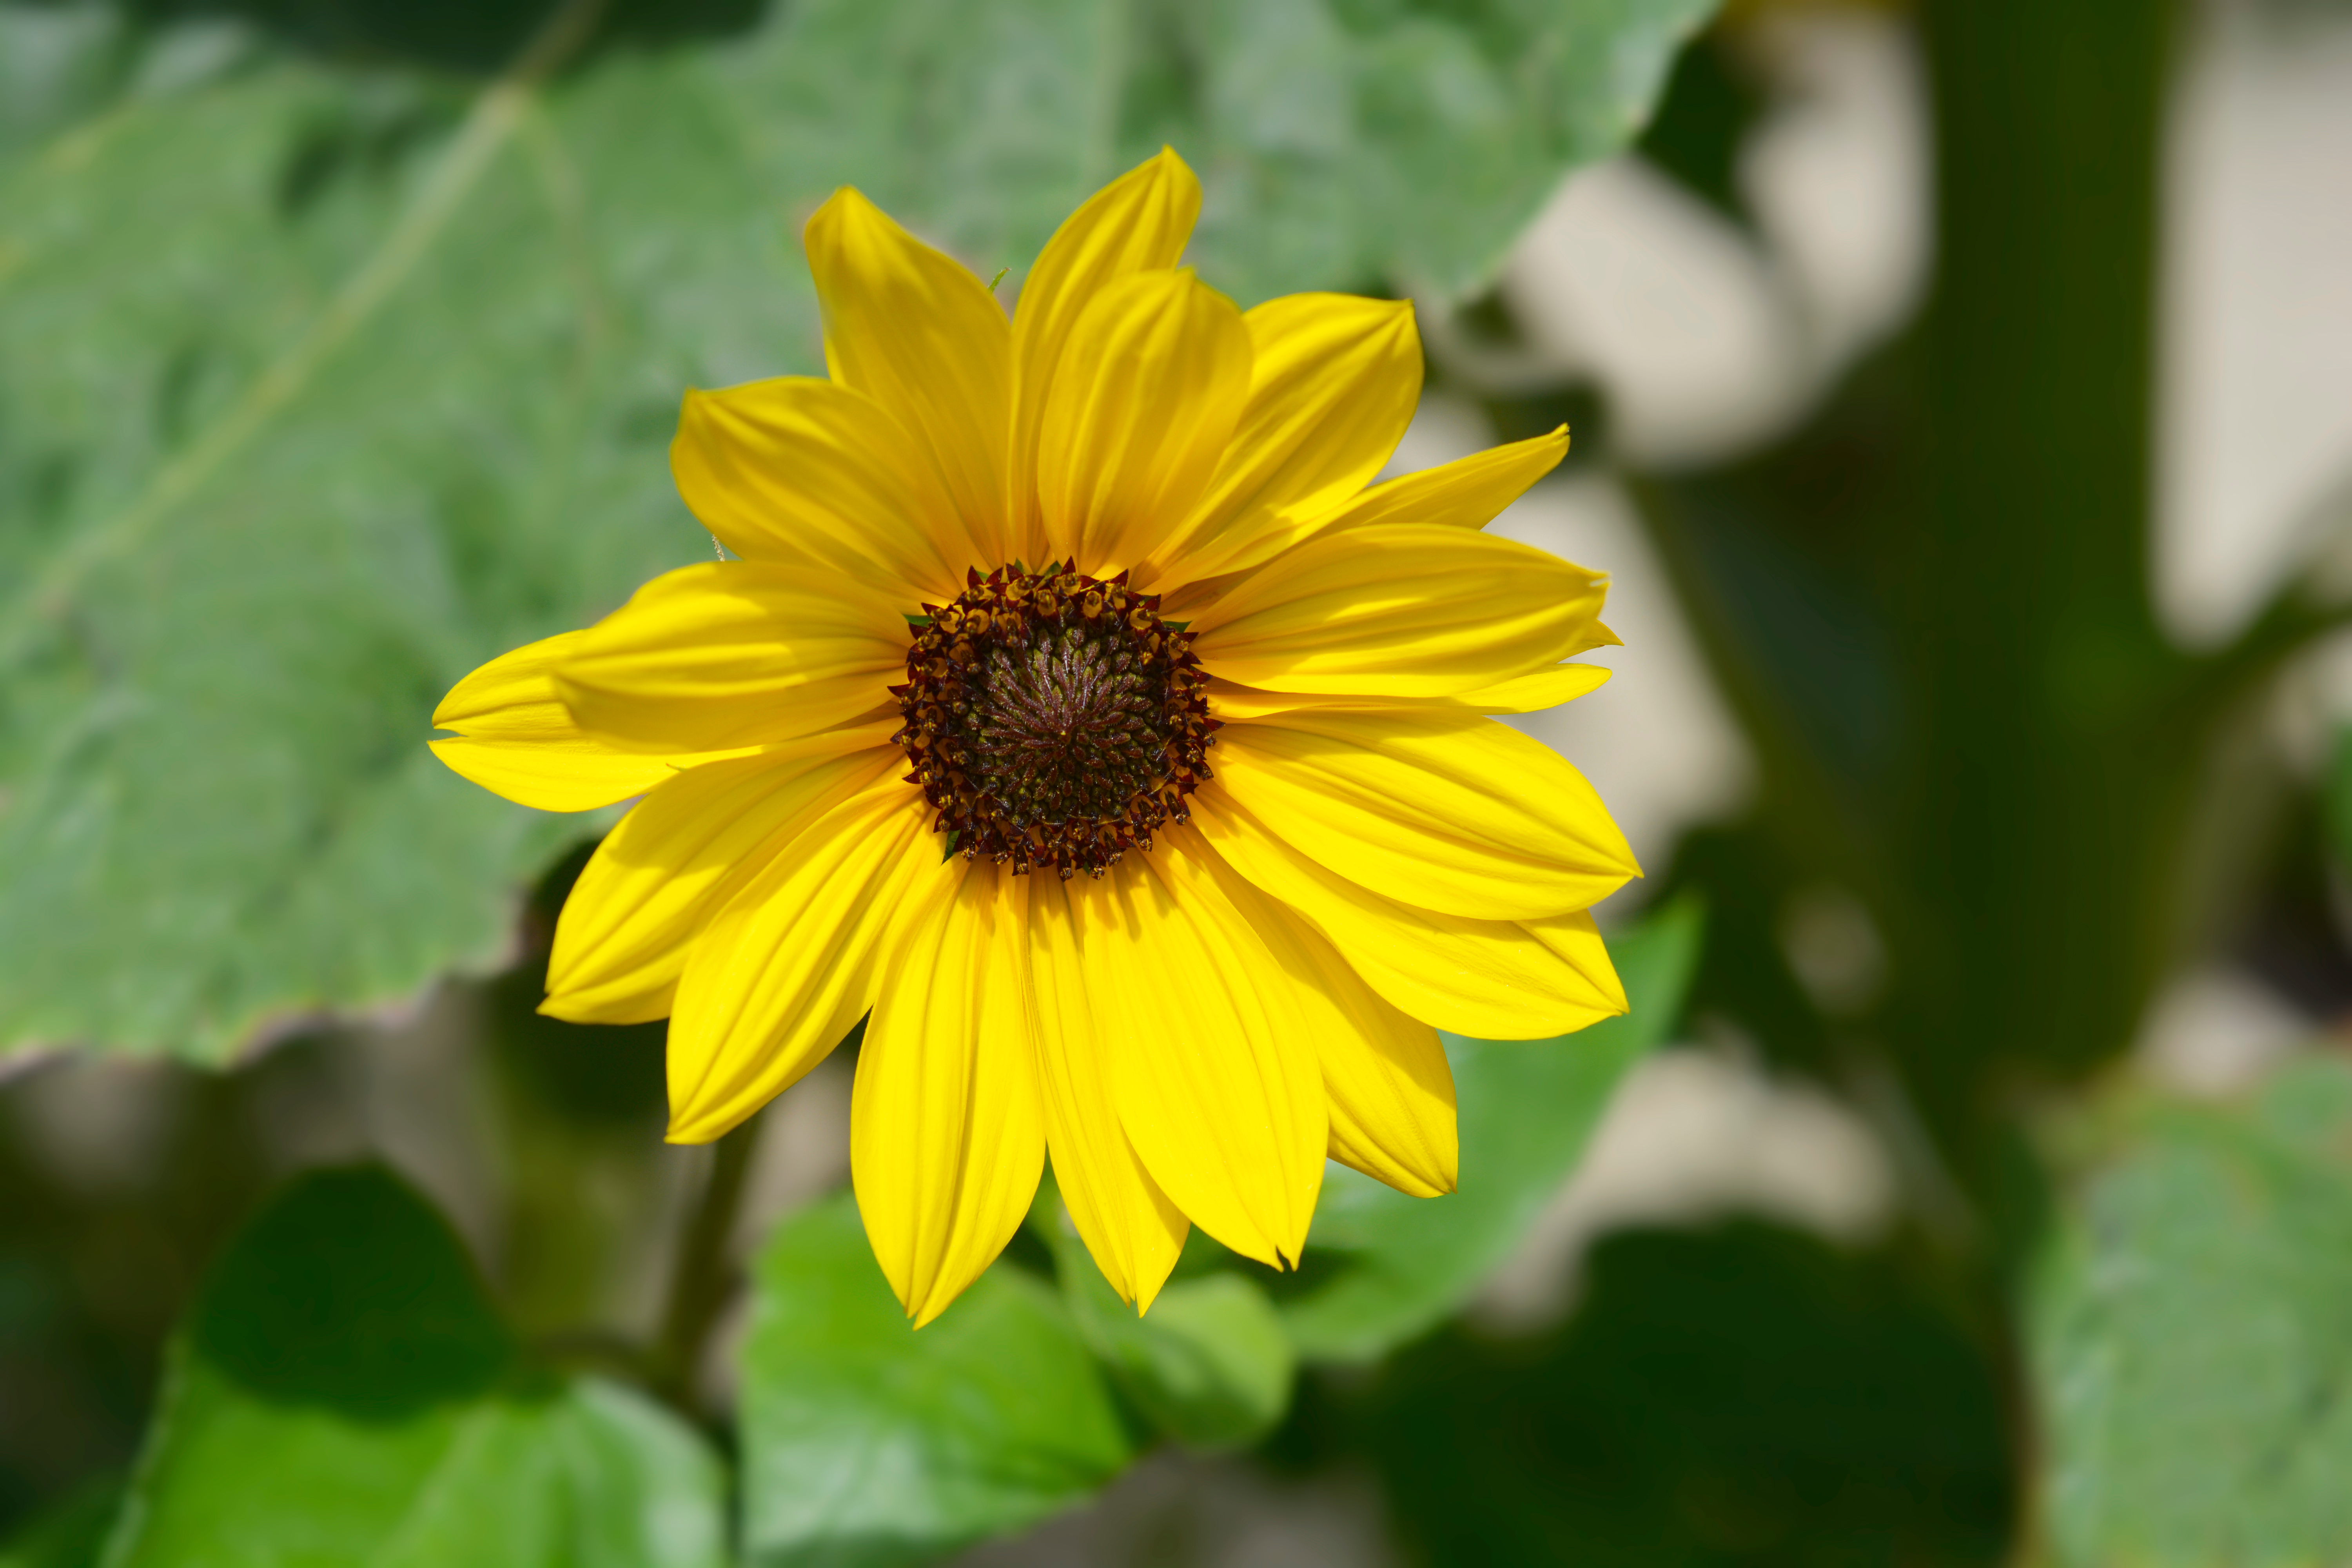
Zinnias are well-known annual flowers, primarily recognized for their easy and fast growth. Their wide range of growing habits contributes to their popularity, as they can range from short and bushy to tall with a singular stalk. Regardless of their growing habit, Zinnias are prolific bloomers. They belong to the aster family and are native to Mexico and Central America, thriving particularly well throughout the South.
Photo: De’Anthony Price
Zinnia Characteristics
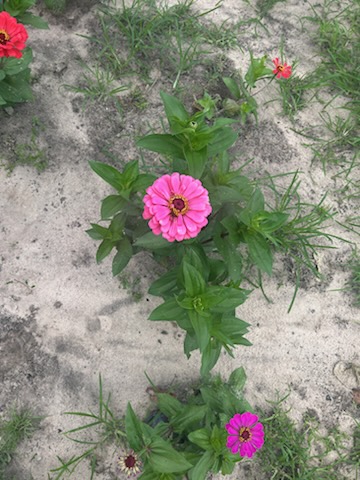
There are three distinct types of Zinnias based on floral structure: single, double, and semi-double. The different floral structures do not necessarily correlate with plant habits. ‘Single’ refers to flowers that have only a single row of petals, with the center of the flower clearly visible. ‘Double’ Zinnias have multiple rows of petals, and the center is not clearly visible. ‘Semi-double’ cultivars exhibit a combination of traits, with flowers having multiple rows of petals while still maintaining a clearly visible center.
Pollinators and Zinnias
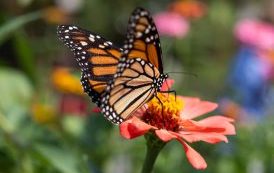
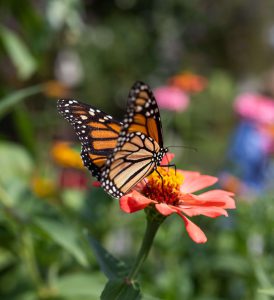
Zinnias are great for attracting pollinators, especially butterflies. Interplanting zinnias between rows of vegetables or as a border around vegetables is a great way to attract more pollinators to your garden. There are a few guidelines available for attracting butterflies to your yard using zinnias. The taller varieties are better than dwarf or compact cultivars, and those with wide, flat blooms provide a larger landing surface. Flowers should have prominent yellow centers (disc floret); double bloom varieties make it difficult for butterflies to access nectar. It is also possible that some varieties attractive to butterflies produce a larger quantity of and/or better-quality nectar than others.
Photo: UF/IFAS
Planting Zinnias
Zinnias perform better in garden beds than containers and, due to their ability to grow so quickly, can be direct seeded. To direct seed, the soil temp should be at least 70 degrees and plant the seeds at 1/4’” deep. Zinnias can also be planted as transplants and should be done once the soil warms to 60 degrees. Plant spacing can be anywhere from 8 to 12 inches depending on the plant’s habit. Singular stalk varieties can be planted closer together and bushier varieties should be given more space. Zinnias prefer full sun and well-drained soil. For longer flowering, remove the old blooms.
Zinnia Management
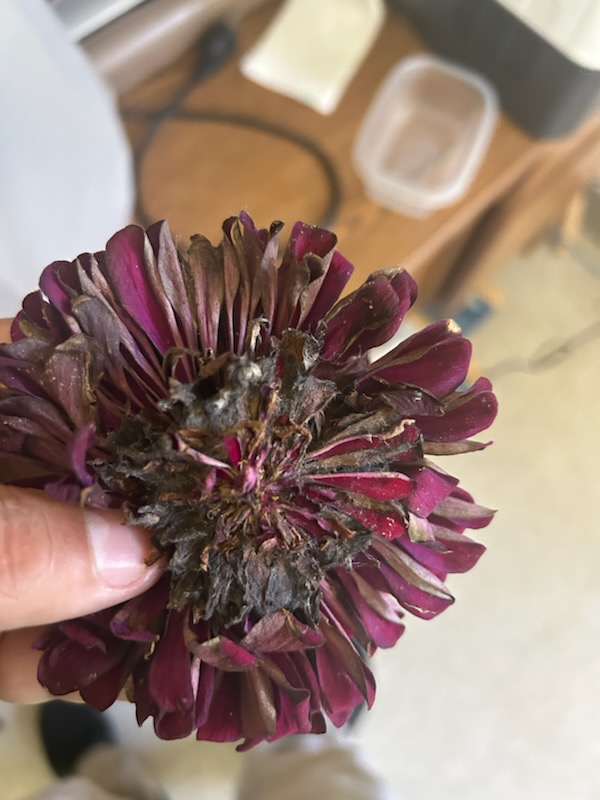
When planting zinnias, it’s recommended to incorporate a general-purpose fertilizer with equal parts nitrogen, phosphorus, and potassium into the soil. Following planting, monthly fertilization with a phosphorus-rich fertilizer is advisable to encourage continuous blooming. Maintaining adequate moisture is crucial for zinnias but avoid overwatering as they thrive in moderately dry conditions. To prevent fungal diseases, water only when the top 1-2 inches of soil are dry, focusing on watering the base of the plant rather than the foliage whenever possible. Powdery mildew is a common issue with zinnias, but it can be managed by applying a fungicide when necessary. However, it’s best to prevent this problem by ensuring good air circulation and avoiding wet foliage.
Photo: De’Anthony Price Diseased Zinnia
Zinnias as Cut Flowers
Zinnias, known for their vibrant charm, make delightful cut flowers that can brighten up indoor spaces for a week or longer. For optimal longevity, harvest the blooms when their centers are just beginning to unfurl fully. Trim away lower leaves and promptly place the cut ends into water-filled vases. Regularly refreshing the water helps prevent the growth of algae. When it comes to drying zinnias, double-flowered varieties are preferred as they tend to maintain their shape better than single forms. While all colors undergo slight changes during drying, cutting stems at their peak, removing leaves, and hanging them upside down in bundles away from direct sunlight facilitates the drying process effectively.
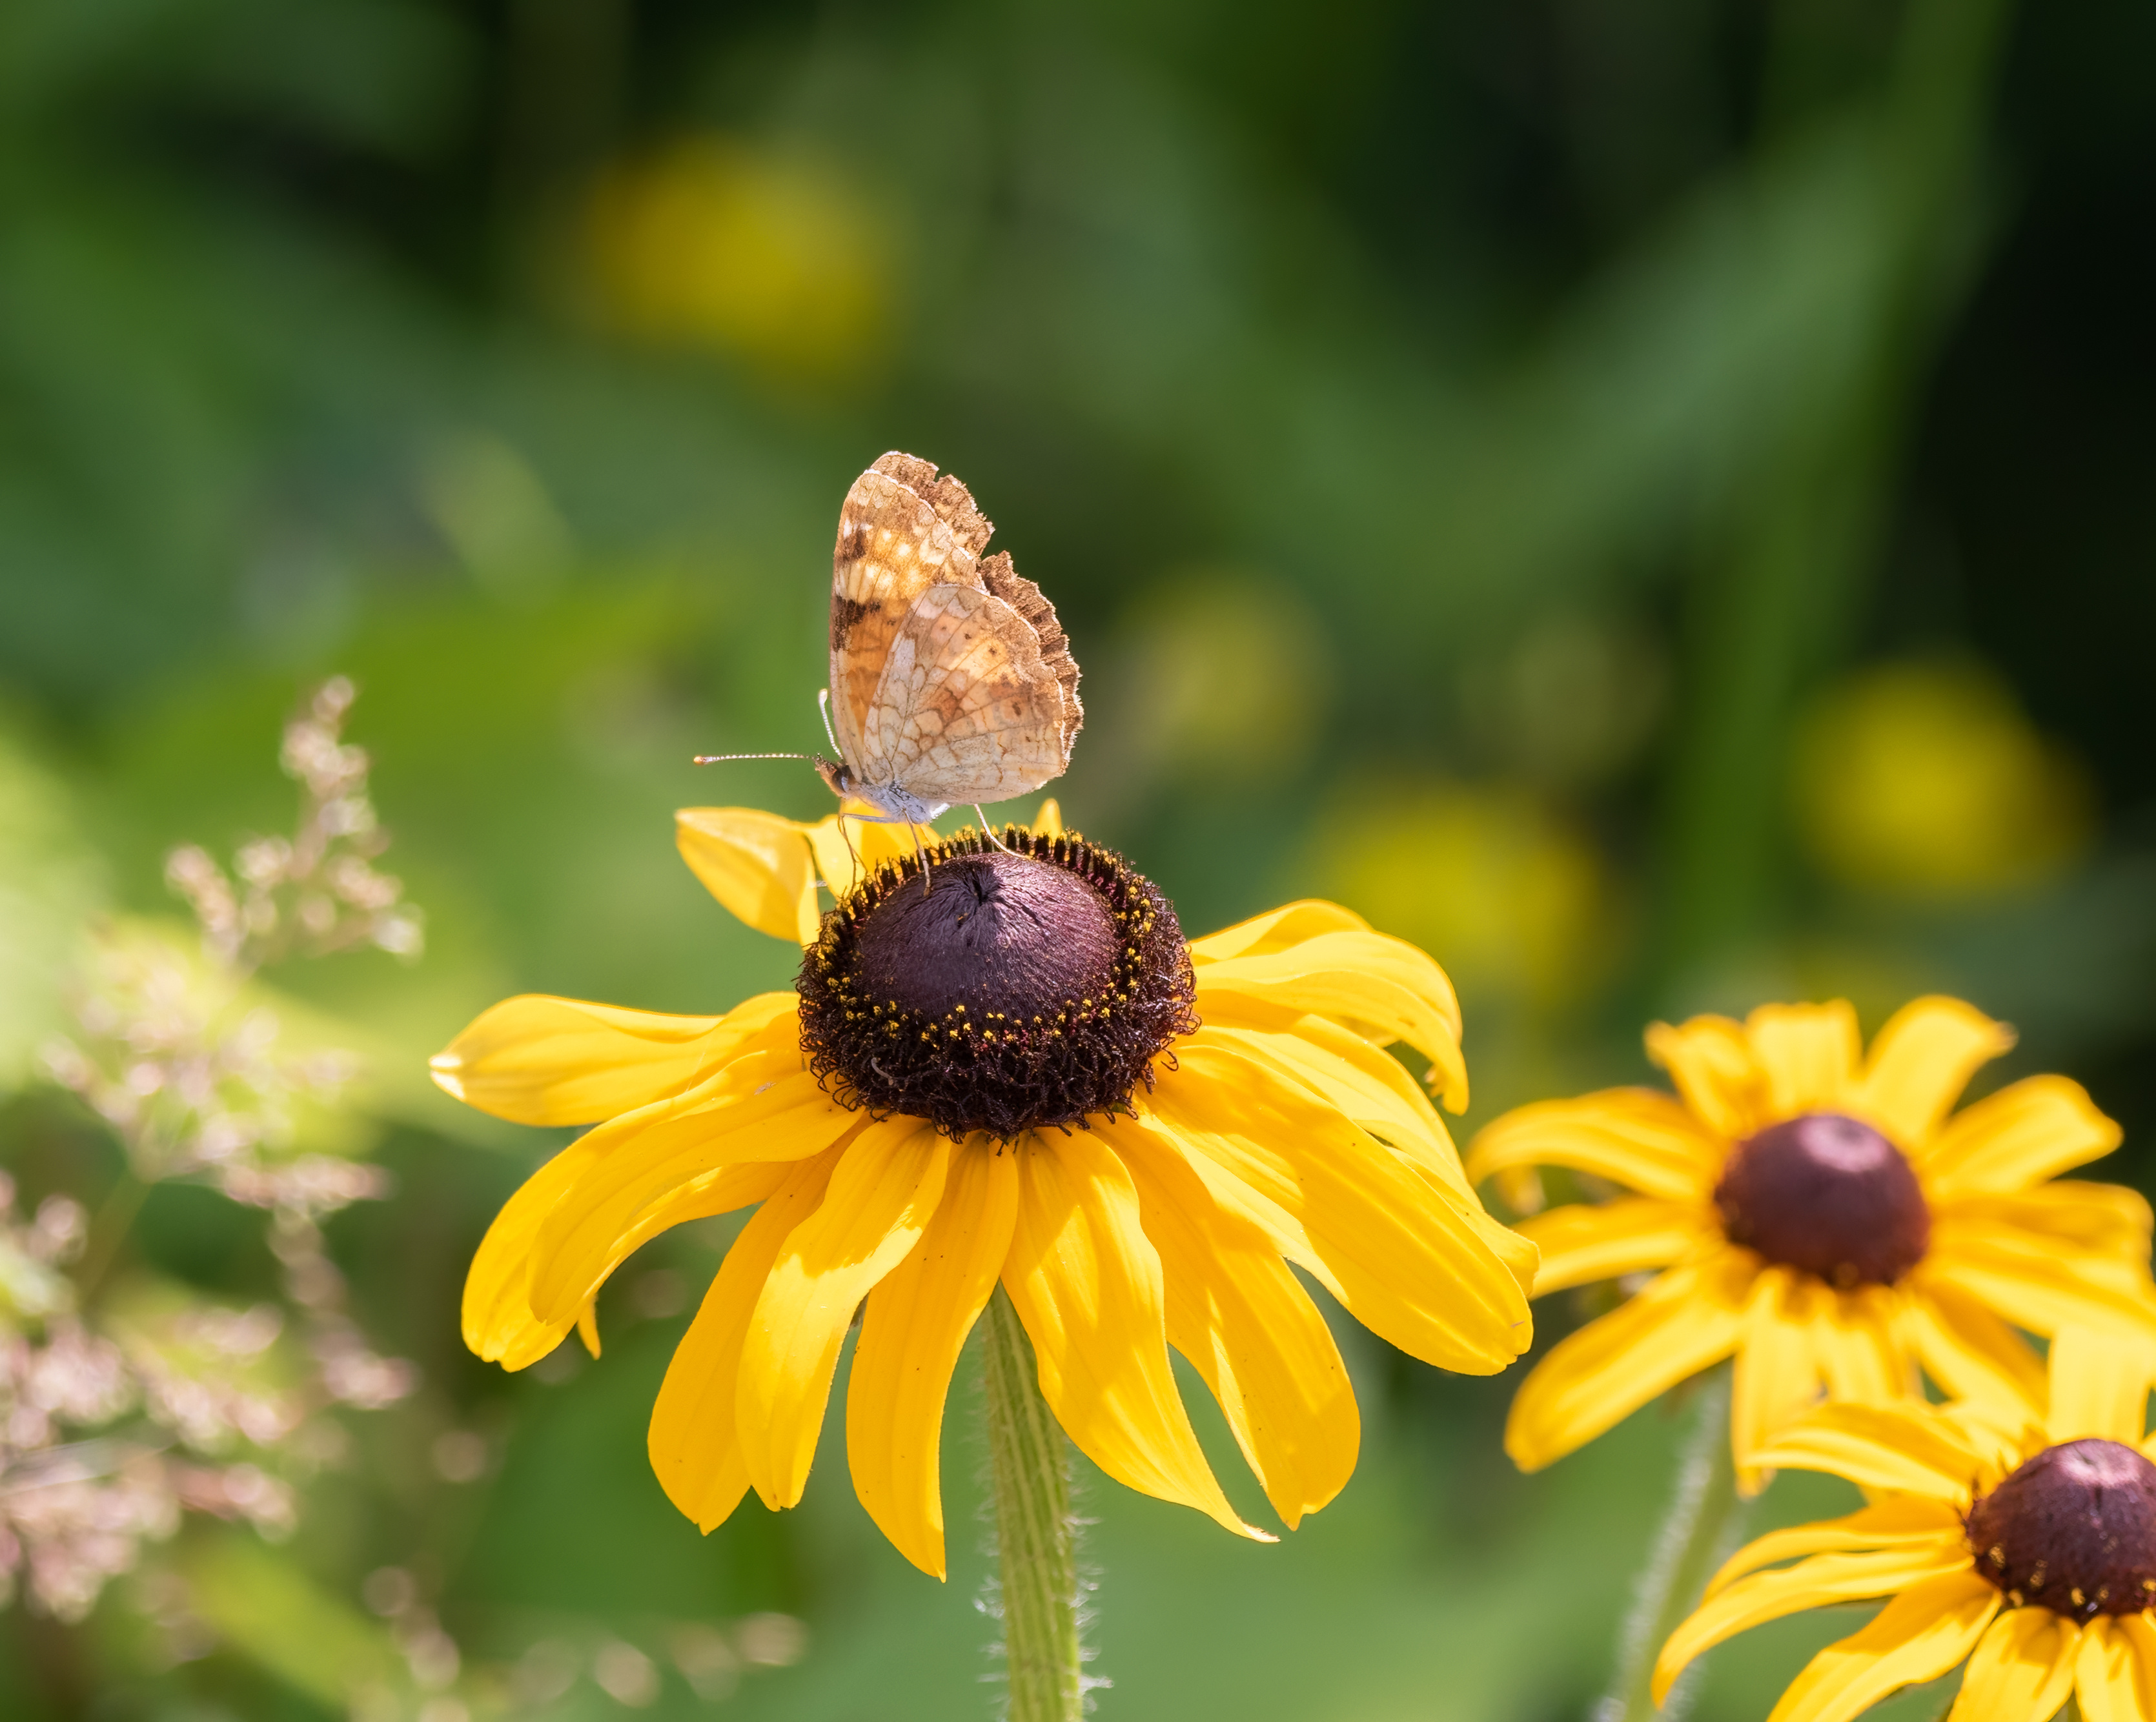
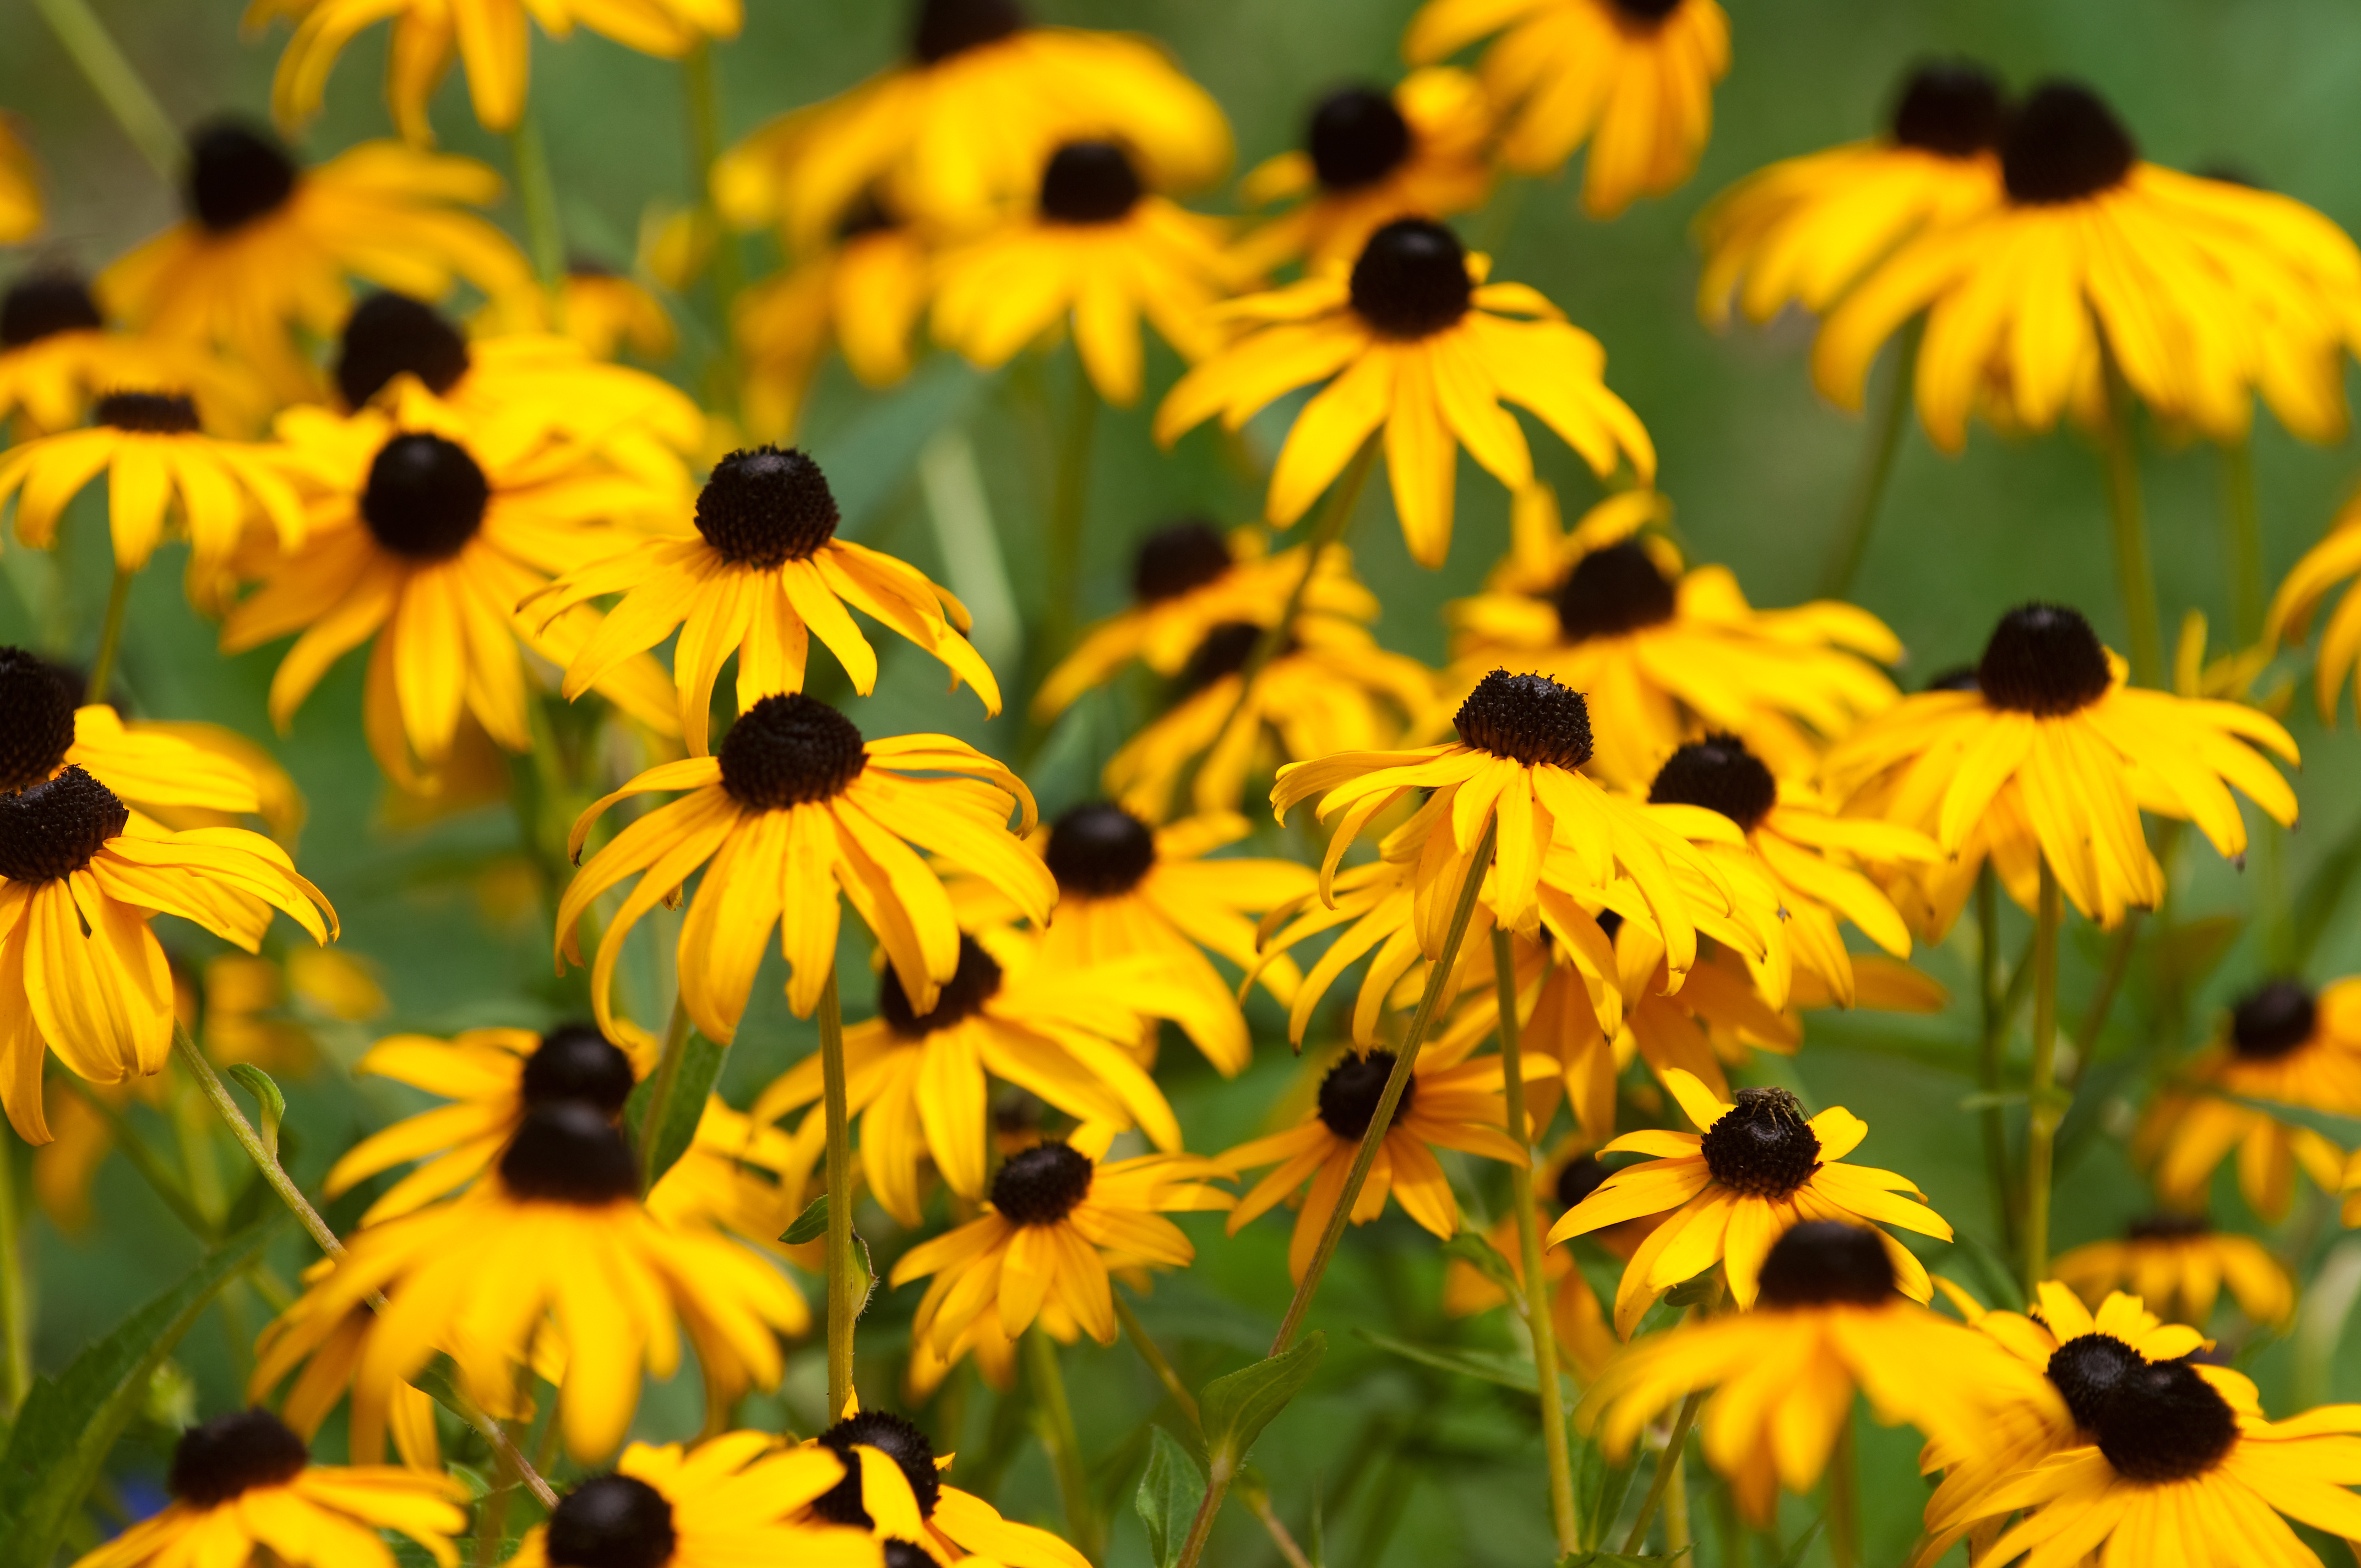
Rudbeckia hirta, commonly known as black-eyed Susan, is a vibrant and hardy wildflower with golden-yellow petals and a dark brown central cone. Photo by kburgess, Adobe Stock.
Florida’s diverse ecosystem showcases a remarkable array of native wildflowers that burst into vibrant colors, particularly during the spring season. Cultivating these indigenous blooms not only enhances the beauty of your lawn but also fosters biodiversity. Florida’s spring landscape comes alive with a vibrant tapestry of native wildflowers, each species contributing its unique charm to the natural scenery.
Yellow, a color that beckons pollinators, especially bees and butterflies, is a prevalent hue among these wildflowers. Many have evolved to showcase bright yellow tones, attracting pollinators, and ensuring the vital transfer of pollen for the continued existence of the plant species. In this spotlight, we’ll explore a selection of my favorite yellow-blooming wildflowers: Leavenworth’s tickseed, dune sunflower, and black-eyed Susan.
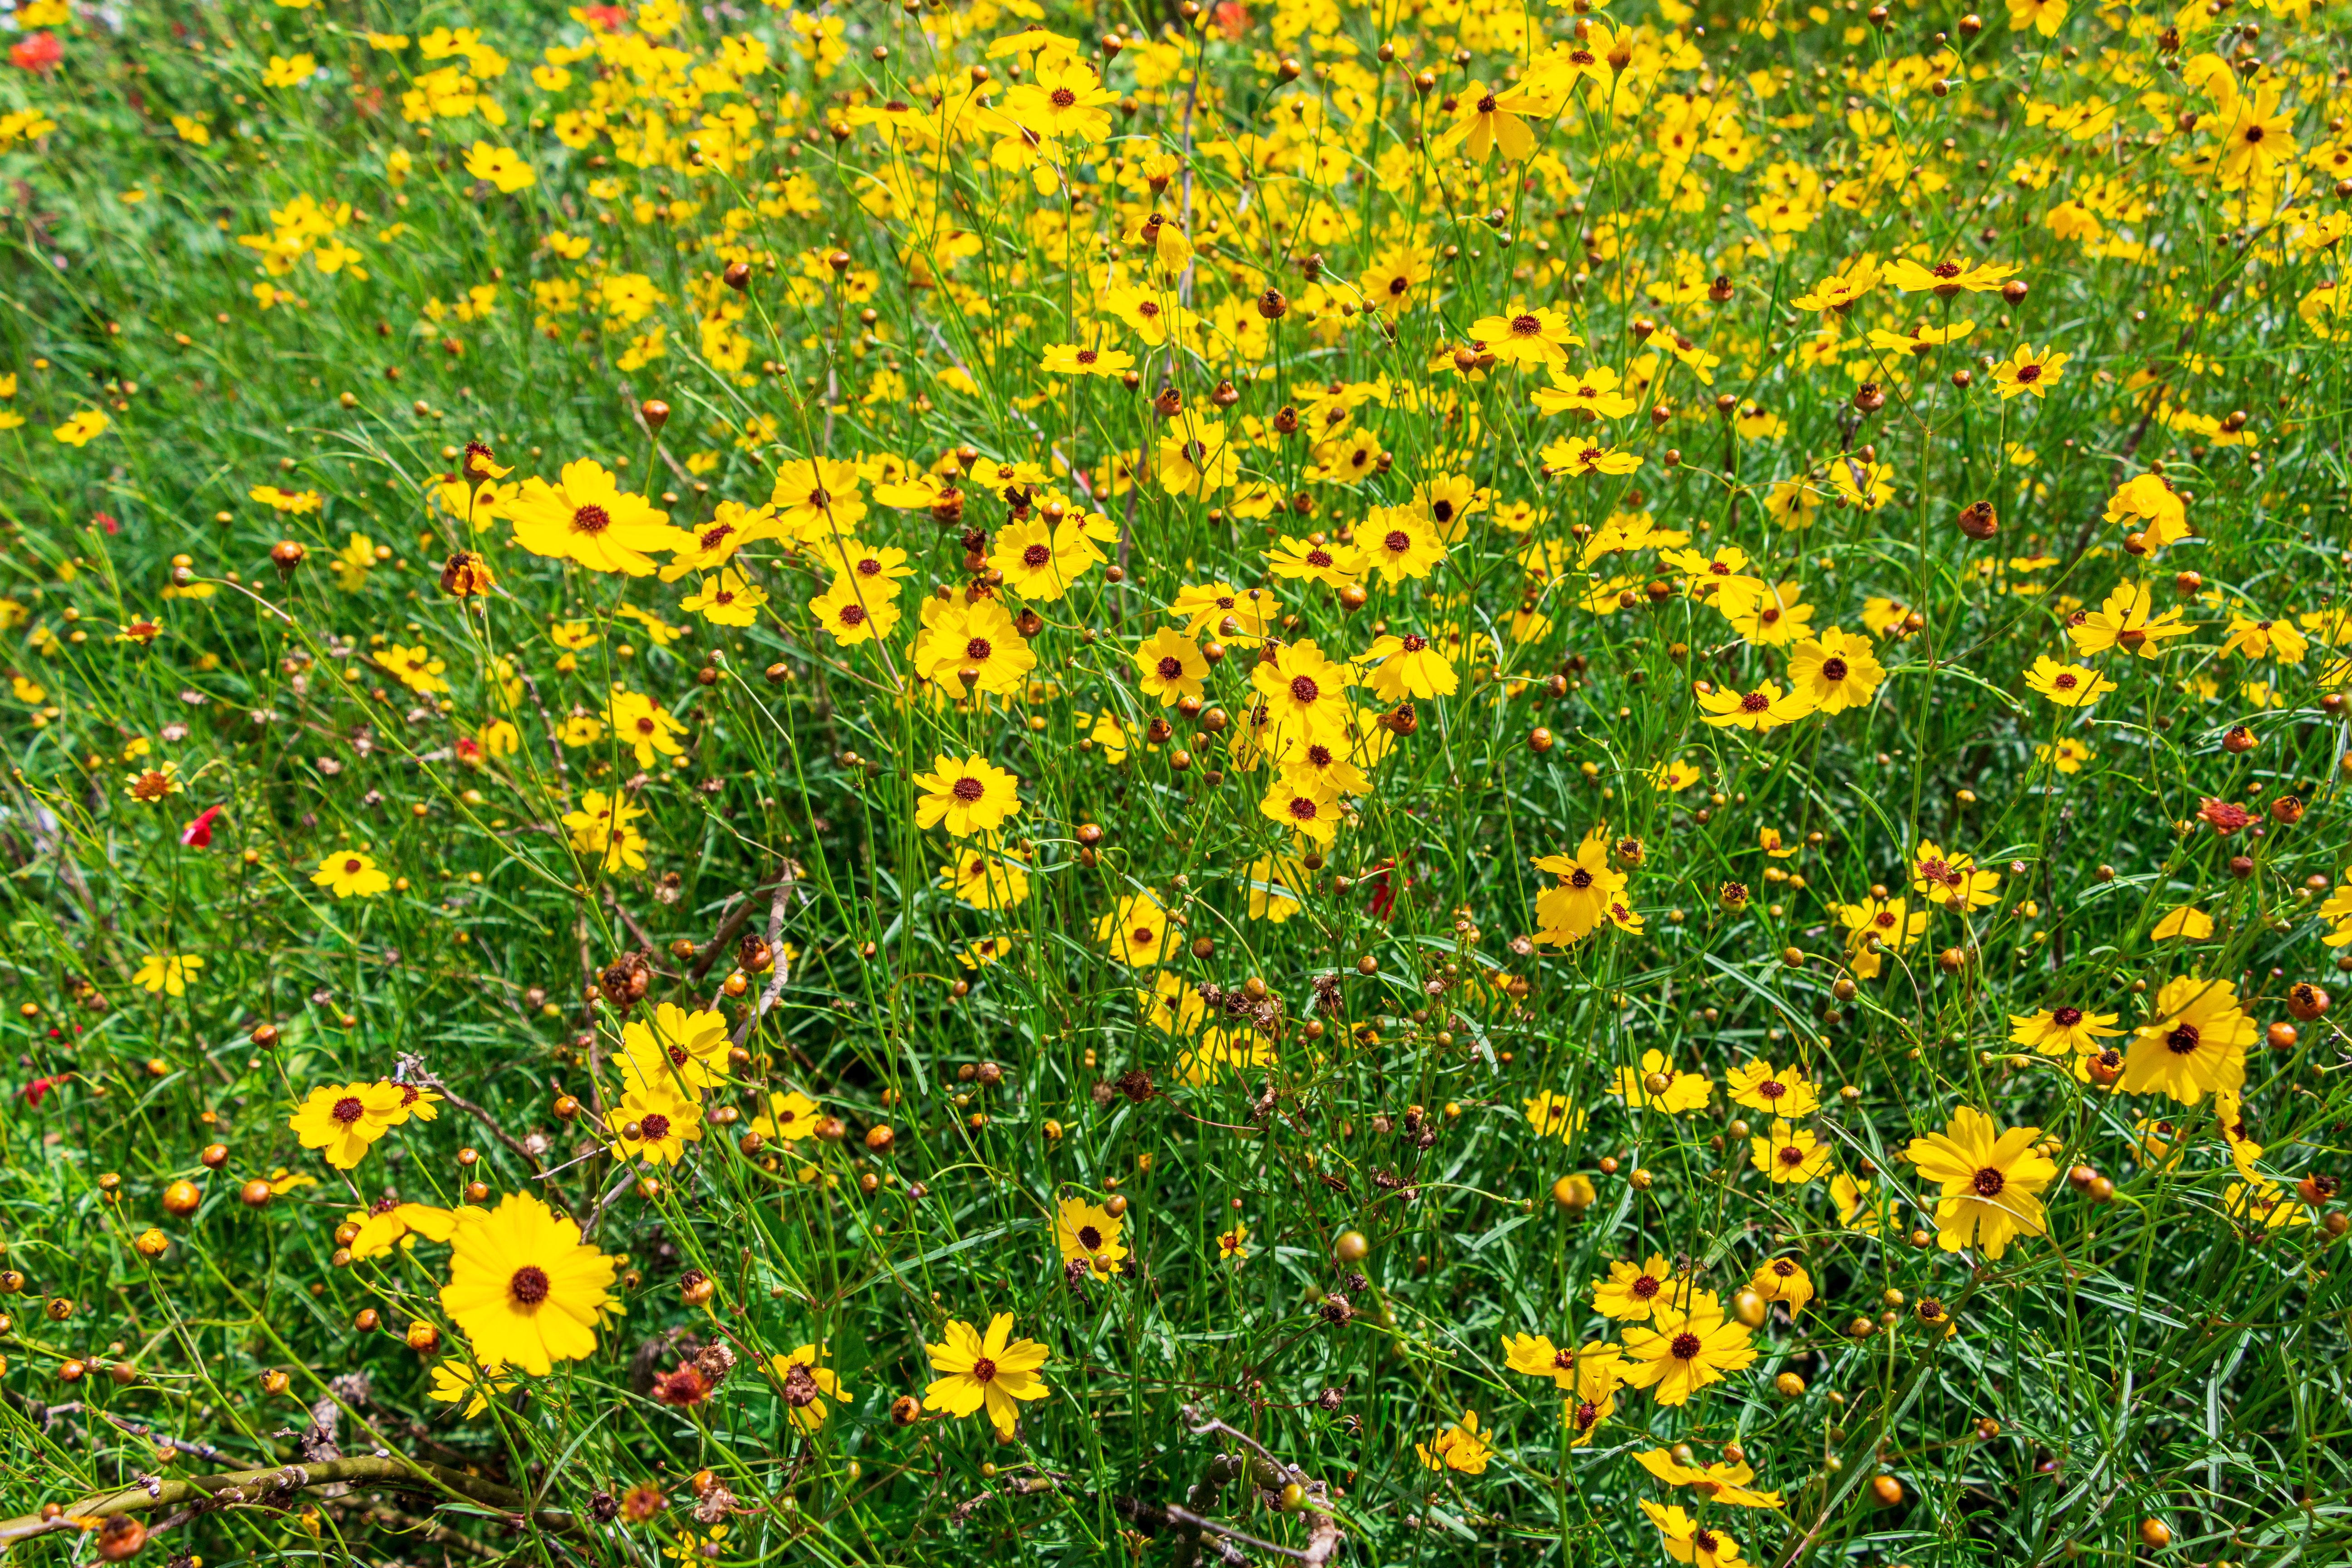
Leavenworth’s Tickseed
Leavenworth’s tickseed showcases brilliant yellow flowers with distinct maroon markings, contributing to its charm as a cheerful and attractive wildflower in gardens and meadows. Photo by Sunshower Shots, Adobe Stock.
Coreopsis, Florida’s state wildflower, boasts 14 native species flourishing in North Florida. Among these, Leavenworth’s tickseed (Coreopsis leavenworthii), predominantly found in Florida, graces the Panhandle region with its distinctive yellow, daisy-like flowers adorned with dark centers and scalloped yellow ray florets.
Thriving in open areas, flatwoods, and prairies, this annual or short-lived perennial becomes a beacon of color in the spring landscape. Ideal for wildflower gardens, Leavenworth’s tickseed requires adequate space for reseeding, best achieved by planting one to two feet apart in the spring for optimal flowering. The plant quickly establishes itself in moist soils, benefiting from occasional pruning or mowing to encourage a second flush of flowers.
Preferably rooted in sandy, well-drained soil, Leavenworth’s tickseed demands full sun exposure for maximum flower production, with moist soils playing a pivotal role in reseeding and maintaining this distinctive species.
Beach Sunflower
Adapting well to both coastal and inland environments, the beach sunflower attracts butterflies and other pollinators with its vibrant blooms. Photo by Nahhan, Adobe Stock.
The beach sunflower (Helianthus debilis), also recognized as the dune sunflower, is renowned for its coastal charm and nearly year-round blossoms. Adapting gracefully to both coastal regions and inland landscapes, this sunflower showcases two-inch flowers resembling daisies or sunflowers, boasting yellow petals and brown centers. A captivating trait is its tendency to follow the sun throughout the day.
When cultivating beach sunflowers, it is essential to allocate ample space for their spreading nature. To maximize visual impact, consider planting them in masses, maintaining distances of three to four feet between each plant. As beach sunflowers may become unruly over time, periodic removal of old stems is advisable. Encouraging new plants to sprout from seeds contributes to a healthier growth pattern. Light trims every three months can further enhance the foliage’s vibrancy and overall maintenance. While acting as an annual in freezing temperatures, the beach sunflower generally reseeds itself and displays admirable tolerance to coastal elements, including salt and wind.
For optimal growth conditions, planting in full sun encourages abundant flowering, although the plant can tolerate light shade for part of the day. Preferably, choose well-drained sandy soils, avoiding persistently moist conditions to ensure the overall health and vitality of the beach sunflower.
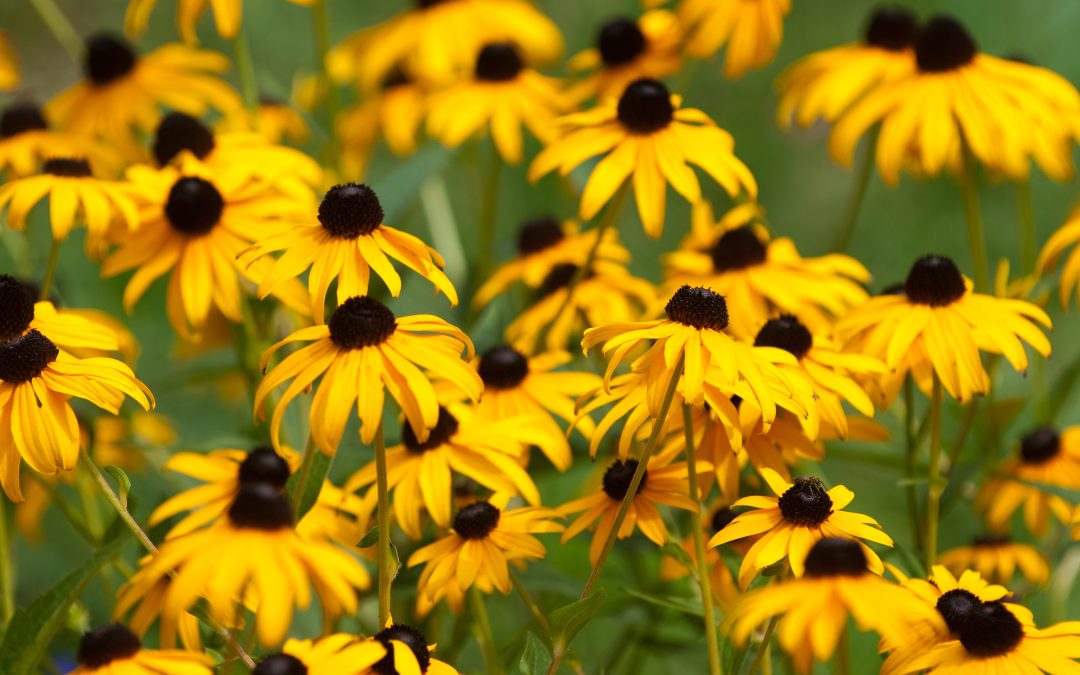
Black-eyed Susan
Black-eyed Susans are not only visually appealing but also serve as valuable nectar sources for pollinators, attracting butterflies, bees, and other beneficial insects to the garden or natural habitat. Photo by Green Stock Creative, Adobe Stock.
Black-eyed Susan (Rudbeckia hirta), a classic native bloom, captivates with its widespread availability and versatile nature as an annual, biennial, or perennial. This resilient plant grows to a height of one to two feet, showcasing rough-textured leaves and deep-yellow aster-like flowers with dark brown disk flowers forming a central dome.
When incorporating black-eyed Susans into your landscape, consider their suitability for mixed wildflower beds, where they effortlessly self-seed in open or lightly mulched areas. Maintaining proper spacing of 14 to 18 inches between plants, vigilant monitoring during extended dry periods, and providing deep watering, when necessary, contribute to the overall health and vitality of these iconic blooms.
Thriving in well-drained soils, black-eyed Susan showcases adaptability to various soil types. Whether exposed to full sun or partial shade, the plant optimizes its blooming potential, enhancing the visual appeal of any landscape.
Encourage Wildflowers in Your Landscape
Selecting native wildflowers adapted to your landscape’s specific soil, light, and drainage conditions is crucial for success. If initial attempts fail, try different species until you find the perfect match, emphasizing the importance of using the right plant in the right place. Thorough watering aids in establishment, but once native wildflowers are established, they generally require minimal irrigation. Avoid overwatering to prevent fungal and rot issues.
Native wildflowers in Florida typically do not need additional fertilization, as it can lead to rapid growth and increased susceptibility to pests and diseases. Embrace the natural resilience of these plants by avoiding unnecessary fertilization. Encourage the persistence of wildflowers by embracing self-seeding, maintaining open, lightly mulched areas for natural germination, and being vigilant when weeding.
Florida’s spring blooming wildflowers, including Leavenworth’s tickseed, beach sunflower, and black-eyed Susan, contribute to the state’s biodiversity. Selecting the right species and providing proper care allows us to cultivate these native blooms and actively participate in conserving Florida’s precious ecosystem.
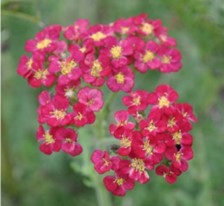
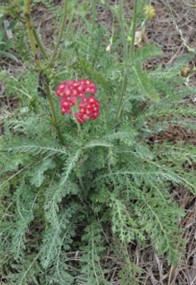
Yarrow (Achillea millefolium) is a versatile and resilient herbaceous perennial known for its feathery foliage and clusters of vibrant flowers. Propagating yarrow is a rewarding endeavor that allows gardeners to multiply their plant stock and enjoy its numerous benefits. This guide will explore the various methods of yarrow propagation, shedding light on the steps to ensure successful growth.
Understanding Yarrow
Before delving into the propagation techniques, it’s essential to have a basic understanding of yarrow. This hardy plant is native to Europe and Asia but has adapted well to various climates around the world. Yarrow boasts fern-like leaves and flat-topped flower clusters that can be white, pink, yellow, or red, depending on the variety.
Photo Credit: Alicia Lamborn
Propagation Methods
Yarrow can be propagated from seeds, providing a cost-effective and straightforward method. Collect seeds from mature yarrow plants in late summer or early fall. Sow the seeds in well-draining soil, either directly in the garden or in seed trays indoors. Keep the soil consistently moist until germination occurs, typically within two weeks. Once seedlings are large enough to handle, transplant them to their permanent locations.
Division is a reliable method for propagating yarrow while rejuvenating older plants. Divide established yarrow clumps in the early spring or fall when the plant is dormant. Using a sharp spade, separate the clump into sections, ensuring each division has both roots and shoots. Replant the divisions in well-prepared soil, spacing them appropriately to allow for future growth.
Other methods that are often used but not as popular include root cuttings and softwood cuttings.
Care Tips for Propagated Yarrow
Regardless of the propagation method used, certain care practices contribute to the success of young yarrow plants:
Yarrow thrives in full sun and well-draining soil. Ensure that the planting site receives at least six hours of sunlight daily and use soil that allows water to drain freely.
While yarrow is drought-tolerant once established, newly propagated plants require regular watering. Keep the soil consistently moist until the roots are well-established.
Apply a layer of mulch around yarrow plants to conserve moisture, suppress weeds, and regulate soil temperature.
Yarrow generally doesn’t require heavy fertilization. A balanced, all-purpose fertilizer applied in spring can support healthy growth.
Propagating yarrow can be a rewarding process that allows both novice and experienced gardeners to expand their yarrow collection. Whether through seeds, division, root cuttings, or softwood cuttings, understanding the specific requirements of each method is crucial for success. By following these propagation techniques and providing proper care, you can enjoy the beauty and versatility of yarrow in your garden for years to come.
One of the more popular flowering perennials grown in the landscapes of Florida and throughout the Southeast is the daylily. This blooming perennial traveled with many of the early settlers. They brought this plant for several reasons beyond the enjoyment of the bloom display, it was considered a source of food by including the petals and buds into the cooking of specific dishes.
The daylily is an easy to grow plant that requires less management than many of the other perennials grown in the garden settings of the landscape. Daylilies are linked to the lily family but are not actually in this family, Hemerocallis in Greek is Hemero for “day’ with Callis meaning “beauty”. The passion by many professional breeders and novice growers can be seen in the many selections and varieties in the plant industry today. This plant brings interest and joy to anyone that visits your landscape gardens.
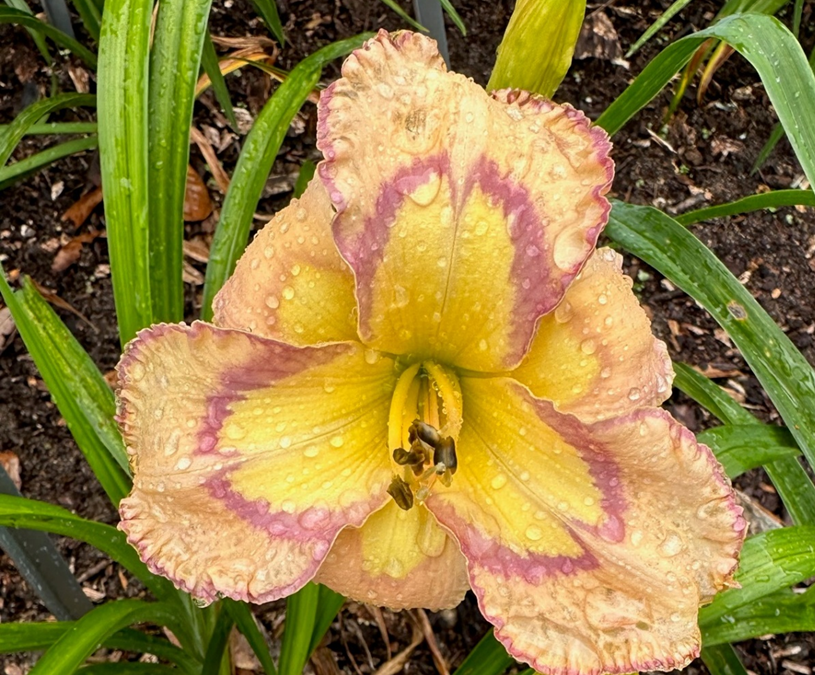
Hemerocallis x ‘Mystic Red Dragon’. Photo Credit: J. Stephen Greer, University of Florida/IFAS Extension – Santa Rosa County
This clump forming plant can be grown in different soil types from sandy loam, clay to muck edges near wetlands. The location for best performance is sandy well drained soil with high amounts of organic matter. It has a moderate salt level tolerance lending itself as one perennial to consider in coastal settings. The best way to accomplish the levels of organic matter is to till the bed area for planting, add three to four inches of compost or well-rotted manure plus a ½ pound of 3:2:1 ratio fertilizer to a 100 square foot bed. The 3:2:1 is a Nitrogen, Phosphorus and Potassium fertilizer recommendation. Till all of this into the previously tilled bed to a six-inch depth. This mix of sand or clay with organic matter at the six-inch soil depth places it where the roots will grow.
Daylilies multiply in several different ways from forming clumps of plants from a single plant over three to four years that can be divided into separate plants and replanted to expand the bed area for managing the color display of the original plant. Plant breeders cross pollinate between selected plants that have desirable characteristics. These characteristics may be ruffled outside edges on the petals, bright or daker petal color, a change in color from the outside portion of the flower petal to the throat area at the center of the bloom or even the height of the scape which is the stem that emerges from the leaf clusters near the base that supports the flower display.
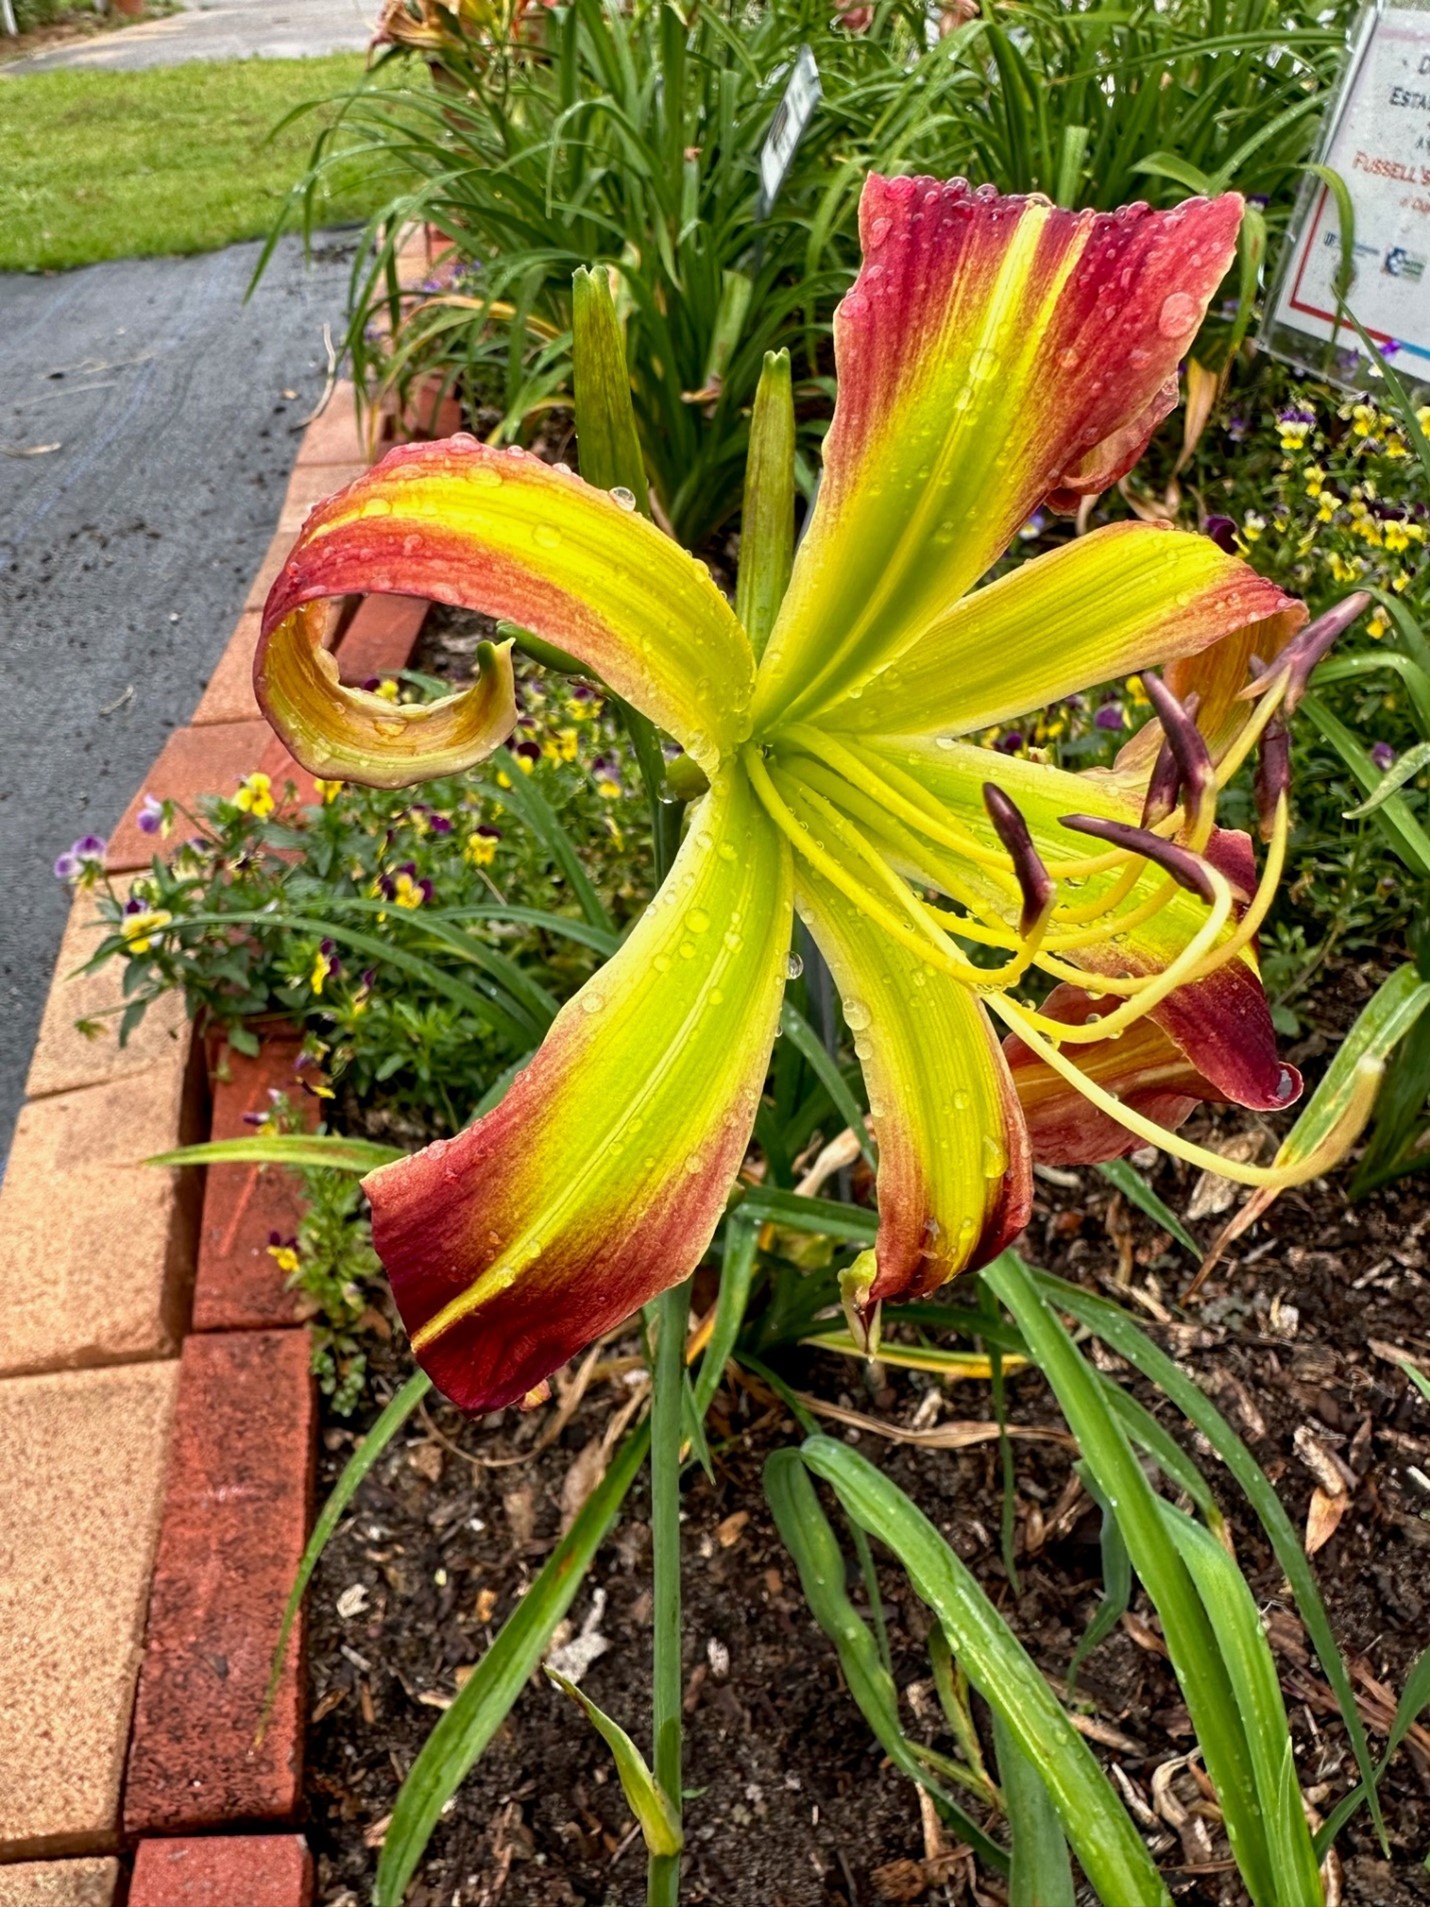
Hemerocallis x ‘Oriental Impressions’. Photo Credit: J. Stephen Greer, University of Florida/IFAS Extension – Santa Rosa County
Daylilies can be purchased at many box stores in containers and easily transplanted in the garden. Another option is to visit local daylily nurseries as they often have more named variety options with many different flower colors available. Local nurseries usually grow plants in the ground so they will need to be dug and purchased as a bareroot. When planting bareroot daylilies look at the location where the leaves emerge near the base just above root area and plant one and a half to two feet apart. Make sure to plant no deeper than at that point of root and leaf growth area known as the crown. The crown must be above the soil level for quality growth.
After planting and watering in the plants be sure to mulch the bed with three to four inches of pinestraw or bark mulch. This manages weed growth and keeps soil moisture at consistent levels reducing stress to the plant. If periods of dry weather conditions occur watering the plants will be needed to keep the plants from stressing.
As a boy I remember our St. Augustinegrass lawn. I fondly remember winter annual weeds in that lawn.
Many of these so called “weeds” are native wildflowers. And a number of pollinators use these wildflowers.
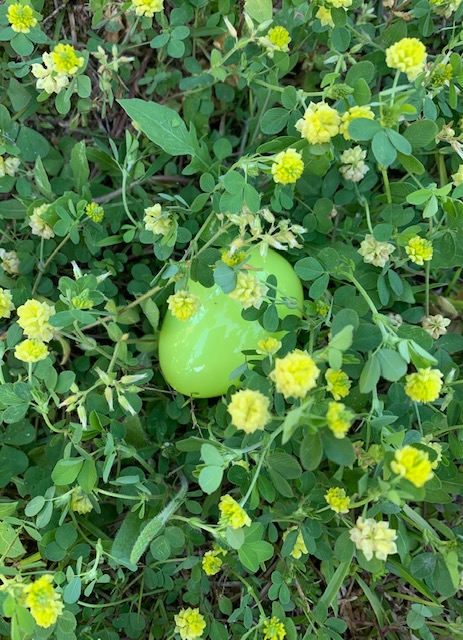
To see clumps of winter annuals in our yard and in neighbors’ yards was a natural part of the transition from winter to spring. They added interest to the lawn. It was expected to see henbit with its square stiff stems holding up a display of small pinkish purple flowers in late winter to early spring. A clump of henbit was a great place to hide an Easter egg, especially a pink or purple one.
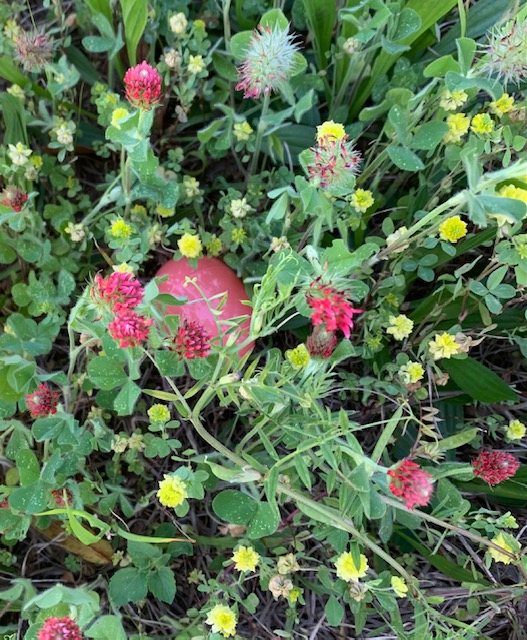
A pink Easter egg hidden in a mix of clover. Photo Credit: Larry Williams, UF/IFAS Extension – Okaloosa County
Wild geranium offered another good hiding place for eggs with its pink to purple flowers. Large clumps of annual chickweed would nicely hide whole eggs. Green colored eggs would blend with chickweed’s green leaves.
Crimson clover with its reddish flowers, hop clover and black medic with their bright yellow flowers provided good hiding places for Easter eggs. Plus, clovers add nitrogen back to our soils.
A yellow Easter egg hidden in a mix of clover. Photo Credit: Larry Williams, UF/IFAS Extension – Okaloosa County
The lawn was healthy and thick enough to limit summer weeds. But during fall and winter, as the lawn would naturally thin and go dormant, these winter annuals would run their course.
I remember the clean smell of freshly mowed grass in spring with the first mowing. Once mowed and as the heat took its toll, by late April or mid-May, these winter annuals were gone. What was left was a green lawn to help cool the landscape as the weather warmed. The lawn was mowed high as St. Augustine should be, watered only occasionally during dry periods, played on and typically not worried with.
Most lawns have winter annuals that let us know spring is near. Perhaps we worry too much with these seasonal, temporary plants that may have wrongly been labeled as weeds. Besides, how long have we been doing battle with them and they are still here. Most lawns have winter annual seeds that await the cooler temperatures and shorter days of early winter to begin yet another generation. By May they are gone.
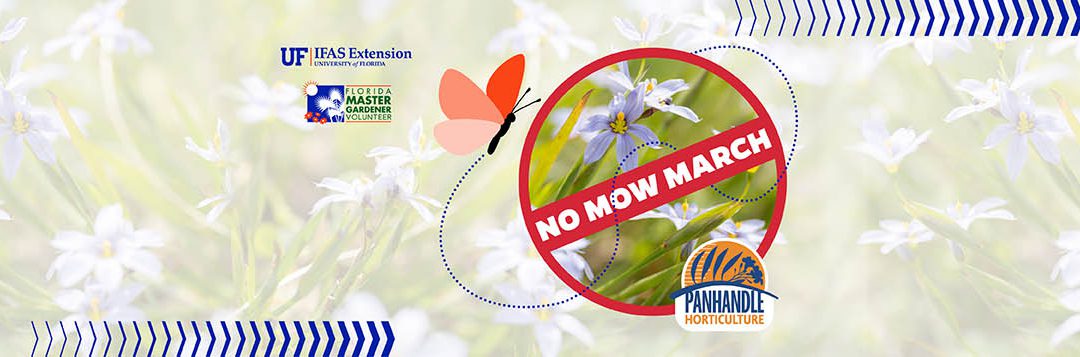
UF/IFAS Extension agents in the Florida Panhandle are asking you to join in on “No Mow March” in 2023. The idea is to holdup on mowing until the calendar flips to April, allowing pollinators to enjoy these common winter annuals.
Here is a website with more information on No Mow March. On this site, you’ll find a link to sign up to be a participant, check out what Okaloosa and other counties are doing by clicking on “Events” and see more about pollinators, all on this site.