by Ashley Stonecipher | Mar 10, 2022
Some of the many benefits of starting your own home garden are having fresher, more nutritious produce, the positive effects on physical and mental health, increased consumption of fresh fruits and vegetables and a potential cost savings. Also there are many advantages to starting a garden in the spring with transplants. You avoid bad weather, achieve earlier and higher yields, avoid insect and disease issues, and can choose the best and strongest plants to add to your garden.
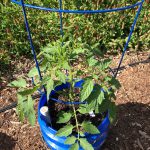
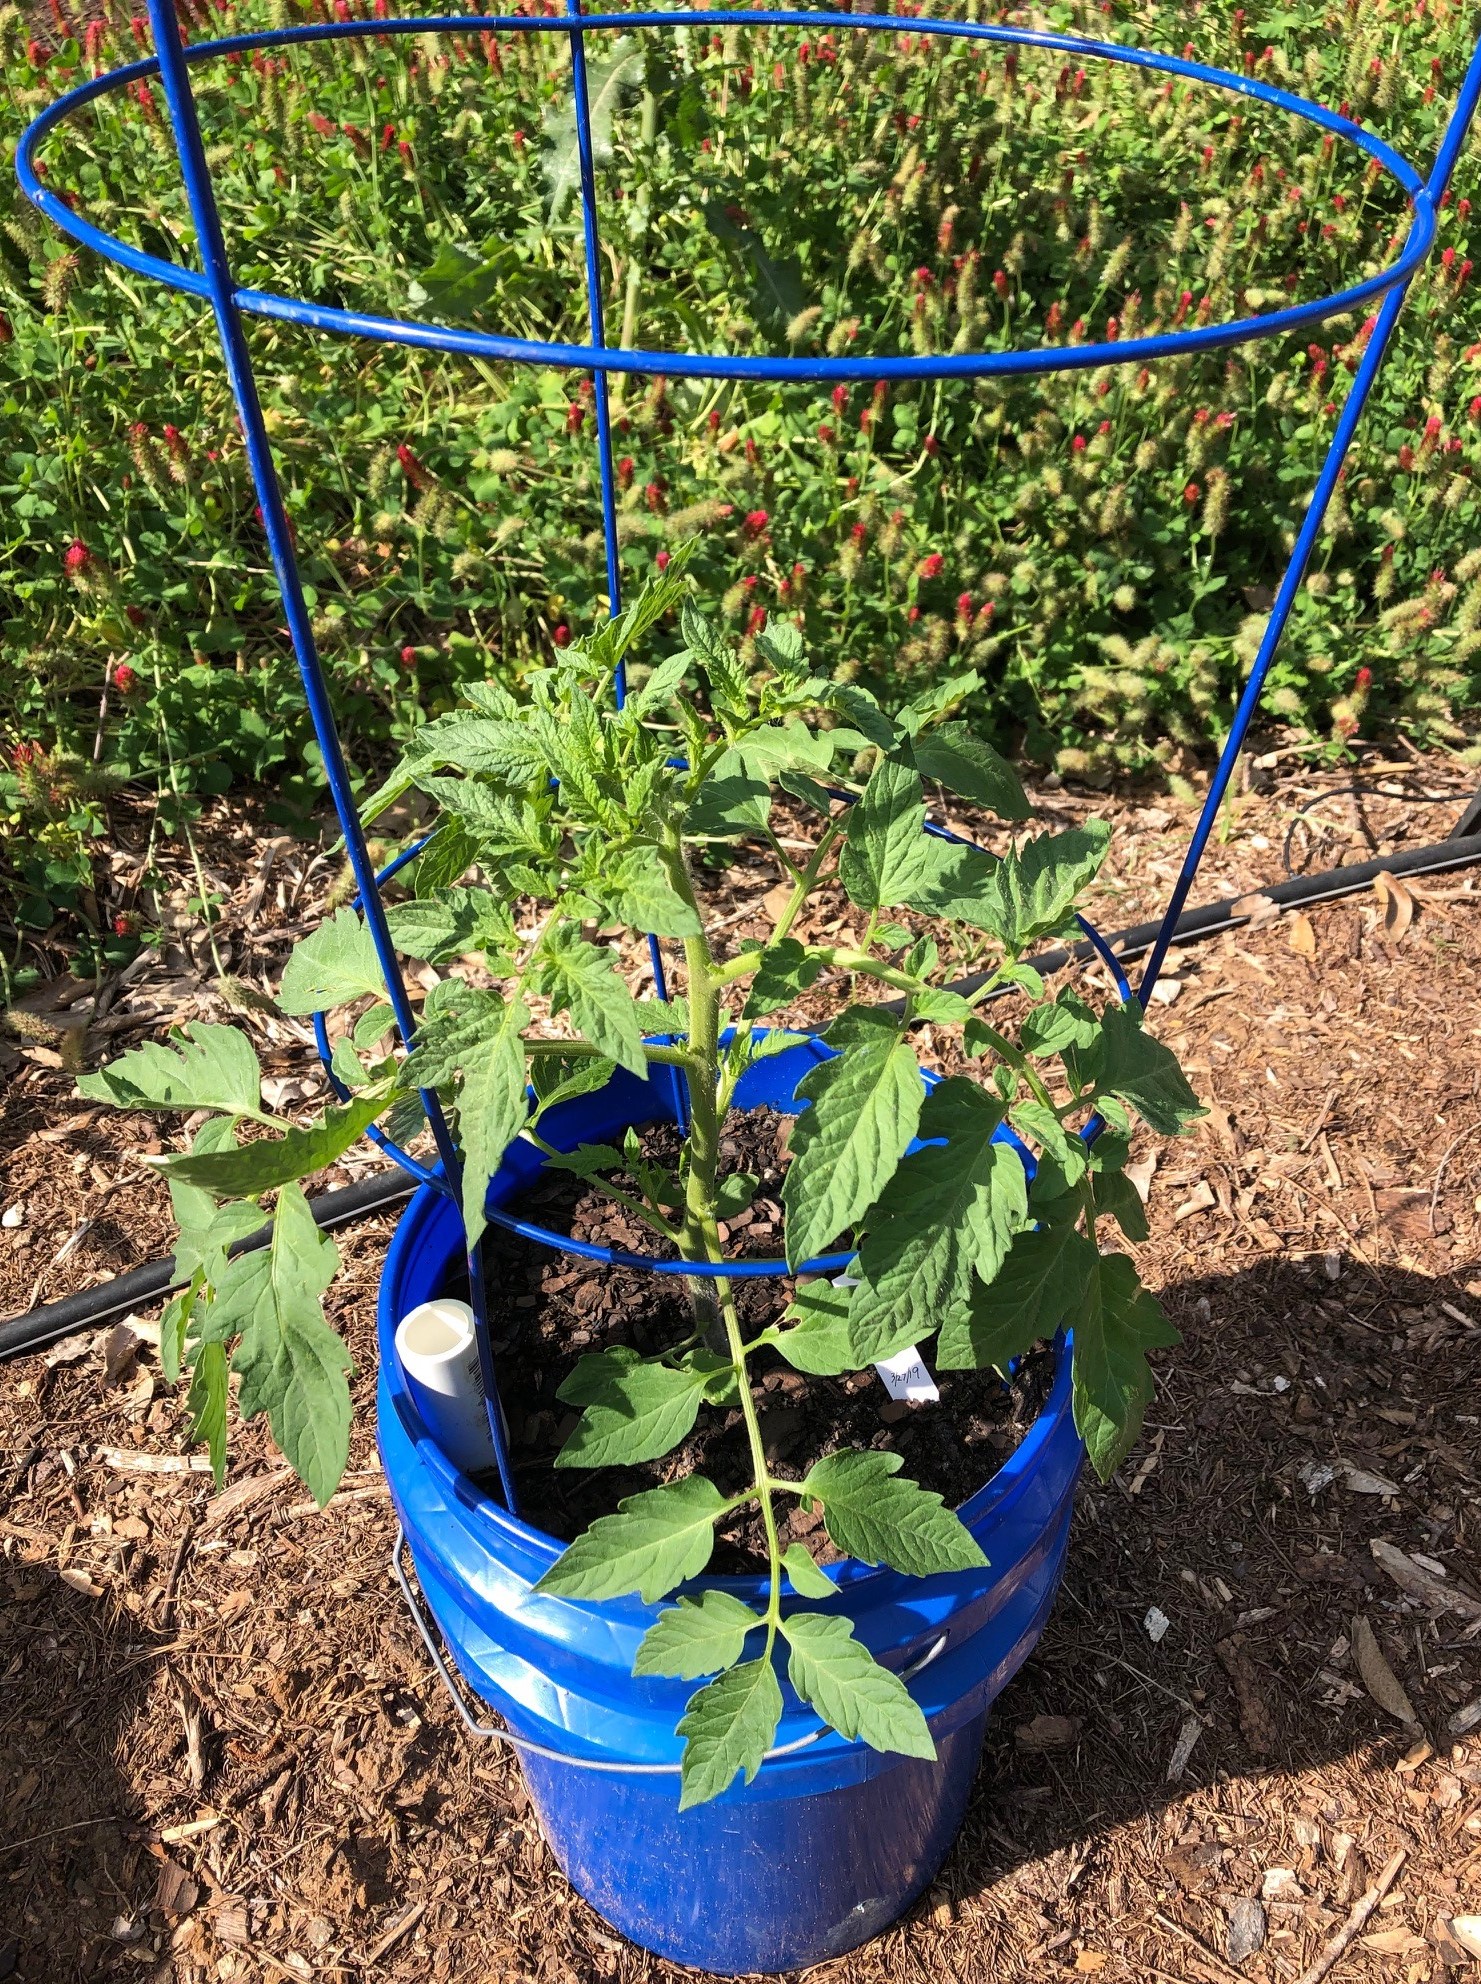
Using a self-watering container is an excellent option if you find yourself away from the garden this summer. Photo by Molly Jameson.
Now is the time to start planting seeds indoors for warm season crops such as tomato, pepper, cucumber, eggplant, okra, summer squash, watermelon and many more. It is important to consider the number of days to harvest, planting zone, and location to plant. Buy seeds from a reputable source and check the expiration dates/sell-by dates and follow the packet.
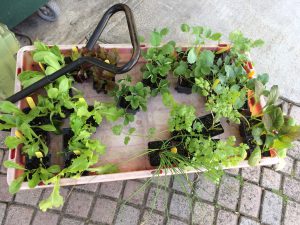
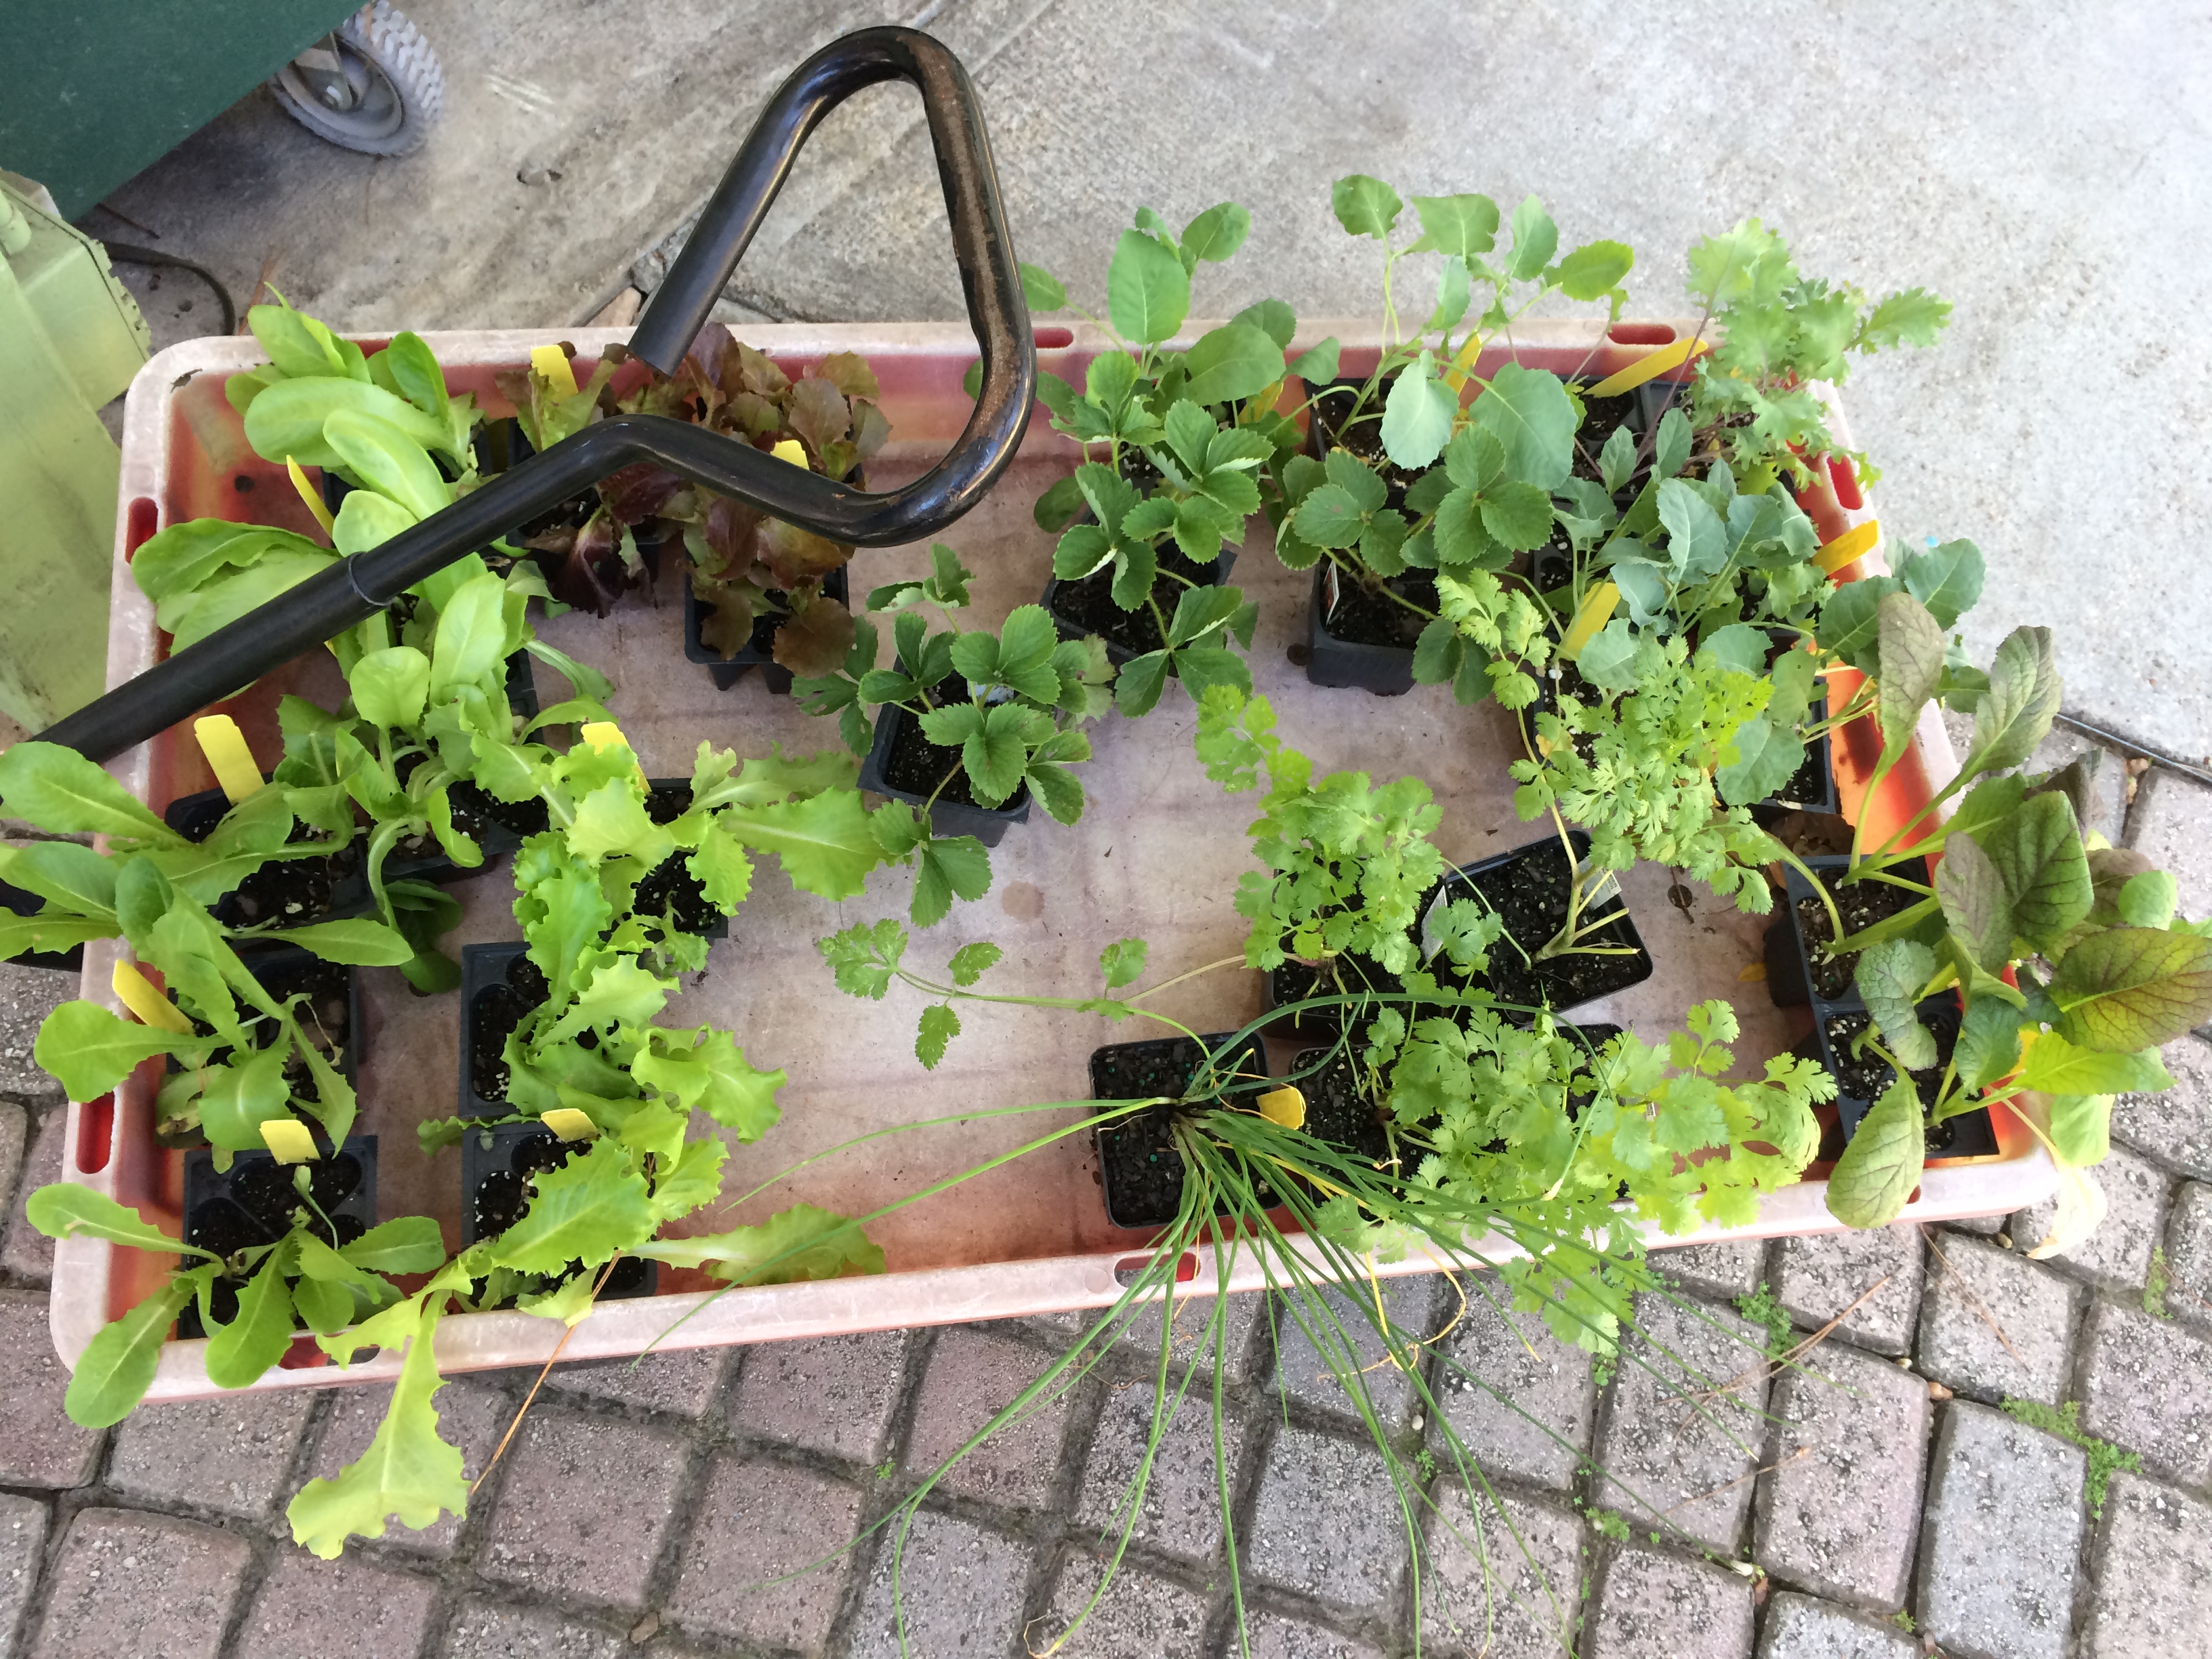
For some vegetables, buy transplants from your local nursery. Photo by Molly Jameson.
When seeding the containers follow instructions for the seeding rates, spacing and depth on your seed packet. Smaller seeds can be broadcast over the surface and larger seeds will need to be covered with soil. Temperature and humidity are important for germination. Your packet will be specific on how deep to plant the seeds and a range of how long it will take to germinate. Label your container with the vegetable name and date seeded. You may find yourself like me and thinking you will remember what it is only to be guessing what you have as it germinates!
Most seeds started indoors will be ready for the garden in 4 to 6 weeks. Transplants must be hardened off first which means you should reduce the amount of water and stop fertilizing 1-2 weeks before they are ready to go into the garden. The seedlings will need a good bit of sun/light and moisture once they germinate to avoid leggy and stretchy plants.
The next step is to care for your transplants. As you have taken the time to seed them, watch them grow, and then put the plants into their new home it is important to set them up for success. Monitor the transplants for insect and disease on a weekly basis. Make sure the garden is free of weeds before the plants go into the ground. Weeds will fight for the same water and nutrients as the transplants. Transplant when the environmental conditions are best. This means to plant them in the morning, on a cloudy/overcast day, and when there is not a big storm in the forecast. When taking the little transplant out of the pot be careful to not disturb the roots and do not pack the soil around the roots.
If you have any questions on spring gardening please contact your local extension office for more information.
by Danielle S. Williams | Mar 26, 2019
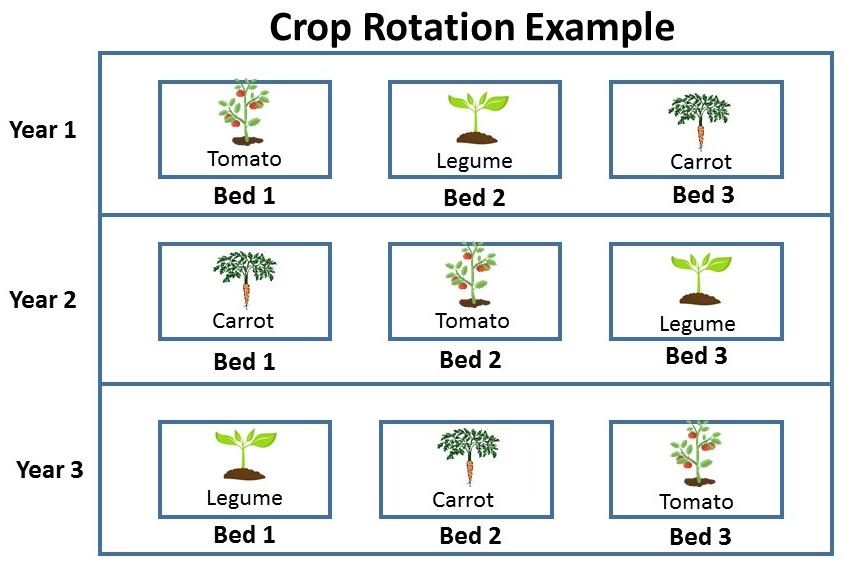
With spring on the horizon, many of us are planning or have already began to plant our spring gardens. If you’re still in the planning process like me, one very important thing to consider is the importance of crop rotation in the garden. Crop rotation is a concept that’s been used by farmers for many years but it’s a concept that gardeners need to adopt as well!
What is crop rotation?
Crop rotation is a method used to reduce insect pests, disease and manage soil fertility by changing the planting location of vegetables within the garden each season. Each vegetable is grouped into a plant family. Vegetables in the same plant family typically are able to harbor the same kinds of insect pests and diseases, and have the similar nutrient requirements. When vegetables belonging to the same plant family are planted in the same location over and over again, pest populations can build up and productivity of the garden decreases. In addition, fertility issues can arise from planting the same crops, in the same area over again. Since different crops require different types and amounts of nutrients, crop rotation can help even out the loss of soil nutrients.
List of common vegetable families.
How should I plan for crop rotation in my garden?
First, consider the vegetables you would like to grow this season then group them by their families. Vegetable crops in the same family should NOT be planted in the same area year after year. For example, if squash is planted in a bed or one area of the garden one year, cucumbers or watermelons should not be planted in the same area of the garden the following year because these plants belong to the same family (Cucurbitaceae).
Divide your garden according to the number of plant families you want to grow. This could be in rows or even separate beds. From there, you will want to think about your ordering sequence. For example, if you are planting a legume (beans or peas) that fixes nitrogen back into the soil this spring, you’ll want to plant a heavy feeding crop like broccoli this fall. Heavy feeding crops can be followed by light feeding crops such as carrots or onions. Be sure to keep a gardening journal as a reminder of what is planted each year and season.
Crop rotation is one of the most effective methods we have to manage the many pests and diseases we have here in Florida. If you’re struggling with a particular pest or disease in your garden, consider using crop rotation to help manage it. For more information on crop rotations for the home garden, contact your local extension agent.
by Sheila Dunning | Feb 26, 2018
Weather sayings can be quite colorful. Some of them may be connected to scientific observations, while others are more superstitious in nature. What the weather will do this month can change on a moment’s notice. March is definitely one of the more unpredictable months. One week the temperatures are warm and spring-like. A few days later the weather turns stormy and cold. Depending on the groundhog you follow, spring will be here, or not, in the next few weeks.
But, any long time Northwest Florida residents knows, summer will be here eventually and it is going to get hot and dry. So, while trying to figure out whether to wear your T-shirt or arctic parka today, take a moment to locate that patch of the landscape and consider adding a “lion” or “lamb.”
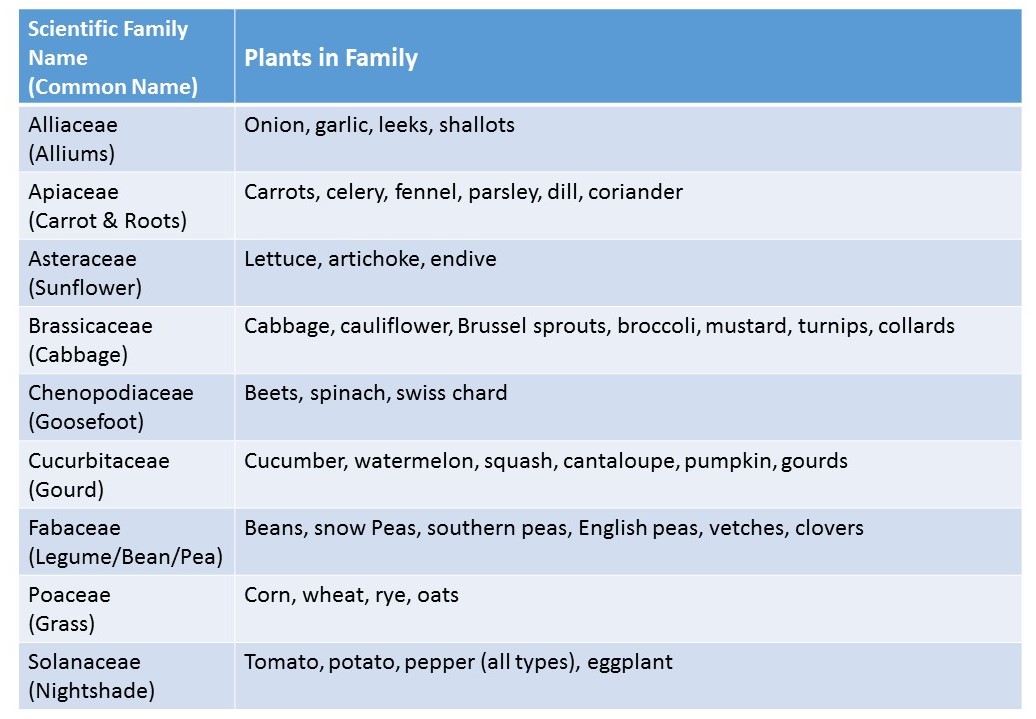
Lion’s ear and Lamb’s ear are two plants that survive under hot, dry conditions. Lion’s ear, Leonotis nepetifolia, is a tall-growing (8 feet) annual with orange tubular flowers that peek out of the spiny bloom head, giving the appearance of a lion’s ear. Hummingbirds reportedly hover next to a flower or even perch on a cluster, drinking for 10 seconds or longer. That’s an eternity in hummer world and about as long as any lion would tolerate someone messing with his ears.
Lamb’s ear, Stachys byzantina, is an easy care perennial with wooly gray-green leaves and lavender colored flower spikes. It makes an attractive accent in a container or excellent groundcover that invites you to experience its soft “wool”, like those cute little ears of a baby sheep.
Both of these plants are self-sustaining species that establish well in open dry areas. The lion’s ear must self sow seed to return each year. Whereas, the lamb’s ear will return from the roots and can be divides if you want to relocate them.
Lion or lamb, March is a good time to plan for easy care, summer, blooming flowers. While it may be “freezing” now, you know once it gets hot, the last place you will want to be is outside in the blazing sun. Maybe the thoughts will warm you. For information on good perennials for Northwest Florida go to: http://edis.ifas.ufl.edu/mg035
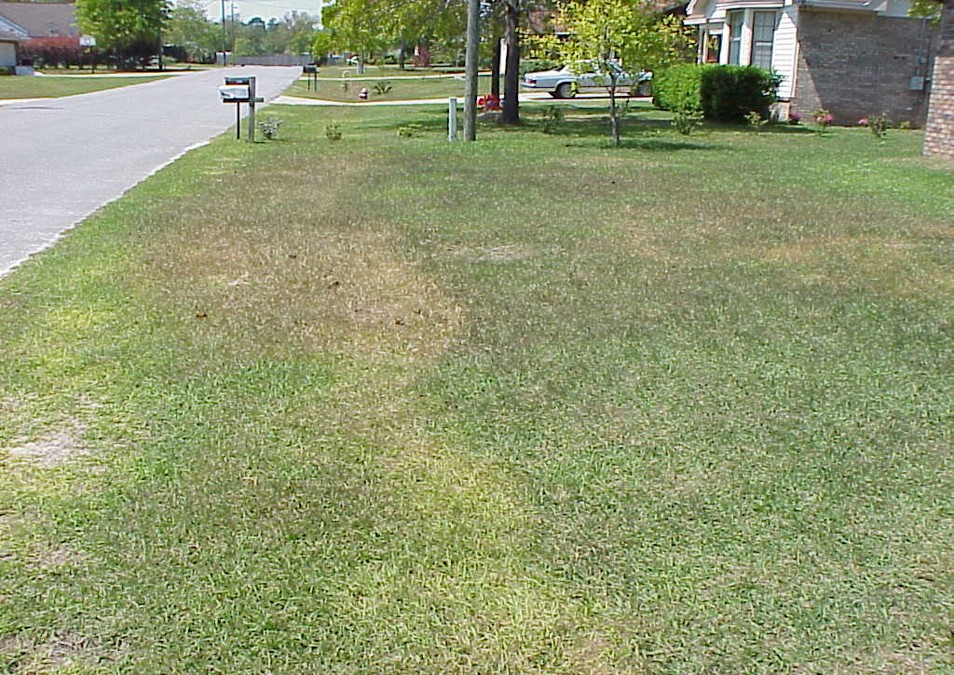
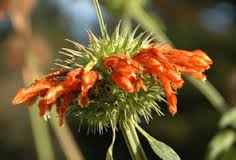
by Larry Williams | Feb 26, 2018
Cold injury to lawn caused by early fertilization. Photo credit: Larry Williams
February can be a confusing month for North Florida gardeners. Winter isn’t over. So don’t let spring fever cause you to make some gardening mistakes. Let’s take a look at some dos and don’ts of February gardening.
Despite colder temperatures that we can experience this month, it’s still okay to plant trees and shrubs from containers. The roots are better protected in the ground and will quickly grow outward to establish as compared to being exposed to cold temperatures above ground, confined in a container. But be cautious about planting cold sensitive tropical plants too soon while freezing weather is likely. Bare-root trees and shrubs (those with no soil attached to the roots) should be in the ground promptly. This includes bare-root nut and fruit trees, pine and hardwood tree seedlings and bare-root roses. Dormant season planting allows time for establishment before hot weather arrives.
February is a good time to transplant or move trees and shrubs that are in the wrong place. Consider moving plants that require pruning to force them to “fit” into small or confined spaces. Move them to an appropriate location where they can grow to full size. Then you can plant something new and appropriately sized for replacement.
Late February is a good time to prune overgrown shrubs such as ligustrum and holly. These plants usually respond well to severe pruning and can be pruned almost to the ground, if necessary. But remember, they will eventually regrow to their larger size. Prune to shape and thin broadleaf evergreens and deciduous flowering trees such as oleander, crape myrtle and vitex. Avoid severely pruning narrow leaf evergreens such as junipers because they have few buds on old wood from which to form new growth. Mid-February is a good time to prune bush roses, removing dead or weak canes. Leave several healthy canes and cut these back to about eighteen inches. Delay doing much pruning on early spring-flowering shrubs such as azalea and spirea until shortly after they flower. Pruning these plants now will remove present flower buds before they can open. Prune deciduous fruit trees such as peach, plum, apple, etc.
If your lawn has had a history of problems with summer annual weeds such as crabgrass, apply a pre-emergent herbicide. This should be done February 15 to March 1 when day temperatures reach 65° to 70°F for 4 or 5 consecutive days. A second application may be needed eight weeks later. Many people fertilize their lawns too early. Wait until April to fertilize to prevent lawn injury and for the most efficient use of the fertilizer.
by Molly Jameson | Apr 7, 2017
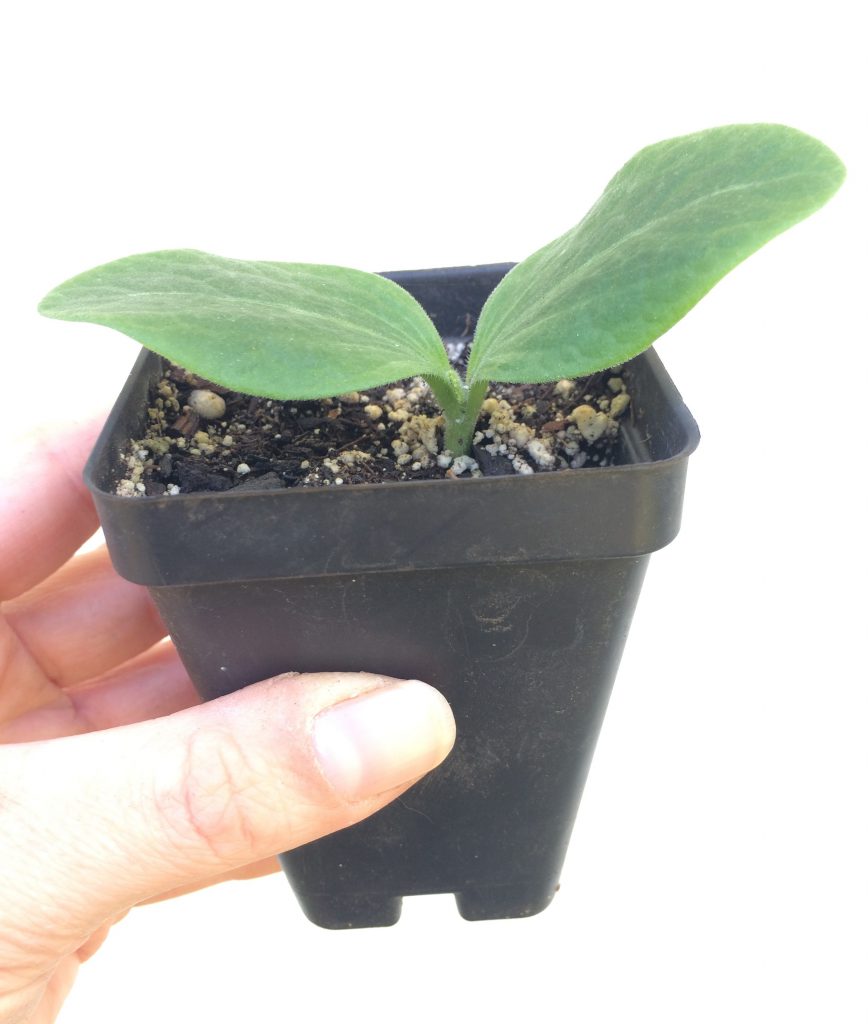
Be careful planting cucurbit transplants, as they have sensitive roots. Photo by Molly Jameson.
When I think of the end of winter and the hot temperatures that will soon be here to stay in the Florida Panhandle, I often feel a little melancholy. But the one silver lining that always picks me back up is remembering what warmer temperatures will mean in the garden. This is the start to all the fun, colorful, fruiting crops. Think of the oranges, reds, yellows, and even purples that will soon fill their vines.
As an extension agent, one of the questions I am often asked is whether to start summer vegetables from seed directly in the garden, or to start seeds in pots and transplant them later. The answer is – as is often the case – it depends.
Are you planting tomatoes, peppers, or eggplant? Well, the beginning of April is too late to start from seeds with these crops in our neck of the woods. Buy transplants! Are you growing beans, okra, or root crops? Now that we are past the risk of frost, put those seeds directly into your garden. Are you growing cucurbits, like squash, cucumbers, or melons? You have a choice. You could seed them directly, or you could start seeds in pots. What is the advantage of starting in pots, you ask? Well – this will give you the chance to pick the strongest plants and will allow you to transplant them exactly where you want them. The disadvantage? Other than the extra work, cucurbits tend to be sensitive to disturbance. Be sure to handle with care and do not over water once your seedlings have sprouted.
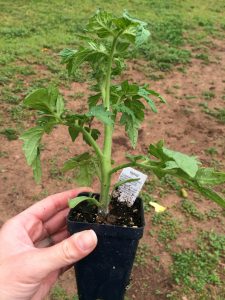
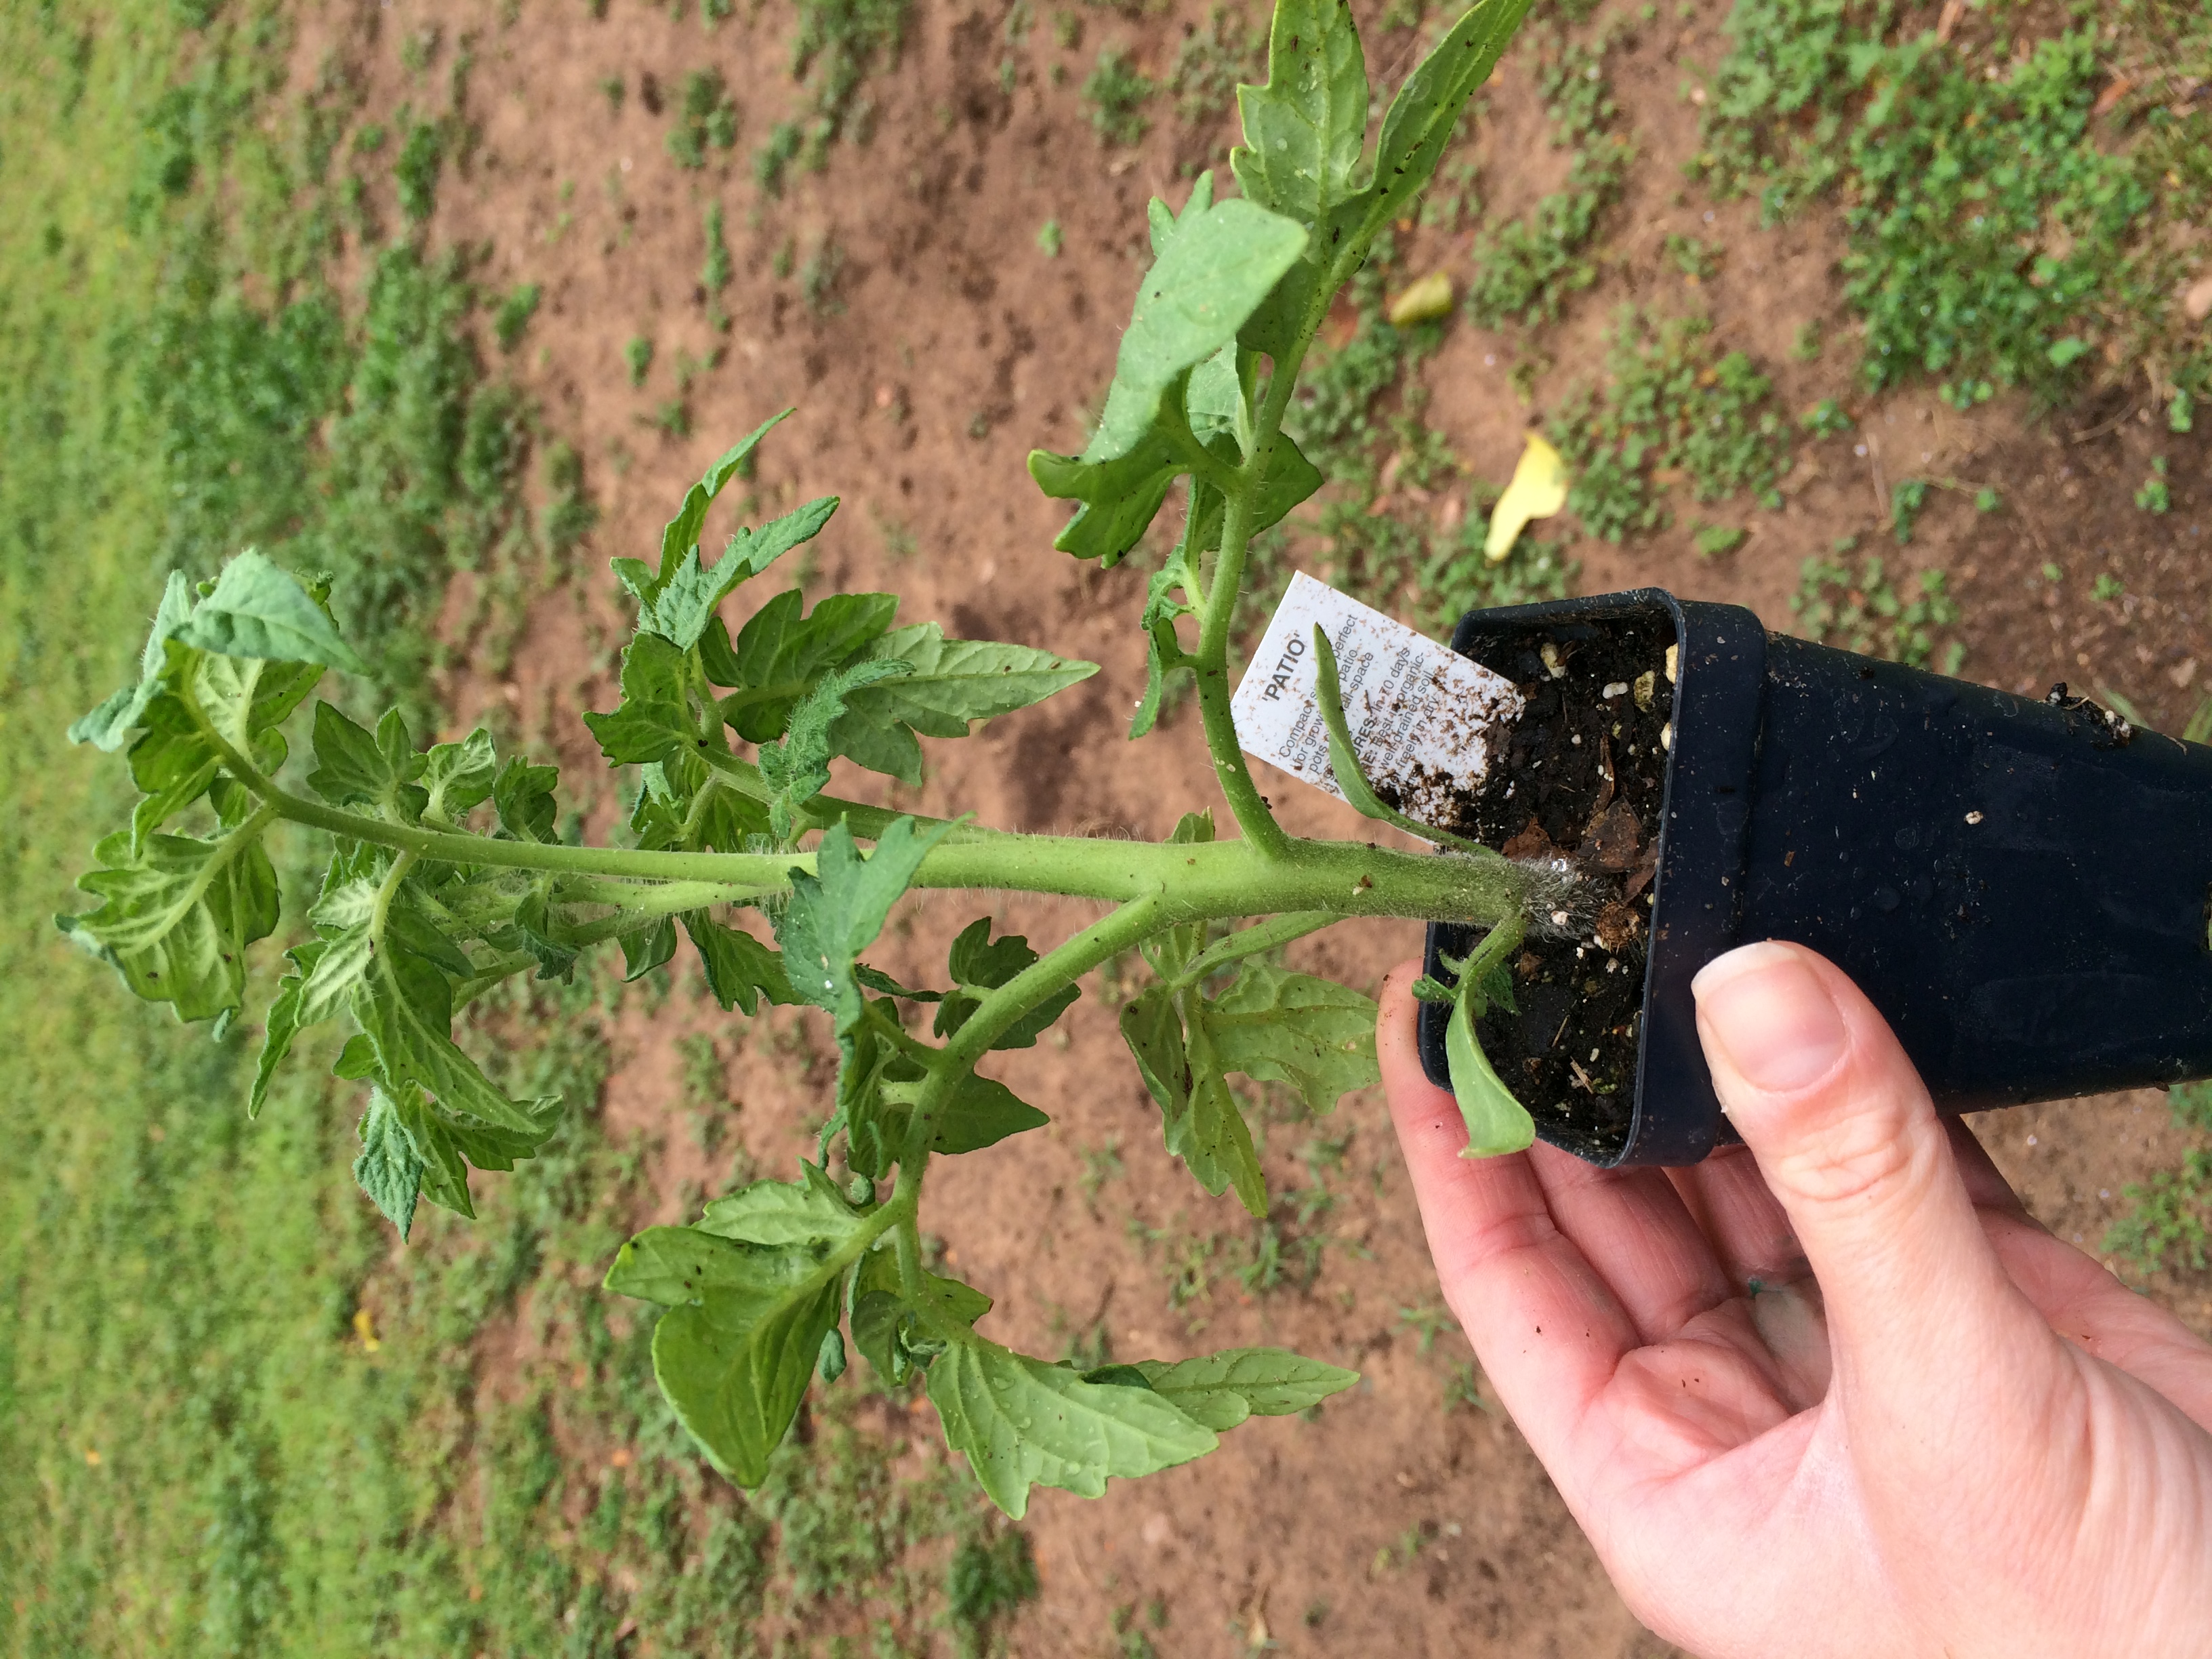
Transplant into the garden when the plant is about the length of its pot. Photo by Molly Jameson.
Whether you grew the seeds in pots yourself or acquired transplants elsewhere, there are certain practices you can follow to ensure your plant babies have a good start. Here are a few tips when it comes to transplanting into the garden:
What should be considered when purchasing transplants? When purchasing transplants, it is important to make sure the plant is healthy. Look for plants with strong stems, green leaves, and no signs of pest or disease damage. Ideally, the plant should not be much taller than the length of its pot, and should be about as tall as it is wide. Also, avoid vegetable plants that are already producing fruit, this is an indication they have been in their pot too long, prompting them to become stressed. When stressed, annuals often feel they need to hurry and produce seeds to carry on the next generation.
When should transplants be planted into the garden? For spring gardens, plant transplants once danger of frost has passed (late March in the Panhandle), when the transplant has had time to develop a strong root system, and when the transplant is about the length of its pot. If you are growing your seeds indoors or in a greenhouse, allow the plant to “harden-off” by placing the plants outdoors in partial shade for a few hours a day for about a week before transplanting.
What is the transplanting process?
- First, prepare your garden site with compost and other soil amendments.
- Water your plants very thoroughly just before planting to decrease transplant shock. The entire root system should be completely wet.
- Dig a hole that is at least double the width of the plant’s root ball.
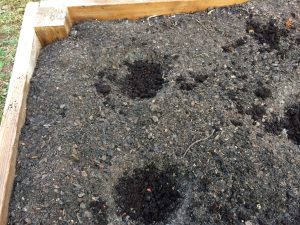
Add fresh compost or worm castings to each planting hole to give your plants an extra nutrient boost. Photo by Molly Jameson.
- Add one to two handfuls of fresh compost or worm castings to each hole. These soil amendments will improve soil health, introduce beneficial microbes, and provide a slow- release nutrient source for your growing seedlings.
- Avoid covering any leaves or stems under the soil surface. Remove these lower leaves and stems with sharp garden clippers to minimize the size of the wound.
- Avoid touching the stem and avoid disturbing the root ball when removing the transplant from its pot. Gently squeeze the pot to loosen the potting soil and turn the transplant sideways or upside down with the palm of your hand to gently “catch” the transplant.
- Unless the transplant is a tomato, plant it so that the soil level is about the soil level of the transplant, making sure the plant has good structure to decrease susceptibility of falling over as it grows.
- If transplanting a tomato, plant deeper than the soil level of the transplant, as tomatoes can grow what are called “adventitious” roots – roots that grow from their stem – that will improve overall root development.
- Make sure to cover up all roots, and water the soil around the plant thoroughly. Continue to water deeply, keeping the soil moist but not soggy, for the next three to four days while the plant becomes established. You can then begin to switch to a normal watering pattern.
- Always water the soil around the plant, not the plant leaves, throughout the season to decrease susceptibility to disease.
Remember: gardening is a science and an art! And just like art, there are many aspects that are open to interpretation. Have fun gardening – experiment and try new techniques. Keep a journal tracking all your gardening adventures. With time, this can become your road map to the sweetest of summer fruit.