This late winter has been alternating between warm and cool extremes. One thing is for certain and that’s that it’s time to start planning your sweet potato crop.
Sweet potatoes are generally planted March through June in the Florida Panhandle. The most common method of planting is with sweet potato slips. Sweet potato slips are simply six to eight inch cuttings of a sweet potato vine with the majority of the leaves pulled off. You can purchase sweet potato slips from a local garden center or a seed catalog. Make sure you only purchase certified, disease free slips. You can also easily start your own sweet potato slips from a store-bought sweet potato.
Sweet Potato Slip Production
Pre-sprout Your Tubers – Place sweet potato tubers in a warm place (75 to 85 degrees) with high humidity (90%), such as in your garage, for two to four weeks. It is important that you put the tubers in a well-ventilated container. Allow the tubers to stay in the pre-sprout area until sprouts are roughly 1/4-inch in length.
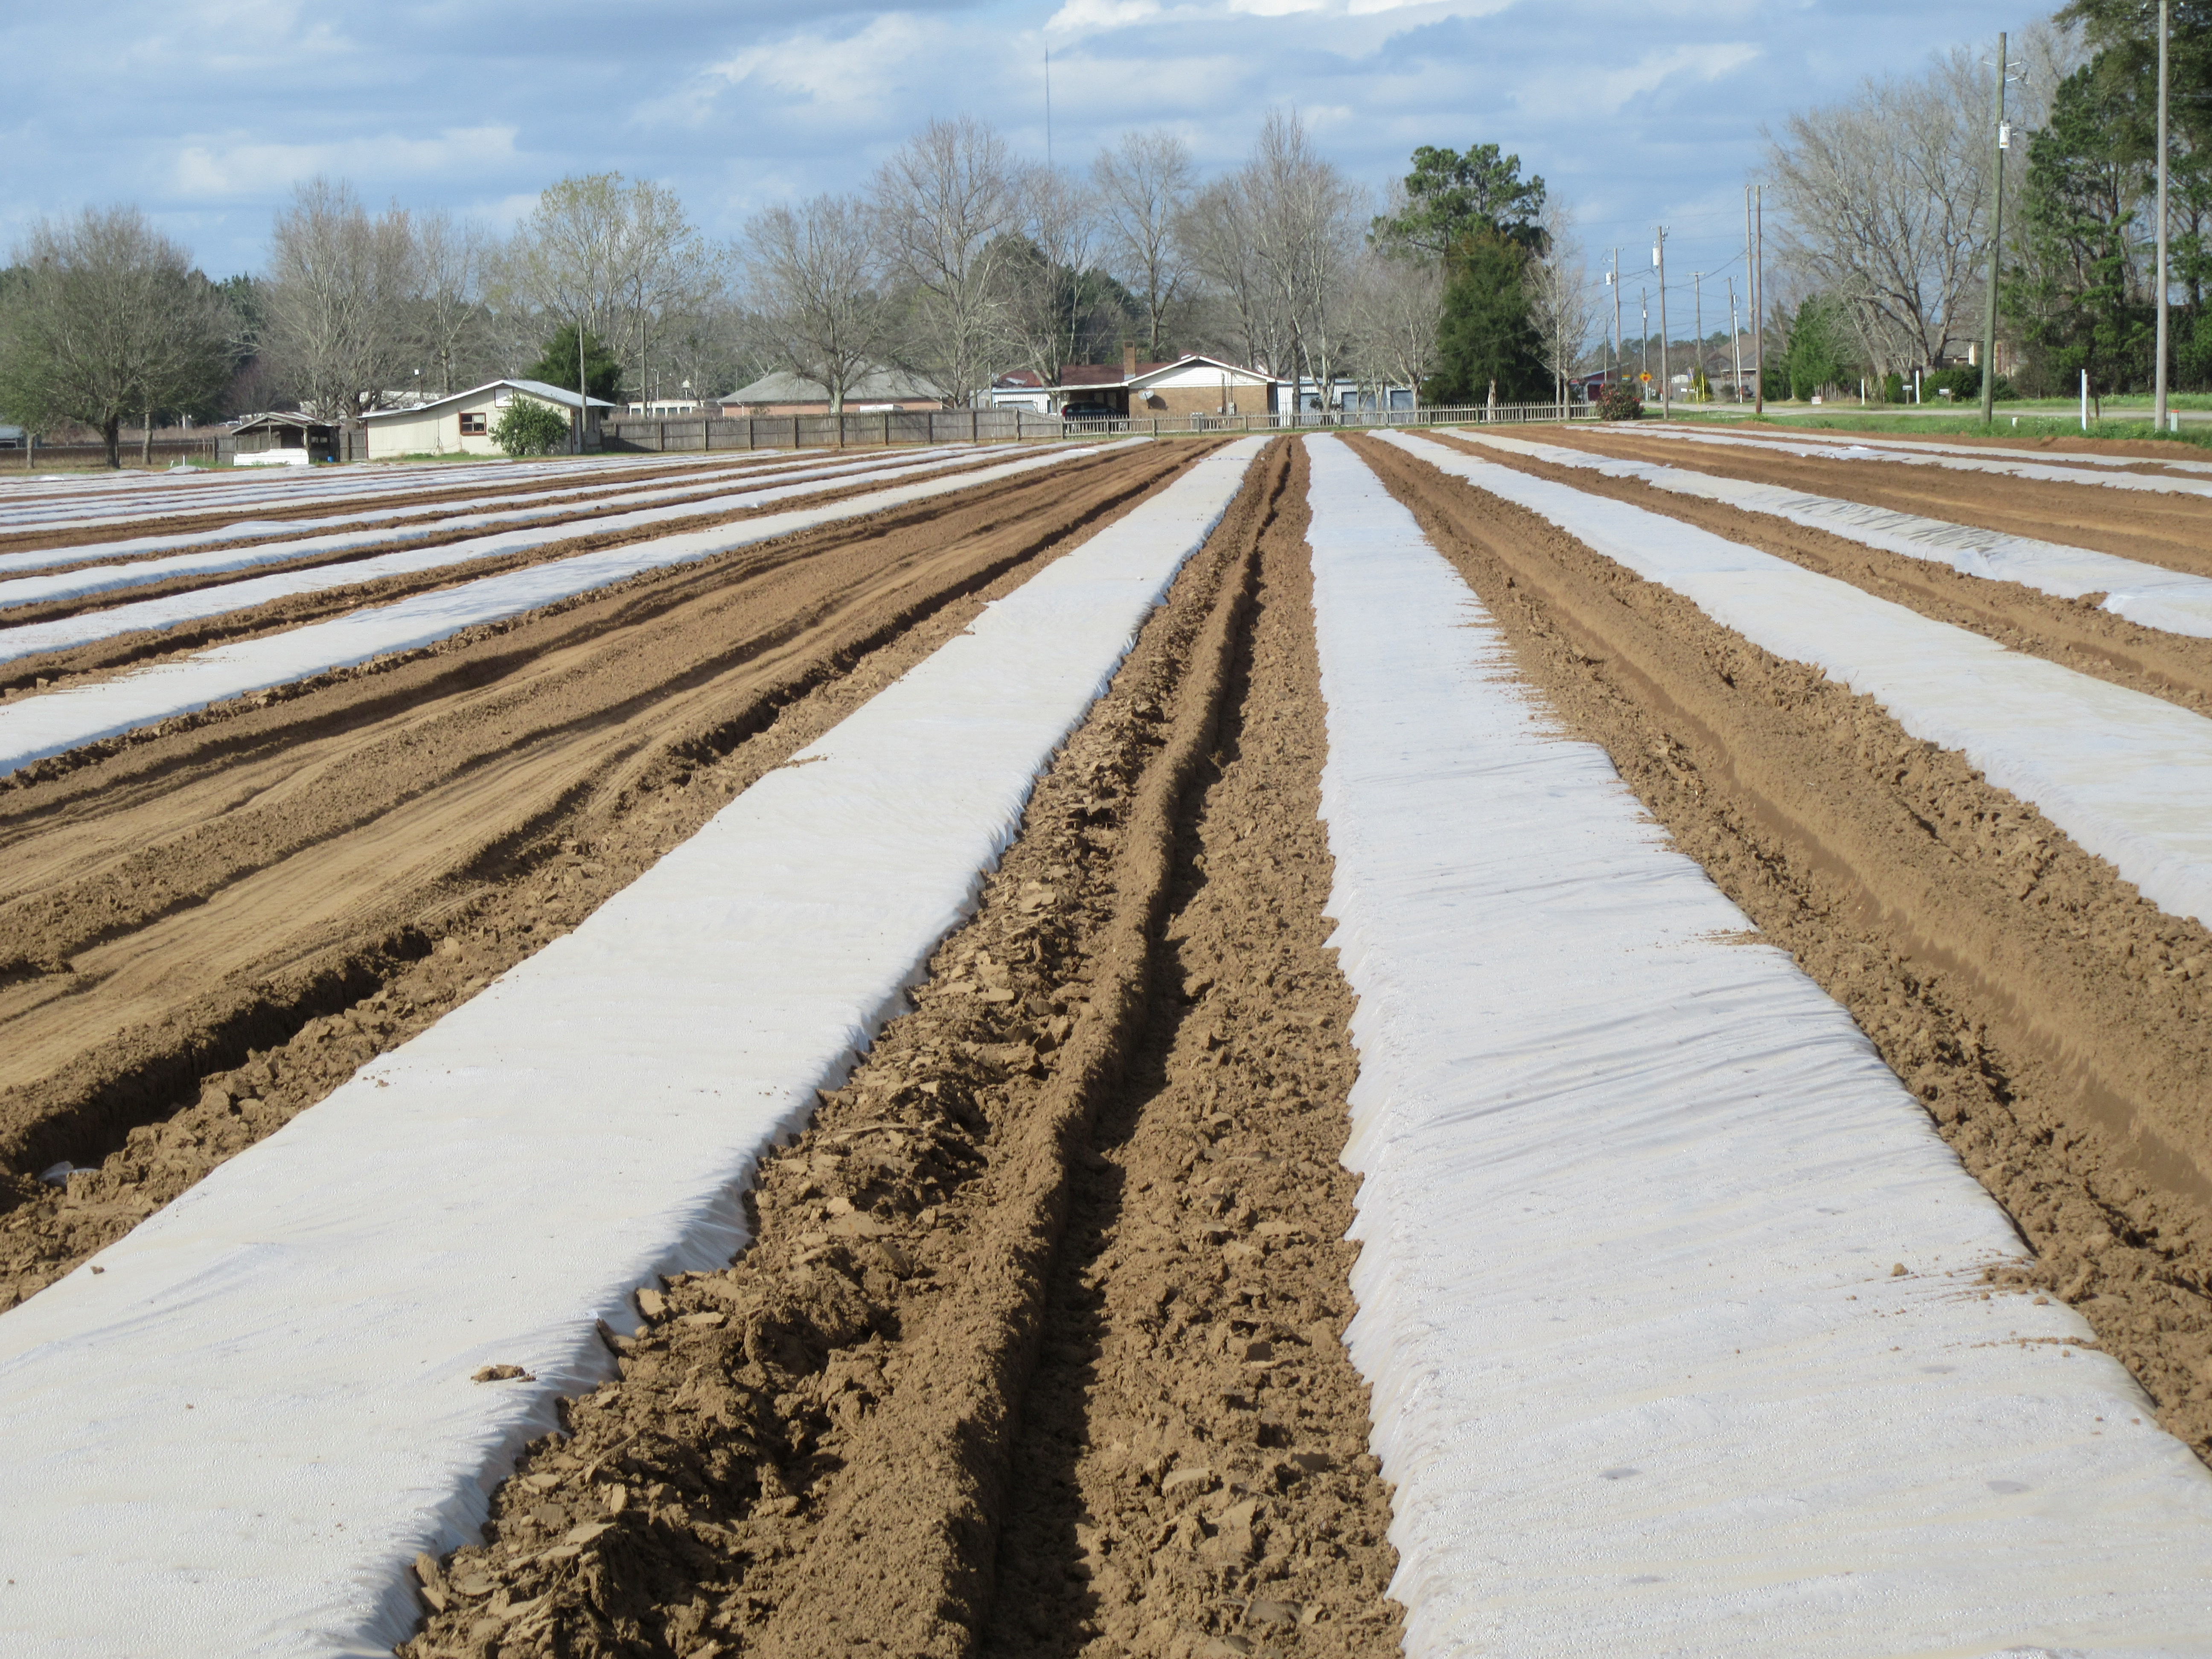
Bedding – Sweet potatoes are placed in “beds” to produce slips. A sweet potato bed can be made out of the same materials as you’d use for a raised bed garden. You can simply build a frame out of 2″x12″ lumber. Plastic is placed in the bottom of the beds before a layer of bedding material is put down. The bedding media can be a peat-based potting mix or a more economical substrate would be wood chips or sawdust. Sprouted sweet potatoes should then be placed in a single layer 8″ to 12″ inches apart and covered with two additional inches of bedding material. Then top dress the bed with a general purpose, granular fertilizer, water the bed, and cover with clear or black plastic. Poke holes in the cover plastic to aerate the soil and prevent carbon dioxide and temperature buildup. You may need to water the bed periodically, but do not completely saturate. Sweet potato slips can also be produced in the garden if you have a sandy, well-drained soil such as the field pictured below.
Sweet potato slip production in the field. Photo Credit: Evan Anderson, University of Florida/IFAS Extension.
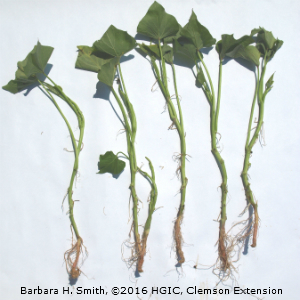
Cut Slips – Slips will be ready to cut in seven to ten weeks. Cut slips 1″ above the bed surface and trim to 10″ to 12″ in length. Strip all but the top one or two leaves from each slip. If you are unable to plant your slips at the time of cutting, then store them in a cool, dry area to prevent them from rotting.
Sweet potato slips can be planted March through June in the Florida Panhandle. Plant the slips at least three nodes (leaf stubs) deep at 12″ by 36″ spacing. Fertilize based on soil test recommendations. Sweet potatoes are ready to harvest generally between 100 to 120 days after planting slips. After harvest, you will need store your sweet potatoes in a warm (80 to 85 degrees), humid (80 to 90%) place for one to two weeks to allow them to “cure”. After the curing period, you can store your sweet potatoes in a cool area (55 to 60 degrees) until you are ready to eat them.
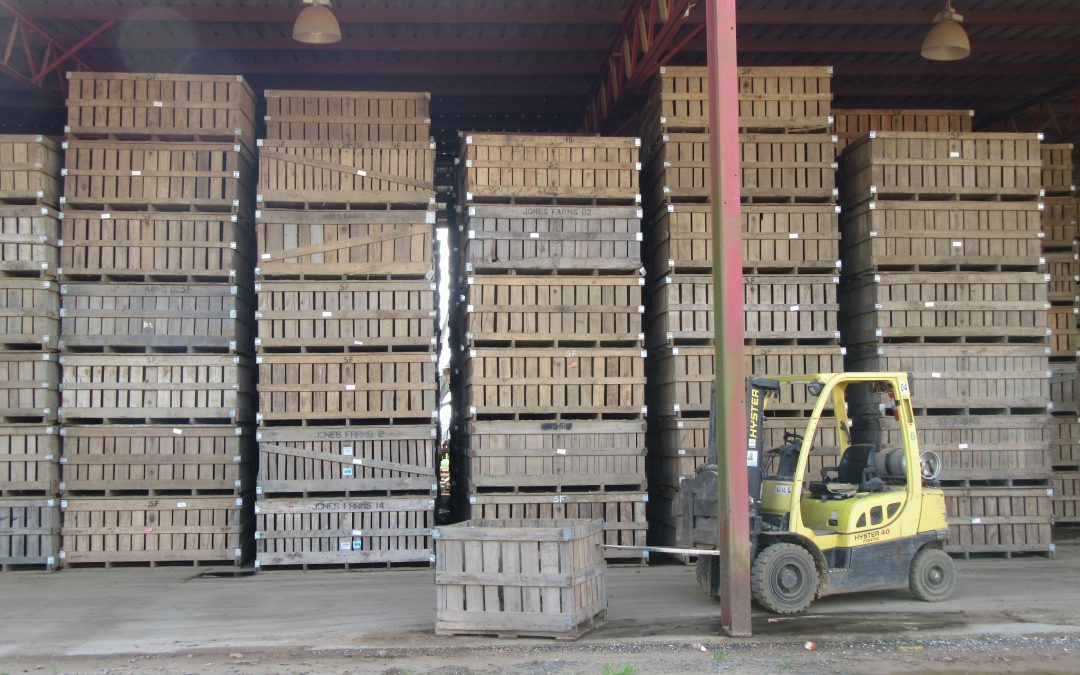
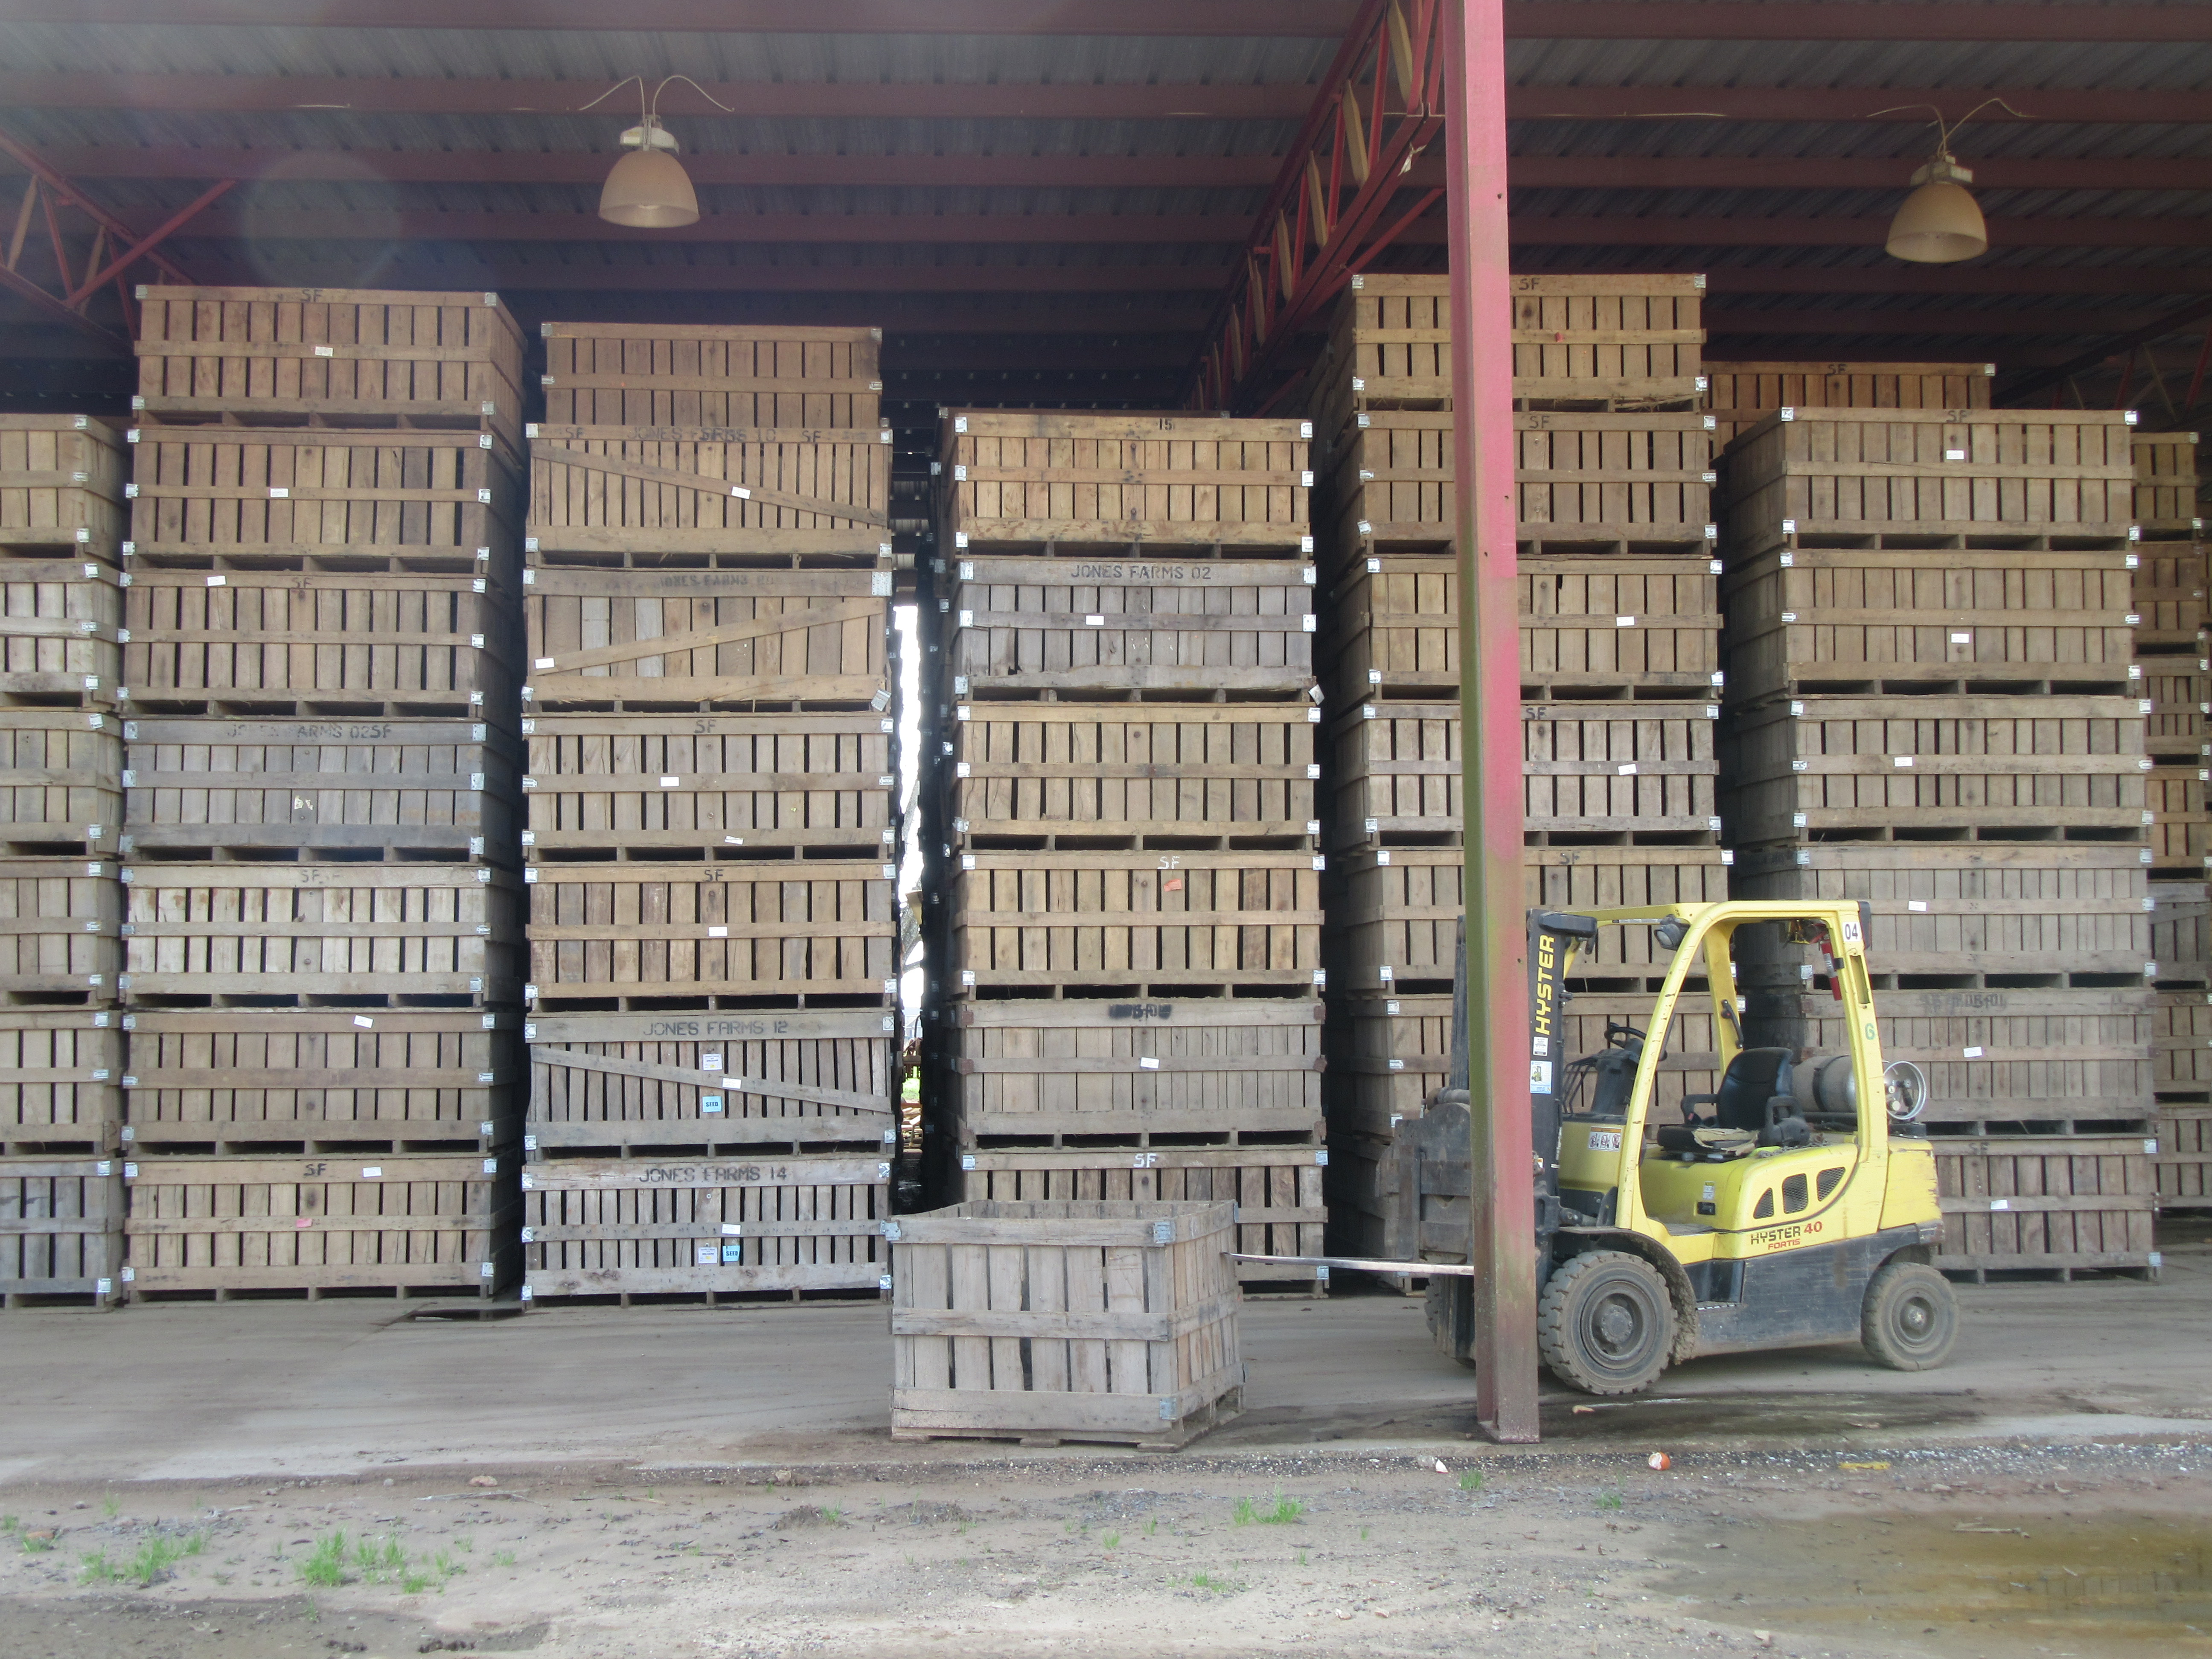
Sweet potato storage on a commercial farm. Photo Credit: Evan Anderson, University of Florida/IFAS Extension.