
Google Calendar provides great integration on your WordPress website. You can sign up at http://calendar.google.com.
- After you get your calendar set up and ready, click the cog wheel in the upper right and go to Settings.
- Click the Calendars tab at the top (next to General).
- Click Share this calendar next to the calendar you want to use and make it a public calendar, then hit Save.
- Go back to the Settings > Calendars tab, and click on the name of the calendar you want to embed.
- Click the Customize the color, size… link under the Embed This Calendar section

- You get a screen like the one below. Experiment with the different views (Week/Month/Agenda) and which menu items you want to turn off (like Title , Nav buttons, the Print icon, etc.). You will probably need to experiment with the size as well depending upon where on your site you want the calendar viewed. Inside a Page/Post it will probably need to be around 400 pixels wide. You will see a preview of what your changes look like to the right.
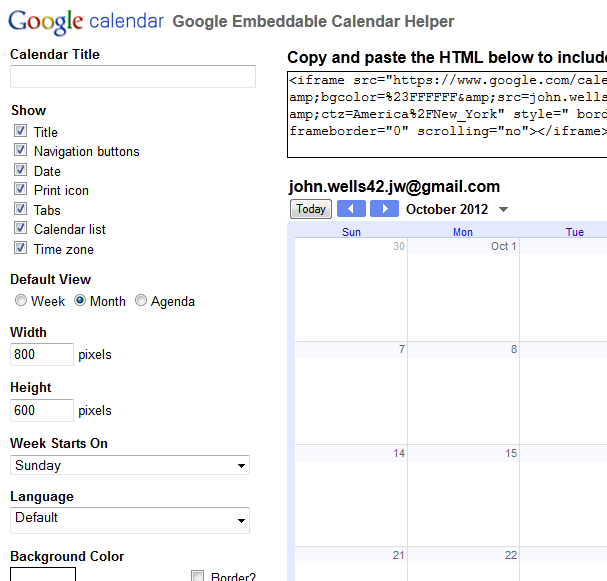
- When you have it like you want it click the “Update HTML” button on the top right, then open the page/post/widget in the editor where you are inserting the calendar. If it is a page or a post click the Text tab at the top right of the Page/Post in the editor, scroll down to where you want the calendar to appear and paste the code there (Ctrl + V).