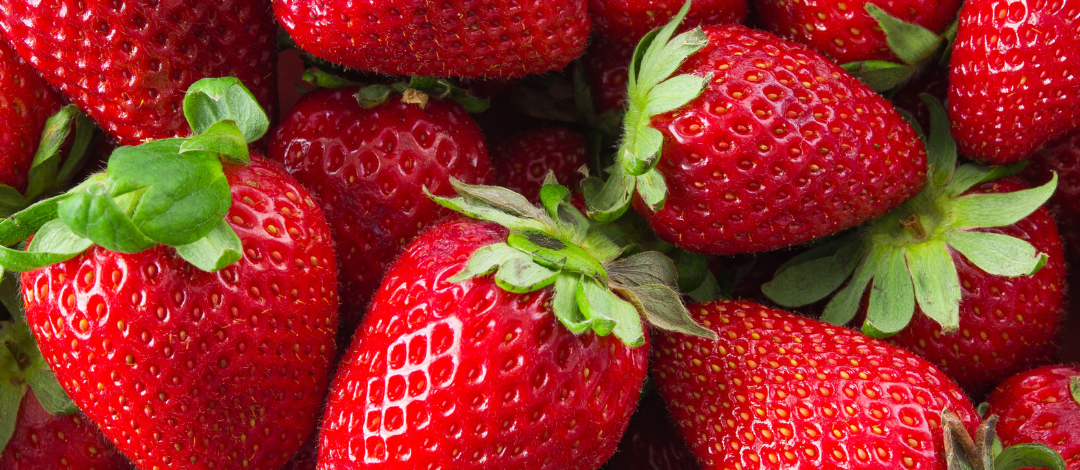
As we relish the flavors of locally grown strawberries, their sweet aroma and vibrant hues evoke the essence of sunshine captured in each bite. Now that we’re past Valentine’s Day, where strawberries often take center stage, let’s dive into the art of preserving these delicate berries, exploring freezing techniques that can be enjoyed long after the season has passed.
Freezing Strawberries: A Symphony of Techniques
Freezing strawberries is a wonderful way to extend the season’s bounty and enjoy the taste of freshness throughout the year. To cater to various preferences, we will explore multiple freezing methods: without sugar, with sugar, and with syrup.
1. Freezing without Sugar:
For those who prefer the pure essence of strawberries without added sweetness, tray freezing is the key. This method allows for the berries to stay loose and can then be easily removed or poured from the container. Here’s a step-by-step guide:
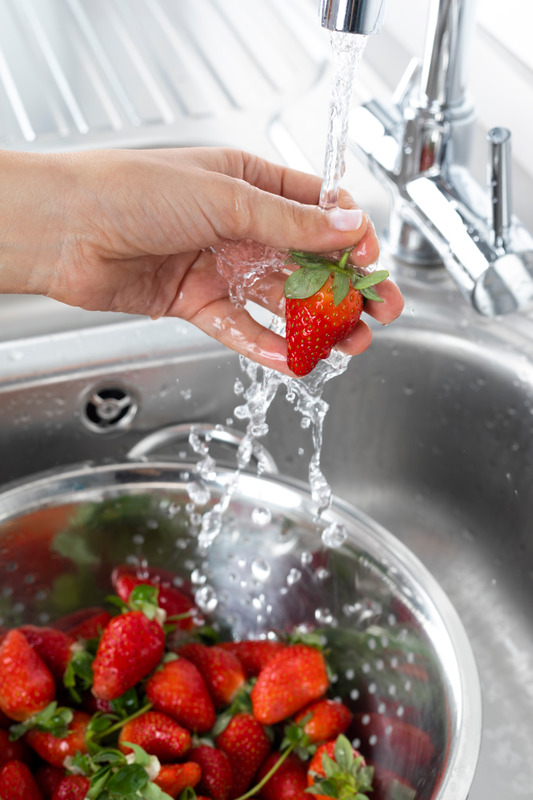
Wash, remove caps, and drain whole berries.
Spread berries in a single layer on a baking sheet or jellyroll pan.
Place the tray flat in the freezer until the berries are frozen solid (typically one to two hours).
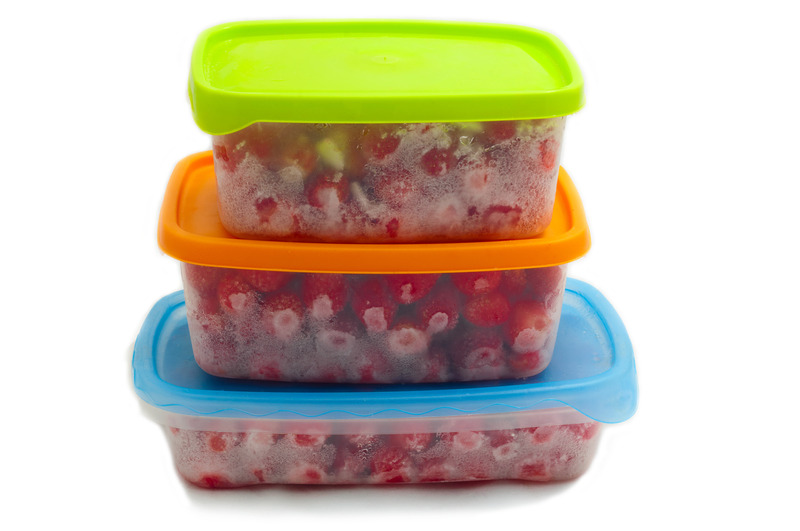
Transfer the frozen berries to plastic freezer bags, removing as much air as possible to maintain freshness.
To savor the best taste, consume the berries in a slightly thawed state, with a few ice crystals remaining. The natural expansion of frozen water causes the berry to soften when completely thawed.
2. Freezing with Sugar:
For those who enjoy a hint of sweetness in their frozen strawberries, consider the following method:
Wash, remove caps, and drain berries.
To freeze whole, sliced, or crushed strawberries, add ¾ cup of sugar to 1 quart (approximately 1⅓ pounds) of strawberries.
Stir until most of the sugar dissolves, allowing the mixture to stand for 15 minutes before transferring the berries into containers.
Ensure adequate headspace during packaging to prevent overflow when the berries freeze.
Artificial sweeteners can be used following the manufacturer’s directions, but it’s essential to note that they lack certain benefits of sugar, such as color protection and syrup thickness. Alternatively, add these sweeteners after the berries thaw.
3. Freezing with Syrup:
For those who are looking for pure sweetness. Strawberries packed in syrup are generally best for uncooked dessert use. The types of syrup range from very light to very heavy.
Wash, remove caps, and drain whole berries.
To freeze whole, sliced, or crushed strawberries, place berries into a desired freezer container.
Cover berries with a cold 50 percent syrup. To make the syrup, dissolve 4 cups of sugar in 4 cups of lukewarm water. Chill the syrup before using. For additional syrup recipes for freezing fruits, visit Syrups for Use in Freezing Fruits.
Ensure proper headspace during packaging to prevent overflow when the berries freeze.
Seal and place in the freezer.
Tips for Successful Freezing: A Chorus of Wisdom
The speed of freezing impacts the quality of the berries; the faster they freeze, the ice crystals that develop will be smaller. Set the freezer temperature to 0°F or lower, ideally reaching minus 10°F or lower 24 hours before freezing.
Store packages in contact with freezer surfaces, in the coldest part of the freezer, with enough space for air circulation until the berries are frozen. Once frozen, store packages close together.
Never overload the freezer with unfrozen food. Work in small batches so the food can freeze within 24 hours. An overloaded freezer can slow the freezing rate and affect the quality of the frozen product.
The recommended storage time for strawberries is 8 – 12 months in a freezer held at 0°F. The shorter the time, the better-quality product.
Preserving the exquisite flavors of locally grown strawberries is not just a culinary endeavor; it’s a celebration of seasonal abundance. Whether you prefer them unsweetened, with sugar, or in syrup, the steps outlined ensure optimal flavor and quality. Remember to freeze quickly, maintain freezer temperature, and avoid overloading the freezer for the best results. So, roll up your sleeves, embrace the sweet aroma, and enjoy those strawberries for months to come.
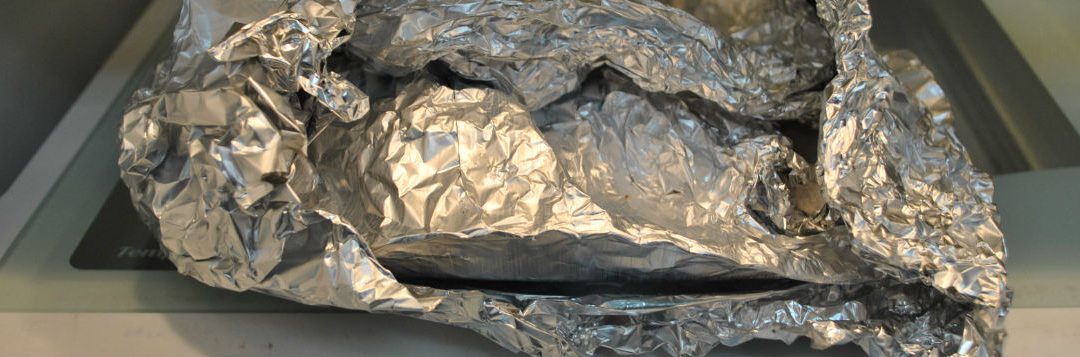
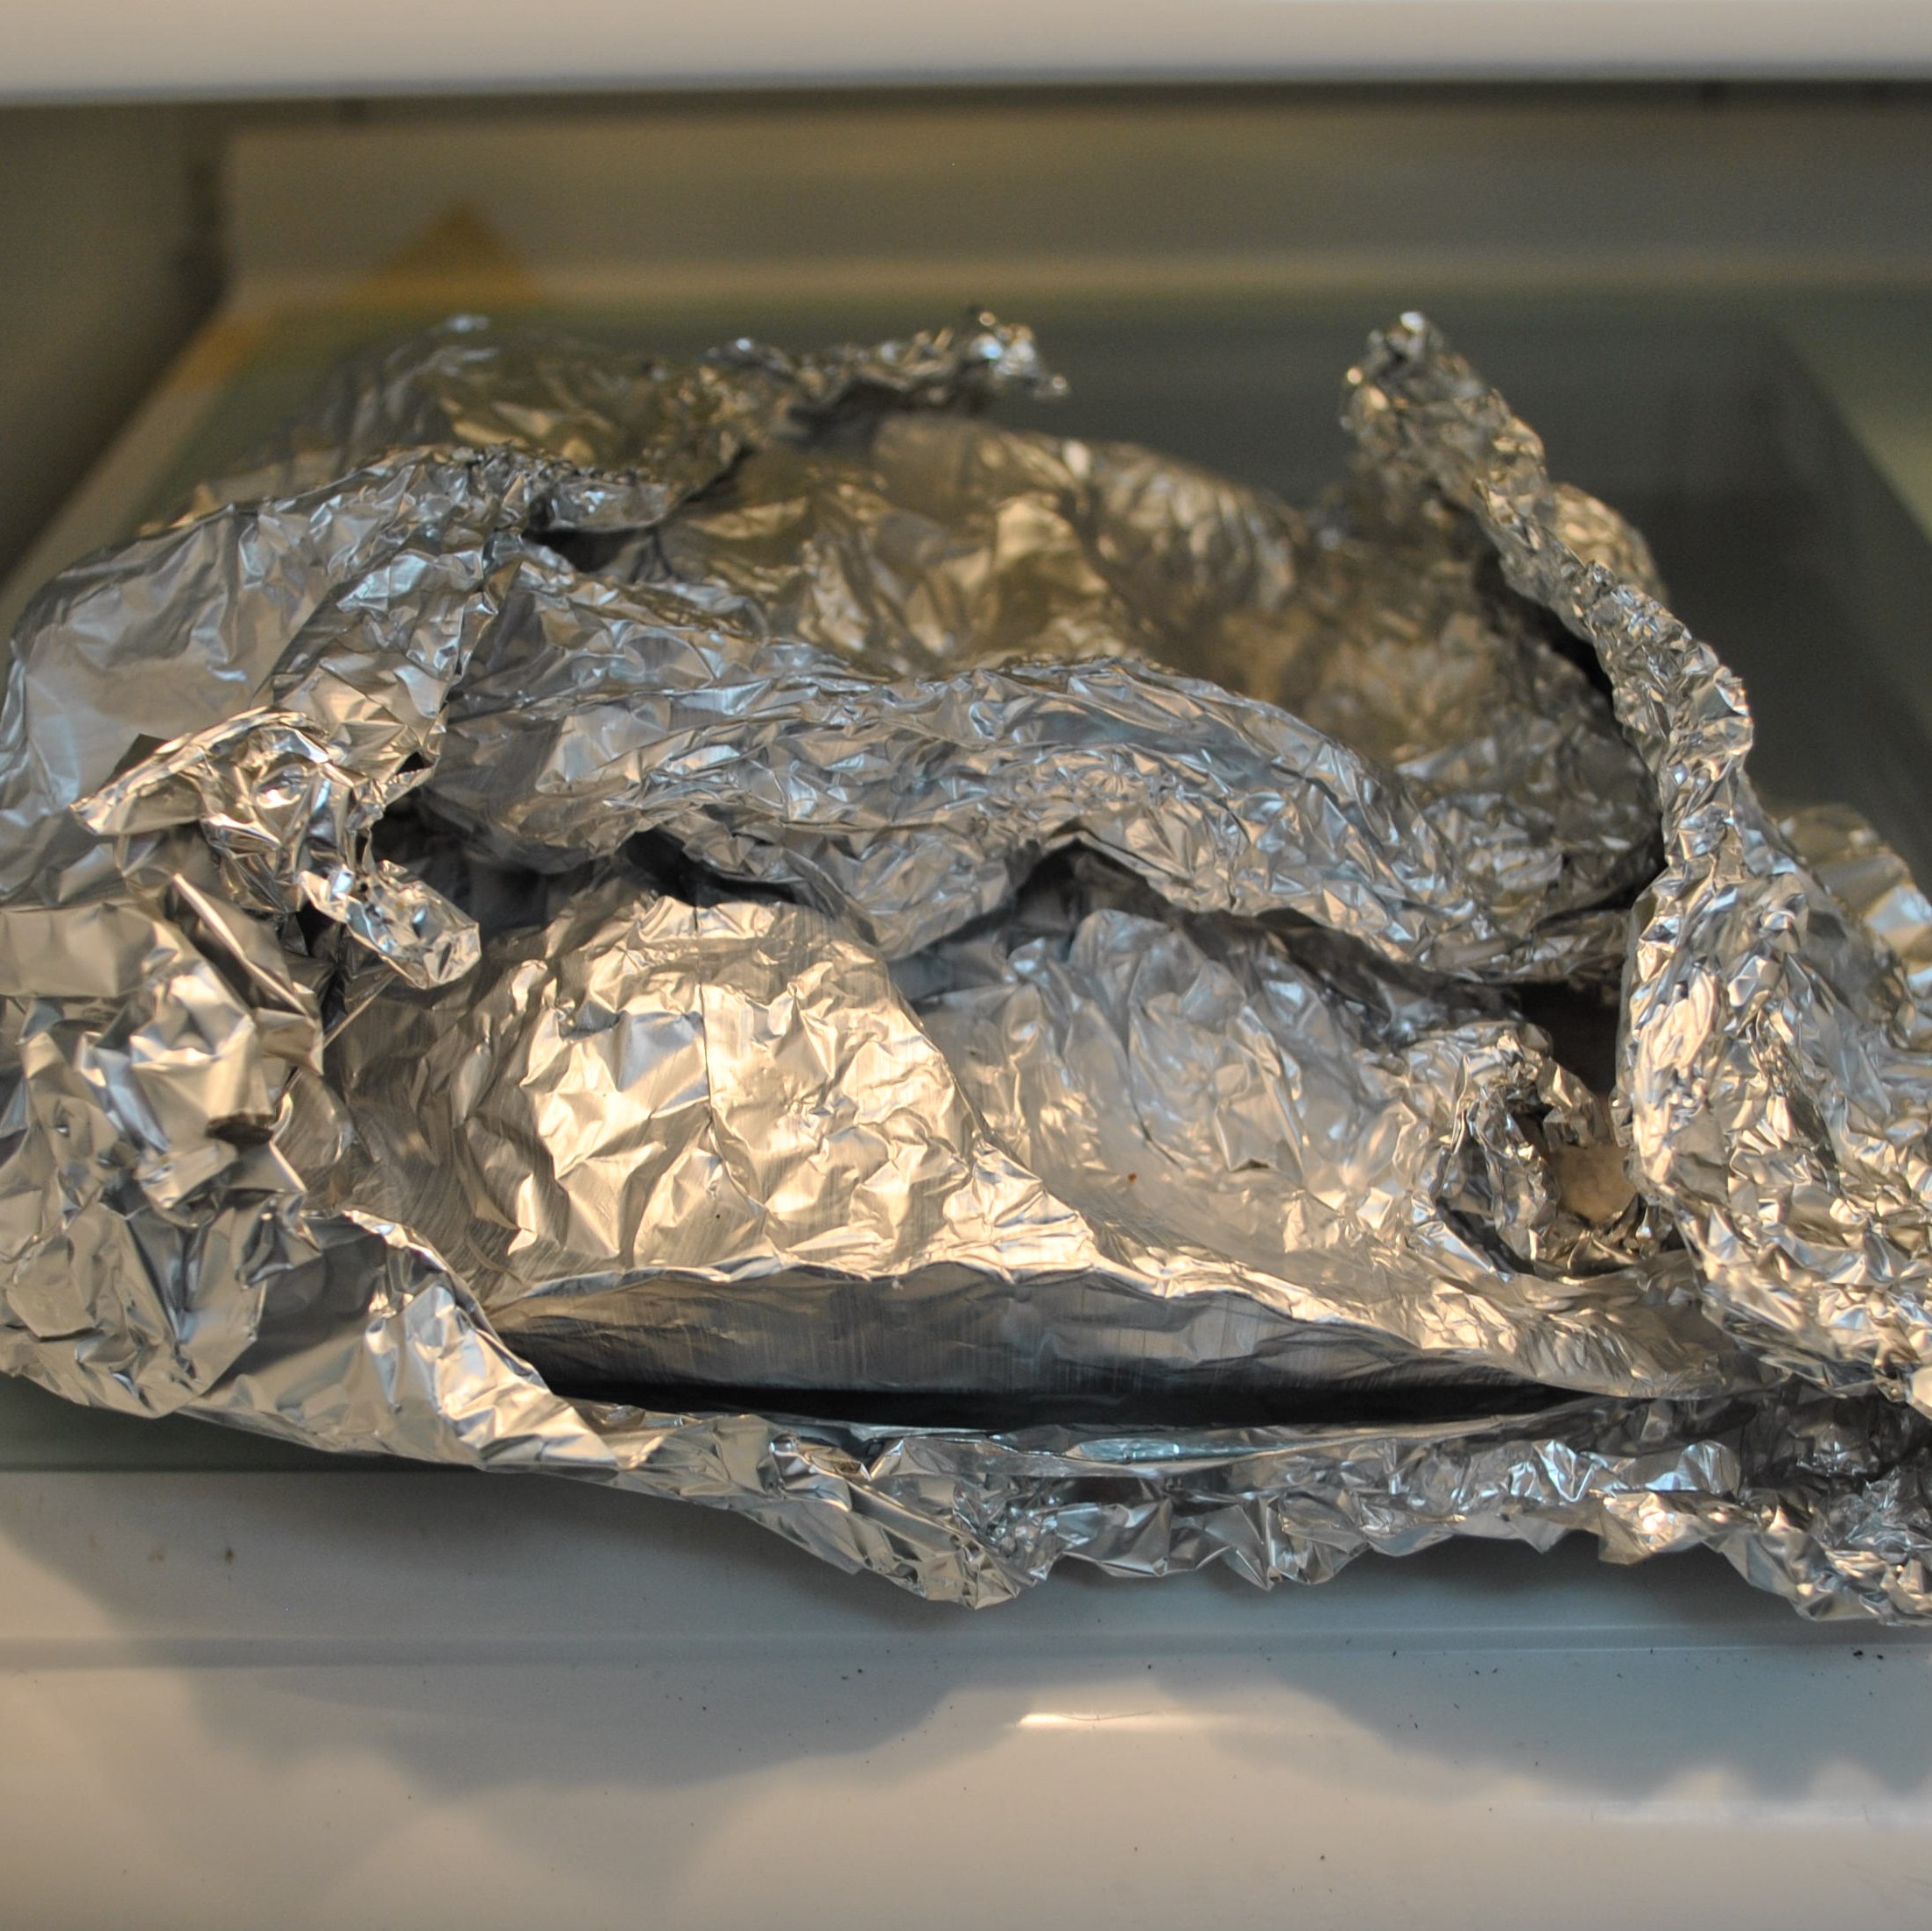
Storing foods in aluminum foil is a not a good food safety practice since it does not form a tight enough seal to keep out air, moisture, or microorganisms. Use air-tight containers or zipper plastic bags to store leftovers safely. (Photo source: Samantha Kennedy)
This month, I would like to focus on leftovers, more specifically, using and storing leftovers responsibly.
Many times, leftovers are saved with the best intentions. We really do plan to eat last night’s lasagna for dinner tonight, but then something better comes along and suddenly that lasagna gets pushed to the back of the refrigerator where it gets forgotten until the fridge is cleaned out two months later.
That dried out, fuzzy lump covered in foil? Well, it used to be lasagna. Now it is inedible, unsafe, and a waste of food and money.
I say, stop the madness! Show those leftovers a little love. If properly stored and handled, those boring leftovers can once again dazzle your palate.
First of all, proper storage is key. Whether being put in the refrigerator or freezer, wrap or store leftovers in an air-tight container. This will not only prevent cross-contamination by microorganisms, but will also help maintain flavor and quality.
The only exception to this is whole, fresh fruits and veggies, which need to be stored in the crisper drawer or on the countertop to allow air flow. Cut fruits and veggies should always be refrigerated.
The best materials for food storage are air-tight plastic or glass containers and paper or zipper bags made for freezer use. When using paper, be sure to wrap the food tightly and completely.
Aluminum foil, wax paper, and plastic wrap do not make effective wrappers for the freezer since they do not form a tight enough seal to prevent freezer burn.
Always label all leftovers, especially when freezing them, with the name of the food and the date it was stored. To ensure safety, discard refrigerated leftovers after five days and frozen leftovers after six months. Foods frozen longer will suffer significant quality loss.
Leftover foods like soups, stews, and casseroles make terrific quick meals for lunch or dinner. Simply divide the leftovers into single portions and freeze, or refrigerate if all portions will be eaten within five days.
Foods like leftover roasted chicken or breakfast bacon can be added to a salad or made into a sandwich. Today’s leftover pancakes can be tomorrow’s pancake parfait or breakfast sandwich bread.
Leftover scrambled eggs can be added to tonight’s fried rice. Last night’s chili can be made into today’s baked potato topping.
The possibilities are endless.
“Leftovers” does not have to be a dirty word. With a little planning, knowledge, and ingenuity, leftovers can easily become a family favorite. And the best part, saving leftovers means saving money, too.
For more information on food storage tips, try these publications from UF/IFAS Extension:
Extension classes are open to everyone regardless of race, creed, color, religion, age, disability, sex, sexual orientation, marital status, national origin, political opinions or affiliations.
If your family is like most, grocery shopping is a dreaded weekly task. Typical shoppers usually have an idea of what they plan to purchase based on a previously made shopping list. Even then, it’s easy to go astray with impulse purchasing, bargain prices, and buy-one-get-one free opportunities that simply can’t be passed up! Before you know it, the shopping cart is loaded with delicious treasures just begging to come home with you.
Now that you have done the shopping, transported it home, and begun to put food items in their appropriate storage places, you realize the refrigerator, freezer, and pantry are cramped and nearly full. On a related aside, you should see my parents’ pantry. They have enough cans, boxes, and packages to feed their entire neighborhood…twice! Not to mention the two full size refrigerator/freezers that are bursting at the seams. Like my parents, I suspect many of us have a food overbuying addiction. So what happens next? Well, it’s time to clear out the old and make way for the new, of course. But how do you know what to purge and what is still good to keep?
Food Date Labeling Confusion and Food Waste
Standard or uniform language for food product dating does not exist in the U.S., which makes things tricky when it comes to deciphering expiration dates. Current Federal regulations do not require product dating (excluding infant formula), but instead allow food manufacturers to voluntarily set and display these dates on product packaging. With the lack of Federal measures, product dating enforcement is left up to individual states, resulting in consumer confusion over food safety. The U.S. wastes close to an estimated 40% of food produced annually, which equals approximately 160 billion pounds (Harvard Food Law and Policy Clinic). Of that, confusion over the meaning of date labels seems to be responsible for roughly 20% of safe and edible food wasted by consumers. Undoubtedly, this hurts purchaser’s pocketbooks and results in $29,000,000,000 of wasted consumer spending yearly (Food Date Labeling Act of 2016, 114th Congress 2D Session).
Food Quality vs. Food Safety
While cleaning out the pantry and cold storage, I also have been guilty of trashing perfectly good food. So many of us unknowingly accept the stamped date as common law not to be questioned. So what does that date actually mean?
The “open” date used by the manufacturer or retailer on food packaging is passively thought of by the consumer as the “expiration date,” or the last date a food can safely be eaten. This is a very common misconception. Food safety is not represented by this date, but rather it refers to product quality and freshness. Dates determined by food companies take into consideration such factors as ingredients, product characteristics and packaging, as well as time and temperatures associated with distribution, retail sale, and storage.
With no current standards in place, a variety of food date phrases are utilized which often are misleading to retailers and consumers. Most commonly used phrases include:
“Best If Used By/Before” indicates when a product will be of best flavor or quality.
“Sell-By” indicates to the retailer when the product should no longer be displayed for sale.
“Use-By” is the last date recommended for use of the product at peak quality. This is only a safety date when used on infant formula packaging.
It’s important to remember that open dates on food products ONLY reflect food quality and NOT food safety (except for infant formula). For a list of specific foods and recommended storage time frames, check out the FoodKeeper resource at FoodSafety.gov.
Food Spoilage
Knowing the signs of spoilage will help you determine if a food is no longer fit for consumption. Although the quality date may have passed, the food is safe until it begins to spoil. Spoiled food may have a different smell, taste, and/or texture with sometimes visible discoloration. This occurs when environmental conditions (such as temperature, moisture, and oxygen) are introduced which support the growth of bacteria, molds, or yeasts. Given enough time, these microorganisms multiply rapidly and affect the safety of the food. If perishable items are not handled and stored properly, spoilage occurs much more rapidly. Learn more about proper refrigeration and food safety.
Do Your Part at Home
Plan meals in advance and make a specific grocery list. Check the refrigerator, freezer, and pantry to utilize what you already have on hand.
Don’t overbuy! Especially be aware not to purchase excess perishable items that are likely to spoil quickly. These may be foods that require cold storage, fresh bakery items, and fresh produce.
Always look for and compare date labels of an item; choose the one with a later date.
Store foods promptly and properly for food safety and best quality. Discard potentially hazardous cold food items that have not been properly refrigerated for 2 hours or more.
Keep a thermometer inside the front of your refrigerator and check it regularly to be sure it stays below 40 degrees F.
Thaw foods safely! Thawing in the refrigerator is the safest way, but using cold running water or defrosting in the microwave are acceptable ways to speed up the process. Never sit foods out at room temperature to thaw!
Recognize the signs of food spoilage and promptly discard foods that smell funny, have off-flavors, obvious mold growth, or sticky or slimy textures (such as fish, poultry, and deli meats).
Evaluate each item in your pantry and consider whether or not it’s something you want to continue to store and use or want to remove.
High temperatures affect the shelf life of shelf-stable foods so it’s important to store dry goods and pantry items in temperatures at or below 85 degrees F. Use the “First In First Out” (FIFO) method of rotation, using older items before newly purchased ones. Read more about Shelf Stable Food Safety.
Discard cans that are rusty, bulging, or leaking, as they are at a high risk for containing the deadly pathogen that causes Botulism. Never taste suspicious foods! Take extra caution by disposing of cans and jars into a tightly closed plastic bag before placing in an outside trash receptacle.
Help Families in Need & Keep Unused Wholesome Food Out of Landfills
Mistakenly discarded food products, not only is the U.S. but globally, have created a sad cascade of wasted resources and money with increasingly negative environmental and social implications. Food banks and local community organizations have plenty of under-served and needy families who can benefit! Remember, it’s safe to donate dry and canned goods, perishables, and other food related items that are beyond the quality date of the product.