by Judy Corbus | Oct 10, 2017

Photo credit: Judy Corbus
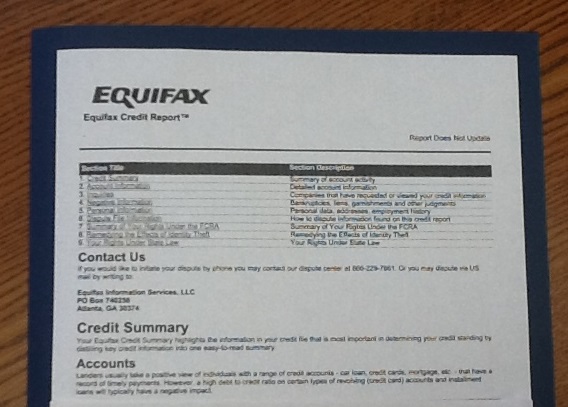
If you have been affected by the recent Equifax data breach, you may be exploring your options as to what to do next. All three major credit reporting agencies, Equifax, TransUnion, and Experian, give you the option of placing a fraud alert or a credit freeze on your file. So, what is the difference between a fraud alert and a credit freeze?
Fraud Alert
When you activate an initial fraud alert on your report, a business must verify your identity before it issues credit, so it may try to contact you. This can make it more difficult for an identity thief to open new accounts in your name. The initial fraud alert stays on your report for 90 days and you can renew it at the end of the 90-day period. Fraud alerts are free and the credit reporting agency you call must tell the other agencies about your alert. It also allows you to order a free copy of your credit report from each of the three credit reporting agencies. Be sure the credit reporting agencies have your current contact information so they can reach you.
You can place an extended fraud alert on your credit file if you have created an Identity Theft Report. With an extended alert, you can get two free credit reports within 12 months from each of the three credit reporting agencies, and the agencies must take your name off marketing lists for pre-screened credit offers for five years, unless you request to be added back to the lists. The extended alert lasts for seven years.
Credit Freeze
A credit freeze generally stops all access to your credit report. If you wish to open a new account, apply for a job, rent an apartment, buy insurance, refinance your mortgage – any transaction requiring a credit check – you must contact the credit reporting agency to lift the freeze, either temporarily or permanently. You will get a PIN to use each time you wish to freeze or unfreeze your account. In most states, there is a fee to activate a freeze as well as to lift it – usually around $10 for each and per credit reporting agency. There also is a lead time before the freeze is lifted so you would need to arrange for it in advance or be prepared to wait a few days if you planned to apply for credit. Cost and freeze lift lead times may vary so you may wish to check your state’s law or contact the credit reporting agency in advance. In most states, a credit freeze lasts until you lift it; in a few states, it expires after seven years. Click here for the Florida Statute regarding consumer security freezes.
A credit freeze may not prevent misuse of your current accounts or other types of identity theft, such as tax refund identity theft and health insurance fraud. Also, companies with whom you do business still would have access to your credit report for some purposes.
So, fraud alert or credit freeze? It depends a lot on what you have coming up in the near future. If you’re planning to apply for a loan or mortgage, you will have to unfreeze and freeze with each application – consider the cost and time involved. If you are not planning to apply for new credit, then a credit freeze may be a good option for you.
For more information on credit fraud alerts and freezes, visit:
Place a Fraud Alert and Extended Fraud Alerts and Credit Freezes
Sources:
Federal Trade Commission – Place a Fraud Alert
Federal Trade Commission – Extended Fraud Alerts and Credit Freezes
Federal Trade Commission – Fraud Alert or Credit Freeze – Which is Right for You?
UF/IFAS Extension Hillsborough County – Equifax Security Breach: Steps to Protect Yourself
by Judy Corbus | Apr 5, 2016
 Spring has sprung and this is the perfect time to clean and freshen your house. But you don’t have to spend a lot of money on cleaning products when you can whip up your own with a few simple, inexpensive ingredients.
The basic ingredient list includes:
- White Vinegar
- Baking soda
- Rubbing alcohol
- Ammonia
- Mild dish detergent
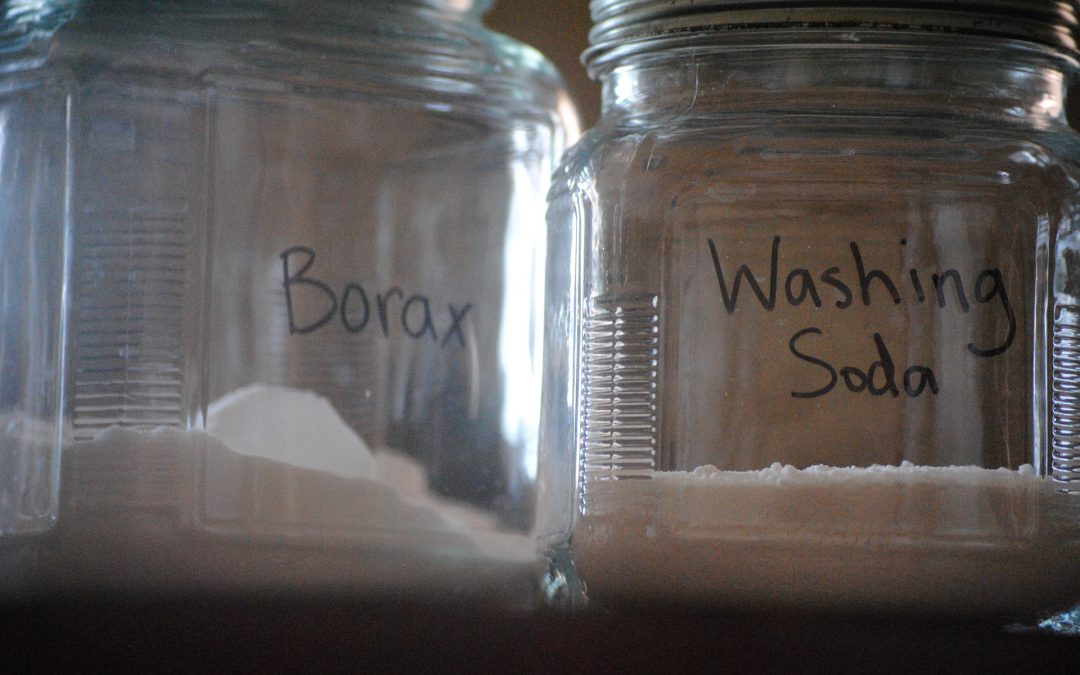
- Washing soda (can be found in the laundry products aisle)
- Borax (also in the laundry section)
Use clean jars or bottles for mixing and storage. Do not use food containers – children can think the contents are something to eat. Also, don’t mix your products in empty cleaning product bottles; residue from the original product may interact with your product, causing a dangerous reaction. Label each product and store out of reach of children. NEVER mix chlorine bleach with ammonia or vinegar – it will create dangerous, toxic fumes!
Here are a few recipes to get you started:
ALL-PURPOSE CLEANER
Mix in a 16 oz. or larger spray bottle:
- 1 cup white vinegar
- 1 cup water
Use on sinks, countertops, lightly soiled range surfaces, floors, toilets, and showers.
WINDOW CLEANER
- 3 tablespoons ammonia
- 1 tablespoon white vinegar
Put in a spray bottle and fill the rest with water.
HOMEMADE LAUNDRY DETERGENT
- 1 bar Ivory® or 1/3 bar Fels Naptha® soap
- 1/2 cup washing soda
- 1/2 cup borax powder
Grate the bar soap into a cooking pot. Add 6 cups of water and heat until the soap melts. Add the washing soda and borax and stir until dissolved. Remove from heat. Pour 4 cups hot water into a clean bucket. Add the soap mixture from the pot and stir. Add 1 gallon plus 6 cups of water and stir. Let the soap sit for about 24 hours and it will gel slightly. Optional: Add 1 ounce essential oil or fragrance oil of your choice.
Use 1/2 cup per load. This is a low-sudsing soap which removes dirt and odor and can be used in high-efficiency machines.
For more product recipes, check out Homemade Household Cleaners and Green Cleaning: Recipes for a Healthy Home.
Sources: Homemade Household Cleaners
Clean It Green!, C. Rogers, UF/IFAS Extension Suwannee County.
by Judy Corbus | Mar 15, 2016

Photo credit: pixabay.com
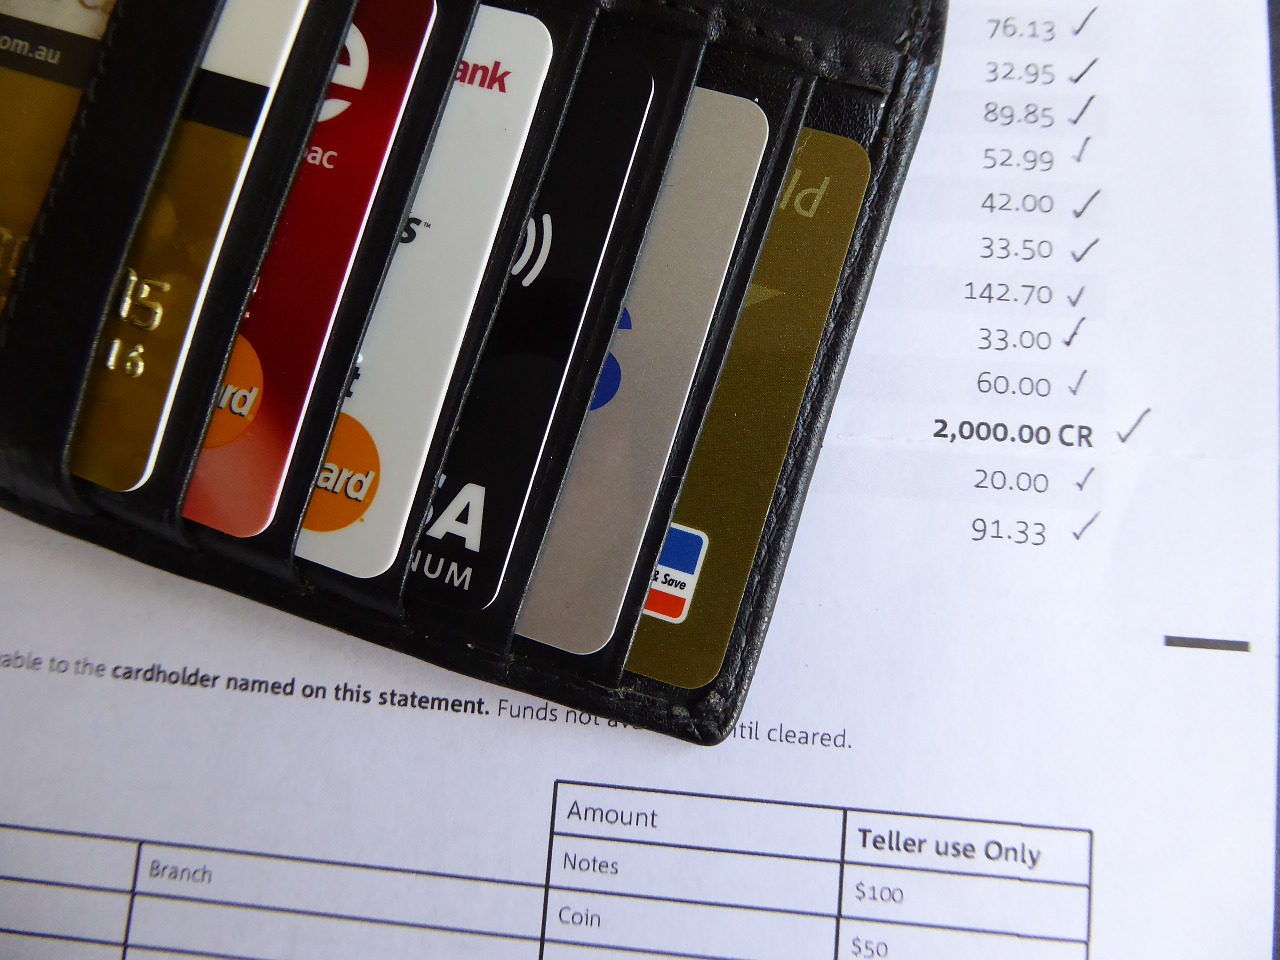
In spring cleaning mode? If so, now is the perfect time to de-clutter your financial life. Organizing important papers as well as purging unnecessary ones will reduce paper clutter and stress and help you to locate what you need when you need it. Let’s get started!
Store home files as follows:
- Current files – day-to-day records. These include bank account information, bills and receipts, loan agreements, and certain medical information. For a list of suggested categories, check out Financial Recordkeeping: Organizing Your Financial Life.
- Permanent files – on-going records used infrequently, such as employment and education records and health benefit information.
- Dead storage – anything you feel uncomfortable discarding, such as old tax records or real estate you’ve sold. These can be stored in less accessible drawers or boxes.
Discard the following monthly: Credit card, grocery, ATM, and debit card receipts after they appear on the statement unless they are needed for taxes, business, or proof of purchase.
Keep these items for one year:
- Paycheck stubs – save until you compare with your W-2 and Social Security earnings statements then shred.
- Canceled checks and bank statements – shred unless needed for tax purposes or can be retrieved online.
- Quarterly investment statements – double-check with year-end statements then shred.
How Long to Keep Tax Records
The IRS recommends 3-6 years for income tax records, worksheets, and documentation of deductions. Keep records for as long as needed for administration of the IRS code. Tax records often are useful in situations where financial history is relevant.
Do Not Toss:
- Birth and death certificates, adoption decrees
- Marriage licenses and divorce decrees
- Social Security cards
- Military discharge papers, including spouse, even if deceased
- Immigration documents
- Pension plan information from current and former employers
- Estate planning documents
- Life insurance policies
- Titles for property still owned
De-clutter a section at a time – if the task seems overwhelming, work at it 15 minutes a day until you’re finished. Then, enjoy less stress with organized files!
Adapted from De-Clutter Your Financial Life, Julie England, UF/IFAS Extension Lake County, and Lisa Leslie, UF/IFAS Extension Hillsborough County, 02/16.

by Judy Corbus | Feb 10, 2016
As W-2 forms and other receipts start rolling in, we’re reminded that tax season is upon us once again. It’s exciting to get back some of your own hard-earned money in the form of a tax refund! Saving a portion of your tax refund can be a big step toward meeting your savings goals, so it’s no surprise that a 2015 tax season survey found that a majority of those who receive a refund planned to save it.
This tax season, reward yourself for saving some of your refund by entering for a chance to win $25,000 through SaveYourRefund. SaveYourRefund has 101 cash prizes, including 100 weekly prizes of $100 and one grand prize of $25,000. Making smart financial decisions isn’t always easy, but splitting your refund couldn’t be simpler. Follow these quick and easy steps to enter to win in 2016:
- Use Form 8888 to split your refund. Entry to win with SaveYourRefund starts with splitting your refund into savings.
- Save $50 or more of your tax refund. In order to enter, use Form 8888 to save at least $50. There are a number of accounts you can save into including a savings account, a U.S. Treasury Direct account (savings bond), and a myRA retirement account.
- Visit SaveYourRefund.com to enter. You will automatically be eligible to win one of ten $100 prizes that will be given away every week from the start of the contest until the end of tax season.
- Upload a picture here that represents your savings goal or motivation, and you’ll be entered to win the $25,000 grand prize!
Need tax assistance? Take advantage of a Volunteer Income Tax Assistance (VITA) program. VITA programs offer free tax help to those who generally make $53,000 or less, persons with disabilities, the elderly, and limited English speakers.
Get ahead of your financial goals by splitting your tax refund into savings, and reward yourself with SaveYourRefund!
Source: Tammy Greynolds, AmericaSaves.org.
by Judy Corbus | Nov 27, 2015
 Have questions about safely preparing your holiday meal? Refer to this quick reference for answers to common questions this time of year:
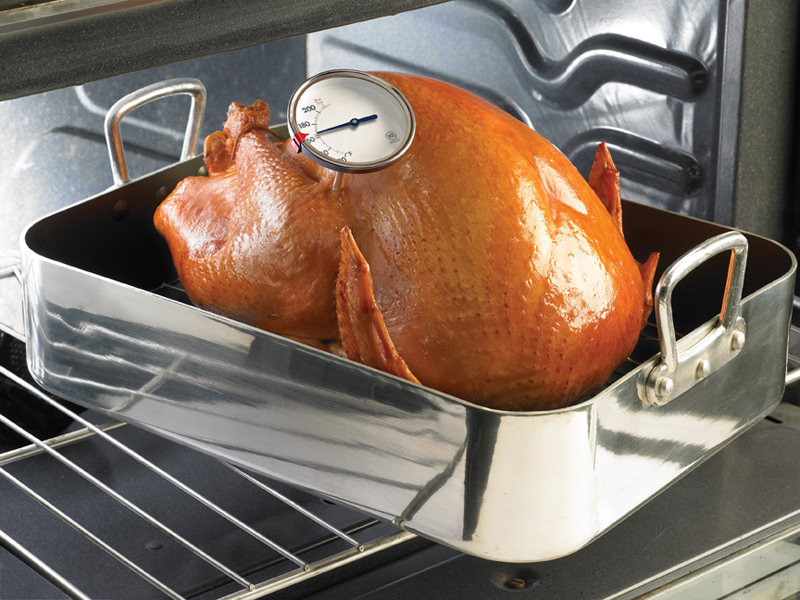
Q. Approximately how long should you allow for thawing a frozen turkey in the refrigerator?
A. 24 hours per each 4 – 5 pounds of turkey. In it’s original wrapper, place the frozen bird in the refrigerator (40˚F or below). To prevent cross contamination, be sure to place the turkey in a container. A thawed turkey can remain in the refrigerator for 1 – 2 days.
Q. How long should I cook the turkey?
A.
COOKING TIME – UNSTUFFED
Size of Turkey Estimated Time to Reach 165˚F
8 – 12 pounds 2 ¾ – 3 hours
12 – 14 pounds 3 – 3¾ hours
14 – 18 pounds 3 ¾ – 4 ¼ hours
18 – 20 pounds 4 ¼ – 4 ½ hours
20 – 24 pounds 4 ½ – 5 hours
COOKING TIME – STUFFED
Size of Turkey Estimated Time to Reach 165˚F
8 – 12 pounds 3 – 3 ½ hours
12 – 14 pounds 3 ½ – 4 hours
14 – 18 pounds 4 – 4 ¼ hours
18 – 20 pounds 4¼ – 4 ¾ hours
20 – 24 pounds 4 ¾ – 5 ¼ hours
Q. What is a safe internal temperature for cooking a whole turkey?
A. 165˚F. Use a food thermometer to check the internal temperature of the turkey. Insert the thermometer in the innermost part of the thigh and wing and the thickest part of the breast, making sure not to touch the bone. All turkey meat, including any that remains pink, is safe to eat as soon as all parts reach at least 165˚F. Let the turkey stand 20 minutes after removing from the oven. Remove any stuffing and carve the turkey.
Q. What is the recommended temperature for stuffing?
A. 165˚F. The stuffing should reach 165˚F whether cooked inside the bird or in a separate dish.
Q. I want to stuff the turkey. How do I do this safely?
A.
1. Cook any raw meat, poultry, or shellfish you plan to use before stuffing the turkey. Do not mix wet and dry ingredients until just before stuffing the turkey cavity; wet ingredients can be prepared ahead of time and refrigerated.
2. Spoon stuffing directly into the cavity right after preparation. Stuff loosely – plan for ¾ cup of stuffing per pound. The stuffing should be moist, not dry – bacteria is destroyed more quickly by heat in a moist environment. Do NOT stuff turkeys to be grilled, smoked, fried, or microwaved.
3. Cook the turkey immediately in an oven no lower than 325˚F.
4. Use a food thermometer to make sure the temperature of the turkey AND the center of the stuffing have reached a safe minimum internal temperature of 165˚F.
5. Let the cooked turkey rest for 20 minutes before removing the stuffing and carving.
Q. How long can I keep leftovers?
A. Refrigerate all leftovers within two hours after cooking. Divide cooked foods into shallow containers; this allows the center of the food to cool more quickly and evenly. Use within 3-4 days or freeze for longer storage. Be sure to reheat hot foods to at least 165˚F; sauces, soups, and gravies should be heated to a rolling boil.
For more information about holiday foods and food safety (in English and Spanish), call: USDA Meat and Poultry Hotline, 1-888-MPHotline (1-888-674-6854) www.fsis.usda.gov
Source: Avoid Guessing About Holiday Food Safety, University of Nebraska-Lincoln Extension.
