by Samantha Kennedy | Apr 25, 2019
As we get older, our risk of falling increases. In fact, falling once doubles the chances of falling again. According to the Centers for Disease Control and Prevention (CDC), one out of five falls causes serious injury such as broken bones or head injury. Over 300,000 people aged 65 or older are hospitalized each year for hip fractures caused by falls.

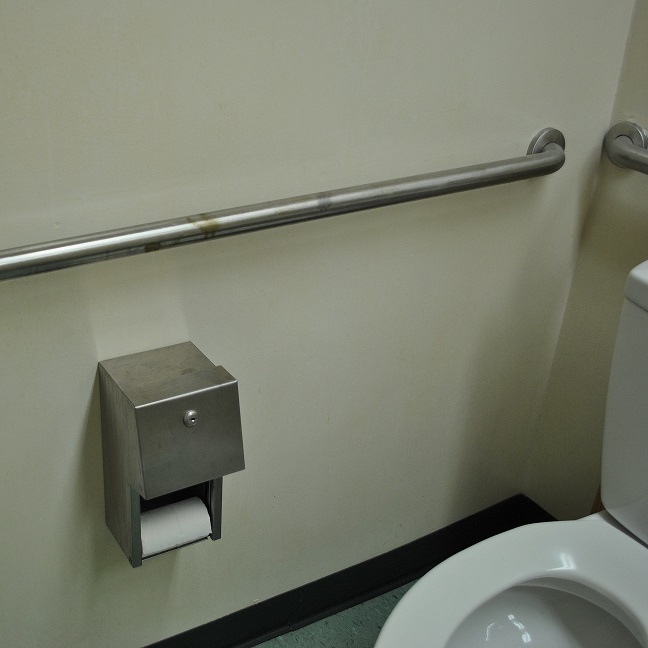
Properly installed handrails in bathrooms and other high traffic areas can greatly reduce the risk of falling. (Photo source: Samantha Kennedy)
Most fall injuries occur in the home. We think of our homes as our safe space and sanctuary, often overlooking potential dangers. Here are six common hazards that occur in the home that can contribute to an increased risk of falling.
Clutter. Items that block or limit walkways in the home can be tripping hazards. Having to navigate around excess furniture or boxes can be difficult for someone with limited mobility. Clear out the clutter and keep walkways free of extraneous items. Wide open hallways and other spaces in the home will reduce potential tripping hazards.
Rugs. Rugs large and small can be tripping hazards. People can catch their toes underneath a rug’s edge or the rug itself can slip out from under them, causing a fall. Remove any rugs that are not necessary, such as rugs set out strictly for decoration. Apply slip-resistant backing to rugs to keep them from sliding across the floor.
Lighting. Dim lighting can make it difficult to see potential tripping hazards. Install brighter lights, especially in walkways and stairwells. Use nightlights in hallways and bathrooms to help navigate more easily at night.
Storage. Many falls occur when people are trying to reach items that are stored out-of-reach. Rearrange items, especially those used most often, in cabinets and on shelves so they can be reached easily without needing a step ladder.
Handrails. The lack of handrails or handrails that are broken or installed incorrectly can contribute to falls. The extra support and stability provided by handrails is vital, especially for those with limited mobility. Installing proper handrails in the bathroom (including the toilet and shower) and on stairs can greatly reduce the risk of falling.
Pets. Small pets can contribute to falls by inadvertently acting as a tripping hazard. Be aware of where pets are and tread carefully around them. When walking a pet, keep them on a tight leash and do not let them wrap around feet or legs.
Another great way to help reduce the risk of falling is through exercise. Strength and balance exercises such as Tai Chi help improve leg strength, balance, and flexibility. Some people also may benefit from calcium and vitamin D supplements, which can improve bone strength. Always consult a physician before taking any supplement.
Related articles:
Important Facts about Falls (CDC)
Fall Prevention (UF/IFAS Extension)
Extension classes are open to everyone regardless of race, creed, color, religion, age, disability, sex, sexual orientation, marital status, national origin, political opinions or affiliations.
by Samantha Kennedy | Apr 10, 2019

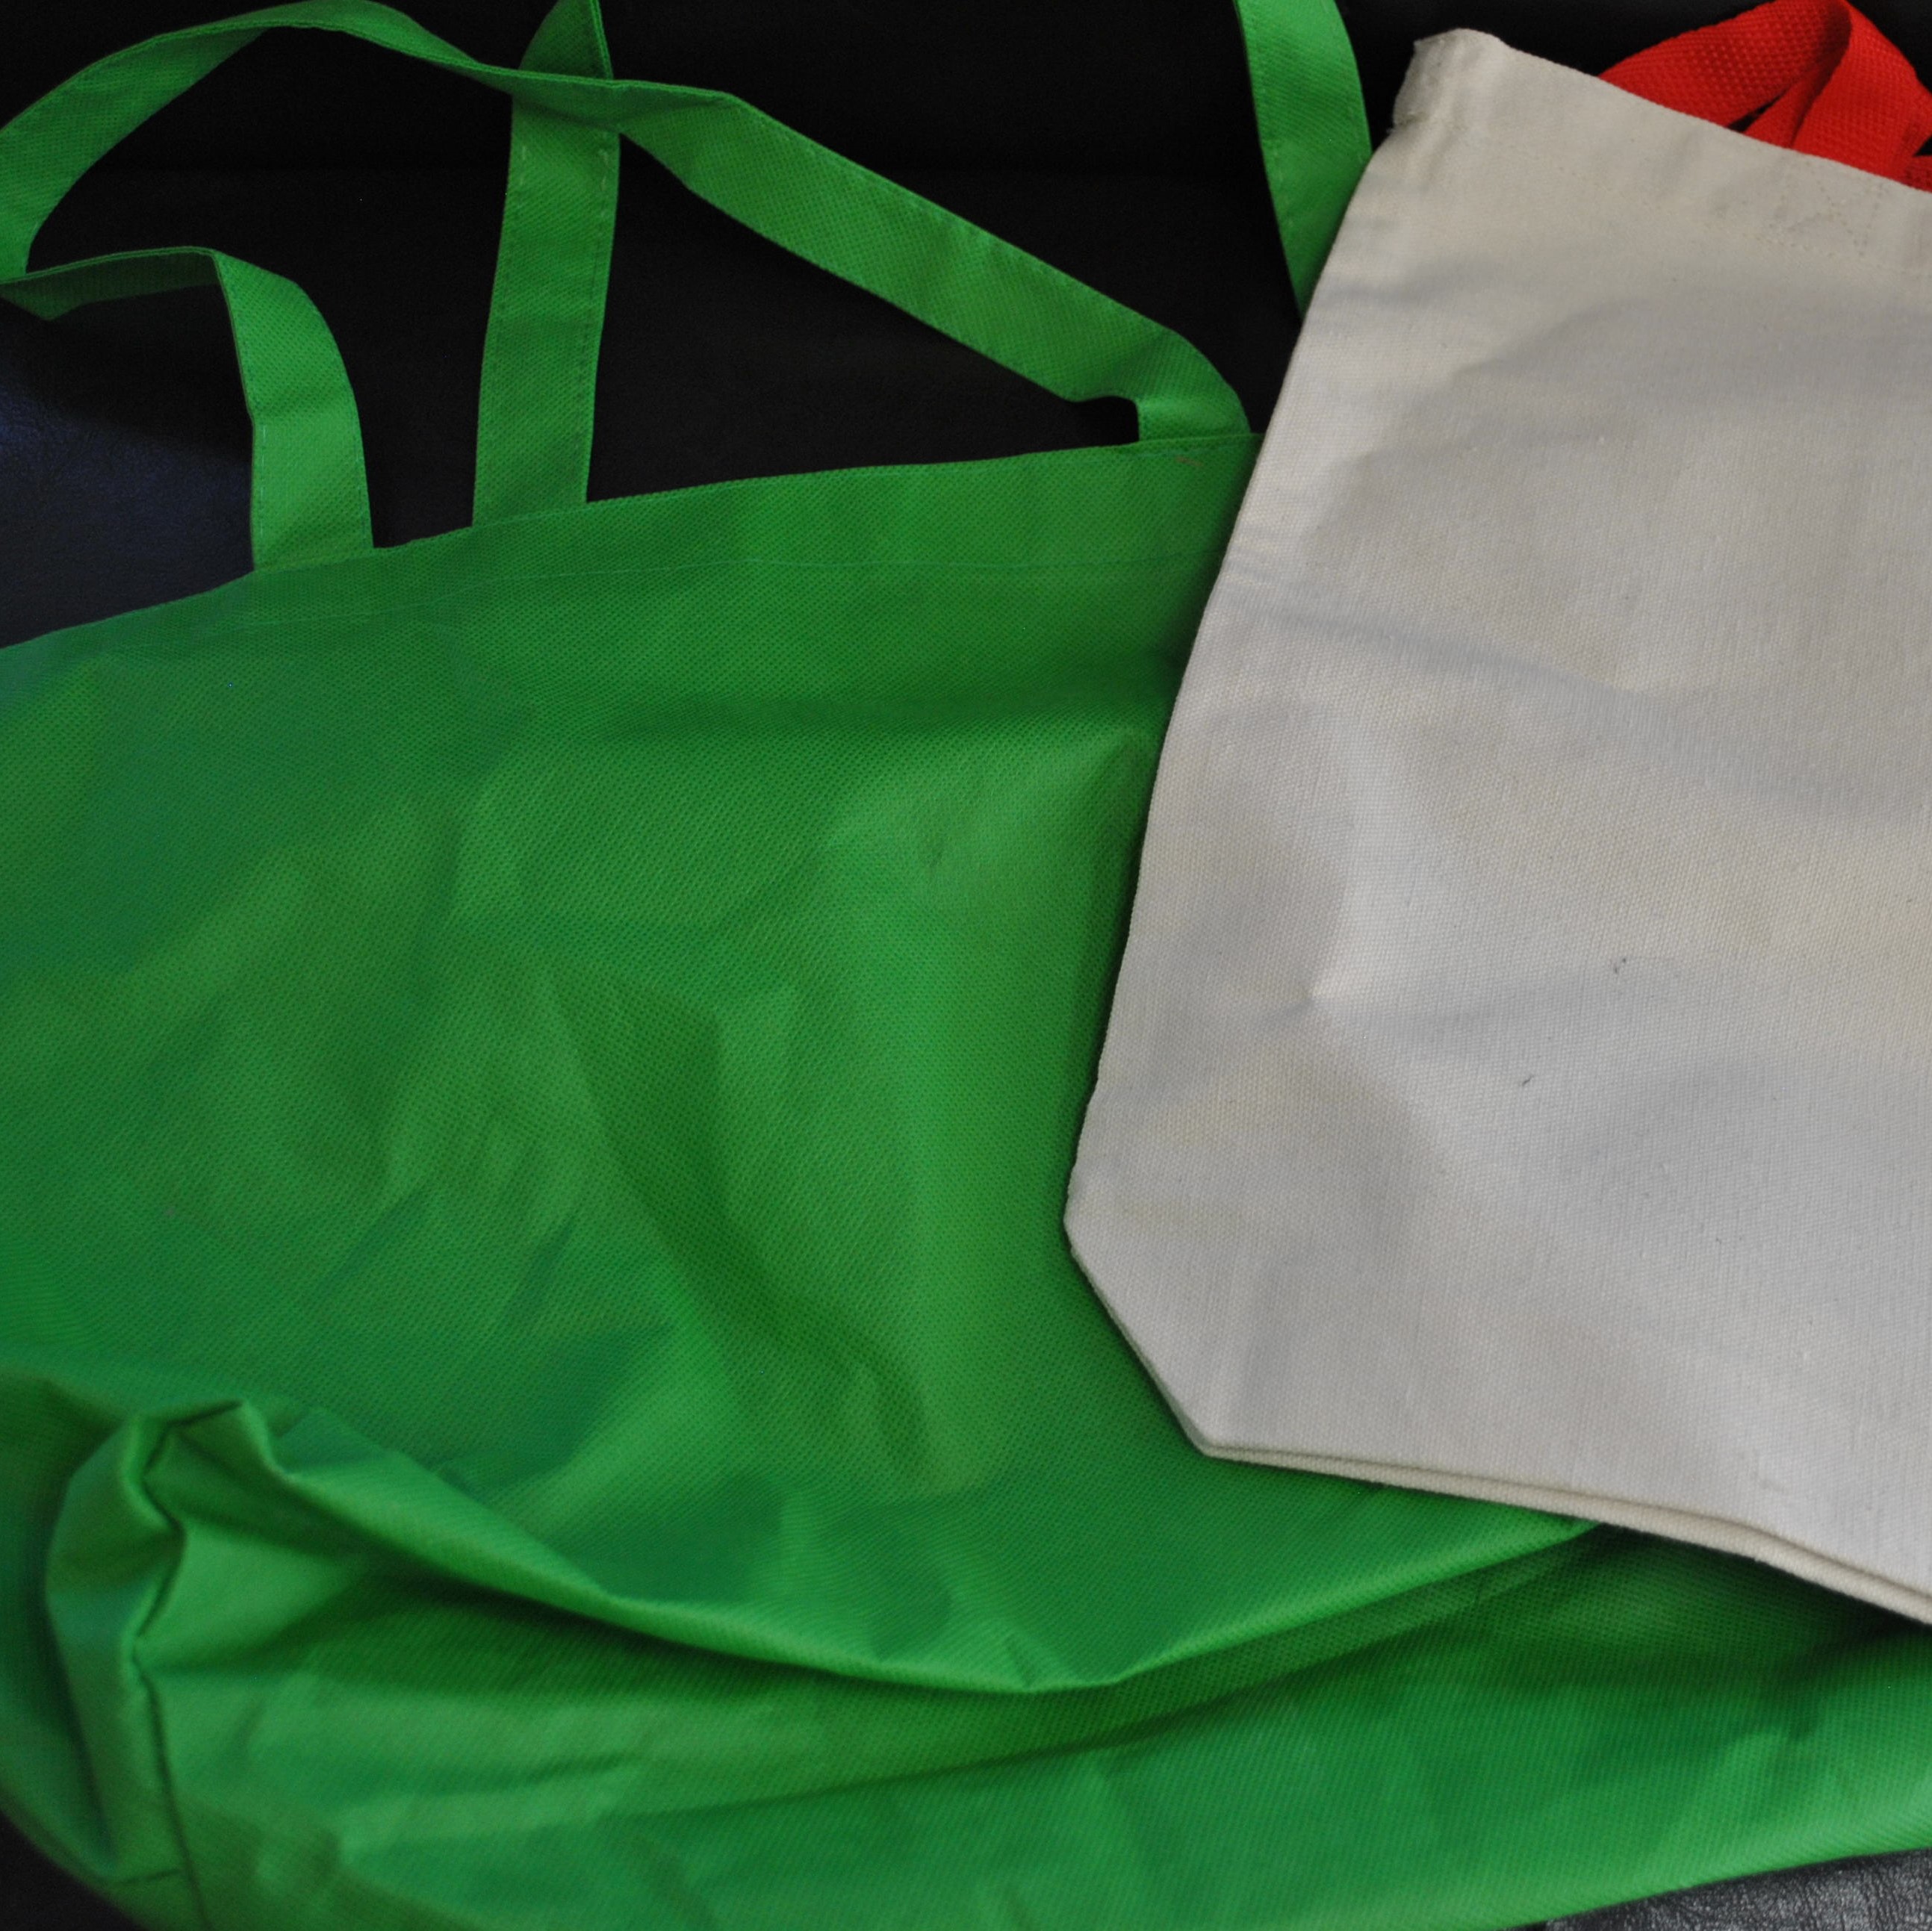
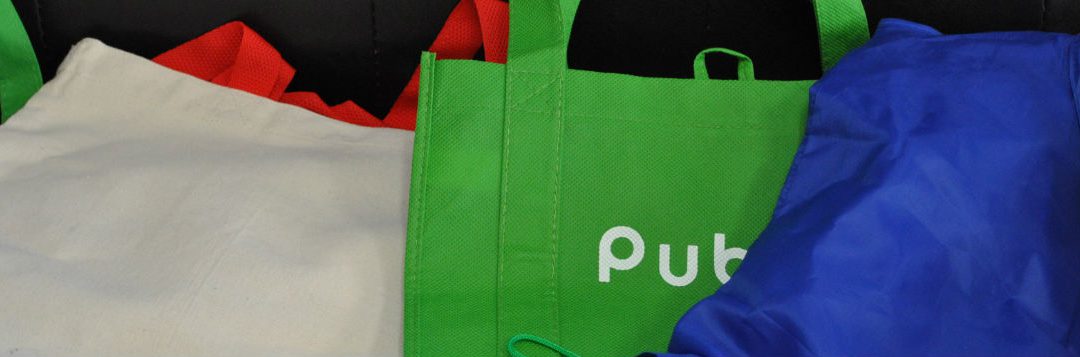
One way to be more sustainable when shopping for groceries is to use reusable shopping bags. They’re durable and sturdy and can help reduce the number of plastic bags that end up in the landfill each year. (Photo source: Samantha Kennedy)
Sustainability should not just be a buzzword during Earth Month. The fact that everybody either shops for or eats groceries means the whole grocery shopping experience is a good time to reflect and improve upon what we can personally do to embrace issues of sustainability.
This year in April, the Earth Month theme focuses on Returning to Nature. There is no better place to start a quest for personal sustainable improvement than the grocery store! Grocery shopping truly embraces the three main areas of sustainability: environmental, economic, and social. In fact, it has been well documented that the average family wastes about 25% of the food it purchases. (Much of this ends up in a landfill and creates problems of its own.)
With a bit of forethought, meal planning before grocery shopping can help individuals and families apply sustainable best practices for environmental, economic, and social well-being. In fact, many of the principles of sustainability can be effectively applied to both meal planning and grocery shopping.
RESPECT yourself. Good nutrition is one of the keys to a healthy life. Improve health by keeping a balanced diet. Vow to make healthier food choices for personal health and the environment.
REFUSE to use food products that do not fit your principles of sustainability. This may mean buying food with less packaging, eating more locally-grown fruits and vegetables, or looking for foods labeled as more responsibly sourced.
REDUCE the amount of food thrown out. Planning meals ahead of time and writing out a grocery list are excellent ways to start living sustainably. Planning not only saves money on groceries, it can save time and decrease the amount of personal food waste a family contributes. (Remember, freezing products can prolong their life, so if you find that you’ve overbought, try preserving some of your bounty for later use.) Reducing the number of trips to the grocery store also can help save on fuel and transportation costs.
REUSE /REPURPOSE food for another occasion. Careful meal planning helps ensure that leftovers from one meal can be incorporated into the next one, thereby reducing food waste.
RETHINK! Healthy, nutritious, delicious, and inexpensive grocery choices can be found in every food group. Not all food has to be prepackaged. In fact, with a bit of planning, dinner can be on the table in 15 minutes. (That’s less time than it takes to wait in line at a fast food restaurant.)
BE RESPONSIBLE! Use what you buy.
Stock up on low-cost healthy grain products like whole-wheat noodles, brown rice, and store-brand cereals and oatmeal.
Purchase fruits and vegetables that are in season and cost less. In addition, do not forget that frozen, dried, and canned fruits and vegetables can play an important part in meal planning.
Buy the largest size you can effectively use before it reaches the expiration date – and look for the items with the latest dates. Purchase store brands or generic brands whenever possible. Keep in mind smaller containers tend to cost more, no matter what the food group. Buying larger packages and dividing them into smaller portions can save money and reduce the amount of packaging that ends up in the landfill. Investing in small, reusable storage containers will save money and reduce waste in the end.
Practice Meatless Monday. The protein group provides inexpensive protein sources like beans, lentils, and eggs, which can be substituted for meat in many meals.
Protein does not have to be the most expensive item purchased. Consulting the store’s weekly sales flyer during meal planning can help you plan meals around meat and poultry items that are on sale.
Prepare food your family will actually eat. There are two schools of thought here: preparing just enough for one meal or preparing big-batch recipes that provide leftovers which can be frozen for later use. Either practice can be sustainable. Freeze leftovers only if you’re going to use them. Otherwise, cut down on the amount of food cooked to help reduce food waste.
Learn how to cook. Prepare and eat more meals at home. It is sustainable, good for you, and delicious. Meals cooked at home are more nutritious, less expensive, and result in less overall waste, such as packaging.
Two additional ways to be more sustainable when grocery shopping are to use reusable shopping bags and to stop using single-use plastic produce bags. Plastic grocery bags choke our landfills and end up in our water bodies. They are not biodegradable and can last thousands of years virtually intact. Reusable shopping bags are made from recycled materials and can drastically reduce the number of plastic bags that end up in the trash each year.
For more information on making your grocery shopping more sustainable, check out these related articles:
Freezing: Nature’s Pause Button (UF/IFAS Extension)
What’s in your FREEZER? (UF/IFAS Extension)
Best Practices for Shoppers at the Farmers’ Market (UF/IFAS Extension)
Sustainable Grocery Shopping (University of Northern Iowa)

UF/IFAS Family and Consumer Sciences Agents Heidi Copeland and Samantha Kennedy

by Samantha Kennedy | Feb 28, 2019

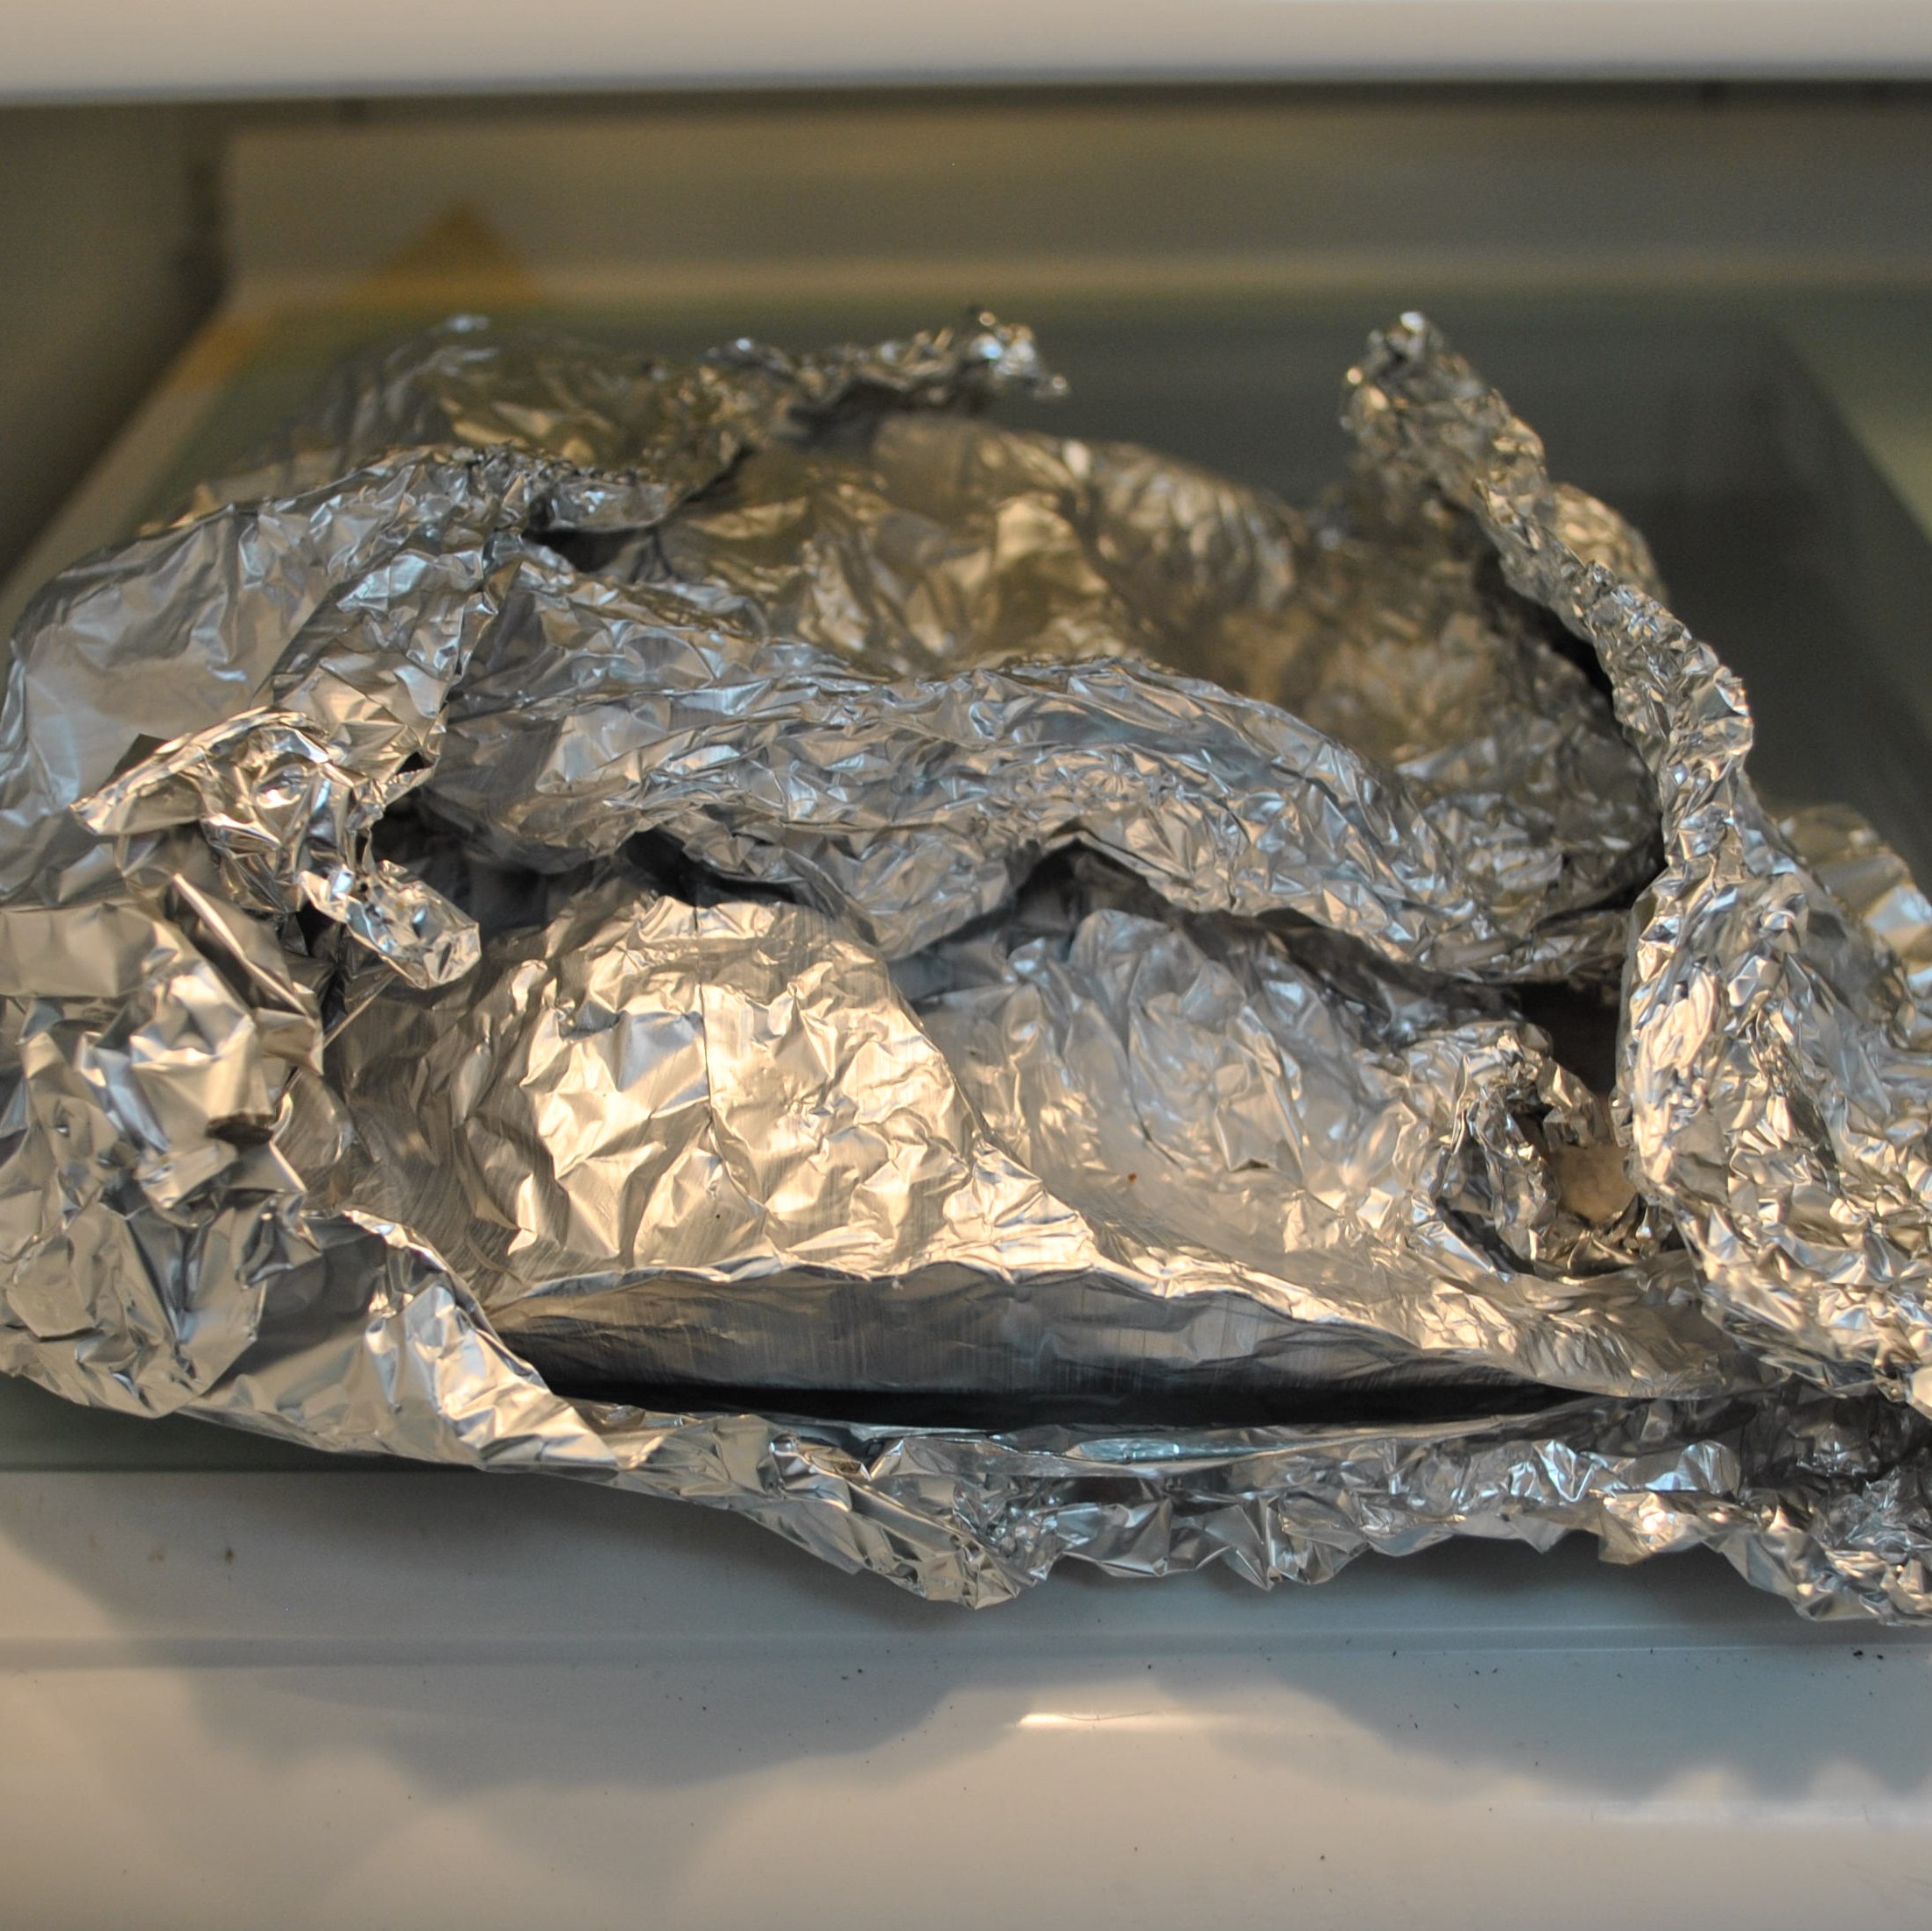
Storing foods in aluminum foil is a not a good food safety practice since it does not form a tight enough seal to keep out air, moisture, or microorganisms. Use air-tight containers or zipper plastic bags to store leftovers safely. (Photo source: Samantha Kennedy)
This month, I would like to focus on leftovers, more specifically, using and storing leftovers responsibly.
Many times, leftovers are saved with the best intentions. We really do plan to eat last night’s lasagna for dinner tonight, but then something better comes along and suddenly that lasagna gets pushed to the back of the refrigerator where it gets forgotten until the fridge is cleaned out two months later.
That dried out, fuzzy lump covered in foil? Well, it used to be lasagna. Now it is inedible, unsafe, and a waste of food and money.
I say, stop the madness! Show those leftovers a little love. If properly stored and handled, those boring leftovers can once again dazzle your palate.
First of all, proper storage is key. Whether being put in the refrigerator or freezer, wrap or store leftovers in an air-tight container. This will not only prevent cross-contamination by microorganisms, but will also help maintain flavor and quality.
The only exception to this is whole, fresh fruits and veggies, which need to be stored in the crisper drawer or on the countertop to allow air flow. Cut fruits and veggies should always be refrigerated.
The best materials for food storage are air-tight plastic or glass containers and paper or zipper bags made for freezer use. When using paper, be sure to wrap the food tightly and completely.
Aluminum foil, wax paper, and plastic wrap do not make effective wrappers for the freezer since they do not form a tight enough seal to prevent freezer burn.
Always label all leftovers, especially when freezing them, with the name of the food and the date it was stored. To ensure safety, discard refrigerated leftovers after five days and frozen leftovers after six months. Foods frozen longer will suffer significant quality loss.
Leftover foods like soups, stews, and casseroles make terrific quick meals for lunch or dinner. Simply divide the leftovers into single portions and freeze, or refrigerate if all portions will be eaten within five days.
Foods like leftover roasted chicken or breakfast bacon can be added to a salad or made into a sandwich. Today’s leftover pancakes can be tomorrow’s pancake parfait or breakfast sandwich bread.
Leftover scrambled eggs can be added to tonight’s fried rice. Last night’s chili can be made into today’s baked potato topping.
The possibilities are endless.
“Leftovers” does not have to be a dirty word. With a little planning, knowledge, and ingenuity, leftovers can easily become a family favorite. And the best part, saving leftovers means saving money, too.
For more information on food storage tips, try these publications from UF/IFAS Extension:
Healthy Eating: Food Storage Guide
Preserving Food: Freezing Vegetables
Extension classes are open to everyone regardless of race, creed, color, religion, age, disability, sex, sexual orientation, marital status, national origin, political opinions or affiliations.

by Samantha Kennedy | Jan 18, 2019
 Every year, millions of us make New Year’s resolutions in the hope of implementing a few changes in our lives. We resolve to lose weight, eat healthier, save money, read more, or spend more time with our family.
Unfortunately, research shows that only about 8% of New Year’s resolutions are actually kept, which begs the question: Why do so few of us stick to the goals we set for ourselves?
In many cases, the answer is simple. We set the bar too high and become discouraged. Instead of losing 5 pounds, we want to lose 50. Instead of saving $10, we want to save $1000. Many resolutions are created with the overall end goal in mind, when we really should be focusing on making incremental changes.
The trick to successful goal-setting is crafting realistic goals that have a better chance of being reached. For example, instead of making the goal to lose 50 pounds, how about setting smaller goals to lose 5 pounds at a time until the overall goal of 50 pounds is met? These smaller goals help reduce frustration and discouragement and are more likely to lead to success.
Setting smaller, realistic goals is one of the major characteristics of what are known as SMART goals. SMART goals are designed to be more specific and manageable, making them easier to achieve and leading to a better likelihood of success. The SMART acronym provides the five keys to creating better goals:
Specific. Goals should be targeted and specific. While it is great to want to “be healthier” in the upcoming year, what does that mean in specific terms? Does it mean reducing sodium intake? Cooking more meals at home? Losing 10 pounds? Implementing a walking routine? By setting specific goals, it will be easier to track progress.
Measurable. If there is no way to measure progress, then a goal is not very useful. Along with being specific, good goals need to be able to be tracked. Implementing a walking routine is one thing, but being able to set a distance or time goal will help make it more meaningful. If the goal is to walk 30 minutes a day five days a week, that is easily measured.
Achievable. The biggest key to any goal is not setting the bar too high. Too often, we want to set pie in the sky goals because we want to get to where we want to be right now. The problem with that, however, is that when we are not seeing the results we want, we get discouraged and give up. Setting smaller, more manageable goals will make them more achievable.
Relevant. We sometimes set goals for ourselves that get in the way of other, more important things. When setting goals, determine whether it is something that will really make a positive impact. Will working towards this goal prevent us from doing something else that requires our attention? If the goal will not ultimately work towards our overall endpoint, perhaps it is not worth pursuing.
Timed. Nebulous, open-ended goals are often ineffective because they leave too much time to achieve them. Consider this: If my goal is to lose 10 pounds, but I do not give myself a deadline by which to lose the weight, I am not holding myself accountable since I can just keep giving myself more and more time to reach my goal. However, if I set my goal to lose 10 pounds in 3 months, I am more likely to continue working towards my goal. Setting time limits can help increase the odds of success.
New Year’s goal setting is not a new concept. Neither is not achieving our New Year’s resolutions. However, by creating SMART goals for ourselves, we can help beat the odds and achieve our goals in 2019.
For more information, please call Samantha Kennedy at the UF/IFAS Wakulla County Extension office at (850) 926-3931.
Extension classes are open to everyone regardless of race, creed, color, religion, age, disability, sex, sexual orientation, marital status, national origin, political opinions or affiliations.

by Samantha Kennedy | Nov 27, 2018

Creating a holiday spending plan and sticking to it can help decrease stress and reduce debt in the new year. (Photo source: Samantha Kennedy)
The holidays are once again upon us. For many people, it can be a time of stress, frustration, and financial uncertainty as they drive themselves past their limits to try to make everyone happy and everything perfect.
One of the biggest seasonal stressors is spending too much on gifts, food, and home décor. While it may seem worth it at the time, buyer’s remorse may quickly set in after the New Year when the bills start rolling in.
The most important thing that can be done to help curb holiday spending is to set a budget.
Maybe going all out for Christmas is a family tradition. Great! If it is, however, the best thing to do is to make a plan to save the money over the preceding months so it will be available to spend when the time comes. Spending money that is not in the budget or overusing credit are surefire ways to increase debt and cause strife later.
The holidays should be about family, friends, and the joy of giving. It should not be a competition to see who can have the biggest, brightest, most fabulous home, gifts, etc.
Retailers and the media work hard to send the message to consumers that the latest this or the greatest that are needed to get the full holiday experience. However, it is important to resist their messaging and stick to the determined budget.
Including children in any discussions about holiday spending is important. Let them know that there is only a certain amount of money available to spend on gifts and help them understand the importance of sticking to the budget. While parents may feel pressured to get everything on their child’s wish list, focusing on a few special items will help families stay on financial track.
Cash and debit cards are the best ways to pay. If the money is coming directly out of pocket, consumers are more likely to be more cautious before spending. Use credit cards wisely. Choosing to purchase with credit in order to receive airline miles or rewards points is fine, but keep close track of all purchases and only charge as much as can comfortably be paid off in its entirety when the bill comes due. Avoid the pitfall of still paying off this year’s holiday spending next Christmas.
Some of the most meaningful and treasured gifts are those that come from the heart. Custom, handmade gifts really show a person they are valued.
One large gift for an entire family that everyone can enjoy can also save money over buying something for each individual. Many people also appreciate a donation in their name to a charity or cause that is near and dear to their hearts.
The holidays do not need to be stressful or break the bank. By adopting a few smart spending practices, you can enjoy the holidays without the added worry.
For more information on holiday spending and strategies for creating a smart holiday spending plan, please call Samantha Kennedy at (850) 926-3931.
Extension classes are open to everyone regardless of race, creed, color, religion, age, disability, sex, sexual orientation, marital status, national origin, political opinions or affiliations.