by Ginny Hinton | Apr 26, 2018
 As a child passenger safety technician/instructor for the past twenty years, I am always amazed at how quickly technology changes in the field. Both car seat and vehicle manufacturers are constantly testing innovations, making it difficult to know exactly how to properly use a car seat. One innovation that tends to give caregivers problems is the tether. Tethers are now a standard feature on every car seat and they are meant to be used with either the seatbelt or the LATCH (Lower Anchors and Tethers for Children) system. Tether anchors are required in passenger vehicles made after 2001.
For most car seats, tethers are not meant to be used rear-facing. A rear-facing seat is designed to dip and rebound in a frontal crash, cradling and protecting its young passenger. It doesn’t require a tether to do its job correctly. Forward-facing seats are a different story and tethers make them safer by allowing less head movement and stress on the spinal cord during a crash. Especially in a frontal crash, a tether can prevent serious head and neck injury by securing the top of the car seat and preventing several inches of forward head movement.
A tether is a strap of webbing with a hook at the end. Tethers connect the top of the car seat to the vehicle. They should be used for every forward-facing car seat installation, regardless of whether LATCH or a seatbelt is used to secure the seat itself. Most tethers need to be tightened only enough to remove slack. The manual that comes with each car seat offers important information on how to attach and tighten the tether properly.
If you have any questions about car seats, ask a certified child passenger safety technician in your area. You can find one near you at http://cert.safekids.org/

by Dorothy C. Lee | Apr 24, 2018
Grill Out Safely This Summer
Perhaps it’s the gentle climate with temperatures conducive to outdoor cooking for much of the year. Or it might be that an outdoor get-together with family, friends, and good food is a great way to celebrate the summer. Whatever the reasons, outdoor cookery is firmly established as a tradition in the South.
Outdoor cookery has given rise to many unique and flavor-filled recipes for foods that can be prepared on even the simplest grill. If long days of summer have you longing to fire up the grill, the following tips, delicious recipes, and helpful grilling charts will help make your outdoor cooking experience easy, safe, and rewarding.
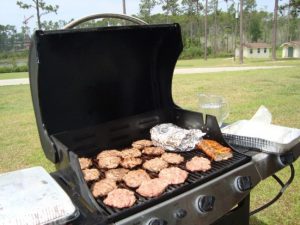
Grilling
Photo Credit: Dorothy Lee
Safety is an important consideration when operating a grill. Improper use can cause a fire or explosion. Keep the area around a lighted grill clear of combustible materials, and never use a grill in an enclosed area such as a sheltered patio or a garage. Avoid wearing loose-fitting clothing that may catch fire. The cooking grids should be cleaned after every cookout. The last thing you want to do is cause someone to become ill due to improper cleaning or unsafe food preparation practices.
Wash your hands with hot soapy water for at least 20 seconds before starting to prepare any foods and wash your hands again if you do anything else—change a diaper, pet an animal, or blow your nose, for example. Cover any cuts or sores on your hands with a bandage or use plastic gloves. If you sneeze or cough while preparing foods, cover your mouth and nose with a tissue and turn your face away, or cough into your sleeve. Always wash your hands afterwards.
Bacteria multiply rapidly at room temperature. Most food-borne illness-causing bacteria cannot grow well at temperatures below 40°F or above 140°F. Thaw foods in the refrigerator or in the microwave. Never leave foods out at room temperature.
Keep everything that touches food clean. Bacteria can hitch rides around your kitchen on all sorts of things—plates and cutting boards, dirty utensils, dish rags and sponges, unwashed hands.
Never chop fresh vegetables or salad ingredients on a cutting board that was used for raw meat without properly cleaning it first. If possible, keep a separate cutting board just for the preparation of raw meat, poultry, and fish.
Wash cutting boards thoroughly with hot soapy water, and then sanitize with a solution of household bleach and water.
The most popular meat for outdoor grilling is beef, particularly ground beef. If ground beef burgers are to be the feature of your next cookout select freshly ground meat that has fat content of about 15%. Form the meat into loose patties. Cook hamburger patties to an internal temperature of 160°F.
Keep raw meat, poultry, fish, and their juices from coming into contact with other foods during preparation, especially foods that will not be cooked. Wash all utensils and your hands with hot soapy water after contact with raw meat.
Marinate meat, poultry and seafood in the refrigerator in a covered, non-metal container. Throw away any leftover marinade.
Grill food to a safe internal temperature. Use a meat thermometer to assure correct doneness of the food being grilled.
Safe minimum internal temperatures:
- Poultry (whole, ground, and breasts): 165°F
- Hamburgers, beef: 160°F
- Beef, veal, and lamb (steaks, roasts & chops):
- Medium rare: 145°F
- Medium: 160°F.
Hold meat at 140°F until served. Use a clean platter for transferring cooked meat from grill to serving table.
Summer is the time for getting together with friends and family and cooking outdoors. Make your outdoor grilling experience safe and enjoyable.
Safe Food Handling Fact Sheet, USDA, Food Safety and Inspection Series, https://www.foodsafety.gov/
When we think of foods to prepare outdoors we almost immediately think meat. However, grilled vegetables and grilled fruits make a delicious accompaniment to grilled meats.
Corn on the Cob Kabob
- 2 medium red onions, cut into 8 wedges each
- 4 fresh ears sweet corn, husked, silks removed, and cut crosswise into 4 pieces each
- Nonstick cooking spray
- ¼ cup butter, melted
- ¼ teaspoon garlic powder
- ¼ teaspoon onion powder
- ¼ teaspoon dried oregano, crushed
On each of eight 12-inch wooden skewers, alternately thread 2 onion wedges and 2 pieces of corn, leaving about ¼ inch between each vegetable. Lightly coat vegetables with nonstick spray.
For a charcoal grill, grill kabobs on the rack of an uncovered grill directly over medium coals for 15 to 18 minutes or until vegetables are tender and brown, turning occasionally to brown evenly. (For a gas grill, preheat grill. Reduce heat to medium. Place kabobs on grill rack over heat. Cover, grill as above.)
In a small bowl, combine butter, garlic powder, onion powder and oregano. Brush over vegetables. Makes 4 servings.
Cinnamon-Grilled Peaches
- 4 large ripe freestone peaches
- Eight 3-inch cinnamon sticks
- 8 fresh mint leaves
- 4 tablespoons unsalted butter
- ¼ cup firmly packed brown sugar
- ¼ cup dark rum
- ½ teaspoon ground cinnamon
- Pinch salt
- Peach or vanilla ice cream, for serving
Rinse the peaches and blot them dry with paper towels. Cut each peach in half and discard the pit. Then, cut each peach into quarters. Using a pointed chopstick or metal skewer, make a starter hole in the center of each peach quarter, working from the pit side to the skin side. Skewer 2 peach quarters on each cinnamon stick, placing a mint left between the 2 quarters.
Combine the butter, brown sugar, rum, cinnamon, and salt in a saucepan and bring to a boil over high heat. Let the glaze boil until thick and syrupy, about 5 minutes.
Prepare and preheat the grill to high. Brush and oil the grate. Next, place the skewered peaches on the hot grate and grill until nicely browned, 3 to 4 minutes per side, basting with the rum and butter glaze. Spoon any remaining glaze over the grilled peaches and serve at once. Peach or vanilla ice cream make a great accompaniment.

by Kendra Hughson | Apr 10, 2018
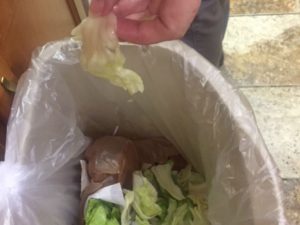
Save money and the environment by reducing the amount of food thrown in the trash. Credit: Kendra Zamojski
A hot topic in kitchens and restaurants these days is food waste. Chefs, restaurant managers, and even consumers are looking for ways to save money and the environment by reducing the amount of food tossed in the trash.
The United States Department of Agriculture estimates about 31% of food is lost at the retail and consumer level. Much of this food loss ends up in the landfill. The USDA is challenging consumers to reduce, recover and recycle their food waste.
The Basic Level:
If you know your family is tossing a lot of food in the trash and you want some easy ways to reduce the waste, try these:
- Plan your meals using foods you already have on hand and choosing foods you know you will use before they go bad. Substitute ingredients to include food you already have in the pantry or refrigerator.
- Create grocery lists using your family meal plan and checking for foods you already have on hand.
- Plan to use or freeze leftovers for dinners or lunches throughout the week.
- Watch what is being tossed and reduce your purchase of these items.
The Intermediate Level:
If your family is already good at the basic level and you want to take food waste reduction to the next level, try these steps:
- Make food purchases with packaging in mind. Choose items with minimal packaging.
- Store foods properly, with food safety in mind. Use food storage guides to properly store food items safely.
- Freeze what you can’t use in time. Follow these guides for freezing vegetables and freezing prepared foods:
- Use edible parts that you don’t usually eat when it’s safe. For example, save broccoli stalks and stems or potato peels for use in soups and casseroles.
Food Recovery Level:
If your family is ready to divert food from the landfill, try these steps:
- Compost your food waste. Contact your local Extension office for more information. Check out this resource on composting.
- Donate unused, unspoiled food.
Next time you throw food in the trash, take a minute to think about taking the challenge to reduce food waste. A few easy steps can help save your family money and the environment for future generations to enjoy.
Kendra Zamojski is a Regional Specialized Agent in Family and Consumer Sciences with the University of Florida/IFAS Extension. For more information, contact Kendra at hughson@ufl.edu.
by Samantha Kennedy | Apr 10, 2018
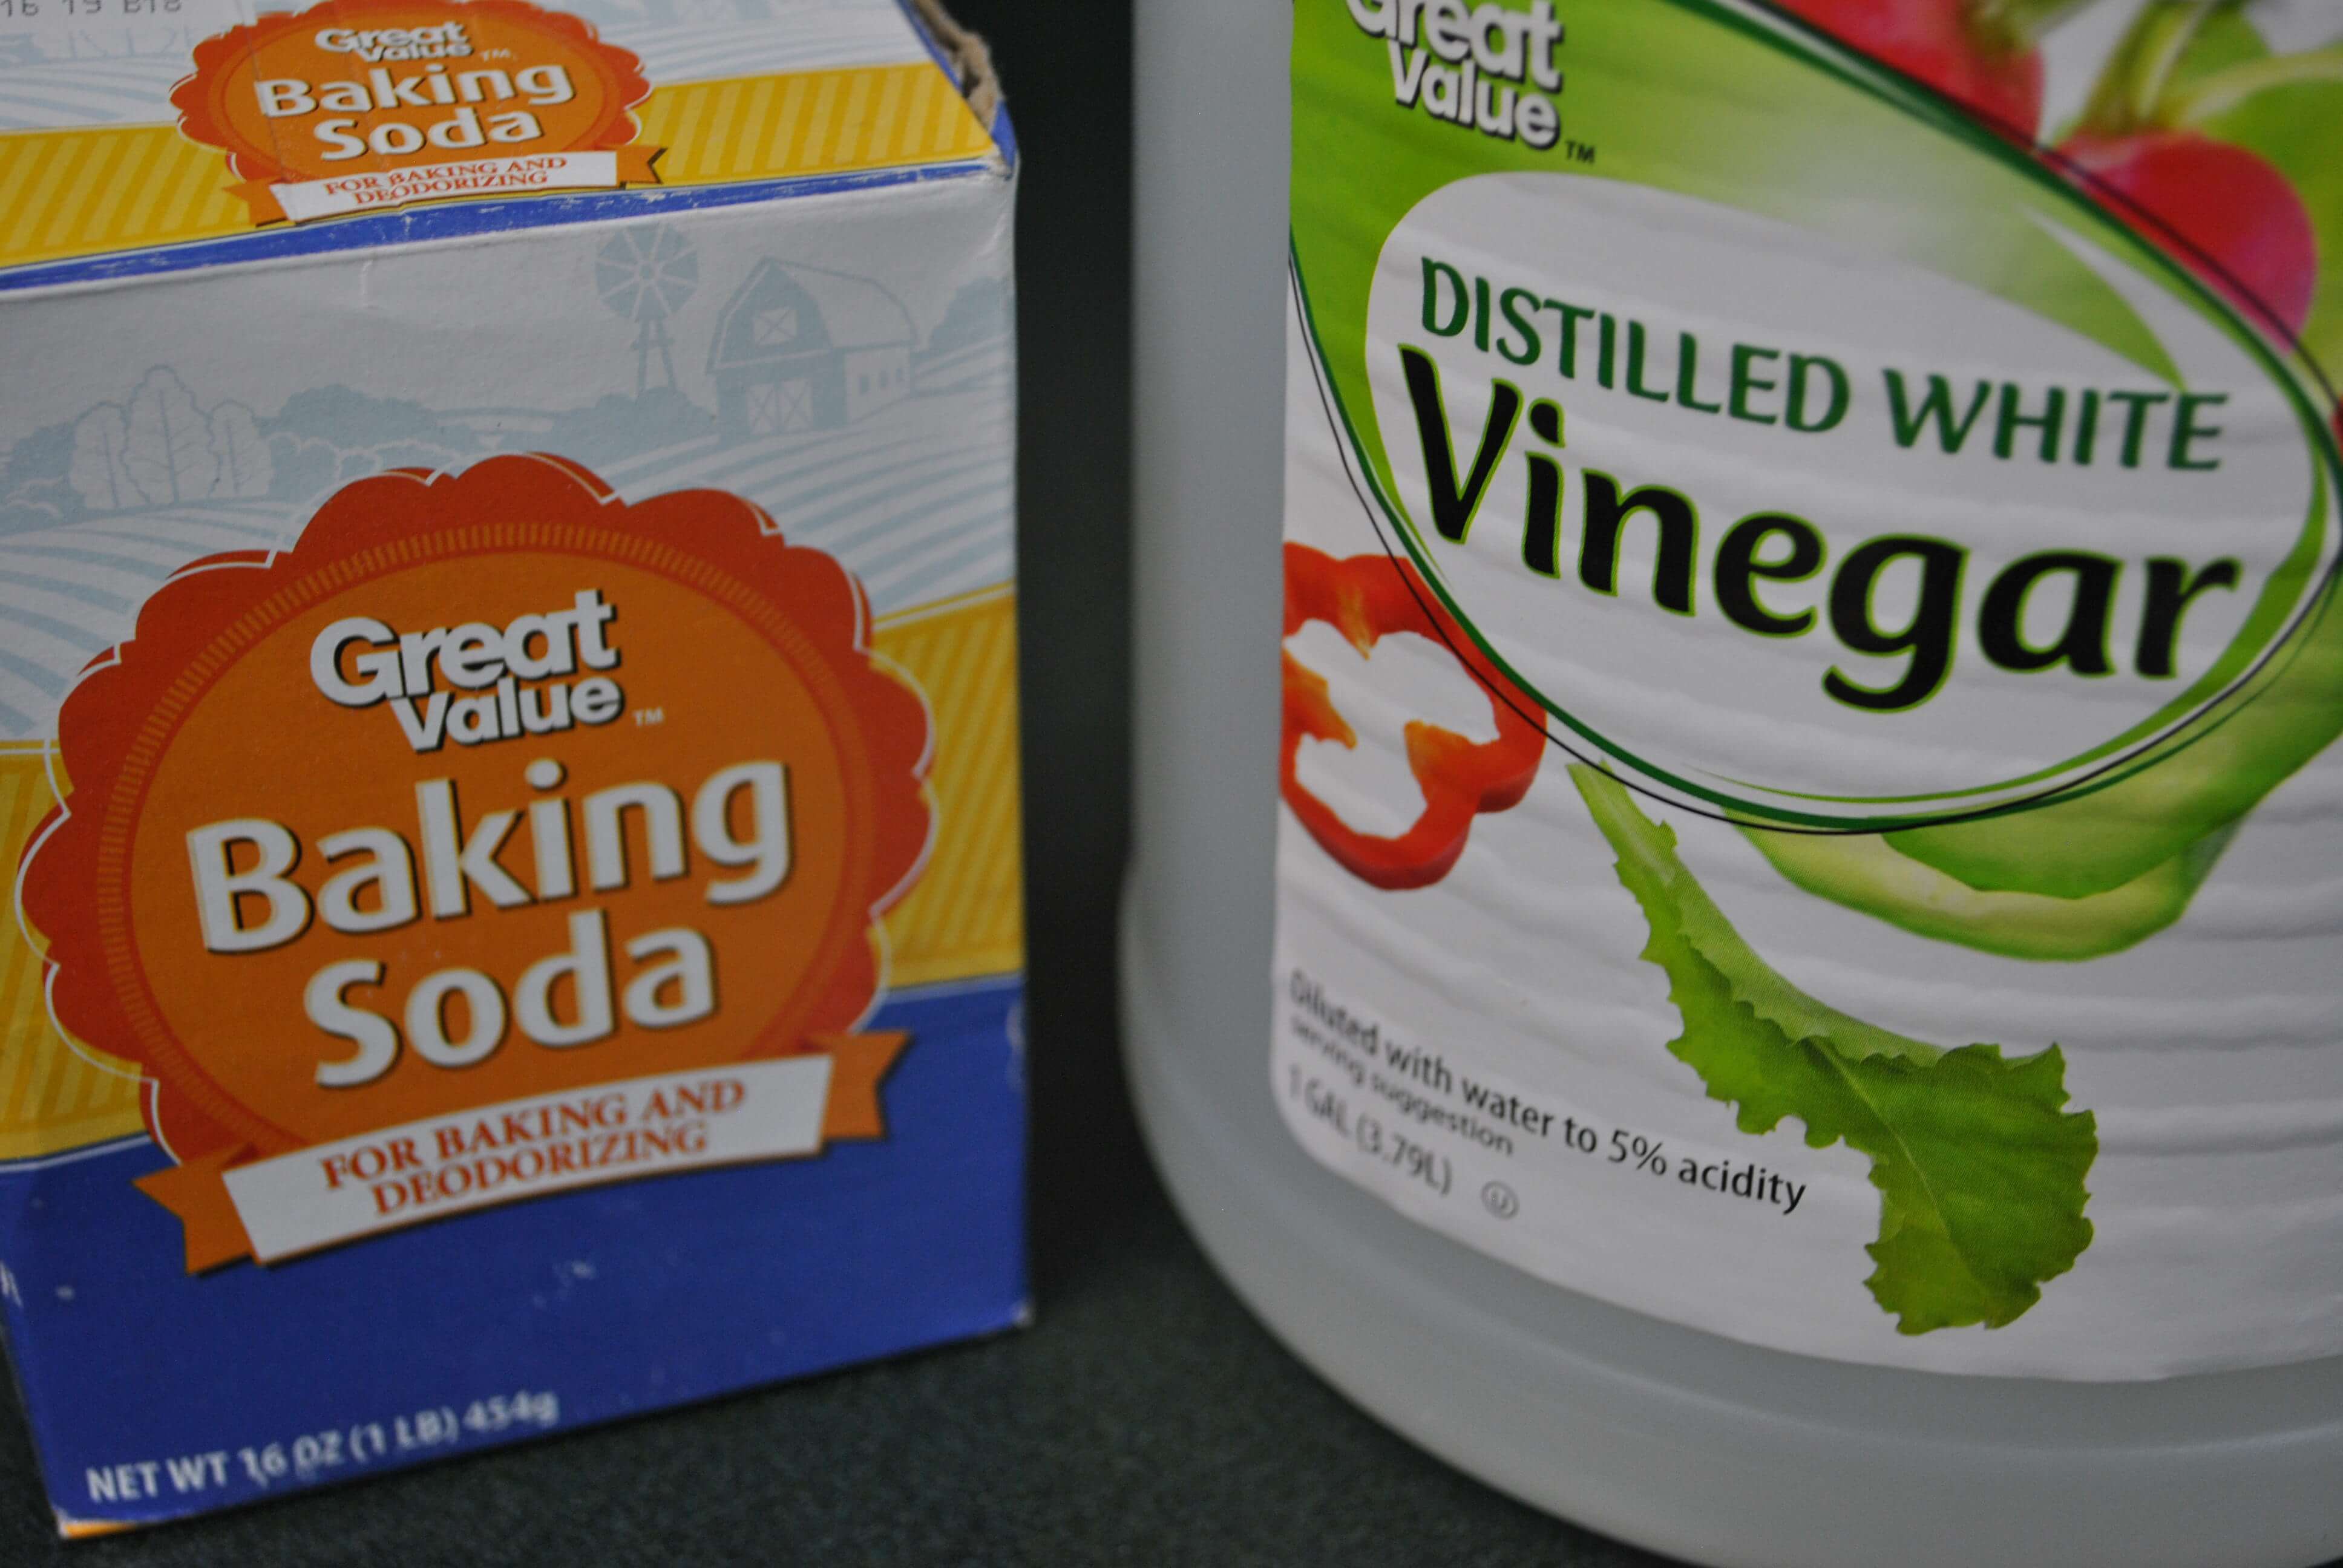
Many of today’s commercial cleaners are petroleum-based, which may have harmful effects on human and environmental health. But have no fear! On the market today are many wonderful “green” cleaning products that are planet- (and you-) friendly and can be found alongside their more conventional cousins in the cleaning aisle. These products are non-toxic, biodegradable, non-petroleum-based, and are just as effective at getting rid of grime.
Two common household products used in homemade cleaners are vinegar and baking soda. Photo credit: Samantha Kennedy
They do, however, tend to be more expensive. If spending extra money isn’t your thing, you can still clean green” by taking advantage of a few everyday products you probably have in your pantry right now.
White vinegar and baking soda are two of the most effective cleaning products out there and cost just a fraction of what commercial cleaning products cost. Add a little warm water to either of these products and you have created a solution that can clean just about everything, from tile floors to coffee-stained mugs to sinks and showers.
Another great natural and inexpensive cleaning agent is borax. Found in the laundry aisle, it is great as an all-purpose cleaner when mixed with water and can be used on floors, countertops, sinks, and toilets. It is nonabrasive, has no toxic fumes, and is safe for the environment. Borax also doubles as a safe insecticide, by slowly poisoning ants, cockroaches, silverfish, and termites to death.
Other common household products that make great cleaners are salt, lemon juice, and rubbing alcohol. Hot water mixed with salt makes an excellent drain deodorizer. Lemon juice makes a terrific mild bleaching agent and air freshener. Rubbing alcohol makes a great sanitizer for countertops. It is also good for cleaning minor wounds and will kill those annoying ghost ants (and others) that often try to make a home in your kitchen.
Making your own household cleaners is safer, healthier, and less expensive. For some quick and easy cleaner recipes, please read “Homemade Household Cleaners.”
For more information about this and other Family and Consumer Sciences topics, please contact Samantha Kennedy at 850.926.3931 or skennedy@ufl.edu.

by Laurie Osgood | Mar 20, 2018
 https://www.pexels.com/photo/blue-and-silver-stetoscope-40568/
According to the American Cancer Society, colorectal cancer is the third most common cancer in the United States and the second leading cause of death from cancer. Colorectal cancer is cancer that occurs in the colon or rectum. Colorectal cancer affects all racial and ethnic groups and is most often found in people ages 50 and older. https://www.cancer.org/cancer/colon-rectal-cancer.html
Cancer Screening Saves Lives!
The best way to prevent colorectal cancer is to get screened regularly starting at age 50. Colorectal cancer doesn’t always cause symptoms, initially – which makes it much more important to get screened regularly. Make sure to talk to your doctor about when you should begin cancer screenings, how often, and which test is right for you.
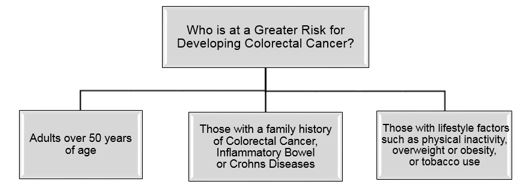
What Can You Do To Reduce These Risks?
- Get regular screening starting at age 50
- Encourage your family members and friends over age 50 to get screened.
- Don’t smoke
- Be physically active
- Eat a diet rich in fruits, vegetables and fiber, while avoiding high fat foods
The U.S. Department of Health and Human Services, Centers for Disease Control and Prevention (CDC) provides fact sheets with more information about colorectal and other cancers. To learn more, visit https://www.cdc.gov/cancer/index.htm.
To learn more about colorectal cancer education and prevention efforts in your community, visit the Florida Department of Health at http://www.floridahealth.gov/diseases-and-conditions/cancer/colon-cancer/index.html or contact them at (850) 245-4330.
For more information about UF/IFAS Family and Consumer Sciences Program with the Gadsden County Extension, please contact Laurie Osgood at (850) 875-7255.

by Laurie Osgood | Mar 2, 2018
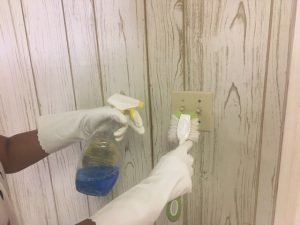
Clean light switches to reduce the spread of illnesses. Photo credit: NW Extension District
Seasonal influenza (flu) viruses are most common during the fall and winter, with peak activity occurring between December and February. According to the Centers for Disease Control and Prevention (CDC), the flu is a contagious respiratory illness caused by influenza viruses. It can cause mild to severe illness. Serious outcomes of flu infection can result in hospitalization or death. Some people, including senior adults, young children, and persons with certain health conditions, are at high risk for serious flu complications.
When someone in your family has had a cold or the flu, it is important to clean and sanitize your house properly to avoid any recurrences or further spreading. Follow these tips:
- Before you get started, try opening the windows for some fresh air, or raise your blinds or curtains to let in the natural light.
- Clean the areas first, then disinfect.
- Wash your hands often: before, during, and after cleaning.
IN THE BATHROOM
The bathroom will need a good cleaning and disinfection after an illness.
- Disinfect with a mixture of bleach and water. Use one scant teaspoon of chlorine bleach to one quart of water.
- Clean toilet lever, shower faucets, cabinet knobs, light switches, and doorknobs.
- Replace or clean toothbrushes.
|
IN THE KITCHEN
- Disinfect all things that people touch: refrigerator door handles; coffee pot; electric can opener; microwave oven; door, stove, and cabinet knobs; faucets; light switches. Do NOT use chlorine bleach with added fragrance, as it is not food-safe.
- Run all utensils through the dishwasher after each use.
- For more information on sanitizing the kitchen, see Cleaning and Sanitizing the Kitchen: Using Inexpensive Household Food-Safe Products.
|
IN THE FAMILY ROOM
- Clean remotes, phones, computer keypads, gaming systems, door knobs, and light switches.
- Sanitize all items with proper cleaning products.
|
IN THE BEDROOM
- Change pillow cases daily and wash soiled bed linens right away with proper laundry detergent.
- Wash everything in your washer on the hottest temperature the fabric allows, but be sure not to overload your washer.
- Disinfect all items on the night stand. Don’t forget light switches, doorknobs and drawer pulls, and remote controls, if used.
|
CLEANING KIDS’ TOYS
- Some stuffed animals can be cleaned in the washer with the other bedding.
- For hard-surfaced toys, make sure to clean with proper cleaning solutions for their surface and rinse well.
- Some small toys can be safely cleaned in a mesh laundry bag in the top rack of the dishwasher.
|
WHAT TOOLS ARE NEEDED?
- Rubber gloves
- A different sponge for each room you are cleaning or paper towels
- Proper cleaning products: Please be sure to follow all manufacturer’s instructions on all cleaning products.
According to the CDC, the flu virus can live on surfaces for 48 hours—potentially infecting anyone who comes in contact with the germs. Disinfecting the house is one of the best ways to prevent anyone else from contracting the illness.
For more information on sterilizing items in your home, visit the CDC Website, https://www.cdc.gov/oralhealth/infectioncontrol/questions/sterilization/cleaning.html