by Judy Corbus | Aug 27, 2020
Eeekkk! A roach! Quick – where’s the bug spray? That seems like a logical way to get rid of the pesky critter, right? But what if the roach is in your kitchen? Or you have pets or small children? Is there a less toxic way to keep pests out of your home?
Integrated Pest Management, or IPM, uses a combination of methods to help you:
- Stop pests
- Inspect and monitor for pests
- Identify pests
- Have a game plan to protect your home
- Know if your plan is working
Pests, like people, need food, water, and shelter to thrive, so if you eliminate one or all these factors, you increase your pest control success. You can use IPM to prevent indoor and outdoor pests and solve existing pest problems.

If you can see light around the door edge, insects can enter. Photo source: UF/IFAS
Exclusion is a major part of prevention in IPM; it prevents outdoor pests from entering.
- Check the weather-stripping around exterior doors and windows – if you can see light, pests can enter. Did you know an American cockroach can enter through a gap the thickness of a quarter?
- Install door sweeps on exterior doors so insects can’t enter under the door – be sure the sweep brushes the floor.
- Patch or replace window and door screens to keep flying insects out.
- Use sealants around doors and windows to fill tiny gaps where pests can enter. It will help to conserve energy, too!
- Cover vent pipe openings, like dryer vents, on your home’s exterior with strong mesh or other covering to keep rodents and other small animals from entering.
Our Habits
We sometimes make it easier for pests to move in and thrive in our home due to our habits. Here are a few easy ways to prevent pests:
- Wash dishes promptly. Pests feast on food particles so wash dishes immediately after meals.
- Quickly clean up grease and spills. Just like dirty dishes, grease and food spills attract pests so clean them as soon as they occur. This also will keep the spill from spreading, saving you cleaning time in the long run.
- Store food items in sealed plastic containers. This keeps pests out and food items fresher for longer.
- Clean on a routine schedule. Regular sweeping, vacuuming, mopping, dusting, and general cleaning removes food sources for pests and creates a healthier indoor living space for you and your family.
- Get rid of clutter. Piles of paper, clothes, and other items can provide a dark, cozy home in which pests can hide and multiply. Organize these areas so your home is less inviting to pests. Cockroach control alone can significantly reduce allergen levels.
- Dispose of recycling frequently. This removes a breeding ground for pests.
- Inspect incoming goods or items before bringing them into your home. This will reduce the risk of “stowaways” entering.
- Use plastic bins for long-term storage. Cockroaches love cardboard boxes and paper bags so transfer items you plan to store for longer than three to six months to plastic storage bins with tight-fitting lids.
Treatment
There are a variety of treatment options for controlling pests.

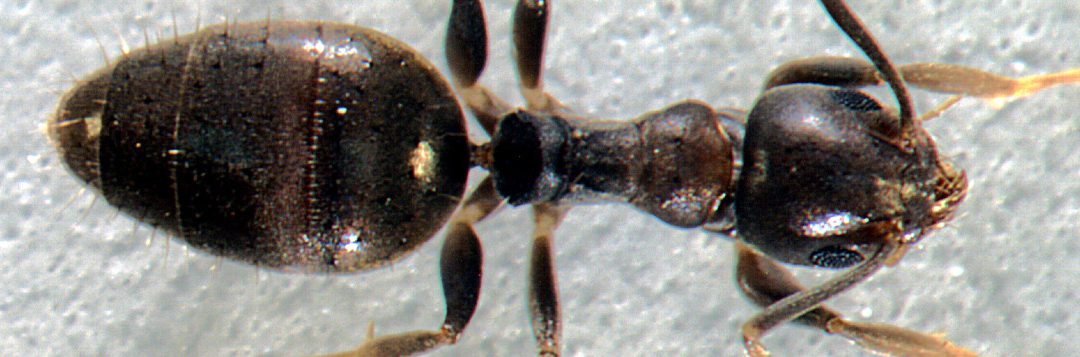
Use window cleaner, rubbing alcohol, or baby wipes to disrupt ant trails in your home. Photo source: Judy Corbus, UF/IFAS Extension
- Window cleaner, rubbing alcohol, baby wipes: Ants travel in trails to and from their food source, emitting pheromones, or scent trails, to “mark” their path to the food. To disrupt ant trails, spray window cleaner on or apply rubbing alcohol to a paper towel or use baby wipes to wipe the ant trail. This removes the scent trail so the ants cannot find their way back to their food.
- Whole home gel bait: These products come in a syringe-type applicator with formulations for cockroaches and ants. Examine your home carefully to see where these pests are entering and apply a pea-sized dollop of the gel bait at the entry points. The pests eat the bait and return to their nest, where the gel bait eliminates the nest. The gel bait can be used anywhere in and around the house where cockroaches or ants are found and is more effective than treating kitchens and bathrooms only, a common pest control practice. Gel bait works well behind appliances, swtichplates, and outlet covers. Reapply gel bait periodically to keep pests from returning. You may need to rotate brands, as pests can develop immunity over time.
So, the next time you see a bug in your home, consider IPM before you reach for the spray. For more information about integrated pest management for homes, contact your local UF/IFAS Extension office.
by Dorothy C. Lee | Aug 19, 2020
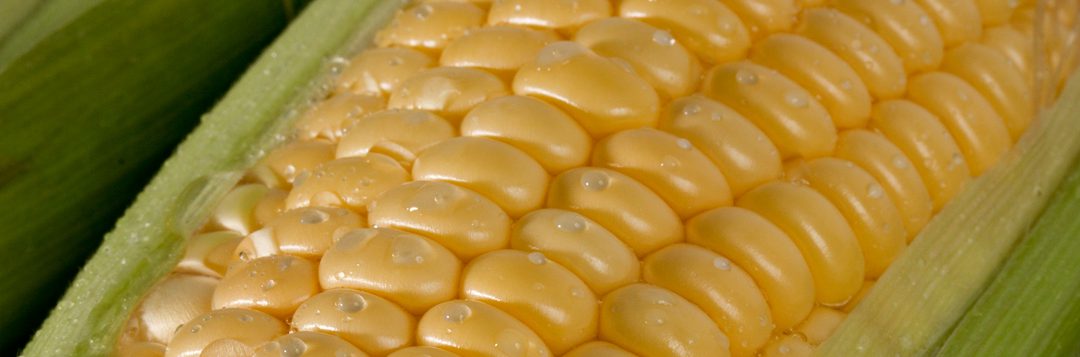
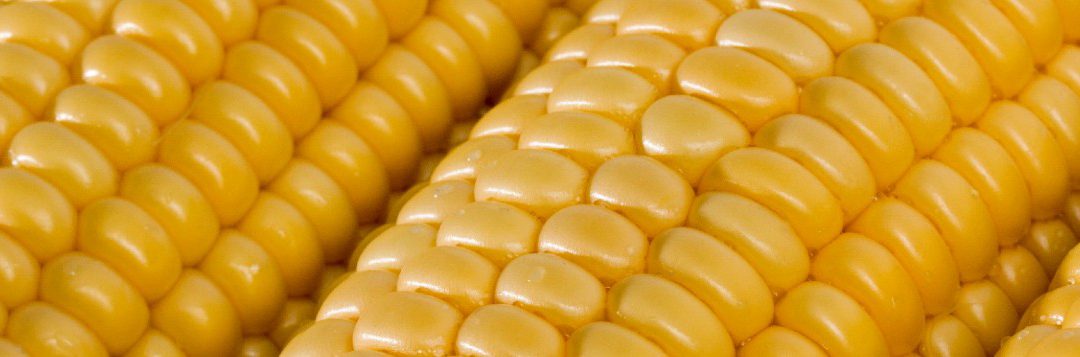
Strictly speaking, corn is not a vegetable, but a grain native to the Americas. The sweet, or sugar, corn we enjoy today is a mutation of Indian field corn. Nothing is as American as corn-on-the-cob, and sweet corn has plenty of complex carbohydrates and fiber.
Use & Preparation
Boil: Remove husks and cook 8 to 10 minutes in rapidly boiling unsalted water.

Sweet corn is a favorite among home gardeners. As long as the space is available, it’s not difficult to grow. Photo source: UF/IFAS
Microwave (on High):
1 ear – 3 to 5 minutes
2 ears – 4 to 9 minutes
3 ears – 9 to 12 minutes
4 ears – 12 to 17 minutes.
Rinse and dry corn with husk pulled back. Pull husks up to cover corn, then rinse with husks on. Do not dry. Arrange like spokes on paper towel; cover with wax paper; cook. Let corn stand for 5 to 10 minutes after cooking. Carefully remove husks, using heavy toweling to avoid burns.
Selection
Look for healthy green husks, plump kernels, and silks that are moist and light golden, not brown and brittle.
Storage
Use fresh corn as soon as possible. Refrigerate unhusked in plastic bag for up to 2 days.
Herbed Corn on the Cob
6 ears fresh corn
2 tablespoons margarine
1 teaspoon dried salad herbs (available in stores, optional)
Prepare corn for microwaving according to directions above. Microwave on high for 16 to 18 minutes, turning corn around/over after about 8 minutes. Let stand 5 minutes, then remove husks. Combine softened margarine and salad herbs. Spread 1 teaspoon of margarine mixture over each ear of corn.
Corn Chowder
1 tablespoon margarine, plus
3 tablespoons margarine
1 onion, chopped fine
4 medium potatoes, peeled and diced
3 cups water
2 cups corn kernels
3 cups milk
Salt and pepper
Brown onion in margarine, cook for 5 minutes. Add potatoes and water, cover and cook until potatoes are just tender. Add corn and milk and cook 5 minutes more. Before serving, add the margarine and salt and pepper to taste, and reheat.
Nutrition Information
Low fat & cholesterol free. High in fiber. Very low in sodium. Good source of vitamin C and carbohydrates.
Available Fresh
June – September
To learn about fresh Florida corn, please read our fact sheet: Panhandle Produce_Corn.
For more delicious produce preparation tips, please visit: http://www.panhandleproducepointers.com.
by Samantha Kennedy | Aug 19, 2020
A friend of mine recently shared with me a few recipes for what is known as “cooler corn.” As the name implies, it’s a way of cooking a large amount of corn on the cob all at once inside a cooler, thereby saving time and grill and/or stove space.
At first I was intrigued. I had never heard of this cooking method before and my own personal curiosity was piqued. However, as a certified food safety instructor, I was also immediately horrified. As I reviewed several recipes for this “perfect way to make corn for a crowd,” I became increasingly alarmed. There were so many proper food safety practices violated, it nearly turned my stomach.
Cooking food in a cooler is an unsafe cooking method. Coolers are not designed to withstand the high temperatures required for cooking and cannot adequately hold foods at safe temperatures for prolonged periods of time.
For the record: Cooking corn in a cooler is UNSAFE. The safest ways to cook corn are in a stockpot on the stove, in the oven, or on a grill.
Here are the top four reasons this cooking method is not a good food safety practice:
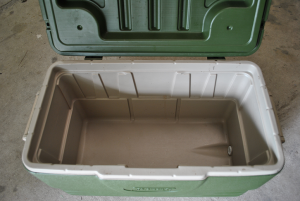
Cooking food in a cooler is an unsafe cooking method. Coolers are not designed to withstand the high temperatures required for cooking and cannot adequately hold foods at safe temperatures for prolonged periods of time. (Photo source: Samantha Kennedy, UF/IFAS Extension)
1. Coolers are not designed to be used for cooking. The plastic used in coolers is not meant to withstand continued exposure to boiling water and will start to degrade over time. The plastic can also be easily scratched or gouged, providing the perfect place for foodborne pathogens such as Salmonella and E.coli to hide and grow. Think of the other things coolers are used for: storing fish or game after fishing or hunting, keeping drinks cold, storing raw meat or poultry for a picnic, etc. There are so many other opportunities to contaminate the cooler before it is used for cooking corn, even thorough cleaning and sanitation may not be enough to eliminate pathogens. Always keep cooking utensils and tools CLEAN to reduce your risk of foodborne illness.
But what about the boiling water? Won’t that kill any pathogens? Well, yes and no. See #4 below.
And NO, having a cooler dedicated only to cooking corn will not solve all the problems stated above. The bottom line is COOLERS ARE NOT SAFE TO COOK FOOD IN.
2. One of the conveniences of this method, as celebrated in the various recipes, is that people can just reach into the cooler and grab a perfectly cooked ear or two whenever the mood strikes. Allowing people to reach in and grab food like this – especially with their bare hands – is a very unsafe practice. People may forget to wash their hands properly before reaching in, thereby adding dirt and bacteria to the water and thus the food. This type of “germ-sharing” is called cross-contamination and is one of the leading causes of foodborne illness. Always keep things SEPARATE. This includes keeping raw food separate from cooked food, using separate utensils for each food, and reducing or eliminating bare hand contact with food.
3. Stacking dozens of ears of corn in a container and submerging them in boiling water does not ensure that all of the corn will be cooked evenly. The ones in the middle may not be cooked all the way through and there may also be temperature fluctuations in different areas of the cooler because of the way the food is stacked. There may be hot, warm, and cool spots, which can lower the overall temperature to an unsafe level and promote the growth of pathogens. Always COOK foods to the proper minimum internal temperature. In the case of corn, this is 135 degrees F. This can be measured by inserting a properly calibrated food thermometer between two cooked ears of corn and waiting until the needle stops moving.
4. One blog post about the wonders of Cooler Corn stated, “You can leave the corn in there for quite a while after it’s done cooking to keep the ears warm. Since the temperature naturally drops over time, the corn doesn’t get mushy.” When I read this, my mind screamed, “DANGER!” in flashing red letters.
Boiling water is a good sanitizer. However, a lot of what makes it effective for killing pathogens has to do with proper contact time with surfaces AT THE APPROPRIATE TEMPERATURE. Most coolers are not designed to keep boiling water that hot (212 degrees F) for any significant period of time. Even quality coolers will not hold the temperature long enough to ensure proper sanitation and elimination of pathogens.
One of the most important food safety principles is keeping cold foods cold and hot foods hot. To ensure the safety of food, it is important to keep cold foods below 41 degrees F and hot foods above 135 degrees F.
Now think about ears of corn submerged in water for a prolonged period of time, as the water slowly cools. After a while, that water will no longer be able to keep those ears of corn above 135 degrees F. They will basically be sitting in a soup of tepid water at the most favorable temperature for pathogens to grow. The longer the corn sits in that water, the higher the risk of foodborne illness. Always properly CHILL foods to keep them at a safe temperature, below 41 degrees F. The flip side of this coin is to also ensure hot food stays hot, above 135 degrees F.
Cooking for large groups can be a challenge, especially when kitchen space is limited. (Check out the UF/IFAS Extension fact sheet “Food Safety at Tailgating” for more food safety tips when cooking out.) However, it is never a good idea to sacrifice food safety for convenience. Always follow proper food safety practices, no matter the situation, and remember the 4 principles of safe food: CLEAN. SEPARATE. COOK. CHILL.
UF/IFAS in an Equal Opportunity Institution.

by Ginny Hinton | Aug 17, 2020

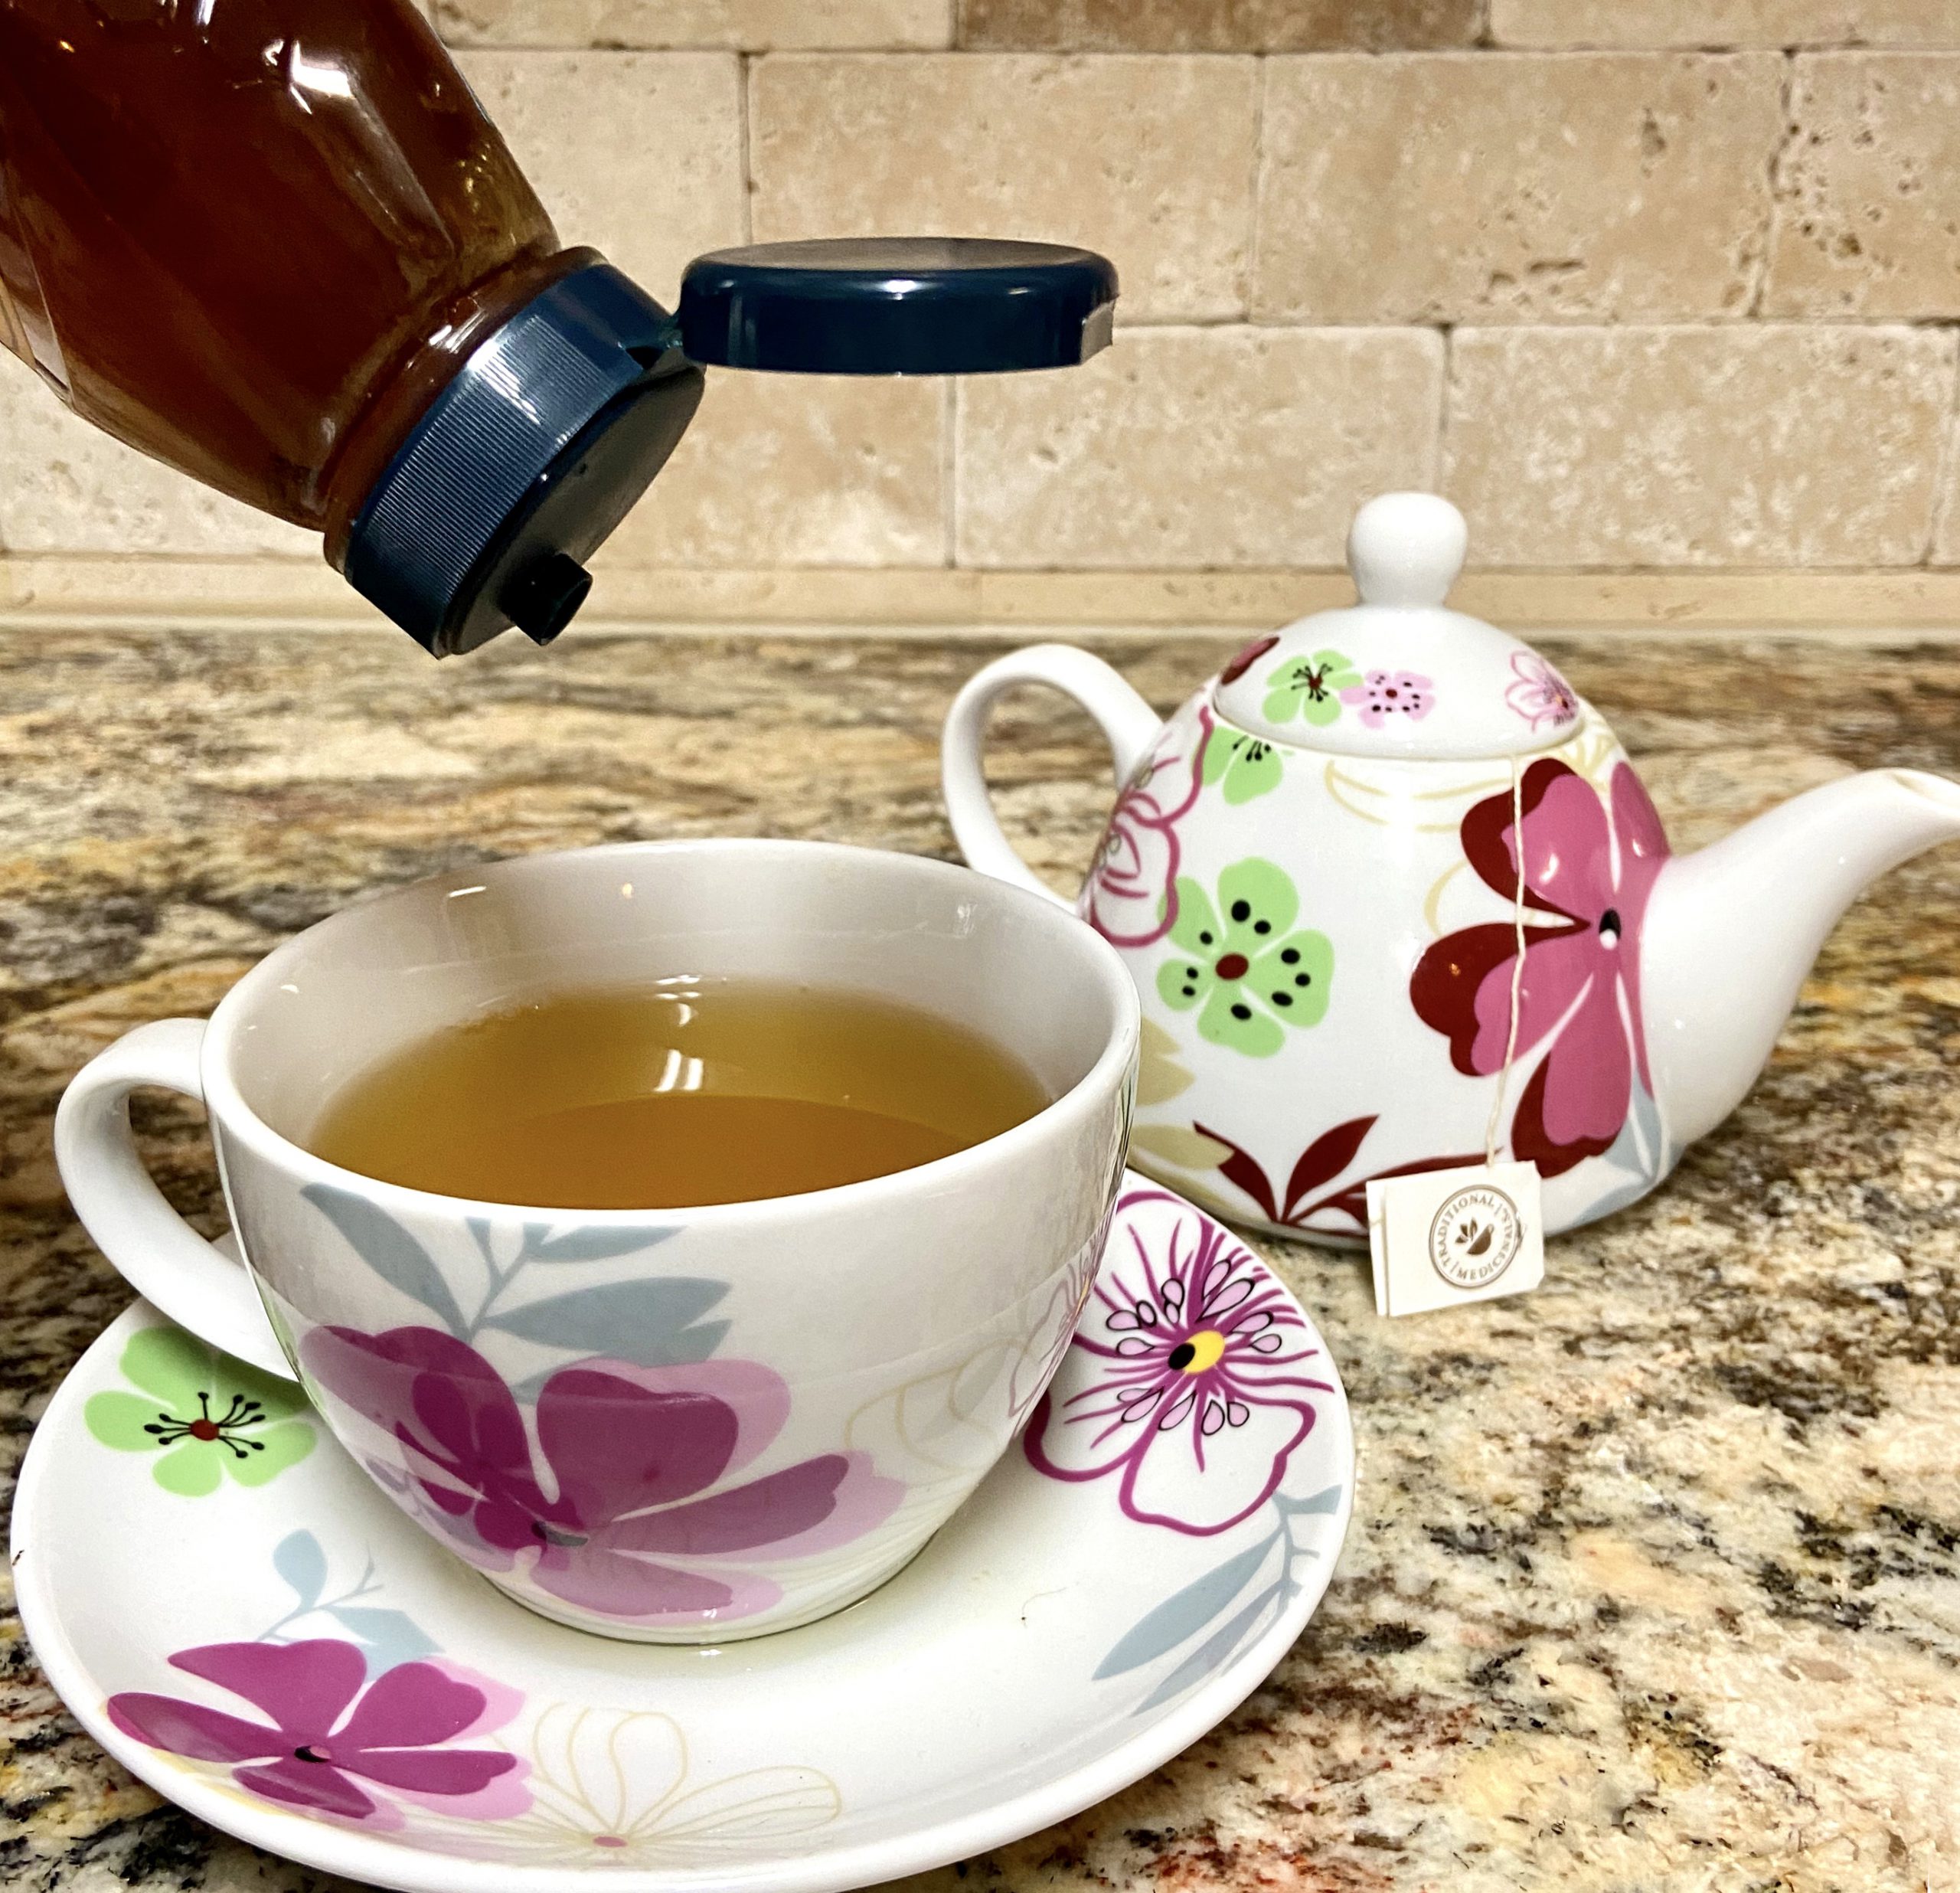
Honey or Sugar
Photo Source: Ginny Hinton
Sugar or honey? The debate rages on, with honey probably edging out sugar in popularity. Many people use local honey because of it’s supposed benefit to allergy sufferers (immunotherapy). Others prefer it because it’s processed less than sugar, or because they simply love the taste.
People have been eating honey – or slathering it on their bodies – for hundreds of years. In ancient times, honey was used as a sweetener, as medicine to heal wounds, to relieve stomach problems, and even to fight bad breath. It has many of the same uses today. Honey contains trace amounts of acids that contribute to its antimicrobial activity, so when used on the skin it really can help heal wounds and reduce scar formation. The antioxidants in honey have been linked to properties that may fight cancer. Honey inhibits inflammation, leading to a protective effect for the heart and the whole cardiovascular system, and it’s a great remedy to help ease a bad cough. Does local honey really relieve allergies? There is some anecdotal (personal) evidence, but the jury is still out on that with no consistent clinical study results.
So, how do honey and sugar compare nutritionally? To start, both are carbohydrates, made up mainly of glucose and fructose. The body breaks them both down quickly and they each cause a spike in energy and blood sugar levels, although honey has a somewhat gentler effect. Honey weighs in with more calories at 68 per tablespoon versus sugar’s 49 calories per tablespoon. To balance out the calorie factor, honey is sweeter than sugar, so you may need to use less of it in your food. Honey may also be easier to digest because bees have already added enzymes that start to break it down. The bottom line is that both sugar and honey are sweeteners, they are nutritionally very similar, and using too much of either can lead to unwanted consequences such as weight gain, risk of illness, and tooth decay. Whether you use sugar or honey, it’s a great idea to limit consumption. The following tips may help, whichever sweetener you decide to use:
* Cut the amount of sweetener you use for drinks or
cooking in half and see if you still like the taste.
* Cut sweetener in baking by 1/3 or substitute mashed
banana for the sweetener.
* Add spices to substitute for some of the sweetener in a
recipe. Examples that add flavor without the calories are
almond, vanilla, and cinnamon.
Whatever tip you use, you’ll be ahead of the game if you can gradually cut the amount of sweetener you use, whether for cooking, baking, or drinking.
For more information about honey, sugar, or general nutrition, contact your local UF/IFAS Extension Agent.

by Angela Hinkle | Aug 10, 2020
You may be spending more time creating and experimenting in your kitchen these days. But are you taking the time to clean and enjoy the beauty of the kitchen when you’re not making those new culinary masterpieces? Here are 11 super simple kitchen cleanups that can take away the stresses caused by kitchen grime, stink, and clutter.
That’s Dirty!
- Dust and Cover
For space between upper cabinets and the ceiling, begin by using a duster (and soapy sponge if needed) to get rid of all those dust bunnies. Then lay down wax paper (which holds the dust) or newspaper, paper grocery bags, or parchment paper. Then you can just lift the old paper and put down new a few times of year without having to clean years of dust and grime by hand. You may want to start with this because dust may fall from the top. Then work your way down to the rest of the kitchen.
- Clean the Microwave
Add about one cup of water to a large microwave-safe bowl. Cut a lemon in half. Squeeze the lemon juice into the bowl then add the lemon halves too. Microwave on high for about 2 minutes until the liquid boils and the window steams up. Don’t open the door yet; let the bowl sit for about 5-10 minutes. The steam loosens the gunk. Then it’s just an easy wipe down with a sponge inside and out.
- Wipe Down Surfaces
Wipe cabinet shelves and doors, counter tops, and trashcans with warm soapy water. Use the rough side of a double-sided non-scratch sponge for stuck-on areas and the softer side for crumbs and easier messes. You can also disinfect these surfaces with a spray bottle filled with a solution of one tablespoon bleach to one quart water, using paper towels to wipe dry.

Ever Cleaned?
Photo: A. Hinkle
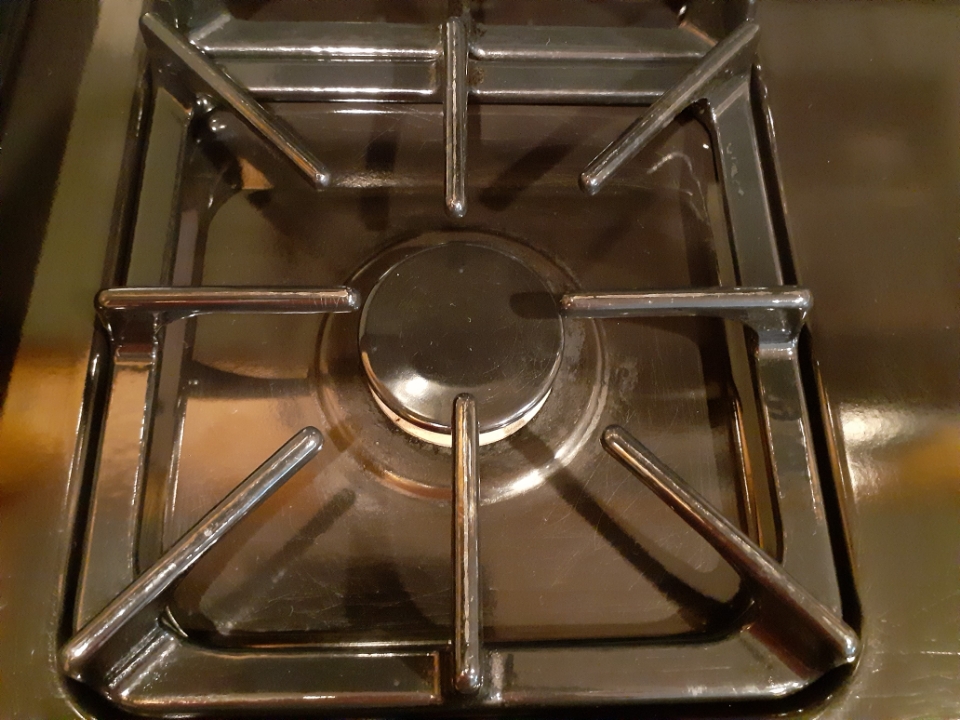
- Scrub a Stove-top
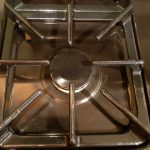
Clean/ready to cook.
Photo: A. Hinkle
First, wipe down with warm soapy water. Put half a cup of baking soda in a bowl. Then slowly pour in hydrogen peroxide, mixing until it becomes a thin paste. Pour a little paste on the stubborn spots and rub with a heavy-duty paper towel or rag. The stains should come right off. For stubborn stains, pour a bit more of the paste onto the stuck-on stain and let it soak for about 10 minutes. Then scrub, scrub, scrub some more until the stove-top is completely clean.
(Check manufacturer’s directions for smooth top stoves.)
- Wash the Refrigerator
Take out shelves, drawers, and other removable parts of your refrigerator and freezer and wash with hot water and dish soap – just as if they were dishes. Wash the inside walls and door compartments of the refrigerator and freezer with a solution of 2 tablespoons baking soda and 4 cups warm water to clean and reduce any strong odors. Rinse with clear warm water and dry with a soft cloth. Wipe off all jars and dishes as you replace them in the refrigerator.
Wash the outside of the refrigerator and freezer with hot soapy water, rinse, and dry. Don’t forget the door gaskets – sticky gaskets can cause air leaks, using more energy over time.
That Stinks!
- The Garbage Can
Sprinkle baking soda into the bottom of the trash bag to help keep the shudder-inducing smellies away and/or add a cotton ball soaked in essential oils to add a nice scent.
- The Stinky Sink
First, run hot water down the drain. Follow that with a cup of baking soda. Finish off with a cup of lemon juice. This fizzy reaction is fun to do with the kids.
- That Refrigerator Smell
Placing an open box of baking soda on a shelf in the refrigerator gets rid of most smells. If your unit has a pan or plastic tray on the very bottom to collect the condensation or defrost water, remove and clean it once or twice a year. Dust and moisture in this pan can lead to mold growth and cause health problems for persons with allergies. It also can develop an unpleasant odor. Check your care manual for the location of the pan.
That’s Got to Go!
- Food – Organize, Keep, Toss
Go through your refrigerator, freezer, and pantry and throw away anything that is expired, moldy, or you have no idea what it is. (To learn more about Use-By, Sell-By, and Best-By dates on food packages, check out Understanding Date Labels.) FIFO (First In First Out) your pantry foods by placing the older foods at the front and newer foods in the back. This way, you use up the foods that will expire first. Throw away any foods with freezer burn.
- Herbalicious…or Not
Toss out any herb or spice containers that are past their best-if-used-by date. Herbs and spices begin to quickly lose their wonderful tastes and aromas after this date. If it has no date and you have no idea how long you’ve had it, best bet is to throw it away.
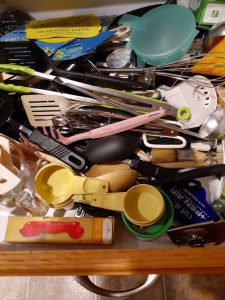
That Kitchen Drawer
Photo Source: A. Hinkle
- That Drawer
Where is that ladle? I know I put it in this drawer. Why is the kitchen tool I want to use always at the bottom of the utensil (or junk) drawer? And why do I have five corkscrews when I don’t even drink wine? Help beat these frustrating dilemmas. De-clutter and organize this drawer. Start by taking everything out – yes, everything. Pick out things you never use. If you’ve had a melon baller for 10 years and used it once nine years ago, put it in a giveaway pile. Put four of the five corkscrews in that pile too. Throw away anything that’s broken or unusable. Wipe out the drawer using a sponge and warm soapy water or disinfectant wipes. Refill the drawer starting in the bottom/back with those tools you don’t use as often. Work your way forward and up with the tools you use most often. Ah, so much better now, and from now on.
Try tackling two or three of these tips a week. You can complete the whole list in one month. Your kitchen will be cleaner and more comfortable, and you can be less stressed and happier.

by Terri Keith | Aug 4, 2020

Credit: Photo by JÉSHOOTS from Canva Free Images
Watermelon is a tasty treat so celebrating watermelons in August sounds like a great reason to break out all the delicious and healthy watermelon recipes I’ve been saving—like this one for Watermelon Limeade.
Did you know that eating watermelon provides your body with Vitamins A, B6, C and potassium? Red watermelons are also a good source of lycopene. A two-cup serving of watermelon only has 80 calories but can provide 6% of your daily value of potassium, 8% of Vitamin A, 25% of Vitamin C and more!
Watermelons are also completely edible, from the fleshy center part all the way out to the green rind. The rind is typically cooked or pickled before being eaten and Watermelon Rind Pickles are popular here in the Southeast. Ninety percent of watermelons sold in stores are seedless, but if you do get a seeded watermelon, the seeds can be cooked and eaten too! They are usually sprouted and roasted or dried first.
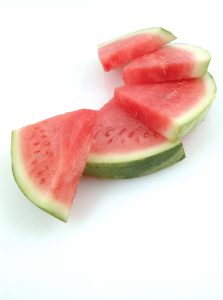
Photo Credit: UF/IFAS File Photo
Buying a whole watermelon versus one that’s pre-cut can be a better value, but you’ll want to make sure you select a ripe melon. There’s an old wives’ tale about thumping the watermelon but the best way to choose is by picking it up and looking at it. Here’s what you’re checking for:
- Look for a watermelon that doesn’t have any bruises, cuts, or dents. Some scratches are normal.
- Check for a buttery or creamy yellow spot. This is an indicator of where the watermelon rested on the ground while it ripened.
- The watermelon should be heavy considering the size. It is 92% water!
When you are preparing your watermelon, make sure to wash it before cutting into it. Use cool running water, scrub it with a produce brush, then dry it with a clean paper towel or cloth towel. Many people skip this step since it’s heavy and can be bulky but it’s an important part of maintaining your food’s safety. If you don’t wash your watermelon before cutting into it, you could be transferring bacteria from the outside of the melon to the inner flesh. Be sure your hands and any knives, utensils and cutting boards you will be using are clean as well.
An uncut watermelon can be stored outside of the refrigerator for a week if it wasn’t previously chilled. Once it has been cut open, it will need to be stored in an airtight container and refrigerated—you’ll want to enjoy it within a week.
When you think about eating watermelon, I bet the first image that comes to mind is eating a plain slice right from the fruit. And that’s great! Just keep in mind that watermelon can be made into drinks, added to salads, frozen into popsicles, incorporated in a stir-fry or slaw or even grilled!
Now, back to those recipes… here’s one for Watermelon Rind Pickles if you want to enjoy them right away (these will only keep for 2 weeks in the refrigerator) and this is one for canning Watermelon Rind Pickles so you have them year-round! And if you want more, try the recipe section at the Produce for Better Health Foundation or the National Watermelon Promotion Board. Celebrate watermelons this August by trying a new recipe or two with this amazing fruit!
Resources:
National Watermelon Promotion Board. Frequently Asked Questions: https://www.watermelon.org/watermelon-101/facts-faqs/
National Watermelon Promotion Board, Nutrition: https://www.watermelon.org/nutrition/nutrient-profile/
Produce for Better Health Foundation, Top 10 Ways to Enjoy Watermelon: https://fruitsandveggies.org/stories/top-10-ways-enjoy-watermelon/