by Judy Corbus | Nov 2, 2020
Ahhh…Fall! I love this time of year – changing leaves, cooler temperatures, and lower humidity make it a joy to be outside. It’s also the perfect time to give your house some TLC after the summer heat and before the cold winter winds blow. Regular maintenance keeps your home healthy, can lower your power bill, and saves you money on costly repair jobs as you catch them early on.

Clear roofline “valleys” of debris to reduce the risk of leaks. Photo source: Judy Corbus
Here are eight things to check inside and outside your home this fall:
Check weather-stripping and caulking around windows and doors. Check for signs of leaks, then repair or replace as needed. This keeps your heated or cooled air in and pests out.
Paint exposed wood. Check eaves, doors and frames, and other wood surfaces for chipped or flaking paint and touch up with a fresh coat to protect against rotting.
Check windows and doors for smooth operation. Install or patch screens, lubricate window tracks and door hinges, and repair as needed.
Clean gutters and downspouts. Use gloved hands or a trowel to scoop out debris from gutters. Flush downspouts with water or use a drain “snake” to clear blockages. Make sure they discharge water 2-3 feet away from the house to protect the foundation; a downspout extender can funnel water further away from the house. Clear gutters and downspouts allow water to drain properly from your roof to reduce the risk of leaks.
Clean roofline “valleys.” The V-shaped area where two roof slopes meet is the perfect catch-all for leaves, pine straw, and other debris. If allowed to accumulate, this debris can trap moisture, leading to a breakdown of the roofing material and eventual leaks. Use a leaf blower to clear the valleys to keep your roof dry and water flowing freely off it.
Clean the chimney. If you plan to use your fireplace, have it inspected and cleaned by a professional chimney cleaning service before you light the first fire of the season. This will remove creosote, an oily by-product of burned wood that builds up inside the chimney and increases the risk of chimney fires.
Change the batteries in all smoke and carbon monoxide detectors. This ensures the batteries are fresh, whether your detectors are hardwired, with a battery backup, or completely battery-operated. Test detectors regularly to ensure they are operating properly.
Have your heating and cooling system serviced. Your service professional will make necessary tune-ups, so your system operates efficiently for a comfortable environment and lower utility bills.
For a complete home maintenance checklist, click here.
Adapted from: https://www.fcs.uga.edu/extension/healthy-housing#mantained
by Angela Hinkle | Oct 27, 2020
The year 2020 has certainly been one filled with challenges. But unlike the challenges of sickness, social distancing, economic hardships, and hurricanes, the 2020 Peanut Butter Challenge offers helpful, feel-good relief.
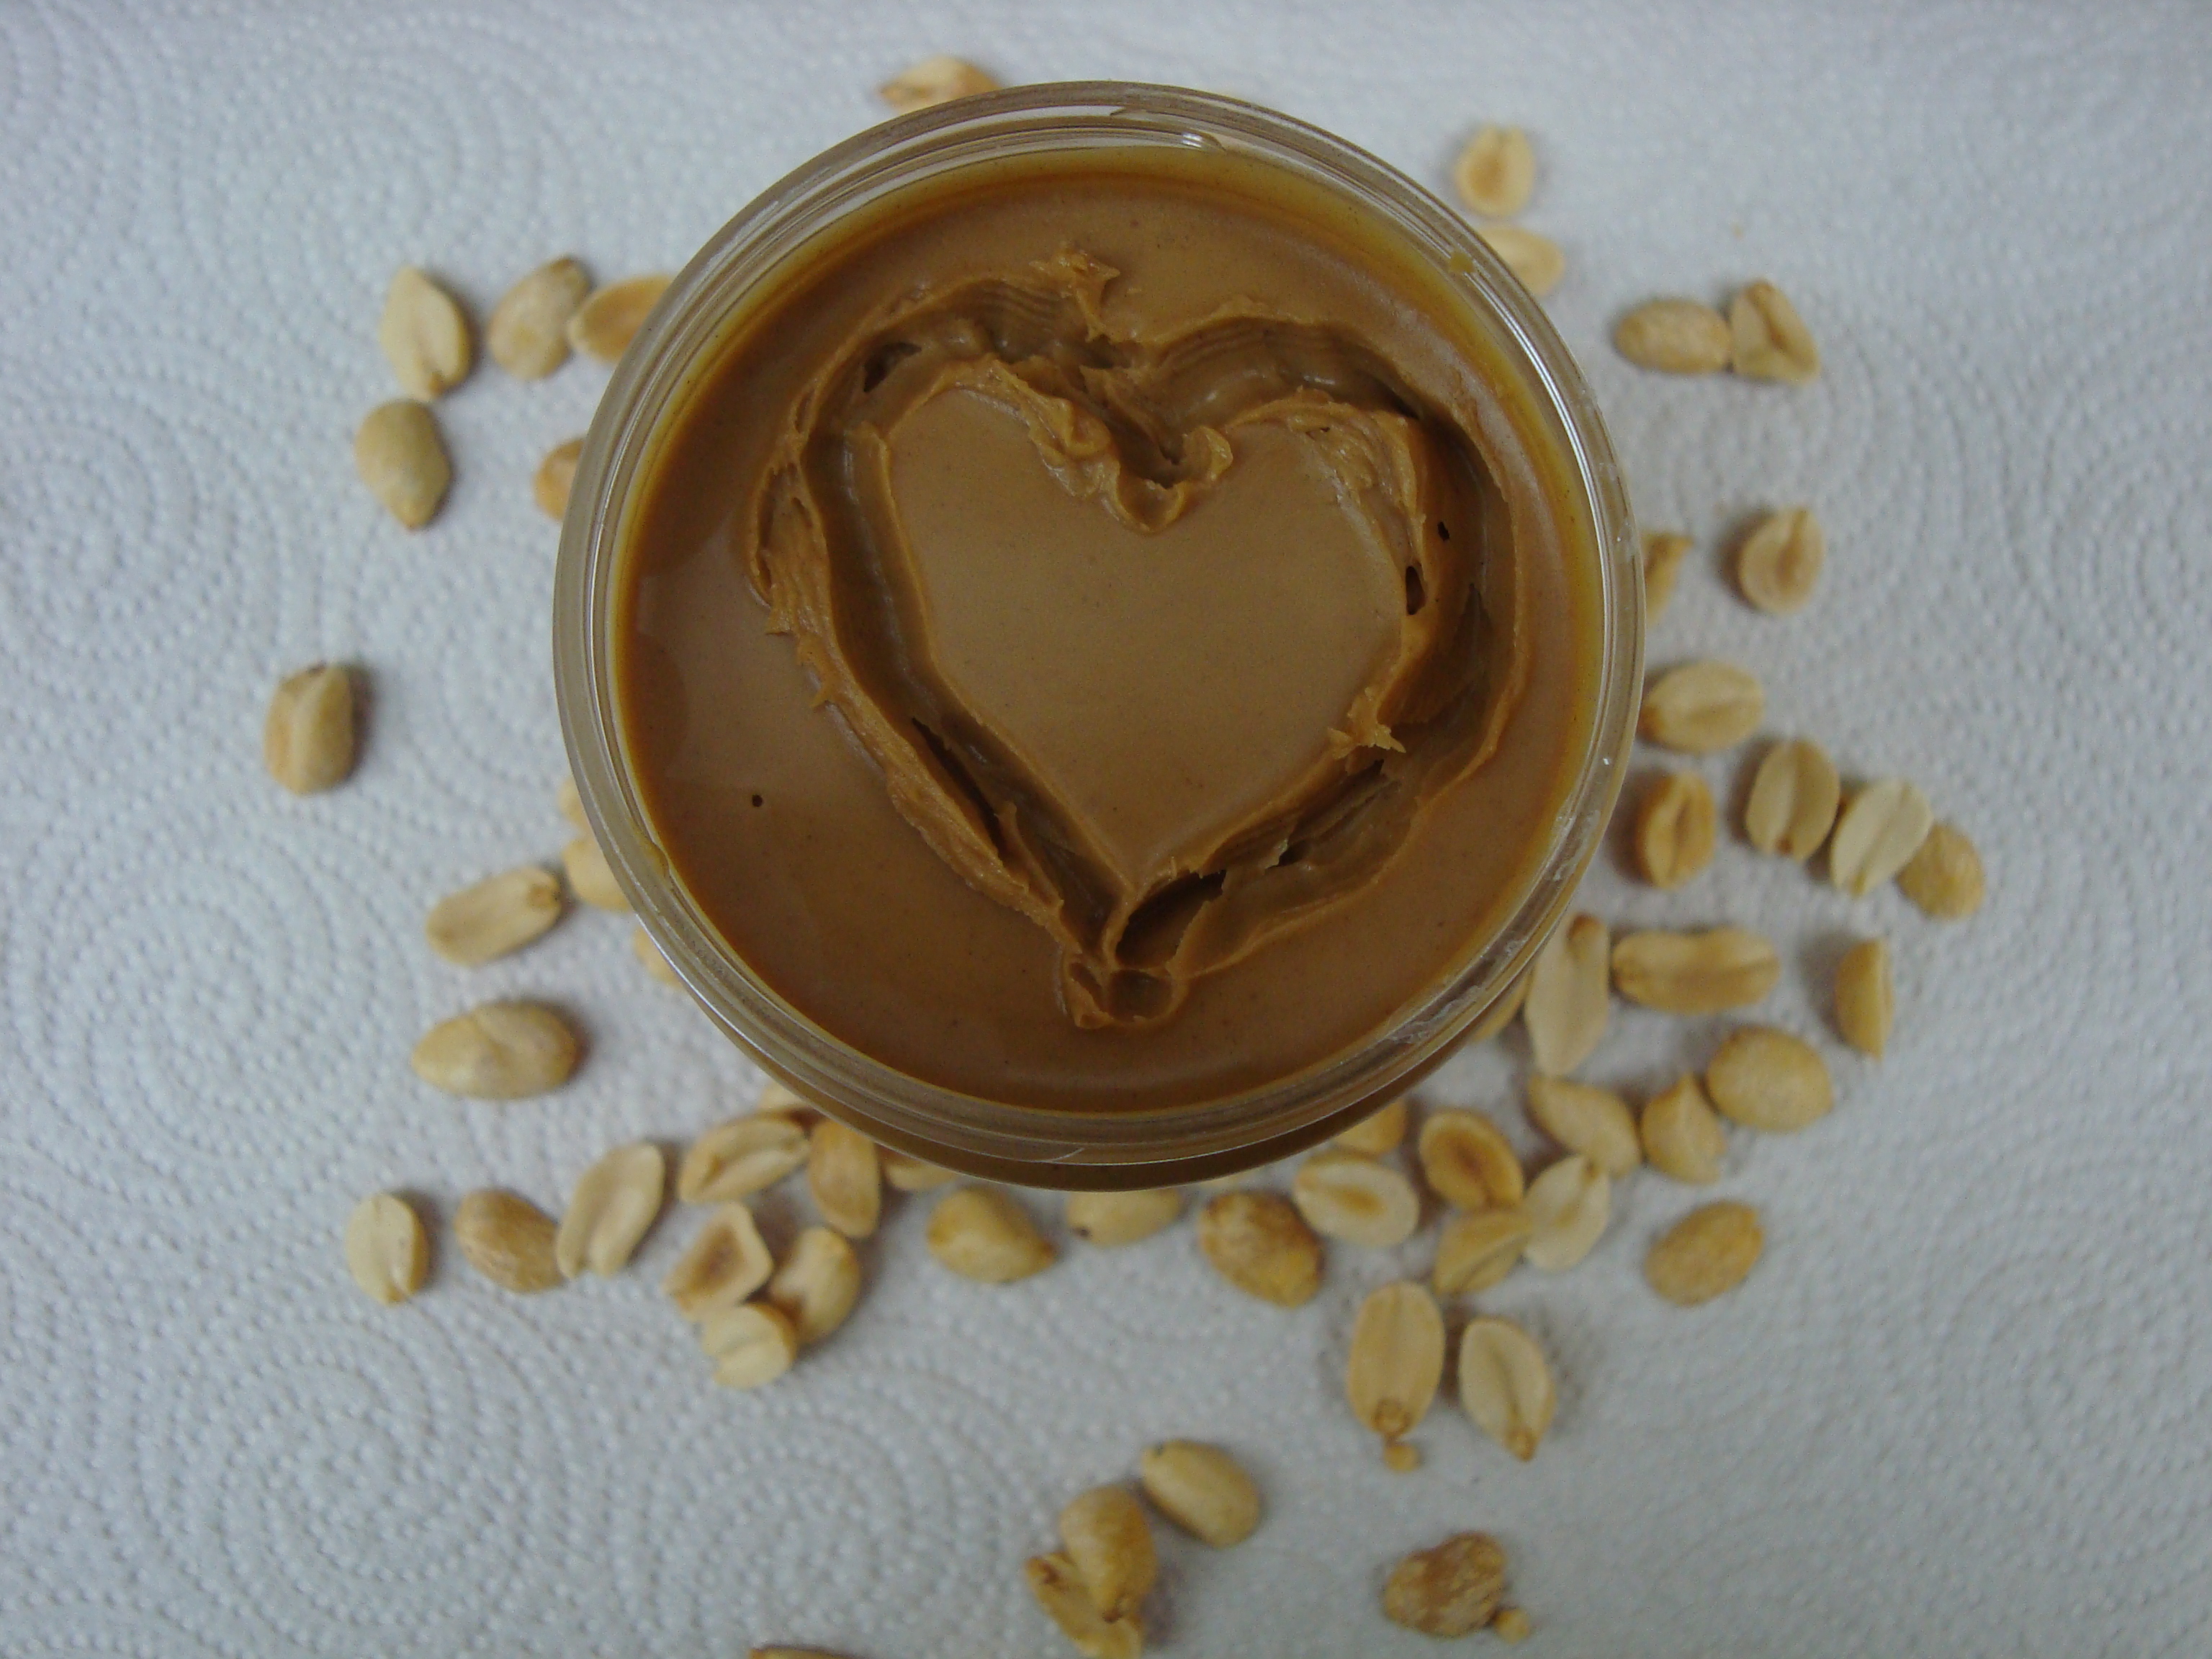
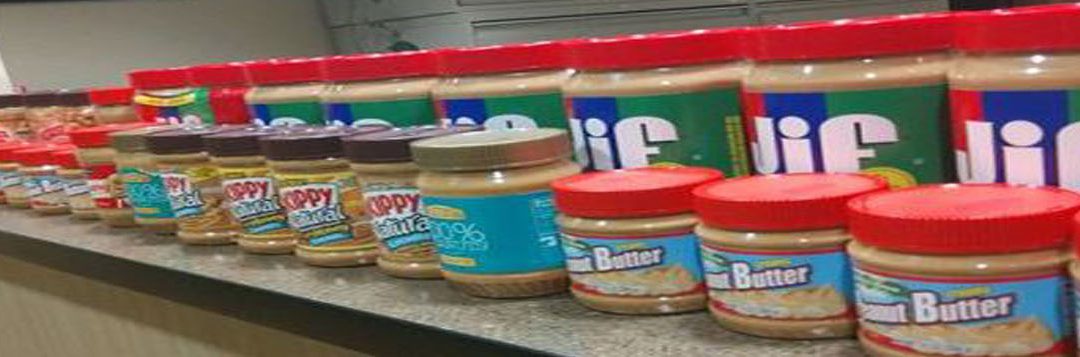
Nutty for Peanut Butter
Photo Source: Angela Hinkle
Throughout Florida, the 2020 Peanut Butter Challenge assists families who could really use some help.
Why
Peanut butter is one of the most requested foods for food pantries and food distribution sites. It’s food-safe at room temperature. You don’t need electricity to keep it hot or cold. People like the taste (although creamy texture is usually preferred over crunchy). Peanut butter can be eaten by itself or spread on crackers or bread or mixed into a smoothie or used to make a satay to go with noodles or chicken. It’s a quick and easy protein source. Peanut butter provides other nutrients our bodies need, like fiber and iron. And, economically speaking, peanut butter easily fits into a modest grocery budget.
When
The 2020 Peanut Butter Challenge runs until the day before Thanksgiving – this year, November 25th. You still have plenty of time, although why delay such a great opportunity? Of course, peanut butter makes a great gift to food pantry and distribution sites all year long.
How

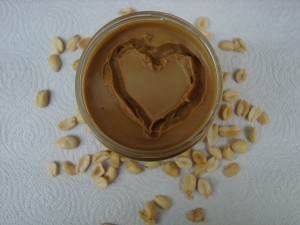
Peanut Butter Challenge Champion
Photo Source: Angela Hinkle
UF/IFAS Extension Offices throughout the Florida Panhandle are collection sites for unopened jars of peanut butter. Bring as many jars as you would like. An agent in your local Extension Office can also direct you to a variety of other peanut butter donation sites. Next time you shop, look for a Buy-one Get-one offer. Donate one and keep one for yourself. Or just pick up a couple extra jars, knowing you may really be helping a family in need.
Who Benefits
Once all the jars of peanut butter are collected, they are then redistributed to local food pantry and distribution sites. Families in need going to those sites benefit with an easy, tasty, quick, healthy way to provide for those in their care. You feel satisfied knowing you found a great way to help a neighbor.
So this year, give the gift of a few jars of peanut butter and conquer the 2020 Peanut Butter Challenge.
by Heidi Copeland | Oct 16, 2020
Fall is in the air! In addition to the crisp, cool weather comes the season of two of the top consumer spending events: Halloween and the winter holidays.
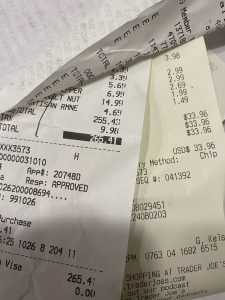
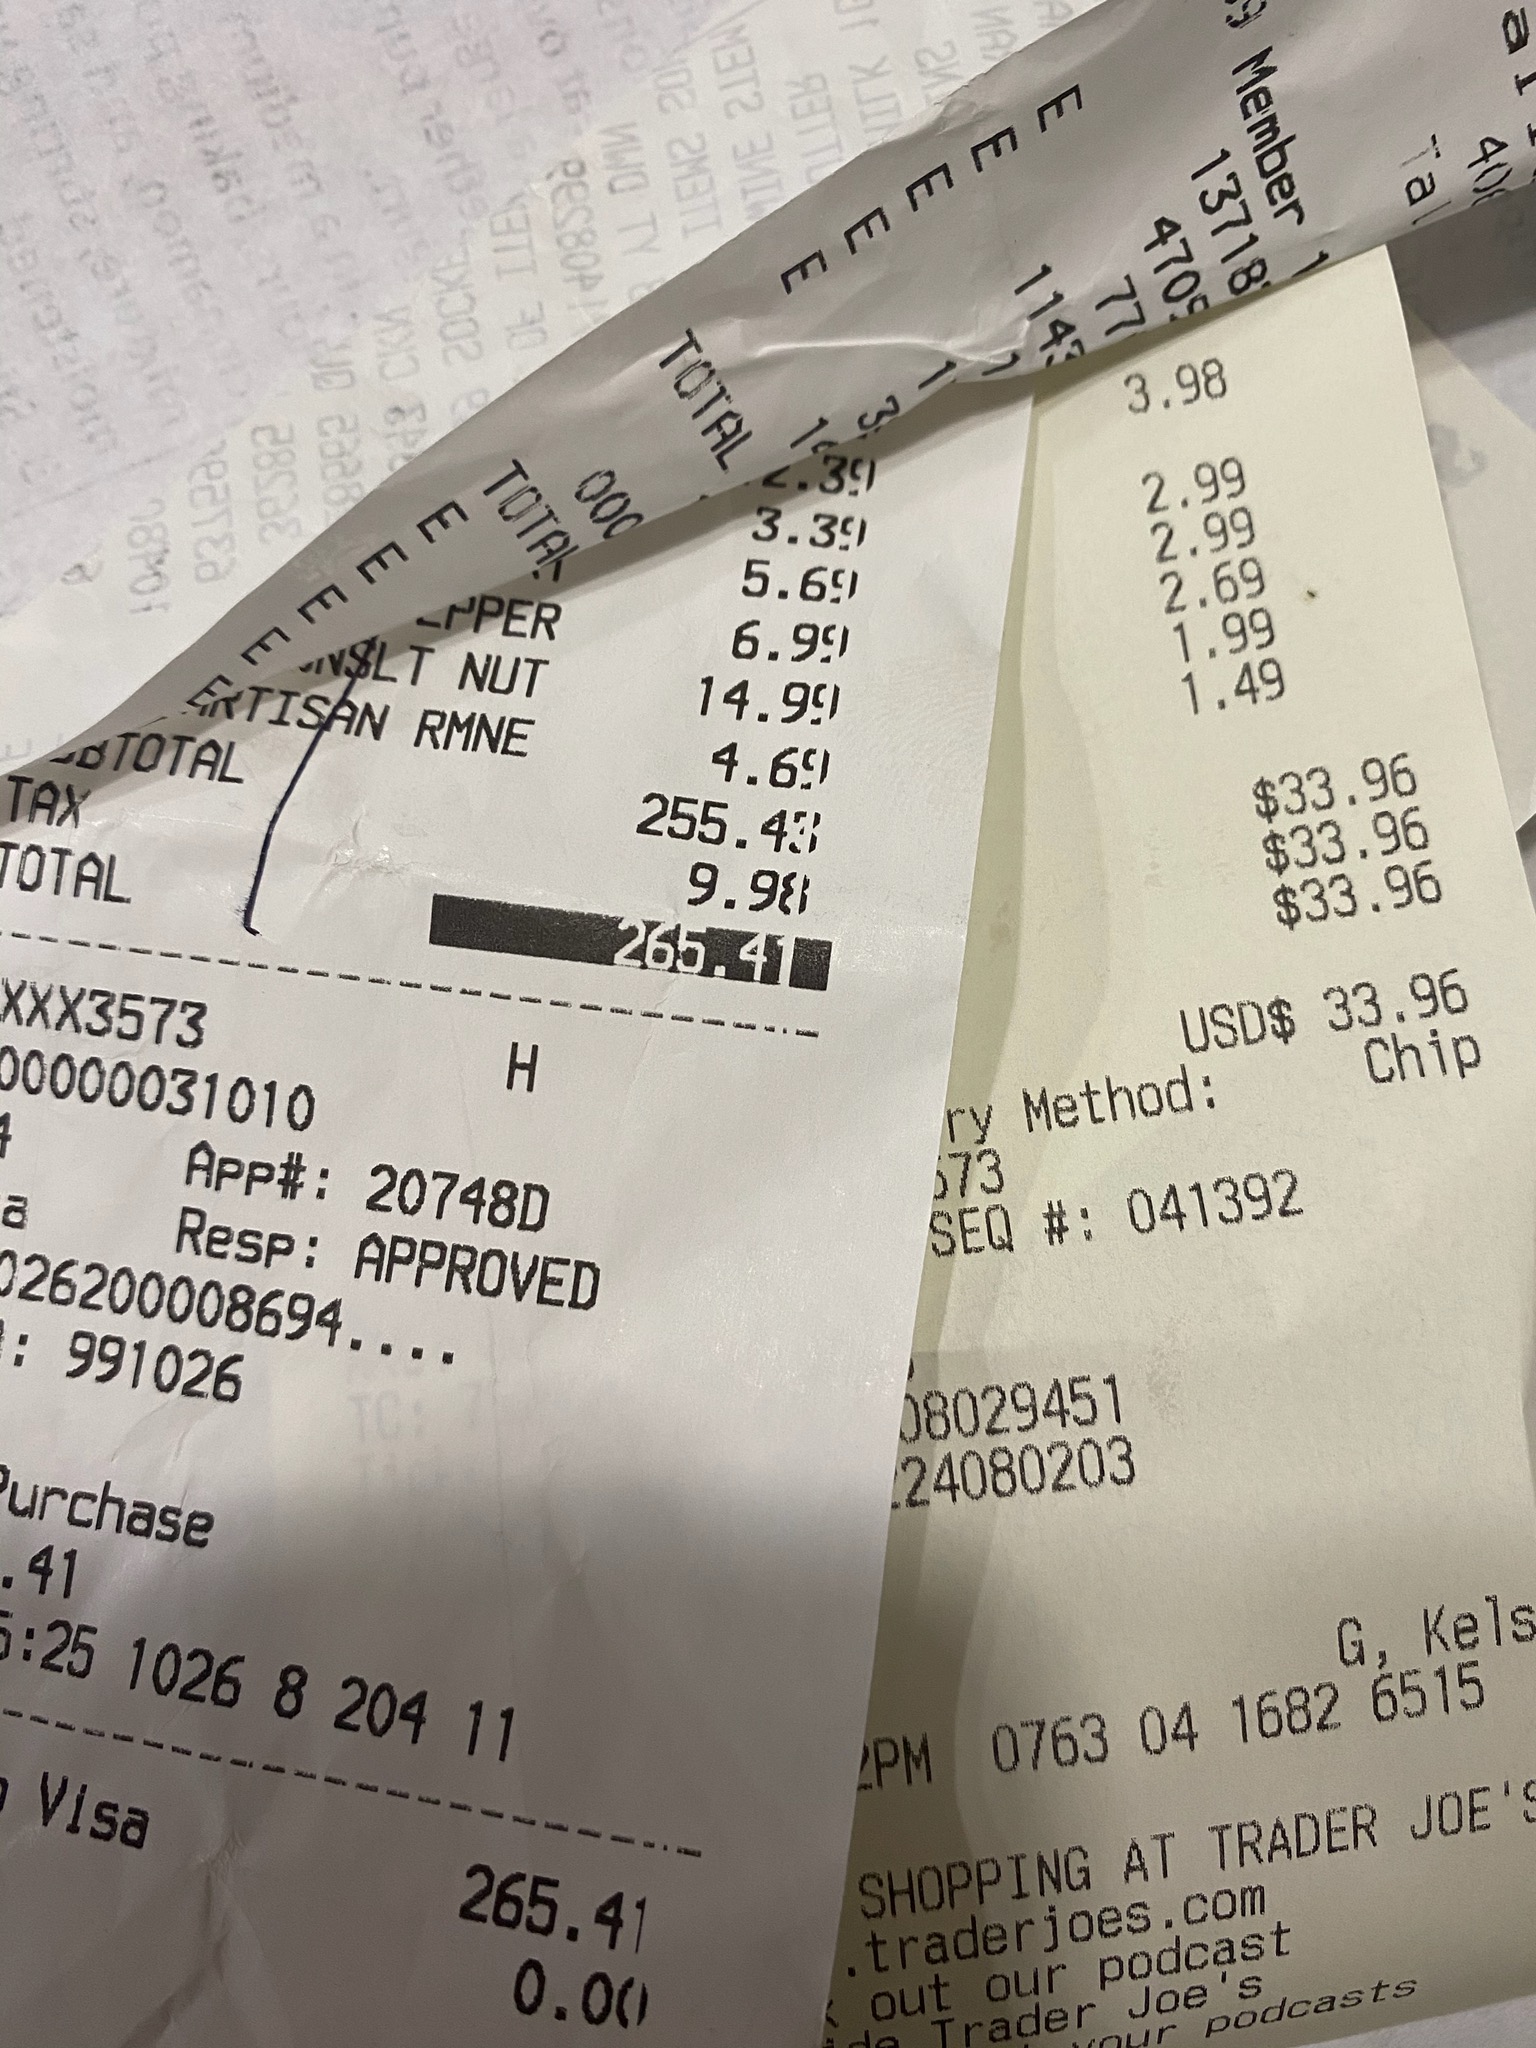
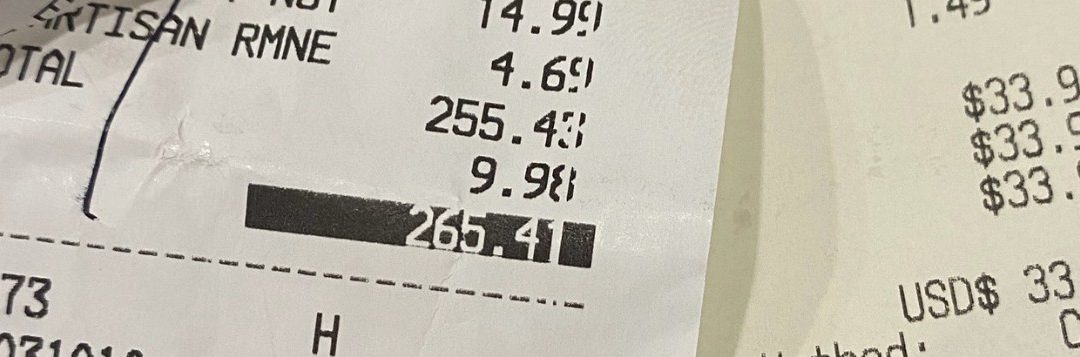
Receipts add up quickly
Photo Source: Heidi Copeland
In 2019, according to the National Retail Federation’s annual survey, U.S. consumers spent $2.6 billion on Halloween candy alone, about $25 per person. This does not even take into consideration all the other bits and pieces that can go into more elaborate Halloween celebrations: decorations, entertainment and activities, costumes (for kids, adults, and animals), cosmetics, food and drink, and even stationery such as cards and party invitations. Overall, Halloween retail spending was estimated at $8.8 billion in 2019.
Next in line are the winter holidays. These include Thanksgiving, Black Friday, Small Business Saturday, Cyber Monday, Super Saturday, and Christmas. Even with the Covid-19 quarantine, consumers are on track to start the 2020 seasonal spending spike. For many, Covid-19 has provided a state of anxiety, isolation and uncertainty. The upcoming seasonal events can be a big boost in providing a bit of nostalgia, normalcy and fun.
It is important, however, to heed the words of The Cat in the Hat: It’s fun to have fun, but you have to know how!
The truth is the US economy thrives on consumer spending! But, be honest, does derailing your budget for stuff you might have to pay for later really make you feel better? Seasonal spending is the type of spending that can lead families into the New Year with stress and anxiety. Be aware of spending temptations and triggers.
Wikipedia defines temptation as a desire to engage in short-term urges for enjoyment. Anything that promises pleasure can be tempting. Triggers are a stimulus that alerts your brain and body to an old, known experience, which makes it more likely that we will engage and buy something.
For example, a trigger could be a smell. You might think, “I smell cinnamon. Cinnamon reminds me of fall at grandma’s. Her house always smelled like cinnamon.” The temptation would then be: “Cinnamon brooms are at the check-out cashier. I think I will buy one.”
Recognize what sets you up – smells, prices, product placement, etc. There is a method behind the madness of marketing, all of which is geared to attract a consumer to make a purchase. This year especially, anything that offers nostalgia, normalcy, or fun will be a hot commodity.
Knowing your values and goals, and creating a plan for spending (budget), will help you organize your spending. Know, too, it is reasonable to spend money on fun stuff this season of spending. But also remember: happiness is a sense of well-being, joy, or contentment. It is very hard to buy that!

by Andrea Albertin | Oct 11, 2020
During and after floods or heavy rains, the soil in your septic system drainfield can become waterlogged. For your septic system to treat wastewater, water needs to drain freely in the drainfield. Special care needs to be taken with your septic system under flood conditions.
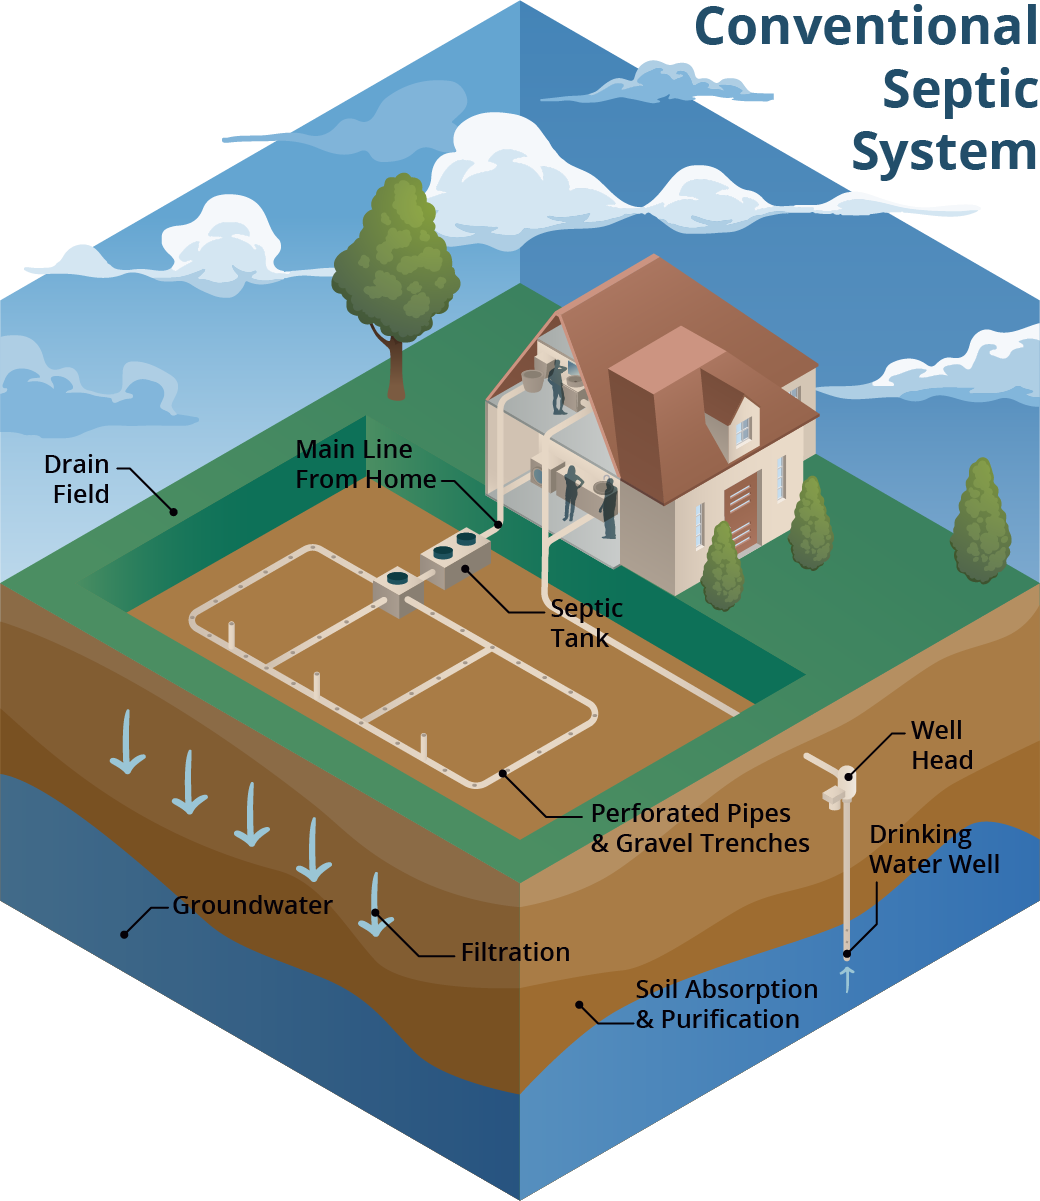
A conventional septic system is made up of a septic tank (a watertight container buried in the gound) and a drainfield. Image: Soil and Water Science Lab UF/IFAS GREC.
A conventional septic system is made up of a septic tank and a drainfield or leach field. Wastewater flows from the septic tank into the drainfield, which is typically made up of a distribution box (to ensure the wastewater is distributed evenly) and a series of trenches or a single bed with perforated PVC pipes. Wastewater seeps from these pipes into the surrounding soil. Most wastewater treatment occurs in the drainfield soil. When working properly, many contaminants, like harmful bacteria, are removed through die-off, filtering and interaction with soil surfaces.
What should you do if flooding occurs?
The U.S. Environmental Protection Agency (EPA) offers these guidelines:
- Relieve pressure on the septic system by using it less or not at all until floodwaters recede and the soil has drained. Under flooded conditions, wastewater can’t drain in the drainfield and can back up in your septic system and household drains. Clean up floodwater in the house without dumping it into the sinks or toilet. This adds additional water that an already saturated drainfield won’t be able to process. Remember that in most homes all water sent down the pipes goes into the septic system.
- Avoid digging around the septic tank and drainfield while the soil is waterlogged. Don’t drive vehicles or equipment over the drainfield. Saturated soil is very susceptible to compaction. By working on your septic system while the soil is still wet, you can compact the soil in your drainfield, and water won’t be able to drain properly. This reduces the drainfield’s ability to treat wastewater and leads to system failure.
- Don’t open or pump the septic tank if the soil is waterlogged. Silt and mud can get into the tank if it is opened and can end up in the drainfield, reducing its drainage capability. Pumping under these conditions can cause a tank to float or ‘pop out’ of the ground, and can damage inlet and outlet pipes.
- If you suspect your system has been damaged, have the tank inspected and serviced by a professional. How can you tell if your system is damaged? Signs include: settling, wastewater backs up into household drains, the soil in the drainfield remains soggy and never fully drains, a foul odor persists around the tank and drainfield.
- Keep rainwater drainage systems away from the septic drainfield. As a preventive measure, make sure that water from roof gutters doesn’t drain towards or into your septic drainfield. This adds an additional source of water that the drainfield has to process.
- Have your private well water tested if your septic system or well were flooded or damaged in any way. Your well water may not be safe to drink or use for household purposes (making ice, cooking, brushing teeth or bathing). You need to have it tested by the Health Department or other certified laboratory for total coliform bacteria and coli to ensure it is safe to use.
For more information on septic system maintenance after flooding, go to:
More information on having your well water tested can be found at:
More Information on conventional and advanced treatment septic systems can be found on the UF/IFAS Septic System website
by Dorothy C. Lee | Oct 11, 2020

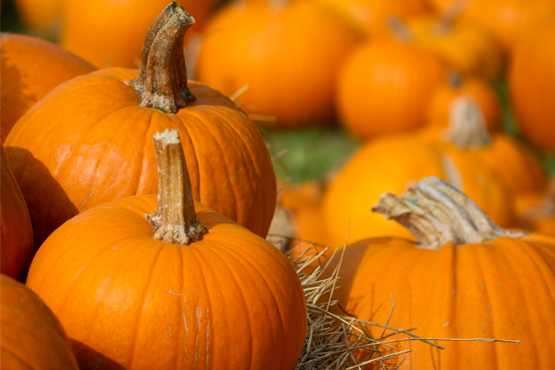
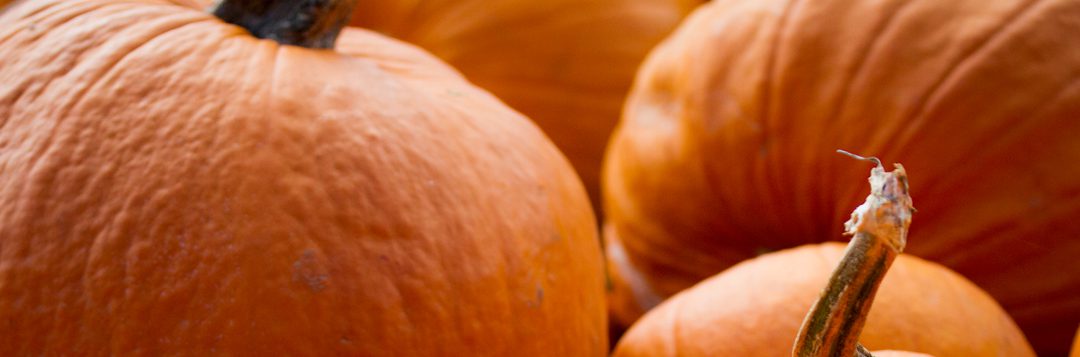
UF/IFAS Photo by Amy Stuart
Pumpkins are not vegetables they are fruits! Pumpkins, gourds, and other varieties of squash are all members of the Cucurbitaceae family. Pumpkins have been grown in the Americas for thousands of years. There was probably some kind of pumpkin served at the first Thanksgiving Feast.
Use & Preparation
To prepare fresh pumpkin for uses in baking, roasting or adding to casserole dishes, scoop out the seeds and cut the pumpkin into quarters and lay the pieces in a pan of water, filled to about one inch. Bake until the pumpkin is tender. Peel and mash. Put cooked pumpkin through a strainer or sieve.
Selection
Small to medium size pumpkins are best for baking and cooking. Look for heavy pumpkins, and ones that do not have a hollow sound.
Storage
Pumpkins should be stored in a cool dry place. Store pumpkins upside down so the stem end is on the bottom. Fresh field pumpkins can last 3 – 4 months. Cooked refrigerated pumpkins last 5 to 7 days and up to one month in the freezer.
Roasted Pumpkin Seed (in the microwave)
- 1 cup pumpkin seeds
- 1 tablespoon butter
- 1/4 teaspoon seasoned salt
- Remove any fiber clinging to pumpkin seeds
- Wash and drain well.
- Spread seeds in a single layer on a baking sheet to dry, stirring occasionally.
- Line a 9-inch microwavable dish with two layers of paper towels. Sprinkle seeds on the towels.
- Microwave at HIGH 10 – 14 minutes or until seeds are dry but still white, stirring every 5 minutes. Let stand 5 minutes.
- Place butter in a 2-cup measure, microwave until melted. Add seeds and salt, stir to coat.
- Serve as a snack.
Pumpkin Pie
FILLING:
- 3/4 cup packed brown sugar
- 1 3/4 teaspoons pumpkin pie spice
- 1/4 teaspoon salt
- 1 (12-ounce) can evaporated low-fat milk
- 2 eggs
- 1 1/2 cups of fresh pumpkin (cooked and drained)
CRUST:
- Frozen 9 inch deep pie crust
TOPPING:
- 1/4 cup whipping cream
- 2 teaspoons powdered sugar
Position oven rack to lowest position.
Preheat oven to 425 degrees. Prepare fresh pumpkin as directed above. Be sure to drain the pumpkin after cooking. Now you are ready to use the pumpkin in recipes. To prepare filling, combine first 5 ingredients in a large bowl, stirring with a whisk. Add pumpkin, and stir with a whisk until smooth. Pour pumpkin mixture into the crust. Place pie plate on a baking sheet. Place baking sheet on lowest oven rack. Bake at 425 degrees for 10 minutes. Reduce oven temperature to 350 degrees (do not remove pie from oven); bake an additional 30 minutes or until almost set. Cool completely on wire rack. To prepare topping, beat cream with a mixer at high speed until stiff peaks form. Fold in the powdered sugar until blended. Serve with pie. Yield 1 Pie, about 6 – 8 pieces.
Available Fresh
Harvested September – October
by Amy Mullins, PhD, RDN | Oct 9, 2020
By Matthew Poland and Amy Mullins, MS, RDN
For Floridians, getting enough sunlight during the winter may not be an issue that frequently crosses our sun-kissed minds. However, by spending winter vacation up north or by simply not spending the recommended 10-30 minutes per day outdoors, we could be putting ourselves at risk. In fact, it is estimated that between 20-80% of men and women from the US, Canada and Europe are vitamin D deficient, with rates as high as 45-100% of vitamin D deficiency in some places throughout Asia (1). Even though Florida seems to be as good as it gets for soaking in the sun, a 2005 study of residents of Miami found that between 38-40% were vitamin D deficient (2).
Vitamin D plays a much larger role in our health then we tend to realize. In addition to being a hormone responsible for regulation of bone metabolism, vitamin D has important functions in pregnancy, inflammation, cell growth, neurotransmitter production, immune and neuromuscular function, and glucose metabolism (3). Meanwhile, low vitamin D levels have been associated with increased risk for various diseases including cardiovascular disease, cancer, diabetes, and even an increased risk of mortality (1).

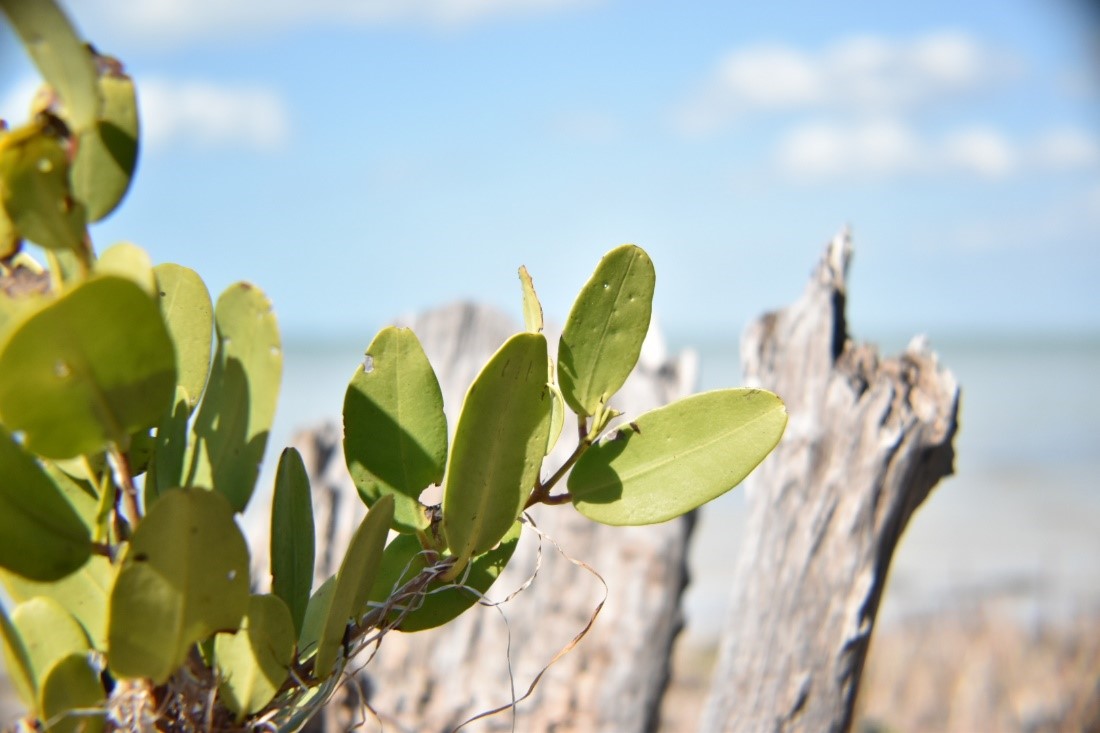
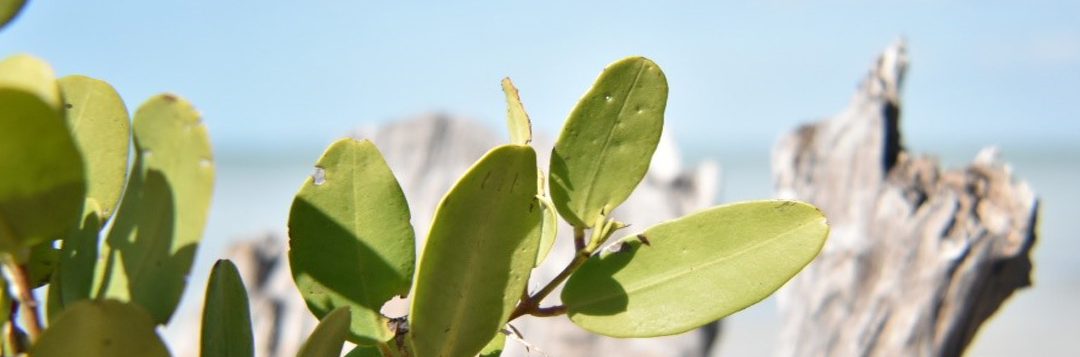
Go outside Photo Source: Matthew Poland
It is well known that sunlight exposure is the major source of vitamin D in our bodies, although some can be absorbed through our diet. However, as we spend less and less time outdoors, our risk of vitamin D deficiency steadily increases. On top of this, there are a variety of factors that can play a role in the ability of an individual to produce vitamin D including skin pigmentation, clothing, sunscreen, and of course where we live. In addition, a likely reason for such a high amount of Miami’s residents being vitamin D deficient is due to the smog levels of larger cities. Air pollution can absorb the UVB rays that our bodies convert into vitamin D, and prevent them from ever reaching us. Plus, in the wintertime, there is less sunlight to be had, which brings into play the next dangerous winter side effect: seasonal affective disorder, appropriately given the acronym, SAD.
While SAD may seem like a northern phenomenon, and it is with up to 9% of Alaska’s residents experiencing SAD compared to Florida’s 1%, it also involves the lack of sunlight during the winter (4). This lack of sunlight interferes with the body’s ability to regulate its circadian rhythm, the 24-hour internal clock that is typically synced with the light-dark cycles of our environment (4). Having shorter days and longer nights in winter is not unique to the north. With some Florida days offering only 10 hours of sunlight and indoor jobs that often consume 8 to 9 hours of our day, there is suddenly limited time to be in the sun (8). Vitamin D has been theorized to play a role in serotonin production, a neurotransmitter responsible for our feelings of well-being and happiness, and the insufficiency or deficiency of vitamin D has also been associated with clinical depressive symptoms (5). In summation, the lack of sunlight during the winter can create depressive symptoms and decreased absorption of vitamin D also leads to further depressive symptoms.
Although this self-perpetuating spiral of doom and gloom may be a bit of a downer, here are a few tips for getting through winter while keeping your vitamin D levels, circadian rhythm, and sanity in check:
- Go outside! Unfortunately, the angle of the sun in the wintertime reduces the availability of ultraviolet sunlight. It is important, however, to spend some time outdoors on sunnier days to allow for vitamin D synthesis, even if it’s not at optimal levels.(6).
- Eat a balanced, healthy diet consisting of a wide variety of foods. Although most foods don’t naturally contain vitamin D, wild-caught salmon and mushrooms being the exceptions, many foods like dairy are fortified with vitamin D (1). However, diet alone has been shown to be insufficient in providing vitamin D to children and adults in the US (7). If through food and sun, your vitamin D levels are not where they need to be, supplementation of around 1000 IUs per day can bring levels back to normal.
- Always talk with your healthcare provider before taking any dietary supplements. Have your vitamin D levels evaluated by your physician. Many people can go throughout life not knowing they are deficient in vitamin D until a broken bone necessitates testing.
So, with winter approaching, keep in mind the importance of being outside and eating well to feel your best as we roll into 2021!
Photo credit: Matthew Poland
Matthew Poland is a Graduate Student in the Department of Food, Nutrition, and Exercise Sciences at Florida State University who is currently working on the Dietetic Internship to become a Registered Dietitian/Nutritionist (RDN).
References:
- Hossein-nezhad, A., & Holick, M. F. (2013). Vitamin D for health: a global perspective. Mayo Clinic proceedings, 88(7), 720–755. https://doi.org/10.1016/j.mayocp.2013.05.011
- Levis S, Gomez A, Jimenez C, et al. Vitamin D deficiency and seasonal variation in an adult South Florida population. J Clin Endocrinol Metab. 2005;90:1557–1562.
- Vitamin D – Fact Sheet for Health Professionals. (2020, September 11). Retrieved September 17, 2020, from https://ods.od.nih.gov/factsheets/VitaminD-HealthProfessional/
- Melrose S. (2015). Seasonal Affective Disorder: An Overview of Assessment and Treatment Approaches. Depression research and treatment, 2015, 178564. https://doi.org/10.1155/2015/178564
- Kerr, D. C., Zava, D. T., Piper, W. T., Saturn, S. R., Frei, B., & Gombart, A. F. (2015). Associations between vitamin D levels and depressive symptoms in healthy young adult women. Psychiatry research, 227(1), 46–51. https://doi.org/10.1016/j.psychres.2015.02.016
- Webb, A. R., Kline, L., & Holick, M. F. (1988). Influence of season and latitude on the cutaneous synthesis of vitamin D3: exposure to winter sunlight in Boston and Edmonton will not promote vitamin D3 synthesis in human skin. The Journal of clinical endocrinology and metabolism, 67(2), 373–378. https://doi.org/10.1210/jcem-67-2-373
- Moore, C., Murphy, M. M., Keast, D. R., & Holick, M. F. (2004). Vitamin D intake in the United States. Journal of the American Dietetic Association, 104(6), 980–983. https://doi.org/10.1016/j.jada.2004.03.028
- Tallahassee, Florida, USA – Sunrise, Sunset, and Daylength, September 2020. (n.d.). Retrieved September 19, 2020, from https://www.timeanddate.com/sun/usa/tallahassee