by Melanie Taylor | Jul 8, 2018
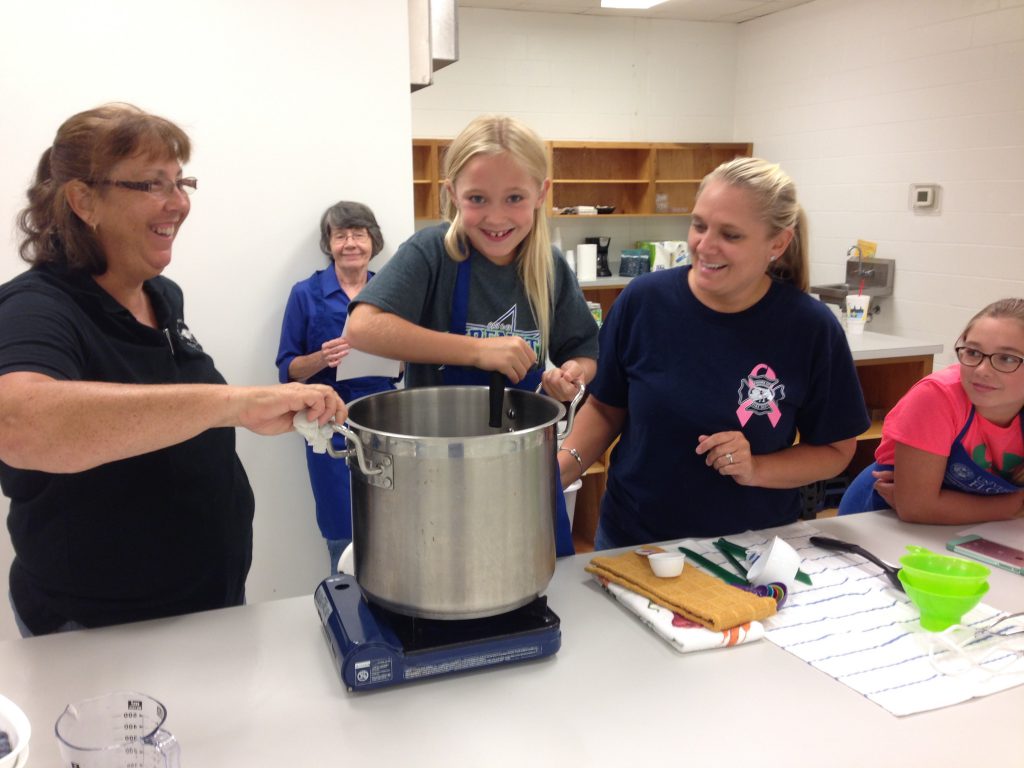
Youth learn food preservation skills. Photo source: Melanie Taylor
At this point in the summer, many parents are at a loss for what to do to keep their children engaged and “off the couch.” How about a focus on healthy eating and food preservation? If you have a backyard garden be sure to pick the fruits and vegetables at their peak readiness. If you do not have a garden make a family trip to the local farmers market and/or a local u-pick farm.
Of course, fresh fruits and vegetables are full of nutrition and taste, but if you have or buy more than your family can eat in a few days’ time, be sure to make preparations to teach your children how to preserve those foods to eat later in the year. There is nothing more enjoyable than having fruit jam on biscuits or summer vegetables in your soup during the cold depths of winter.
There are six different methods of food preservation to teach your children. They are boiling water/water bath canning, making jam, pickling, freezing, drying, and pressure canning. The easiest method being freezing and the most complex and time consuming being pressure canning. No matter which ones you choose to teach your children be sure to follow valid recipes and procedures. Family and Consumer Science Extension Agents always recommend using the most current recipes and procedures from The National Center for Home Food Preservation, which are maintained at https://nchfp.uga.edu/. The National Center for Home Food Preservation is your source for current research-based recommendations for most methods of home food preservation. The Center was established with funding from the Cooperative State Research, Education and Extension Service, U.S. Department of Agriculture (CSREES-USDA) to address food safety concerns for those who practice and teach home food preservation and processing methods. Many of the recipes are available for free on the website, or you can order the 6th edition of the “So Easy to Preserve” food preservation book at https://setp.uga.edu/.
Specific to children, there is also a Put It Up! Food Preservation for Youth curriculum through the University of Georgia, which is a series of informal educational lessons that guide youth to explore and understand the science of safe food preservation. This free curriculum can be found online at https://ugeorgia.ca1.qualtrics.com/jfe/form/SV_a5Y4IfBZ2Vh0EIt after a quick questionnaire of how you plan to use the curriculum.
Teaching these food preservation skills to your children will be a fun-filled and very educational opportunity. Be sure to use the above resources to assist you in the food safety methods to be certain your products are safe for consumption. Enjoy this special time in the garden and kitchen with your children this summer.
Resources:
National Center for Home Food Preservation https://nchfp.uga.edu/
“So Easy to Preserve” https://setp.uga.edu/
Put It Up! Food Preservation for Youth https://ugeorgia.ca1.qualtrics.com/jfe/form/SV_a5Y4IfBZ2Vh0EIt


by Dorothy C. Lee | Apr 24, 2018
Grill Out Safely This Summer
Perhaps it’s the gentle climate with temperatures conducive to outdoor cooking for much of the year. Or it might be that an outdoor get-together with family, friends, and good food is a great way to celebrate the summer. Whatever the reasons, outdoor cookery is firmly established as a tradition in the South.
Outdoor cookery has given rise to many unique and flavor-filled recipes for foods that can be prepared on even the simplest grill. If long days of summer have you longing to fire up the grill, the following tips, delicious recipes, and helpful grilling charts will help make your outdoor cooking experience easy, safe, and rewarding.
Grilling
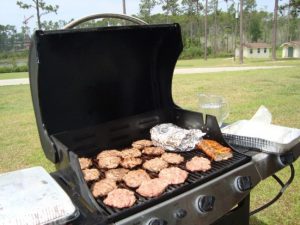
Photo Credit: Dorothy Lee
Safety is an important consideration when operating a grill. Improper use can cause a fire or explosion. Keep the area around a lighted grill clear of combustible materials, and never use a grill in an enclosed area such as a sheltered patio or a garage. Avoid wearing loose-fitting clothing that may catch fire. The cooking grids should be cleaned after every cookout. The last thing you want to do is cause someone to become ill due to improper cleaning or unsafe food preparation practices.
Wash your hands with hot soapy water for at least 20 seconds before starting to prepare any foods and wash your hands again if you do anything else—change a diaper, pet an animal, or blow your nose, for example. Cover any cuts or sores on your hands with a bandage or use plastic gloves. If you sneeze or cough while preparing foods, cover your mouth and nose with a tissue and turn your face away, or cough into your sleeve. Always wash your hands afterwards.
Bacteria multiply rapidly at room temperature. Most food-borne illness-causing bacteria cannot grow well at temperatures below 40°F or above 140°F. Thaw foods in the refrigerator or in the microwave. Never leave foods out at room temperature.
Keep everything that touches food clean. Bacteria can hitch rides around your kitchen on all sorts of things—plates and cutting boards, dirty utensils, dish rags and sponges, unwashed hands.
Never chop fresh vegetables or salad ingredients on a cutting board that was used for raw meat without properly cleaning it first. If possible, keep a separate cutting board just for the preparation of raw meat, poultry, and fish.
Wash cutting boards thoroughly with hot soapy water, and then sanitize with a solution of household bleach and water.
The most popular meat for outdoor grilling is beef, particularly ground beef. If ground beef burgers are to be the feature of your next cookout select freshly ground meat that has fat content of about 15%. Form the meat into loose patties. Cook hamburger patties to an internal temperature of 160°F.
Keep raw meat, poultry, fish, and their juices from coming into contact with other foods during preparation, especially foods that will not be cooked. Wash all utensils and your hands with hot soapy water after contact with raw meat.
Marinate meat, poultry and seafood in the refrigerator in a covered, non-metal container. Throw away any leftover marinade.
Grill food to a safe internal temperature. Use a meat thermometer to assure correct doneness of the food being grilled.
Safe minimum internal temperatures:
- Poultry (whole, ground, and breasts): 165°F
- Hamburgers, beef: 160°F
- Beef, veal, and lamb (steaks, roasts & chops):
- Medium rare: 145°F
- Medium: 160°F.
Hold meat at 140°F until served. Use a clean platter for transferring cooked meat from grill to serving table.
Summer is the time for getting together with friends and family and cooking outdoors. Make your outdoor grilling experience safe and enjoyable.
Safe Food Handling Fact Sheet, USDA, Food Safety and Inspection Series, https://www.foodsafety.gov/
When we think of foods to prepare outdoors we almost immediately think meat. However, grilled vegetables and grilled fruits make a delicious accompaniment to grilled meats.
Corn on the Cob Kabob
- 2 medium red onions, cut into 8 wedges each
- 4 fresh ears sweet corn, husked, silks removed, and cut crosswise into 4 pieces each
- Nonstick cooking spray
- ¼ cup butter, melted
- ¼ teaspoon garlic powder
- ¼ teaspoon onion powder
- ¼ teaspoon dried oregano, crushed
On each of eight 12-inch wooden skewers, alternately thread 2 onion wedges and 2 pieces of corn, leaving about ¼ inch between each vegetable. Lightly coat vegetables with nonstick spray.
For a charcoal grill, grill kabobs on the rack of an uncovered grill directly over medium coals for 15 to 18 minutes or until vegetables are tender and brown, turning occasionally to brown evenly. (For a gas grill, preheat grill. Reduce heat to medium. Place kabobs on grill rack over heat. Cover, grill as above.)
In a small bowl, combine butter, garlic powder, onion powder and oregano. Brush over vegetables. Makes 4 servings.
Cinnamon-Grilled Peaches
- 4 large ripe freestone peaches
- Eight 3-inch cinnamon sticks
- 8 fresh mint leaves
- 4 tablespoons unsalted butter
- ¼ cup firmly packed brown sugar
- ¼ cup dark rum
- ½ teaspoon ground cinnamon
- Pinch salt
- Peach or vanilla ice cream, for serving
Rinse the peaches and blot them dry with paper towels. Cut each peach in half and discard the pit. Then, cut each peach into quarters. Using a pointed chopstick or metal skewer, make a starter hole in the center of each peach quarter, working from the pit side to the skin side. Skewer 2 peach quarters on each cinnamon stick, placing a mint left between the 2 quarters.
Combine the butter, brown sugar, rum, cinnamon, and salt in a saucepan and bring to a boil over high heat. Let the glaze boil until thick and syrupy, about 5 minutes.
Prepare and preheat the grill to high. Brush and oil the grate. Next, place the skewered peaches on the hot grate and grill until nicely browned, 3 to 4 minutes per side, basting with the rum and butter glaze. Spoon any remaining glaze over the grilled peaches and serve at once. Peach or vanilla ice cream make a great accompaniment.
by Kendra Hughson | Apr 10, 2018
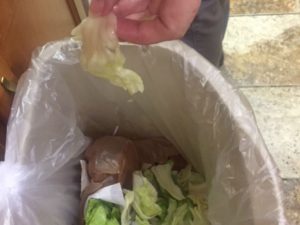
Save money and the environment by reducing the amount of food thrown in the trash. Credit: Kendra Zamojski
A hot topic in kitchens and restaurants these days is food waste. Chefs, restaurant managers, and even consumers are looking for ways to save money and the environment by reducing the amount of food tossed in the trash.
The United States Department of Agriculture estimates about 31% of food is lost at the retail and consumer level. Much of this food loss ends up in the landfill. The USDA is challenging consumers to reduce, recover and recycle their food waste.
The Basic Level:
If you know your family is tossing a lot of food in the trash and you want some easy ways to reduce the waste, try these:
- Plan your meals using foods you already have on hand and choosing foods you know you will use before they go bad. Substitute ingredients to include food you already have in the pantry or refrigerator.
- Create grocery lists using your family meal plan and checking for foods you already have on hand.
- Plan to use or freeze leftovers for dinners or lunches throughout the week.
- Watch what is being tossed and reduce your purchase of these items.
The Intermediate Level:
If your family is already good at the basic level and you want to take food waste reduction to the next level, try these steps:
- Make food purchases with packaging in mind. Choose items with minimal packaging.
- Store foods properly, with food safety in mind. Use food storage guides to properly store food items safely.
- Freeze what you can’t use in time. Follow these guides for freezing vegetables and freezing prepared foods:
- Use edible parts that you don’t usually eat when it’s safe. For example, save broccoli stalks and stems or potato peels for use in soups and casseroles.
Food Recovery Level:
If your family is ready to divert food from the landfill, try these steps:
- Compost your food waste. Contact your local Extension office for more information. Check out this resource on composting.
- Donate unused, unspoiled food.
Next time you throw food in the trash, take a minute to think about taking the challenge to reduce food waste. A few easy steps can help save your family money and the environment for future generations to enjoy.
Kendra Zamojski is a Regional Specialized Agent in Family and Consumer Sciences with the University of Florida/IFAS Extension. For more information, contact Kendra at hughson@ufl.edu.

by Melanie Taylor | Feb 26, 2018
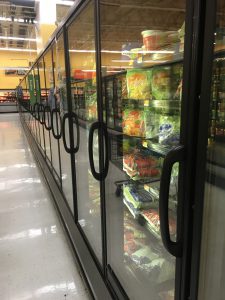 Based on information provided by the American Frozen Food Institute, on average, 40% of all food in the United States goes uneaten and wasted, which is an annual loss of $165 million. Fresh fruit and vegetable waste makes up nearly one-third of this number. With these discouraging numbers and financial losses, how can the frozen food industry help to solve this problem? Frozen food and beverage companies work hard to create the safest and best freezing techniques to keep food safe by preventing microorganisms from growing and by slowing down the enzyme activity that causes food to spoil. Modern freezing techniques have been designed to preserve food at its peak freshness and nutrient content. Frozen food makers continue to work with the U.S. Department of Agriculture (USDA) and the U.S. Food and Drug Administration (FDA) to keep America’s food supply the safest in the world.
Freezing means less wasted food and easier access to well-balanced, portion-controlled nutritious foods during every season and in every community. Many times, frozen foods cost less per serving, but most importantly, they have a longer shelf life than fresh or refrigerated foods.
How do frozen foods play such an integral part in the well-balanced, nutritious diets of Americans? The frozen food aisle offers a large variety of vegetables, fruits, and other prepared foods at reasonable prices year ’round. Freezing reduces the need for additives and preservatives. Frozen foods also provide nutritious options that fit into all of the food groups suggested by Choose MyPlate.gov (fruits, vegetables, whole grains, protein, and dairy). They also are a sensible choice when trying to control calories and fat, sugar, saturated fat, and sodium intake. In addition, unused products can be placed back in the freezer for later use.
If you have concerns about frozen foods, it’s time to rethink them. Let’s BUST those crazy frozen food myths swirling around out there!!!
FROZEN FOOD MYTHS VS. FACTS
MYTH: FROZEN FRUITS AND VEGGIES AREN’T AS NUTRITIOUS AS FRESH
FACT: Recent studies found there is no difference in nutrition between frozen and fresh produce.
MYTH: FROZEN FOODS ARE READY TO EAT
FACT: Frozen foods are ready to cook, not ready to eat. As their name suggests, ready-to-cook foods must be cooked or baked according to package instructions.
MYTH: FROZEN MEALS DON’T USE REAL INGREDIENTS
FACT: The freezer aisles of your supermarket are filled with meals made with the highest quality ingredients and prepared the way you would prepare them (if you had the time).
MYTH: FROZEN MEALS AREN’T ENVIRONMENTALLY FRIENDLY
FACT: Actually, frozen foods minimize the amount of spoiled food we throw away because they are already portioned out, so we can take what we need and save the rest.
MYTH: FROZEN MEALS ARE MORE EXPENSIVE THAN RESTAURANT TAKE-OUT MEALS
FACT: Restaurant-inspired entrees like seafood scampi, sesame chicken, and Monterey chicken cost under $4 each. You do the math.
MYTH: FROZEN MEALS ARE NOT A GOOD CHOICE FOR HEALTH-CONSCIOUS CONSUMERS
FACT: “Better-for-you” options are available in the frozen food aisle to make it easier for consumers to control intake of calories, fat, saturated fat, and sodium.
For more information on the frozen food and beverage industry, please visit www.affi.org.
For more information on incorporating frozen foods into your healthy lifestyle, please visit: http://edis.ifas.ufl.edu/fs186.
by Pam Allen | Nov 18, 2017
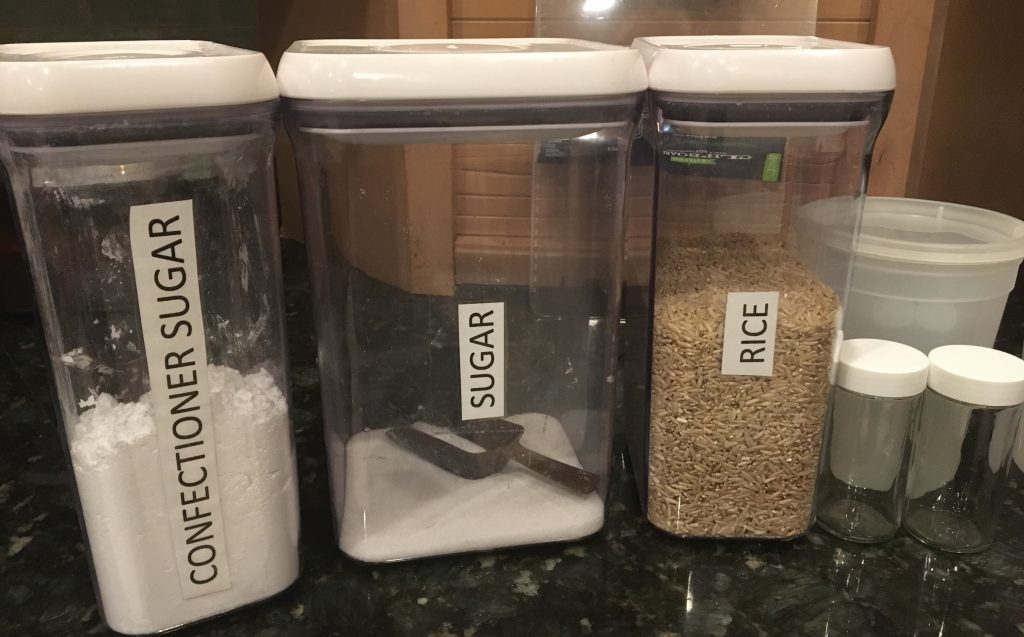
Pantry Staples
Photo credit: Pamela Allen
With fall around the corner and school starting back, it is time to take inventory of your pantry. You should really dig in and see what is lurking in the dark reaches of your back shelves. This task should be done on a regular basis to help keep foods rotated and use products that are close to expiration. It is also a good idea to refresh items that are low and you use often. Many times we are caught in the middle of preparing our favorite dish and find we are out of an ingredient. By planning and taking stock of what is in your pantry, it will be easier to plan quick and easy meals and hopefully avoid that trip to a fast food establishment to pick up something quick.
Having basic supplies on hand will keep you prepared to put together a family-friendly meal or a last-minute dinner for friends. Try to write down 4 or 5 favorites that your family likes and then keep these items on hand by keeping an inventory of your most used items. A well-stocked and organized pantry will streamline menu planning and save time on your daily food preparation. Your family will thank you for making this easy to use and find items that they most often like to eat. Here are some tips to get started:
- Decide where you will house your pantry. It can be a designated cabinet, standalone structure or a built-in pantry. The idea is to define where you will keep these supplies for easy access and organization.

Pantry – use containers you have on hand.
Photo credit: Pamela Allen
- Inventory what you currently have and use these items first. There are many good inventory ideas you can find online. Keep a clipboard handy with your inventory list so that you can quickly see what you have on hand and what you need to add to the grocery list. Look for sales that are cost saving to stretch your food budget. Many local stores are advertising BOGOs (buy one get one) so capitalize on these items as they are on sale.
- Menu planning should be a weekly task to save time and money at the grocery store. As you plan out a weeks’ worth of meals, make a shopping list you have checked against items you have on hand. Meal planning should be centered around seasonal availability and the preferences of your family.
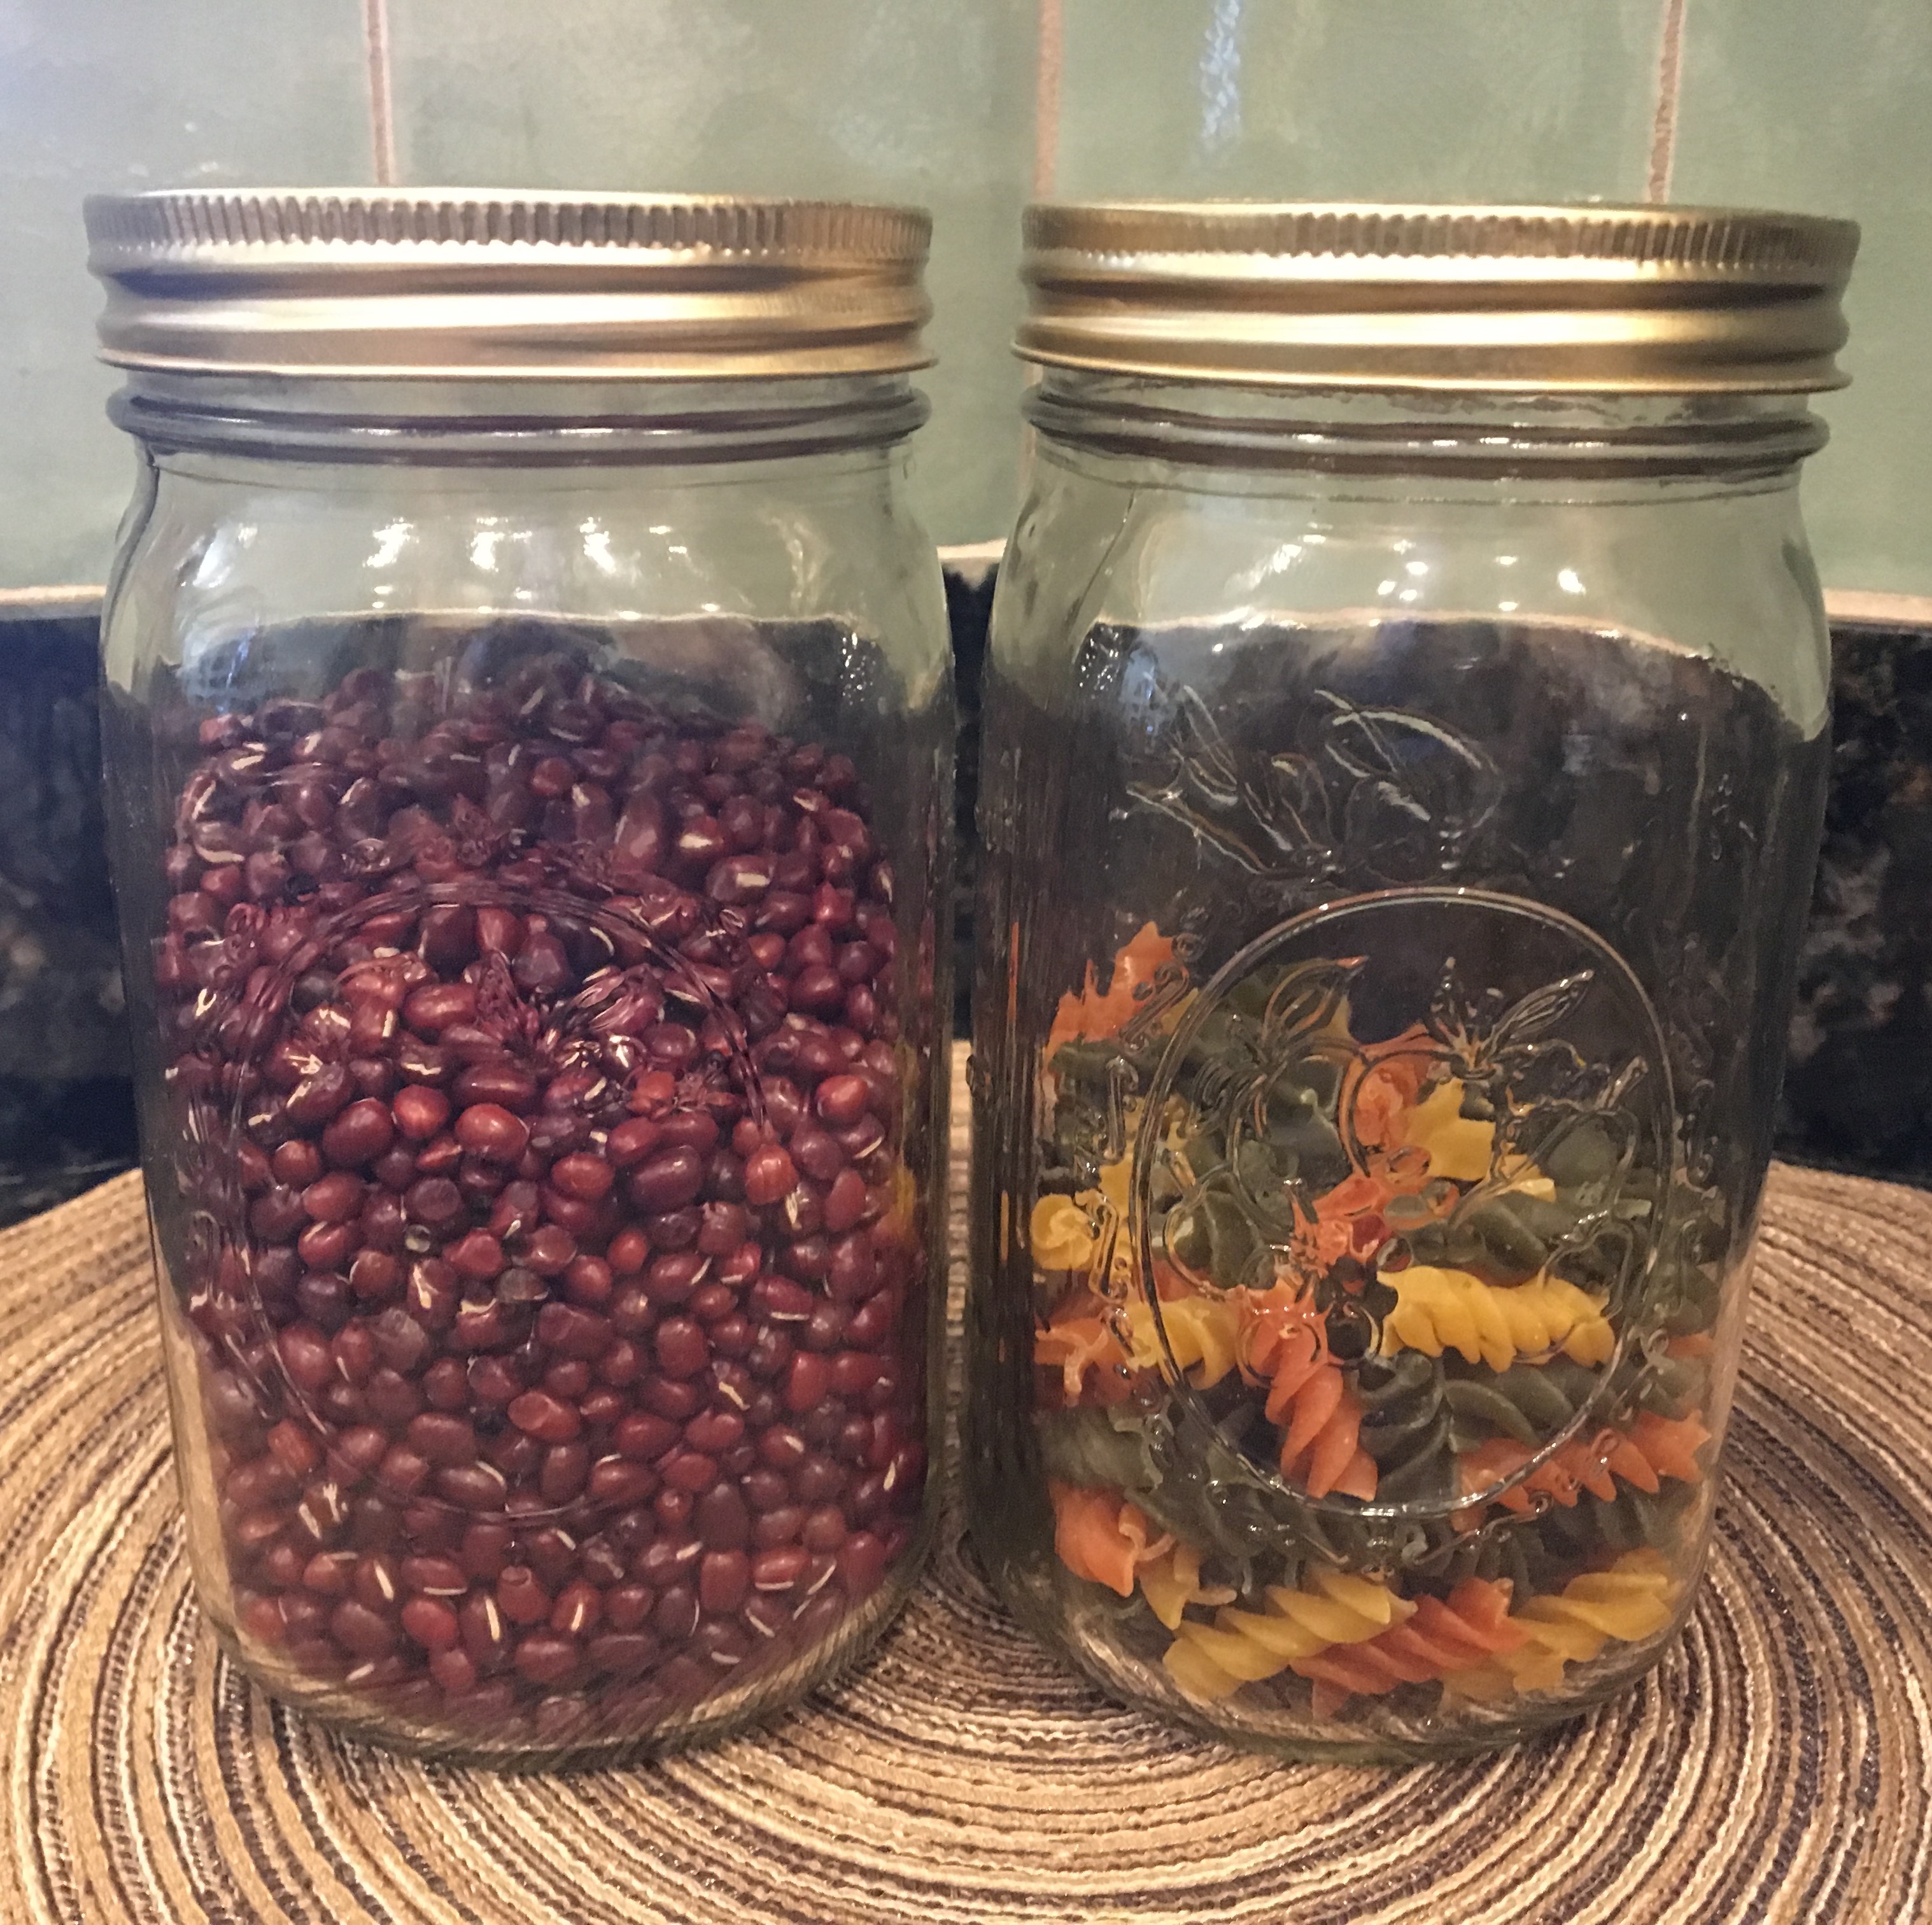
- Use storage containers that you have on hand. Glass containers like canning jars make great storage units for staples. The glass also allows you to see what is in the jars quickly. Remember to label items with stickers and in some cases you may need to put the purchased date.
Whatever you decide to toss in your shopping cart, you can rest happy knowing you won’t ever again have to call spaghetti with butter dinner — unless that’s exactly what you’re in the mood for.
This Healthy Eating Food Storage Guide can assist you http://edis.ifas.ufl.edu/pdffiles/FY/FY69900.pdf
Pantry items are considered dry goods or staples, things you always have on hand. Ideally, they will keep for a long time in storage, or are fresh, perishable foods regularly used up before they spoil. The idea is to subvert the need to go grocery shopping every time you cook — a major hurdle when getting food on the table.
You don’t have to buy everything at once; just buy what you think you’ll eat fairly often, and in small quantities so foods stay fresh. Build up your pantry gradually. Of course, not all ingredients work as pantry staples — fresh fruits, vegetables, meats, and other foods are perishable.
by Pam Allen | Nov 18, 2017
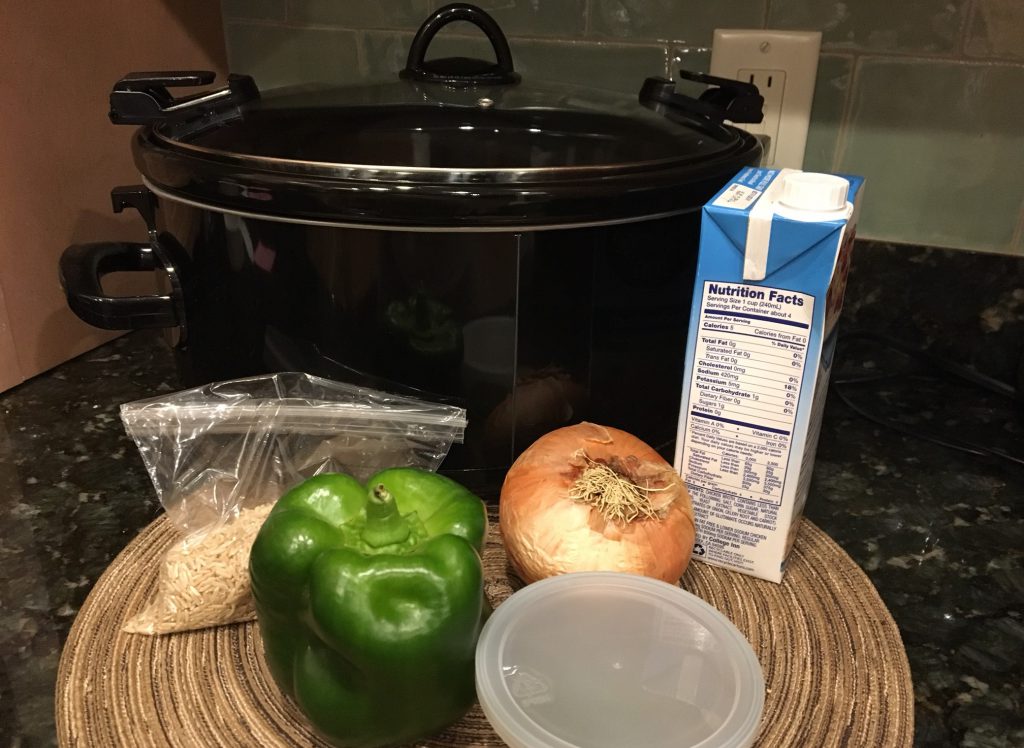
Slow Cooking
Photo credit: Pamela Allen
With the weather changing and cooler temperatures on the way, get out the slow cooker for simmering soups and stews that will be waiting for you when you get home. Slow cookers are popular and allow us the convenience of prepping ahead of time and having a hot cooked dish when we get home from a long day of work. The advantage of slow cooking is to set it and then forget it. Stirring is not usually required and remember to keep the lid on as the food simmers. Today’s slow cookers are food safe and keep food at a safe temperature of 170˚F to 280˚F. The low heat allows use of less expensive and leaner cuts of meat as the slow cooking will tenderize and shrink less.
Cooking with a slow cooker means planning ahead but the payoff is a great meal. You can prepare all the ingredients the night before like chopping of vegetables, cutting up the meat and gathering the other items and have them handy for the next morning. Remember to refrigerate all items needing refrigerating until it is time to place in the slow cooker.
Here are some tips or using your slow cooker safely and economically.
- Start with a clean cooker and utensils. Always use a clean work area and make sure to wash your hands during the preparation.
- Keep perishables refrigerated until ready to use. Store meat and vegetables separately if preparing ahead of time.
- Always thaw meat or poultry before putting it into a slow cooker. If frozen pieces are used, they will not reach 140° quick enough and could possibly result in a foodborne illness.
- Keep in mind to not lift the lid unnecessarily during the cooking cycle. Each time the lid is raised, the internal temperature drops 10 to 15 degrees and the cooking process is slowed by 30 minutes.
- After enjoying your meal, do not leave cooked food to cool down in the cooker. Store leftovers in shallow containers and refrigerate immediately.
- Do not overload the slow cooker. Fill to a minimum of 1/2 full and a maximum of 2/3 full.
Try some of these favorite recipes to get you started:
Hamburger Soup
2 pounds lean ground beef, browned and drained
2 teaspoons dried basil
2 teaspoons dried oregano
2 teaspoons garlic powder
5-6 cups tomato juice
1 cup stewed tomatoes
1 large onion, chopped
2 cups chopped celery
1 cup sliced carrots
2 cups sliced green beans, fresh or frozen
1 tablespoon Worcestershire sauce
salt & pepper to taste
Place browned meat in slow cooker. Add all remaining ingredients and stir to mix well. Cover and cook on LOW for at least 5 hours. Makes 6 servings.
Old-Fashioned Chicken & Rice
2½ cups chicken broth
1½ pounds boneless, skinless chicken breast meat, cut into 1-inch pieces or strips
1½ cups long grain rice, uncooked
¼ cup fresh parsley, minced or
1 tablespoon dried parsley
1 cup chopped onion
6 garlic cloves, minced
1 small red bell pepper, cut into thin strips
1 (6-ounce) jar sliced mushrooms, undrained
¼ teaspoon poultry seasoning
Combine all ingredients in slow cooker. Cover and cook on HIGH for 3-4 hours, or until chicken is no longer pink and rice is plumped tender.
Favorite Beef Stew
3 carrots, sliced
3 potatoes, cut in 1-inch cubes
2 pounds beef stew meat, cut in 1-inch cubes
1 cup beef broth
1 teaspoon Worcestershire sauce
1 clove garlic, minced
1 bay leaf
salt to taste
Combine all ingredients in slow cooker in order listed. Stir just enough to mix seasonings throughout. Cover and cook on LOW for 10-12 hours, or on HIGH for 5-6 hours. Makes 6-8 servings.