by Melanie Taylor | Sep 22, 2020
As I write this article it is the first day of Fall. Many people are enjoying the cooler temperatures, school is in full swing, a few trees are changing colors and everyone is adjusting to shorter days. As Fall begins and we move forward through this unusual and stressful year, many of us need to focus on healthier lifestyles and eating well to be our best self.
Many of us know that fresh fruits and vegetables should be a staple in our daily diets. Apples ripen and are ready for harvest in September or October, making October National Apple Month. So be sure to eat a crisp apple on a nice Fall day. They are refreshing, and you can find ones that are sweet or tart for anyone’s taste buds. They are also a low-calorie food. One medium apple only has about 80 calories. Apples are also a great source of fiber, especially if you eat the peel, and a good source of vitamin C and potassium.

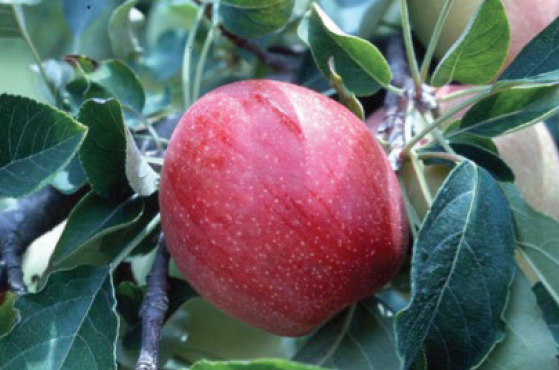
Apple Time
Photo Source: UF/IFAS
Selecting Apples: When selecting apples, they should be smooth skinned, crisp, juicy and a nice color for the variety. Handle apples gently to avoid bruising. Over 2,500 varieties of apples are grown in the United States, and around 100 varieties are grown commercially. Commercially grown apples will be what you see sold in most grocery stores.
Storing Apples: Apples will remain crisp and juicier longer if refrigerated. Store refrigerated apples in plastic bags with small air holes to maintain a high moisture level and delay withering. When storing apples in the refrigerator, they will last 6-8 weeks. Apples stored at room temperature typically last less than a week and lose their crispiness.
Preparing Apples: Simply rinse, refrigerate and enjoy. The best way to prepare your apples is to rinse them under cool tap water and dry with a paper towel. You may use a vegetable brush if you feel it needs more cleaning. Know that when apples arrive to the packing facility, they are washed to remove any dirt from the orchard, but you still need to rinse them. Apples can be cooked, canned, dried and frozen. Be sure to check out some healthy apple recipes from Michigan Apples, and The American Heart Association and preservation recipes from The University of Georgia.
Be sure to enjoy some delicious apples this October!
Sources:
American Heart Association https://www.heart.org
Michigan Applies https://www.michiganapples.com
So Easy to Preserve https://nchfp.uga.edu/
Food and Fitness from Harvest to Health http://missourifamilies.org/
by Dorothy C. Lee | Aug 19, 2020
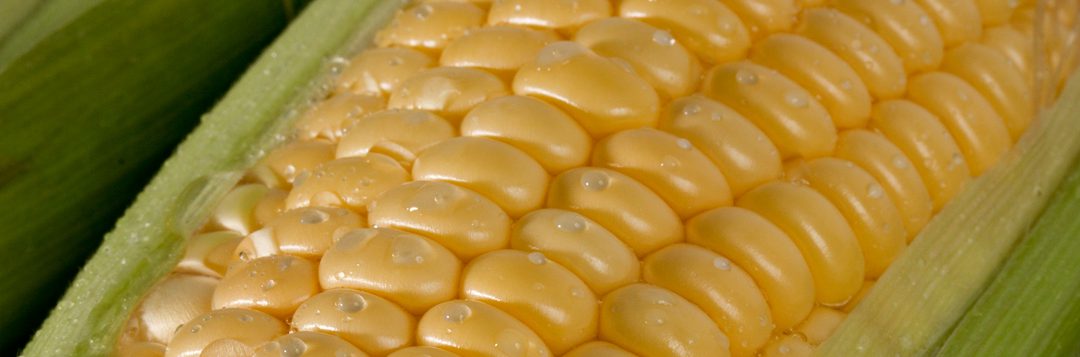
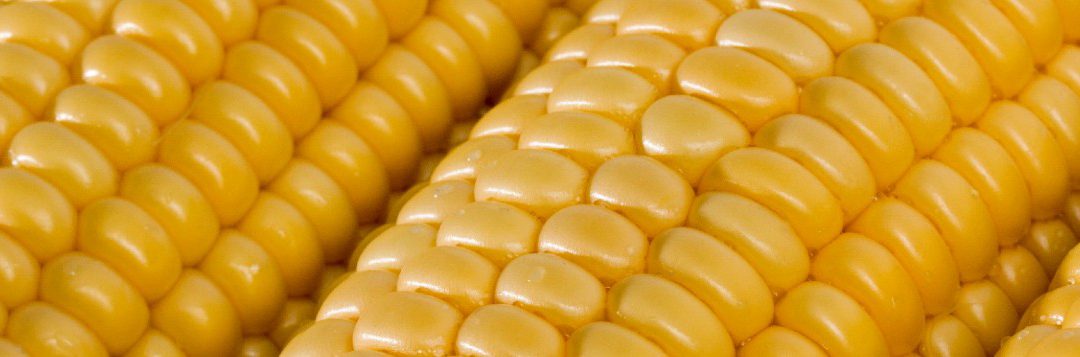
Strictly speaking, corn is not a vegetable, but a grain native to the Americas. The sweet, or sugar, corn we enjoy today is a mutation of Indian field corn. Nothing is as American as corn-on-the-cob, and sweet corn has plenty of complex carbohydrates and fiber.
Use & Preparation
Boil: Remove husks and cook 8 to 10 minutes in rapidly boiling unsalted water.

Sweet corn is a favorite among home gardeners. As long as the space is available, it’s not difficult to grow. Photo source: UF/IFAS
Microwave (on High):
1 ear – 3 to 5 minutes
2 ears – 4 to 9 minutes
3 ears – 9 to 12 minutes
4 ears – 12 to 17 minutes.
Rinse and dry corn with husk pulled back. Pull husks up to cover corn, then rinse with husks on. Do not dry. Arrange like spokes on paper towel; cover with wax paper; cook. Let corn stand for 5 to 10 minutes after cooking. Carefully remove husks, using heavy toweling to avoid burns.
Selection
Look for healthy green husks, plump kernels, and silks that are moist and light golden, not brown and brittle.
Storage
Use fresh corn as soon as possible. Refrigerate unhusked in plastic bag for up to 2 days.
Herbed Corn on the Cob
6 ears fresh corn
2 tablespoons margarine
1 teaspoon dried salad herbs (available in stores, optional)
Prepare corn for microwaving according to directions above. Microwave on high for 16 to 18 minutes, turning corn around/over after about 8 minutes. Let stand 5 minutes, then remove husks. Combine softened margarine and salad herbs. Spread 1 teaspoon of margarine mixture over each ear of corn.
Corn Chowder
1 tablespoon margarine, plus
3 tablespoons margarine
1 onion, chopped fine
4 medium potatoes, peeled and diced
3 cups water
2 cups corn kernels
3 cups milk
Salt and pepper
Brown onion in margarine, cook for 5 minutes. Add potatoes and water, cover and cook until potatoes are just tender. Add corn and milk and cook 5 minutes more. Before serving, add the margarine and salt and pepper to taste, and reheat.
Nutrition Information
Low fat & cholesterol free. High in fiber. Very low in sodium. Good source of vitamin C and carbohydrates.
Available Fresh
June – September
To learn about fresh Florida corn, please read our fact sheet: Panhandle Produce_Corn.
For more delicious produce preparation tips, please visit: http://www.panhandleproducepointers.com.
by Samantha Kennedy | Aug 19, 2020
A friend of mine recently shared with me a few recipes for what is known as “cooler corn.” As the name implies, it’s a way of cooking a large amount of corn on the cob all at once inside a cooler, thereby saving time and grill and/or stove space.
At first I was intrigued. I had never heard of this cooking method before and my own personal curiosity was piqued. However, as a certified food safety instructor, I was also immediately horrified. As I reviewed several recipes for this “perfect way to make corn for a crowd,” I became increasingly alarmed. There were so many proper food safety practices violated, it nearly turned my stomach.
Cooking food in a cooler is an unsafe cooking method. Coolers are not designed to withstand the high temperatures required for cooking and cannot adequately hold foods at safe temperatures for prolonged periods of time.
For the record: Cooking corn in a cooler is UNSAFE. The safest ways to cook corn are in a stockpot on the stove, in the oven, or on a grill.
Here are the top four reasons this cooking method is not a good food safety practice:
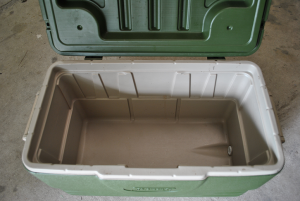
Cooking food in a cooler is an unsafe cooking method. Coolers are not designed to withstand the high temperatures required for cooking and cannot adequately hold foods at safe temperatures for prolonged periods of time. (Photo source: Samantha Kennedy, UF/IFAS Extension)
1. Coolers are not designed to be used for cooking. The plastic used in coolers is not meant to withstand continued exposure to boiling water and will start to degrade over time. The plastic can also be easily scratched or gouged, providing the perfect place for foodborne pathogens such as Salmonella and E.coli to hide and grow. Think of the other things coolers are used for: storing fish or game after fishing or hunting, keeping drinks cold, storing raw meat or poultry for a picnic, etc. There are so many other opportunities to contaminate the cooler before it is used for cooking corn, even thorough cleaning and sanitation may not be enough to eliminate pathogens. Always keep cooking utensils and tools CLEAN to reduce your risk of foodborne illness.
But what about the boiling water? Won’t that kill any pathogens? Well, yes and no. See #4 below.
And NO, having a cooler dedicated only to cooking corn will not solve all the problems stated above. The bottom line is COOLERS ARE NOT SAFE TO COOK FOOD IN.
2. One of the conveniences of this method, as celebrated in the various recipes, is that people can just reach into the cooler and grab a perfectly cooked ear or two whenever the mood strikes. Allowing people to reach in and grab food like this – especially with their bare hands – is a very unsafe practice. People may forget to wash their hands properly before reaching in, thereby adding dirt and bacteria to the water and thus the food. This type of “germ-sharing” is called cross-contamination and is one of the leading causes of foodborne illness. Always keep things SEPARATE. This includes keeping raw food separate from cooked food, using separate utensils for each food, and reducing or eliminating bare hand contact with food.
3. Stacking dozens of ears of corn in a container and submerging them in boiling water does not ensure that all of the corn will be cooked evenly. The ones in the middle may not be cooked all the way through and there may also be temperature fluctuations in different areas of the cooler because of the way the food is stacked. There may be hot, warm, and cool spots, which can lower the overall temperature to an unsafe level and promote the growth of pathogens. Always COOK foods to the proper minimum internal temperature. In the case of corn, this is 135 degrees F. This can be measured by inserting a properly calibrated food thermometer between two cooked ears of corn and waiting until the needle stops moving.
4. One blog post about the wonders of Cooler Corn stated, “You can leave the corn in there for quite a while after it’s done cooking to keep the ears warm. Since the temperature naturally drops over time, the corn doesn’t get mushy.” When I read this, my mind screamed, “DANGER!” in flashing red letters.
Boiling water is a good sanitizer. However, a lot of what makes it effective for killing pathogens has to do with proper contact time with surfaces AT THE APPROPRIATE TEMPERATURE. Most coolers are not designed to keep boiling water that hot (212 degrees F) for any significant period of time. Even quality coolers will not hold the temperature long enough to ensure proper sanitation and elimination of pathogens.
One of the most important food safety principles is keeping cold foods cold and hot foods hot. To ensure the safety of food, it is important to keep cold foods below 41 degrees F and hot foods above 135 degrees F.
Now think about ears of corn submerged in water for a prolonged period of time, as the water slowly cools. After a while, that water will no longer be able to keep those ears of corn above 135 degrees F. They will basically be sitting in a soup of tepid water at the most favorable temperature for pathogens to grow. The longer the corn sits in that water, the higher the risk of foodborne illness. Always properly CHILL foods to keep them at a safe temperature, below 41 degrees F. The flip side of this coin is to also ensure hot food stays hot, above 135 degrees F.
Cooking for large groups can be a challenge, especially when kitchen space is limited. (Check out the UF/IFAS Extension fact sheet “Food Safety at Tailgating” for more food safety tips when cooking out.) However, it is never a good idea to sacrifice food safety for convenience. Always follow proper food safety practices, no matter the situation, and remember the 4 principles of safe food: CLEAN. SEPARATE. COOK. CHILL.
UF/IFAS in an Equal Opportunity Institution.
by Dorothy C. Lee | Aug 4, 2020
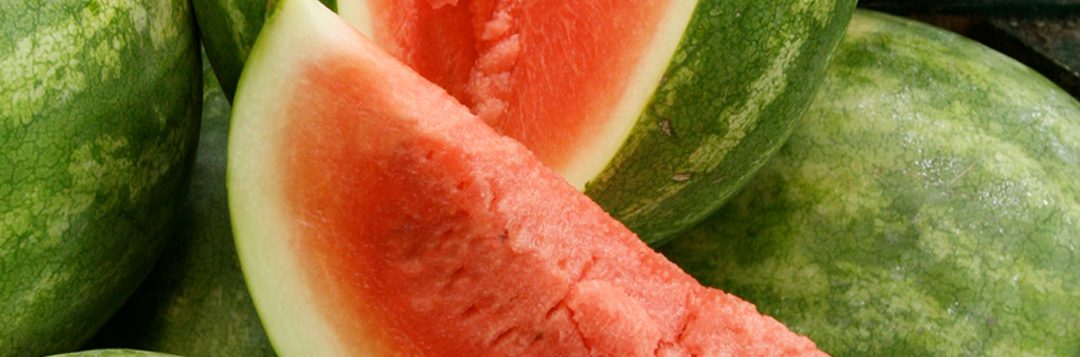
The taste and fragrance of a cool, juicy slice of fresh melon in the summer just can’t be beat. Melons have been a favorite fruit for many centuries. They appear in Egyptian tomb paintings dated to 2400 B.C., and they are mentioned in the writings of the early Greeks and Romans. Mark Twain called watermelon “the food that angels eat.”
Uses & Preparation
Watermelon, honeydew, and cantaloupe are excellent cut up in salads, as a dessert, or alone as a cool, refreshing snack anytime. To save space and cooling time in the refrigerator, cut up the melon and cover tightly with plastic wrap.

UF/IFAS Photo
Selection
Thumping watermelon to judge ripeness is not always accurate, because you can’t tell if it is ripe or overripe. Instead, look for a well-proportioned melon with full ends, a dull outer skin, and the bottom a yellowish color, or turning from white to pale green.
Cantaloupe should have no sign of a stem, be nicely rounded, and the netting should be evenly distributed. Golden-colored melons with a mild melon odor are the peak of ripeness, while green ones will ripen in a few days if kept at room temperature.
A ripe honeydew melon has a creamy yellow rind that is soft and velvety. The best – tasting honeydew smells slightly fruity. Hold a honeydew at room temperature for a few days for even tastier fruit.
Melon Salad
Arrange balls or slices of watermelon, cantaloupe, or honeydew melon, alone or in combination, on lettuce. Serve with French dressing. Diced apples, diced pears, nuts, and chopped celery may be added for variety.
Chicken & Watermelon Salad
5 chicken breast, boned, skinned, cooked and cubed
3 cups watermelon, cubed
3 cups pears, cored and cubed
1/2 pound sliced mushrooms
1/2 pint low-calorie Italian dressing
Combine all ingredients, toss gently. Refrigerate on hour, stirring occasionally. Serve on a bed of lettuce.
Nutrition Information
Low in sodium. Low in calories. Good source of vitamin A.
Available Fresh
June – August
To learn about fresh Florida melons, please read our fact sheet: Panhandle Produce Pointers – Melons
For more delicious produce preparation tips, please visit: http://www.panhandleproducepointers.com.
by Dorothy C. Lee | May 11, 2020
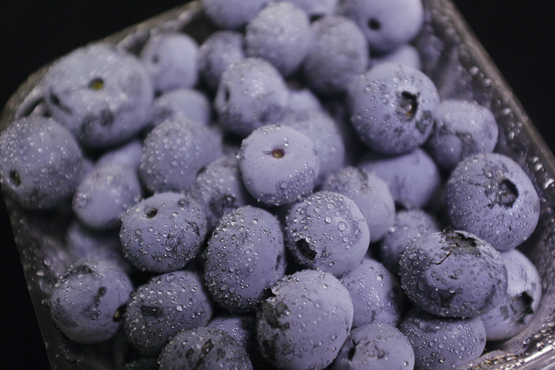
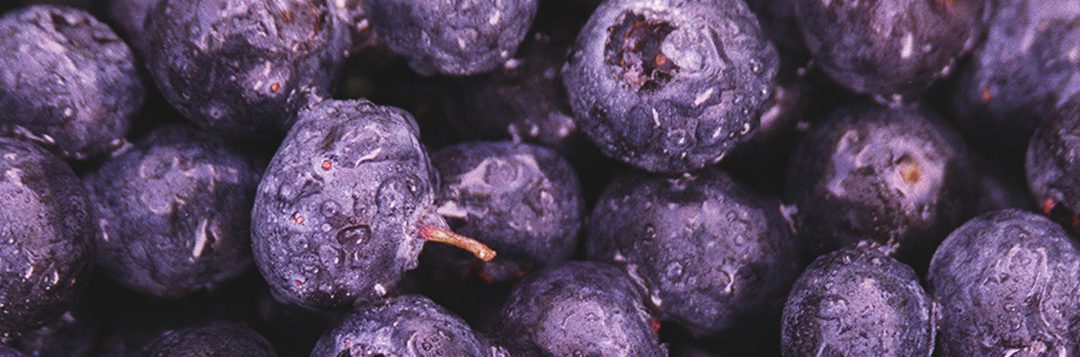
Once known as star berries because of the pointy flower calyxes on top, blueberries have grown wild in North America for thousands of years. They were a staple among Native Americans, who dried and smoked the berries, and pounded them into venison to flavor the meat.

Berries such as blueberries are rich in vitamin, minerals, and antioxidants and can be delicious additions to yogurt, salads, and smoothies. (Photo source: UF/IFAS file photo)
Uses & Preparation
Wash blueberries just before using. Add to yogurt or cottage cheese or any fruit and mild cheese platter. For color and great taste, add to salads; or sweeten pancakes, cakes, and muffins.
Selection
Look for firm, dry, plump, smooth-skinned berries with a light grayish bloom. Ripe berries should be deep-purple blue to blue-black.
Storage
Cover and refrigerate fresh berries for up to 10 days. Blueberries are easily frozen for later use. Freeze unwashed blueberries in airtight, resealable plastic bags. If thawed, keep refrigerated and use within 3 days.
Blueberry Pancake Stacks
Vegetable Oil for cooking
1 cup milk
1 tablespoon vegetable oil
1 egg
1 cup all-purpose flour
1/2 teaspoons baking powder
1 teaspoon salt
1 cup fresh blueberries
Dash of nutmeg
In a mixing bowl, stir together the milk, oil, and egg. In a separate bowl, combine the flour, sugar, baking powder, salt and nutmeg. Add dry ingredients to the milk, and stir just until mixed (batter should be slightly lumpy). Gently fold in the berries. Spoon the batter onto a griddle or pan greased with vegetable oil and heated to medium-hot (dollops should be about the size of a silver dollar). Let the batter cook until the tops of the pancakes begin to bubble, then flip and cook until done. Stack and serve immediately with softened margarine and warm syrup. Makes about eighteen 2 1/2″ pancakes.
Blueberry Syrup
Combine 1 pint of blueberries and 1 cup of maple syrup in a saucepan. Heat to boiling, then lower the heat and simmer until most of the fruit has burst. Remove from heat and use a fork to mash the berries. The syrup will thicken as it cools. Store in the refrigerator for up to 2 days.
Nutrition Information: Good source of vitamin C. High in fiber. Low in calories.
Available Fresh: April – June
To learn about fresh Florida strawberries, please read our fact sheet: Panhandle Produce Pointers – Blueberries.
.For more delicious produce preparation tips, please visit: http://www.panhandleproducepointers.com.
UF/IFAS Extension is an Equal Opportunity Institution.

by Dorothy C. Lee | Mar 26, 2020

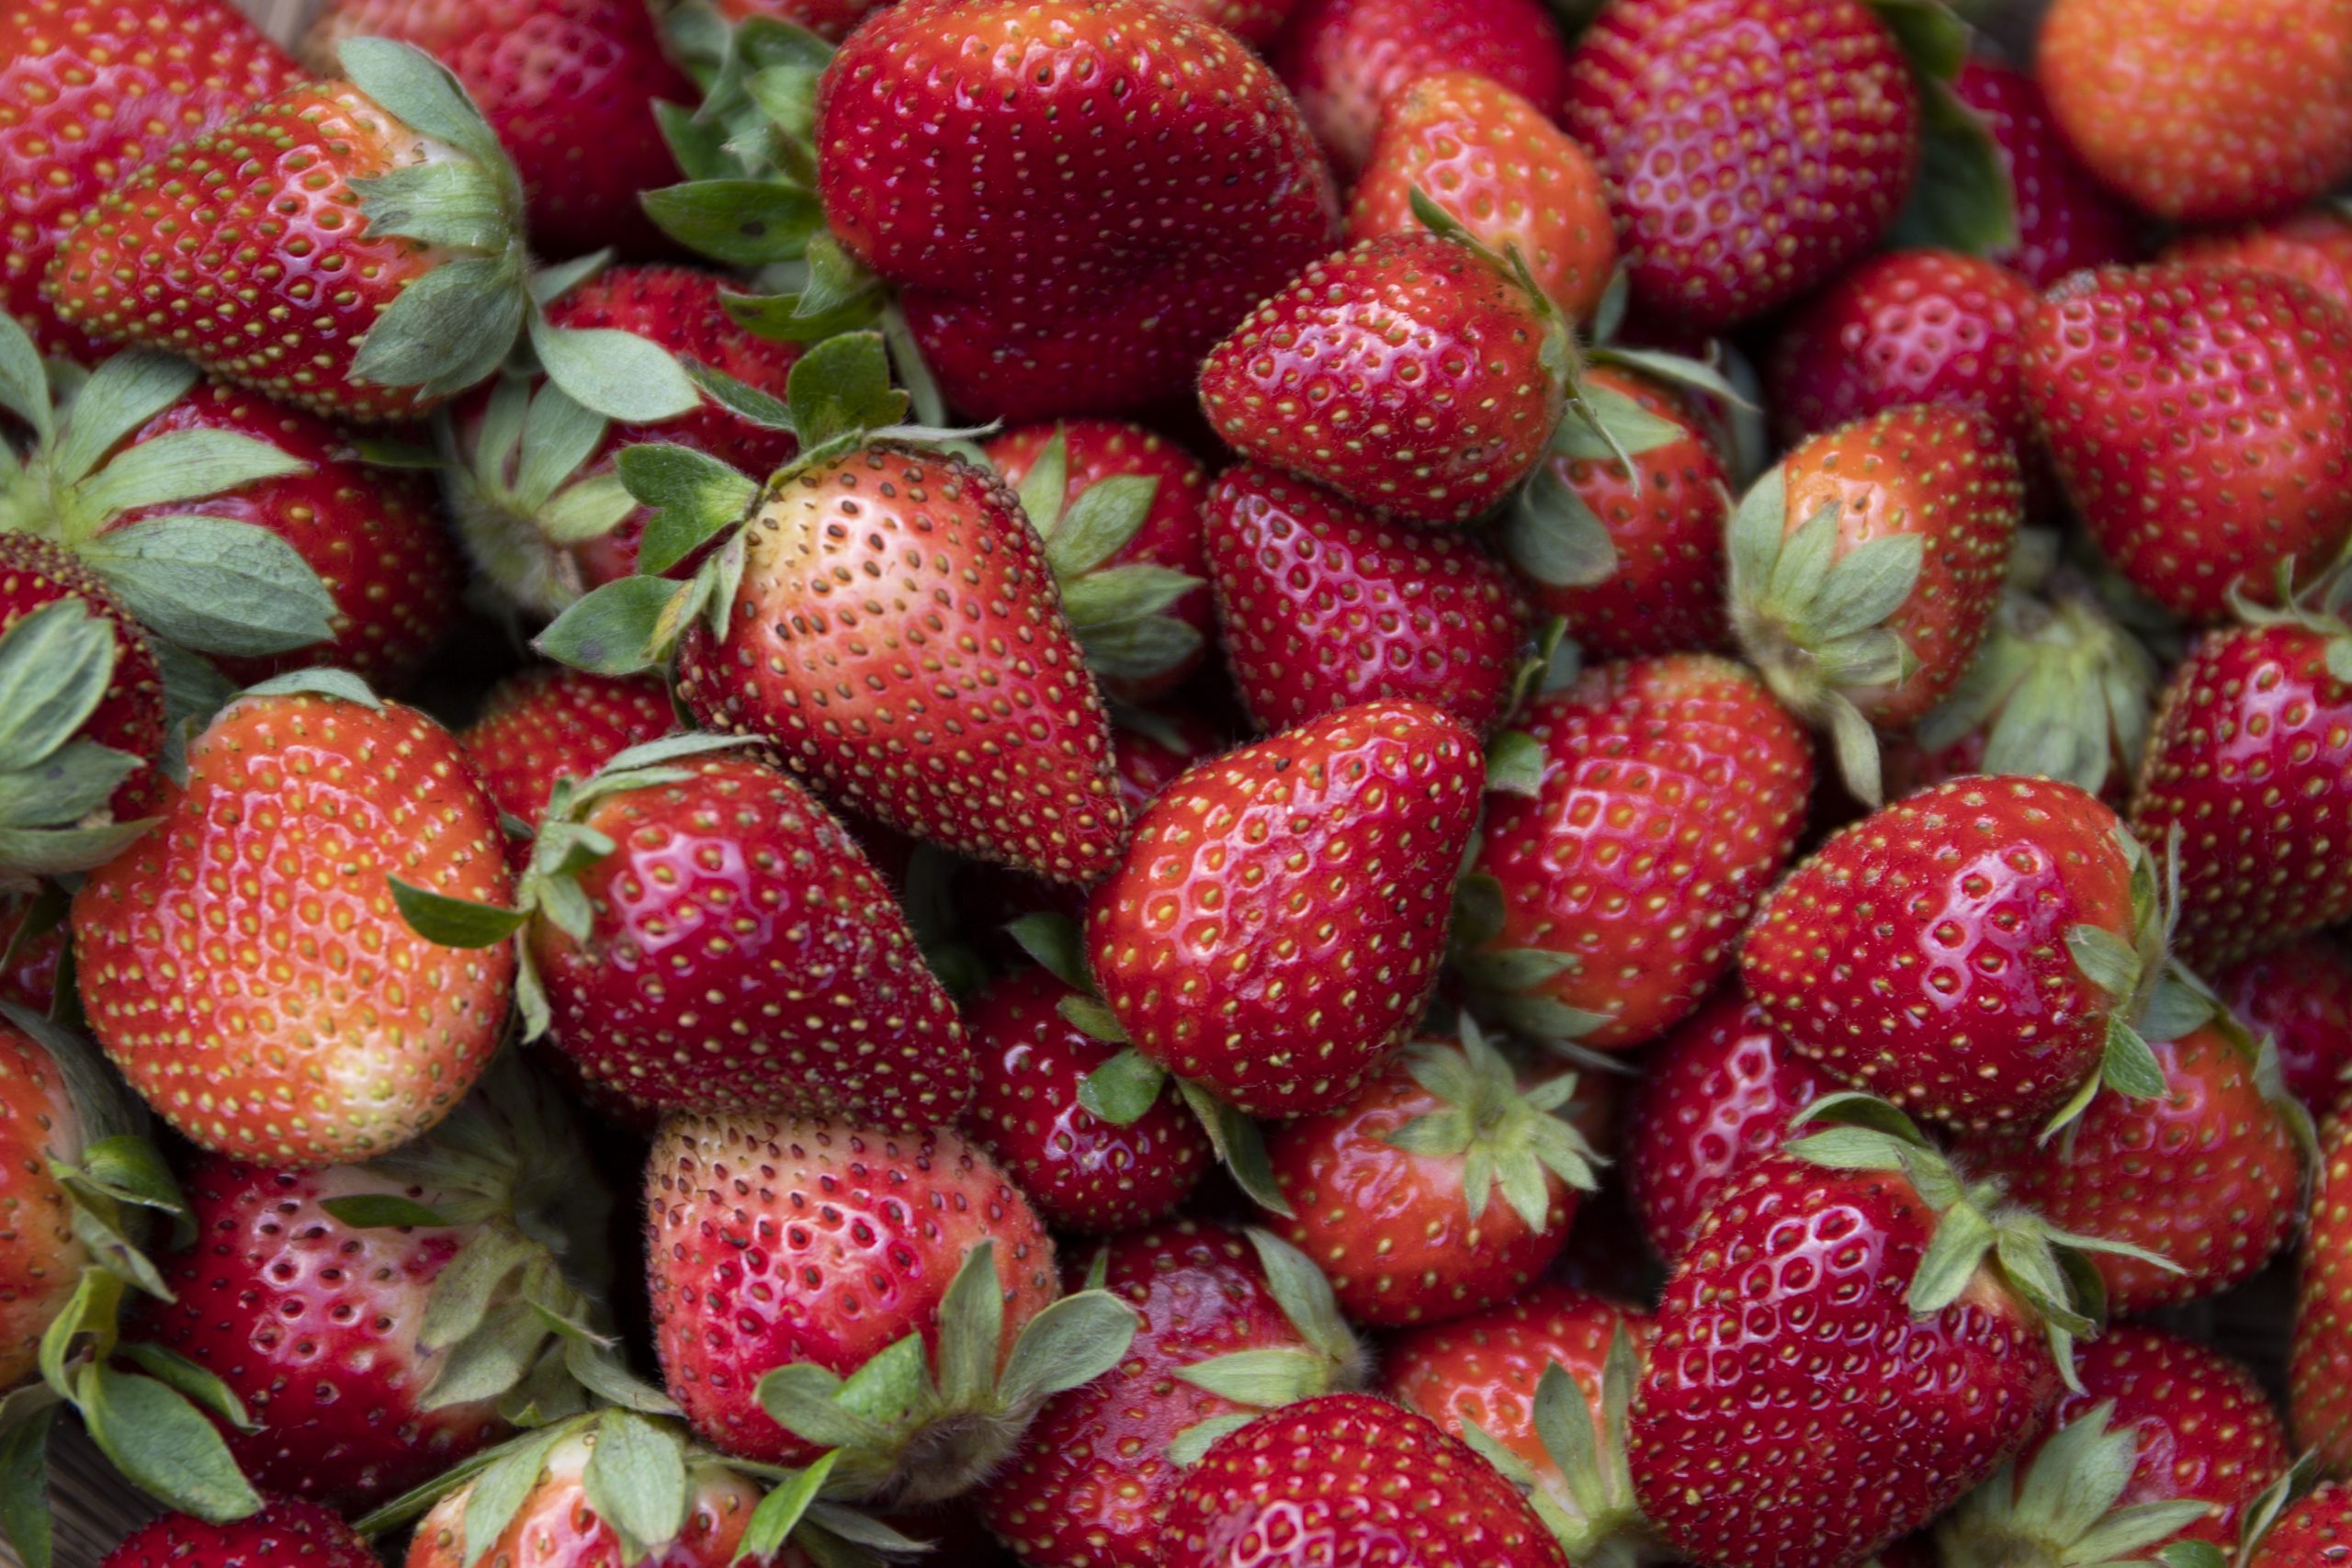
Strawberries from Fresh off the Farm event. Taken 04-12-2019 (Photo Source: UF/IFAS Camila Guillen)
Choose locally- grown strawberries during the harvesting season; they will be the freshest and the most flavorful. When picking strawberries, try to pick early in the morning or later in the day when the fruit is cool. Strawberries are best used within 2-3 days of picking.
Uses & Preparation
Freezing Whole Strawberries; Spread a single layer of prepared fruit on shallow trays and freeze. When frozen, promptly package (to avoid freezer burn) and return to freezer. The fruit pieces remain loose and can be used as needed.
Freezing Sliced or Crushed Strawberries; Prepare berries: Using ripe berries, wash gently and remove caps. Slice or crush partially or completely. To 1 quart berries add 3/4 cup sugar. Mix thoroughly. Stir until most of the sugar is dissolved or let stand 15 minutes. Pack into containers, leaving 1/2″ headspace. Seal and freeze.
Storage
Sort and remove any bruised or damaged berries as soon as possible and use in sauces, purees or jams. Place the berries in cool, well-ventilated containers. The moisture content of fresh strawberries is high, so store them unwashed and uncovered, or loosely covered.
Quantities
1 pint = about 3 1/4 cups whole berries (12-36 depending on size of berries) or about 2 1/4 cups sliced berries. 1 cup sliced fresh berries = One 10-oz. pkg frozen, sweetened berries.
MERRY FRESH STRAWBERRY PIE
1 9- inch pie crust, baked
1 cup white sugar
3 tablespoons strawberry flavored gelatin mix
2 tablespoons cornstarch
¼ teaspoon salt
1cup boiling water
2 pints strawberries, cleaned and stemmed
2 cups whipped topping (optional)
Combine sugar, gelatin, cornstarch, and salt in a medium saucepan. Stir in boiling water. Boil mixture for 3 minutes over high heat, stirring constantly. Cool completely.
Arrange whole strawberries in pastry shell. Pour gelatin mixture over berries. Chill before serving. Top with whipped topping, if desired.
Nutrition Information: Low in calories – High in Vitamin C – Good source of folate, potassium & fiber
Available Fresh: April – May
To learn about fresh Florida strawberries, please read our fact sheet: Panhandle Produce Pointers – Strawberries.
.For more delicious produce preparation tips, please visit: http://www.panhandleproducepointers.com.