by Angela Hinkle | Oct 22, 2019
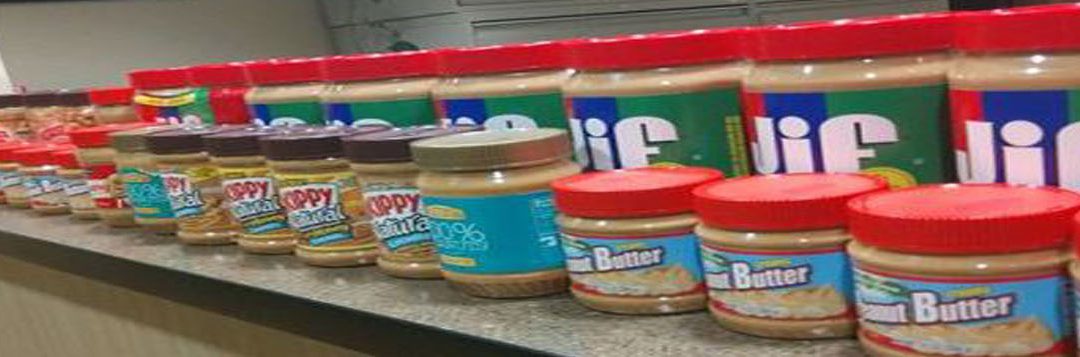
Delicious, nutritious, and super helpful for today’s needs, peanut butter is a great addition to your shopping cart. But it’s more than just a tasty and healthy food that also helps those in need (more on that below). Pound for pound, peanut butter saves.
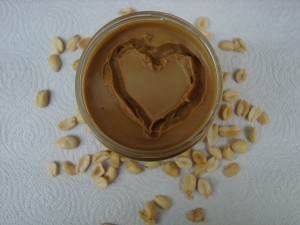
Nutty for Peanut Butter
Photo Source: Angela Hinkle
Compared to a pound of ground beef, a pound of peanut butter saves:
- Money at the grocery store. A pound of peanut butter currently comes in at around $2.50. A pound of ground beef will run you around $3.82.
- Time. It takes about 2-3 minutes to make a peanut butter and jelly sandwich. A burger at home will take you anywhere from about 8-15 minutes to prepare.
- Environmental costs. If you make a peanut butter and jelly sandwich for lunch instead of a hamburger, you can save 2.5 pounds of carbon dioxide, 133 gallons of water, and 24 square feet of crop land.
- Saturated fat. That’s the kind that tends to clog up arteries and cause health problems. Eating the PB&J gives you about 3 grams. You consume about 10 grams of saturated fat in a 90% lean quarter pound hamburger.
- Utilities. No gas, coals, or electricity is required to cook or safely store peanut butter.
- Hunger. Families in hardship situations often need help from food pantries. The most requested item from these pantries is – yes, you guessed it – peanut butter. It is shelf stable so you don’t have to worry about keeping it cold or heating it up. People like it. And it is a healthy plant-based food with fiber and oleic acid – a healthier monounsaturated fat.
Maybe you’re like me – you like a really good, juicy all-beef burger. Every once in a while, sure. But pound for pound, peanut butter really can save the day.
Here’s how you can help with the local hunger part:
- Buy peanut butter. Look for BOGOS (Buy One Get One Free Sales). Keep one for yourself. Then…
- Now through November 27, donate unopened jars of peanut butter for the Peanut Butter Challenge. Check with your Florida Panhandle UF/IFAS Extension Office for collection sites.
- All collected peanut butter will be given to local food pantries to assist hungry families in need.
So save, save, save with peanut butter. And help save a family from hunger.
Check out 2019 Peanut Butter Challenge for additional information.
Resources: https://foodtank.com/news/2013/12/why-meat-eats-resources/ and https://www.farmprogress.com/peanut/peanut-s-environmental-footprint-stretches-beyond-farm
by Kendra Hughson | Oct 21, 2019
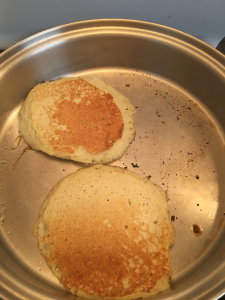
Most foods freeze well. Pancakes are easy to make ahead and freeze for later use. Photo Credit: Kendra Zamojski
You get home after a busy day and now it’s time to figure out what to make for dinner. You open the pantry and the refrigerator in a search for something to make for dinner. Maybe you can’t find the right ingredients or you don’t feel like cooking, so you pick up the phone to order delivery. A little planning ahead, could help you save money and make healthier choices.
Meals that you can make ahead and freeze are great to have on hand for use on busy days. According to the USDA, most foods can be frozen. Canned foods and shell eggs should not be frozen. This is because liquid expands when frozen and can cause shelled eggs and metal cans or glass jars to crack or break. Instead, remove canned foods from metal cans before freezing. To freeze eggs, beat together yolk and whites for better quality; egg whites can be frozen separately. Some foods don’t freeze well like mayonnaise, cream sauces, and lettuce. These exceptions aside, make ahead meals are easy to freeze and convenient to have on hand.
Cooking ahead doesn’t need to be complicated. Start freezing leftovers for later use or try doubling recipes when you are already cooking. Soups, stews, chili, casseroles, sloppy joes, and taco filling are easy recipes to experiment with batch cooking. Freeze in airtight plastic or glass containers or freezer safe bags or packaging. If you freeze foods in glass or plastic containers, leave 1-2 inches of head space between the food and the lid to allow room for expansion. Use labels to identify the frozen products, including the date and any cooking instructions. Store food in the quantities that you want to use for later. For example, whole casseroles can be reheated for family meals or soups and stews can be stored in single-serving quantities for quick and easy lunches. Freeze quickly for the best quality and to reduce freezer burn.
When it’s time to thaw, plan ahead. Do not thaw foods on the counter. Cook frozen foods immediately after thawing. Use one of the following recommended methods:
- Refrigerator: Small quantities can thaw in the refrigerator overnight. Larger quantities may take a day or two.
- Water method: Place in a sealed, leak-proof plastic bag and submerge in cold water. Change the water every 30 minutes, until thawed.
- Microwave defrosting: Defrosting in the microwave can cause some parts of the food to start cooking. Be sure to cook foods immediately after thawing.
- Cooking from a frozen state: Casseroles and other prepared foods can be cooked from a frozen state. Plan for extra cooking time by adding 15 to 30 minutes to the cooking time. Use a food thermometer to be sure it reaches an internal temperature of 165 degrees. Never place a frozen dish in a hot, pre-heated oven.This could cause the dish to crack or break.
If you enjoy experimenting with batch cooking, there are a lot of great resources for make ahead recipes and weekly meal plans. For more information, contact your local UF/IFAS Extension office: http://sfyl.ifas.ufl.edu/find-your-local-office/
Sources:
Freezing and Food Safety: https://www.fsis.usda.gov/wps/wcm/connect/cce745c9-0fc9-4ce6-a50c-84363e5b5a48/Freezing_and_Food_Safety.pdf?MOD=AJPERES
Make Ahead Freezer Meals to the Rescue: https://extension.psu.edu/make-ahead-freezer-meals-to-the-rescue
Freezing Food for Multiple Meals: https://www.ksre.k-state.edu/humannutrition/nutrition-topics/eatingwell-budget/makeaheadmeals.html

by Heidi Copeland | Sep 13, 2019
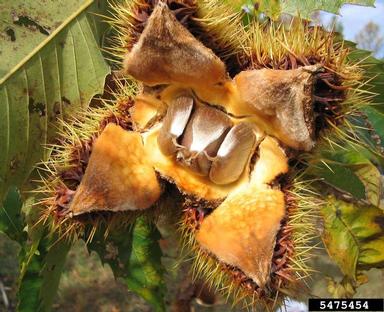
The American chestnut tree, (Genus: Castanea dentata, Species: C. sativa, Family: Fagaceae) is a large monoecious deciduous tree. This big, beautiful tree provides green shade in the summer, a stunning array of fall foliage and a spinney cupule (bur) that holds and protects the chestnut during its growth and maturation. As its leaves begin to fall, so does the bur whereupon it splits and releases the chestnut. The American chestnut is important for both food and forage. This was of course until the American chestnut tree was devastated by chestnut blight-a fungal disease (Cryphonectria parasitica)) where upon it has been estimated that between 3 and 4 billion American chestnut trees were destroyed in the first half of the 20th century.
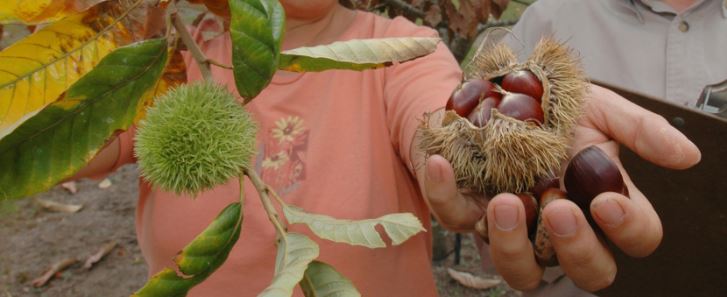
American/Chinese Chestnut
Photo Source UF/IFAS
However, through scientific research it has been discovered that the Chinese chestnut tree (Castanea mollissima) is recognized as being highly blight resistant (but not immune). Many places in the United States have replanted the American chestnut tree with the Chinese chestnut and its cultivars. In fact, there are several chestnut orchards.
The chestnut is classified as a nut.
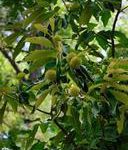
Chestnut Tree
Photo Source: Vern Wilkins, Indiana University, Bugwood.org
However, it differs from most nuts, as it is low in lipid (fat) content – approximately three percent. Nonetheless, the chestnut is nutritious; it contains carbohydrates, proteins and is rich in vitamins and minerals. The mature chestnut (nut pulp) is more than 50 percent water thus special care must be taken to extend its storage so that it does not spoil.
Local, fresh chestnuts are generally only available in the fall. A good chestnut is fairly large, firm to the touch and feels dense. The USDA does not have any standards for grades of chestnuts although sometimes size standards are based on the number of nuts per pound.
According to the American Chestnut Foundation® if fresh chestnuts are to be stored for eating, store them in a paper grocery bag for up to two months. Leaving fresh chestnuts at room temperature for a few days helps their starches convert to sugar. For longer storage, put chestnuts in the freezer and use immediately after thawing or they will become mushy.
Chestnuts can be eaten in a variety of forms –
- Fresh – dry roasted or boiled
- Frozen
- Dried
- Canned
- Pureed
- Ground into flour (obtained by grinding dried and peeled chestnuts)
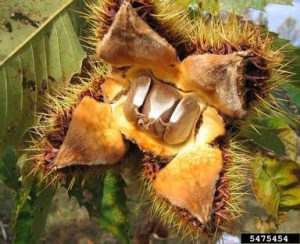
Three chestnuts inside the open but of the American Chestnut tree.
Photo Source: USDA Forest Service Southern Research Station, Bugwood.org
Cooking methods for chestnuts vary widely too. Customarily though, chestnuts are Dry-Roasted in the oven, over hot embers, on top of the stove in a skillet, or even in the microwave. Once peeled, the chestnut can be pureed, added to soups, stews, stuffing’s, and vegetable dishes or even turned into a decadent dessert.
- Heat a skillet on top of the stove or preheat the oven to 425° F
- Rinse the chestnuts in cold water. (this removes any bird droppings etc….)
- Using a sharp knife, score the flat side of each chestnut nut with “X”. (The chestnut is FULL of moisture, the “X” keeps it from exploding.)
- Using a roasting pan or skillet place the chestnuts in the oven, over an open fire, or on top of the stove.
- Dry roast, stirring every five minutes until the shells begin to split open. (At this point the shells are brittle and have curled back some at the X.)
- Remove from the heat when the insides feel soft. (This will depend on the nut but usually about 15 – 20 minutes.)
- Peel the shells off the chestnuts and enjoy warm or cold.
The internet contains a wealth of chestnut recipes. One I particularly enjoy is Chestnut Hummus. Instead of using your favorite bean, prepare a pound of chestnuts by either boiling or dry roasting.
When cool enough to handle toss all of the traditional hummus ingredients into a food processor and process until smooth. Serve in your favorite bowl drizzled with a bit of extra oil and favorite accoutrements.
Chestnut Hummus
1 pound prepared chestnuts
1 whole lemon, juiced
¼ cup tahini or 1/4 cup sesame oil
1-teaspoon cumin, whole or ground (or your favorite seasoning! – have you tried harissa?)
¼-cup oil
½ cup hot water, more if necessary to make a good spreading consistency
Salt to taste
Serve with your favorite accompaniments. (crackers, fresh sliced vegetables etc.)
Bon Appetite!
by Samantha Kennedy | Jul 2, 2019
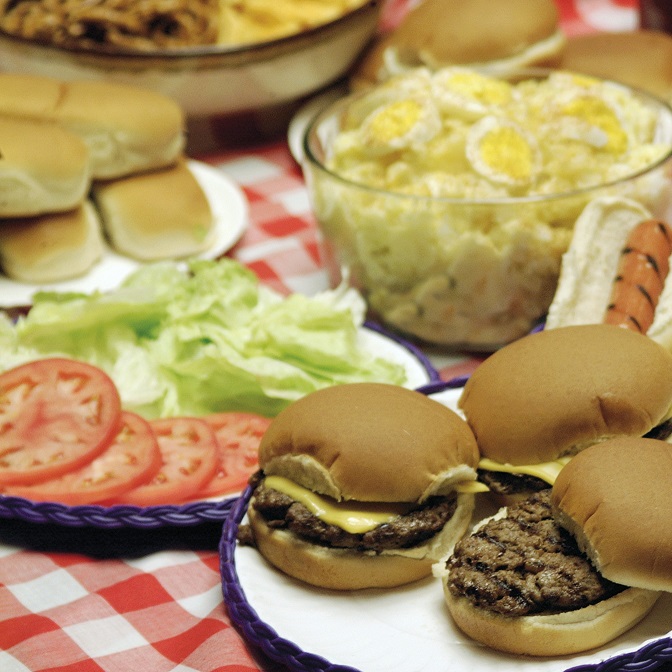
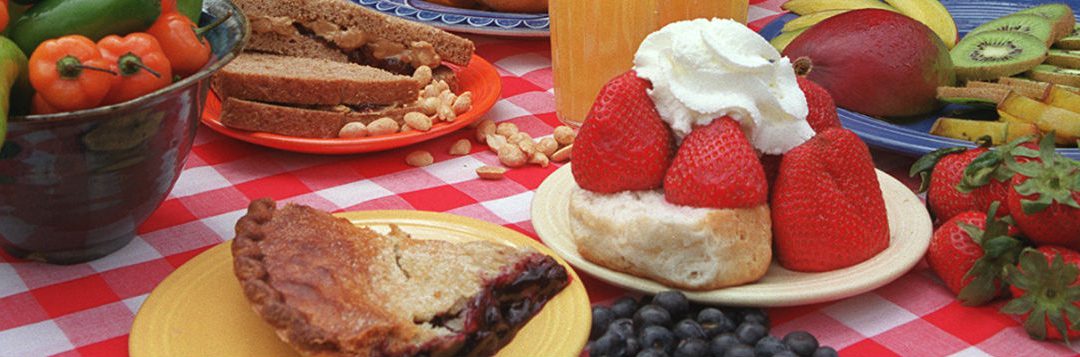
Picnics are a great way to share food and fun with friends and family. By following a few simple food safety tips, you can make sure foodborne illness doesn’t crash your party. (Photo source: UF/IFAS file photo)
There are few things more iconic during summer than a picnic. There’s just something fresh and fun about sharing a meal in the park or at the beach with family and friends. But just because you’re enjoying the warm, gentle breeze doesn’t mean you should throw caution to the wind. By following a few simple food safety tips, you can ensure that your perfectly planned picnic doesn’t make you sick.
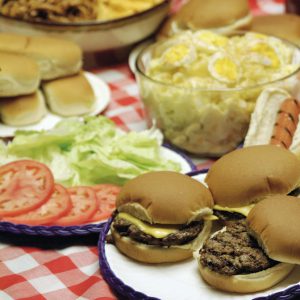
Plan appropriately. Not all foods are picnic-appropriate. Anything that requires a lot of perishable ingredients and/or a lot of preparation should be avoided. Stick with foods that require little or no cooking and that contain just a few ingredients. Foods such as fruits and vegetables (especially whole ones), hard cheeses, peanut butter and jelly, cereal, bread, and crackers are ideal picnic items. Anything made with commercially processed custard or mayonnaise will stay safe as long as it is kept cold.
Pack it safely. Use a cooler, if possible, and store cold foods together so they can help each other stay colder longer. Use ice or frozen gel packs to help keep foods cold. Pack foods directly from the refrigerator into the cooler; don’t leave them sitting out before packing. Store ready-to-eat foods separately from raw meats. If packing up hot foods, be sure to keep them in a thermos or other insulated dish. DO NOT store them in the same container as the cold foods. Paper towels, disposable utensils, and a food thermometer are ideal picnic accessories. Remember, keep cold foods below 41 degrees F and hot foods above 135 degrees F. Do your best to keep the cooler away from direct sunlight by storing it in the shade and be sure to replenish the ice and/or frozen gel packs when they melt. If possible, store drinks in a separate cooler so cold foods are not exposed to warm air with frequent openings of the lid to retrieve drinks. This also reduces the risk of cross-contamination, with fewer hands reaching into the food cooler.
Prepare it carefully. All food items should be kept at the proper temperature at all times. When cooking raw meats, use separate plates for the raw and cooked products and clean and sanitize utensils between uses. Cook meat to the proper recommended internal temperature to ensure doneness and safety. Click here for a list of recommended internal cooking temperatures.
Clean up quickly. Discard any perishable foods that have been left out for longer than two hours. In really hot weather (generally above 90 degrees F), foods should not be left out longer than one hour. Keep food protected in storage containers such as coolers and lidded dishes to minimize contamination from flies and other pests. Serve small portions of food at a time and keep the rest in the cooler.
Picnics are an important part of summer and with just a little bit of planning and a few useful tips and tools, they can be safe and delicious for everyone!
Related links:
Food Safety at Tailgating (University of Florida/IFAS)
Picnic Safety (Iowa State University)
Checklist for the Perfect Summer Picnic (foodsafety.gov)
Extension classes are open to everyone regardless of race, creed, color, religion, age, disability, sex, sexual orientation, marital status, national origin, political opinions or affiliations.
by Heidi Copeland | Jun 20, 2019
Part of cultivating a healthy, sustainable food system is to learning eat seasonally and locally. This means enjoying foods at their seasonal peak. In addition, there is value knowing when produce items are in season as these products are often tastier, healthier, fresher and more economical. Additionally, eating seasonally encourages a varied diet.
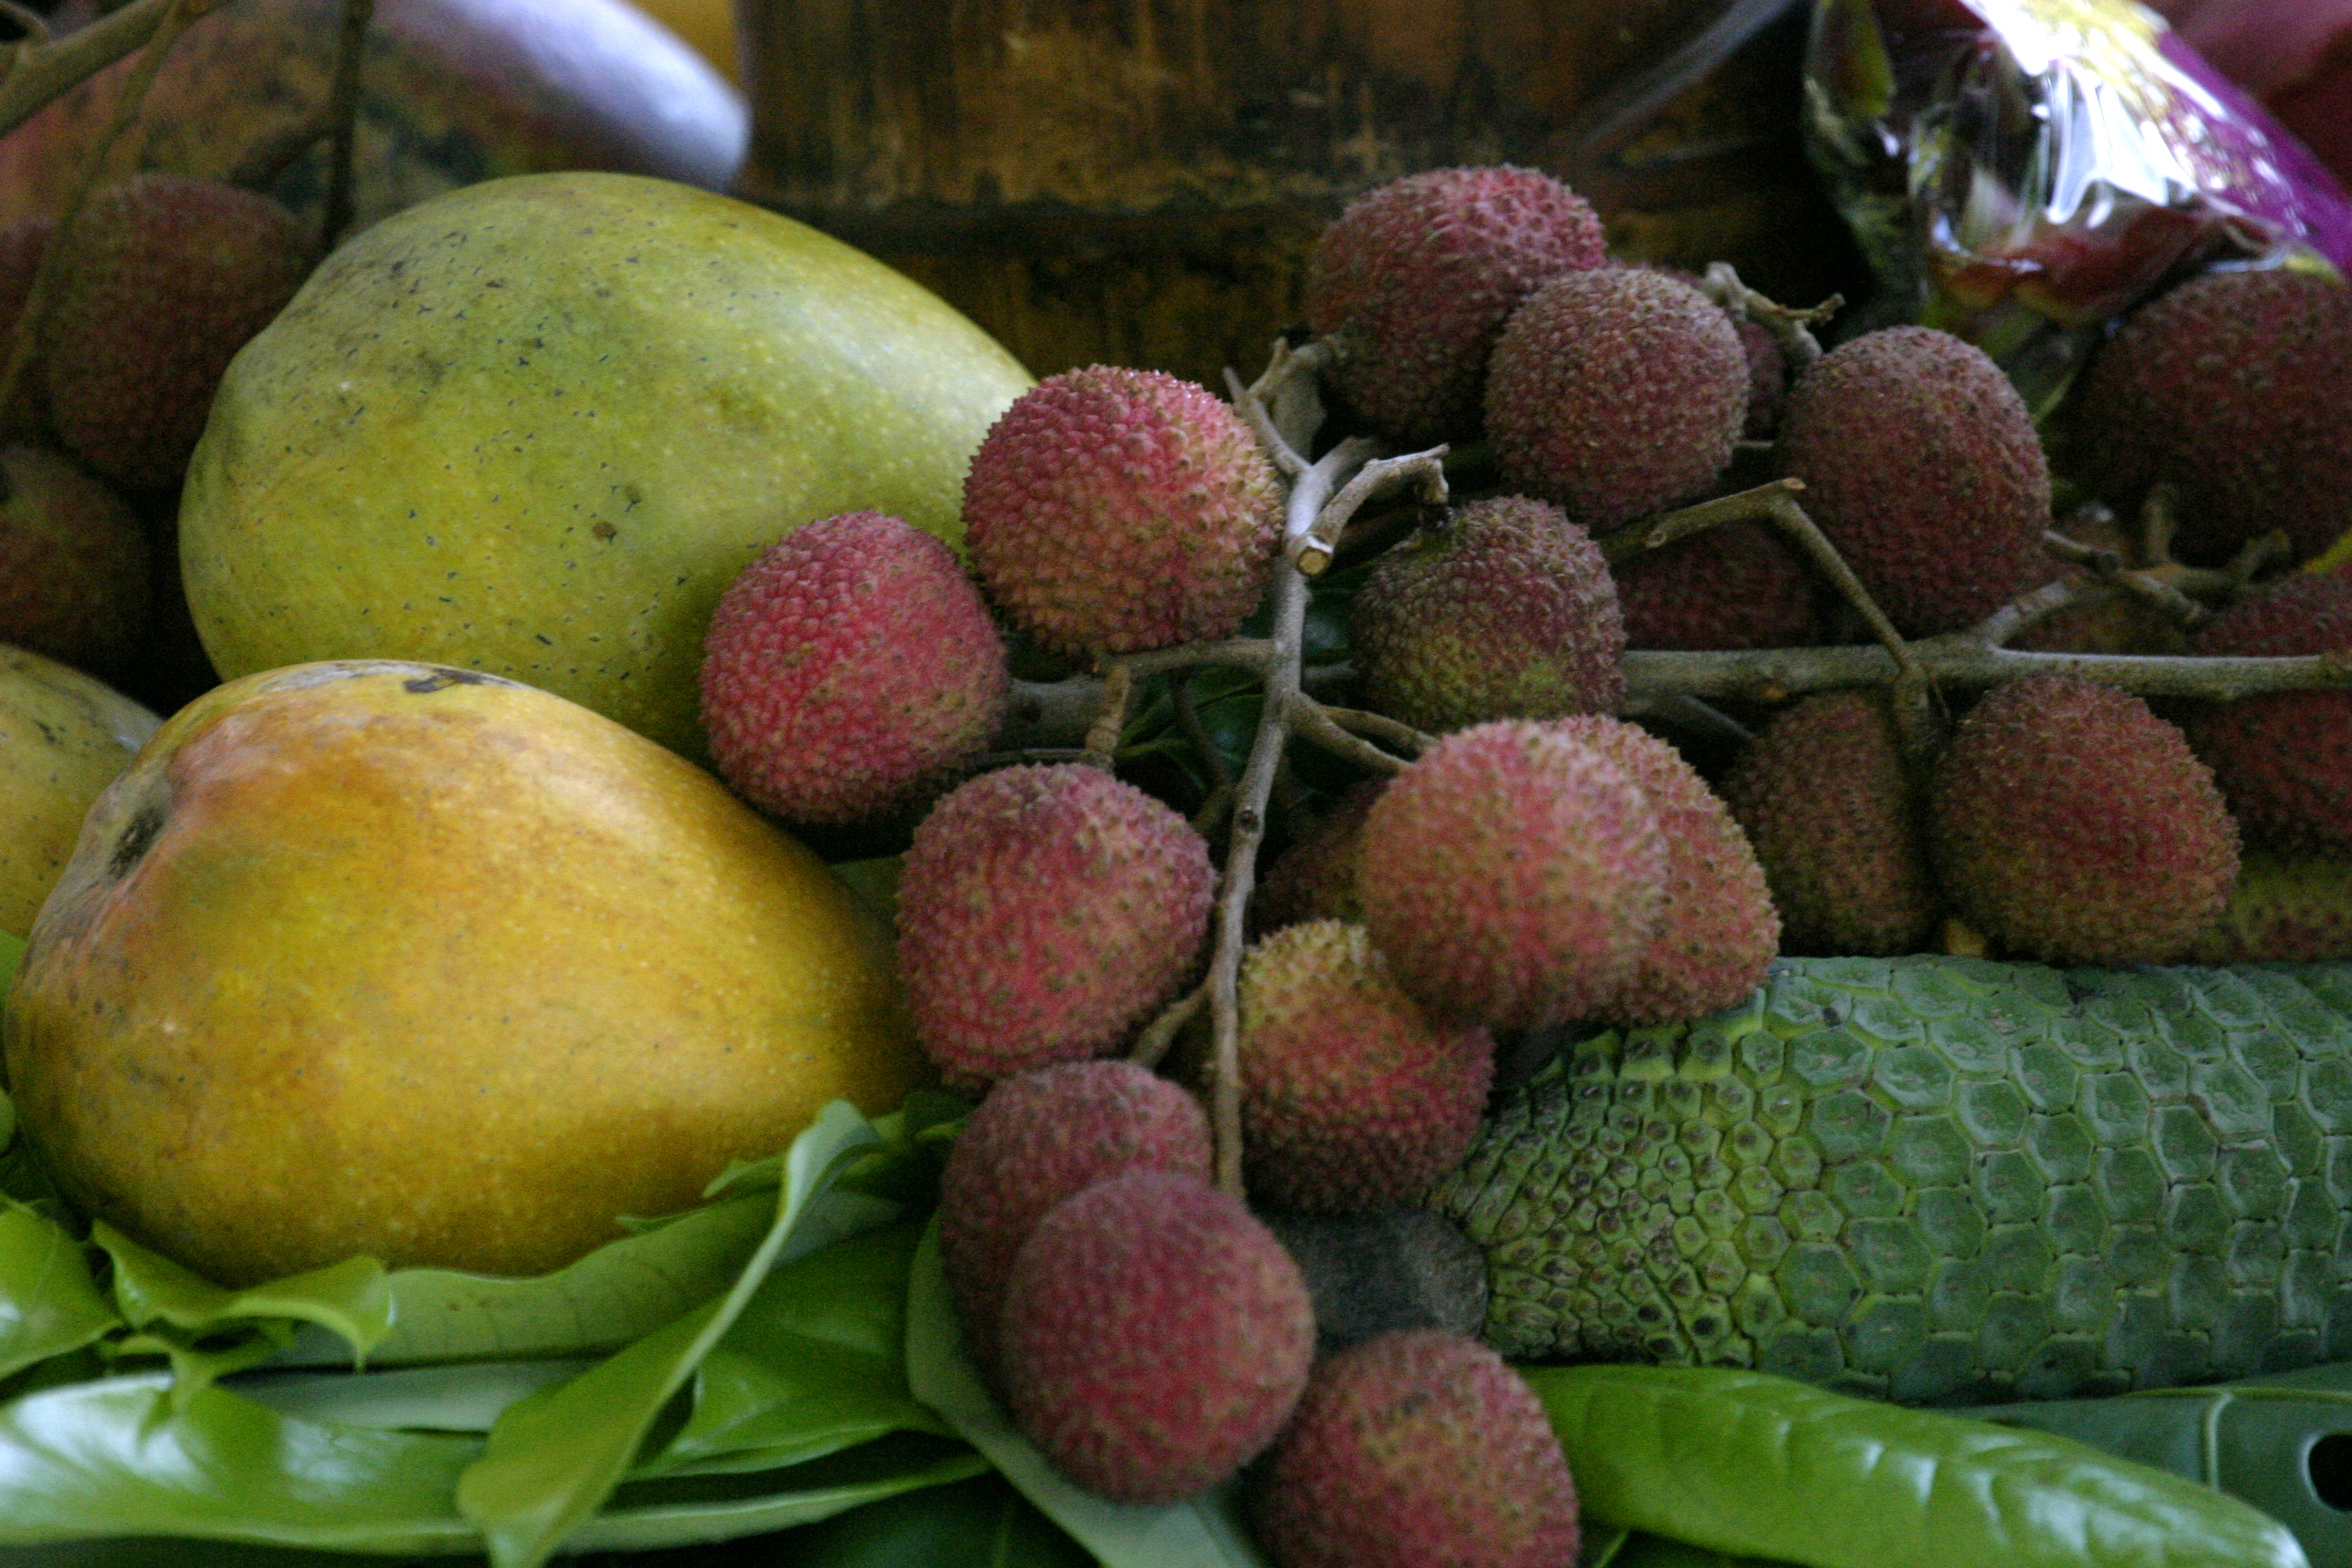
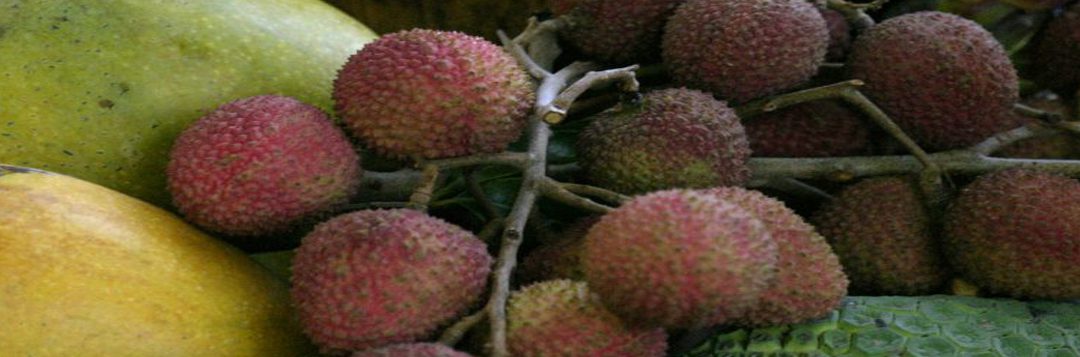
According to the Florida Department of Agriculture and Consumer Services (FDACS), Fresh From Florida produce is plentiful! The month of June is especially productive! June claims: Fresh From Florida avocado, cantaloupe, carambola, eggplant, guava, lychee, mango, mushroom, oranges, papaya, passion fruit, peanut, potatoes, sweet corn, tomatoes and watermelon!

Tropical Fruit Day, 2005. UF/IFAS Photo Source: Thomas Wright.
Most of the listed produce items are pretty conventional. But what about something not so straightforward like the lychee?
The lychee (Litchi chinensis), linked to the Sapindus genus, is native to warm temperate tropical regions of southern China. The lychee is harvested ready to eat. The lychee is covered with a hard, non-edible covering and contains a crisp, juicy, sweet pleasant inner (tasting a bit like a cross between a strawberry and a grape). Lychee are a great source of nutrients, containing, energy (carbohydrates) as well as vitamins, minerals and fiber. Lychee can be consumed fresh off the tree, frozen, canned, pickled, dried or even as ingredients in salads, marinades, sauces or desserts.
Try it! You just might like it! The University Florida UF/IFAS Extension has a great publication if you are interested in growing lychee. https://edis.ifas.ufl.edu/pdffiles/MG/MG05100.pdf The World Wide Web has a plethora of interesting recipes for the lychee as well that you can check out.
Lychee Growing in the Florida Home Landscape https://edis.ifas.ufl.edu/pdffiles/MG/MG05100.pdf
Florida Crops in Season https://www.freshfromflorida.com/Consumer-Resources/Buy-Fresh-From-Florida/Crops-in-Season

by Ginny Hinton | Jun 4, 2019
America’s favorite superfood is ripe in the Florida Panhandle! Well, it may not actually be everyone’s favorite, but it’s definitely a tasty superfood. Of course, I’m talking about the blueberry. If you love the sweet nutritious little blue fruit, now is the time to pick or purchase fresh from a local source.

Blueberries: Spectacular, Summer, Superfood
Photo source: Ginny Hinton
When it comes to antioxidants, blueberries are king. Antioxidants help protect our bodies from oxidative stress, which is linked to many diseases including arthritis, heart disease, stroke, and high blood pressure. They also help strengthen our immune system. Blueberries have one of the highest antioxidant levels of all common fruits and vegetables.
Blueberries are high in fiber (about 4 grams per serving), vitamin C and vitamin K. Of course, they’re also low in calories. Blueberries are available fresh in the Panhandle from late May into June.
When you’re picking blueberries, look for ones that are firm, dry, plump and smooth-skinned with a light greyish bloom. Stick to the deep blue ones for the sweetest flavor. Cover them and they’ll stay fresh in the refrigerator for up to ten days, or they can be easily frozen. Put them in a single layer on a baking sheet or cookie tray and freeze, then store them in airtight, resealable plastic bags. That way, they won’t stick together and you can use just the amount you need. Once you thaw them out, just be sure to use them within three days. Store blueberries unwashed and don’t rinse them until you’re ready to use them.
Don’t love to eat them plain? Nutritious, delicious blueberries are great in lots of dishes. For a quick breakfast or snack, add them to yogurt or cottage cheese and enjoy! Use them to flavor pancakes, waffles or muffins. Add them to a green salad for a sweet flavor burst. However you eat them, know that you’re doing a good thing for both your health and your taste buds.
Enjoy blueberries!