by Amy Mullins, PhD, RDN | Nov 24, 2021
The holiday season is finally upon us. It’s a time for enjoying family, friends, and food!
You can make healthy habits this holiday season. It’s not only a single meal but rather an entire season of parties, events, gatherings festivities, and unhealthy choices that add up to that holiday weight gain we resolve to lose when January rolls around. As the holiday season begins its rapid approach, take time and consider those eating habits that set your new year off on the wrong foot. Why not make a resolution now to eat healthier this holiday season?
Just a few simple strategies can help make the difference and keep those unwanted pounds away. Here are some suggestions:
- Don’t skip meals. Eating healthy on a regular basis will keep you from overindulging at holiday gatherings.
- Use smaller plates for meals and gatherings and be mindful of portions
- Choose more vegetables and smaller helpings of entrees and desserts
- Drink more water and minimize alcoholic drinks and eggnog
- Make healthier recipe ingredient substitutions when cooking and baking
Take a mindful approach to keeping your personal health goals in-check. We can all still experience the joy of the holiday season, without making food the focus. Make a resolution to be mindful and eat healthier this holiday season, and your waistline will thank you!
 Learn more about making healthy habits this holiday season!
— Tips for Making Healthy Choices
— Simple Substitutions
— Diabetes During the Holidays
— How to Add Fruits and Veggies
— Cranberry Nutrition
— Cranberry Sauce Recipe
— Holiday Food Safety Tips
Click here to read the newsletter.
by Amy Mullins, PhD, RDN | Nov 23, 2021
 Take care of your bones today for better quality of life tomorrow!
According to the National Institutes of Health, about one in every two Americans over the age of 50 may already have or be at risk of developing osteoporosis. (1) Osteoporosis is a disease where, over time, bone quality and strength decline, making bones more likely to fracture and break. Fractures can develop not only as a result of a slip or fall but also from everyday sneezing or coughing. If your doctor diagnoses you with osteoporosis, the best course of action for slowing its progression may be prescription medication. However, nutrition and exercise can help provide a good foundation to prevent or delay disease development. (1)
Know Your Risks
While all risks are not completely understood, there is a genetic factor linked to osteoporosis – mainly, if poor bone mineral density runs in the family. In addition to genetic factors, poor nutrition, smoking, excessive alcohol, and a lack of exercise can all increase your risk of developing osteoporosis. It is important to talk to your doctor to discuss your level of risk and prevention measures. (1)
Build More Bone
Although they may not seem like it, bones are a living tissue and go through times of building and breakdown during the life cycle. Bones grow the most during childhood, but they also change and become stronger as an adult by doing exercises like weightlifting or running. (1) Similar to a savings account or retirement fund, the more you build when you are young, the more you can afford to spend as you age. Current recommendations to support strong bones include muscle strengthening exercises at least two times per week. These exercises require your muscles to do more work than doing just day-to-day activities. Additionally, strength training exercises should be done to the point where it would be difficult to perform one or two more repetitions. Examples include lifting weights, working with resistance bands, and doing body weight exercises such as push-ups, pull-ups, and planks. Additionally, climbing stairs, and carrying heavy loads (such as groceries and heavy gardening) also count when done frequently.(2)
Support Your Bones
In addition to exercise, nutrition plays a large role in promoting healthy bones. The two most important nutrients for bone health are calcium and vitamin D. Calcium is what gives bones their strength but is also involved in many other processes in the body. If you do not regularly consume enough calcium, your body takes it from your bones. (3) If this happens for long enough, your bones will become weakened and begin to develop osteoporosis. Vitamin D is important for the absorption of calcium. Not having enough vitamin D can impact your bones, even if you get enough calcium from your diet. (4)
| Life-stage group |
Calcium (mg/day) |
Vitamin D (IU/day) |
| Infants 0-6 months |
200 |
400 |
| Infants 6-12 months |
260 |
400 |
| 1-3 years old |
700 |
600 |
| 4-8 years old |
1,000 |
600 |
| 9-13 years old |
1,300 |
600 |
| 14-18 years old |
1,300 |
600 |
| 19-30 years old |
1,000 |
600 |
| 31-50 years old |
1,000 |
600 |
| 51–70-year-old males |
1,000 |
600 |
| 51–70-year-old females |
1,200 |
600 |
| > 70 years old |
1,200 |
600 |
| 14-18 years old, pregnant/lactating |
1,300 |
600 |
| 19-50 years old, pregnant/lactating |
1,000 |
600 |
Recommended Calcium and Vitamin D Intakes (5) Definitions: mg = milligrams; IU = International Units
Bone Strengthening Foods
There are a variety of food sources that provide calcium and vitamin D. Calcium can be found in dairy products, green vegetables, and calcium-fortified foods. Examples of calcium-containing dairy products include cheese, yogurt, and reduced-fat milk. Other calcium-fortified foods include breads, orange juice, cereals, and tofu. When it comes to vitamin D in your diet, be sure to include fatty fish such as tuna and salmon. There are smaller amounts of vitamin D found in cheese, mushrooms, and beef liver. Similar to calcium, there are many vitamin D-fortified foods available. Some examples are cereals, orange juice, milk, and milk products. Check out the two tables below for calcium and vitamin D food sources. (5)
Calcium Content of Selected Foods
| Food |
Serving size |
Milligram (mg) per serving |
% DV |
| Sardines, canned in oil |
3 oz |
324 |
32% |
| Cheddar cheese, shredded |
1 ½ oz |
306 |
31% |
| Nonfat milk |
8 oz |
302 |
30% |
| Yogurt, reduced fat, no solids |
8 oz |
300 |
30% |
| 2% milk (reduced fat) |
8 fl oz |
297 |
30% |
| Whole milk |
8 fl oz |
291 |
29% |
| Cottage cheese, 1% milk fat |
2 cups, unpacked |
276 |
28% |
| Mozzarella, part skim |
1 ½ oz |
275 |
28% |
| Tofu firm, with calcium |
½ cup |
204 |
20% |
| Orange juice, calcium fortified |
6 fl oz |
200-260 |
20-26% |
| Tofu soft, with calcium |
½ cup |
138 |
14% |
| Frozen yogurt, vanilla, soft serve |
½ cup |
103 |
10% |
| Ready-to-eat cereal, calcium fortified |
1 cup |
100-1000 |
10-100% |
| Turnip greens, boiled |
½ cup |
99 |
10% |
| Kale, raw |
1 cup |
90 |
9% |
| Vanilla ice cream |
½ cup |
85 |
8.5% |
| Soy beverage, calcium fortified |
8 fl oz |
80-500 |
8-50% |
| Flour tortilla |
1, 6” diameter |
37 |
4% |
| Sour cream, reduced fat, cultured |
2 Tbsp |
32 |
3% |
Adapted from Office of the Surgeon General (US). Bone Health and Osteoporosis: A Report of the Surgeon General. (7)
Vitamin D Content of Selected Foods
| Food |
Serving size |
Micrograms (mcg) per serving |
International Units (IU) per serving |
Percent DV |
| Cod liver oil |
1 Tbsp |
34 |
1,360 |
170 |
| Rainbow trout, cooked |
3 oz |
16.2 |
645 |
81 |
| Salmon (sockeye), cooked |
3 oz |
14.2 |
570 |
71 |
| White mushrooms, raw, exposed to UV light |
½ cup |
9.2 |
366 |
46 |
| 2% milk, vitamin D fortified |
1 cup |
2.9 |
120 |
15 |
| Soy, almond, & oat milk, vitamin D fortified |
1 cup |
2.5-3.6 |
100-144 |
13-18 |
| Ready-to-eat cereal, fortified with 10% DV vitamin D |
1 serving |
2.0 |
80 |
10 |
| Sardines (Atlantic), canned in oil, drained |
2 |
1.2 |
46 |
6 |
| Egg, scrambled |
1 large |
1.1 |
44 |
6 |
| Beef liver, braised |
3 oz |
1.0 |
42 |
5 |
| Tuna fish (light), canned in water, drained |
3 oz |
1.0 |
40 |
5 |
| Cheddar cheese |
1.5 oz |
0.4 |
17 |
2 |
| Portabella mushrooms, raw, diced |
½ cup |
0.1 |
4 |
1 |
| Chicken breast, roasted |
3 oz |
0.1 |
4 |
1 |
| Ground beef, 90% lean, broiled |
3 oz |
0 |
1.7 |
0 |
| Broccoli, raw, chopped |
½ cup |
0 |
0 |
0 |
Adapted from Vitamin D – Fact sheet for health professionals (8)
Stay Safe and Healthy as You Age
Osteoporosis can be a serious and life changing diagnosis. However, adopting healthy habits like limiting smoking and excessive alcohol consumption can decrease your risk. Consuming enough calcium and vitamin D each day and getting regular muscle building exercise at least twice a week can also help protect your bones. Women over the age of 65, or anyone diagnosed as “at risk,” should be regularly screened for osteoporosis by a doctor during their yearly physical health exam. (6,7,8)
Making healthy lifestyle choices from a young age can help prevent or delay osteoporosis, but once you’re diagnosed, the best course of action for slowing its progression may be prescription medication. Consult your doctor before beginning a new exercise program or for interactions with medications.
References
- “Osteoporosis Overview.” National Institutes of Health, U.S. Department of Health and Human Services, https://www.bones.nih.gov/health-info/bone/osteoporosis/overview.
- S. Department of Health and Human Services. Physical Activity Guidelines for Americans, 2nd edition. Washington, DC: U.S. Department of Health and Human Services; 2018.
- “Osteoporosis.” Edited by Susan Randall, Osteoporosis | Office on Women’s Health, National Institute of Arthritis and Musculoskeletal and Skin Diseases, 20 May 2019, https://www.womenshealth.gov/a-z-topics/osteoporosis.
- “Office of Dietary Supplements – Vitamin D.” NIH Office of Dietary Supplements, U.S. Department of Health and Human Services, 22 Mar. 2021, https://ods.od.nih.gov/factsheets/vitaminD-HealthProfessional/
- S. Department of Agriculture and U.S. Department of Health and Human Services. Dietary Guidelines for Americans, 2020-2025. 9th Edition. December 2020. Available at DietaryGuidelines.gov
- Palmer S. Bone Health and Diet. Today’s Dietitian. 2013;15(2):44.
- Office of the Surgeon General (US). Bone health and osteoporosis: A report of the surgeon general. Rockville (MD): Office of the Surgeon General (US); 2004. Table 7-2, Selected Food Sources of Calcium. Available from: https://www.ncbi.nlm.nih.gov/books/NBK45523/table/ch7.t2/
- Vitamin D – Fact sheet for health professionals. NIH Office of Dietary Supplements. https://ods.od.nih.gov/factsheets/VitaminD-HealthProfessional/#h3. Published August 17, 2021. Accessed November 11, 2021.
Guest contributors: Andrew Treble and Lexi Fraino are master’s students and Dietetic Interns from Florida State University’s Department of Nutrition & Integrative Physiology.

by Claire Davis | Oct 26, 2021

Photo Source: Auburn University IHSA Equestrian Team
Claire Reach is the UF/IFAS 4-H & Family and Consumer Sciences (FCS) Agent in Calhoun County, Florida. For 4-H, she specializes in animal handling, animal safety, and animal sciences. For FCS, she mainly specializes in food safety and healthy living, but has found a new opportunity to work with First Time Homebuyers and the State Housing Initiative Partnership Program (SHIP) in the county.
Claire grew up in Alabama, splitting her time between Birmingham and her family’s farm, L & L Angus Farm, in Auburn. The family farm is Claire’s driving force behind the passion that she has for agriculture, which is a large part of the work she is doing in Extension.

These pictures are of my family on the farm in Auburn, AL. Photo Source: Dave Davis.

Peep some of the cows in the background. Photo Source: Elise Reach.
With a family background in Ag, she decided to study Animal Science-Production Management at Auburn University in Auburn, Alabama. While completing her undergraduate degree, Claire competed for Auburn University’s Intercollegiate Horse Show Association, worked at Auburn University’s College of Veterinary Medicine in a research barn, and continued to work on the family farm. She graduated in May of 2019 with her Bachelor of Science and a minor in Agricultural Business.
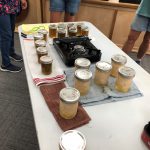
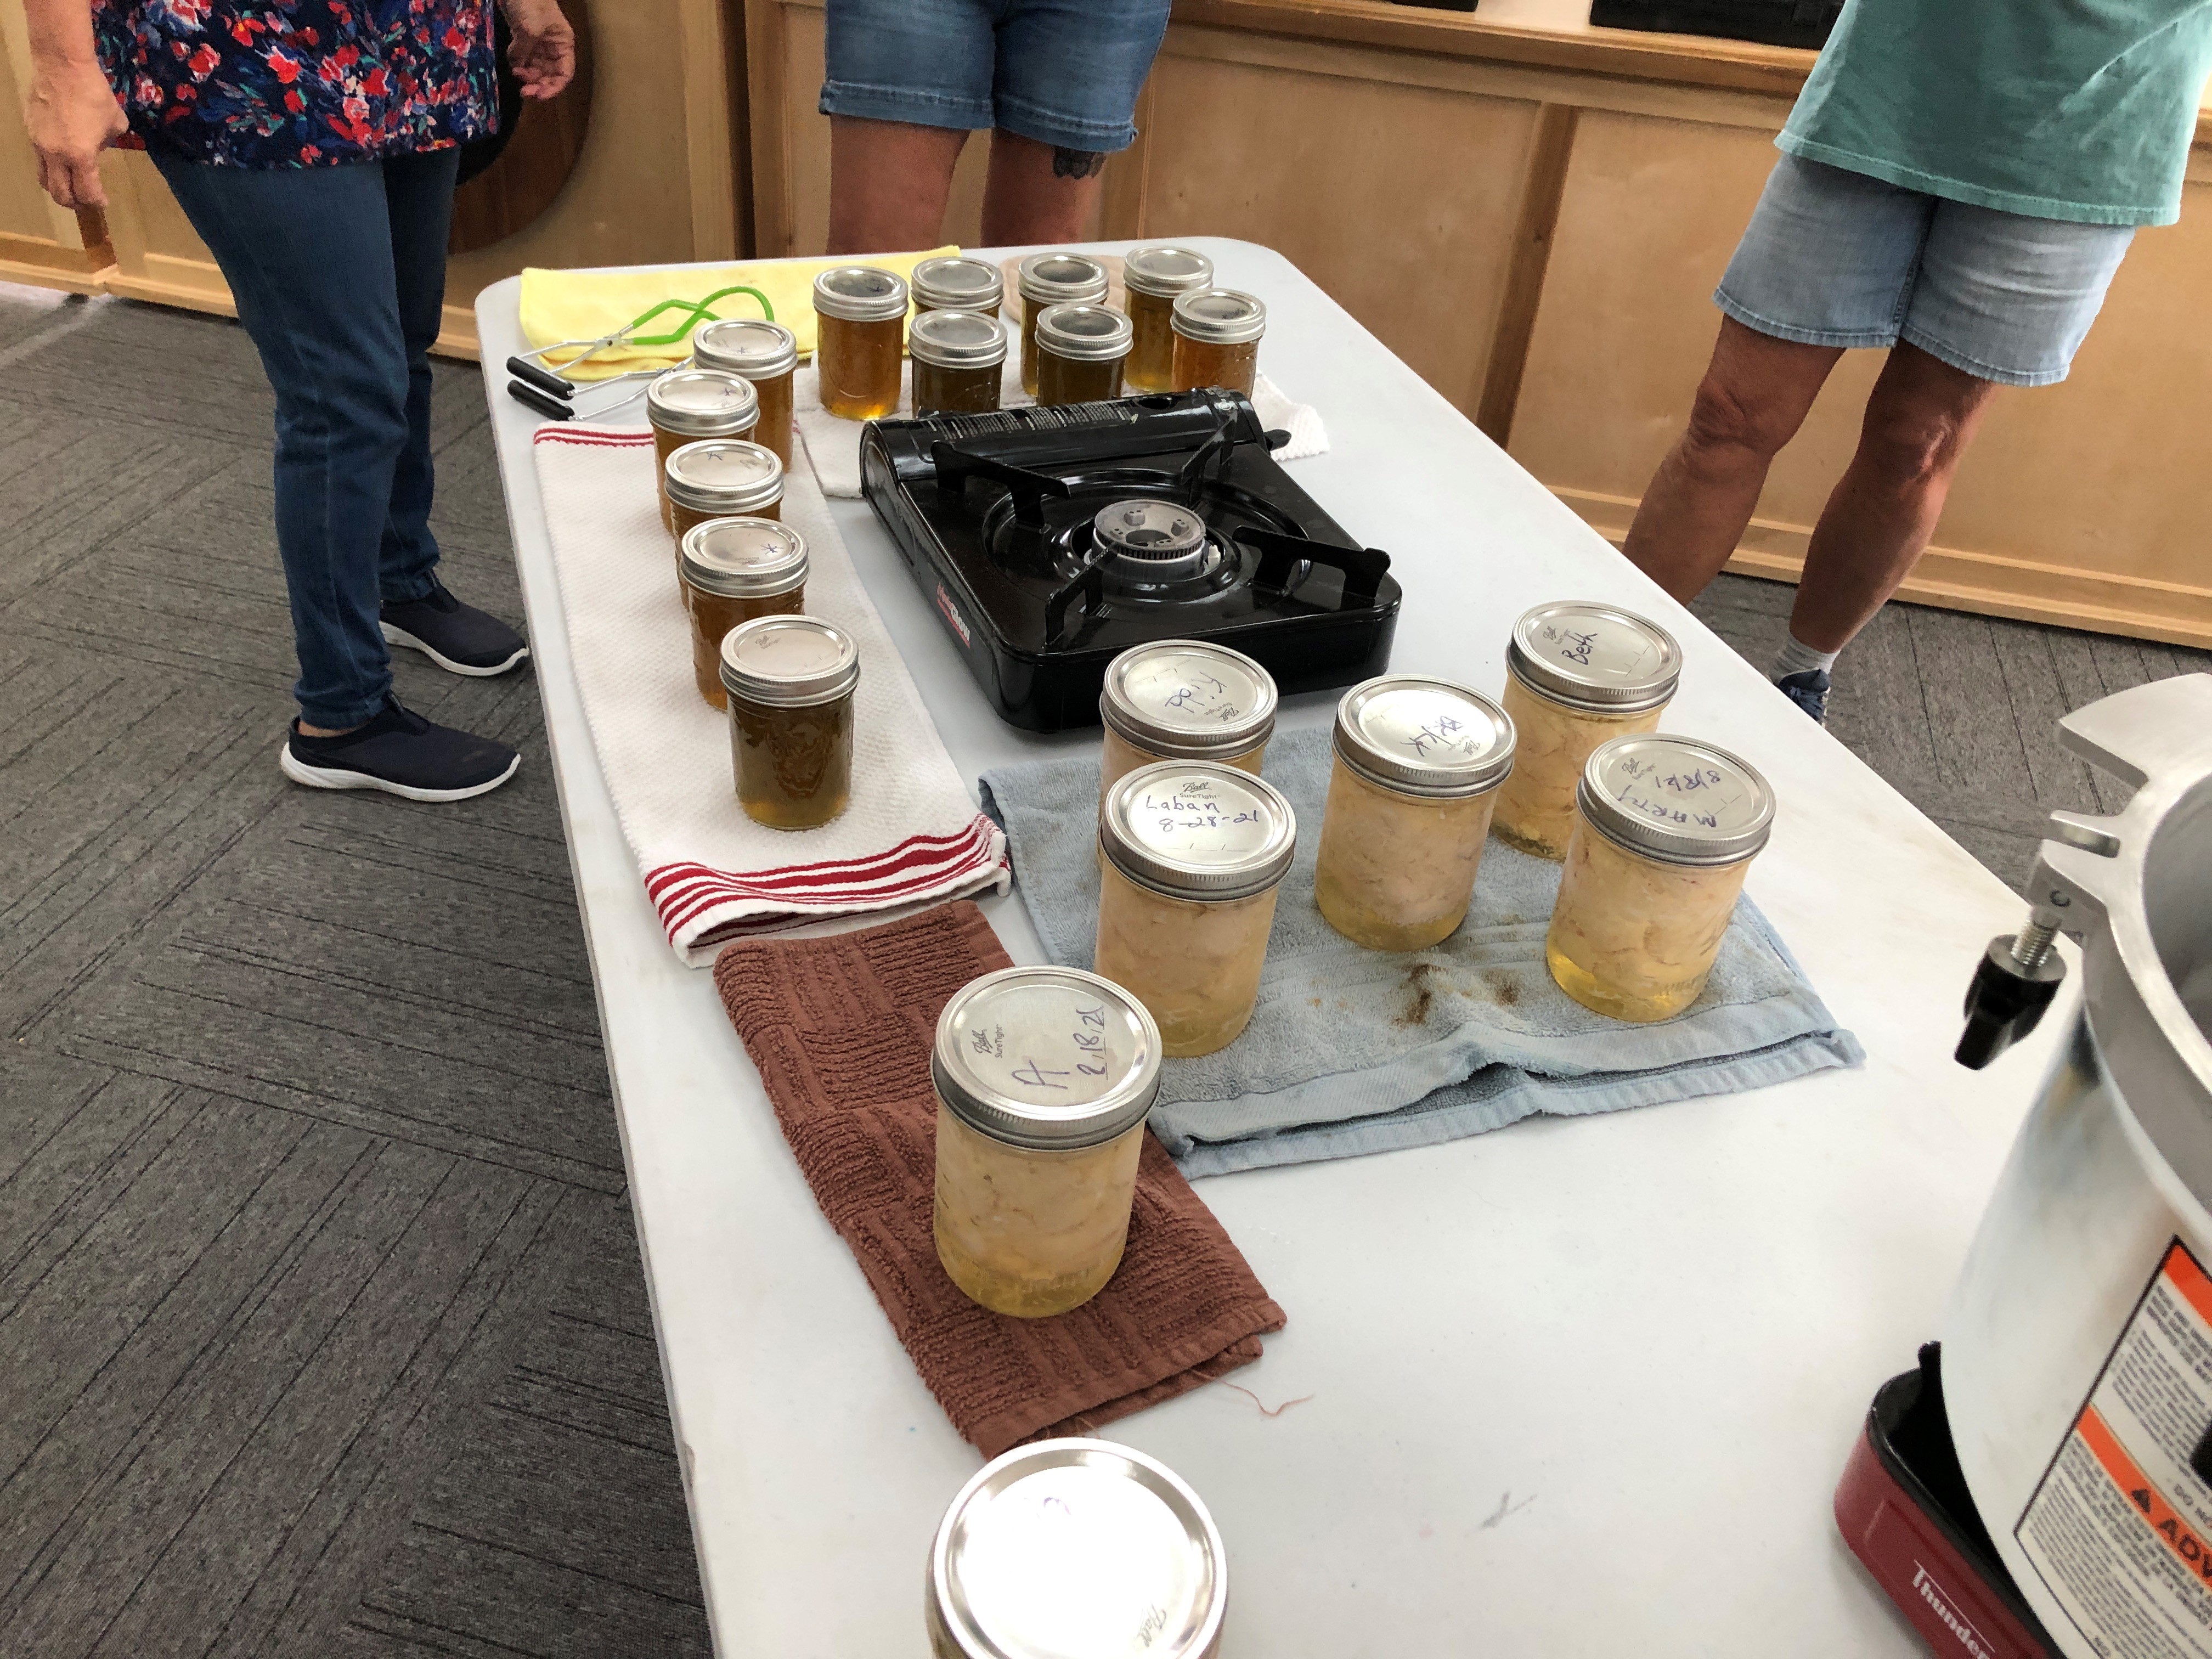
Several home cooking/canning classes offered in 2021. Strawberry jam, chicken, pepper jelly, salsa, and mozzarella cheese have been made! Photo Source: Claire Reach UF/IFAS.

The Calhoun County 4-H Horse Club recently started up! (The 2 horses on the right side of the image also belong to me.) Photo Source: Dave Davis.
Shortly after graduation, she moved to Florida to work for Deseret Cattle and Timber as a Heavy Machinery Operator, but soon realized that her passion was Extension. The position in Calhoun County became available and she jumped at the opportunity to apply for it. Having just started in May 2021, Claire has not been with UF/IFAS Extension long, but she cannot wait to see what the future holds for her county. Claire says that she aspires for the Calhoun County FCS Program to be the area’s leading program for adults in practical home practices, whether that be home canning or healthy eating, and healthy living. All the programs that she offers, whether it be 4-H or FCS, follow the same motto: ‘learn by doing’. This drives the experience of each program, allowing participants to fully understand a concept or ask questions when they do not.

These are the “goodest” dogs of all time! Evie (Chocolate Lab), Diesel (Black and White Mutt), and Hank (Bassett Hound-laying down) Peep the chickens, turkeys, cat, and horses in the back ground! Photo Source: Claire Reach UF/IFAS.

This is Chick! For a mare, she’s pretty special. We have a great bond and she trusts me to do just about anything with her (i.e. shoot a gun off of, rope cattle, stand on, lay on, or let little kids ride) Photo Source: Tanner Mayo.
When Claire is not at work, she says there is always more work to be done at home. Living on a functioning livestock operation, she has several animals, including: chickens (about 50 at the moment), 5 guineas, 4 turkeys, 2 cats, 4 dogs, and 3 horses. She hopes to be able to add cattle to the ever-growing “funny farm” soon! It isn’t always about work, though. In her spare time, Claire enjoys spending time with family, riding her horses, long walks with the dogs, dirt road riding, and paddle boarding at the beach!
by Melanie Taylor | Sep 29, 2021
Until July 2, 2021, I felt confident I had done everything possible to stay safe and avoid contracting Covid-19. Throughout 2020 and well into 2021, I worked from home, socialized very little, quarantined when necessary, wore my mask, and constantly washed my hands. In fact, I may have dry skin on my hands for the rest of my life, but I still wash my hands frequently. The Covid-19 virus has become a controversial issue over the past two years, but my story is from real experience.
Keeping your fever under control is a necessity when battling Covid-19. Photo credit: Melanie Taylor
As I prepared to have a safe, but fun, Fourth of July weekend with a few vaccinated friends, I was winding down my Friday at work and started to feel achy. I headed home, excited for a 3-day weekend, but I still felt like I was dragging. My husband and I had plans to meet up with friends at a restaurant with outdoor seating, but before I left the house, I decided to take my temperature, just to be cautious. To our surprise, I had a fever of 99.9. We canceled our dinner plans and I took some acetaminophen, went to bed early, and we prayed it was not Covid-19. It was kind of an unspoken prayer because neither of us wanted to admit we were a little nervous about my symptoms. As the weekend carried on, I felt sicker as the hours and days went by and barely left the sofa or bed. On Sunday morning, I woke up with a bad dry, hard cough so my husband called my doctor. To be totally transparent, I am immunocompromised, so we both knew there was a chance I could have a breakthrough case even though I was vaccinated. Based on my symptoms, my doctor recommended I go to the emergency room and be evaluated since it was a 3-day weekend. I followed his directions, had a chest x-ray, which, thankfully, was clear, but I tested positive for Covid-19.
Let me honestly say, this was the sickest I had ever felt in my memories. For about twelve straight days, I laid on the sofa, took my temperature and oxygen levels, had no sense of taste or smell, ate food with no taste to keep up my strength, hydrated, and slept. The body aches, fever, dry cough, and fatigue were debilitating. I had every Covid-19 symptom listed by the CDC except for a headache. I thought to myself many times how bad and scary this could have been if I had not been vaccinated. My doctor clearly expressed his opinion that if I had been unvaccinated, I would have been hospitalized, no questions asked. Unlike many people, it was not recommended for me to take a regimen of pills or vitamins, so I fought it with acetaminophen, lots of hydration, healthy foods, and tons of rest. When I finally woke up on July 14th and could smell the coffee brewing, I knew the end was finally in sight. It still took two more weeks to feel and return to normal, and I knew firsthand this virus is no joke.
Like many of you, I know people that have tested positive and showed no symptoms, some that felt very sick but were able to stay home and recover, and some that never made it home from the hospital. I work in the field of science as a UF/IFAS Extension Agent and feel very strongly that we can all make simple efforts to reduce exposure to ourselves and others. The most important step is to pay attention to the symptoms and stay home if we suspect illness or exposure. Even though I was looking forward to the holiday festivities, I made a conscious decision to stay home on July 2nd just in case I really was positive with Covid-19. I wanted to keep my friends and family safe just in case there was a remote chance I was contagious. I feel very grateful I did not expose them to this virus.

Checking your oxygen levels while sick with Covid-19 is a must. Photo credit: Melanie Taylor
The positive cases in Florida are lower right now, and that is fantastic. I am very excited about it too, but I also know we still shouldn’t put our guard down. Please stay aware. Be aware if you or a family member(s) have been exposed or do not feel well, and check for symptoms. I highly recommend every American household have a reliable thermometer, a pulse oximeter (safe oxygen levels should not go lower than 92), fluids for hydration, and foods of different textures because eating food without being able to taste and smell is very difficult. Different food temperatures, spice levels, and textures made eating to keep up my strength easier for me to handle.
The past two years have been stressful, emotional, and very exhausting. We still cannot forget to stay aware and diligent in our everyday lives to keep our families, friends, and communities healthy. Please revisit these CDC websites as needed and always consult your doctor when you have questions and concerns. Stay aware and healthy out there!
https://www.cdc.gov/coronavirus/2019-ncov/your-health/index.html\
https://www.cdc.gov/coronavirus/2019-ncov/symptoms-testing/symptoms.html
https://www.cdc.gov/coronavirus/2019-ncov/prevent-getting-sick/index.html
https://www.cdc.gov/coronavirus/2019-ncov/testing/index.html
https://www.cdc.gov/coronavirus/2019-ncov/if-you-are-sick/index.html
https://www.cdc.gov/coronavirus/2019-ncov/need-extra-precautions/people-with-medical-conditions.html

by Judy Corbus | Aug 27, 2021
Next to ensuring your family’s safety and well-being during a hurricane, having a game plan to protect your largest investment – your home and property – is essential in preparing for a major storm or other disaster. Many of these tasks can be done as part of routine home maintenance well before a storm is on the horizon.
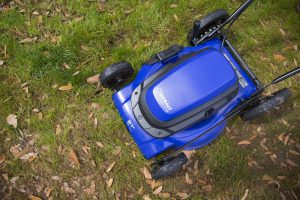
Mow your yard before a storm to make clean-up easier. Photo credit: UF/IFAS Photo by Camila Guillen
Let’s start with the outside:
- Trim back limbs and branches hanging over the roof and any dead limbs elsewhere in the yard. These can break off in high winds, causing roof and siding damage.
- Clean valleys, gutters, and downspouts of leaves and debris. This will improve water flow off the roof, reducing the risk of leaks.
- If a storm is approaching, move trash cans, lawn furniture, grills, decorative items, potted plants, and toys to the garage, shed, or other secure storage area. These items can become flying missiles in high winds!
- Protect windows with plywood or roll-down shutters. These protective barriers can:
- keep wind pressure from building up inside, leading to roof loss
- reduce the chance of glass breakage
- reduce the risk of wind-driven rain damaging your home’s interior
- Be sure to install plywood before wind speeds increase!
- Do NOT apply tape to windows. Tape will not protect against breakage from flying debris and wastes time and resources. Plus, the adhesive can be very difficult to remove from the glass.
- Protect the garage door with vertical bracing. You can install wooden columns or purchase a kit. For more information, check out Protecting and Securing Garage Doors.
- Check doors, windows, and walls for openings where water can enter. Use silicone caulk to seal any gaps, cracks, or holes – pay special attention to cable and pipe openings into the house.
- Test and service your back-up generator to make sure it’s working properly and check your fuel supply. To prevent carbon monoxide poisoning, use your generator only outside and at least 20 feet away from doors, windows, and vents.
- Mow the yard. This makes post-storm clean-up much easier.
Now, we’ll move inside:
- Check your flashlights and stock up on batteries as needed. Plan on a flashlight for every person in the house plus additional lighting for bedrooms, bathrooms, and common areas.
- Check your weather radio to ensure it’s working properly.
- Check smoke detector and carbon monoxide alarm batteries and replace as needed. Hard-wired alarm systems will operate on the battery backup during a power outage.
- Keep your cell phone and other devices charged when a storm is forecast. Purchase backup charging devices for your electronics.
- Gather disinfectant supplies, trash bags, toilet paper, paper towels, paper plates, cups, and plastic utensils. Put these items in a waterproof/water resistant container to keep them clean and (hopefully) dry in case of flooding.
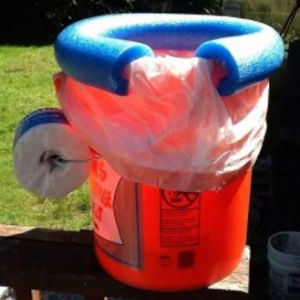
A 5-gallon bucket with a liner can serve as a toilet. Photo credit: Annette Lanham
- If you might be unable to flush the toilet during/after the storm, place a heavy-duty contractor trash bag in the toilet bowl to hold waste. Tie with a plastic tie and dispose of when full or as needed. Another option is to place the bag in a five-gallon plastic bucket. For added comfort, slit a foam pool noodle on one side and slip over the bucket edge for a “seat”; cut to fit. You can have two buckets – one for liquid waste and the other for solids.
- Before the storm arrives, wash dishes, catch up on laundry, clean the kitchen and bathrooms, and empty wastebaskets. This reduces clutter and promotes a clean environment in which to ride out the storm. It also reduces extra work and stress after the storm when water and electricity may be limited or unavailable.
For additional preparation tips, visit Homeowner’s Handbook to Prepare for Natural Disasters
Sources:
Ready.gov
DisasterSafety.org
by Amy Mullins, PhD, RDN | Aug 27, 2021
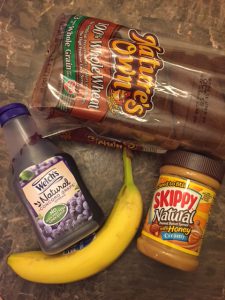
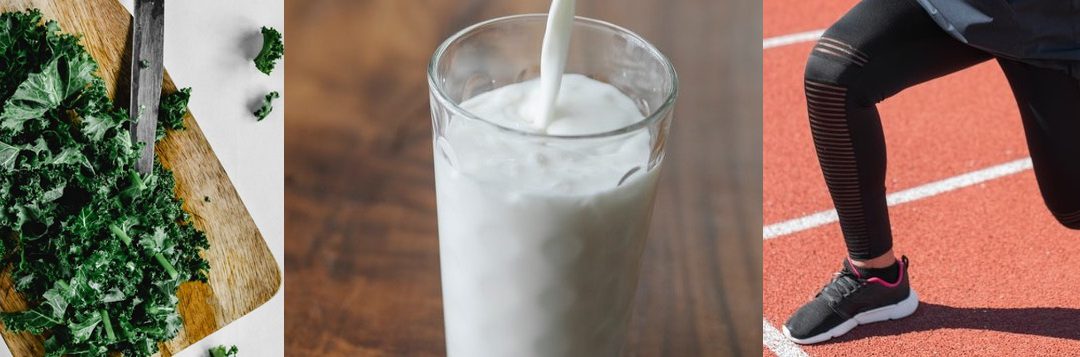
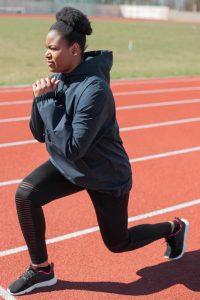
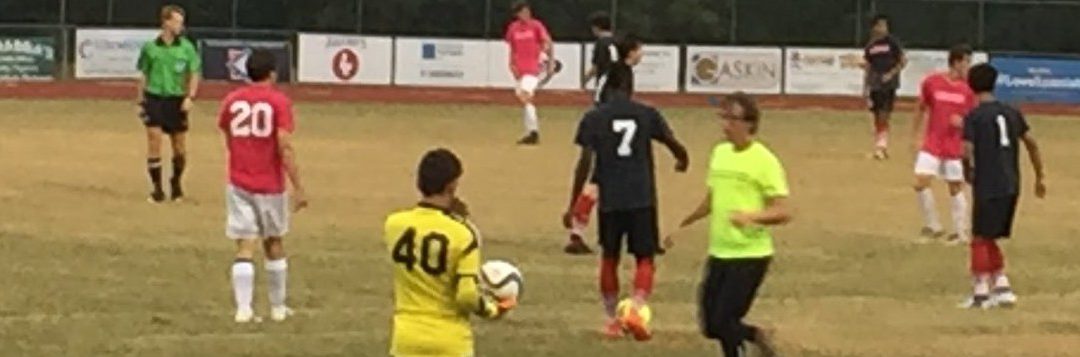
Healthy snacks fuel the athlete! Photo credit: Amy Mullins
When it comes to your kids, you’d do anything to help them succeed… in the classroom, in their relationships, in life. So, why not on the basketball court, soccer field, swimming pool, or whichever sport they’ve fallen in love with? They may have the best equipment, participate in extra training lessons, and put in 110% during every practice and event. But, is this enough? Is there something missing?
It’s no secret that your child is growing. In order to function in their sport, improve performance, and promote recovery, kids need food to help support the increased energy requirements. This ultimately means more planning and more groceries!
Follow these guidelines to fuel your superstar during the week, before the game/event, and after the game/event.
Pre-Game Meal/Snack
Eat a good-sized meal at least three hours before the event. This gives the tummy time to process all the food to prepare it as fuel. Have a light balanced meal with some carbs and fats. These will sustain you throughout your exercise! Carbs and fats are both great fuel sources, and the fats digest slower to help keep you feeling full. Pick foods that digest well to avoid any nausea or upset stomach. Don’t forget to drink some water to start off hydrated!
- Breakfast Ideas: fruit, lightly sautéed potatoes, scrambled eggs, or toast with nut butter or smashed avocado
- Lunch Ideas: turkey or ham sandwich (avoid fatty cheeses and condiments), peanut butter and jelly, fruit, pretzels, or cereal
- Snack 30 minutes before the event: peanut butter crackers, granola bars, fruit snacks, or goldfish crackers
During Practice and Games
For exercise lasting less than an hour, sip on some water to stay hydrated. For exercise lasting longer than an hour, a sports drink like Gatorade or Powerade will help replenish lost carbohydrates and electrolytes. For longer lasting activities or day trips, bring along some easy to eat snacks with lots of carbs, and some fats and proteins. Peanut butter and jelly sandwiches and granola bars are great options!
Post-Game Snack
After exercise, it’s important to recover, refuel, and re-hydrate. Protein will help our muscles recover while carbohydrates will help refuel for the next activity. Drink plenty of fluids to rehydrate! Good choices for quick, easy snacks include chocolate milk, peanut butter crackers, cheese sticks, bananas, apple slices with peanut butter, or smoothies with or without protein.
Dinner Plate After Practice and Games
- Grains/Carbs: Should take up roughly 35% of the plate
- Lean Protein: Should take up roughly 25% of the plate
- Fruits and Veggies: Should take up roughly 40% of the plate
- Hydration: Focus on replenishing lost electrolytes and fluid loss
Components of a well-balanced meal include:
- Meat & poultry – great protein sources for recovery. Pair it with a carb!
- Whole grains, fruit, pasta, rice, potatoes – great carb sources to complement your protein. These will help replace the energy you burned during exercise.
- Water, milk, and fruits will help replenish fluids lost during exercise.
Eating right not only on game day but throughout the week will do wonders for your child’s athletic performance. Not only that, it will set them up to be successful and healthy adults in the future!
Guest contributors: Patrick Burns and E. Jane Watts, Dietetic Interns from Florida State University’s Department of Food, Nutrition, and Exercise Sciences
The use of trade names in this post is solely for the purpose of providing specific information. It is not a guarantee, warranty, or endorsement of the product.
References:
Academy of Nutrition & Dietetics. Ellis, E. (2020). Hydrate Right. https://www.eatright.org/fitness/sports-and-performance/hydrate-right/hydrate-right
American Dietetic Association, Dietitians of Canada, American College of Sports Medicine,
Rodriguez, N. R., Di Marco, N. M., & Langley, S. (2009). American College of Sports Medicine position stand. Nutrition and athletic performance. Medicine and science in sports and exercise, 41(3), 709–731.
https://performancepartner.gatorade.com
https://www.eatright.org/fitness/sports-and-performance/tips-for-athletes/gameday-nutrition-tips-for-young-athletes