by Angela Hinkle | Nov 23, 2020
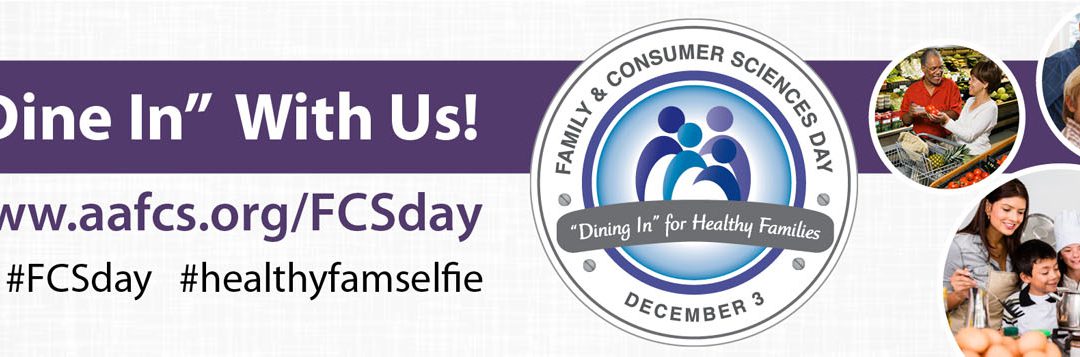
Dining out with family was the thing to do when we were so busy doing so much outside the home. Now that we’re spending more time at home together, dining in is in again. You can start or continue the “in” thing by taking the pledge to dine-in healthy with your family this December 3rd. Why take this kind of pledge? Keep reading.
FCS Dine In Day
Making and keeping a promise has an upside
Keeping the commitment you made to eat healthy with your family means you get to reap the rewards of actually providing a healthy meal for your family. Additionally, keeping this promise can boost your self-confidence and self-esteem because you know you’re making strides to take care of yourself and your family.
Become popular
Since dining in is in again, eating healthy with your family December 3rd makes you the admired one to your family and friends. As you dine in together, share praises and compliments as well as healthy foods, and reinforce the feeling of belonging. After providing these trendy experiences often enough, you can begin to enjoy the adoration and respect of others around you. You can be popular.
It’s cherished time
Schedule it. Block off time for it. Show up for it. You and your family are worth it. Start with the pledge on December 3rd. For best success for a healthy lifestyle change, make it a S.M.A.R.T. goal. That’s one that is Specific, Measurable, Attainable, Relevant, and Time-framed. Here’s an example: Every Tuesday at 6pm, our family will eat a healthy meal together that includes at least two vegetables and a whole grain.
You can keep it safe
- If ventilation indoors is a bit stifling, eat outdoors when you can. Backyards, patios, and porches are great venues for your dining experiences.
- Clean your hands often as you prepare and eat your meal. If you can’t wash for 20 seconds with soap and running water, hand sanitizer is a good backup. Make sure your hands are completely dry after washing or sanitizing.
- Cook foods to the proper temperature. See the Safe Internal Temperature Chart.
- Put leftovers away as quickly as possible.
Tried and true or something new
- Have fun. Try decorating to make your mealtime together special. Let all family members participate.
- Make comfort food. But also try making something you’ve never had before, or try food prepared in a new way.
- Look through the cabinets or in the garage for kitchen equipment you haven’t used in a long time or have forgotten you had. Then use it.
For better health and wellness, make the pledge to Dine In with your family this December 3rd. Now is the time – especially since dining in is in again.

by Terri Keith | Nov 23, 2020
Did you know that the Centers for Disease Control and Prevention (CDC) list hearing loss as the third most common chronic health condition in the U.S.? Many people do not recognize they have hearing loss, either because they do not realize it themselves or they won’t admit they have a problem. Statistics have shown that approximately 1 in 4 adults in the US between the ages of 20 and 69 who report having excellent hearing actually have measurable hearing damage.
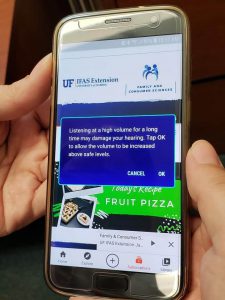
Lower the volume on personal listening devices to protect your hearing. Photo source: Terri Keith
Most of us have heard that loud noises can damage our hearing, but do you know what is considered loud? Noises are measured in decibels (dB). Here are the measurements of some common sounds:
- 40 dB – Refrigerator hum
- 60 dB – Normal conversation
- 70 dB – Washing machine
- 80 dB – Traffic noise inside a car
- 80-85 dB – Gas-powered lawnmower
- 95 dB – Motorcycle
- 100 dB – Sporting event
- 105-110 dB – Maximum volume for personal listening devices
- 120 dB – Siren
- 140-150 dB – Firecrackers
Noises can start causing hearing damage at about 85 dB when experienced over an extended period of time. The higher the decibels, the less time it can take for hearing damage to occur. It may take about 2 hours for damage to occur at 90 dB but at 100 dB, it may only take 14 minutes. At 110 dB, hearing loss is possible in less than 2 minutes.
What can you do to protect your hearing? First, avoid noisy places when you can and keep the volume down when you’re watching TV or listening to music. If you can’t control the noise, try using ear plugs, protective earmuffs or noise canceling headphones. This is especially important if you’re going to be exposed to the noise over a period of time. If you’re not sure whether you should be worried about the noise level where you are, grab this smartphone app and check the decibels for yourself!
Remember that hearing loss from loud noises can be prevented. Once the damage occurs though, it’s permanent so take care of your hearing!
Resources:
Centers for Disease Control and Prevention, Vital Signs: https://www.cdc.gov/vitalsigns/hearingloss/index.html
Centers for Disease Control and Prevention, Loud Noise Can Cause Hearing Loss: https://www.cdc.gov/nceh/hearing_loss/what_noises_cause_hearing_loss.html
U.S. Department of Health & Human Services, It’s a Noisy Planet: https://www.noisyplanet.nidcd.nih.gov/hearing-loss-science
by Judy Corbus | Nov 2, 2020
Ahhh…Fall! I love this time of year – changing leaves, cooler temperatures, and lower humidity make it a joy to be outside. It’s also the perfect time to give your house some TLC after the summer heat and before the cold winter winds blow. Regular maintenance keeps your home healthy, can lower your power bill, and saves you money on costly repair jobs as you catch them early on.

Clear roofline “valleys” of debris to reduce the risk of leaks. Photo source: Judy Corbus
Here are eight things to check inside and outside your home this fall:
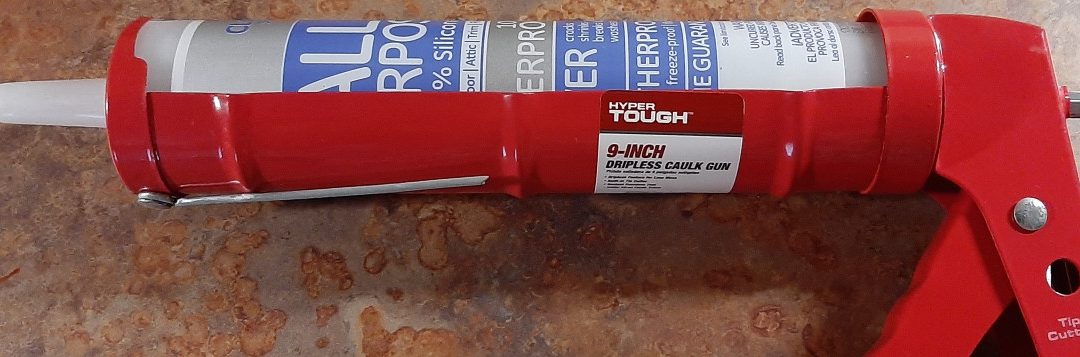
Check weather-stripping and caulking around windows and doors. Check for signs of leaks, then repair or replace as needed. This keeps your heated or cooled air in and pests out.
Paint exposed wood. Check eaves, doors and frames, and other wood surfaces for chipped or flaking paint and touch up with a fresh coat to protect against rotting.
Check windows and doors for smooth operation. Install or patch screens, lubricate window tracks and door hinges, and repair as needed.
Clean gutters and downspouts. Use gloved hands or a trowel to scoop out debris from gutters. Flush downspouts with water or use a drain “snake” to clear blockages. Make sure they discharge water 2-3 feet away from the house to protect the foundation; a downspout extender can funnel water further away from the house. Clear gutters and downspouts allow water to drain properly from your roof to reduce the risk of leaks.
Clean roofline “valleys.” The V-shaped area where two roof slopes meet is the perfect catch-all for leaves, pine straw, and other debris. If allowed to accumulate, this debris can trap moisture, leading to a breakdown of the roofing material and eventual leaks. Use a leaf blower to clear the valleys to keep your roof dry and water flowing freely off it.
Clean the chimney. If you plan to use your fireplace, have it inspected and cleaned by a professional chimney cleaning service before you light the first fire of the season. This will remove creosote, an oily by-product of burned wood that builds up inside the chimney and increases the risk of chimney fires.
Change the batteries in all smoke and carbon monoxide detectors. This ensures the batteries are fresh, whether your detectors are hardwired, with a battery backup, or completely battery-operated. Test detectors regularly to ensure they are operating properly.
Have your heating and cooling system serviced. Your service professional will make necessary tune-ups, so your system operates efficiently for a comfortable environment and lower utility bills.
For a complete home maintenance checklist, click here.
Adapted from: https://www.fcs.uga.edu/extension/healthy-housing#mantained

by Angela Hinkle | Oct 27, 2020
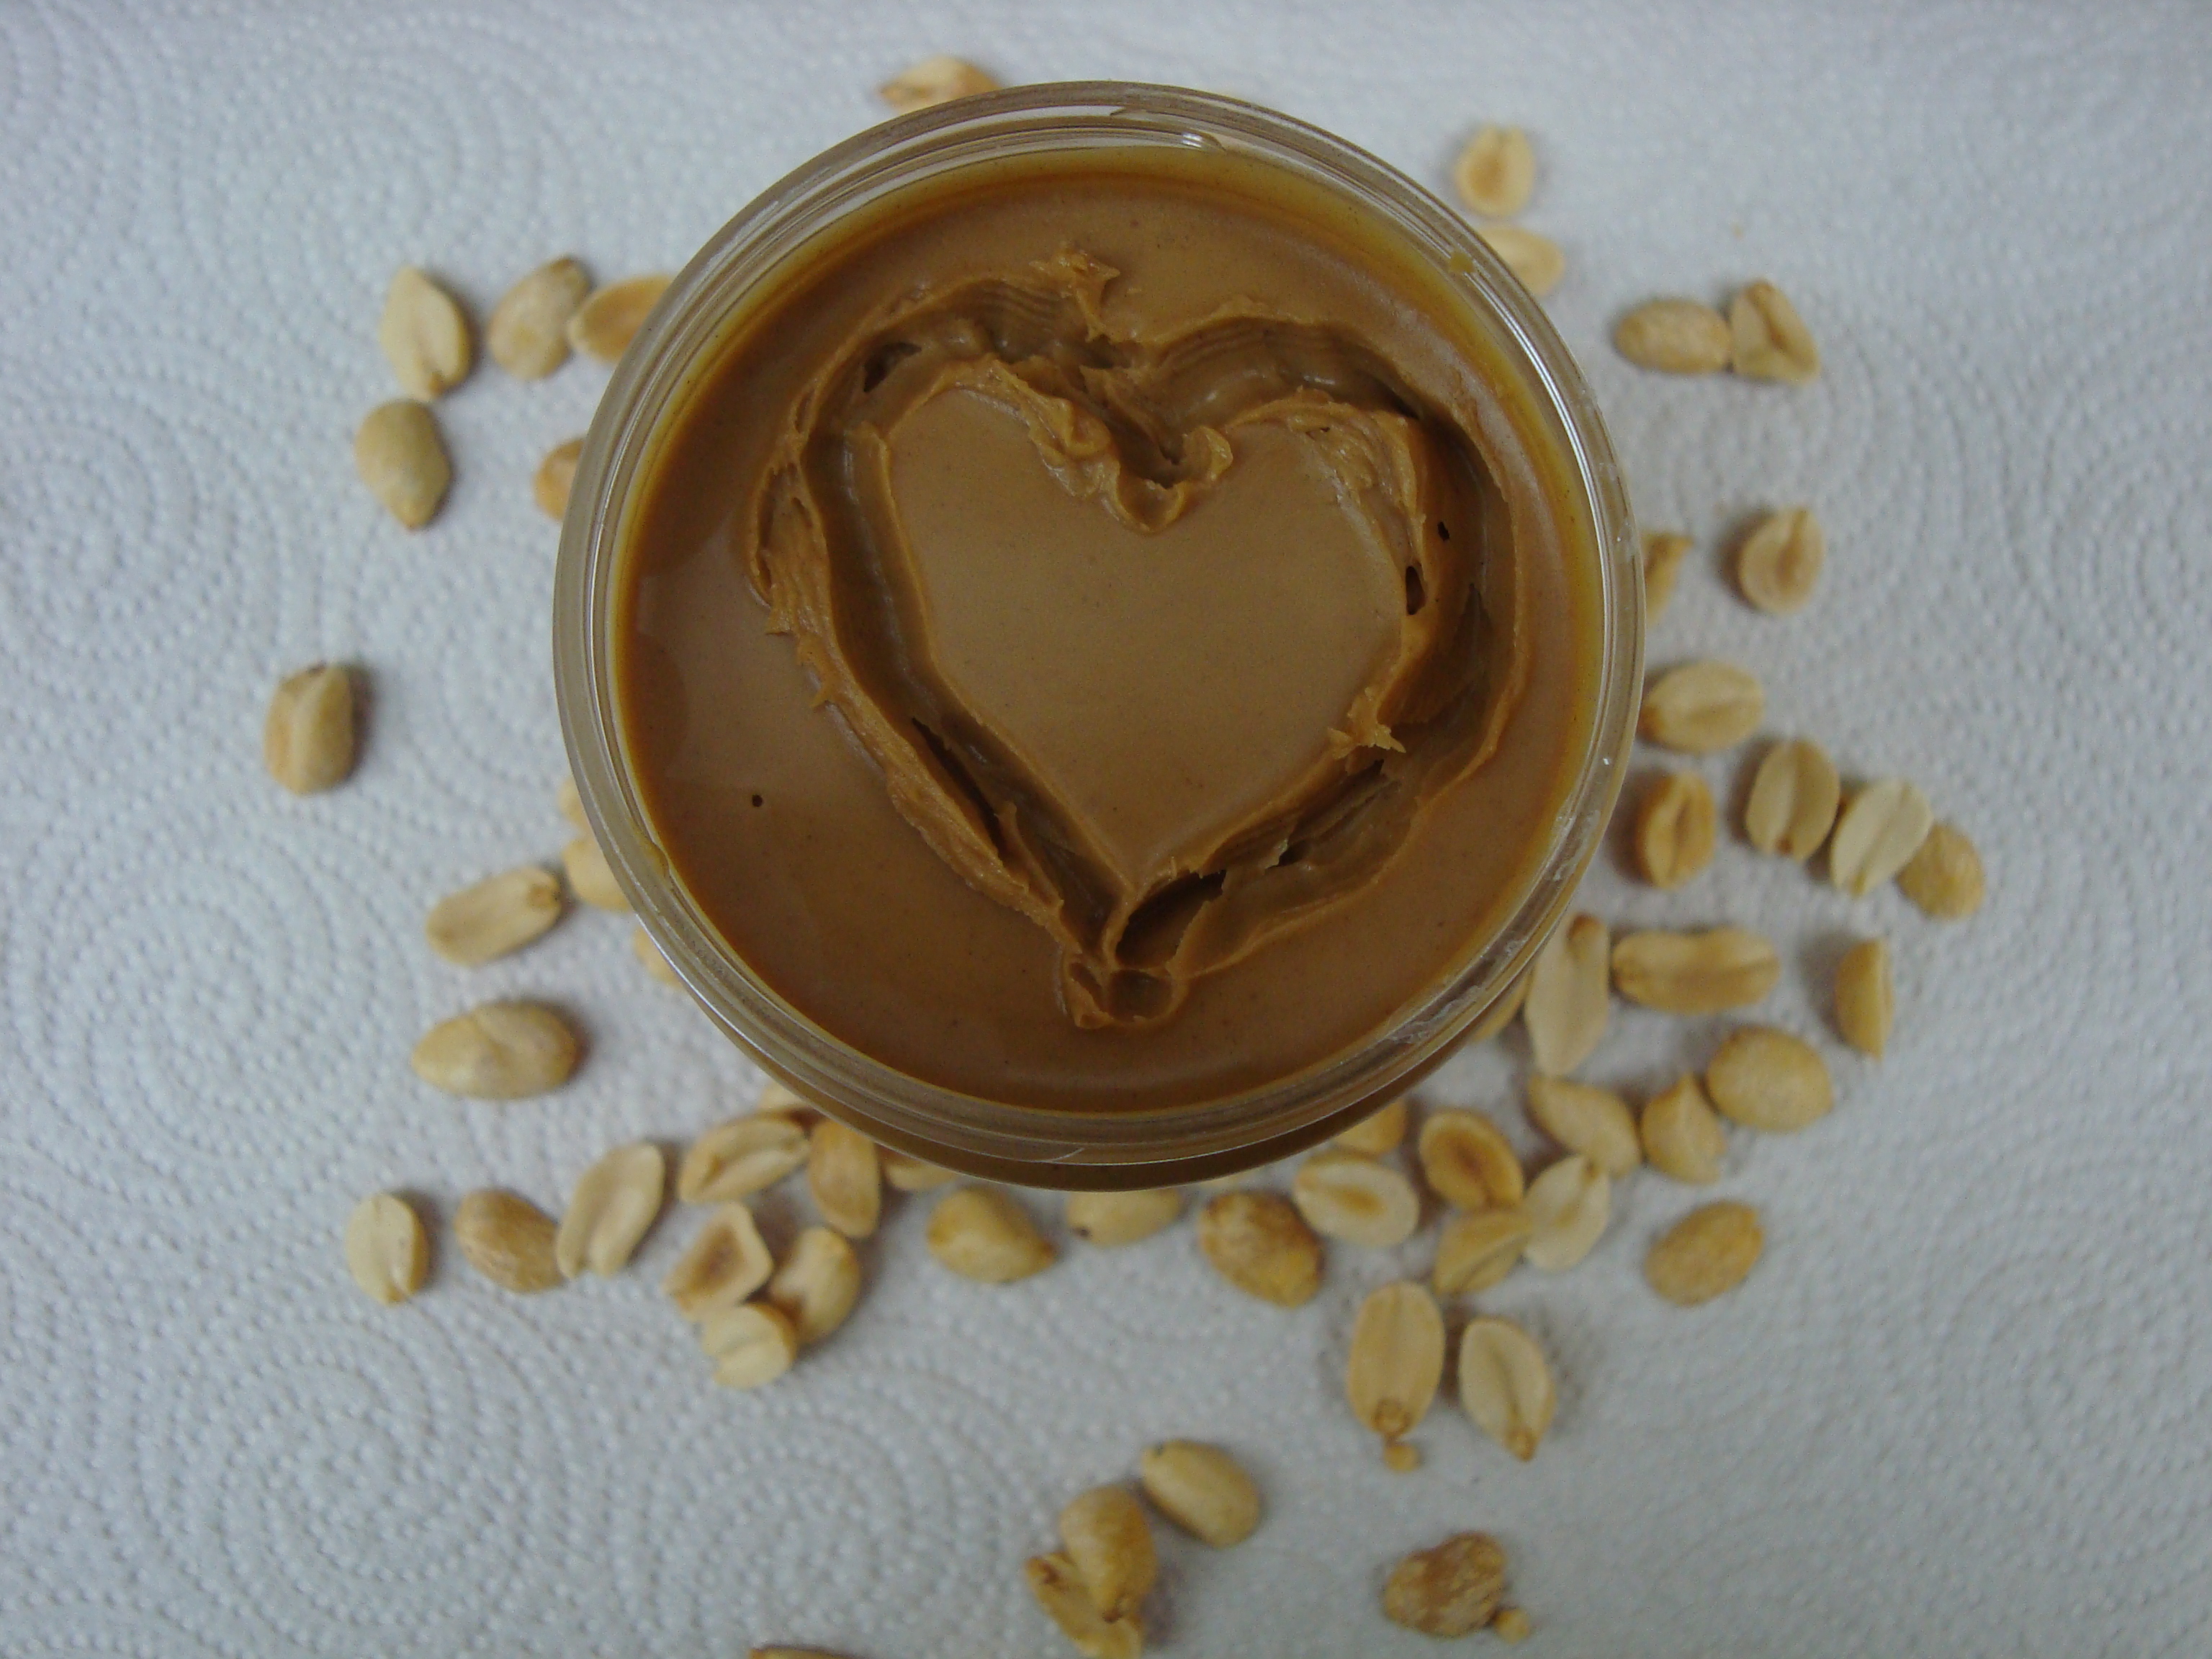
The year 2020 has certainly been one filled with challenges. But unlike the challenges of sickness, social distancing, economic hardships, and hurricanes, the 2020 Peanut Butter Challenge offers helpful, feel-good relief.

Nutty for Peanut Butter
Photo Source: Angela Hinkle
Throughout Florida, the 2020 Peanut Butter Challenge assists families who could really use some help.
Why
Peanut butter is one of the most requested foods for food pantries and food distribution sites. It’s food-safe at room temperature. You don’t need electricity to keep it hot or cold. People like the taste (although creamy texture is usually preferred over crunchy). Peanut butter can be eaten by itself or spread on crackers or bread or mixed into a smoothie or used to make a satay to go with noodles or chicken. It’s a quick and easy protein source. Peanut butter provides other nutrients our bodies need, like fiber and iron. And, economically speaking, peanut butter easily fits into a modest grocery budget.
When
The 2020 Peanut Butter Challenge runs until the day before Thanksgiving – this year, November 25th. You still have plenty of time, although why delay such a great opportunity? Of course, peanut butter makes a great gift to food pantry and distribution sites all year long.
How

Peanut Butter Challenge Champion
Photo Source: Angela Hinkle
UF/IFAS Extension Offices throughout the Florida Panhandle are collection sites for unopened jars of peanut butter. Bring as many jars as you would like. An agent in your local Extension Office can also direct you to a variety of other peanut butter donation sites. Next time you shop, look for a Buy-one Get-one offer. Donate one and keep one for yourself. Or just pick up a couple extra jars, knowing you may really be helping a family in need.
Who Benefits
Once all the jars of peanut butter are collected, they are then redistributed to local food pantry and distribution sites. Families in need going to those sites benefit with an easy, tasty, quick, healthy way to provide for those in their care. You feel satisfied knowing you found a great way to help a neighbor.
So this year, give the gift of a few jars of peanut butter and conquer the 2020 Peanut Butter Challenge.
by Terri Keith | Oct 11, 2020
According to the Centers for Disease Control and Prevention (CDC), falls by older adults aged 65 and up can often result in serious injuries, decreased mobility and a loss of independence. They are common and can happen at a high cost, both financially and in terms of health and lifestyle for the person who falls. Statistics from the CDC show “each year, 3 million older people are treated in emergency departments for fall injuries” and the death rate from falls in the U.S. has been on the rise—30% from 2007 to 2016.
While many falls don’t cause injuries, some do and can leave the person with bruises, sprains, broken bones or head injuries. Even if a person falls without suffering an injury, that fall may lead to a fear of falling. Both the injuries and the fear of falling can lead a person to limit their daily activities. By being less active, the person increases their risk of falling again.
It’s not all bad news though. Many falls are preventable and several of the steps you can take for yourself or a loved one are low or no cost. Start by looking for risk factors. These are conditions that increase the chances of a fall happening. Here are some to be aware of:
- Taking more than 2 medications daily.
- Having a hearing and/or vision impairment.
- Experiencing dizziness when getting up, changing positions, or walking.
- Having trouble getting in and out of a chair, walking, picking up objects from the floor or reaching overhead without holding on to something.
- Having throw rugs, cluttered walkways, uneven surfaces or slippery floors.
- Navigating stairs without rails.
- Having poor lighting conditions.
- Wearing shoes with high heels or slippery soles.
- Having fallen in the past year or being afraid of falling.
Many of these can be corrected or managed. One of the key steps to preventing falls is talking with your doctor and pharmacist. They can help with evaluating your risk and advise you on specific things you can do, especially in terms of problems with hearing, vision or medications. Staying active or following exercise routines can help with balance and strength. Here is a link to some beginner level exercises to start with if you’re not already exercising.

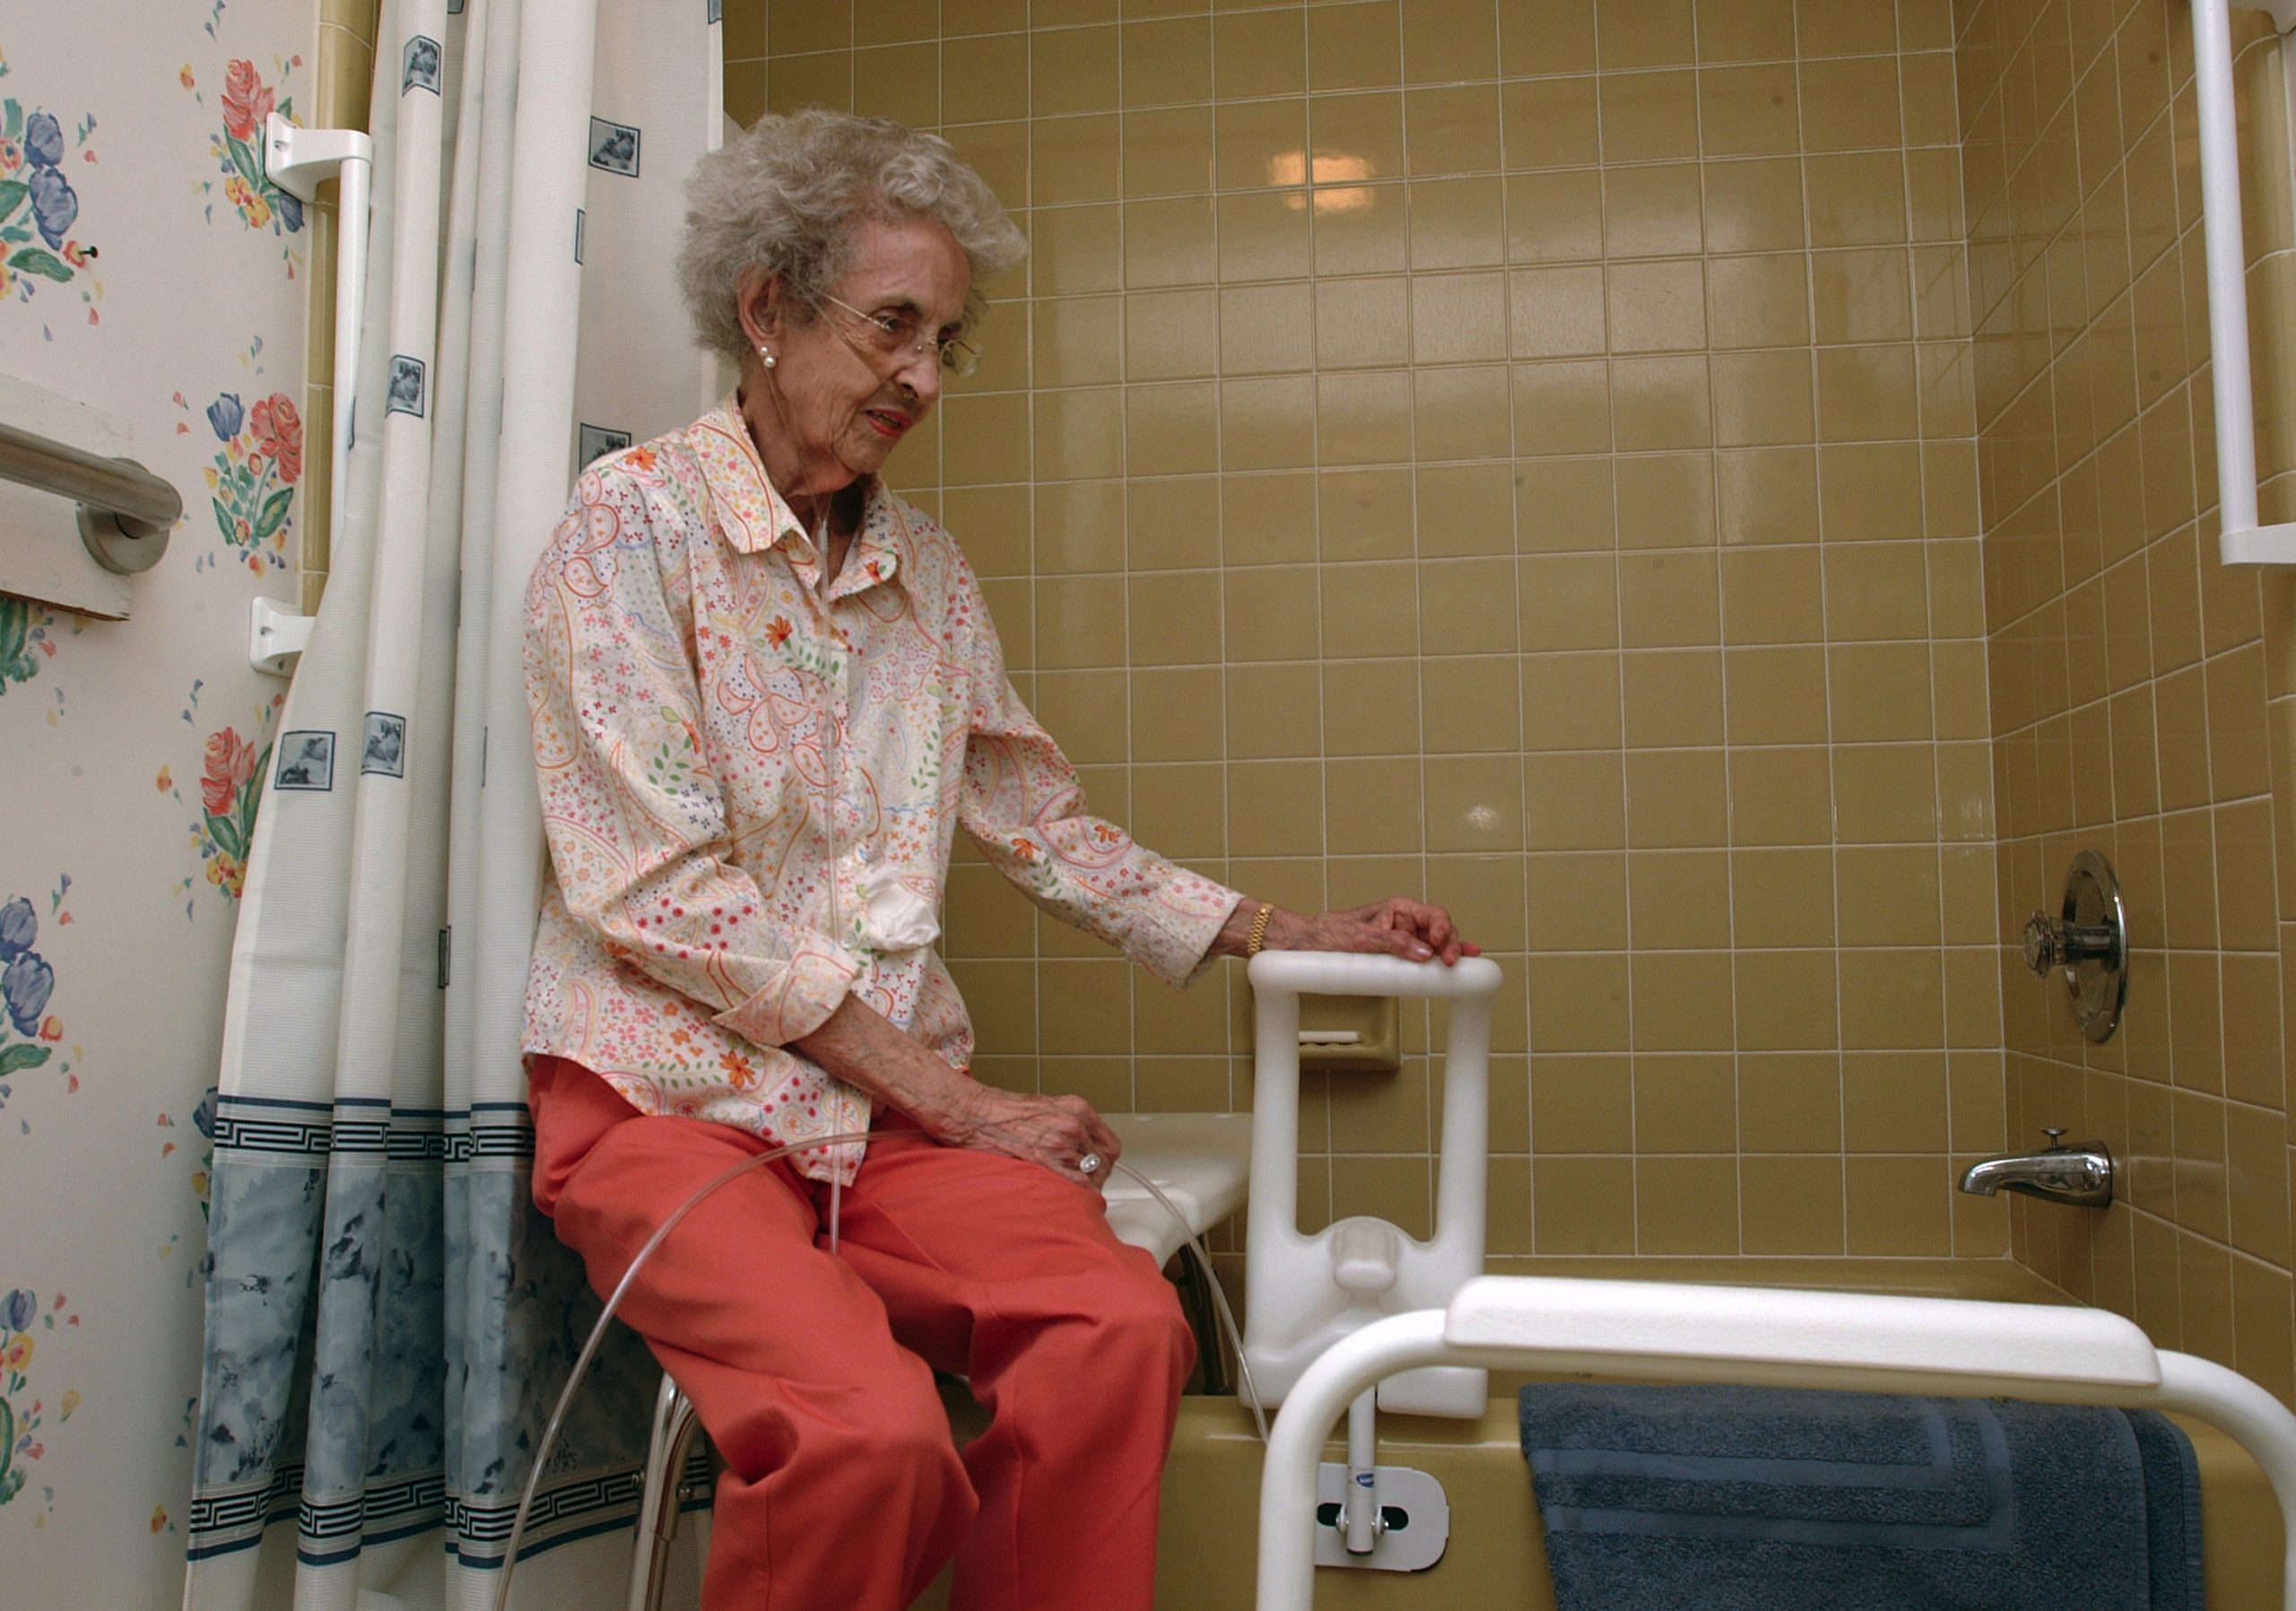
An elderly persons bathroom can be made safer by adding items that will help them maneuver easier. Photo Credit: UF/IFAS Marisol Amador
Do a check of your home to see if you have any of the risk factors above and correct them. Here are some other steps you can take at home:

Keeping a lamp beside the bed means you don’t have to walk through the dark at night to get to the light switch. Photo credit: Terri Keith, UF/IFAS Extension
- Lower shelves 3 inches for easier access; adjust closet rods to keep clothes within reach.
- Use a reacher or grabber for items that are too high. NEVER use a chair as a step stool.
- Install or add more lighting in your home especially near walkways, stairs and entrances.
- Keep a lamp and flashlight by your bed and night lights where needed.
- Install or secure handrails on both sides of the stairs and use them every time.
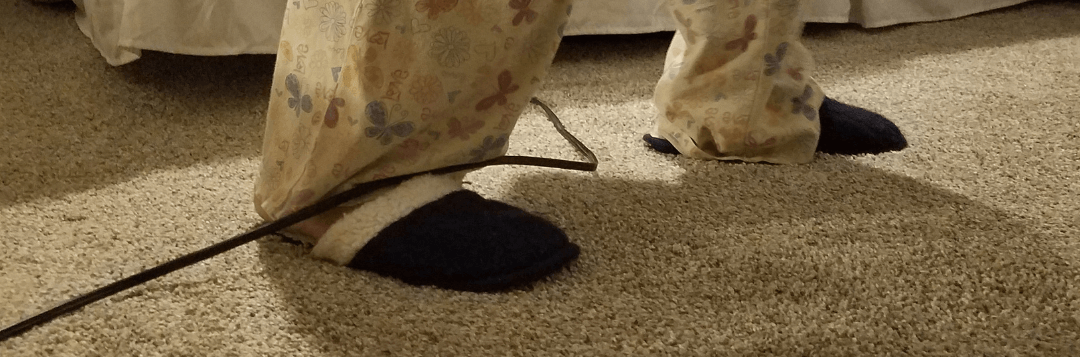
- Make sure walkways are clear and uncluttered. Remove or secure throw rugs, cords and hoses out of the way.
- Use textured surfaces for patios, driveways and stairs. Mark any changes in floor level with reflective tape.
- Be aware of your pet’s location when you stand or walk so they don’t trip you.
- Install and use grab bars to help with getting in and out of the bath safely.
- Use a rubber mat in your bathtub or shower.
- Install a handheld showerhead and use it with a bath bench or chair when showering.
If a fall does happen, even if there were no injuries, it’s a good idea to let your doctor know about it the next time you see them. It can help alert them to new medical problems or a need to review your prescriptions. Taking these steps can help reduce the risk of a fall and stop the cycle of falling from being repeated.
Resources:
Centers for Disease Control and Prevention, Home and Recreational Safety: https://www.cdc.gov/homeandrecreationalsafety/falls/index.html and https://www.cdc.gov/homeandrecreationalsafety/falls/adultfalls.html
University of Florida, IFAS: https://edis.ifas.ufl.edu/fy734 and https://edis.ifas.ufl.edu/fy733
National Institute on Aging: https://www.nia.nih.gov/health/prevent-falls-and-fractures and https://www.nia.nih.gov/health/fall-proofing-your-home

by Andrea Albertin | Oct 11, 2020
During and after floods or heavy rains, the soil in your septic system drainfield can become waterlogged. For your septic system to treat wastewater, water needs to drain freely in the drainfield. Special care needs to be taken with your septic system under flood conditions.

A conventional septic system is made up of a septic tank (a watertight container buried in the gound) and a drainfield. Image: Soil and Water Science Lab UF/IFAS GREC.
A conventional septic system is made up of a septic tank and a drainfield or leach field. Wastewater flows from the septic tank into the drainfield, which is typically made up of a distribution box (to ensure the wastewater is distributed evenly) and a series of trenches or a single bed with perforated PVC pipes. Wastewater seeps from these pipes into the surrounding soil. Most wastewater treatment occurs in the drainfield soil. When working properly, many contaminants, like harmful bacteria, are removed through die-off, filtering and interaction with soil surfaces.
What should you do if flooding occurs?
The U.S. Environmental Protection Agency (EPA) offers these guidelines:
- Relieve pressure on the septic system by using it less or not at all until floodwaters recede and the soil has drained. Under flooded conditions, wastewater can’t drain in the drainfield and can back up in your septic system and household drains. Clean up floodwater in the house without dumping it into the sinks or toilet. This adds additional water that an already saturated drainfield won’t be able to process. Remember that in most homes all water sent down the pipes goes into the septic system.
- Avoid digging around the septic tank and drainfield while the soil is waterlogged. Don’t drive vehicles or equipment over the drainfield. Saturated soil is very susceptible to compaction. By working on your septic system while the soil is still wet, you can compact the soil in your drainfield, and water won’t be able to drain properly. This reduces the drainfield’s ability to treat wastewater and leads to system failure.
- Don’t open or pump the septic tank if the soil is waterlogged. Silt and mud can get into the tank if it is opened and can end up in the drainfield, reducing its drainage capability. Pumping under these conditions can cause a tank to float or ‘pop out’ of the ground, and can damage inlet and outlet pipes.
- If you suspect your system has been damaged, have the tank inspected and serviced by a professional. How can you tell if your system is damaged? Signs include: settling, wastewater backs up into household drains, the soil in the drainfield remains soggy and never fully drains, a foul odor persists around the tank and drainfield.
- Keep rainwater drainage systems away from the septic drainfield. As a preventive measure, make sure that water from roof gutters doesn’t drain towards or into your septic drainfield. This adds an additional source of water that the drainfield has to process.
- Have your private well water tested if your septic system or well were flooded or damaged in any way. Your well water may not be safe to drink or use for household purposes (making ice, cooking, brushing teeth or bathing). You need to have it tested by the Health Department or other certified laboratory for total coliform bacteria and coli to ensure it is safe to use.
For more information on septic system maintenance after flooding, go to:
More information on having your well water tested can be found at:
More Information on conventional and advanced treatment septic systems can be found on the UF/IFAS Septic System website