As we relish the flavors of locally grown strawberries, their sweet aroma and vibrant hues evoke the essence of sunshine captured in each bite. Now that we’re past Valentine’s Day, where strawberries often take center stage, let’s dive into the art of preserving these delicate berries, exploring freezing techniques that can be enjoyed long after the season has passed.
Freezing Strawberries: A Symphony of Techniques
Freezing strawberries is a wonderful way to extend the season’s bounty and enjoy the taste of freshness throughout the year. To cater to various preferences, we will explore multiple freezing methods: without sugar, with sugar, and with syrup.
1. Freezing without Sugar:
For those who prefer the pure essence of strawberries without added sweetness, tray freezing is the key. This method allows for the berries to stay loose and can then be easily removed or poured from the container. Here’s a step-by-step guide:
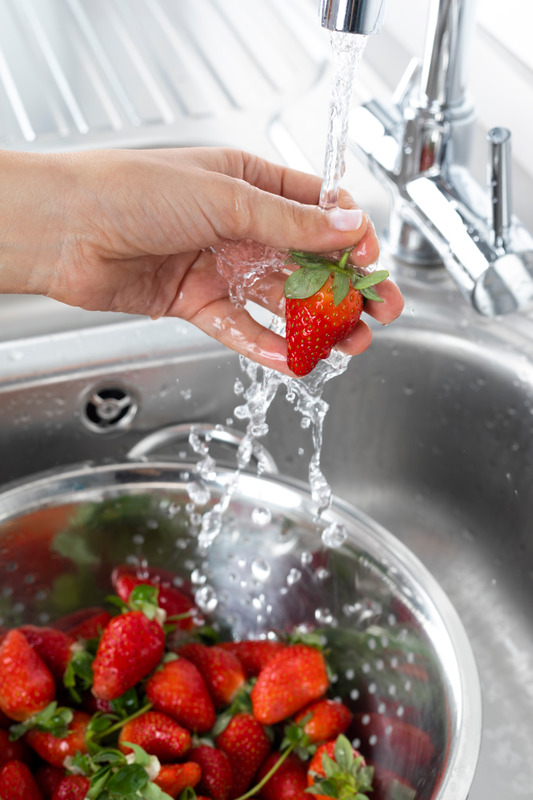
Wash, remove caps, and drain whole berries.
Spread berries in a single layer on a baking sheet or jellyroll pan.
Place the tray flat in the freezer until the berries are frozen solid (typically one to two hours).
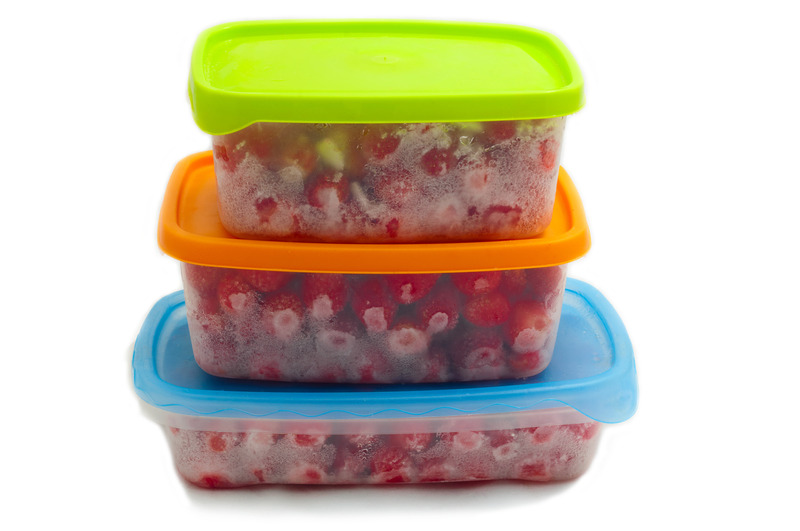
Transfer the frozen berries to plastic freezer bags, removing as much air as possible to maintain freshness.
To savor the best taste, consume the berries in a slightly thawed state, with a few ice crystals remaining. The natural expansion of frozen water causes the berry to soften when completely thawed.
2. Freezing with Sugar:
For those who enjoy a hint of sweetness in their frozen strawberries, consider the following method:
Wash, remove caps, and drain berries.
To freeze whole, sliced, or crushed strawberries, add ¾ cup of sugar to 1 quart (approximately 1⅓ pounds) of strawberries.
Stir until most of the sugar dissolves, allowing the mixture to stand for 15 minutes before transferring the berries into containers.
Ensure adequate headspace during packaging to prevent overflow when the berries freeze.
Artificial sweeteners can be used following the manufacturer’s directions, but it’s essential to note that they lack certain benefits of sugar, such as color protection and syrup thickness. Alternatively, add these sweeteners after the berries thaw.
3. Freezing with Syrup:
For those who are looking for pure sweetness. Strawberries packed in syrup are generally best for uncooked dessert use. The types of syrup range from very light to very heavy.
Wash, remove caps, and drain whole berries.
To freeze whole, sliced, or crushed strawberries, place berries into a desired freezer container.
Cover berries with a cold 50 percent syrup. To make the syrup, dissolve 4 cups of sugar in 4 cups of lukewarm water. Chill the syrup before using. For additional syrup recipes for freezing fruits, visit Syrups for Use in Freezing Fruits.
Ensure proper headspace during packaging to prevent overflow when the berries freeze.
Seal and place in the freezer.
Tips for Successful Freezing: A Chorus of Wisdom
The speed of freezing impacts the quality of the berries; the faster they freeze, the ice crystals that develop will be smaller. Set the freezer temperature to 0°F or lower, ideally reaching minus 10°F or lower 24 hours before freezing.
Store packages in contact with freezer surfaces, in the coldest part of the freezer, with enough space for air circulation until the berries are frozen. Once frozen, store packages close together.
Never overload the freezer with unfrozen food. Work in small batches so the food can freeze within 24 hours. An overloaded freezer can slow the freezing rate and affect the quality of the frozen product.
The recommended storage time for strawberries is 8 – 12 months in a freezer held at 0°F. The shorter the time, the better-quality product.
Preserving the exquisite flavors of locally grown strawberries is not just a culinary endeavor; it’s a celebration of seasonal abundance. Whether you prefer them unsweetened, with sugar, or in syrup, the steps outlined ensure optimal flavor and quality. Remember to freeze quickly, maintain freezer temperature, and avoid overloading the freezer for the best results. So, roll up your sleeves, embrace the sweet aroma, and enjoy those strawberries for months to come.
July is National Grilling Month, and there is nothing quite like the aroma of delicious food sizzling on the grill. However, it is important to prioritize safety when it comes to outdoor cooking to avoid any accidents or mishaps. Whether you are a seasoned grill master or a novice, here are six essential grilling safety tips to keep in mind for a worry-free barbecue experience.
Choose the right location. Selecting the appropriate location for grill setup is crucial to ensuring the safety of people and property. Place the grill on a stable, non-flammable surface, such as concrete or bricks, and ensure it is a safe distance away from any flammable objects like trees, fences, or wooden structures, or heat-sensitive objects like vinyl siding. Avoid grilling in enclosed spaces, such as garages or covered patios, as it can lead to carbon monoxide buildup. Carbon monoxide is an odorless, colorless gas that can cause death if inhaled in a large enough quantity. Grilling in open spaces will allow this gas to dissipate to safe levels.
Keep a safe zone. Establish a designated “safety zone” around the grill to prevent accidents and injuries. Create a clear area of at least three feet in all directions, free from children, pets, and any foot traffic. This zone will provide a buffer between the hot grill and any potential hazards, reducing the risk of burns or accidental contact.
Practice proper handling of propane. When using a gas propane grill, it is essential to handle the propane cylinder with care. Always inspect the cylinder for any signs of damage, rust, or leaks before connecting it to the grill. When transporting or storing propane cylinders, ensure they are in an upright position and never place them in hot or enclosed spaces. When connecting or disconnecting the cylinder, make sure all burners are turned off, and never smoke or place any other open flames (such as citronella candles) near the grill.
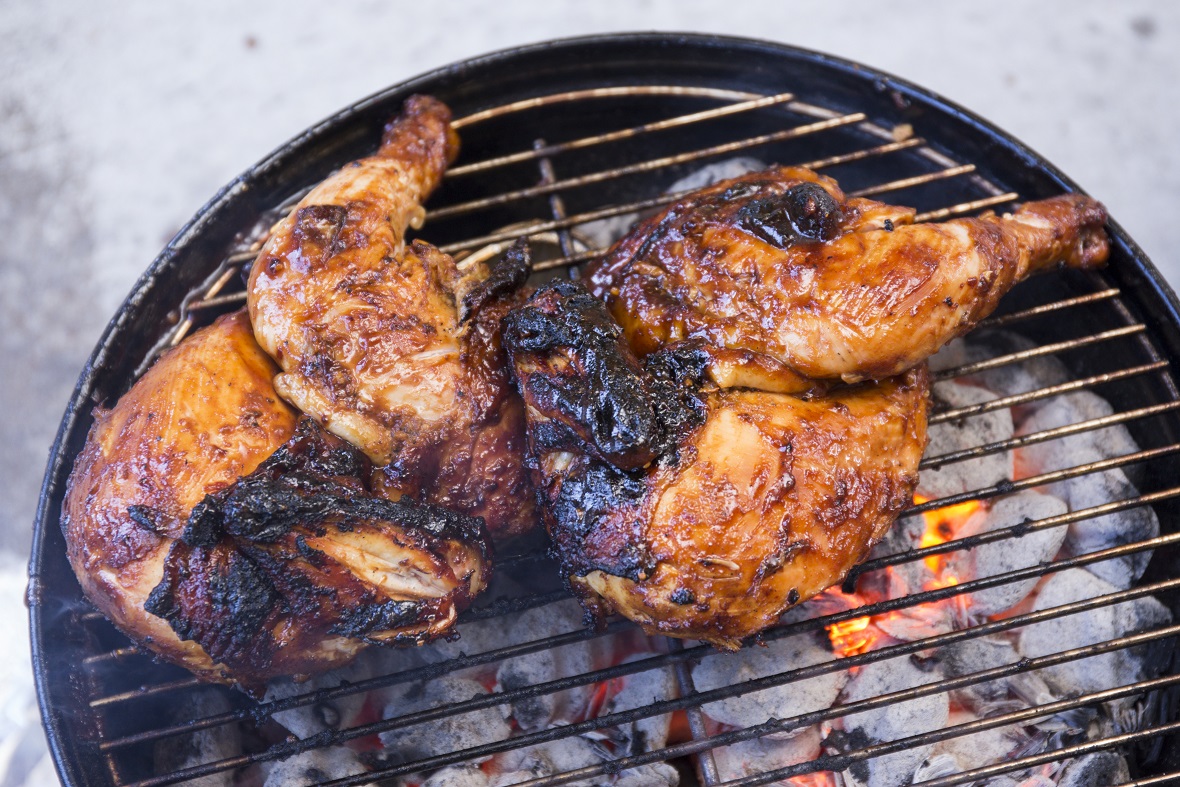
Always cook meat and poultry to the proper internal cooking temperature to ensure it is safe to eat. The minimum internal cooking temperature of chicken is 165 degrees F. (Source: Tyler Jones, UF/IFAS)
Follow proper food safety practices. Safe food preparation practices are just as important as the grilling process itself. Avoid cross-contamination by using separate cutting boards, utensils, and plates for raw and cooked foods. Keep perishable items refrigerated until they are ready to be cooked, and don’t let them sit out in the heat for too long. In hot summer temperatures, food should not sit out longer than two hours. If the temperature is 90 degrees F or higher, the time limit is one hour. Use a food thermometer to ensure that meats such as poultry are cooked thoroughly and reach the appropriate internal temperature to prevent foodborne illnesses. Contact the Extension office for a list of proper internal cooking temperatures for different food types.
Monitor the grill. Never leave the grill unattended while it is in use. Grilling requires constant attention to avoid accidents and flare-ups. Stay vigilant and keep a close eye on the grill at all times. Keep a fire extinguisher nearby, ideally a Class B or multipurpose one, and know how to use it effectively. In case of a grease fire, never use water to extinguish it, as it can cause the flames to spread. Instead, use baking soda or a fire extinguisher specifically designed for grease fires.
Clean the grill. Maintaining a clean grill is not only essential for food safety but also for preventing flare-ups and extending the life of the grill. After each use, scrub the grates with a grill brush to remove any residue. Additionally, periodically inspect and clean the burner tubes and ports to prevent clogs and ensure proper gas flow.
By following these six grilling safety tips, outdoor cooking can be safe and fun.
The American chestnut tree, (Genus: Castanea dentata, Species: C. sativa, Family: Fagaceae) is a large monoecious deciduous tree. This big, beautiful tree provides green shade in the summer, a stunning display of fall foliage, and a spinney cupule (bur) that holds and protects the chestnut during its growth and maturation. As the chestnut leaves fall, so does the bur. When the bur splits, it releases the chestnut.
The American chestnut was once a VERY important tree for food and forage as well as used as an impressive wood. Unfortunately, this important tree was largely decimated by chestnut blight, a fungal disease (Cryphonectria parasitica). It is estimated that between 3 and 4 billion American chestnut trees were destroyed in the first half of the 20th century.
Scientific research discovered that the Chinese chestnut tree (Castanea mollissima) is recognized as being highly blight resistant (but not immune). Many places in the United States have replanted the American chestnut tree with the Chinese chestnut and its cultivars. In fact, in this general region, there are several chestnut orchards.
Chestnuts are low in fat and rich in vitamins and minerals.
Photo source: Heidi Copeland, UF/IFAS Extension Leon County
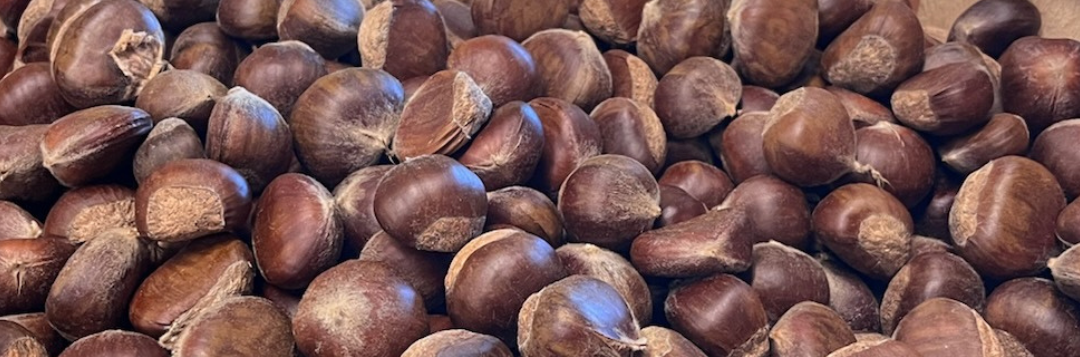
The chestnut is classified as a nut… a dry drupe. However, the chestnut differs from most nuts, as it is low in lipid (fat), high in carbohydrates, and rich in vitamins and minerals. The mature chestnut (nut pulp) is more than 50 percent water; special care must be taken to extend its storage so it does not spoil. In fact, chestnuts are highly perishable and should be treated more as a fruit than a dry nut because of its high water content.
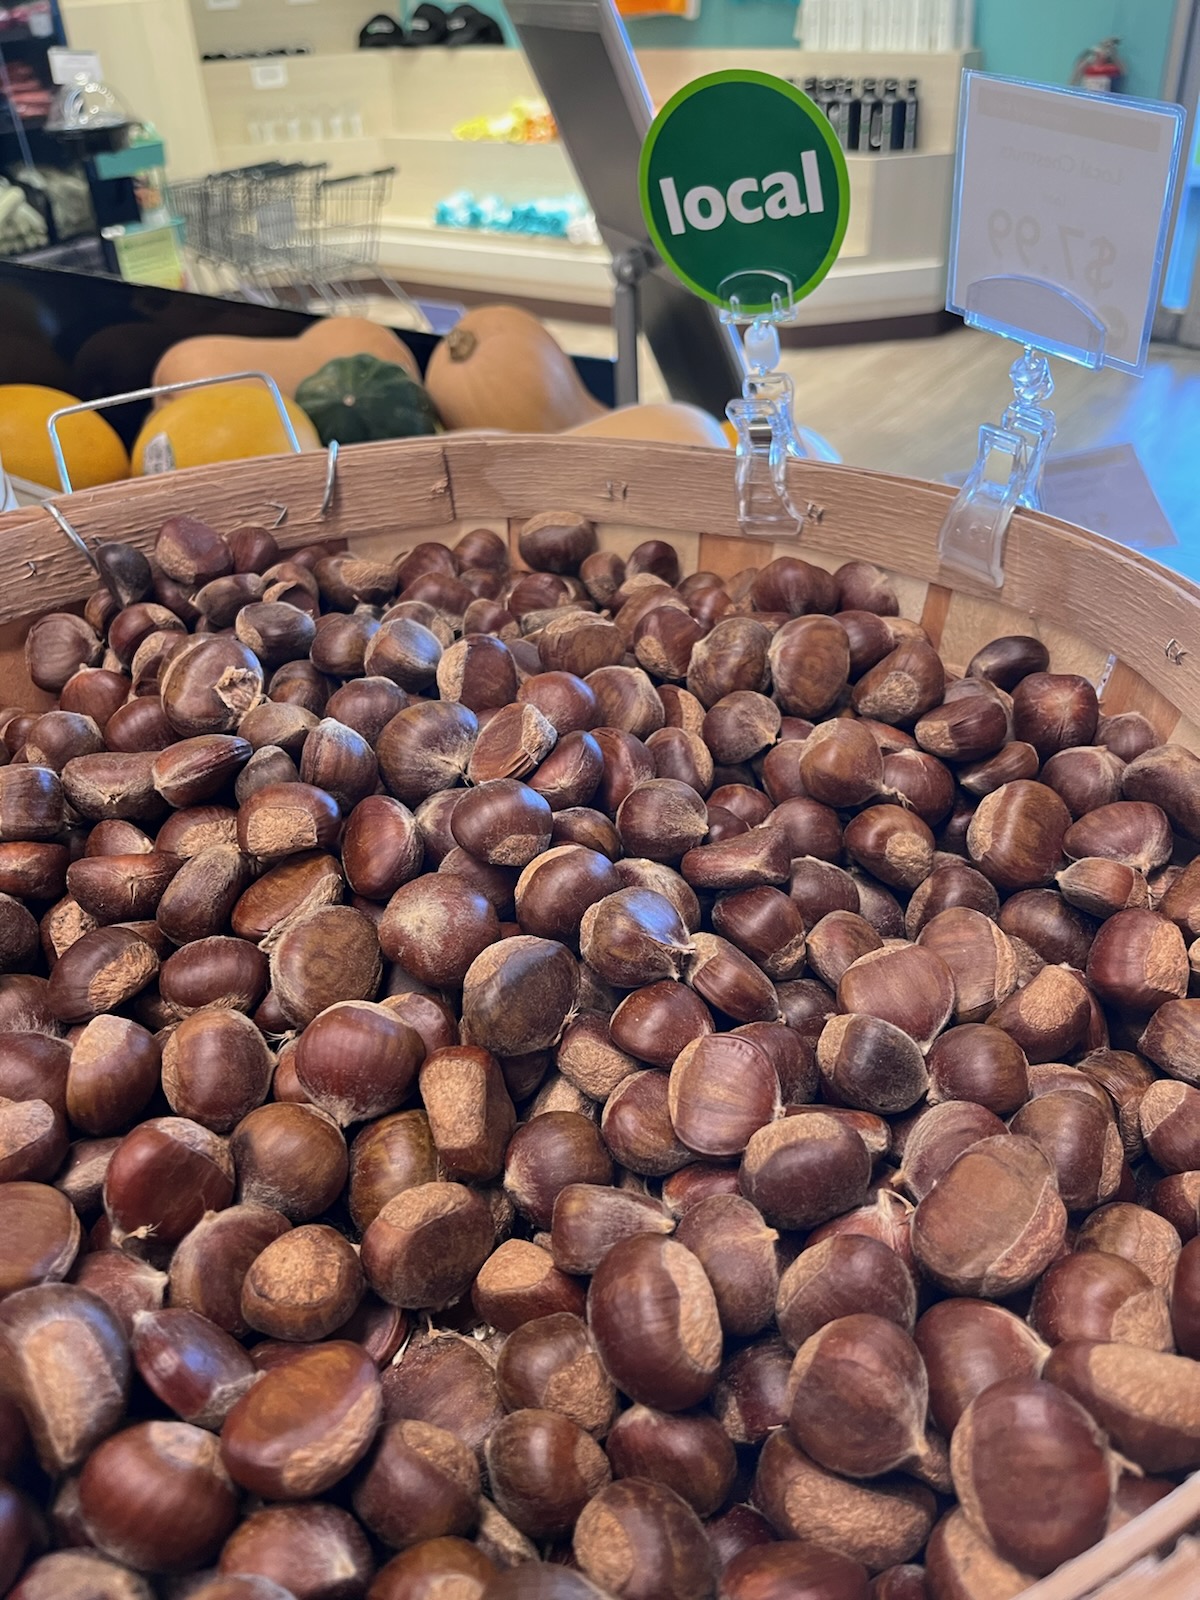
Locally, fresh chestnuts are generally only available in the fall. A good chestnut is large, firm to the touch, and feels dense. The USDA does not have any standards for grades of chestnuts, although sometimes size standards are based on the number of nuts per pound.
According to the American Chestnut Foundation®, if nuts are to be stored for eating, store fresh chestnuts in a paper grocery bag for up to two months. Leaving fresh chestnuts at room temperature for a few days helps their starches convert to sugar. For longer storage, put chestnuts in the freezer and use immediately after thawing or they will become mushy.
Chestnuts can be eaten in a variety of forms: • Fresh – dry roasted (no oil in the pan) or boiled • Frozen • Dried • Canned • Pureed • Ground into gluten-free flour
Cooking methods for chestnuts vary widely. Customarily, chestnuts are dry-roasted in the oven, over hot coals, on top of the stove in a skillet, or in the microwave. With the introduction of the Air Fryer and the Instant Pot, the internet is teeming with chestnut recipes for these appliances, too. Whatever method you choose, whether the chestnut is pureed, added to soups, stews, stuffings, and vegetable dishes or even turned into a decadent dessert, the chestnut is a tasty treat.
Traditional Dry Roasting Method for Chestnuts 1. Heat a skillet on top of the stove or preheat the oven to 425° F 2. Rinse the chestnuts in cold water. (Rinsing removes any bird droppings, etc….) 3. Using a sharp knife, score the round side of each chestnut nut with an “X” (the chestnut is FULL of moisture, the “X” keeps the chestnut from exploding due to expansion and makes it easier to peel). 4. Using a roasting pan or skillet, place the chestnuts in the oven, over an open fire, or on top of the stove, flat side down. 5. Dry roast, stirring every five minutes until the shells begin to split open (at this point, the shells are brittle and have curled back some at the X). 6. Remove from the heat when the insides feel soft (this will depend on the nut but usually about 15 – 20 minutes). 7. Wrap in a dish cloth and massage a bit. 8. When cool enough to handle, peel the shells off the chestnuts. 9. Enjoy warm or cold or added to your favorite recipe.
The internet contains a wealth of chestnut recipes. Pick one out to try.
Holidays are truly worth celebrating! And baked goodies are but just one way many families observe not just the holiday but family traditions and what is special.
Baking favorite treats can become a family holiday tradition. Photo source: Heidi Copeland, UF/IFAS Extension Leon County
Nonetheless, baking brings on an anxiety that cooking does not. In fact, baking is considered a science by some, whereas cooking is an art. Baking requires fairly exact measurements, whereas cooking can be very forgiving. Adding or subtracting ingredients can be personal discretion. For the most part, you cannot do that with a baked product.
However, once you get the basics down, the world is your oyster… you can do anything you want.
In baking, every ingredient has a specific purpose. For example:
Flour gives the structure to baked products (there are many types of flour)
Eggs bind the ingredients and can add to the leavening (think fluffy egg whites) to baked goods
Baking powder, baking soda, and yeast are leaveners (make baked products rise)
Fats, like butter, margarine, oils, or lard, add both flavor and texture to baked products
Flavorings (like vanilla) enhance the flavor of a recipe… know that a little goes a long way
Sugar sweetens and adds to the texture of baked products (there are many types of sugar)
Salt enhances the flavor of all the other ingredients in a baked product
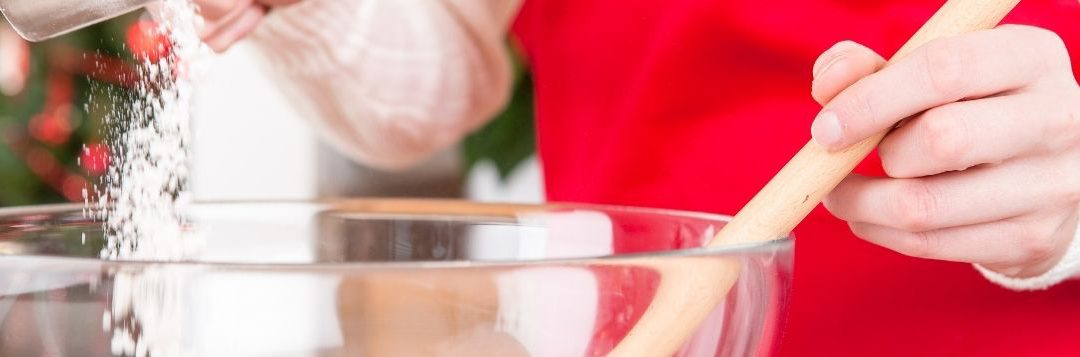
Know, too, that in baking, measuring is of utmost importance. Dry ingredients should be measured in a dry measuring cup and wet ingredients in a liquid measuring cup. Small amounts of both wet or dry ingredients can be measured with measuring spoons.
Using a kitchen scale is the most accurate way to measure both liquid and dry ingredients. Accuracy in baking is of utmost importance. That is what science is all about. Too much or too little of an ingredient can mean disaster.
Other helpful baking tips include understanding the processes. Terms in baking include (but are not limited to):
Beat
Blend
Cream
Cut in
Fold in
Grease and flour
Mix
Whip
And then there are other issues. Baking requires an oven that has temperature controls. Knowing how your oven works is quite important. It never hurts to purchase an oven thermometer to check temperature accuracy. Know the property of the pans you are using. Baking pans can be made from a variety of materials… aluminum, cast iron, ceramic, glass, stainless steel, etc. Each of these heats a bit differently.
Holiday baking recipes can be heavy on fat, sugar, and sodium. Baking holiday goodies can be done nutritiously. The secret is to bake with simple substitutions. It is possible to use healthier ingredients without sacrificing flavor.
Here are some ways to lighten up your holiday baking:
IngredientsSubstitute
1/2 cup butter/margarine 1/4 cup applesauce & 1/4 cup canola oil
All purpose flour (1 cup) Whole wheat flour, cake flour, or self-rising flour
Salt Ground spices
Heavy cream (1 cup) 1 cup evaporated skim milk
Margarine (stick) 1/4 cup olive or canola oil
Sugar (1 cup granulated) Brown sugar or marketed sugar substitute
Buttermilk (1 cup) Milk and vinegar, milk and lemon juice, or sour cream and milk
Chocolate chips (1 cup) 1/2 cup mint chocolate chips, dried fruit, chopped nuts
Chart adapted from American Cancer Society
The Home Baking Association, https://www.homebaking.org/, is a great website to reference. Their main goal is to perpetuate generations of home bakers.
Don’t be intimidated by baking. With a bit of patience and practice, you will be able to WOW! your holiday guests with delectable treats that may become a family holiday tradition for generations to come.
Every year, King Arthur Baking Company hosts baking contests in every corner of the country at county, regional, and state fairs. The North Florida Fair is no exception – King Arthur Baking Company is hosting a baking contest with cool prizes.
The name King Arthur stands for attributes of purity, loyalty, honesty, superior strength, and a dedication to a higher purpose (yes, the Arthurian legend, King Arthur). For over two centuries, King Arthur Flour has been providing baker’s flour. In 1790, King Arthur Flour began importing flour to Boston from Britain. King Arthur Flour has gone from using imported wheat to using USA-grown wheat – flour that, two centuries ago, was sold in wooden barrels to flour sold in pre-weighed bags at retail stores.
In 1996, to ensure King Arthur Flour would remain in good and caring hands after their retirement, owners Frank and Brinna Sands decided to sell the company to its employees. The original tenets of King Arthur flour are still intact… although the name of the company has been changed to King Arthur Baking Company, now selling dozens of flours along with baking supplies and equipment. The logo changed a bit too, but the flour remains a favorite of bakers everywhere.
The North Florida Fair (and King Arthur Baking Company) encourages bakers of all levels to enter the King Arthur portion of the baking contests using King Arthur flour and a recipe from King Arthur Baking Company.
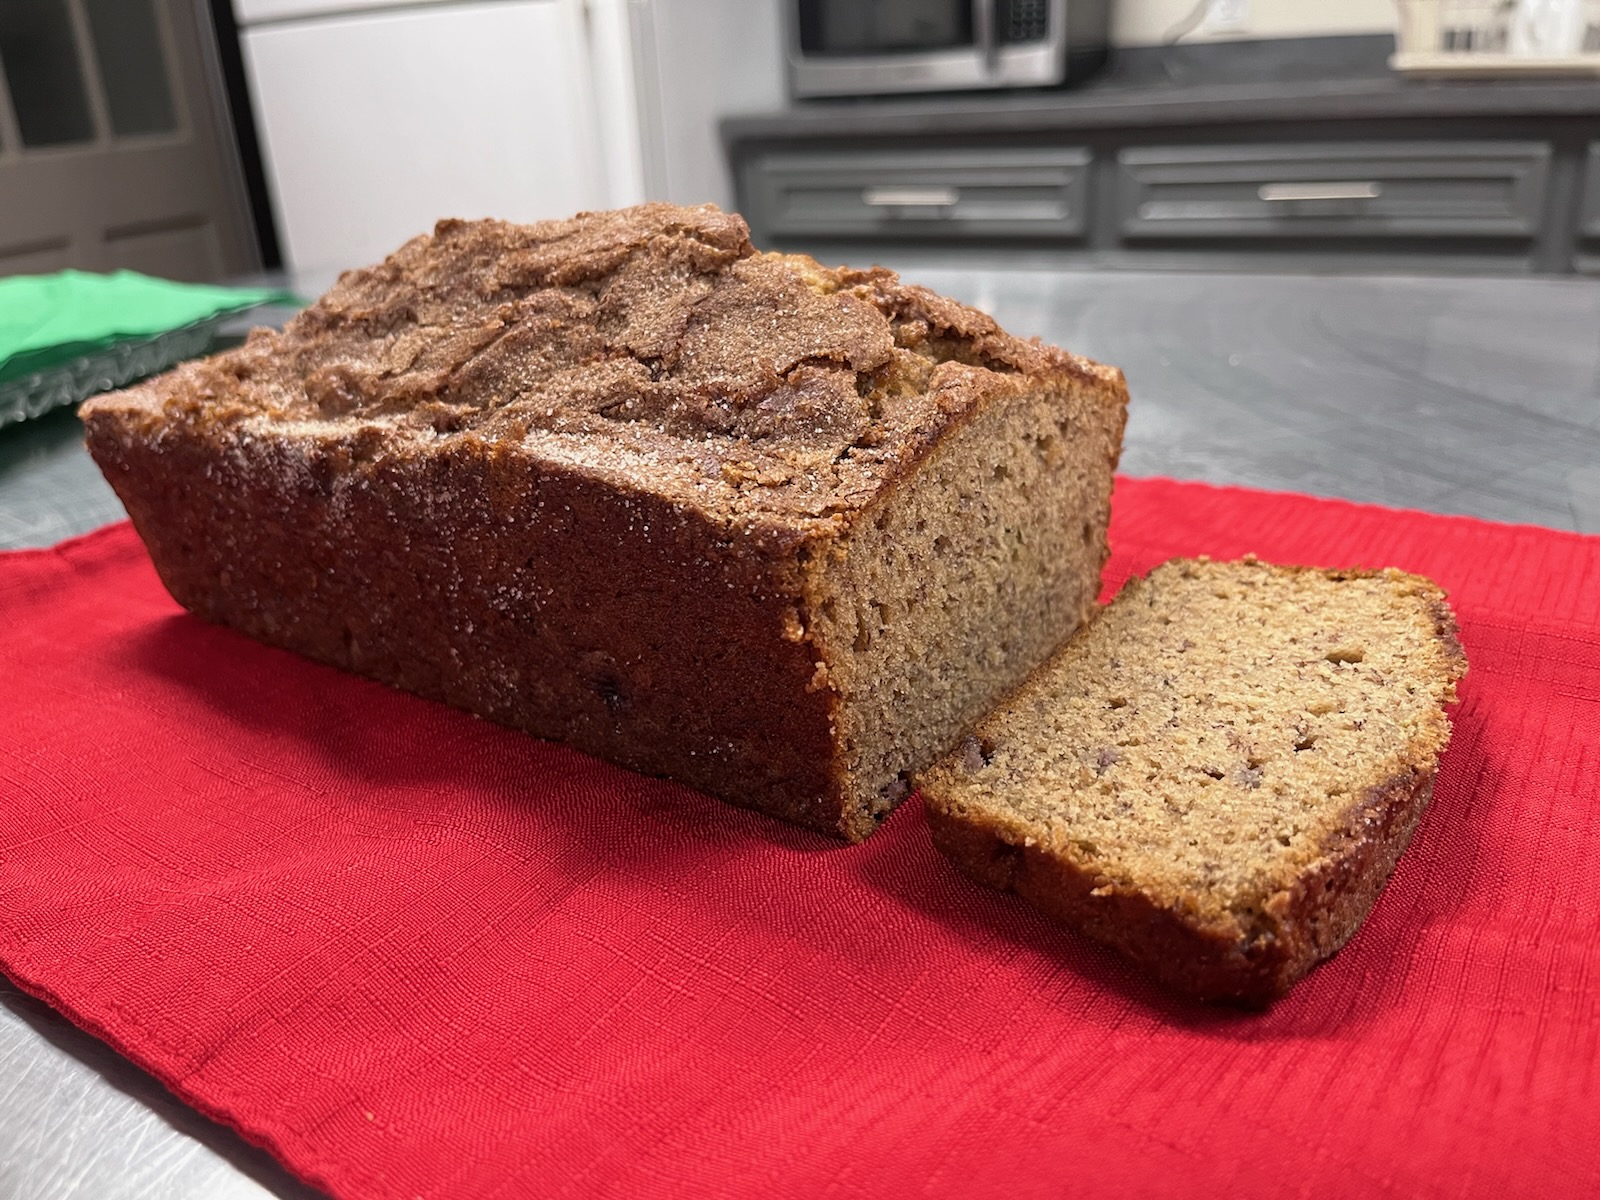
Banana bread is a tasty way to use overripe bananas.
Banana bread has been in the American recipe rolodex for nearly a century. Banana bread was originally promoted to encourage the use of chemical leaveners, baking powder and baking soda, and to use precious food, old bananas.
The quick bread recipe chosen for the North Florida Fair is not only easy to bake but is nutritious and delicious as well as planet-forward. Using VERY ripe bananas and ingredients mostly on hand is an undertaking in being sustainable. Those errant, aging bananas that more often than not get tossed in the composting bin can be used in this banana bread. In fact, the older, the better! Your wayward bananas can be frozen, thawed, and used in this banana bread.
Quick breads are easy. The King Arthur Banana Bread recipe only uses one bowl, and a few other measuring and stirring tools, plus flour, sugar, leaveners, and a few flavorings that are typical in most homes.
Show off your skills at the King Arthur Baking Contest! There are generous prizes for youth and adults.
Keeping your family’s food safe is critical for our health – that’s why September is designated as Food Safety Education Month.
Foodborne illness can occur when we eat contaminated food. In order to keep our food safe, we must follow safe food handling methods when storing and cooking foods.
Following proper food handling principles helps keep our foods safe from the contaminants that can cause foodborne illness. The Centers for Disease Control (CDC) recommends these 4 steps to protect your family from foodborne illness: Clean, Separate, Cook, and Chill.
Clean:Wash Hands, Utensils, and Surfaces Frequently
Wash your hands and kitchen surfaces before you prepare any food. Always wash your hands for at least 20 seconds, using soap and warm water.
Remember: Germs can survive on surfaces in your kitchen, including on your hands, counters, utensils, and on cutting boards.
Separate:Avoid Cross-contamination
Cross contamination is common in the kitchen. Cross contamination is caused by transferring dangerous bacteria from raw foods to other foods and surfaces.
Remember: Separate any raw meat, along with poultry, seafood, and eggs and use separate, individual cutting boards. Make sure to wash cutting boards with hot soapy water in between uses.
Cook:Make Sure to Cook All Foods to the Right Temperature
Cook food to the proper internal temperature to eliminate germs and bacteria that can cause foodborne illness. Use a calibrated food thermometer to get an accurate temperature reading.
Bacteria can rapidly multiply when food is held at room temperature.
Remember: The Temperature Danger Zone is between 40°F and 140°F. This is the temperature range that best supports the growth of microorganisms like bacteria.
Chill: Properly Refrigerate and Freeze Foods
Keep your refrigerator at 39°F or below and your freezer at or below 0˚F.
Perishable foods, especially frozen meat, should never be thawed on the countertop or in hot water. Leaving meat out on the counter or in the sink while it defrosts allows the meat to reach temperatures higher than 40 degrees, the Danger Zone.
Remember: It is important to refrigerate perishable foods within 2 hours, or within 1 hour if food has been held at 90˚F or higher.
Anyone can get foodborne illness; however, older adults, children younger than 5, pregnant women, and those with a weakened immune system may be more likely to get sick from a foodborne illness.


 Clean: Wash Hands, Utensils, and Surfaces Frequently