
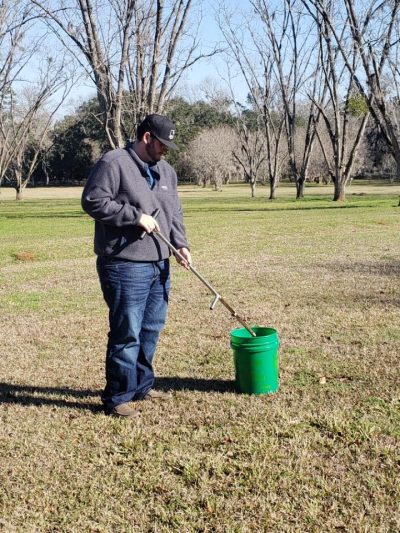
Ben Hoffner, UFIFAS Extension Jefferson County, collecting soil samples for analysis at the UF/IFAS Soil Lab, in Gainesville. Credit: Ben Hoffner, UF/IFAS
Effective soil fertility management is an essential practice for livestock producers in Florida’s Panhandle who want to efficiently enhance forage production. Regular soil testing provides valuable insights into the amount of plant available nutrients in the soil allowing for well informed decisions on nutrient management tailored to specific pasture needs.
The Importance of Soil Testing
Soil testing provides livestock producers with the essential information needed to effectively plan fertilizer applications. Hayfields should be tested annually, and grazed pastures should be tested every few years. In Florida’s Panhandle, the sandy soils often found in pastures require careful nutrient management due to their susceptibility to leaching, particularly during heavy rainfall events. Through soil testing, producers can identify nutrient deficiencies and imbalances, determine pH levels, and evaluate the availability of essential macronutrients (phosphorus, potassium, calcium, and magnesium) and micronutrients (such as sulfur, copper, manganese, zinc, and boron). Soil testing helps guide decisions about fertilization, liming, and other soil changes to optimize forage growth and support livestock productivity.
–
Tools for Soil Sampling
To get accurate results from soil tests, the right tools are essential. The most commonly used tools for soil sampling include:
- Soil Probe: A soil probe is a cylindrical tool used to extract a core sample of soil from the This tool allows the user to push the probe into the soil at a consistent depth of 4-6 inches.
- Clean Plastic Buckets: Plastic buckets are typically used to collect soil from multiple locations of a field.
- Soil Sample Bags: Once the sample has been collected, it should be mixed and a sub-sample placed in a soil sample bag provided by your local extension office.
- Soil Sample Form: In addition to the sample bags, you will also need to pick up the specific form for the operation and crop you are producing. UF/IFAS Testing Forms
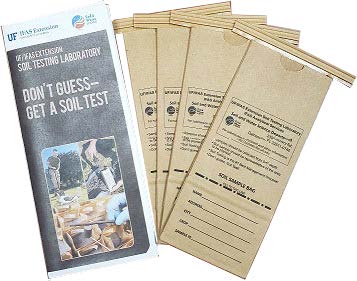
UF/IFAS Soil Sample Bags are available at County Extension Offices in all 67 Florida counties. Credit: Wakulla County Extension
–
The Process of Taking a Soil Sample
Step 1: Choose the Sampling Area
Start by identifying the area you wish to sample. For a typical pasture, you should sample in multiple locations across the field to ensure that the sample is representative of the entire area. This is especially important for pastures with varying soil conditions.
Step 2: Determine the Sampling Depth
The depth at which you take the sample depends on the type of forage you are growing. For Bahiagrass and other common pastures in Florida, a soil sample is typically taken from the top 6 inches of soil, as this is the root zone where most nutrients are absorbed.
Step 3: Collect the Sample
Using your soil probe, walk in a zigzag or grid pattern across the pasture. For each location, use the probe to collect a core sample from the soil. Aim for 10-15 cores from across the entire area to ensure a representative sample. Make sure the soil probe is clean between sampling locations to avoid contamination. Furthermore, avoid areas of high traffic such as gates, fencelines, water troughs, and under trees that may have higher nutrient levels from frequent livestock traffic.
Step 4: Mix and Combine Samples
After collecting your soil cores, place them in a clean plastic bucket. Mix the soil thoroughly to create a composite sample that represents the entire area.
Step 5: Prepare the Sample for Testing
Once your sample is thoroughly mixed, place it into the provided soil sample bag. Be sure to label the bag before adding the soil with important information such as your name, address, city, crop, and sample ID.
Step 6: Send the Sample to a Lab
Take the prepared sample to the post office and mail it to the University of Florida’s Soil Testing lab at a cost of $10 per sample (plus postage), for the standard test.
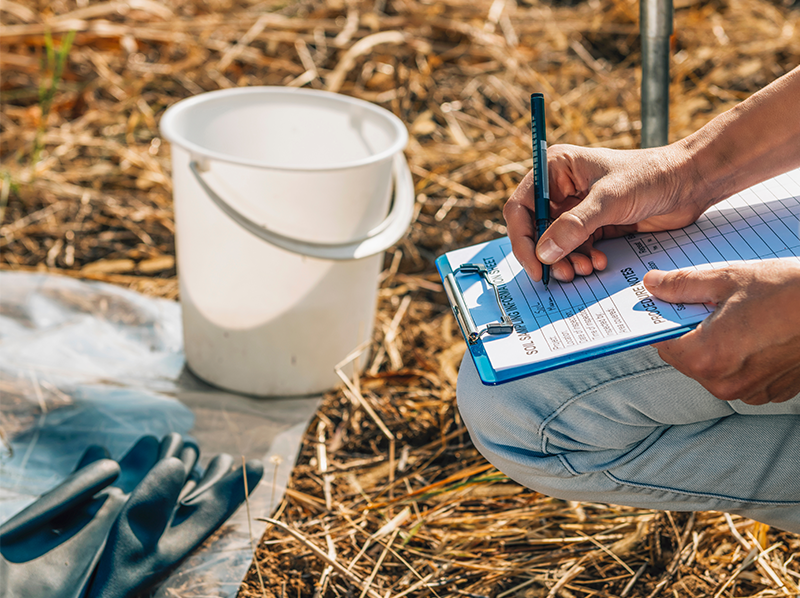
Ask for the UF/IFAS Soil Test Form designed for your operation and complete the form with the crop code and test requested. Make sure you mark the sample bags as well, to ensure you are getting the best information from the soil testing lab. Credit: AdobeStock_275114704
–
Understanding the Results
After your sample arrives at the lab in Gainesville, it typically takes 2-3 business days for the analysis to be performed. Once the results are available, they will be sent to you via email. The report will include information on pH levels, macronutrients, and micronutrients. Your UF/IFAS Extension County Agent will receive your results at the same time you do. It is recommended that you consult with your agent regarding the interpretation of the results and fine-tuning fertilizer recommendations for your operation.
–
Conclusion
For livestock producers in Florida’s Panhandle, soil testing is a valuable tool for efficiently improving pasture productivity. The information gathered from soil testing allows for targeted nutrient management, helping to improve the quality of pastures, optimize forage production, and promote the overall health of livestock. Don’t Guess-Soil Test!
–
Resources:
UF/IFAS Soil Testing Lab
Why Soil Testing Is Important
UF/IFAS Extension Jefferson County Soil Testing
Soil Testing FAQs

- Jefferson County Pasture Walk & Talk – October 7 - September 26, 2025
- Supplemental Feeding in Drought Conditions - September 19, 2025
- Soil Testing, a Key Component of Panhandle Pasture Management - March 14, 2025