by Allison Leo | Apr 29, 2022
Benefits of being recognized

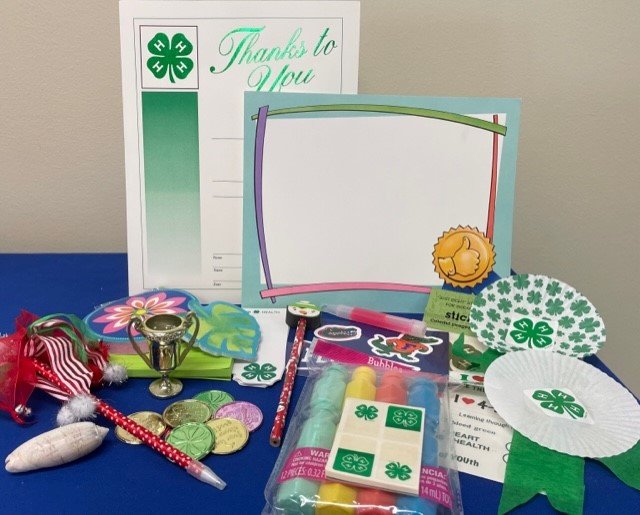
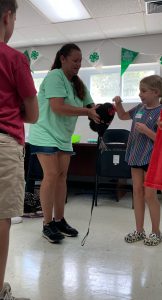
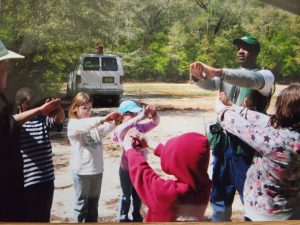
Ways to feel special without food! Youth receiving rosette for a job well done!
One of the most important aspects of working with youth is the relationships that we build with them. Recognition is a basic human need, and in 4-H, recognition of youth members for their knowledge gained and mastery of skills is an important part of our positive youth development program. Using incentives and prizes during a 4-H program can be an effective way to create a sense of belonging. While working with youth, it is important to acknowledge their achievements and hard work throughout the club year.
Using Food as a Reward
Candy and sweets are often used to reward good behavior or accomplishments because kids like them and they are inexpensive. It is tempting to lean towards sweets and candy when selecting rewards and prizes for youth, but when food is given as a reward, children start to connect it to good or bad, and not fuel for the body. Rewarding youth with sweets can contradict the teaching and modeling of behaviors that promote healthy life skills in 4-H. Often, these foods have little or no nutritional value.
Non-food Rewards
Non-food rewards are a great option for acknowledging youth at 4-H club meetings, in school, and while at home. By using non-food rewards to acknowledge behavior, this promotes a healthy environment and helps children develop a healthy relationship with food. Recognizing youth with words of appreciation are better motivators than rewards of food. Telling a child, “I am so impressed with how hard you worked on your project,” is a healthy alternative to giving them candy for their success.
Creating an Inclusive Environment
Non-food rewards also create an inclusive environment for those we have food allergies and cannot partake in many food rewards. The Centers for Disease Control and Prevention’s (CDC) “Voluntary Guidelines for Managing Food Allergies in Schools and Early Care and Education Programs” recommends the “use of non-food incentives for prizes, gifts, and awards.” While a shift to non-food incentives may require slight changes to traditions, there are many potential benefits. Below is a list of free and low-cost reward options to use with kids.
Free
- Certificate
- Lead a game or activity
- Help teach lesson
- Trip to the park

Examples of non food reward items.
- Special privilege at home or club meeting
- Book exchange
Low-cost rewards
- Stickers
- Stress balls
- Notepads
- receive a plant, seeds and a pot for growing
- Pencils
- Art supplies
- Coloring book g
- Glitter
- Bookmarks
- Cupcake Wrapper Rosette
- Small toys
- Stencils
Group rewards
- Bowling party
- Field day
- Movie day
- Trip to a community park
- Canoe or kayak trip
by pmdavis | Apr 22, 2022
Happy Earth Day Everyone! 4-H has a wonderful recycling project for you to do with little ones as an activity for Earth Day. The exciting part is that you will most likely have the materials around your house!
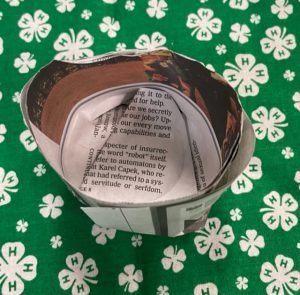
The activity is the creation of a recycled paper pot. This is a great way to start seeds inside to watch them grow. Then, you can transfer the pot and all into the ground when the plant is bigger.
Great way to start seeds and recycle
Of course, you can buy special seed trays. You can recycle old nursery trays and pots if you clean them properly with a mild solution of bleach and water and rinsed well. You can also use disposable cups, or you can sow seeds in old deli trays, rotisserie chicken containers, milk jugs, almost anything that will hold a couple inches of soil.
However, the 4-H paper pot is another fun recycling project that is easy to do. These are biodegradable pots that will last about 6 weeks before they disintegrate. This project is an easy seed starting activity for all ages! It’s a great way to teach responsibility, record keeping, teamwork, and care for living things. Plus, you can save money and resources by making your own paper pots to start your seeds.
For this project, you will need
- Newspaper or other paper cut into strips (not glossy inserts)
- A Container, bottle, can or jar that can be wrapped in paper (not glass)
- Soil
- Seeds
What to do:
- Cut strips of newspaper or regular paper about 4” wide.
- Wrap strip of newspaper around an empty container and roll fairly tight.
- Scoot paper down so the paper will reach the half way point and when folded. It should overlap the open end of the container.
- Fold the ends of the paper against the bottom of the container, starting where the paper meets the on the outside.
- Push the bottom of the container against a flat, hard surface (such as a table) to seal the bottom of your pot.
- Pull the container out and you have a finished paper pot. Fill with soil and plant your seeds.
- When the seedling is ready to transplant, simply drop the entire pot into the ground.
The newspaper will biodegrade in your garden or pot. Your plant will never be uprooted and continue to grow undisturbed. When planted make sure the paper is not sticking out of the ground. If the paper is above ground it will wick water away from the plant.

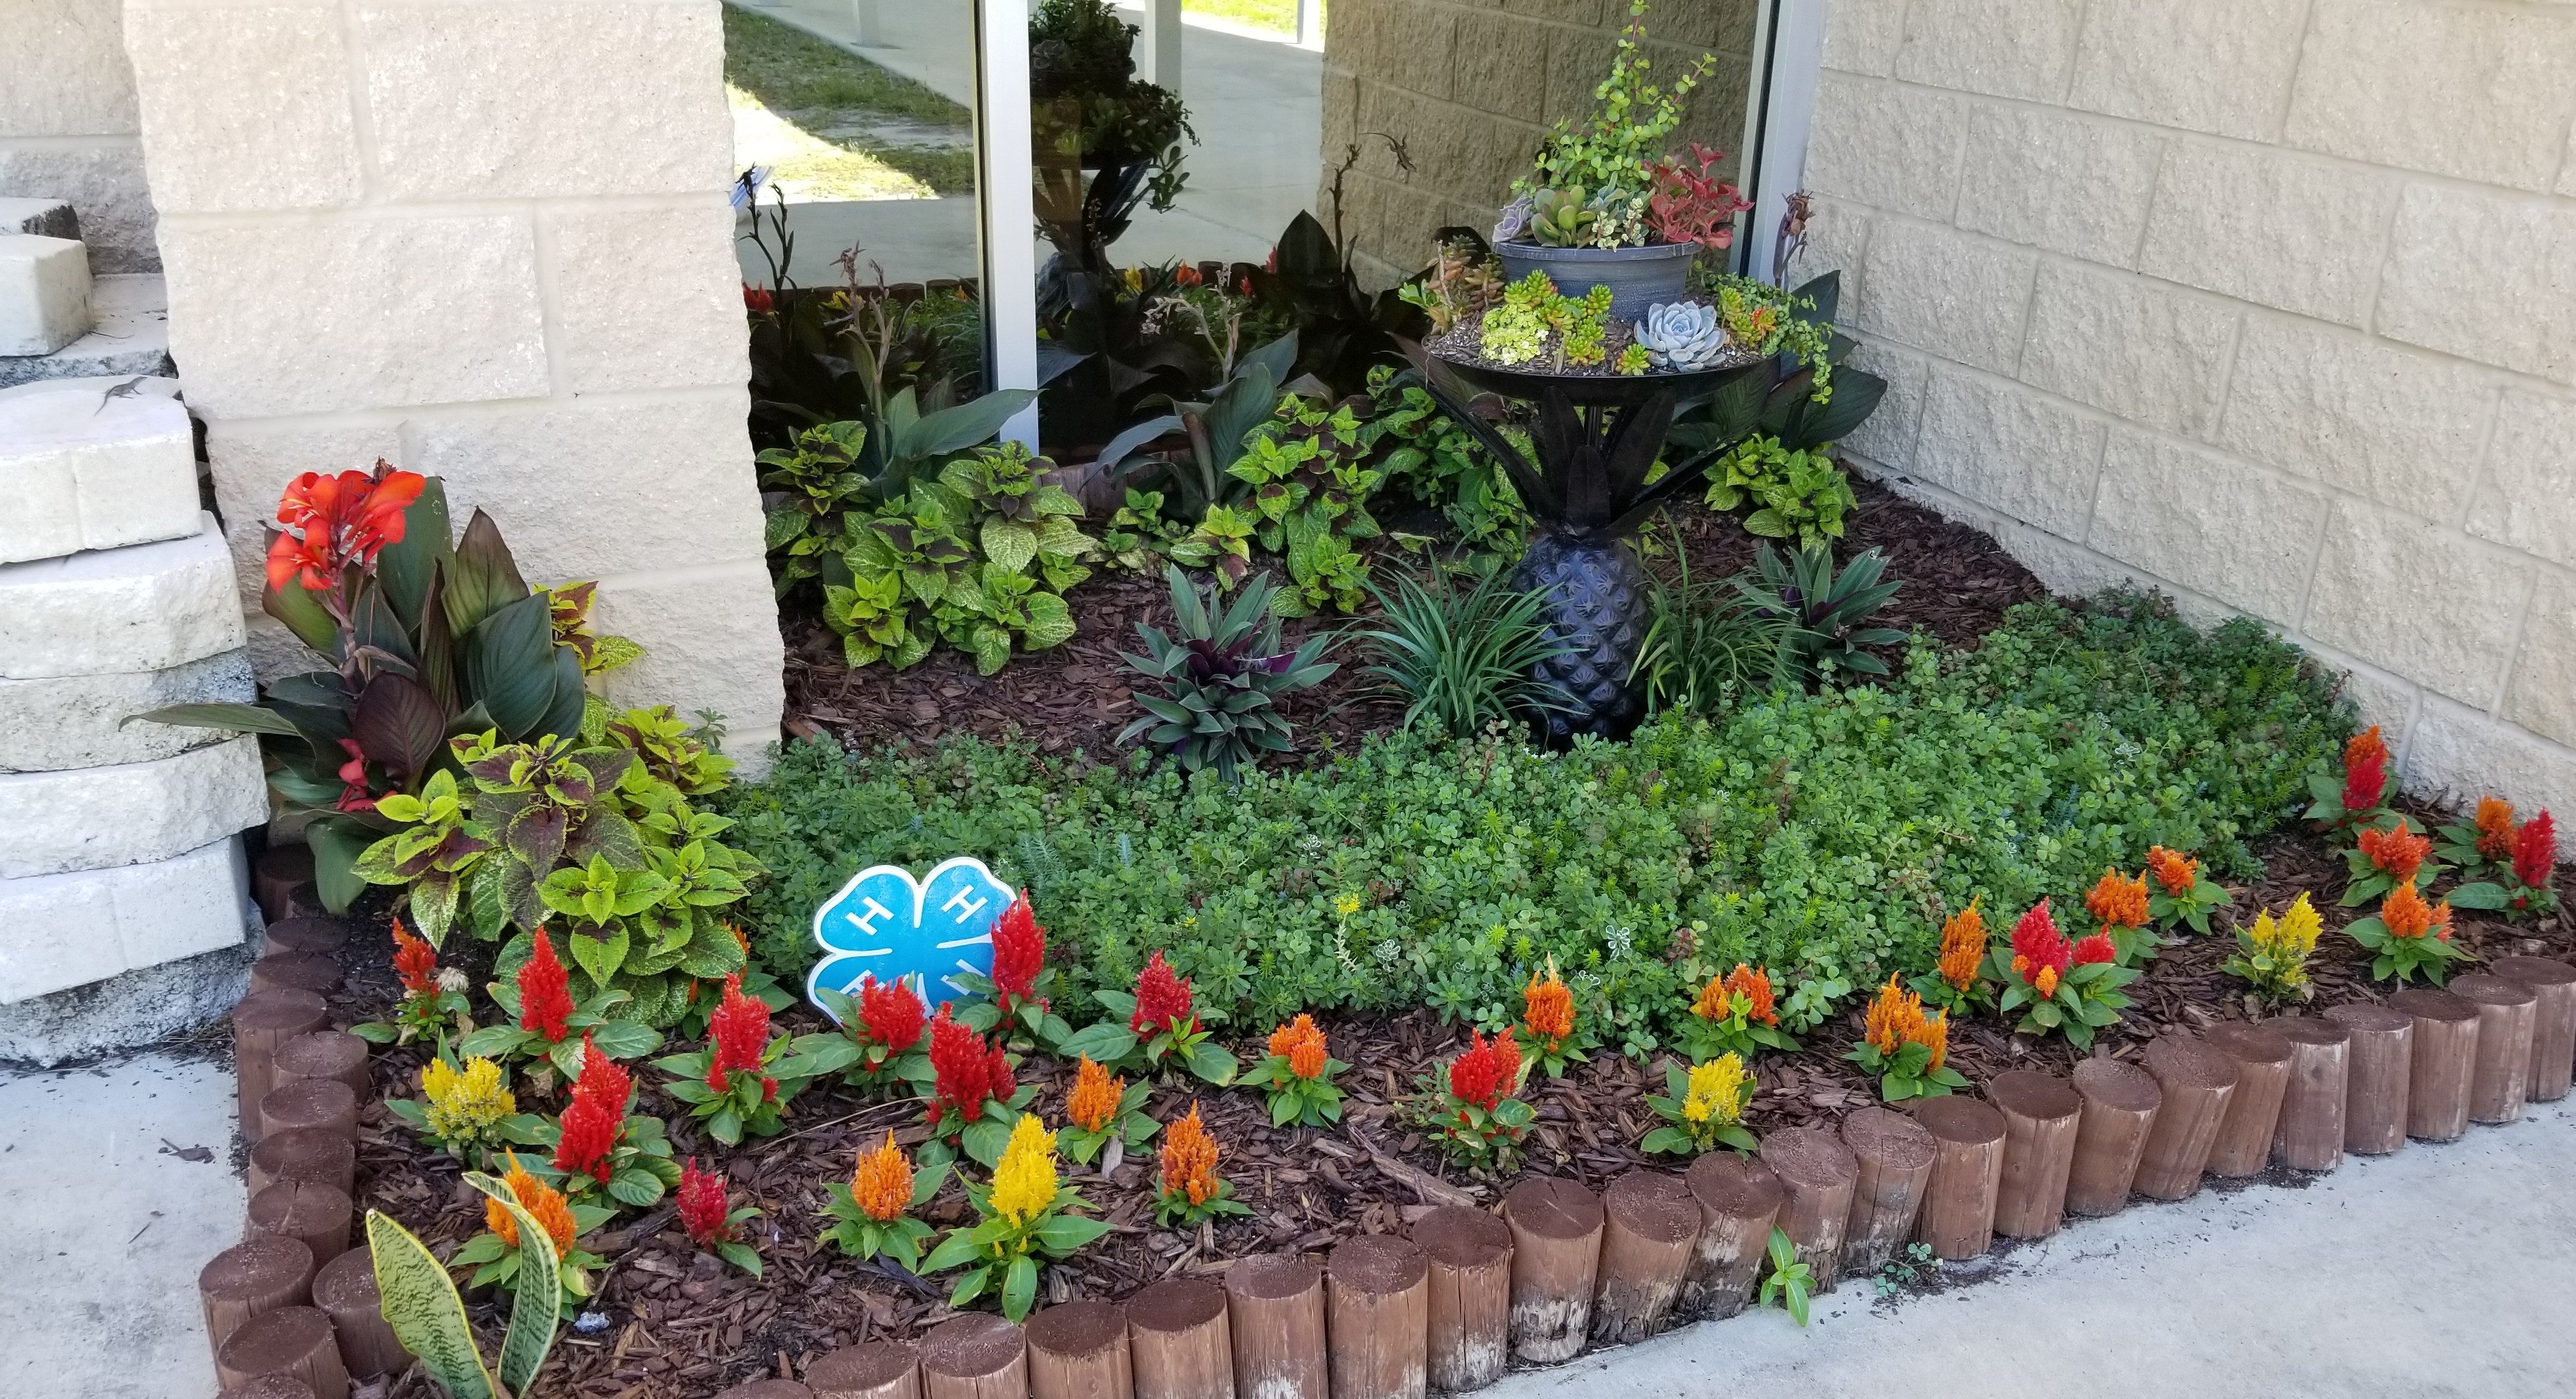
Photo of succulent garden at entry of NSA-PC Youth Center Created by 4-H Garden Club
You can print a PDF version of the instructions for this activity.
Other great gardening resources include:
• Florida Vegetable Gardening Guide
• Florida Planting Calendar by Region
• Florida AG in the Classroom
• Junior Master Gardener Program
If you have a green thumb, consider becoming a 4-H gardening volunteer! 4-H needs caring adults like you to share their knowledge and passion for gardening with the next generation. Through the 4-H gardening project or other environmental focused programs.To get involved, contact your local UF IFAS Extension Office, or visit Florida 4-H. We hope you will consider making the best better with 4-H.
The Institute of Food and Agricultural Sciences (IFAS) is an Equal Employment Opportunity-Affirmative Action Employer authorized to provide research educational information and other services only to individuals and institutions that function without regard to race, creed, color, sex, age, handicap, or national origin. U.S. DEPARTMENT OF AGRICULTURE, COOPERATIVE EXTENSION SERVICE, UNIVERSITY OF FLORIDA, IFAS, FLORIDA A & M UNIVERSITY COOPERATIVE EXTENSION PROGRAM, AND BOARDS OF COUNTY COMMISSIONERS COOPERATING.
by Claire Davis | Mar 25, 2022
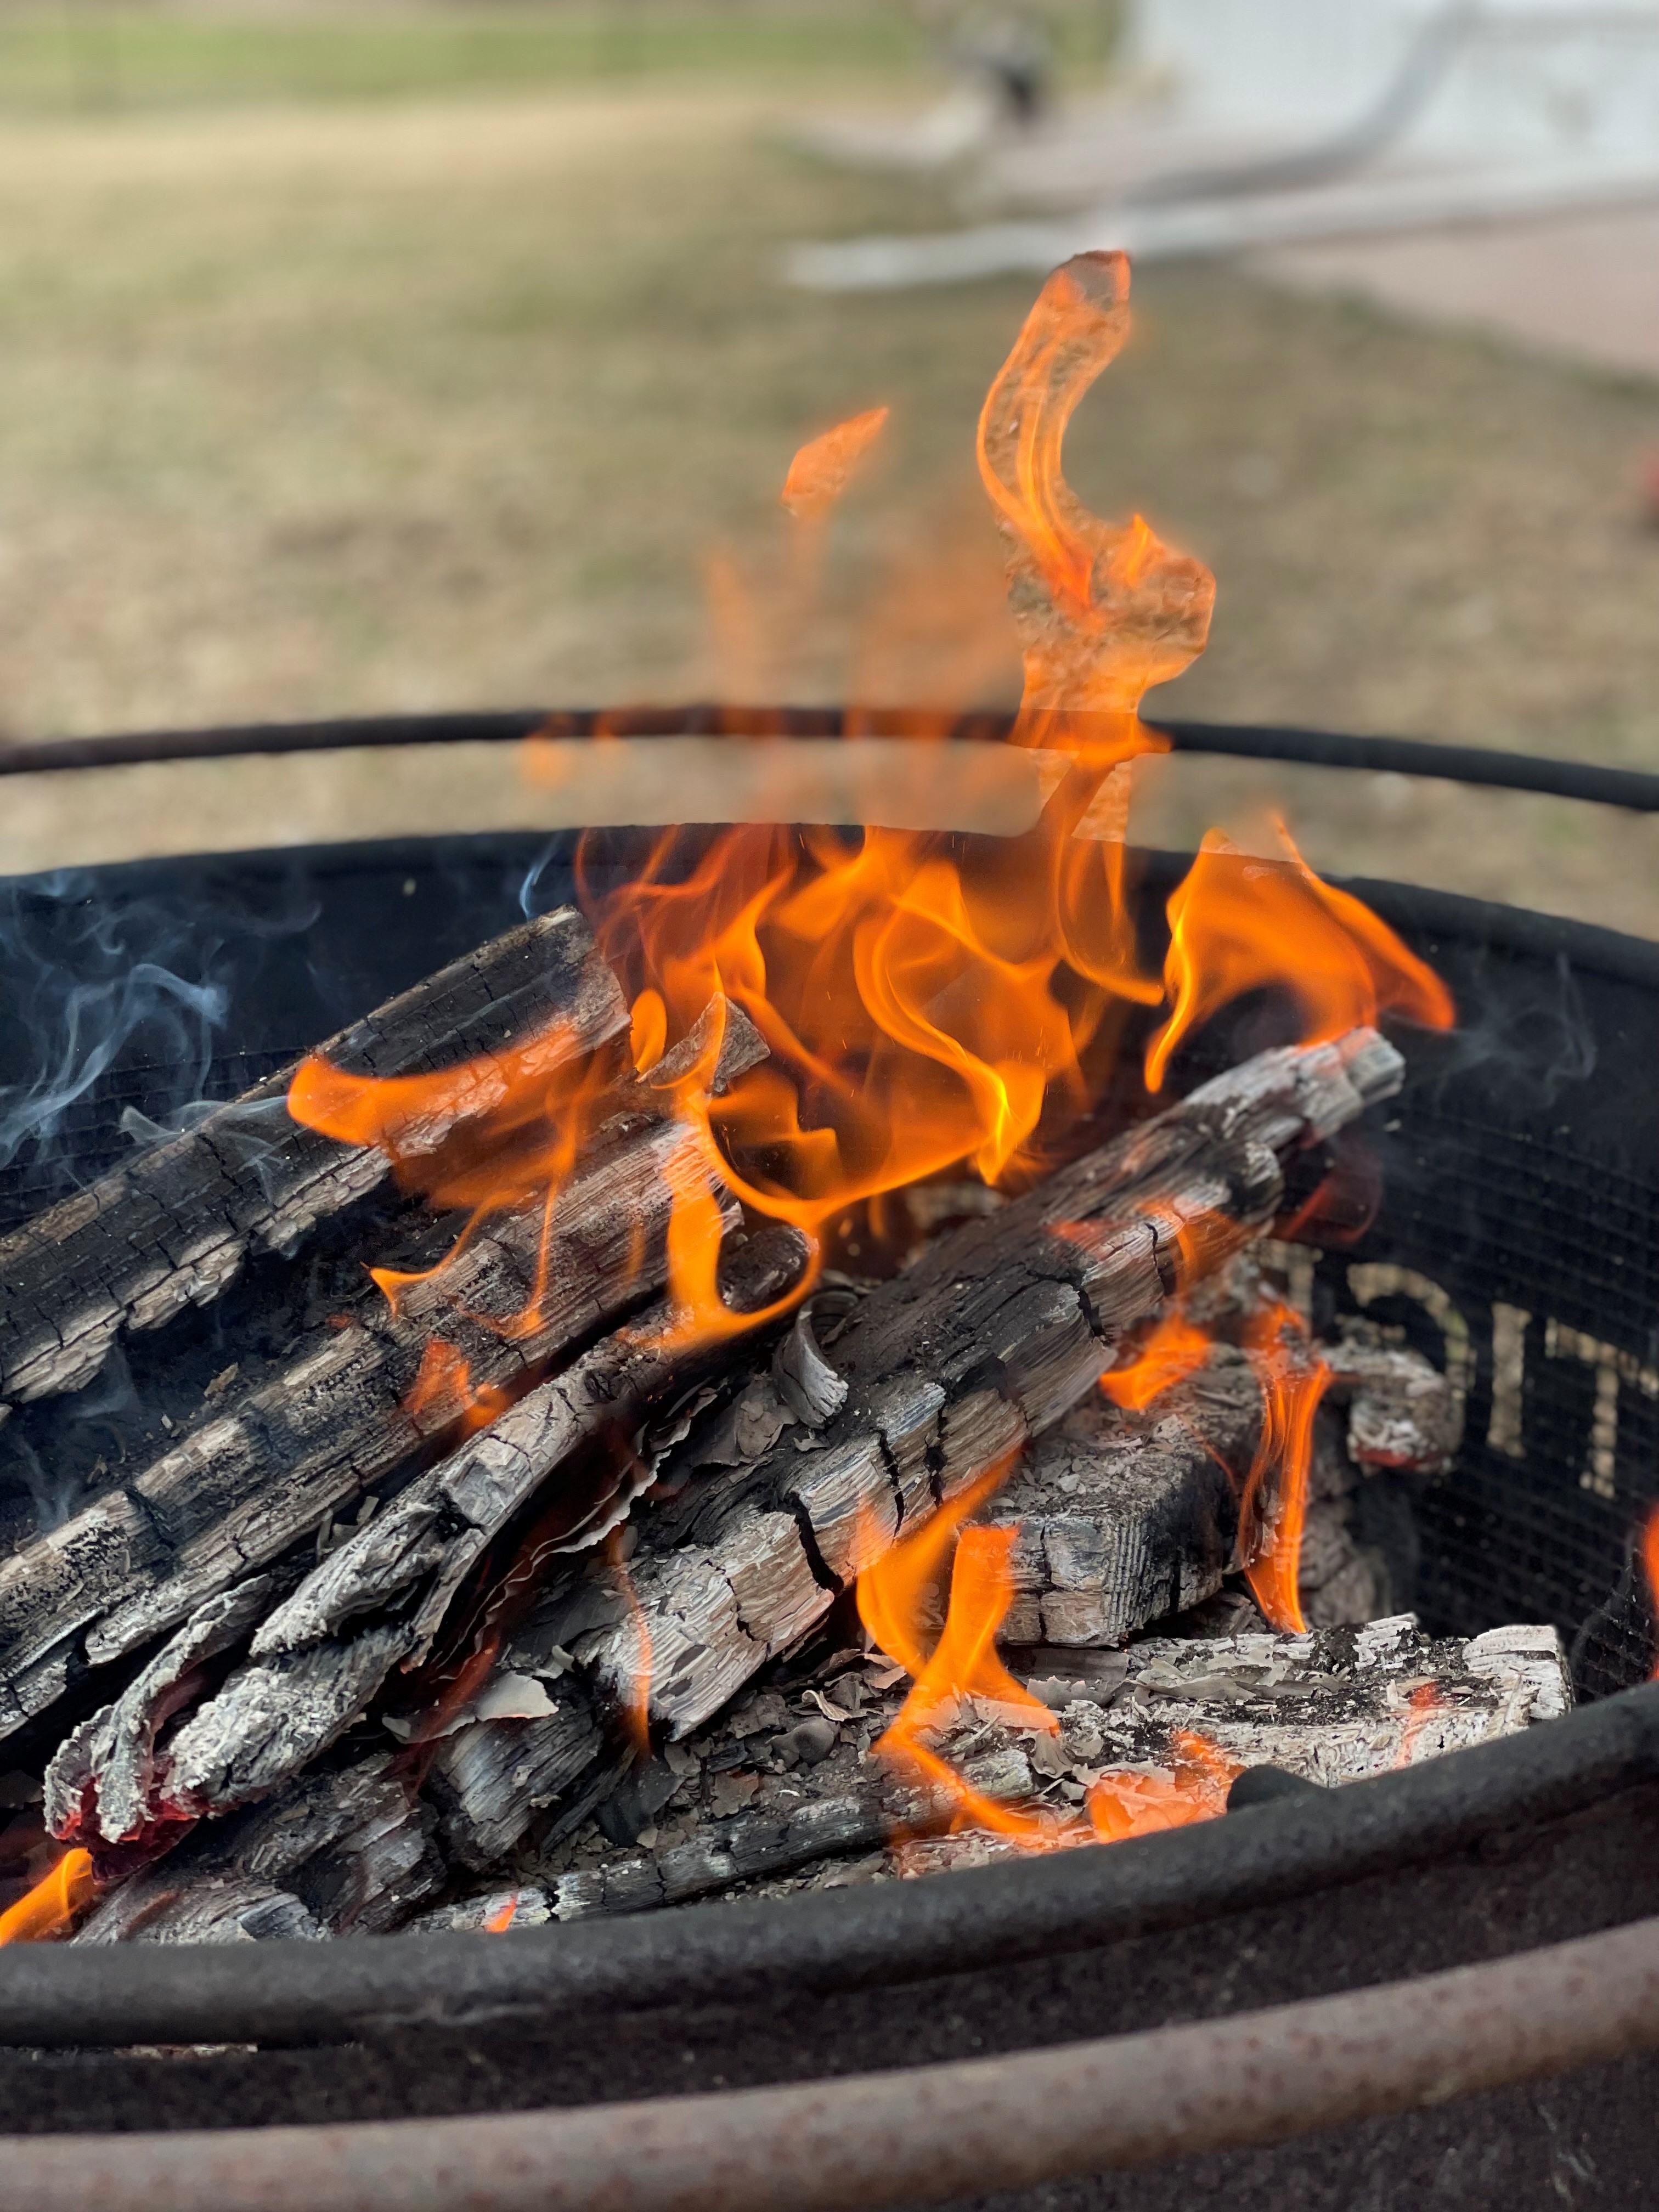
Being in the great outdoors is a great way to spend your time with family! What are some ideas for activities you can do outdoors with your friends and family? Some of the best outdoor activities could include going for a hike, swimming, hunting, kayaking, or even building a campfire. With the weather still cool and a little dry here in Northwest Florida, sitting around a campfire sounds like the right kind of fun! However, it is extremely important to be sure that your campfire does not put anyone at risk of wildfires or burns.
Check out some of the fire safety tips below!

- Use a designated fire pit, if available. If this is not an option, clear a space on the ground, removing any grass or needles that could potentially catch fire.
- Build your fire downwind and away from tents, houses, or anything that is flammable. What does flammable mean? Anything that can easily set fire is flammable. The USDA suggests a minimum of at least 3 feet away from anything that can catch fire.
- Have water or something to douse the fire nearby. In the event of fire escaping its designated area, you will need to be able to put it out swiftly to prevent a wildfire. Consider a water hose that is hooked up to a water source or a fire extinguisher. Also, before leaving your fire site, make sure the fire is extinguished!
- You know the drill! Stop, Drop, and Roll! Make sure that everyone present knows how to put out a clothing fire with these three simple steps.
- Never leave children unattended around a fire. As the adult, it is your responsibility to make sure that everyone is safe! Also, store matches, lighters, and lighter fluids out of children’s sight and reach.
- Think about what you are wearing. Do not wear open toed shoes, as a spark could come off a flame and burn your toe. Instead, wear closed toed shoes while around the fire. Do not wear loose fitting clothing. If you lean over a fire with a baggy t-shirt on, chances are your shirt could catch on fire. Wearing snug-fitting clothing is an easy way to prevent this from happening.
Another “hot” topic is grilling! As we all know, fire and charcoals are extremely hot. Make safe cooking a priority, especially when it comes to outdoor grilling. With summer coming, grilling will become a more popular activity!
A great way for you youth to learn about safe grilling practices is for them to attend a 4-H Tailgate Grilling Camp! This summer,
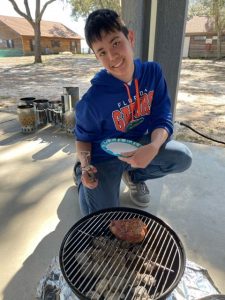
Youth learning to grill pork safely!
Calhoun and Liberty County 4-H Agents, Claire Reach and Marie Arick will be teaming up to offer this program to area youth. Youth will not only learn about the importance of fire safety, but also how to mix rubs or marinades for their meats, and how to grill different animal proteins!
If this is something you think your child or a youth you know might be interested in, stay tuned for upcoming date announcements for summer camps. If you have questions, comments, or concerns, please give us a call at the UF/IFAS Extension Calhoun County Office: (850)-674-8323.
An Equal Opportunity Institution.
Sources:
https://www.firesafekid.org/family-fire-safety/outdoor-fire-safety/
https://www.usfa.fema.gov/downloads/fief/outdoor_fire_safety.pdf
by Claire Davis | Feb 11, 2022
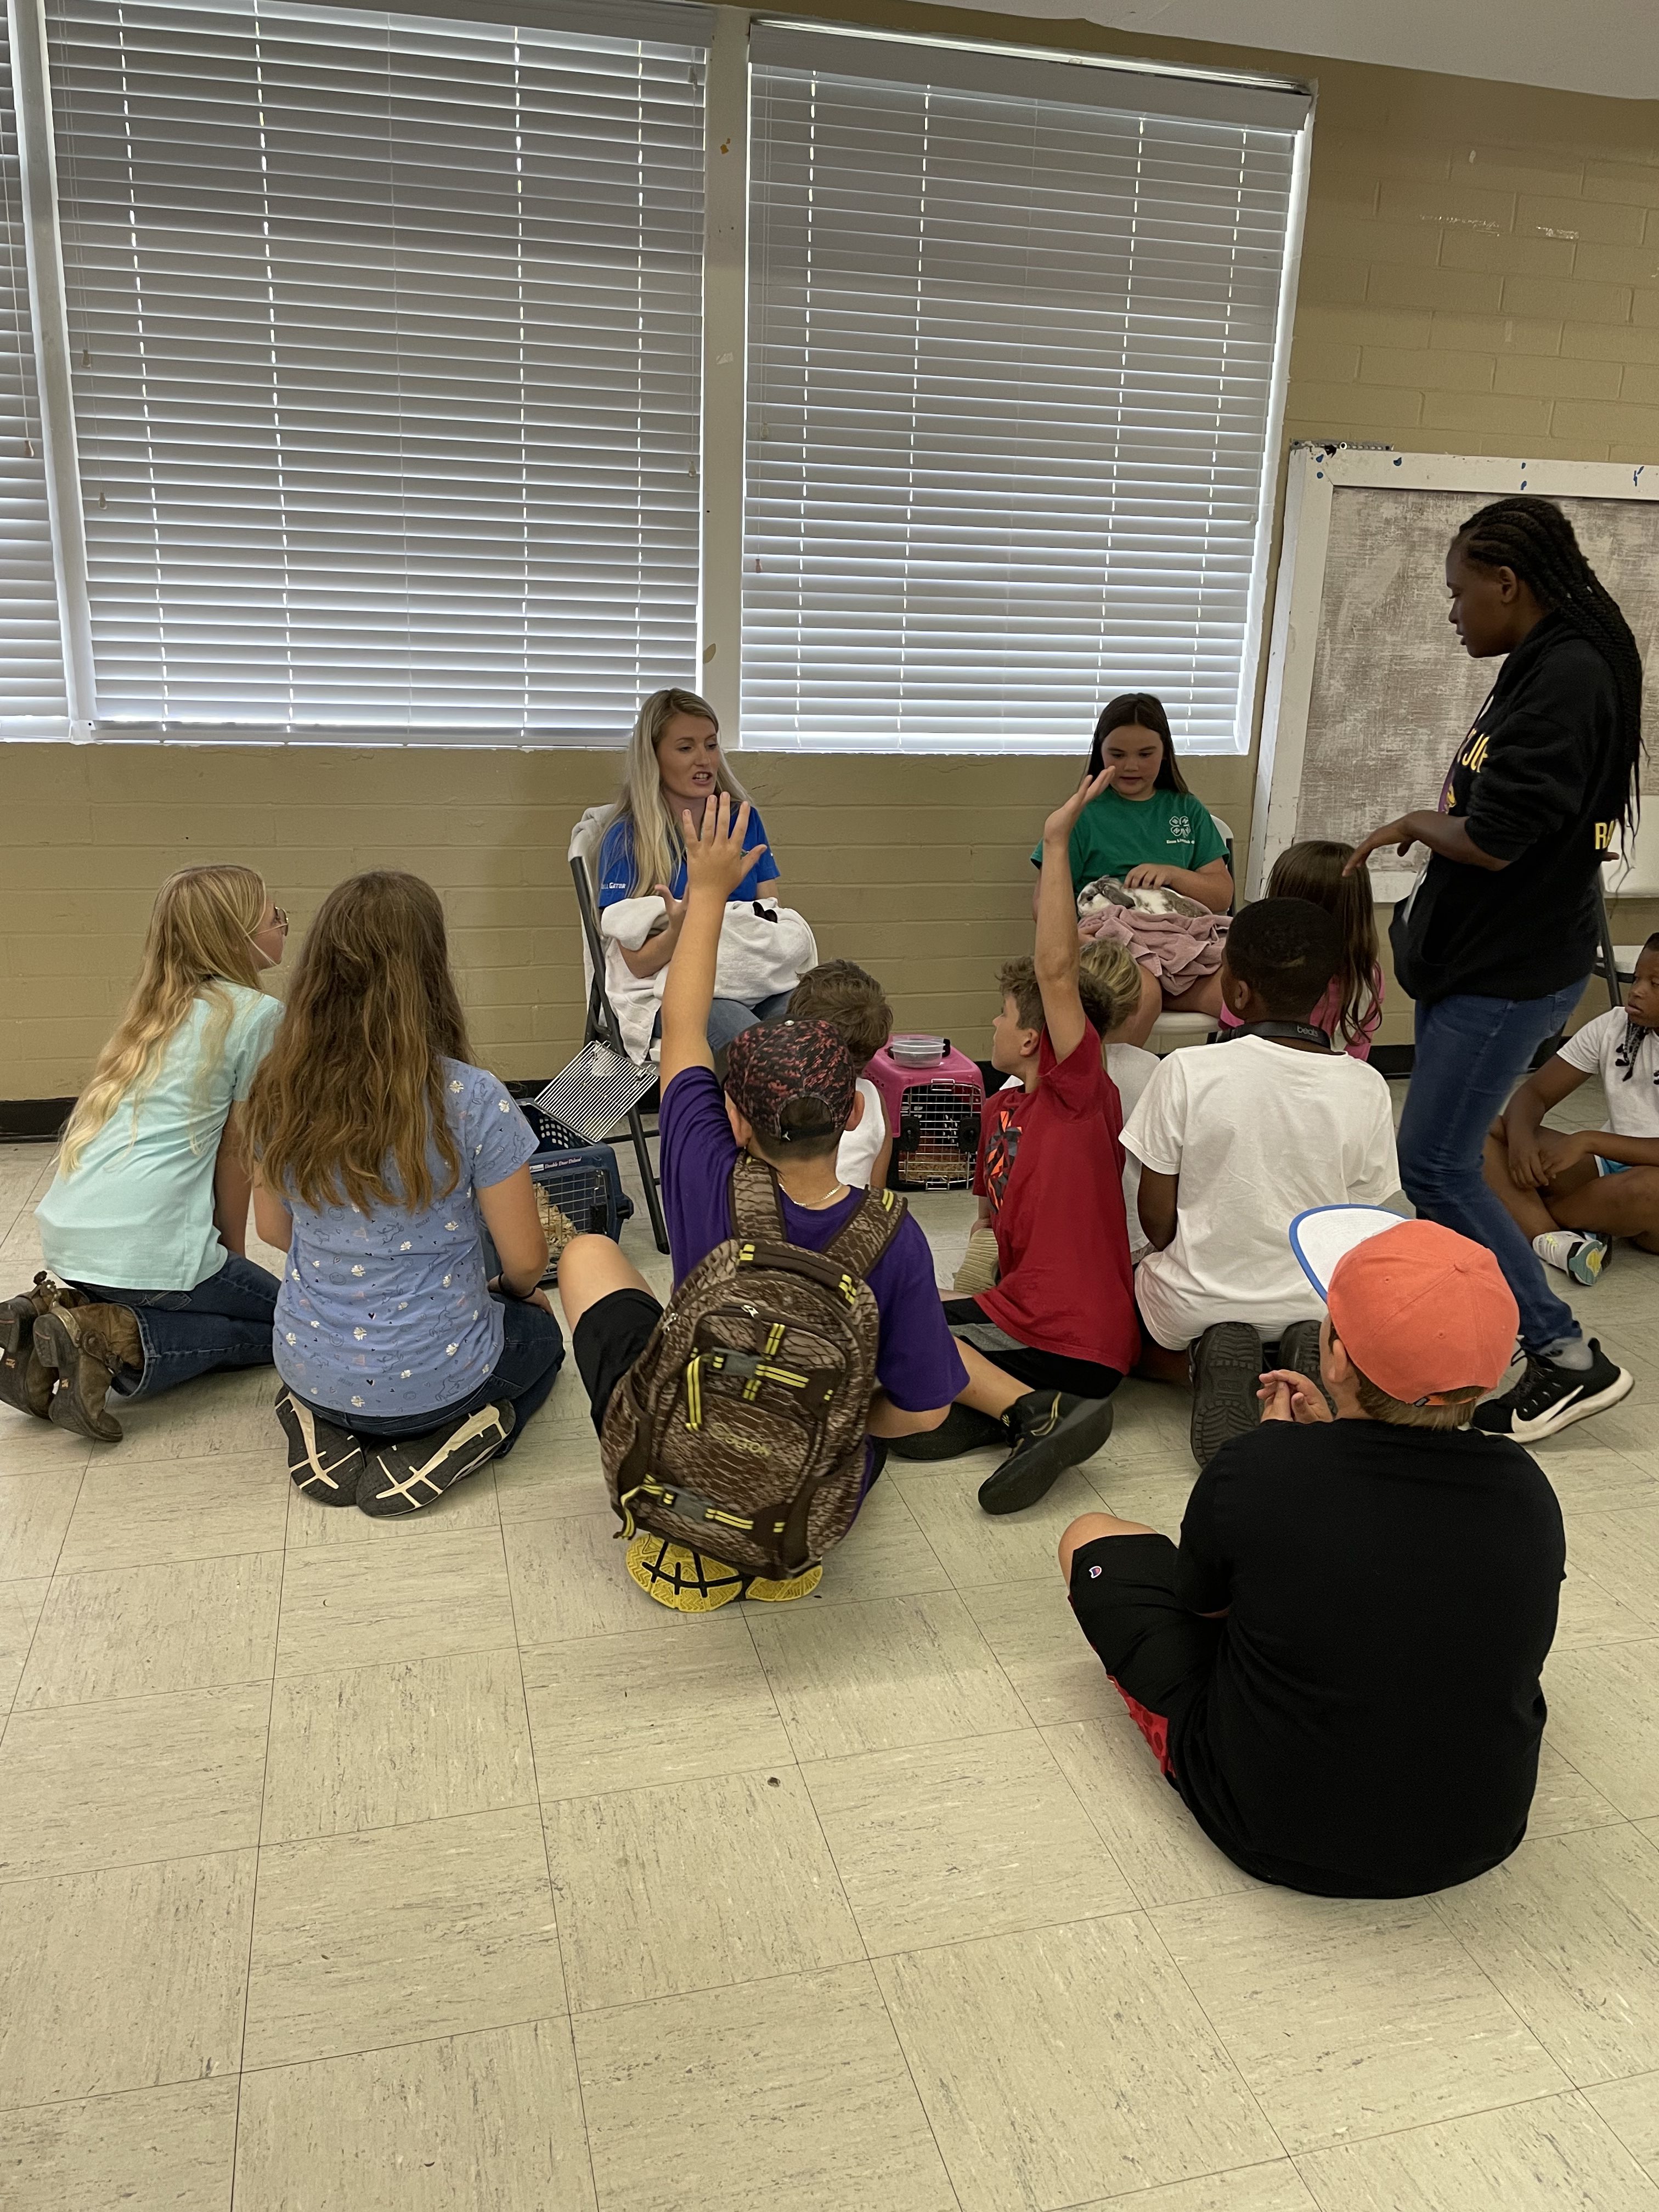
Like me, you make ask, what is a “sense of belonging”? Have you ever felt out of place when going to a club, meeting, or gathering? Do you remember how it made you feel? Maybe you were nervous, had a funny feeling in your stomach, a knot in your throat, or weren’t sure if you belonged?
Volunteer working with youth. Calhoun County Animal Science Camp 2021
One of the essential elements of 4-H Youth Development is belonging. Youth members need to know that they are important to you, cared for by others, and feel a sense of connection to the group they are in! As a facilitator of a 4-H activity, whether that be volunteer, adult, or Extension agent, it is important to provide youth with a safe, inclusive environment when participating in groups. When the facilitator creates a space where youth feel physically and emotionally safe, youth tend to form positive relationships with their peers and role models. Feeling connected to others will affect their behavior, mental health, academics, as well as other life skills. Creating this sense of belonging for all participants is a solid foundation to build a program on!
Now you may be asking, how on earth can I create a sense of belonging?
Since you are the adult facilitator in this setting, it’s your job to provide youth with the opportunity to feel safe during activities. To do this, use discussion questions that engage all the youth members, and encourage them to learn from each other. Below are a few ideas to foster this sense of belonging.
- Welcome new members. Youth who are already part of the group will feel more comfortable than those that are just starting. Assign existing members a role in welcoming newcomers, similar to a welcoming committee. 4-H and other group activities like team sports, can be overwhelming because there is a lot of information given, so think about preparing welcome packets for new members or families. These packets could include information on how to enroll in 4-H Online, club calendars, brochures, frequently asked questions, contact information, and more!
- Ice breakers. Ice breakers and team building activities are really important to help all members feel
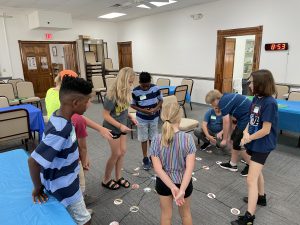
Calhoun County Animal Science Camp Ice-Breaker. What is Agriculture? Summer 2021
comfortable with each other! These types of interactions help build relationships within the group. These are helpful when a group is just starting out, as well as continuing to build bonds overtime. Being deliberate in choosing these types of activities will help any group feel more cohesive. Adjust the activity to suit the group that is participating. Keep it simple for cloverbud age youth (5-7) or add challenges if the group is older or has been together for a period of time. “Ice breakers, get acquainted games, or even roll calls that ask questions about member’s interests (answer roll by making the sound of your favorite animal) can help members get to know each other better.” (Kent, 2015)
- Create a safe space. It may seem easy to create a safe space for youth and other adults but it’s much more difficult in practice! We all think about keeping youth safe physically, but what about the emotional aspect of safety? We must be aware of “microaggressions”, which is defined as a statement, action, or incident regarded as an instance of indirect, subtle, or unintentional discrimination against members of a marginalized group such as a racial or ethnic minority. As a leader, you will want to be able to identify these so you can educate and redirect the situation. It is our job, as adults, to help youth, and other adults, understand the impacts of their words. Creating a shared set of ground rules for everyone to follow can help everyone feel comfortable, knowing the expectations of the group as well as having a voice in creating the space.
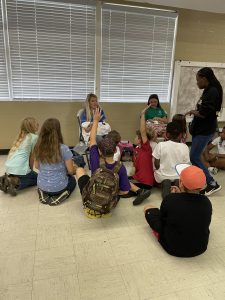
Intro to Animal Handling- Gulf County Summer Camp 2021
- Encourage engagement. Engaging youth members can be done in multiple ways! Various options include using discussion questions, club committees, or even silly ice breaker games – anything constructive to grab and hold their attention. Using discussion questions allows youth to learn from each other while also encouraging a sense of curiosity for life-long learning. Having different committees allows for smaller work groups, which is much less intimidating than a single large group. It is easier for opinions and thoughts to be heard in a smaller setting. Ice breakers may seem silly, but they are a fun and wonderful way to get youth involved.
While a sense of belonging is important for youth, it may take some time and intentionality to create the space to provide the sense of belonging. Our youth members come from all different walks of life and as the adult leader, you must think about the challenges youth may face that makes them different. Some youth may look different physically; some may come from a family that has never done 4-H; some may have experienced trauma; some may have special needs.
A 4-H club, program, or activity can provide a space that youth belong to, as well as allowing them to learn invaluable life skills. Adults, volunteers, and agents are essential to creating this space, while also helping other members see how to increase the sense of belonging for others. What will you do to help make all members feel welcome?
Sources:
https://www.canr.msu.edu/news/essential-elements-of-4-h-belonging
Creating a Welcoming Environment in 4-H Clubs
by Marcus Boston Jr. | Feb 4, 2022
My name is Marcus Boston and I’m the County Extension Director and 4-H Youth Development Agent in Leon County, Tallahassee FL. I’m originally from Gainesville Florida and have worked for the Leon County Extension Service as a 4-H Extension Agent, for 29 years.
I was born and raised in Gainesville FL., the location of the State 4-H office but was never involved in 4-H as a youth. I graduated from Buchholz High School in Gainesville Florida and earned a football scholarship to attend school and play football for Florida A&M University (FAMU) in Tallahassee. As a result of my accomplishments on and off the team, during my senior year, I was awarded the prestigious Alonzo Smith “Jake Gaither” Award. I completed my B.S. degree in Agribusiness and while working as a graduate assistant coach on the football team, I completed my M.S. in Agricultural Sciences. Prior to starting graduate school, I worked as a Sideline Commentator for the Florida A&M football games that were aired on a local radio station. After completing graduate school, I began my professional career as an extension agent with Florida A&M University and the University of Florida working primarily with 4-H Youth Development.
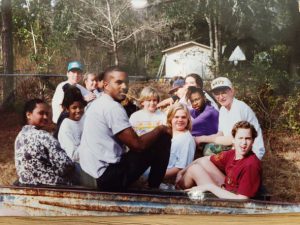
Marcus joins Leon County 4-H Leadership Club fun day activity in the early 90’s
When I started in Leon County one of my first assignments was to make a personal visit to all the existing 4-H clubs in the county at that time. After meeting all the wonderful volunteers and youth involved in our Leon County 4-H program, I was inspired by all the fun educational projects the youth were involved in and encouraged by the commitment and passion of the volunteers that oversaw the clubs. It is this commitment and passion that still exist today and that encouraged me to work extra hard to recruit and train volunteers so there could be more clubs for youth to join.
Marcus Boston teaching youth how to determine which eye is dominant before archery class
The establishment of my Environmental Education/Stewardship Program is one of my most successful programs here in Leon County. This program includes a series of smaller programs developed and carried out with the primary objective of educating our youth about the importance of conserving, protecting, and appreciating our environment and how they can become environmental stewards in their respective community’s. These experiences are tailored to equip youth participants with the information they need that will help them make logical decisions on environmental issues that may arise as they enter adulthood. In a few years these youth could be accountable for attitudes, perceptions and policies that affect our environment as well as our soil. A few of the environmental focused experiences that I developed and carried out during past several years as part of our Leon County 4-H program are: 4-H Ecology Field Day, 4-H Eco-ventures Spring Break Camp, Wild About Water Day Camp, The Talking Trash Day Camp, Going Green Day Camp, No Woods Left Behind Day Camp, Trees and Bows Day Camp, 4-H Wildlife and Outdoor Recreation Camp at Jubilee, and residential camp at 4-H Camp Cherry Lake held in Madison FL.
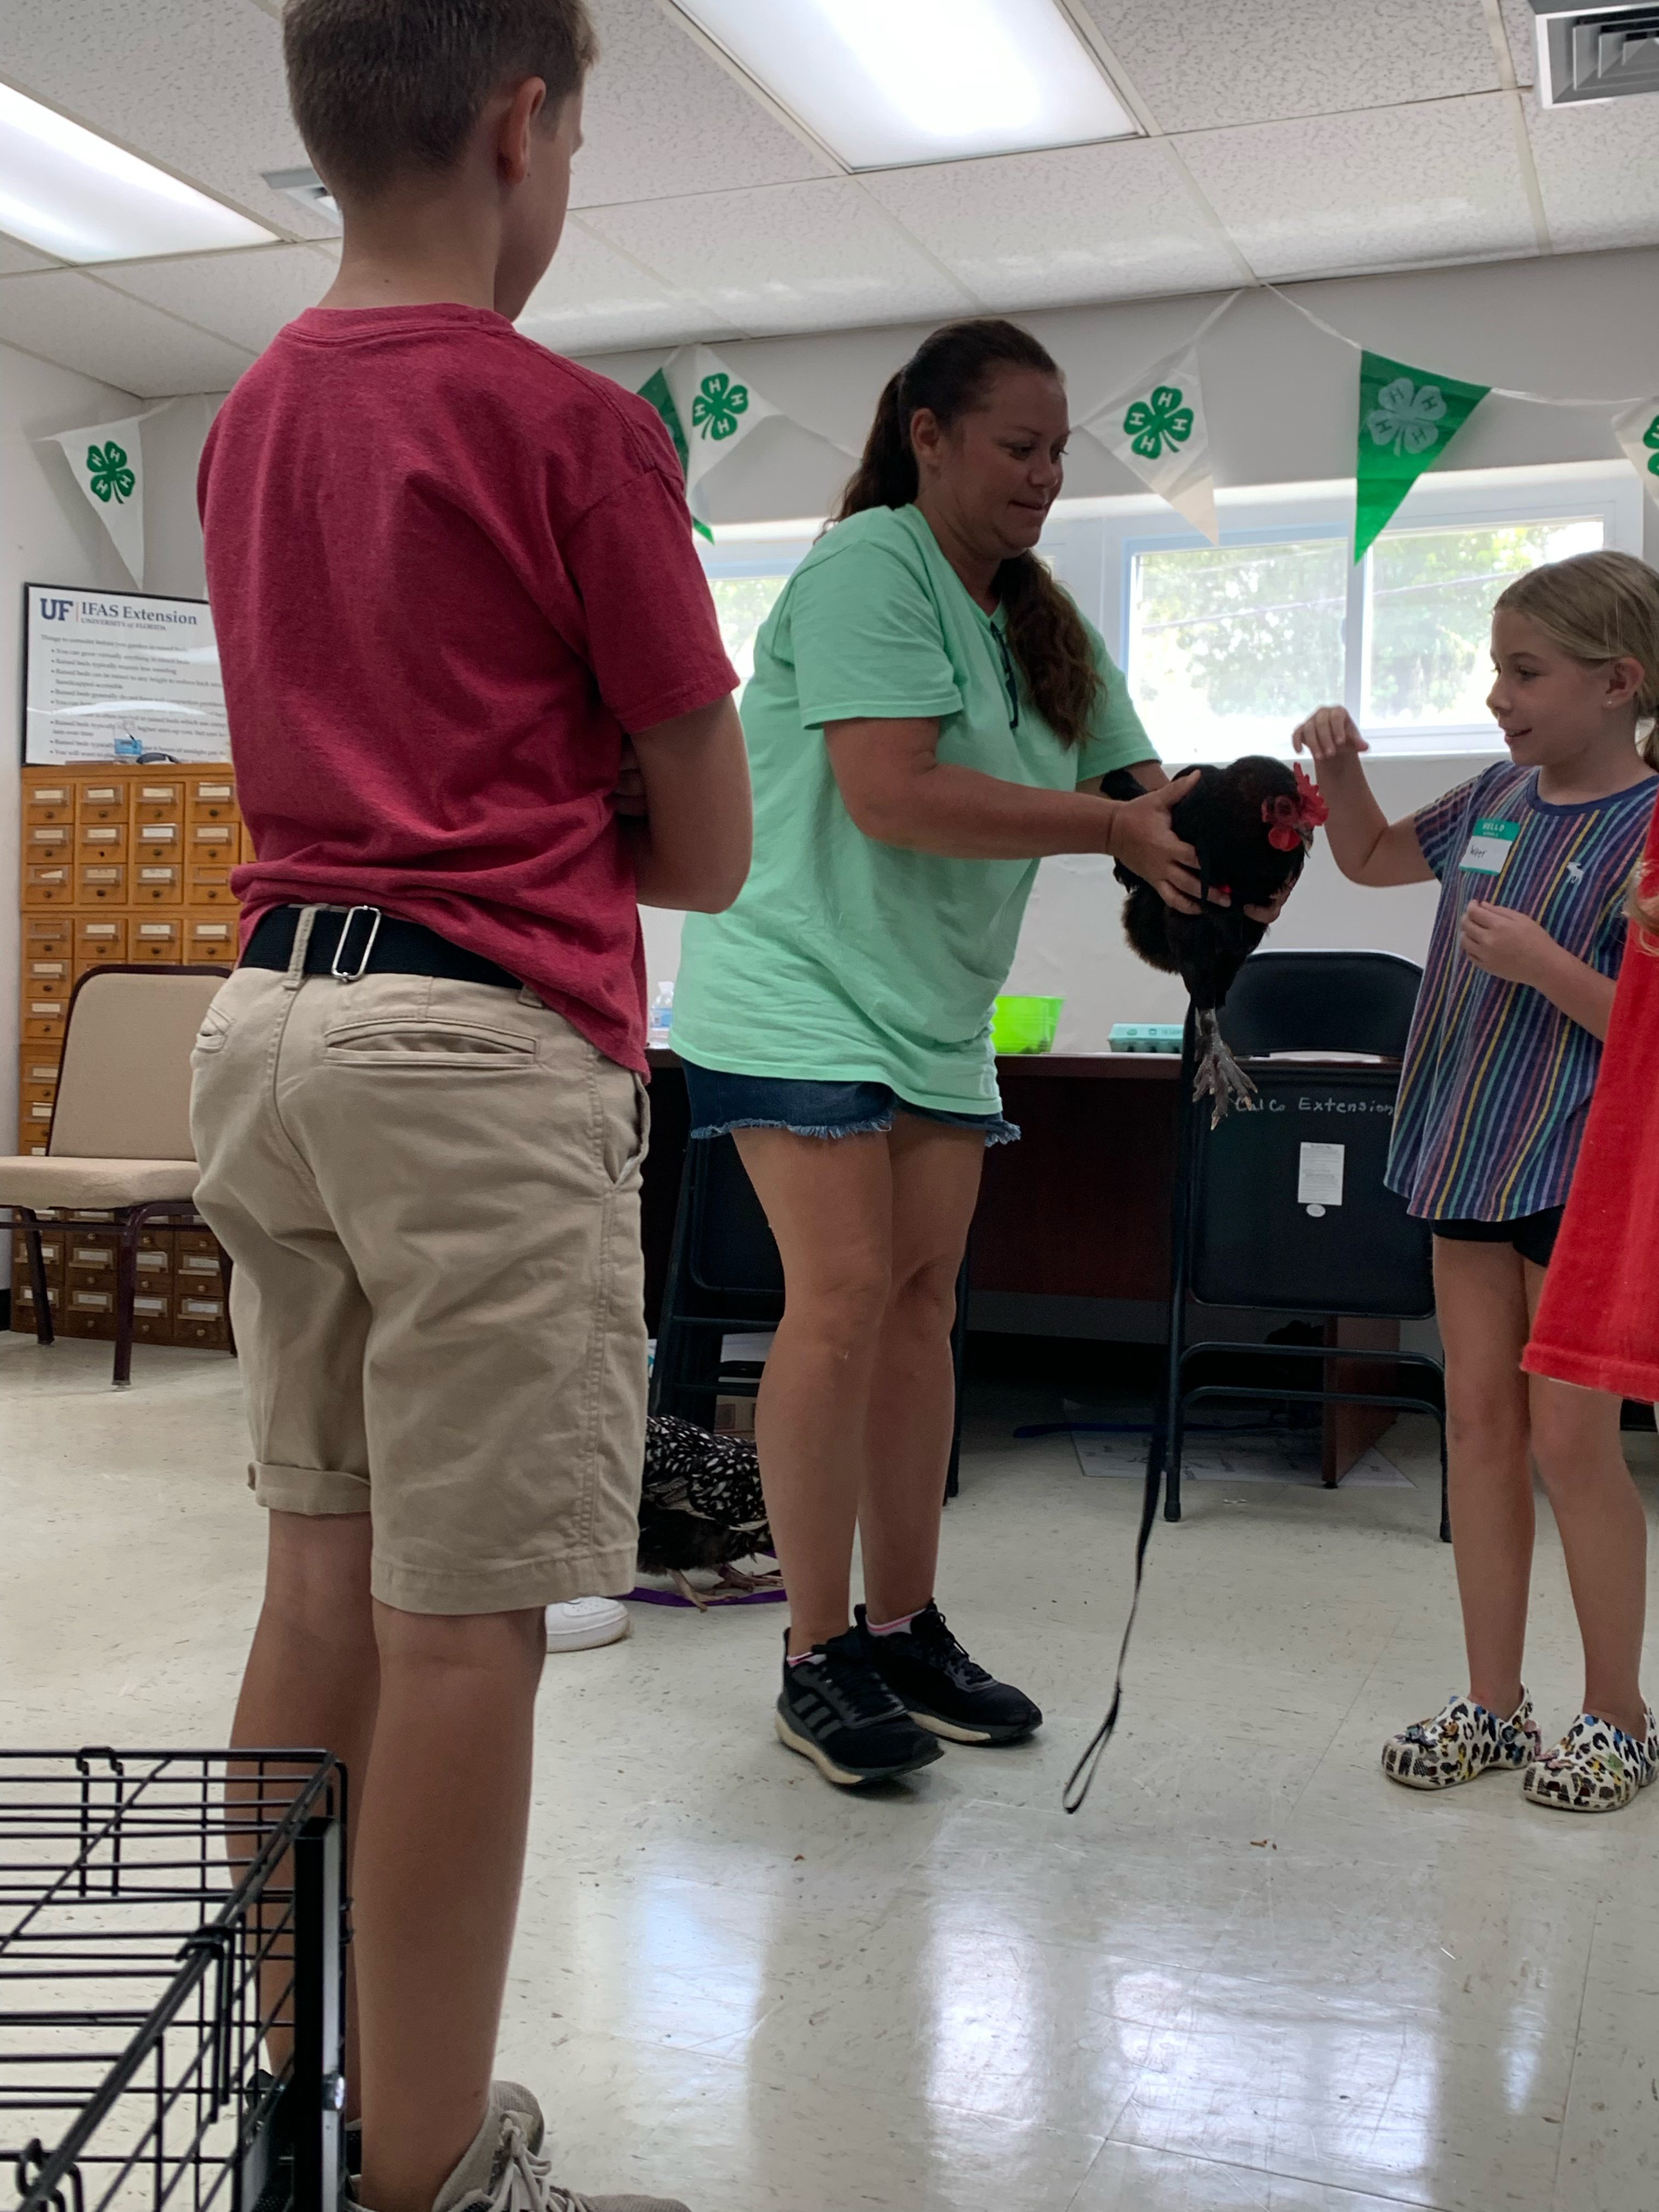
As a certified archery and canoe instructor, I’ve had the pleasure of teaching thousands of youth communications and safety skills using a canoe and a bow and arrow as the vehicle of choice. Both of which I’m still involved to this day. In an effort help young people learn the life cycle, I have taught the 4-H Embryology program in several schools in Leon County. This program has provided the opportunity for hundreds of students and teachers, to watch chicks hatch out of their eggs right before their eyes in their classroom…an experience they never forget.
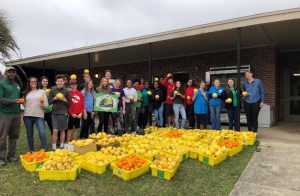
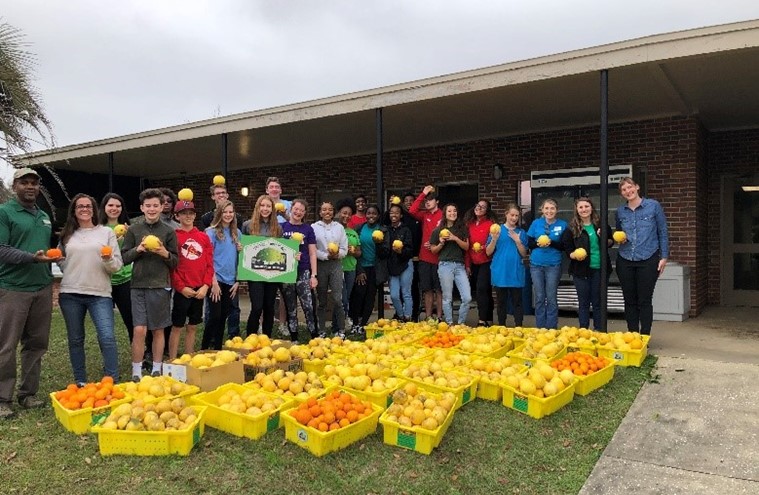
Leon County 4-H Camp Counselors kickoff counselor training with gleaning 1,300 lbs. of fruit to provide for homeless shelter
The Leon County 4-H Camp Counselor Training Program has also served as one of my most successful teen leadership programs. I have enjoyed recruiting, training and equipping hundreds of teens with the skills and knowledge they need to: Manage campers at our residential camp, understand the “ages and stages” of the youth they supervised, apply strategies for teaching classes at camp, and most important, keeping camp safe for all in attendance. Due to the success of this program, former counselors from our counselor training program are viewed and recruited as potential camp staff for our State 4-H camps each year.
I have also enjoyed providing opportunities for thousands of youth in Leon County Schools to participate in The 4-H Tropicana Public Speaking Program (now known as the Florida 4-H Public Speaking Program sponsored by Florida Power and Light) which annually provides an opportunity for over 7,000 Leon County 4th, 5th, and 6th graders to develop, write, and present a speech on a topic of their interest. With so much emphasis on texting and posting…this program continues to provide a platform for young people to develop their oral communication skills which is crucial as they graduate and enter the work force.
Marcus Boston is demonstrating fitness techniques with attendees during Youth Extension Day in Leon County.
I have also been a Project Learning Tree(PLT) facilitator for over 20 years and have help to train over 500 college students from Florida State, Flagler College and Florida A&M University in how to teach youth environmental education using the PLT curriculum.
The last six years as County Extension Director has provided me an opportunity to promote UF/IFAS Extension by managing and working with my faculty in providing researched based information in the form of workshops, field days, 4-H clubs, seminars, virtual and hybrid webinars and school enrichment programs in an effort to help youth and adults in the Leon County Community find the Solutions For Their Life. I have always believed that active participation in 4-H provides youth the tools in life to be successful in whatever direction they choose to go.
by Rachel Pienta | Jan 21, 2022
 Healthy Living is one of the 4-H’s. While your club may not specifically focus on what is traditionally considered to be “healthy living” activities, you might be surprised about much your 4-H club is contributing to the mental and physical well-being of youth members. After we recognize that all our clubs have a role to play in implementing healthy living strategies across the county 4-H program, we can start to consider ways to be intentional in how we incorporate healthy living into 4-H activities and projects.
What does a 4-H Healthy Living program include? A 4 H Healthy Living program or strategy is any activity or program component that can help youth lead lives that balance physical, mental, and emotional health.
According to the National 4-H Council, 4-H Healthy Living programs include objectives that can help “empower youth to be healthy – body and mind – with the skills to make healthy decisions and lead healthy lifestyles. Having the confidence and skills to lead healthy lifestyles not only improves overall well-being; it enables youth to tackle life’s challenges today and become leaders in their lives, careers, and communities as they grow into responsible adulthood” (National 4-H Council, 2021). Your club focus might fit into one of the following program areas: mind, body, leadership, or mentorship.
As a club leader, you may encourage your youth to adopt goals and projects that will cover multiple program areas. Introducing healthy living during club meetings is another way to incorporate these concepts and help youth develop healthier habits.
With so many possible topics to consider, it may seem overwhelming to choose a starting point. In this article, a few suggestions will be explored.
Sleep
It may be surprising to learn that youth, like adults, are not getting enough sleep. Regularly missing hours of sleep or experiencing poor sleep quality can contribute to a variety of issues for youth. The Sleep Foundation is one resource to use for tips on how to encourage our 4-H members to adopt better sleep habits (Pacheco, 2021).
Some ideas for helping your 4-H youth learn about the importance of sleep and how to develop better sleep habits include the activities and lessons listed in the links below this paragraph. Consider challenging your youth to set healthy sleep goals for one month. Discuss the potential benefits during your goal setting activity. At the end of the month, discuss how youth felt on days when the sleep goals were met and how they felt on days when they did not meet their goal.
Activity for Teens (Intermediates and Seniors)
University of Wisconsin Extension. 2007. “4-H Get Fit, That’s It. Lesson 2: Are You Getting Enough Sleep.” Link to activity: https://api.ag.purdue.edu/api/DepotWS/File.ashx?t=f&i=98730
Activity for Elementary School Age (Juniors 4-H Members)
The Nemours Foundation. 2015. Sleep. Kids’ Health in the Classroom.
https://classroom.kidshealth.org/classroom/3to5/body/functions/sleep.pdf
Hydration
One way to incorporate a healthy living strategy into your 4-H program is offering water at all your meetings and limiting the inclusion of other beverages. A 4-H lesson on hydration can include STEM principles as youth can calculate their daily water needs based on their body weight. A fun way to encourage water consumption is to personalize reusable water bottles as a club activity and to award points to youth who remember to bring their bottles to meetings and activities.
All Ages Lesson and Activity
National 4-H Council.2020. How Much Water Do You Need? 4-H Healthy Living Activity Guide.
https://4-h.org/wp-content/uploads/2019/04/4H-Healthy-Living-Activity-Guide.pdf
Other Ways to Incorporate Healthy Living into Your Club Programs
Activities designed to improve sleep and hydration are only two of many possible ways to incorporate healthy living into your 4-H program. Healthy Living activities can incorporate exercise, nutrition, and ways to improve and maintain mental health.
Resources
Caruso, L.; Shelnut, K.; Kauwell, G. 2017. Hydration Myths. UF/IFAS Extension. Retrieved January 16, 2022 from https://edis.ifas.ufl.edu/publication/FY1409.
National 4-H Council. 2021. Healthy Living. Retrieved January 16, 2022 from https://4-h.org/parents/healthy-living/.
Pacheco, D. 2021. Children and Sleep. The National Sleep Foundation. Retrieved January 16, 2022 from https://www.sleepfoundation.org/children-and-sleep.
University of California 4-H Youth Development Program. 2022. Sleep for Better Living. Retrieved January 16, 2022 from https://4h.ucanr.edu/Projects/HealthyLiving/Sleep_for_Better_Living/