
 Participating in the North Florida Fair provides 4-H youth with the opportunity to showcase their creativity and skills through photography and poster exhibits. As part of Department 201, Classes 10 and 11, these exhibits can express a wide range of interests while demonstrating the effort and knowledge gained through 4-H projects. Whether you’re entering a photo that captures a moment or designing a poster that tells a story, this article will help you prepare your exhibit to meet fair standards, enhance your presentation, and have fun in the process!
Understanding the Guidelines
Before creating your exhibit, it’s essential to understand the specific rules and expectations for photography and poster entries.
- Class 10 – Photography: This category includes original photographs taken by the exhibitor. Photos can be color or black-and-white, and subjects can vary (nature, people, animals, etc.). The photos must be mounted on mat board, with no frames allowed. The maximum size is 11×14 inches, including the mat.
- Class 11 – Posters: Posters must communicate a clear message about a 4-H project or activity. They should be designed on poster board no larger than 14×22 inches. Posters can include drawings, photos, or other forms of graphic design, but they must be original work created by the exhibitor.
Both classes require that all work be completed within the current 4-H year and must reflect what the youth has learned from a 4-H project or activity.
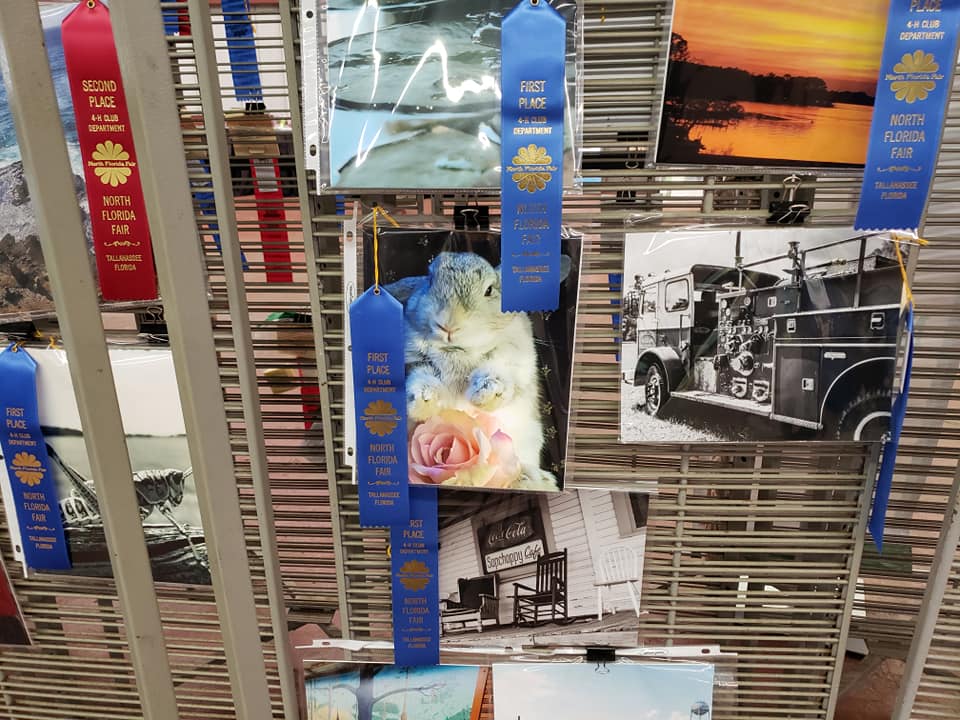
4-H youth enter photography to be judged.
Steps to Prepare Your Photography Exhibit
- Choose a Subject: Think about what inspires you. Popular subjects include landscapes, animals, or everyday objects seen in a new light. The photograph should tell a story or capture a feeling.
- Composition and Lighting: Good composition is essential. Follow basic photography rules like the rule of thirds, symmetry, and framing. Pay attention to lighting, ensuring your subject is well-lit but not overexposed.
- Editing and Printing: Minor adjustments in exposure, contrast, and cropping can make a big difference. However, the photo should remain natural and not heavily altered. Once satisfied, print the photo on high-quality paper.
- Mounting the Photo: Mount your photo on mat board, ensuring the total size (photo and mat) does not exceed 11×14 inches. The mat should complement the photo but not overpower it. Be sure there are no frames or glass covering.
Steps to Prepare Your Poster Exhibit
- Select a Topic: Choose a 4-H project or activity that you want to share with others. It could be related to an animal project, science experiment, or community service.
- Create a Layout: Plan your poster by sketching out where text and images will go. Make sure the poster is easy to read from a distance, with bold titles and clear visuals.
- Design Elements: Use a combination of images, drawings, or graphics to illustrate your message. Colors should be vibrant but not overwhelming. Keep your text minimal and focused on key points.
- Materials: Use sturdy poster board, markers, paints, or printed graphics. Avoid using glitter or anything that could fall off or damage other entries. Posters should be neat and easy to handle.
Check List for Preparing Your Exhibit
Here’s a checklist to make sure you’re ready to submit your entry:
- Photography Exhibit:
- Photo fits within the 11×14-inch size limit (including mat).
- Photo is mounted on a sturdy mat board (no frames or glass).
- Title or brief description attached (optional but recommended).
- Original work completed within the current 4-H year.
- Poster Exhibit:
- Poster is no larger than 14×22 inches.
- Clearly communicates a 4-H project or activity.
- Text is large and easy to read.
- Includes original drawings, photos, or graphics.
- Neat, with no loose materials or glitter.
Filling Out the Entry Form and Tag
Once your exhibit is ready, you’ll need to complete an entry form and tag for the North Florida Fair. Here’s what you’ll need to do:
- Download the 4-H Entry Form:
- List the exhibit under Department 201, and choose Class 10 (Photography) or Class 11 (Posters).
- Include your name, age division, and county.
- Turn in your completed entry form to your local UF/IFAS Extension office on or before October 1st. They will assign tag numbers for each of your exhibits.
 Exhibit Tag:
- Section: 201
- Class: 10 for Photography or 11 for Posters
- Lot: Your age division
- Exhibit: Brief description of your entry (e.g., “black-and-white photo of dog” or “poster about dairy project”)
- Exhibitor: Your name
- Address: Your county
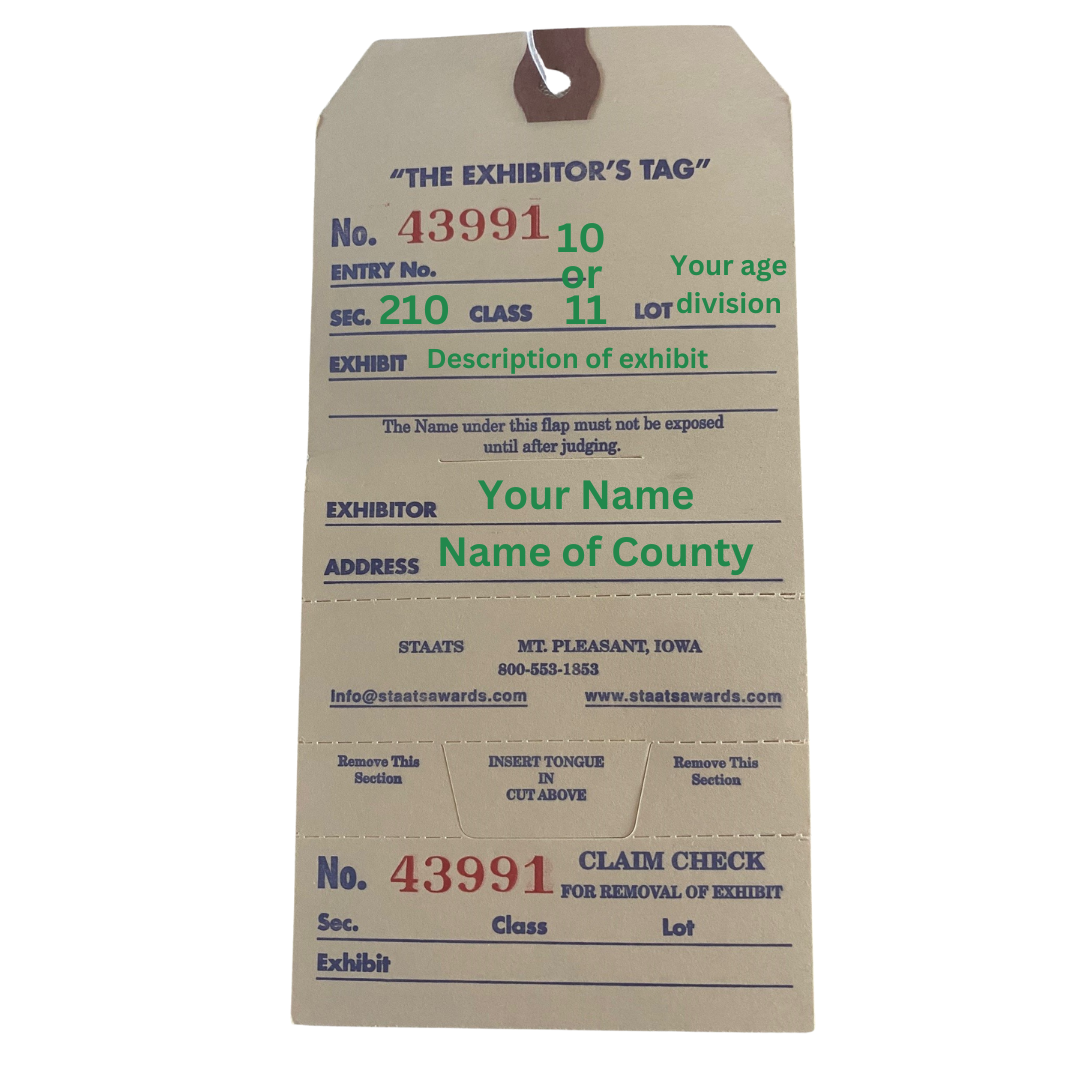
Make sure the tag is securely attached to your exhibit. Keep the claim check so you can retrieve your entry after the fair.
Additional Resources
To help you prepare your photography or poster exhibit, check out these useful resources:
- Ask your local UF/IFAS Extension office about the 4-H Photography Curriculum or the local 4-H photography project club
- 4-H Entry Form for the North Florida Fair
- Official Rules for the North Florida Fair department 210
By following the rules, paying attention to detail, and letting your creativity shine, your photography and poster exhibits will be ready to impress at the North Florida Fair. Good luck!
- Meet our Summer Intern- Andy Franklin! - June 13, 2025
- Blue Ribbon Baked Goods - September 23, 2024
- Blue Ribbon Photos and Posters - September 21, 2024