by Heather Kent | Jul 30, 2014

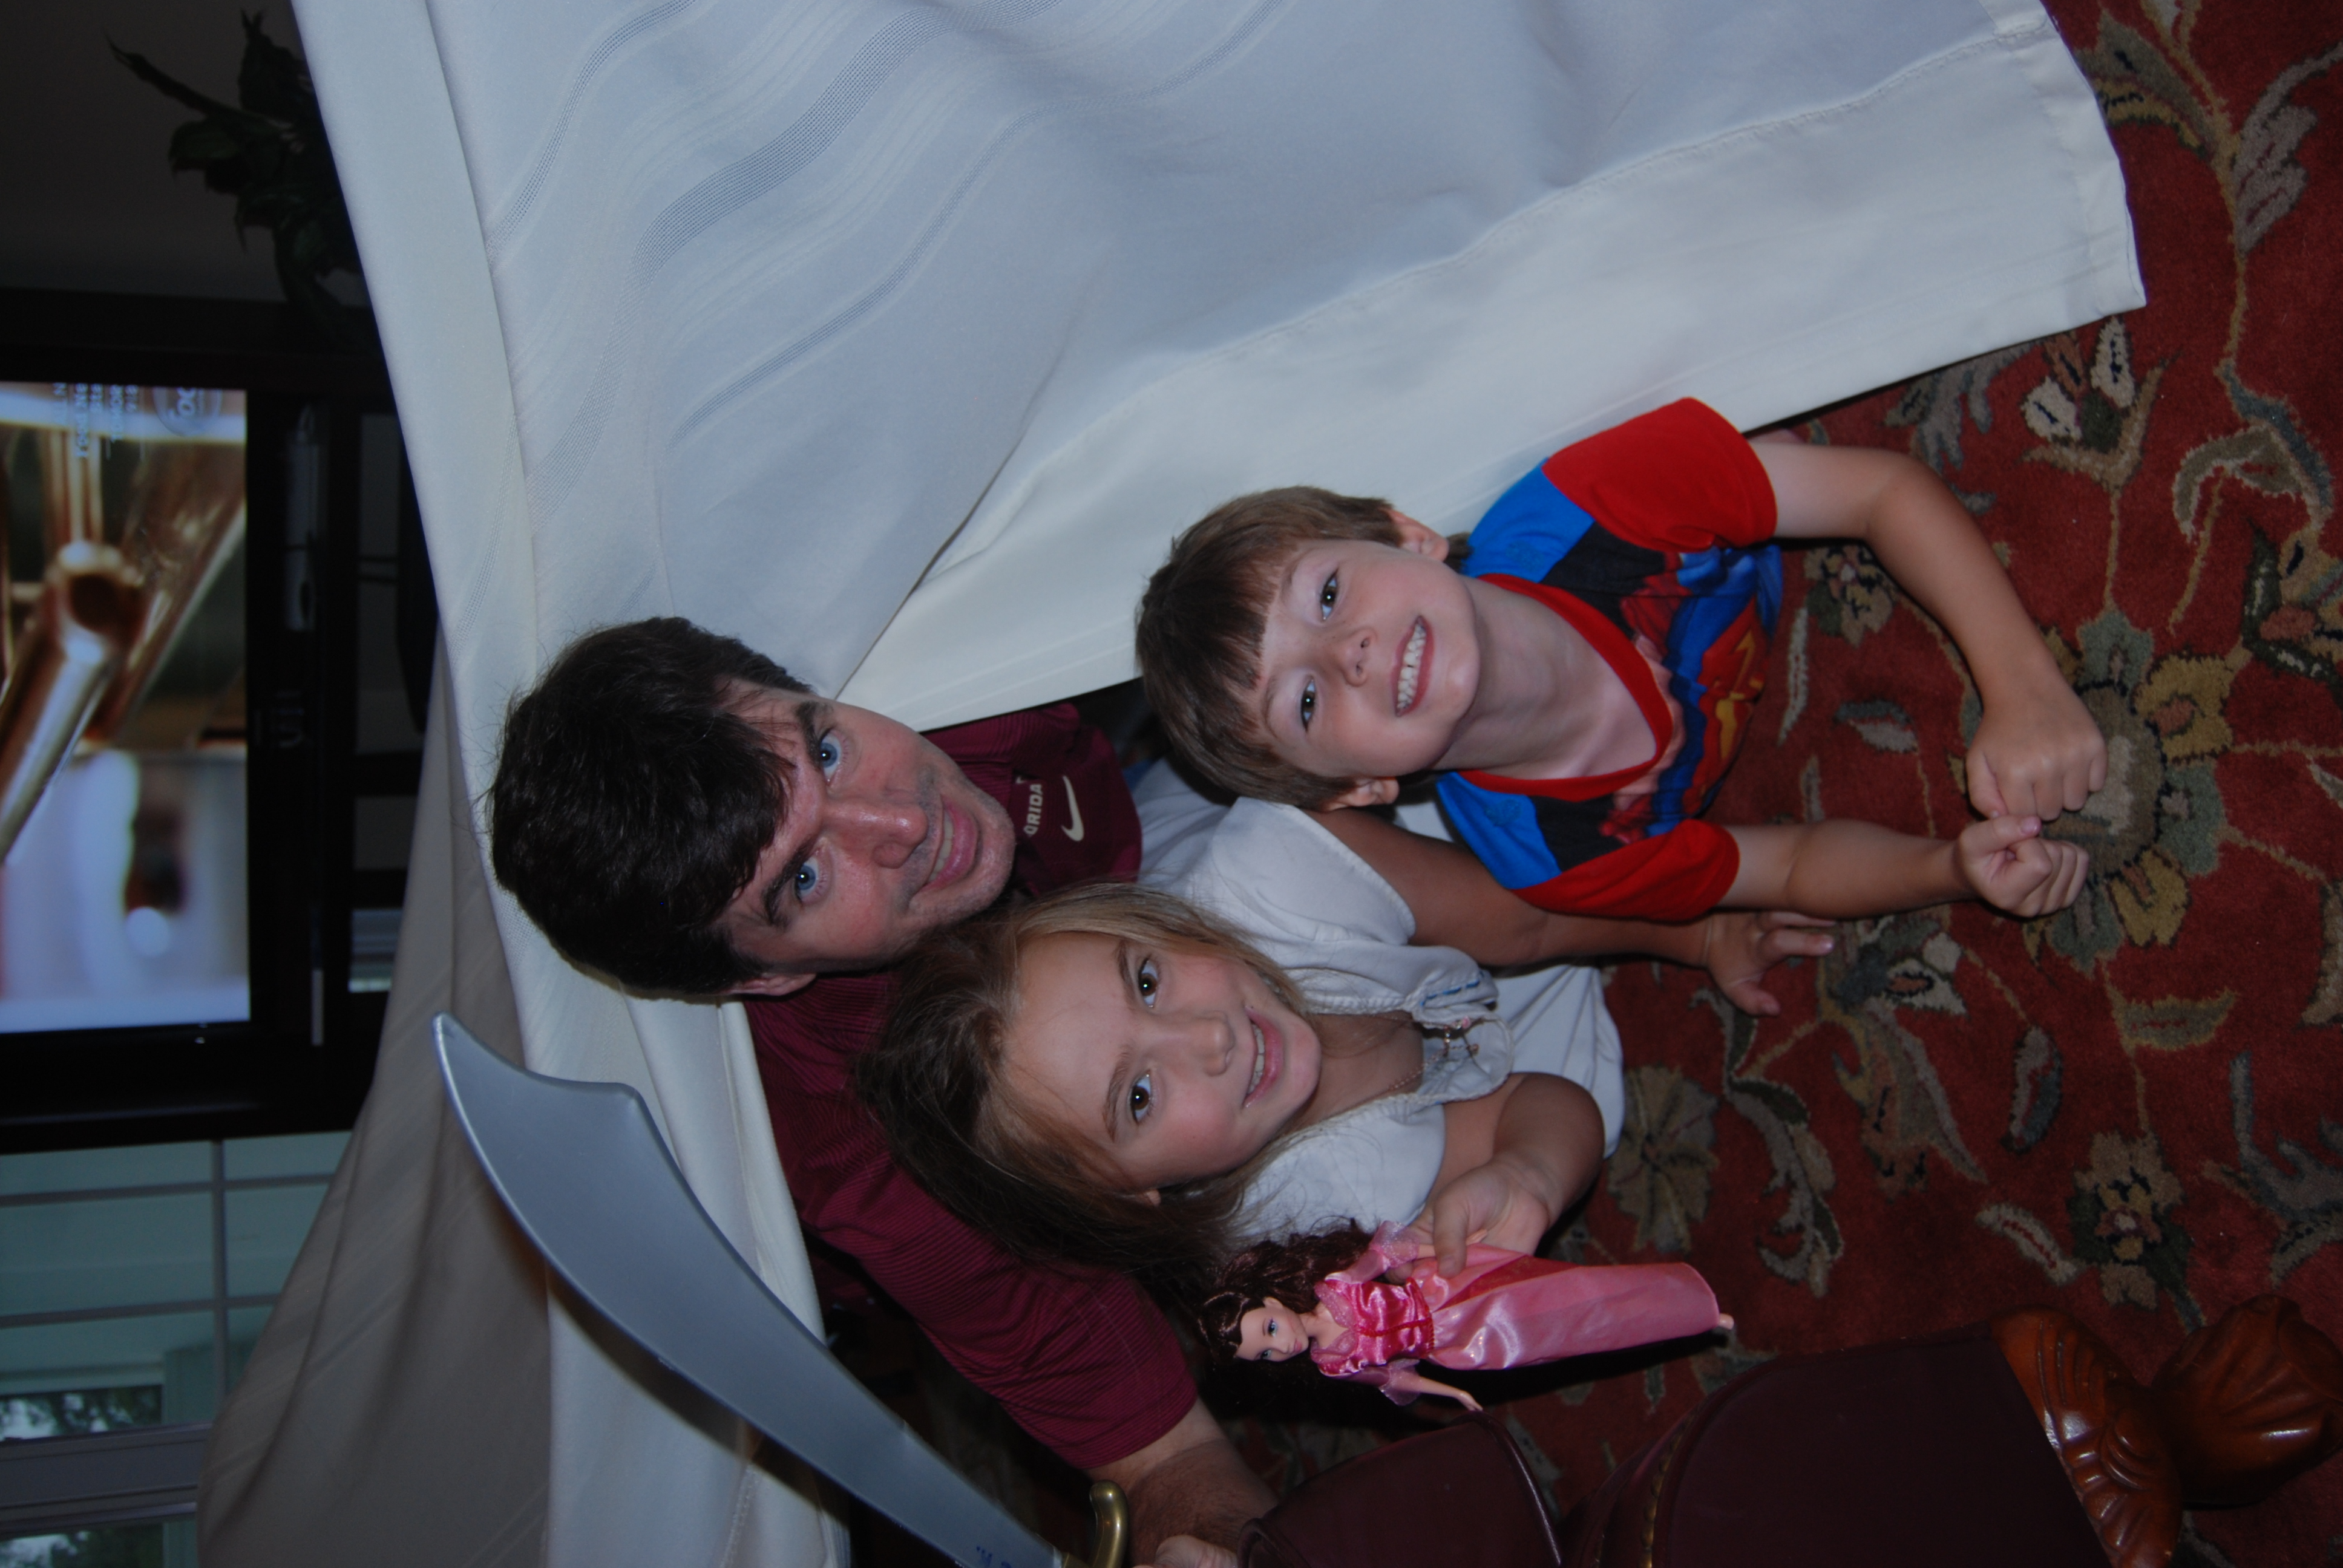
Couch Camping with Cloverbuds
Sometimes, kids are just too young to fully enjoy the overnight camping experience. In 4-H, children need to be a least 8 years old (by September 1st) to attend overnight camps. Couch camping is a great way for Cloverbuds (4-H members between the ages of 5 and 7) to explore the world of camping without the mosquitos, rain, or anxiety of being away from home. Couch camping is also a great alternative when your work schedule or the weather do not allow for a “real” camping trip. Below are three simple tips for getting the most out of your next couch campout!
- Atmosphere– Push the furniture against the wall and set up a tent in your living room. Bring out the sleeping bags, pillows, and camp chairs. String white lights over the tent to simulate stars and let the kids decorate empty paper toweling tubes to simulate logs for the campfire. Red lights or tissue paper make great flames. Download sounds of frogs, crickets, and other forest sounds to play in the background. Then all that’s left is to dim the lights and turn on your battery operated lanterns.
- Food– Camp food is a must! Serve hotdogs or your favorite campfire meal and don’t forget the popcorn and s’mores. To make s’mores indoors, simply place your marshmallows, graham crackers, and chocolate in the microwave for 10-20 seconds. The marshmallows and chocolate will get gooey- the perfect consistency for s’mores. If you are worried about stains on the carpet, place a tarp or plastic tablecloth under your “campfire” eating area.
- Activities– This age group will really enjoy pretend play. Have toy fishing poles and nets for them to fish with. Use stuffed animals (such as frogs, bears or squirrels) and allow them to “track” the animals. Let them build a campfire with wooden blocks. Make shadow puppets or try flashlight reading. Build a simple birdfeeder out of a pinecone, peanut butter, and birdseed. You can also try a scavenger hunt or campfire BINGO. 4-H campfire songs are also fun, but we do not recommend ghost stories for this age group.
If you enjoy working with 5-8 year olds, consider becoming a 4-H Cloverbud Volunteer. There will be a training for Cloverbud Volunteers and preschool teachers on January 24th in Marianna, FL from 10AM-3PM. Participants will receive teaching kits for working with 5-7 year olds, and CEUs will be available for teachers. For more information, contact Heather Kent at hckent@ufl.edu.
by Heather Kent | Jul 23, 2014
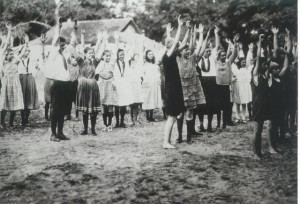
Physical exercise was an important component of 4-H Camp, even back in the 1930’s!
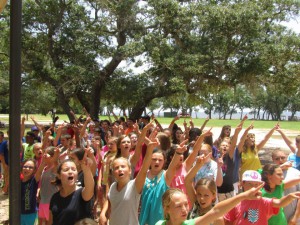
For many Florida 4-H members, attending a week-long overnight camp at one of the four Florida 4-H Camping centers is a rite of passage. For nearly 90 years, 4-H youth and volunteers have been making their way to the shores of the Choctawhatchee Bay, home to Florida’s oldest camp, Camp Timpoochee.
Camp Timpoochee was started in 1926 when Jackson County 4-H members auctioned off their poultry flocks at the train station in Marianna to raise money for the camp. During the early years, many 4-Hers paid for their week of camp by bringing chickens and other goods. In those days, camp was a vacation from working on the farm in the summer heat and a chance to meet other youth. Over the last decades, several 4-Hers have even met their future spouse at 4-H camp!
Youth still enjoy many of the same activities at Timpoochee, but they also have opportunities to build robots, rockets, and GPS units.
Today, camp is still a safe environment where youth feel like they belong, learn independence, mastery, and generosity towards others. It is also a vacation from the peer pressure and bullying that many youth experience at school. One camper shared “I love coming to 4-H Camp, because it is the one week where I feel like I belong and no one makes fun of me or puts me down.” Other campers look forward to camp because it is an opportunity to do things they don’t normally get to do, like fish, shoot a bow and arrow, build and launch a rocket, or paddle a kayak.
How do we ensure that Camp Timpoochee will be around for future generations? It pretty much all boils down to volunteers. As long as there are volunteers working with Extension to support 4-H clubs and youth, donors will continue to support the work they do to make sure that future generations can learn valuable life lessons at camp.
How many generations of your family have attended 4-H Camp Timpoochee or Cherry Lake? Let us know in the comment box below. Feel free to share your favorite thing about camp on our blog or on Facebook. The family with the most interesting story will be featured in a future blog post!
To learn more about the Florida 4-H camping program, visit http://florida4h.org/camps_/. If you have a special place in your heart for 4-H Camp Timpoochee, consider serving as a 4-H Camp Volunteer, or even making a donation so that youth can enjoy the same experiences as generations before them. Florida 4-H Camps are also available to host family reunions, church retreats, corporate functions, and other events. You can help support Camp Timpoochee by scheduling your next event there. For more information, contact Heather Kent at hckent@ufl.edu.
by Heather Kent | Jul 16, 2014
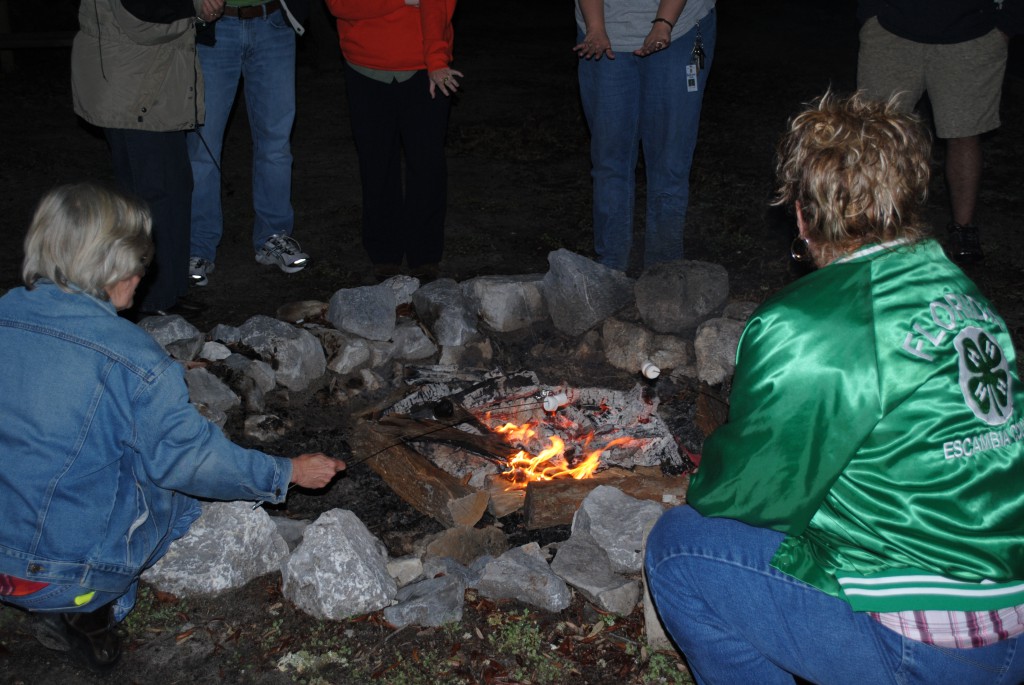
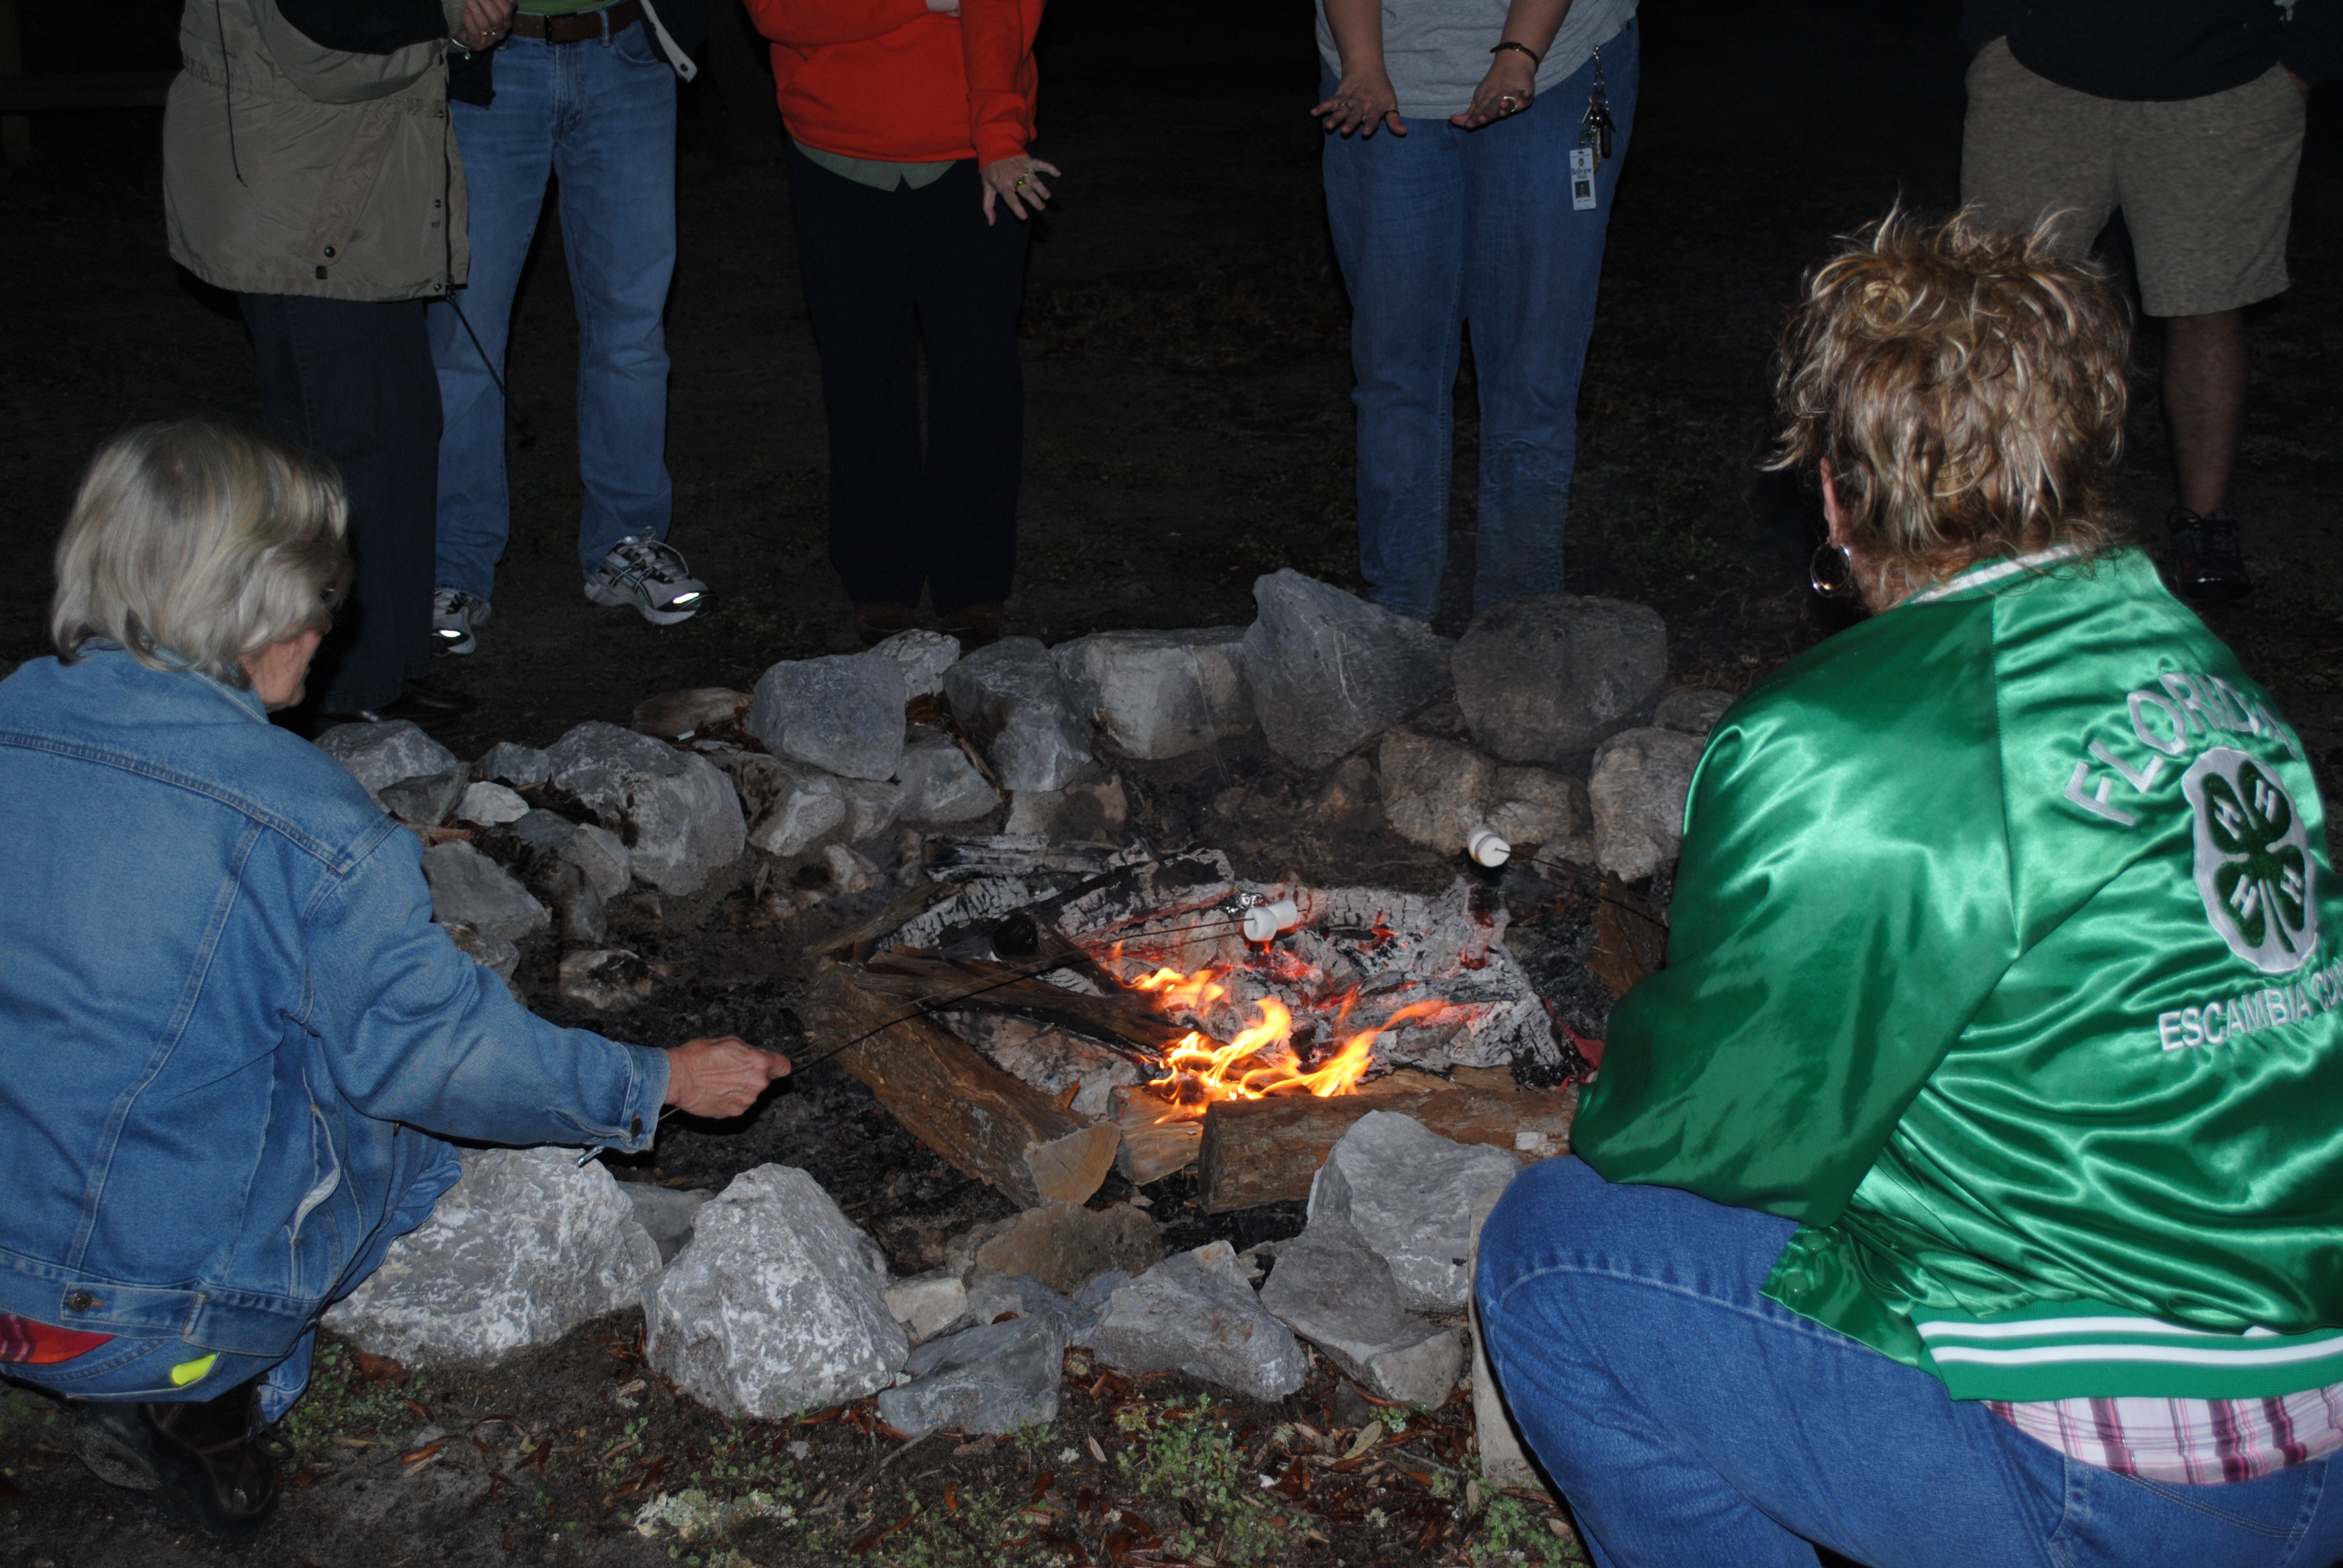
4-H Volunteers cook s ‘mores over the campfire at Camp Timpoochee
For many families, summer is synonymous with camping. Whether you are at 4-H Camp, a family camping trip, or a stay-at-home-vacation, cooking over the campfire is a fun (and yummy) activity that the whole family can enjoy. In support of the 4-H initiative for Healthy Living, we have selected 24-hours’ worth of delicious and nutritious food that your family can enjoy over your next campfire.
Breakfast Camporitos– this is a campfire version of breakfast burritos. Dice and sauté the veggies of your choice (we recommend onions, bell peppers, tomatoes, and/or potatoes). Place sautéed veggies in a bowl for later. Next, scramble your eggs. To assemble, spoon veggies and eggs onto a tortilla, then sprinkle with cheese. You can add a bit of salsa if preferred. Wrap your tortilla burrito style, then wrap the entire burrito in foil. Camporritos can be prepared and assembled in advance, and stored in a cooler until breakfast time. To serve, place the foil packets over the campfire for 5-7 minutes until the cheese is melted and the burritos are thoroughly heated through. Serve with seasonal fruit and orange juice or milk.
Campfire Calzones (for lunch or dinner)- use store-bought pizza dough or your favorite recipe. On a 2-foot section of aluminum foil, roll out a portion of pizza dough into a circle the size of a paper plate. Next, spoon on some tomato or marinara sauce, sprinkle with basil and oregano. Working on just one half of the circle, sprinkle on 1/3 cup of mozzarella cheese and add your favorite pizza toppings (we recommend pepperoni or ham, spinach, olives, and mushrooms). Fold the half of the dough without toppings over, and crimp the edges tightly, next fold over the aluminum foil, creating an envelope and crimp the foil together securely to make a foil packet. Place your packet over the grate or coals of your campfire. Bake your calzone 5-10 minutes on each side, depending on the temperature of your fire.
Campfire Veggie Dip (a tasty snack)- for this recipe, you will need a large, empty can that has been washed out. In the clean can, layer the following ingredients: Black beans, shredded cheese, salsa, fat free refried beans, and fresh cilantro. Place the can on the grate over your campfire and allow the contents to heat up. Once the cheese is melted and heated through, remove the can. Wrap the can with a festive bandana and serve the dip with carrots, bell pepper, broccoli, celery, or tomatoes.
Campfire Chili and Corn Bread in a Jar (for lunch or dinner)- in a clean mason jar, ladle a cup or two of your favorite chili. On top of the chili, place about 1/3 cup of your favorite cornbread dough (made from scratch or use a mix). You can screw on the jar lids to make the chili easier to transport. Place your jars over the campfire and allow them to back for 30-45 minutes, until a toothpick inserted into the cornbread comes out clean. By then, your chili should be thoroughly heated through. If you prefer, you can assemble this recipe in a large Dutch oven, rather than in individual jars.
Desert Campfire Cones– Stuff a waffle cone or bowl (not the regular sugar cones) with diced fresh strawberries and bananas, along with mini marshmallows, chocolate chips, or even peanut butter chips. Wrap your cone or bowl with aluminum foil, and place over the grate of the campfire. Rotate the foil packet every 1-2 minutes. After 5-7 minutes, your cone should be ready to eat. If you are camping in the fall, try a variation of this technique with diced apples and caramel sauce.
To learn more about the Florida 4-H Program and our Healthy Living Initiative, visit http://florida4h.org. If you are interested in volunteering or donating to 4-H, contact Heather Kent at hckent@ufl.edu.
by Melanie Taylor | Jul 9, 2014
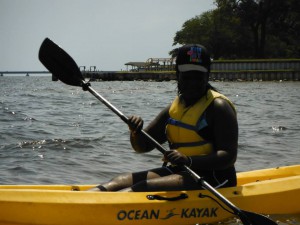
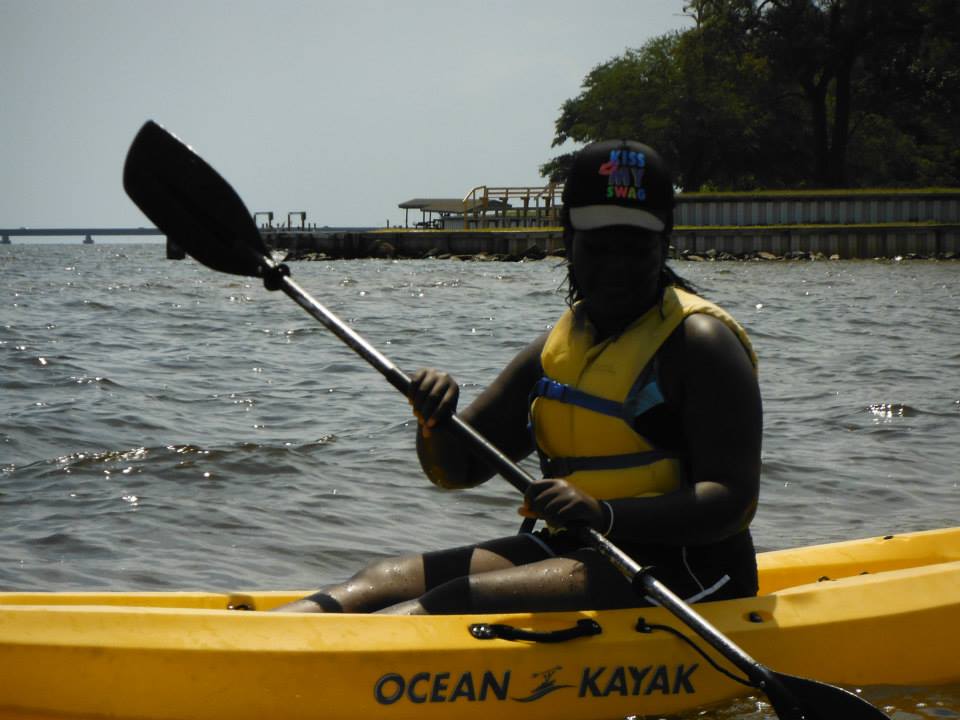
4-Hers still enjoy swimming and kayaking in the Choctawhatchee Bay. Photo provided by Jackson County 4-H.
Summer is here, and for most 4-H families, that means camp is on the horizon. If this will be your child’s first summer camp experience, you and your child both may have some camp anxieties. But never fear! Here are some simple steps you can take to prepare your camper (and yourself) for camp:
Preparing Campers:
• Plan several sleep overs before the week of camp arrives. Resist the urge to pack their bags for them or to check on them while there. If they have a cell phone, have them leave it at home. This is a good way to practice not having direct or constant contact.
• Encourage them to write a letter to someone (maybe you) while at camp. You will be so excited when you receive a letter from camp! Be sure to include envelopes, addresses, stamps, paper, and a pen in their luggage.
• Gear up physically. If you have purchased new tennis shoes, break them in with a few long walks, so the blisters don’t have to happen at camp.
• Especially for teenagers, have them take a mini-vacation from their electronic devices. A couple of hours or a weekend.
• Have them write a statement for their social media pages. “Peace out Facebook, I will be at camp for the next week. Check in with you when I get back.” Or something similar.
• Have them write down their goals for camp. So they can mentally prepare themselves for what they hope to do and see.
• Make a homesick plan:
1. Homesickness isn’t entirely bad. It’s great to love your home. It’s sometimes part of the process, and it’s a confidence booster when a camper gets through it.
2. Make a happy place plan and write it down. This is an amazing opportunity to learn a life skill. Today’s youth go to technology to escape, and studies show this increases their stress. Some ideas might be: taking 10 deep breaths, traveling to a happy place in your mind, packing a certain stuffed animal, or tossing a football. They are capable of this independence.
3. Your plan should NOT be, “Give it a couple of days and if you don’t like it, we will come get you.” This will set them up to give it a couple of days and knock the confidence right out of them.
4. Let your camper know what to expect with correspondence. You don’t need to write every day, but let them know what to expect.
Parents:
• You are giving your child an incredible gift. I cannot promise you that they will not lose some socks, that they will love every meal or activity, or that they will adore every counselor. But you are preparing them for college and beyond; you are giving them the freedom to gain confidence, independence, and leadership skills; and you are instilling in them that they can do it.
• What do YOU want to do during their time at camp? Plan a vacation for a later time, time to organize, time to have one-on-one time with your other children, or some “date nights” with your spouse or friends.
• If you have apprehensions, work to resolve them. If you are worried that your camper is not going to know anyone, set up a pre-camp get-together. If you are worried about your camper’s medical needs, become friendly with the camp staff. If you are anxious about their food allergies, talk to the camp’s director. Make a camper-sick plan for yourself. Make sure there is only excitement and optimism coming from you, and share your anxiety with another adult.
• Pack self-addressed envelopes in their luggage.
• Whether they are flying or driving, refrain from crying your eyes out until they cannot see you. Take a deep breath, trust, and remind yourself that you are giving them an awesome gift.
And, what is this gift everyone is talking about? At camp, they will be part of a community all their own. They will become emotionally attached to handmade rope bracelets on their wrist, and have a song for any occasion on cue, and maybe even forget they need to shower, and think sunscreen is just a normal daily moisturizing technique. They will learn to do things on their own, and they’ll learn to rely on others. They will learn how to survive on their own for a week or two, and they’ll learn how to help each other through it.
They may even grow up on summers away from TV, and forget Facebook exists. They will relish in the joy of sleeping in cabins, swatting mosquitoes at campfire, and swimming every day. They will savor the feeling of pushing water behind them with a paddle and the whoosh of air behind the tail of an arrow as they fire. They’ll forget about appearances, relish tan lines, and recognize the beauty of a smile over anything else.
So send your kids to camp. Send them so they’ll learn to set tables and make beds and wake early. Send them so they’ll know how to be a leader, paddle a kayak, weave a bracelet, and sing as loud as they can. Send your kids to camp so they’ll learn to love themselves and learn to love others. Send your kids to camp because they’ll realize who they are, or who they want to be. And, prepare yourselves for a year of camp stories, and for a flurry of songs. Prepare to learn names of kids you’ve never met. And for your kids to have a need for sunshine, a need for campfires, and companionship. They will be forever grateful for your awesome gift of summer camp.
Source:
American Camping Association, Inc. (http://www.acacamps.org)
by Whitney Cherry | Jul 1, 2014
Article by guest blogger, Georgene Bender (South Central Regional Specialized 4-H Agent)

Photography by David Perkiewcz,, The Cleveland Plain Dealer
Photography is a popular 4-H project and this time of year, it is fun to experiment taking pictures of fireworks and sparklers. With helpful tips you will be amazed at what you can do. Let’s review some basics. The word “photography” means drawing with light….so the key is the amount of light needed for these unique shots. Basically there are two camera types a) point & shoot and b) Digital Single-lens reflex. Each camera type has various features. It is good to familiarize yourself with them in the Menu or camera manual. What? You don’t have that book anymore. No problem – search for it online.
Focus on Infinity- Set your focus to just less than infinity (or choose a landscape setting if you can’t manually adjust focus) and use an aperture of f/8 t- f/16.
Equipment- Be sure to take a small flashlight to adjust your settings in the night and a sturdy tripod – this is the best to reduce movement and blurred photos. Another great tool for the SDLR is the cable release cord that you can control the shutter’s button or the digital remote. Digital cameras will have a setting.
Bust Shooting- Also known as ‘continuous drive’ allows you to shoot multiple shots automatically. On a DSLR go to your menu and select Self-timer and you will see two options inside. A) Self-timer delay allows you to set time after how many seconds camera should take a shot and available values are 2s, 5s, 10s, and 20s. B) Number of shots you want to take in self-timer mode. You can choose between 1 and 9 shots.
Five Top Tips:
- Observe the wind direction from where you are. Pick a location upwind so that your photos do not turn out hazy.
- Pack extra batteries and memory cards- long exposures drain battery life, and you will need to shoot lots of pictures to get a few great shots.
- Watch for the fireworks as they travel and push and hold the release button. (This will take time to practice – and also the bust shooting will help for better capture)
- Learn more online. A couple of good sources include the Walt Disney World (WDW) Photography series. There are YouTube videos by Cory Disbrow from WDW Photography.com http://youtu.be/yZh_ADUsgrY and http://wdwphotography.com.
- Practice playing with light before the fireworks by having friends ‘air write’ their name with the flashlight or sparklers. You, with your trusty tripod and camera settings shoot pictures. You will be amazed at what you get.
This chart below gives you the areas of each camera type to prepare before shooting.
|
SETTINGSMenu screen or, Bulb |
SHUTTERControls the open/close of light into camera |
ISOSensitivity of the light |
FLASHArtificial light |
APERTUREControls amount of light |
| Point and Shoot |
Manual(Check your manual as compact cameras have this as a menu optionLook for information on a delay release timer. |
Keep open for 10– 30 seconds; find your ‘night setting’ might be a half moon with starsThere is no B setting on Compact Cameras |
Lowest it will go |
OFF |
N/A |
| DSLR |
M = MANUALB= BULBTurn on noise reduction
Delay release setting |
On B setting, you can hold the camera button for as long as you want10 – 60 sec then went you release the button the shutter will close out the light. |
100 or lower |
OFF |
Changing the aperture is changing the f-stop.Set between f2.8 and f8
The lower the f-stop the more light |

Photo by Jill Wellington
Take lots of pictures this weekend– and please SHARE your best shot on our blog, Facebook, or Twitter! To learn more about the 4-H Photography Project and Contests, visit http://florida4h.org/programsandevents_/photo/photo-contest-resources/. If you have a passion for photography, consider serving as a 4-H photography project leader or becoming a sponsor of your local 4-H photography program. For more information, contact Heather Kent at hckent@ufl.edu.
Credits to:
Fleenor, S., Asdtroth, K. and Peters, C. 2010. “Catch the Spark” University of Arizona Extension 4-H Youth Development.
“How to Take Multiple Shots in Self-Timer Mode.” http://www.dailyphotographytips.net/question-answer/how-to-take-multiple-shots-in-self-timer-mode/
Harnocz, A. July 1, 2014 “How to Photography Fireworks” The Cleveland Plain Dealer. http://www.cleveland.com/interact/2014/07/how_to_photograph_fireworks_5.html
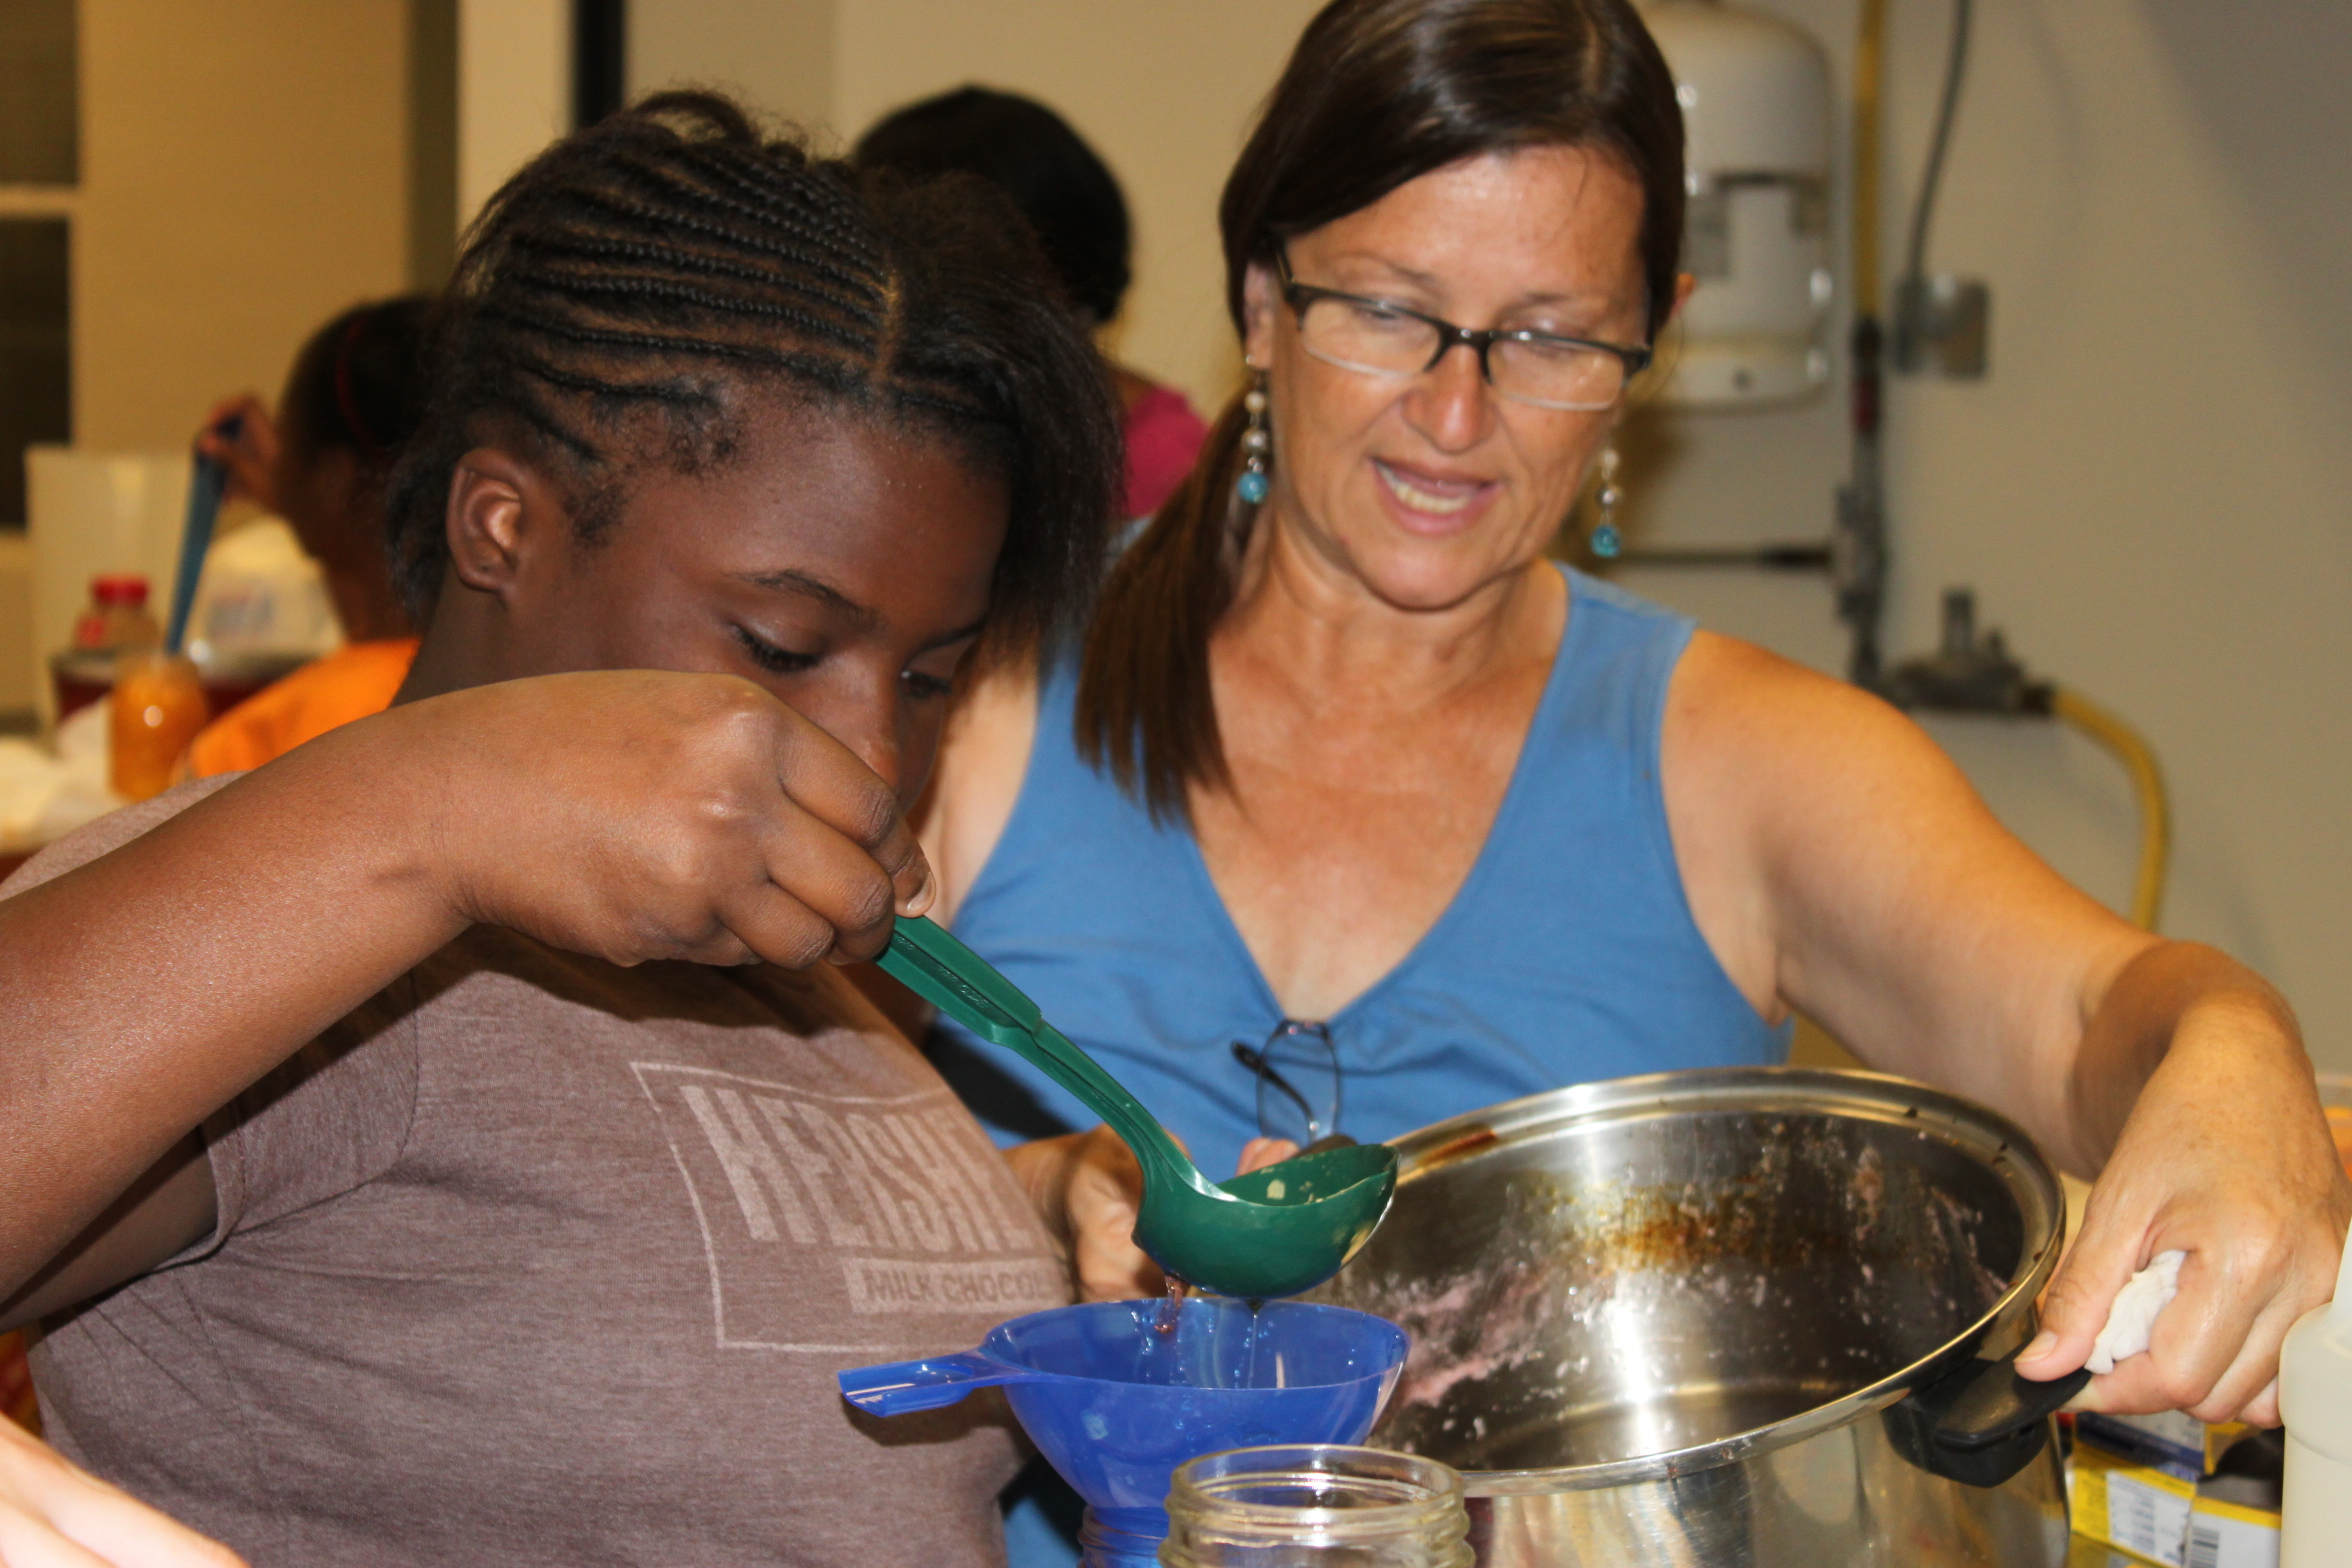
by Marcus Boston Jr. | Mar 10, 2014
Embryology is defined as science that deals with the study and development of an embryo. In this project, participants will learn how life develops by observing chicken eggs that you will set in your incubator. The 4-H club leader(s) as well as the youth will be responsible for the daily care of the incubator and eggs throughout the process.
Children have a natural sense of curiosity about living things in the world around them. Building on this curiosity, students can develop an understanding of biology concepts through direct experience with living things, their life cycles and their habitats. 4-H has always promoted “hands on” activities through its many project areas, most specifically embryology. This project allows its participants to learn by listening, observing, experimenting and applying their knowledge to real-world situations.
How Do You Get Started? If I attempted to list all the steps involved in the 4-H Embryology Project I would eventually run out of room in this posting. The recommended step to take in getting this project off the ground is to contact and partner with your 4-H extension agent. They may be able to help you get started by securing an incubator, identifying a reliable source for fertile eggs, and provide additional resources in the form of “project and/or record books” for the youth participating in the project. The agent will also be able assist with planning your calendar, establishing a location for the hatched chicks and to troubleshoot just in case problems arise throughout the project. There are many different types of incubators that can be used to hatch eggs but working with your 4-H professional to make sure you have the right one for your project is essential to having a successful hatch.
What If I’ve Done This Project Before? If you are already familiar with how to set up your embryology project it is still recommended to inform your 4-H extension agent so they can keep an accurate record of the number of youth engaged in the embryology project while at the same time provide the support and additional assistance that may be needed.
So What’s Next? Decide along with your club members where the incubator will be kept, follow your 4-H Embryology Project Book Curriculum and watch in amazement as the youth in your club develop their curiosity, increase the communication with each other, and deepen their understanding of science, engineering and technology while taking a journey through an unforgettable experience.
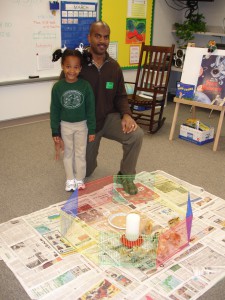
4-H Agent Marcus Boston completing 4-H Embryology with kindergarten class
by Monica Brinkley | Mar 10, 2014
 With the passing of Valentine’s Day I hope that you have been able to enjoy a taste of chocolate. You have probably heard by now that chocolate is good for you. Do you believe it? This is a fact that is backed by research. Still most of us can’t help but be concerned about how something so sweet might adversely impact our health. Chocolate lovers, even those at risk for developing type II diabetes or hypertension, many now have a legitimate reason to indulge in this culinary pleasure.
A study reported in the American Journal of Clinical Nutrition tested the effects of dark and while chocolate on healthy adults to determine whether either type played a role in blood pressure and insulin sensitivity. They concluded that dark chocolate can indeed help reduce blood pressure and insulin resistance. White chocolate did not provide these health benefits. The effects of dark chocolate are due to flavanols, antioxidant compounds also found in many fruits and vegetables that have been shown to lower risk of heart disease. Flavonols make dark chocolate in moderation a great solution to satisfy your sweet tooth!
Keep in mind that although dark chocolate has health benefits, most chocolate bars are high in saturated fat, so moderation is key. Also, eating dark chocolate cannot substitute for everyday healthy food choices. Nor can chocolate replace regular exercise or medications that have been prescribed by your physician. Still, it’s nice to know you can indulge in your chocolate cravings every so often without feeling guilty about it.
The Project, Land and People, Resources for Learning that is available through the Florida Ag in the Classroom program has a great lesson, Loco for Cocoa that gives the background of chocolate as well as various activities for youth in grades 6-12.
Acres of Adventures Afterschool Curriculum produced by National 4-H has a M&M Mystery Challenge as well as the following link has M&M Math Worksheets: http://www.4-h.org/resource-library/curriculum/4-h-afterschool-agriculture/acres-of-adventures-1/#BookMark2
Ag in the Classroom, Illinois Farm Bureau has an educational brochure, Candy – Culture and Creativity that I found on the National 4H website under the Acres of Adventures page.
The website Science Kids at http://www.sciencekids.co.nz/videos/chemistry/chocolate.html has a video showing the Science of Chocolate. At the top of the page there is a link to experiments, one of which is Melting Chocolate, which can be done with youth.
In researching activities centered around chocolate I found quite a few team building games that relate to chocolate.
Explore with your 4-H members all the yummy things about chocolate, I think you will find that you enjoy the topic as much as they will.
Source: Dark Chocolate Benefits by Sherri Gampel and Linda B. Bobroff, UF/IFAS document FAR8057.
by Julie Pigott Dillard | Jan 4, 2014
 With the holiday season wrapping up, are you finding yourself saying things like: How did this happen? Why did I spend all that money? I can’t believe I did. Why did I wait until the last minute to shop? At least I found a great deal on that TV I’ve been eyeing. I don’t even want to think about how long it is going to take me to pay off the credit cards. I hope I didn’t take too much money out of the ATM machine. Did I buy my mom the same gift twice? I should have done this differently. I should have had a plan.
With 2014 here, some of us are making resolutions, others are vowing to break bad habits and some are in recovery mode from their holiday spending sprees. While we are teaching fiscal responsibility to our 4-H youth, could we use a reminder ourselves?
Birthdays, Valentine’s Day, Mother’s Day, Father’s Day, Grandparent’s Day, baby showers, wedding showers, retirements, housewarmings, and of course Christmas – it seems every month we are buying something for someone! Marketing ploys and advertising for the latest and greatest gadgets, toys, clothing and shoes target us all making it a challenge to overcome but not impossible. Focusing on the real meaning of giving and receiving should help lower stress levels and direct our paths to fiscal responsibility. Being knowledgeable about your specific situation, making informed decisions and communicating with loved ones can reduce the effects of spending stressors.
By developing a spending plan and making a budget, you can purposefully plan for gifts that come up during the year and prepare for in advance for the next holiday season.
Ask yourself:
- How much have I saved?
- How much can I save each month?
- What dollar limit can I set on gifts?
- Am I comfortable creating debt?
- Am I comfortable saying “no”?
Start with knowing how much you can spend and have a spending plan; your spending plan is critical for successful money management for not only the holidays but all year long. Surplus monies, after fixed and variable expenses, are what you should use for your gift budget. If your gift budget shows you spending more money than you have, you’ll likely take on debt. If this is the case, you should also create a plan for paying off purchases made with credit. Prioritize your purchases and consider omitting purchases that require taking on debt.
Create a list of everyone that you know you will purchase gifts for during the year including holidays. Factor in decorations, cards, postage, gift wrap, food/entertainment and travel. These are additional costs that can make a drastic impact on the gift budget.
Once you’ve researched and set your budget, you’re ready to start shopping. Remember your list and check it twice. Know for whom you’re buying, what you plan to buy, and where you’re going to buy from. Plan ahead and spread out purchases if possible. Shopping early keeps you on budget and reduces stress, and if that’s not enough, it can also keep you from buying a bad gift. The sky’s the limit and creativity is key for saving on gift giving and all the extras. Take advantage of coupons, special offers and/or extended hours BUT always be prepared to walk away. Be willing to prioritize and make necessary changes to your spending plan. Don’t forget…your name is not on your list. If you see something you like, write it down and suggest or hint it to someone else.
If you have a large family, start by thinking outside the box. Consider a gift exchange by drawing names from a hat. While many families do this during the holidays, you can apply it for birthday gifts as well. This method allows you to put more thought than money into selecting a single gift. Thoughtful and often times more creative gifts can come from shopping with local businesses. Locally grown fruit and vegetables, honey or an item from a local artist are just a few suggestions of local products. Another idea is to donate to charity in someone’s name instead of gift giving. You could also give a “gift of time.” By creating a coupon book or certificate, you can give loved one a gift such as a specific chore, a trip to the park, babysitting or a slumber party for the kids. If you are feeling crafty, you could make and give arrangements like centerpieces and decorations. For the holiday season, consider purchasing a single gift for an entire family — perhaps an entertainment basket filled with DVDs and microwave popcorn.
This should go without saying, but use cash and/or debit cards when at all possible. Money coming directly out of your pocket will likely make you think harder about your purchase. If you are going to use a credit card, make sure you have a plan in place to pay it off when the bill is due. You also need to understand the allure of paying with credit. When you’re not paying with “real” money, but are instead charging your purchases, your buying can easily get out of control, and the shopping process may not seem as painful in that moment. That’s why those buy-now-pay-later campaigns are so successful. Be careful; paying with credit (unless you pay off the purchase when the bill is due) means it could cost you more (interest), not less. Record what you actually spent next to the estimated cost on your spending plan. Make necessary adjustments and remember to communicate your plan to loved ones. Special occasions are about spending time with family and loved ones. Don’t let the gifts become the main focus and risk busting your budget.
Authors
Julie Pigott Dillard, CED & 4-H Youth Development Agent, Washington County
Ricki McWilliams, Family & Consumer Science Agent, Walton County
by Whitney Cherry | Dec 6, 2013

4-H Volunteers strive to provide safe and secure learning environments.
From time to time new laws regarding youth protection are considered by federal and/or state lawmakers. As these new laws and regulations are passed their effects are wide-felt, and often they reach into the 4-H program. One such federal regulation on youth protection was recently passed, and while the new protection that it affords our youth is much welcomed, it does mean that 4-H volunteers will be seeing some changes in their county’s volunteer screening procedures.
What are the major changes?
- All club leaders must be “435 Level 2” screened. This means you will be fingerprinted.
- All volunteers who work with youth 10 hours or more in a month, even if they are not club leaders, will be “435 Level 2 screened. This means you will be fingerprinted.
- All camp counselors will be “435 Level 2” screened.
- All volunteers working directly with youth will be “Level 1” screened regardless of the number of hours spent with youth. This means you will be background checked, but may not fingerprinted.
What can new and existing volunteers expect?
- Existing volunteers may have completed some of these steps under our former system for volunteer screening. They will be asked to complete the steps that are new. New potential volunteers will need to complete each of the following steps in order before they should work directly with youth.
- 435 Level 2 screening:
- Register in 4HOnline (http://florida.4honline.com)
- Interview with your 4-H agent (Your 4-H agent will also obtain at least two letters of reference.)
- Complete the online youth protection training (YCS800)
- Return a notarized Affidavit of Good Moral Character to your 4-H agent
- Schedule livescan finger printing (Your 4-H agent will help you with this.)
- Be finger printed for 435 Level 2 screening
- Receive a letter of appointment from your 4-H agent
- Level 1 screening
- Register in 4HOnline (http://florida.4honline.com)
- Interview with your 4-H agent (Your 4-H agent will also obtain at least two letters of reference.)
- Complete the online youth protection training (YCS800)
- Be background screened (Your 4-H agent will complete the screening.)
- Receive a letter of appointment from your 4-H agent
- The new policy also places an emphasis on accurate and timely record keeping, so your agent may require additional training on this subject.
This policy is new for agents and volunteers alike, so please be patient with your local extension office as they try to work as quickly and efficiently as possible to get all of their volunteer screenings up-to-date.
A copy of the new UF/IFAS Youth Protection Policy can be found at: http://florida4h.org/volunteers/risk_management/files/Youth_Protection.pdf*
*The official policy takes precedence over any discrepancies which may be found in this article.
by pmdavis | Nov 25, 2013
 Thanksgiving is a time of family traditions, reflection and thankfulness! Remember to include children in the planning and preparation. In 4-H, we stress learn by doing and want to encourage you to consider that motto. Children love being included that inspires their creativity, imagination and sense of belonging. Being involved teaches life skills, such as measuring, meal preparation, teamwork, design and relationship building.
Some ways to involve children are very simple! Have them help shop or find bargains with a Thanksgiving Scavenger Hunt. Give each child a list of grocery products to find. They will have fun locating items at the store or finding the best buys in advertisements. Older kids can clip coupons.
Make simple inexpensive decorations. Create turkey hand or leaf wall hangings, wreaths, a tree of thanks, clay or play dough holiday ornaments, centerpieces, placemats, name cards, napkin rings. Napkin rings can be made out of cut paper towel rolls or construction paper glued in a circle and decorated with artwork, fabric, leaves or even feathers. Guests will admire these items while enjoying the meal.
To help the day go smoothly, consider your needs and home size. For example, if you have a small kitchen let them help you prepare items ahead of time for the meal i.e cranberry salad. Consider having older youth select a recipe to be the lead chef. Doing a trial run prior to the holiday meal. Kids can easily help: wash fruits and vegetables, snap green beans, crack eggs, stir cake batter, roll out pie crusts, mash potatoes, sprinkling marshmallows or put relish items on a tray.
Let kids set the table. Make the task simple by using printable table-setting cheat sheet, showing where items should be placed. Have kids count out the number of place-mats, name cards and napkin rings needed.
Other traditions to consider include:
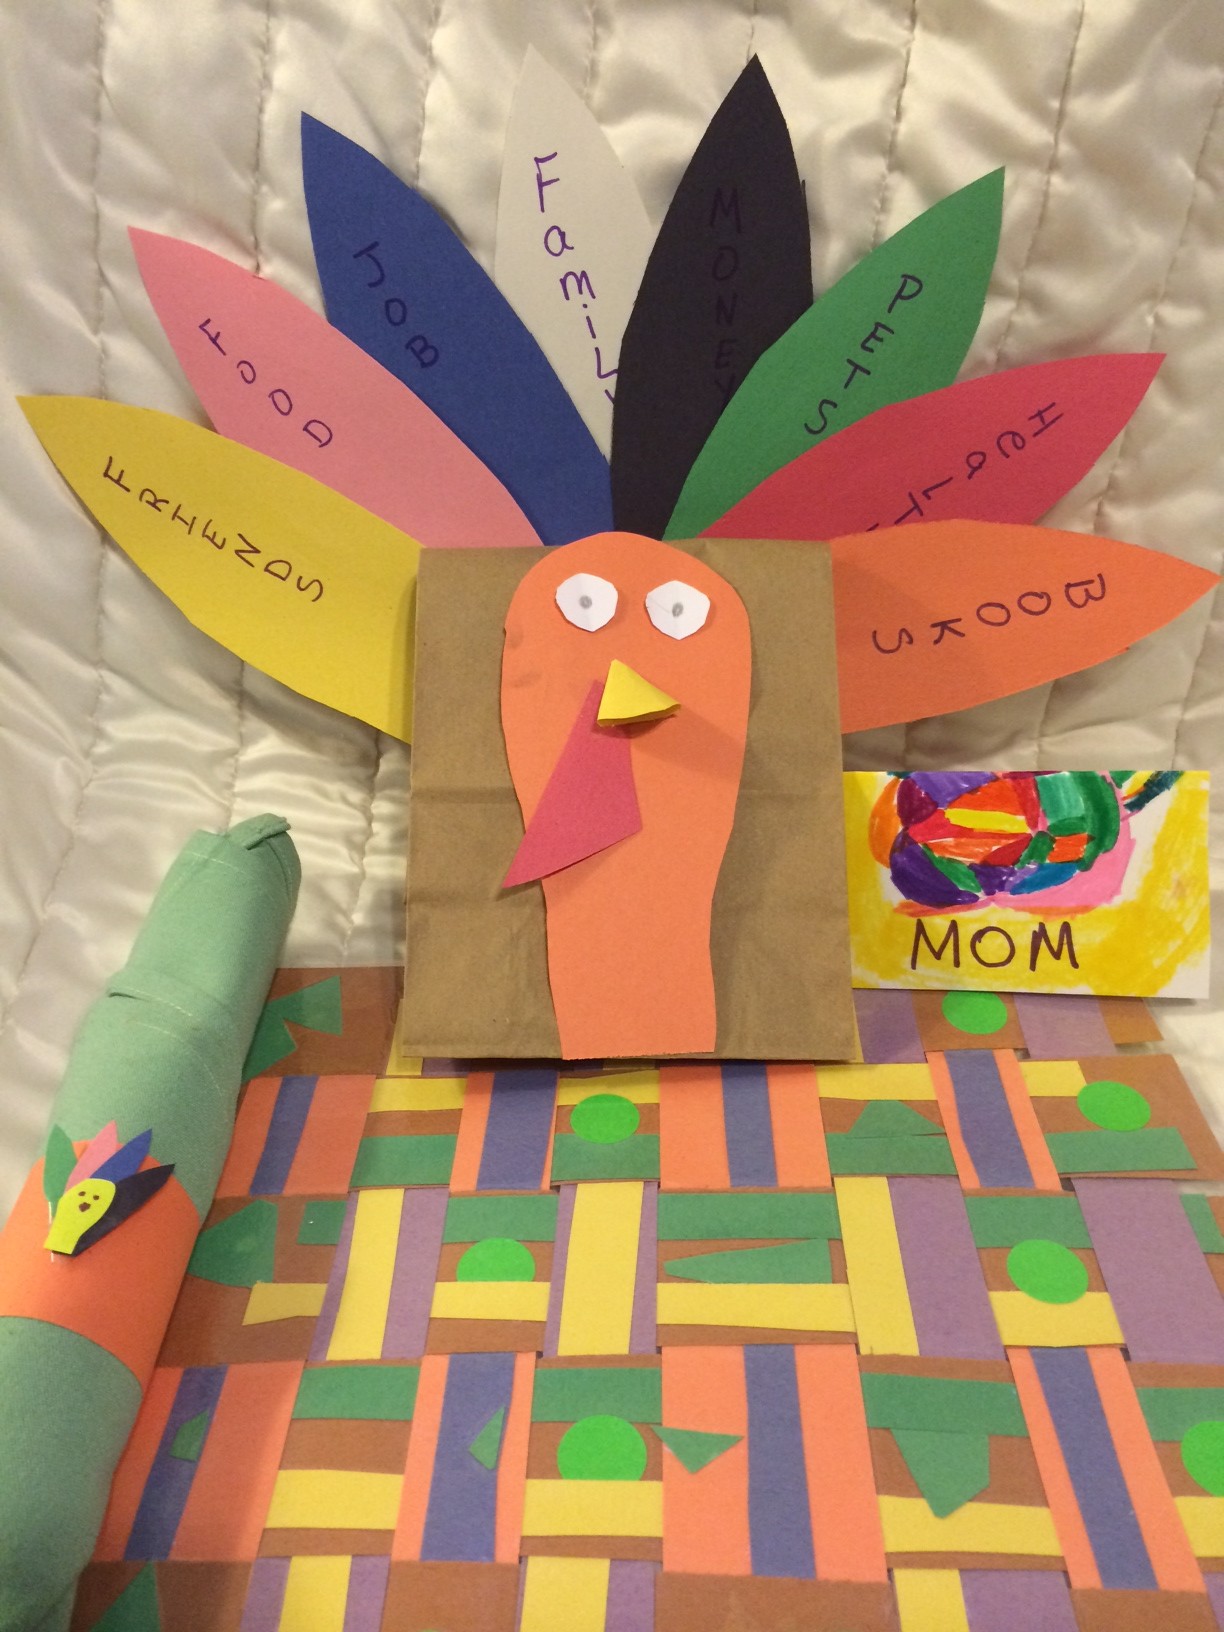
- 1. Create a turkey of thanks. Have children cut paper feathers and place them at each place setting. When everyone sits down to eat, have them write one thing they are thankful for. Create a paper turkey centerpiece by passing a paper bag and glue stick letting each person glue on their feather telling why they are thankful.
- 2. Make a family trivia game. Have children ask each person to write down trivia questions about events that happened during the year, or family history. Collect the questions and give out small prizes for each correct answer.
- 3. Play the A to Z family gratitude game. Have everyone sit together and each person says what they’re grateful for, according the letter of the alphabet the player is up to.
- 4. Read a book about Thanksgiving to help children learn the meaning of Thanksgiving.
- 5. Help someone less fortunate or in poor health by serving meals, raking leaves, taking a plate of food.
Sounds simple, and in all reality it is. Adults give guidance to children helping them identify and feel good the positive things in their lives. The trick is to relax, plan and enjoy the holiday together. One web page that gives lots ideas for holiday decorations the family can do together http://aboutfamilycrafts.com/30-turkey-crafts-for-kids/. All Extension programs are open to all persons regardless of race, color, age, sex, handicap or national origin.