Video: Grow a Red Roselle for a Homemade Tea
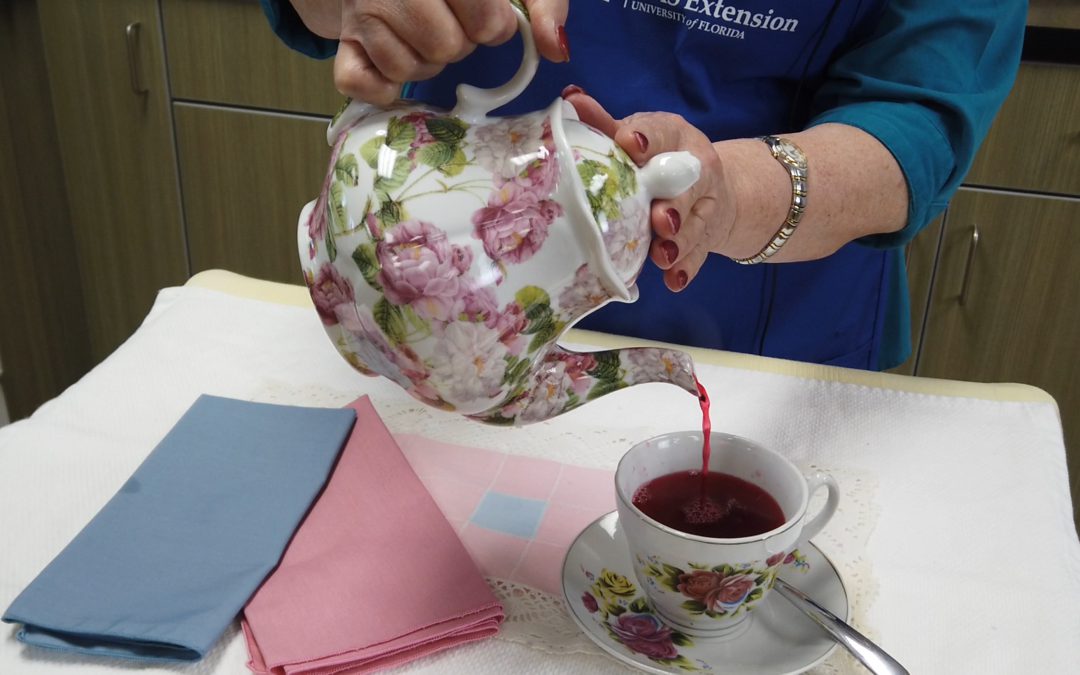
Fall is here and Red roselle hibiscus is responding with flowers and fruit. Learn to grow your own Roselle hibiscus and make a delicious tea with UF IFAS Escambia Extension’s Garden to Table segment.

Fall is here and Red roselle hibiscus is responding with flowers and fruit. Learn to grow your own Roselle hibiscus and make a delicious tea with UF IFAS Escambia Extension’s Garden to Table segment.
Many people often request a recommendation for a small tree that will be suitable for their landscape and one to consider is the Chinese Pistache, Pistachia chinensis. Although not a native tree, Chinese Pistache does not have invasive potential so it can make a suitable option for both commercial and residential landscapes.
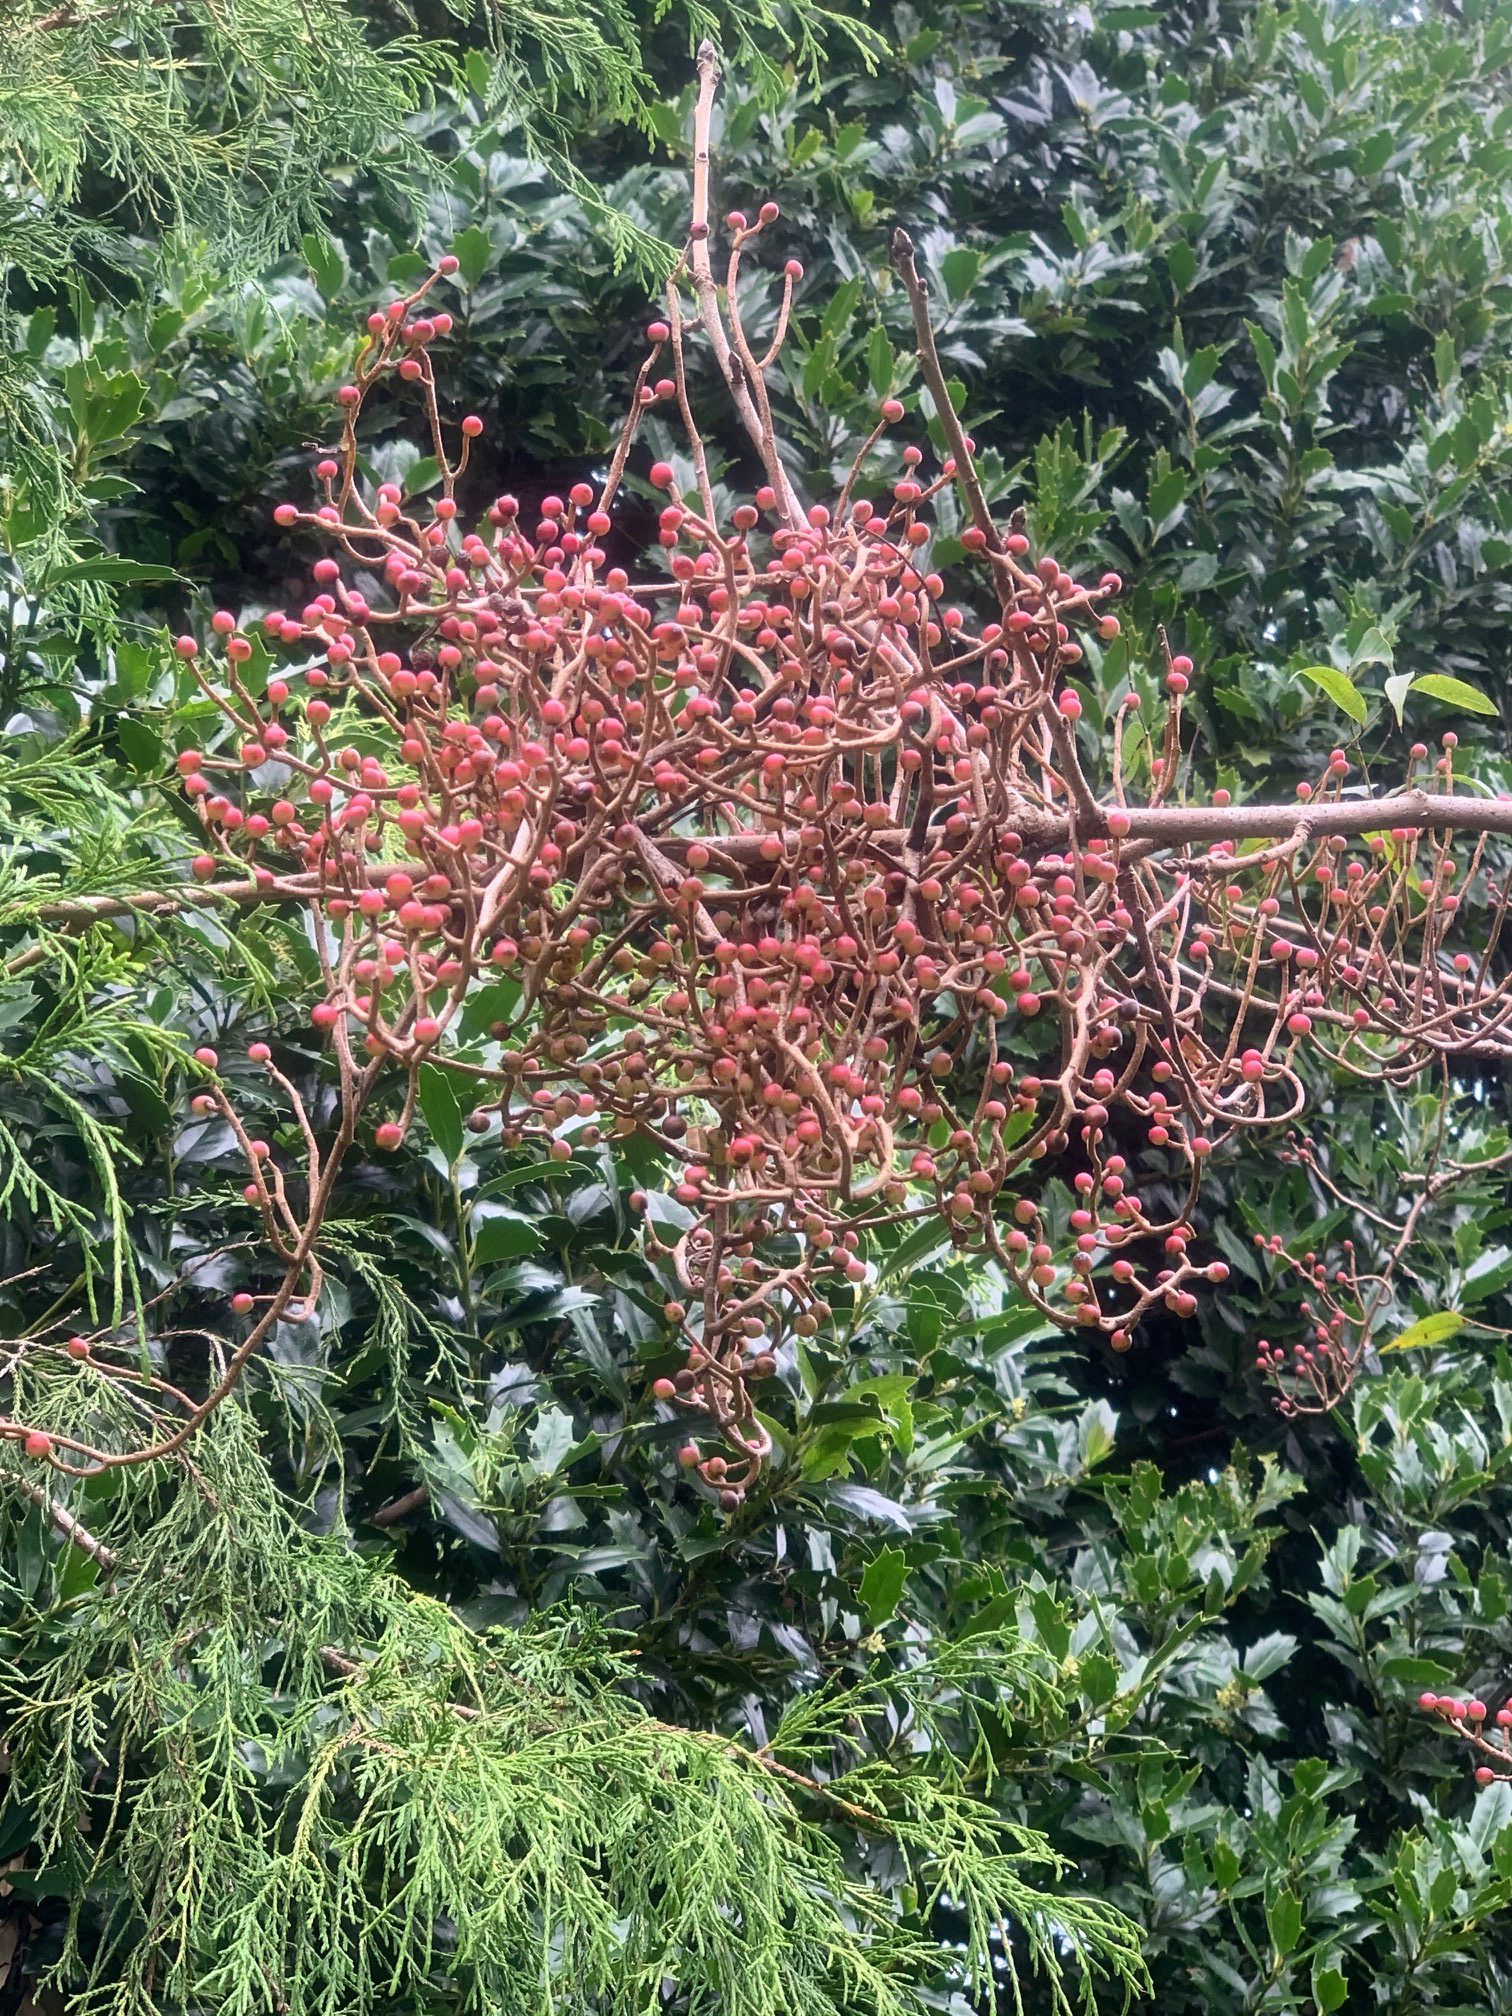
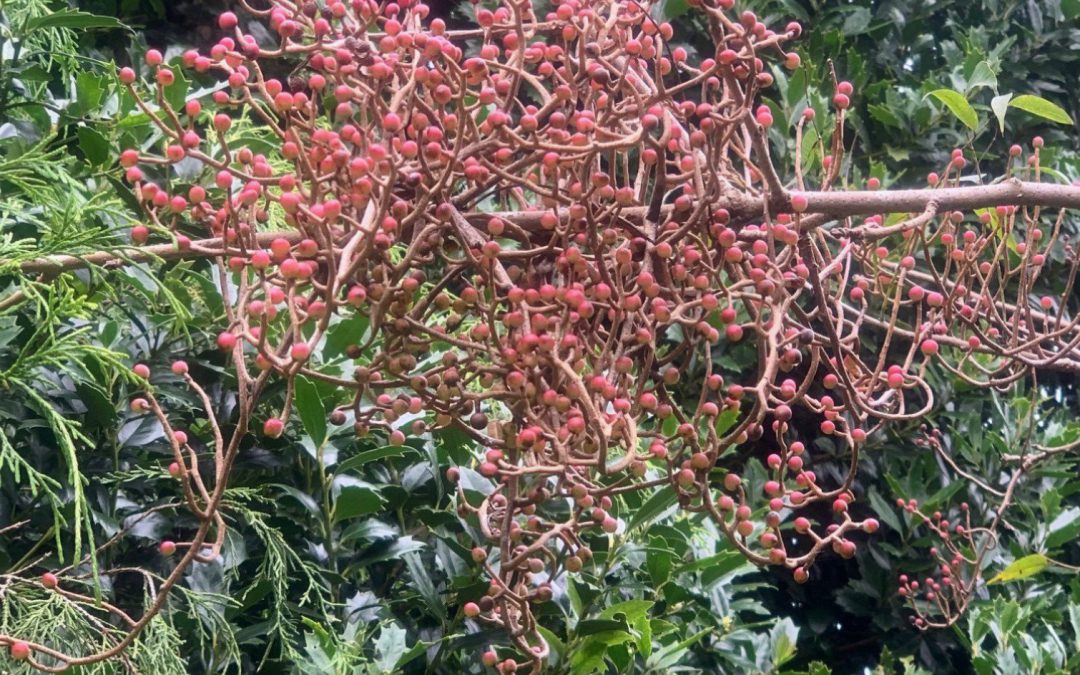
Berries also offer nice fall color. Photo by Beth Bolles, UF IFAS Extension Escambia County
The best features of Chinese Pistache are the fall color it offers with orange leaves, followed by clusters of salmon berries. It will lose its leaves as days shorten but you can enjoy the textured bark during the winter season. Compound leaves offer interest as well during the spring and summer. Adding some medium to fine textured foliage plants under and around trees will provide a nice landscape display.
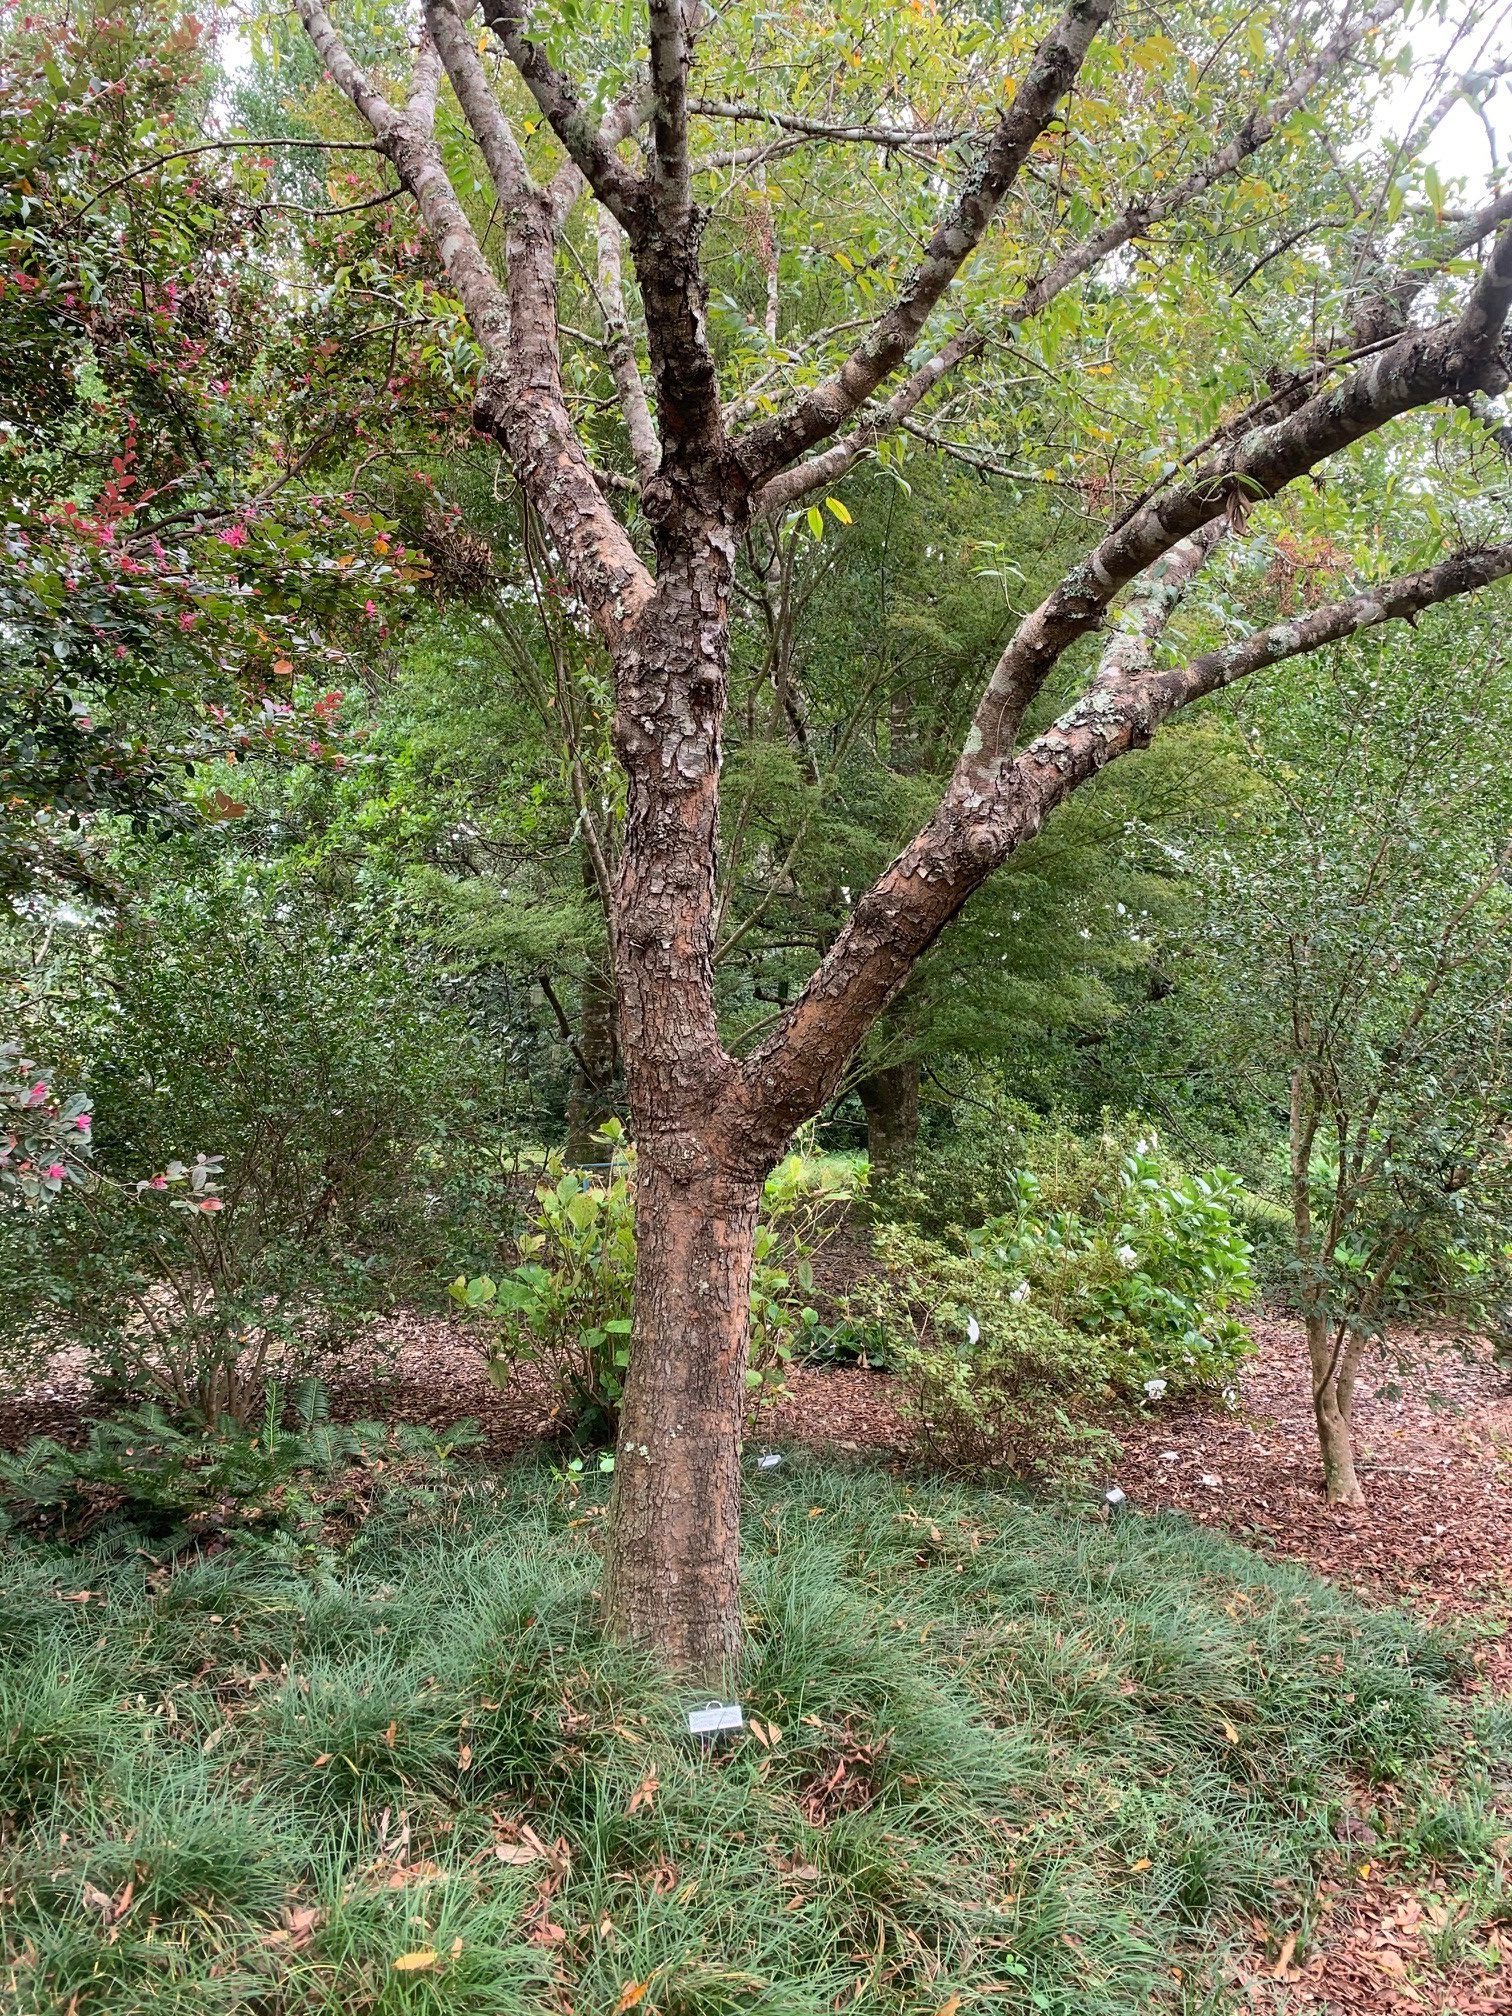
Chinese Pistache has been an attractive feature in the Escambia County Demonstration Garden for over 20 years. Photo by Beth Bolles, UF IFAS Extension Escambia County
A positive feature of Chinese Pistache is that once it is established, it is tolerant of drought. Expect trees to be about 25 to 30 feet in height with a 20 to 25 foot spread. Each tree will have it own unique branch structure and some pruning will be required when trees are young to develop strong connections. You may plant as a full sun tree to provide a little dappled shade for your garden or use as an understory tree in partial shade.
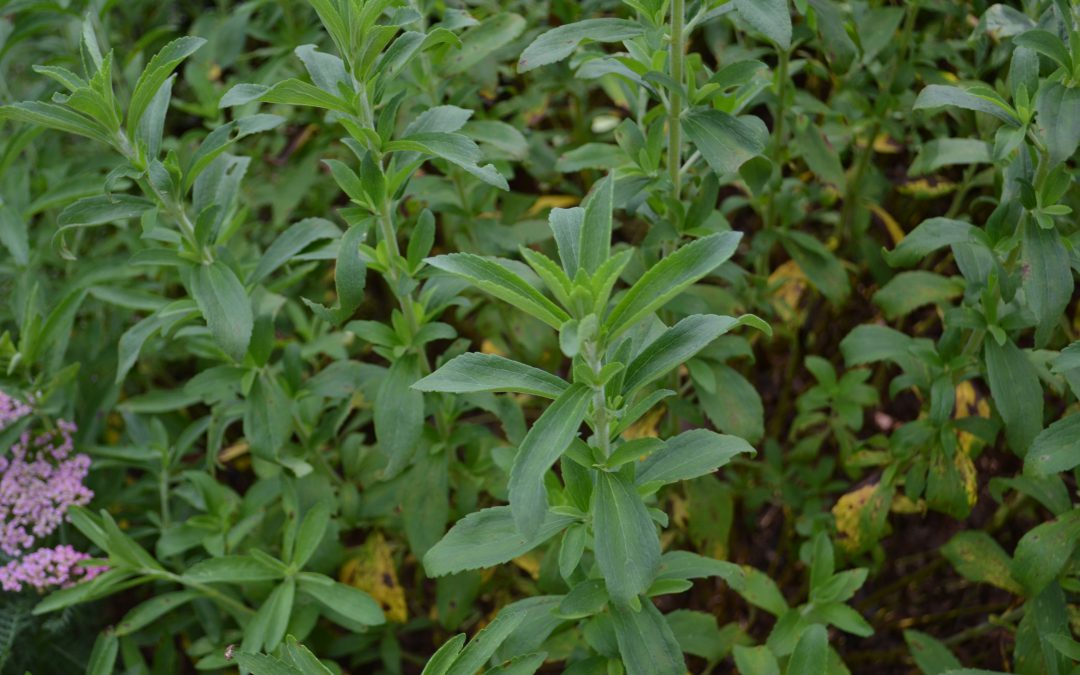
Stevia grows well when planted in the ground or in a container. Learn basic care in the garden and how to use fresh leaves to sweeten your next dish or drink with UF IFAS Extension Escambia County’s Garden to Table segment.
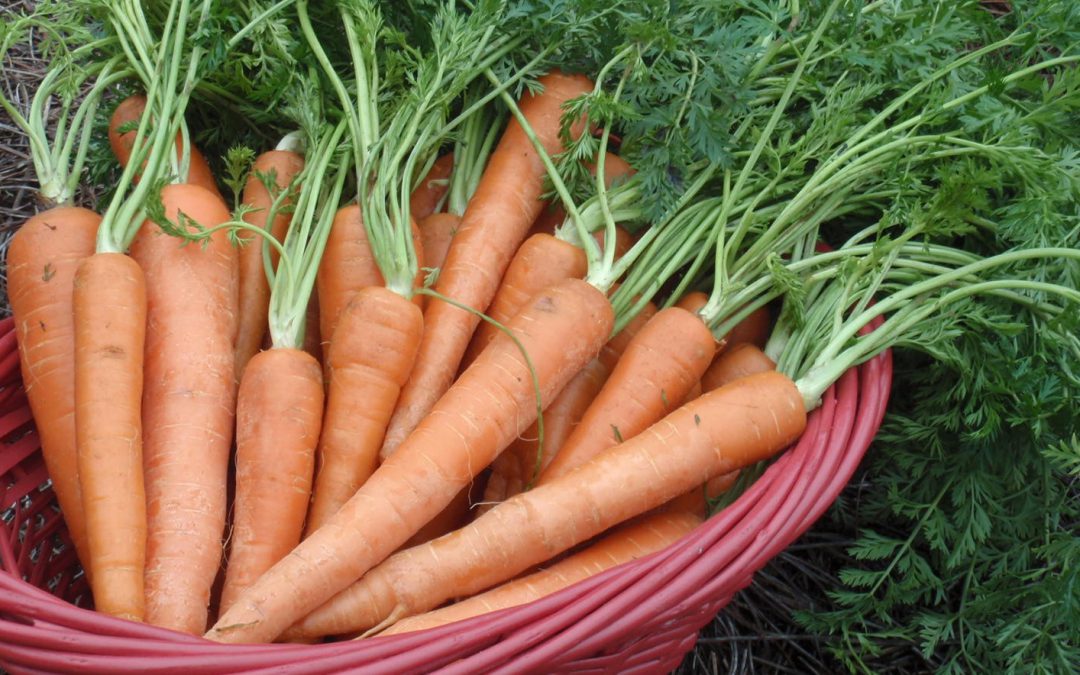
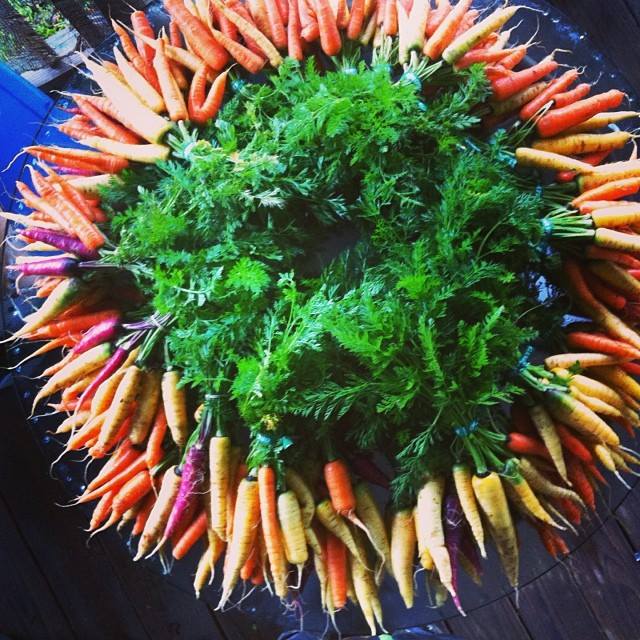
The modern carrot is available in many sizes, colors, and flavor profiles thanks to thousands of years of plant breeding. Photo by Kelly Thomas.
The University of Florida Vegetable Gardening Guide is a wonderful resource for those who are getting started gardening and growing some edible plants. As you look through the publication, you will see a chart for the different portions of Florida about when to start different fruits and vegetables. Remember this is just a guide. We may have to adjust some of our starting dates depending on local temperatures and other weather patterns.
A good example is that the guide states to start carrots beginning in August. For many years now our August temperatures are just too hot for starting carrots. Portions of September in North Florida may also be too warm for carrots. The ideal temperatures for growing carrots are 75 degree F. days and 55 degree F. nights. We need to at least wait until our temps are in the low to mid 80’s before even trying carrot seeds.
When you plant your carrot seeds, they will need good moisture to germinate. Be patient. Carrots are not always the fastest to come up. It normally takes at least 7 days for germination to occur and can take a little longer at times.
Use the Florida Vegetable Gardening Guide as a way to help you plan for your next fun gardening experience. Add in the expertise of your local county Extension Agent, along with local observations about current weather, and you will have success in your home garden.
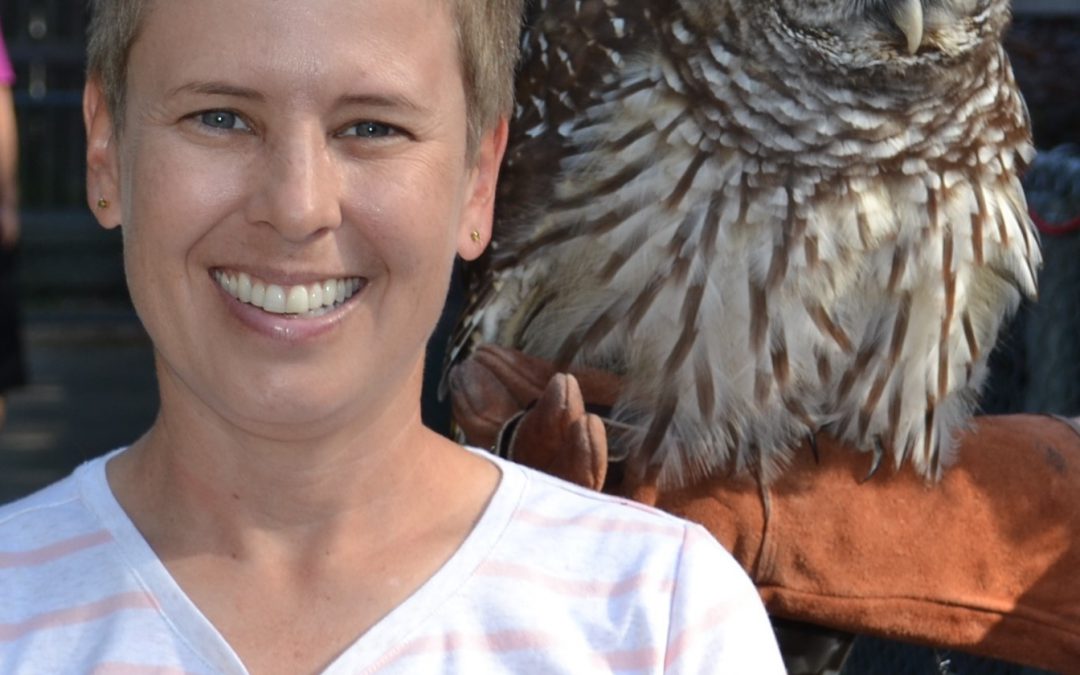
Beth has served as a horticulture educator with the University of Florida for 23 years in Escambia County. She assists both homeowners and professionals with evidence-based information to improve their gardening and landscaping practices. Beth earned degrees from the University of Tennessee in both Horticulture and Entomology that complement each other well, enabling her to find solutions to a broad range of horticulture issues faced by the community.
Visiting a favorite bird of prey at the Wildlife Sanctuary of Northwest Florida.
The best part of the Beth’s Extension work is the variety of activities and topics that are involved in the job. Everyday can offer something new to learn. She especially enjoys learning about the local environment and determining the ‘whys’ behind a particular gardening practice or recommendation.
If Beth had to choose her favorite gardening activity, it would be pruning trees because you often need to envision future growth and how it can be directed in a certain way for plant health and attractiveness. She does not enjoy installing sod as much.
Beth and her husband are currently parents to seven spoiled cats. They both enjoy attending the Epcot Food and Wine Festival and Universal Halloween Horror Nights when a cat sitter is available. Her impressive collection of Harry Potter memorabilia can fill up an entire room.

Visiting Hogsmeade. Hogwarts wasn’t hiring so Beth teaches Muggles instead.
When Beth retires many years from now, she will like to serve as a volunteer for a local animal organization and travel across the country to see its natural beauty. Cats may just have to come along as well.