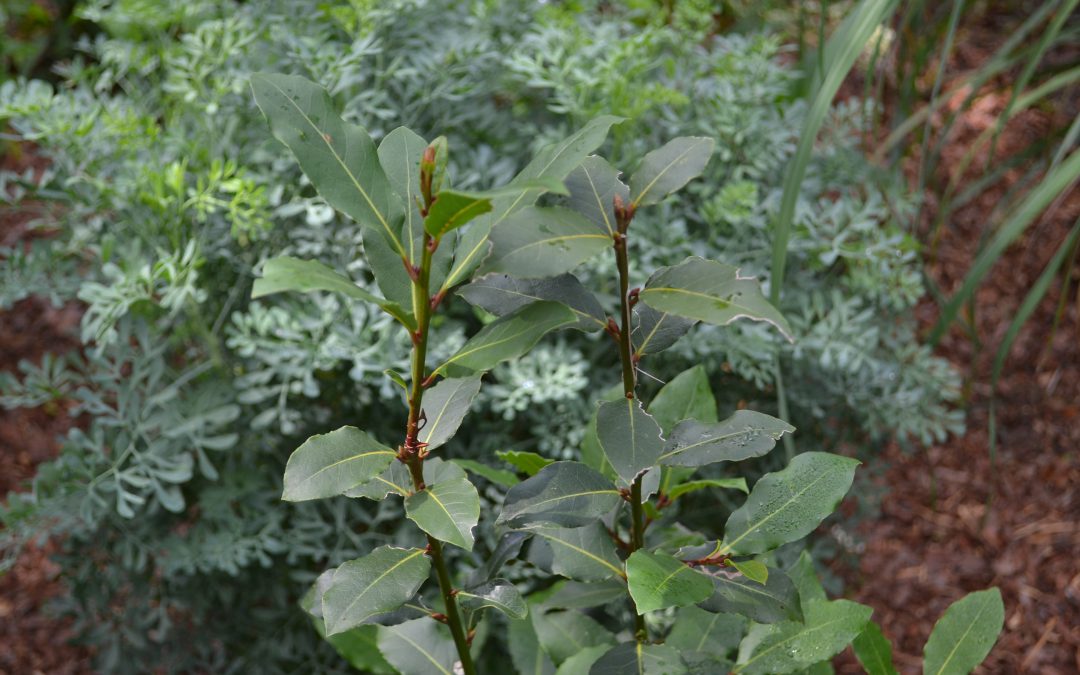
The bay laurel tree in the Escambia County Demonstration Garden had some dead branches on the outer canopy. Further investigation led us to the culprit, the black twig borer. Learn more In the Garden with UF IFAS Extension Escambia County.
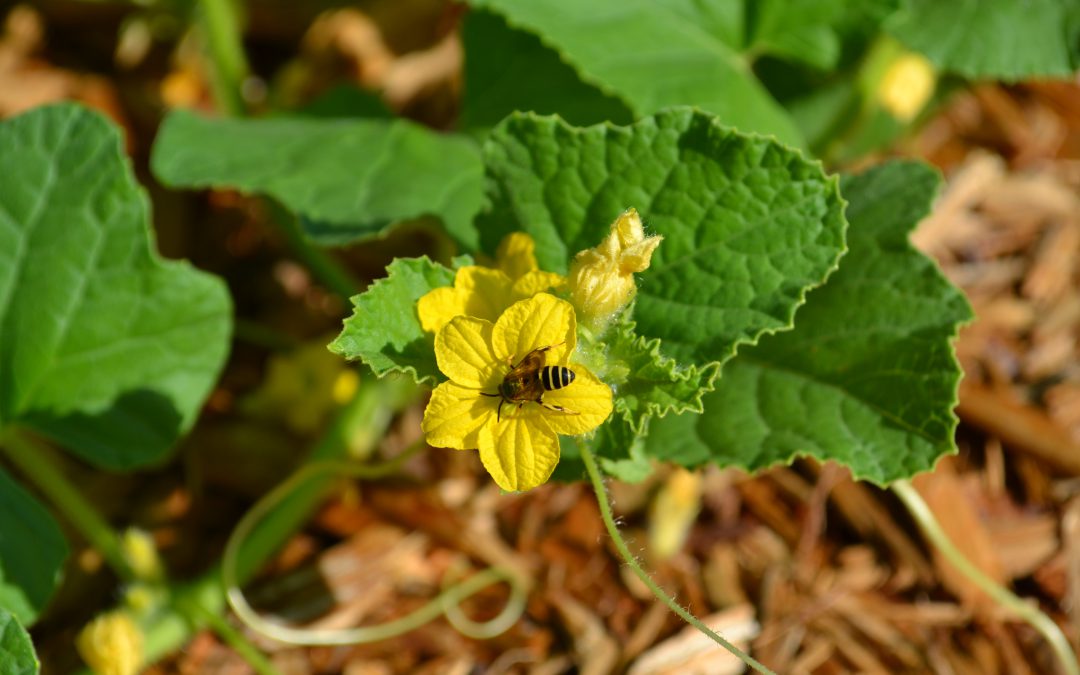
Learn a little about cantaloupe that is growing in the late spring garden. Beth Bolles with UF IFAS Extension in Escambia County shares experience from her backyard garden.
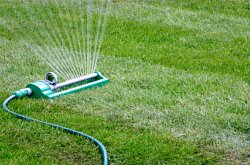
Your lawn will likely need supplemental water during the growing season. Instead of setting your irrigation system to come on every few days, learn exactly when your grass needs water with Turfgrass Talk from your UF IFAS Extension Panhandle Horticulture Team. You may then apply water when it is needed by the grass, helping to prevent turf issues from overwatering.
Escambia County Master Gardener Volunteer Carol Perryman shares information to help choose and grow lavender in the herb garden.
If you want to grow lavender in our hot & humid climate you must follow a few considerations which can be “do or die” rules. Will your lavender be an annual or a perennial? Hybridizers are always busy at work but, in the meantime:
Choose the right variety. (English lavender cannot easily be grown in our climate.)
1.Spanish Lavender- Lavandula stoechas- 18 to 24” tall, lighter scent, early bloomer & long blooming, drought & heat tolerant, good for mild winters, gray/green foliage, magenta-pink flowers with purple bract shaped like a pineapple with bunny ears.
2.’Goodwin Greek Gray’ Lavandula dentata x L. lanata – 2 to 3 feet tall & wide, silvery/gray toothed edged leaves, short spikes of deep purple to blue blooms, heat & humidity tolerant, good to 15 degrees F in winter,
3.French Lavender- Lavandula dentata -3 feet tall, lighter scent, summer bloomer & long blooming, heat tolerant (Protect from frost.), narrow gray & green leaf varieties, “dented” lavender colored flower buds that make up flower head/bract.
4. Sweet Lavender- Lavandula heterophylla – Tolerant of heat & humidity & cold tolerant to 15 degrees F. 1 1/2 to 2 feet tall, gray/green leaves &bright lavender flowers. Allow to dry between watering.
5. ‘Phenomenal’ Lavandula x intermedia – This is a newer evergreen hybrid developed for extreme heat or cold. It is disease resistant, tolerates our humidity, 24” x 32” high & wide with blue to purple blooms and gray/green leaves.
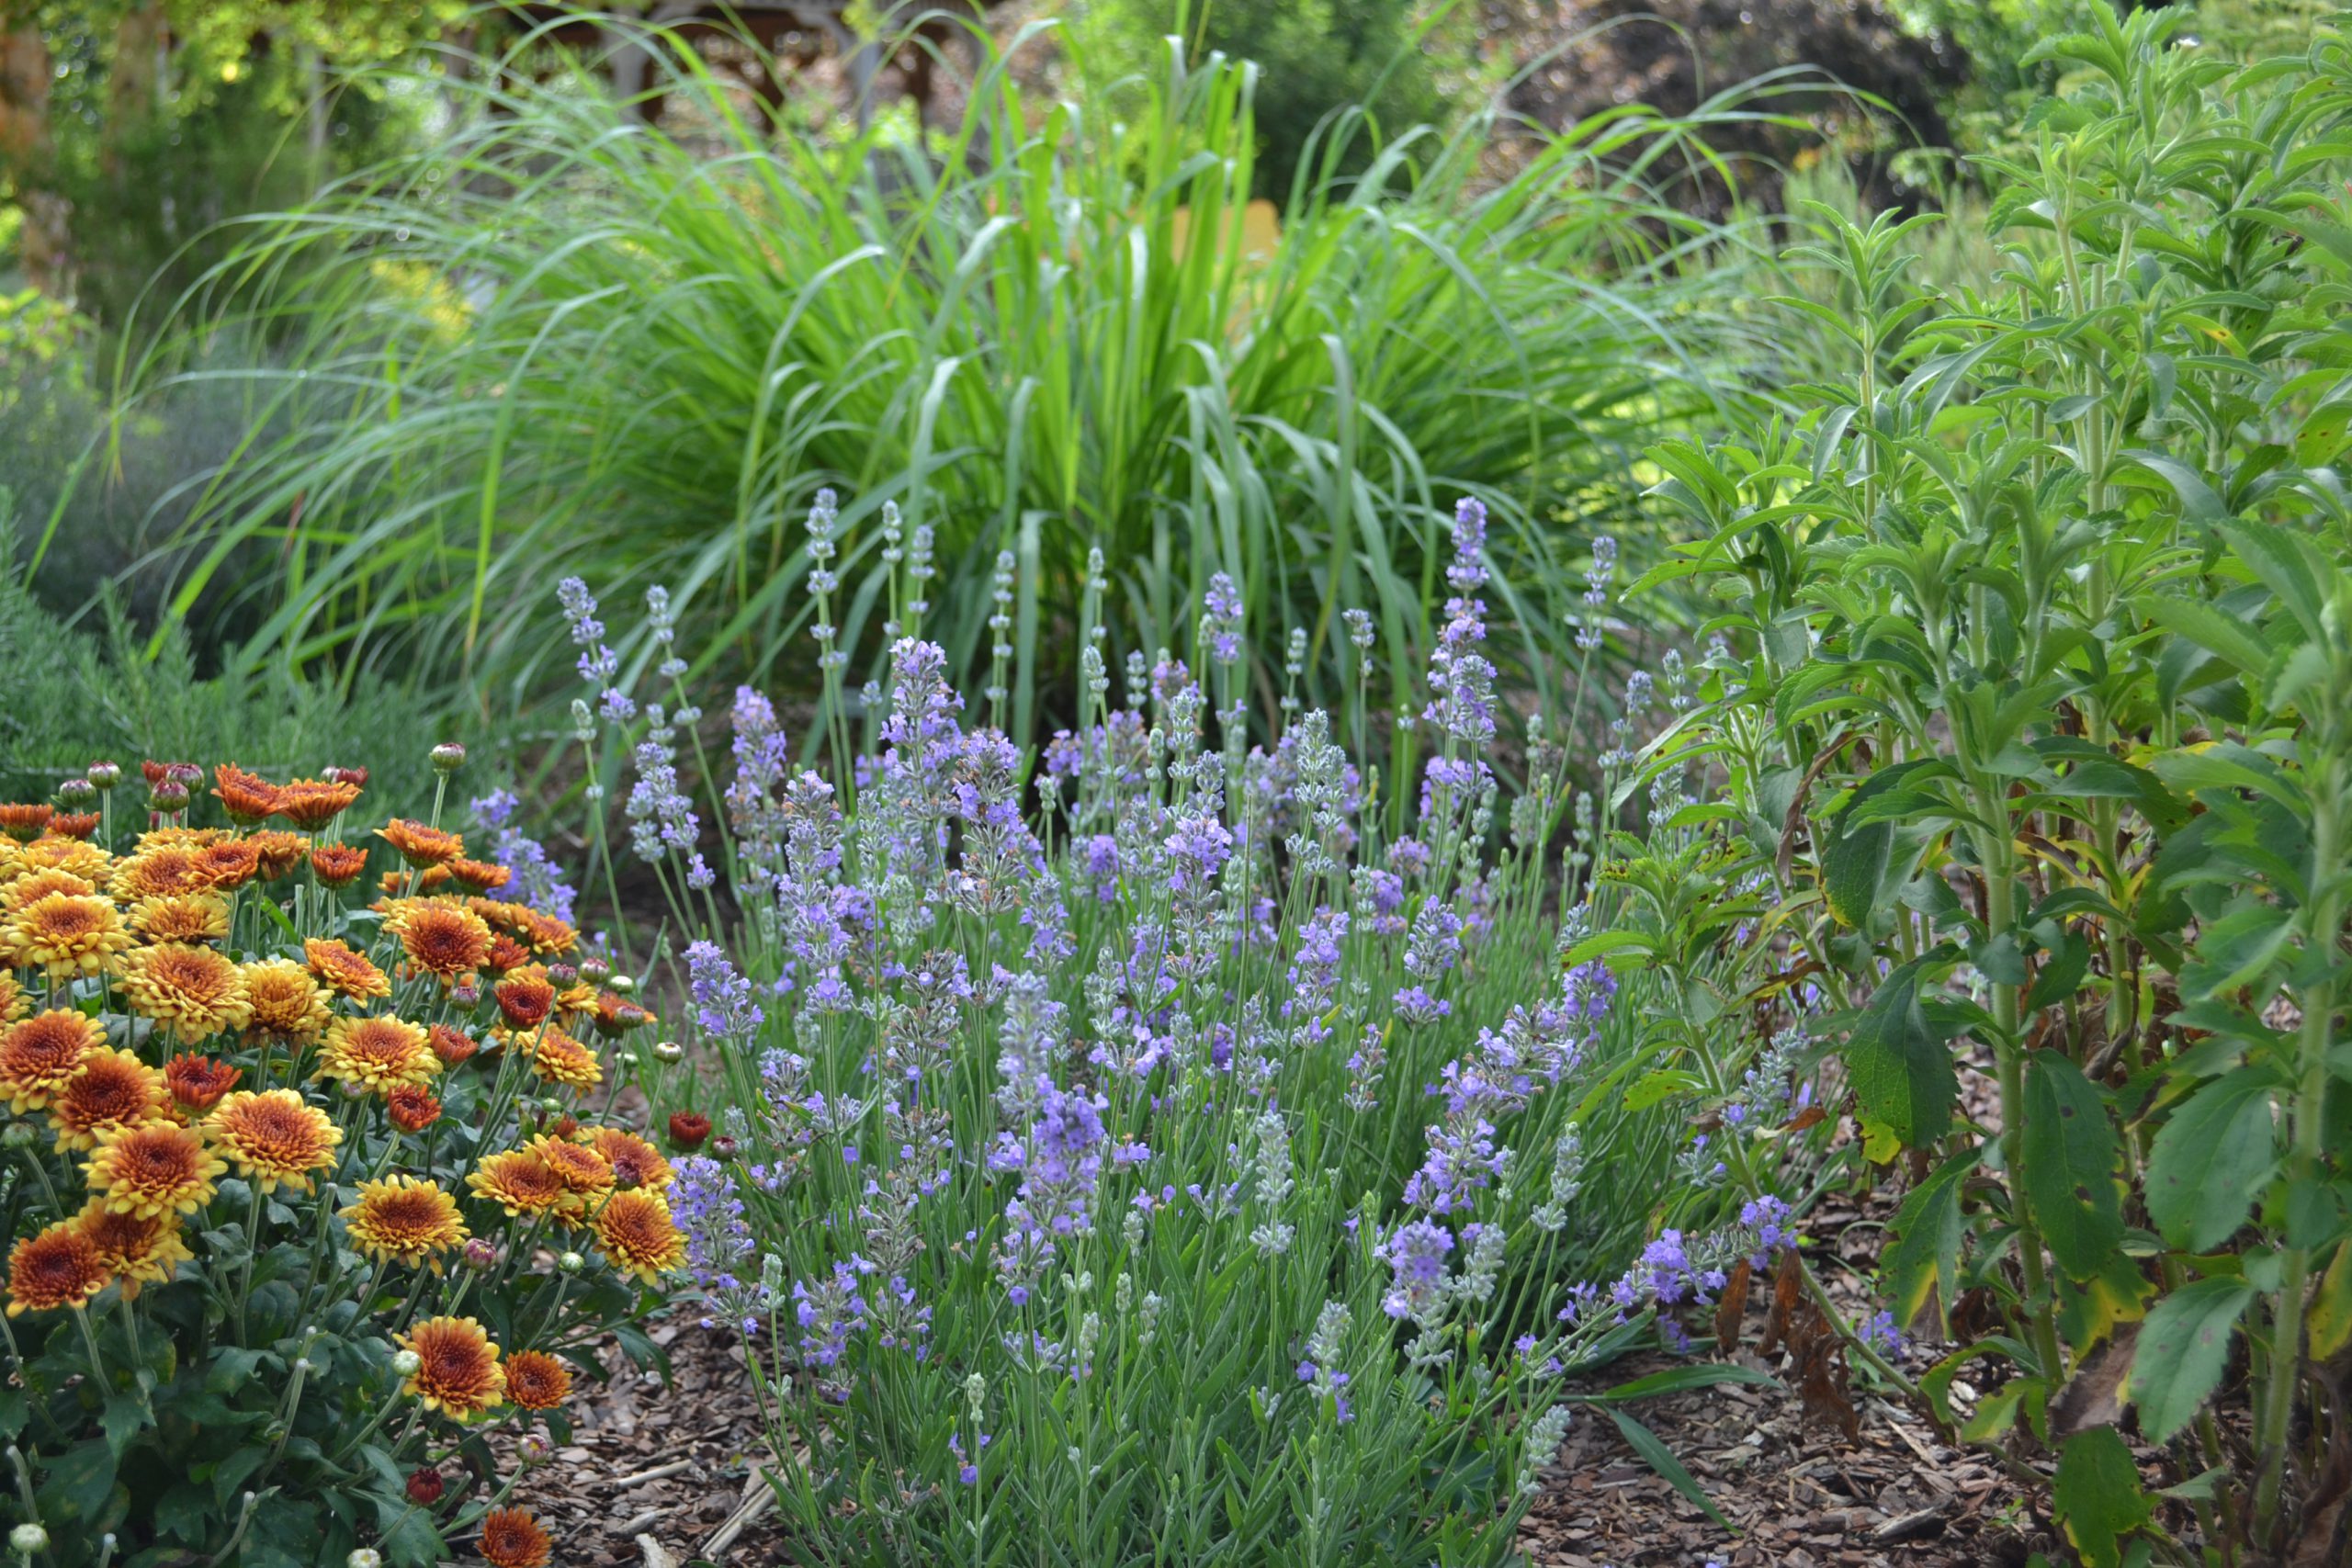
Lavender in the Escambia County Extension herb garden. Photo by Beth Bolles, UF IFAS Extension Escambia County.
Choose your site well or consider growing in pots.
1. LIGHT – Full sun.
2. DRAINAGE – Focus on drainage. MUST be well-draining site or pot or modified to be so.
3. SOIL – Loose almost neutral soil.
4. AIRFLOW – Focus on air circulation which will help dry off the leaves after rain. Space appropriately.
5. WATER – Focus on water source. Lavender does not like to be watered overhead. A dripline
is best or water by hand around roots, not on leaves. Check water requirements for your chosen variety.
6. MULCH- Whether in the ground or in pots, use light-colored gravel or small rocks as mulch
to help reflect sunlight & heat to help keep foliage dry. Heat & light reflected off a nearby brick, stone, or stucco wall, help keep foliage dry too.
7. ACCESS- Must be able to deadhead & prune. Lavender only blooms on new growth. In our climate it should be pruned back about 1/3 of it’s height & shaped to keep the mound-like shape in early January unless we have an extremely cold winter. If so, then early spring. You can prune lightly after deadheading spent blooms to promote new growth throughout bloom season. Add 1 inch of composted materials around plant each spring or lightly fertilize with slow time-release fertilizer. Do not over fertilize. Lavender doesn’t need much fertilizer.
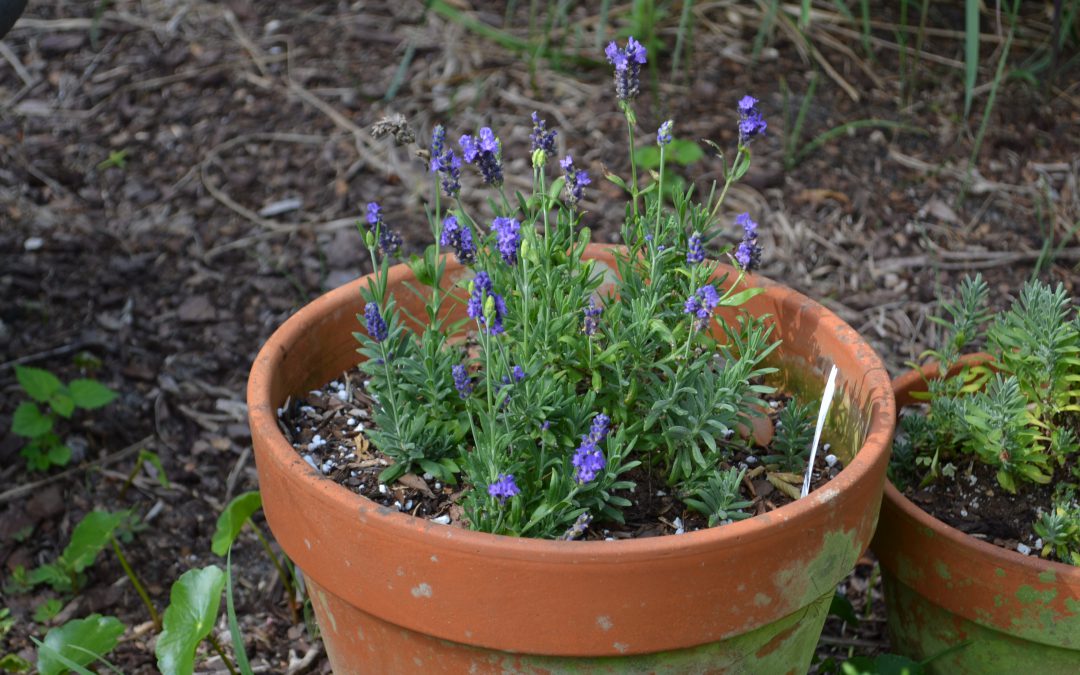
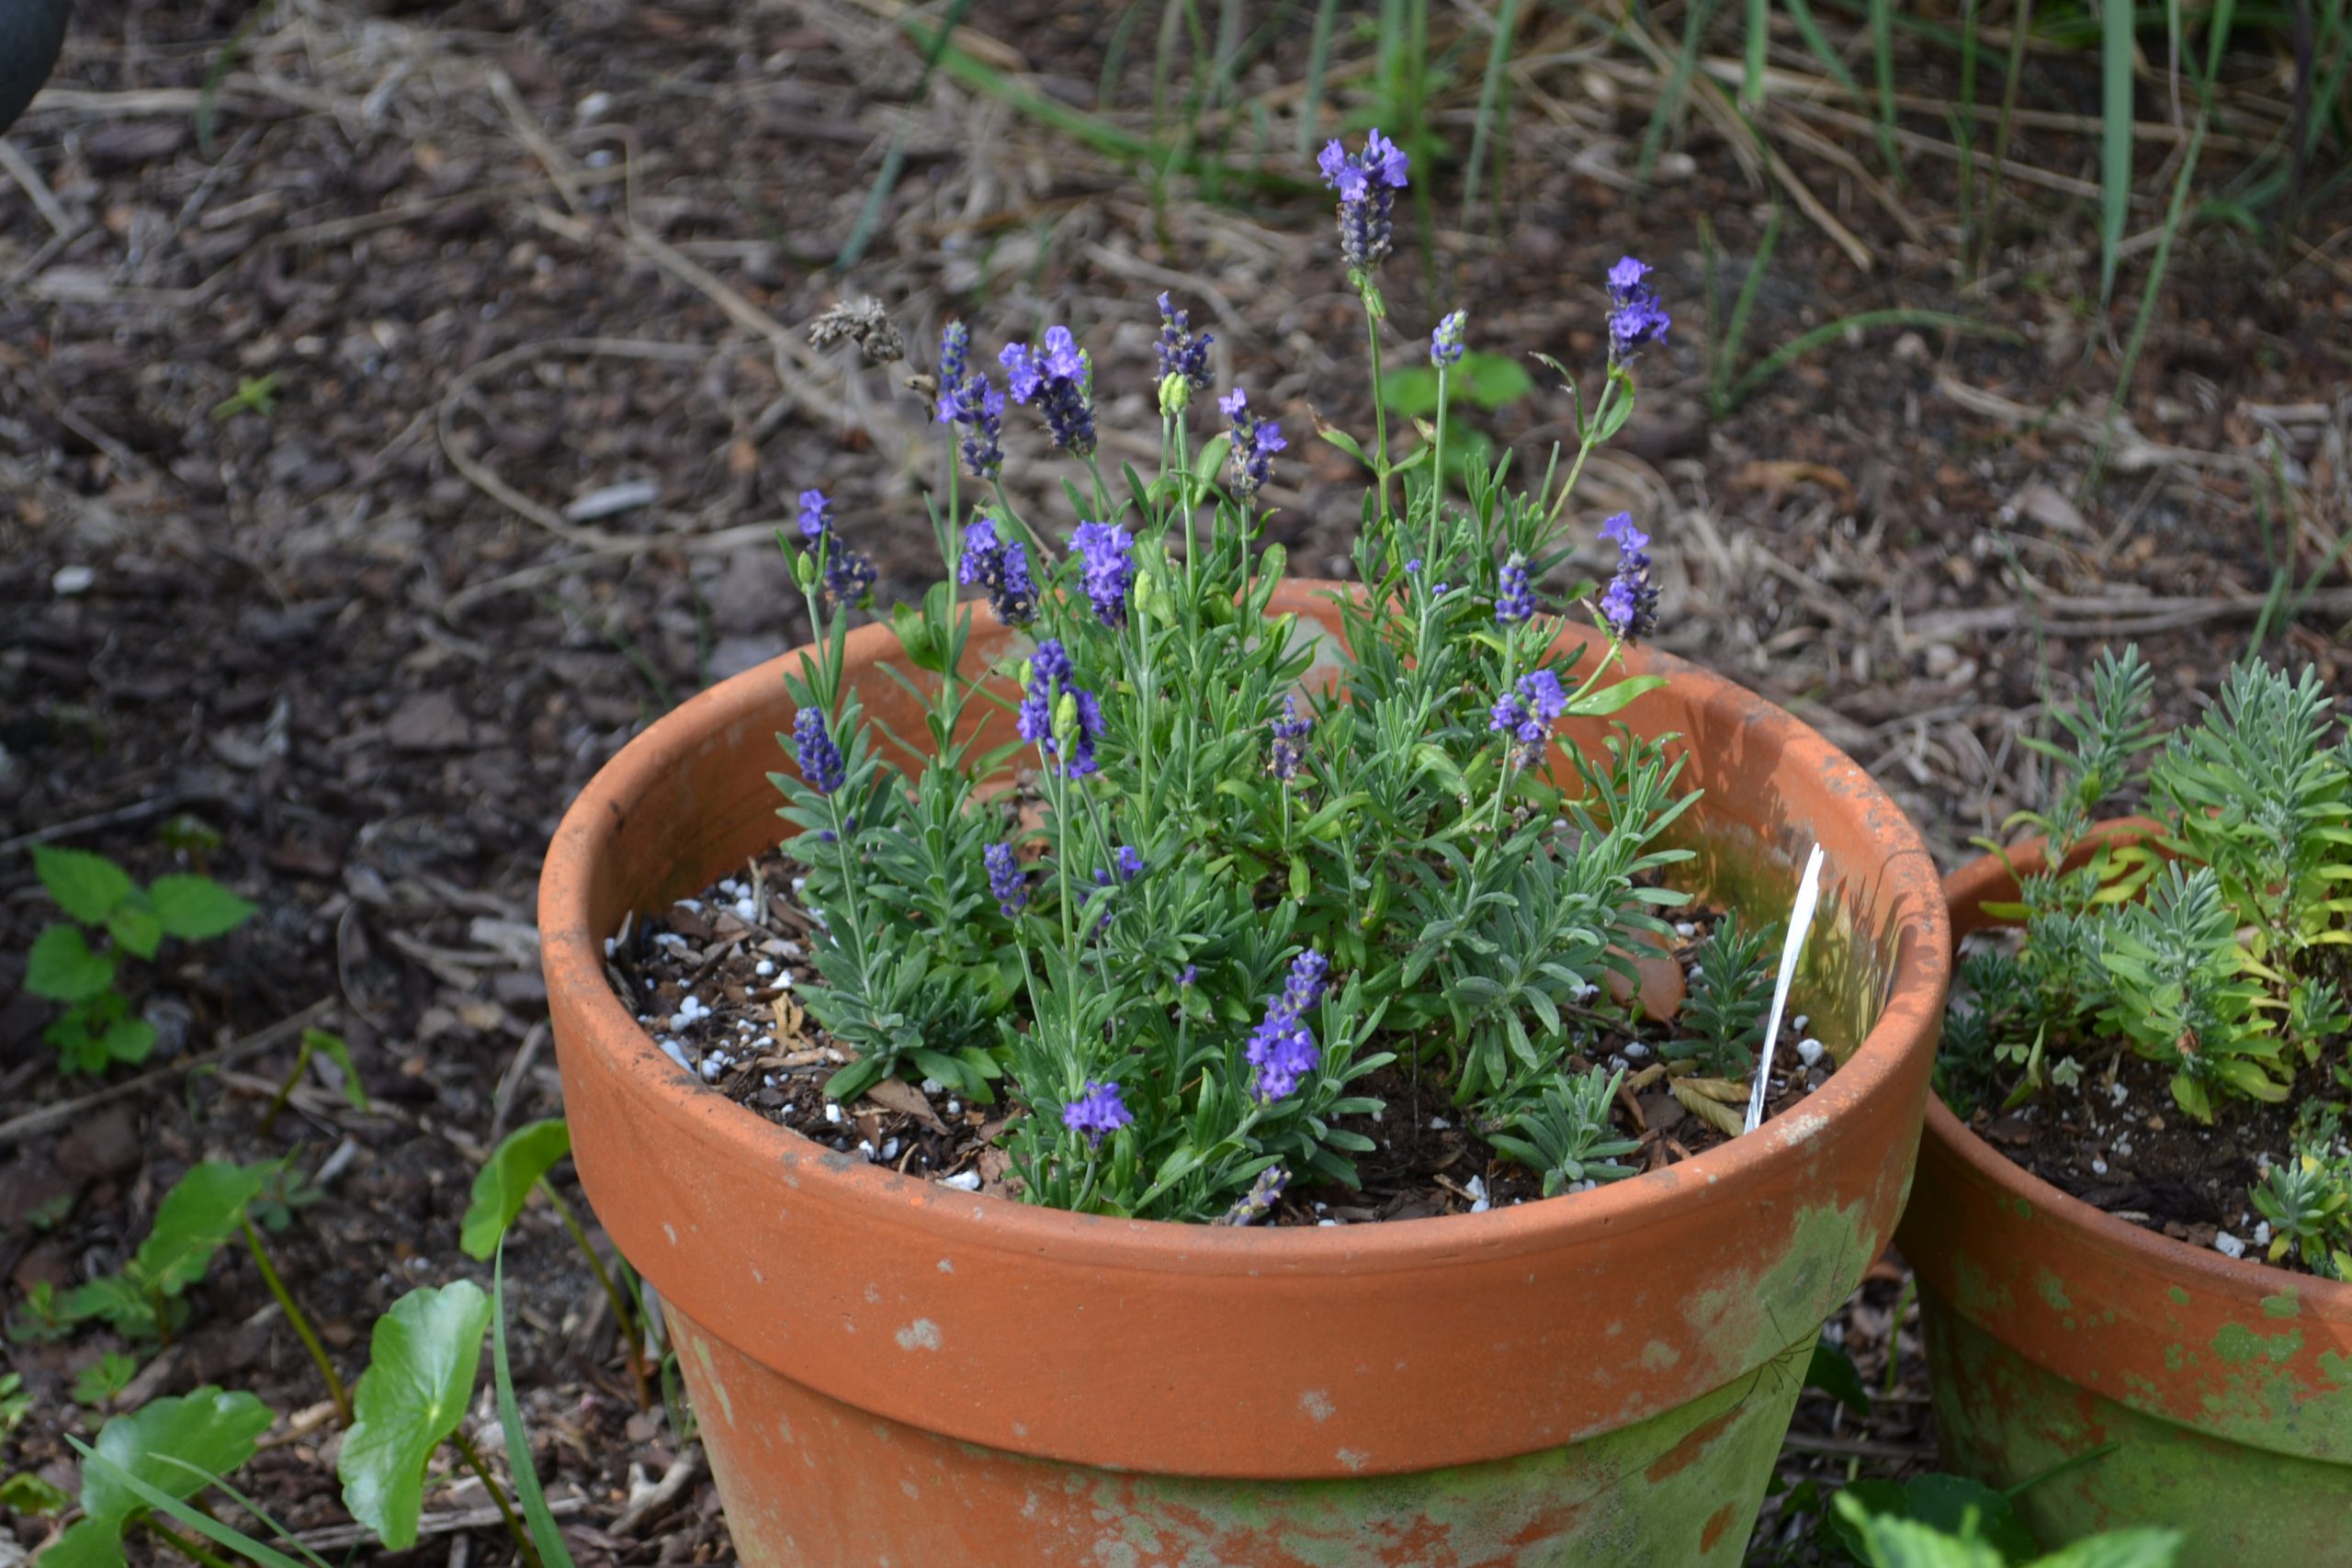
Lavender may grow best for you in a container. Photo by Beth Bolles, UF IFAS Extension Escambia County.
If you are new at growing lavender, try pots. You could try several varieties in different locations to better understand which conditions & locations will work best in your garden. The beauty of pots is their portability. If one location doesn’t work, you can move the pot.
All lavender is edible. You can use the leaves or flowers, fresh or dried. Fragrant lavender is a wonderful addition to your garden although in our climate, most lavenders are not going to be long lived. If you have found “the spot” in your own little microclimate & your lavender thrives year after year, consider yourself lucky.