by Beth Bolles | Apr 23, 2020
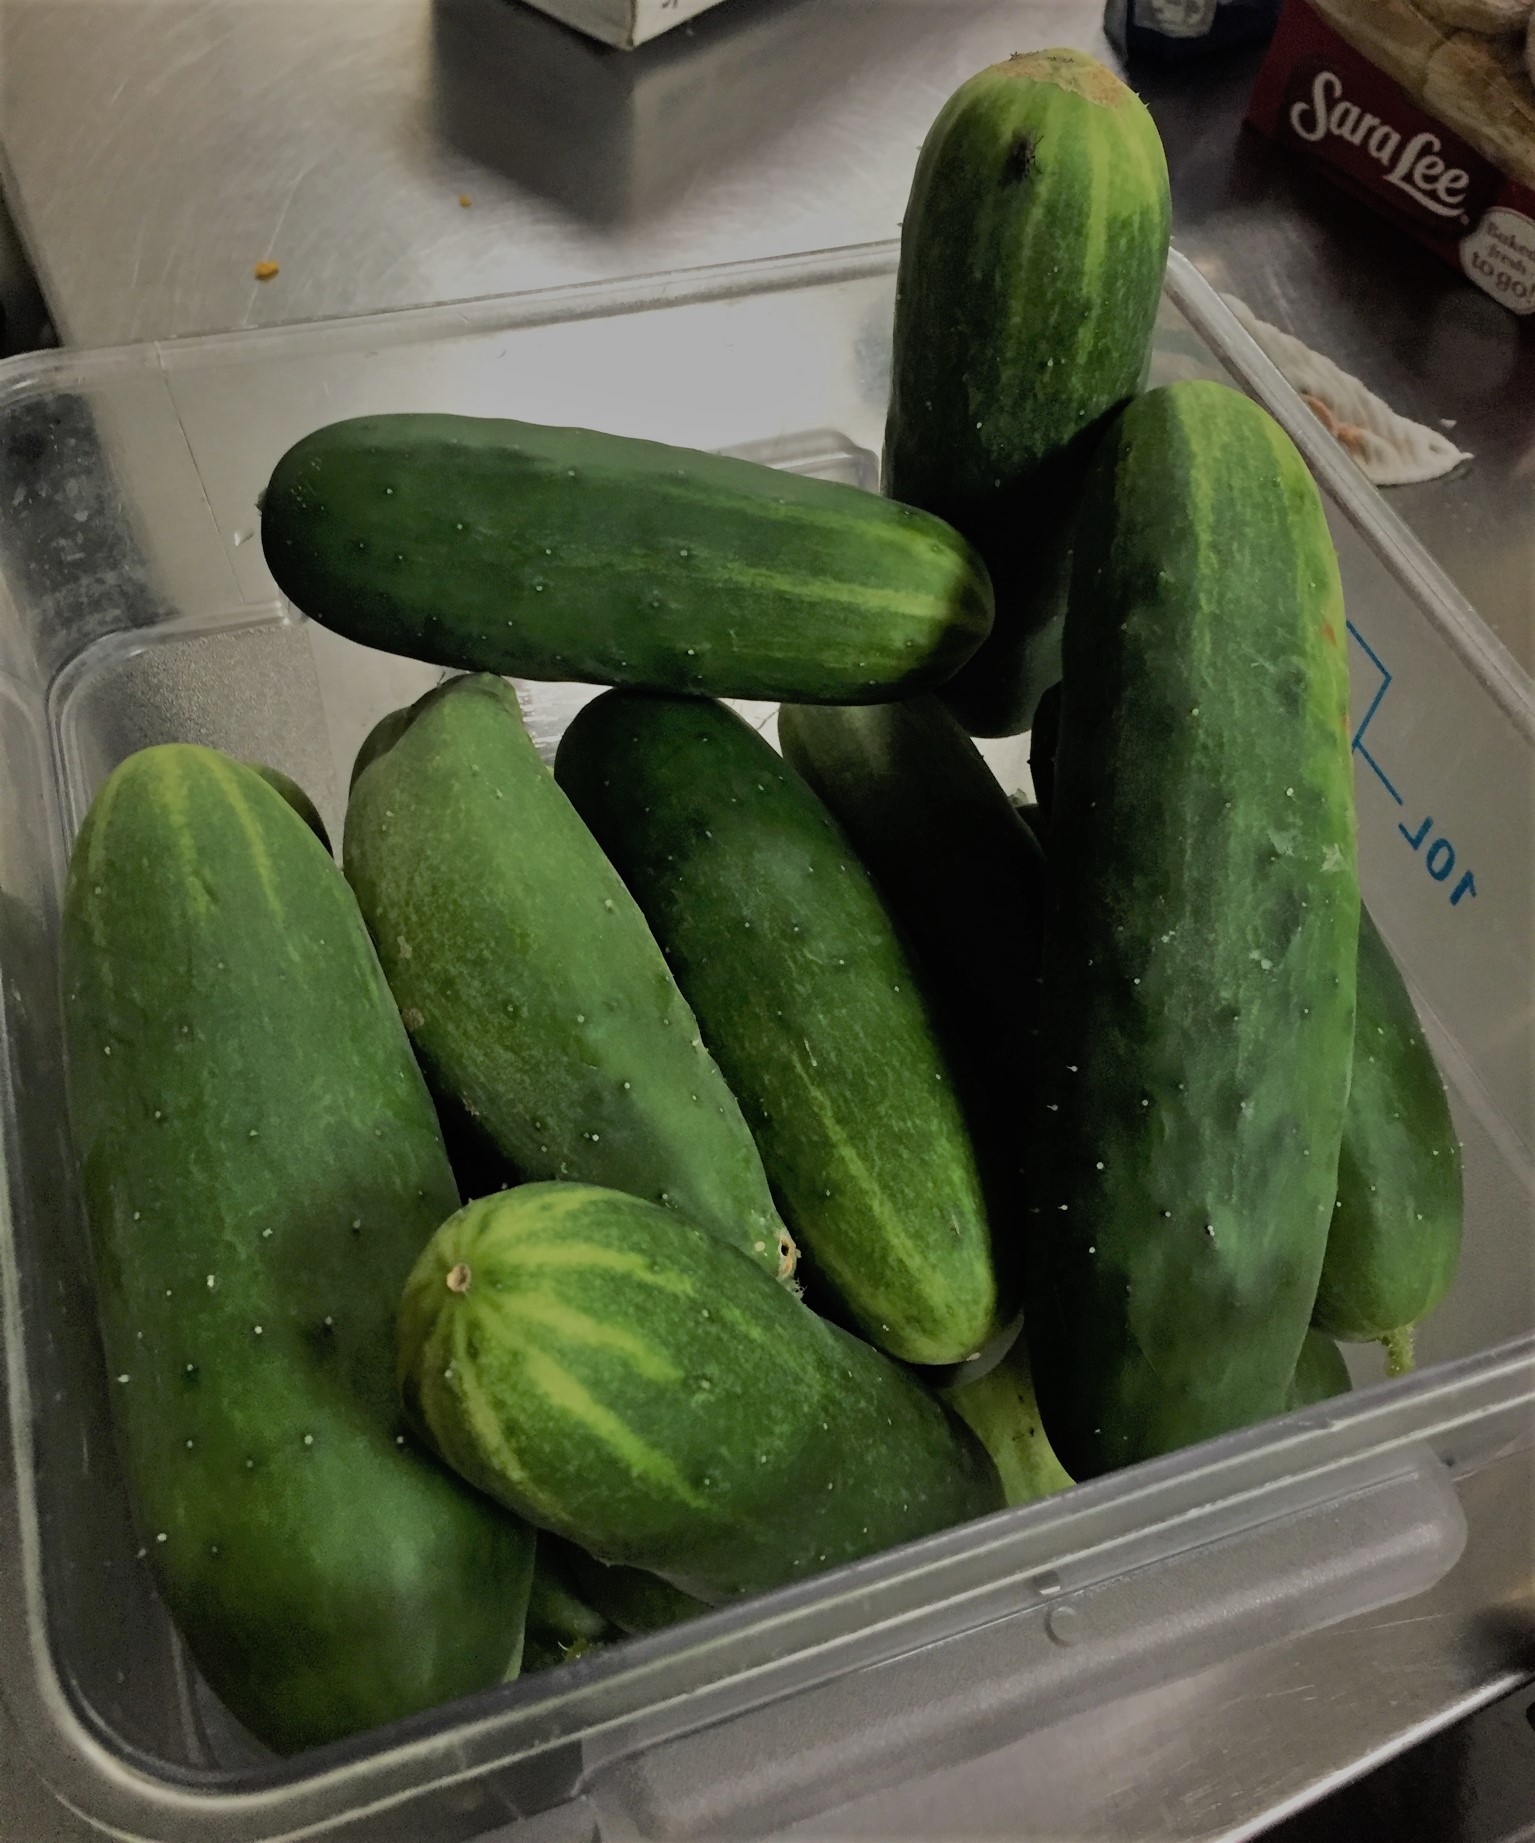
Cucumbers are a favorite fruit of many gardeners and with a little routine care, you can harvest fresh fruit from your own home garden. Learn some basic information about starting your own cucumbers In the Backyard Garden with UF IFAS Extension Escambia County.

by Beth Bolles | Apr 8, 2020
Success in the garden can occur with proper watering. Learn several ways to water to your vegetables In the Home Garden with UF IFAS Extension Escambia County.
by Beth Bolles | Apr 1, 2020
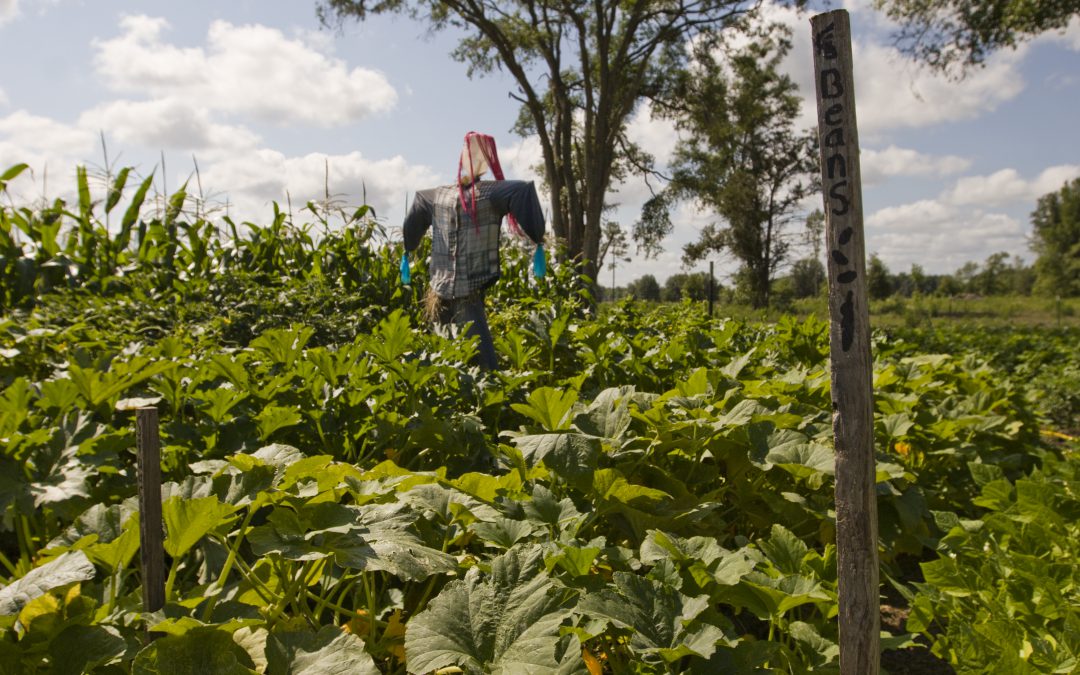
Bush beans are an easy and enjoyable plant to grow in the home garden. These particular beans do not require a trellis and will be ready to start harvesting in about 50 days. Learn more about growing your own bush beans with UF IFAS Escambia County Extension In the Home Garden.

by Beth Bolles | Feb 27, 2020
Landscape activities have already begun in our Panhandle counties with cleanup, mulching, raking, and pruning. Our mild temperatures and days with sunshine spur us to jump into our landscape preparations for the spring growing season.
This year before you send all your debris to the compost pile or patch up thinning turf areas, consider that some landscape imperfections may actually be good for local wildlife.
We all know how important it is to plant nectar attracting plants for bees but there are other easy practices that can help promote more native bees in local landscapes. There are some solitary native bee pollinators that will raise young in hollow stems of plants. Instead of cutting all your old perennial or small fruit stems back to the ground, let some stay as a home to a native pollinating bee. This does not have to detract from the look of the landscape but can be on plants in the background of a border garden or even hidden within the regrowth of a multi stemmed plants. Plants that are especially attractive to native bees have a pithy or hollow stems such as blackberry, elderberry, and winged sumac.
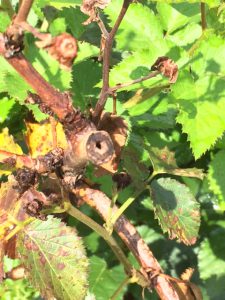
The hollow stems of upright blackberries can be home to solitary bees. Photo by Beth Bolles, UF IFAS Extension Escambia County
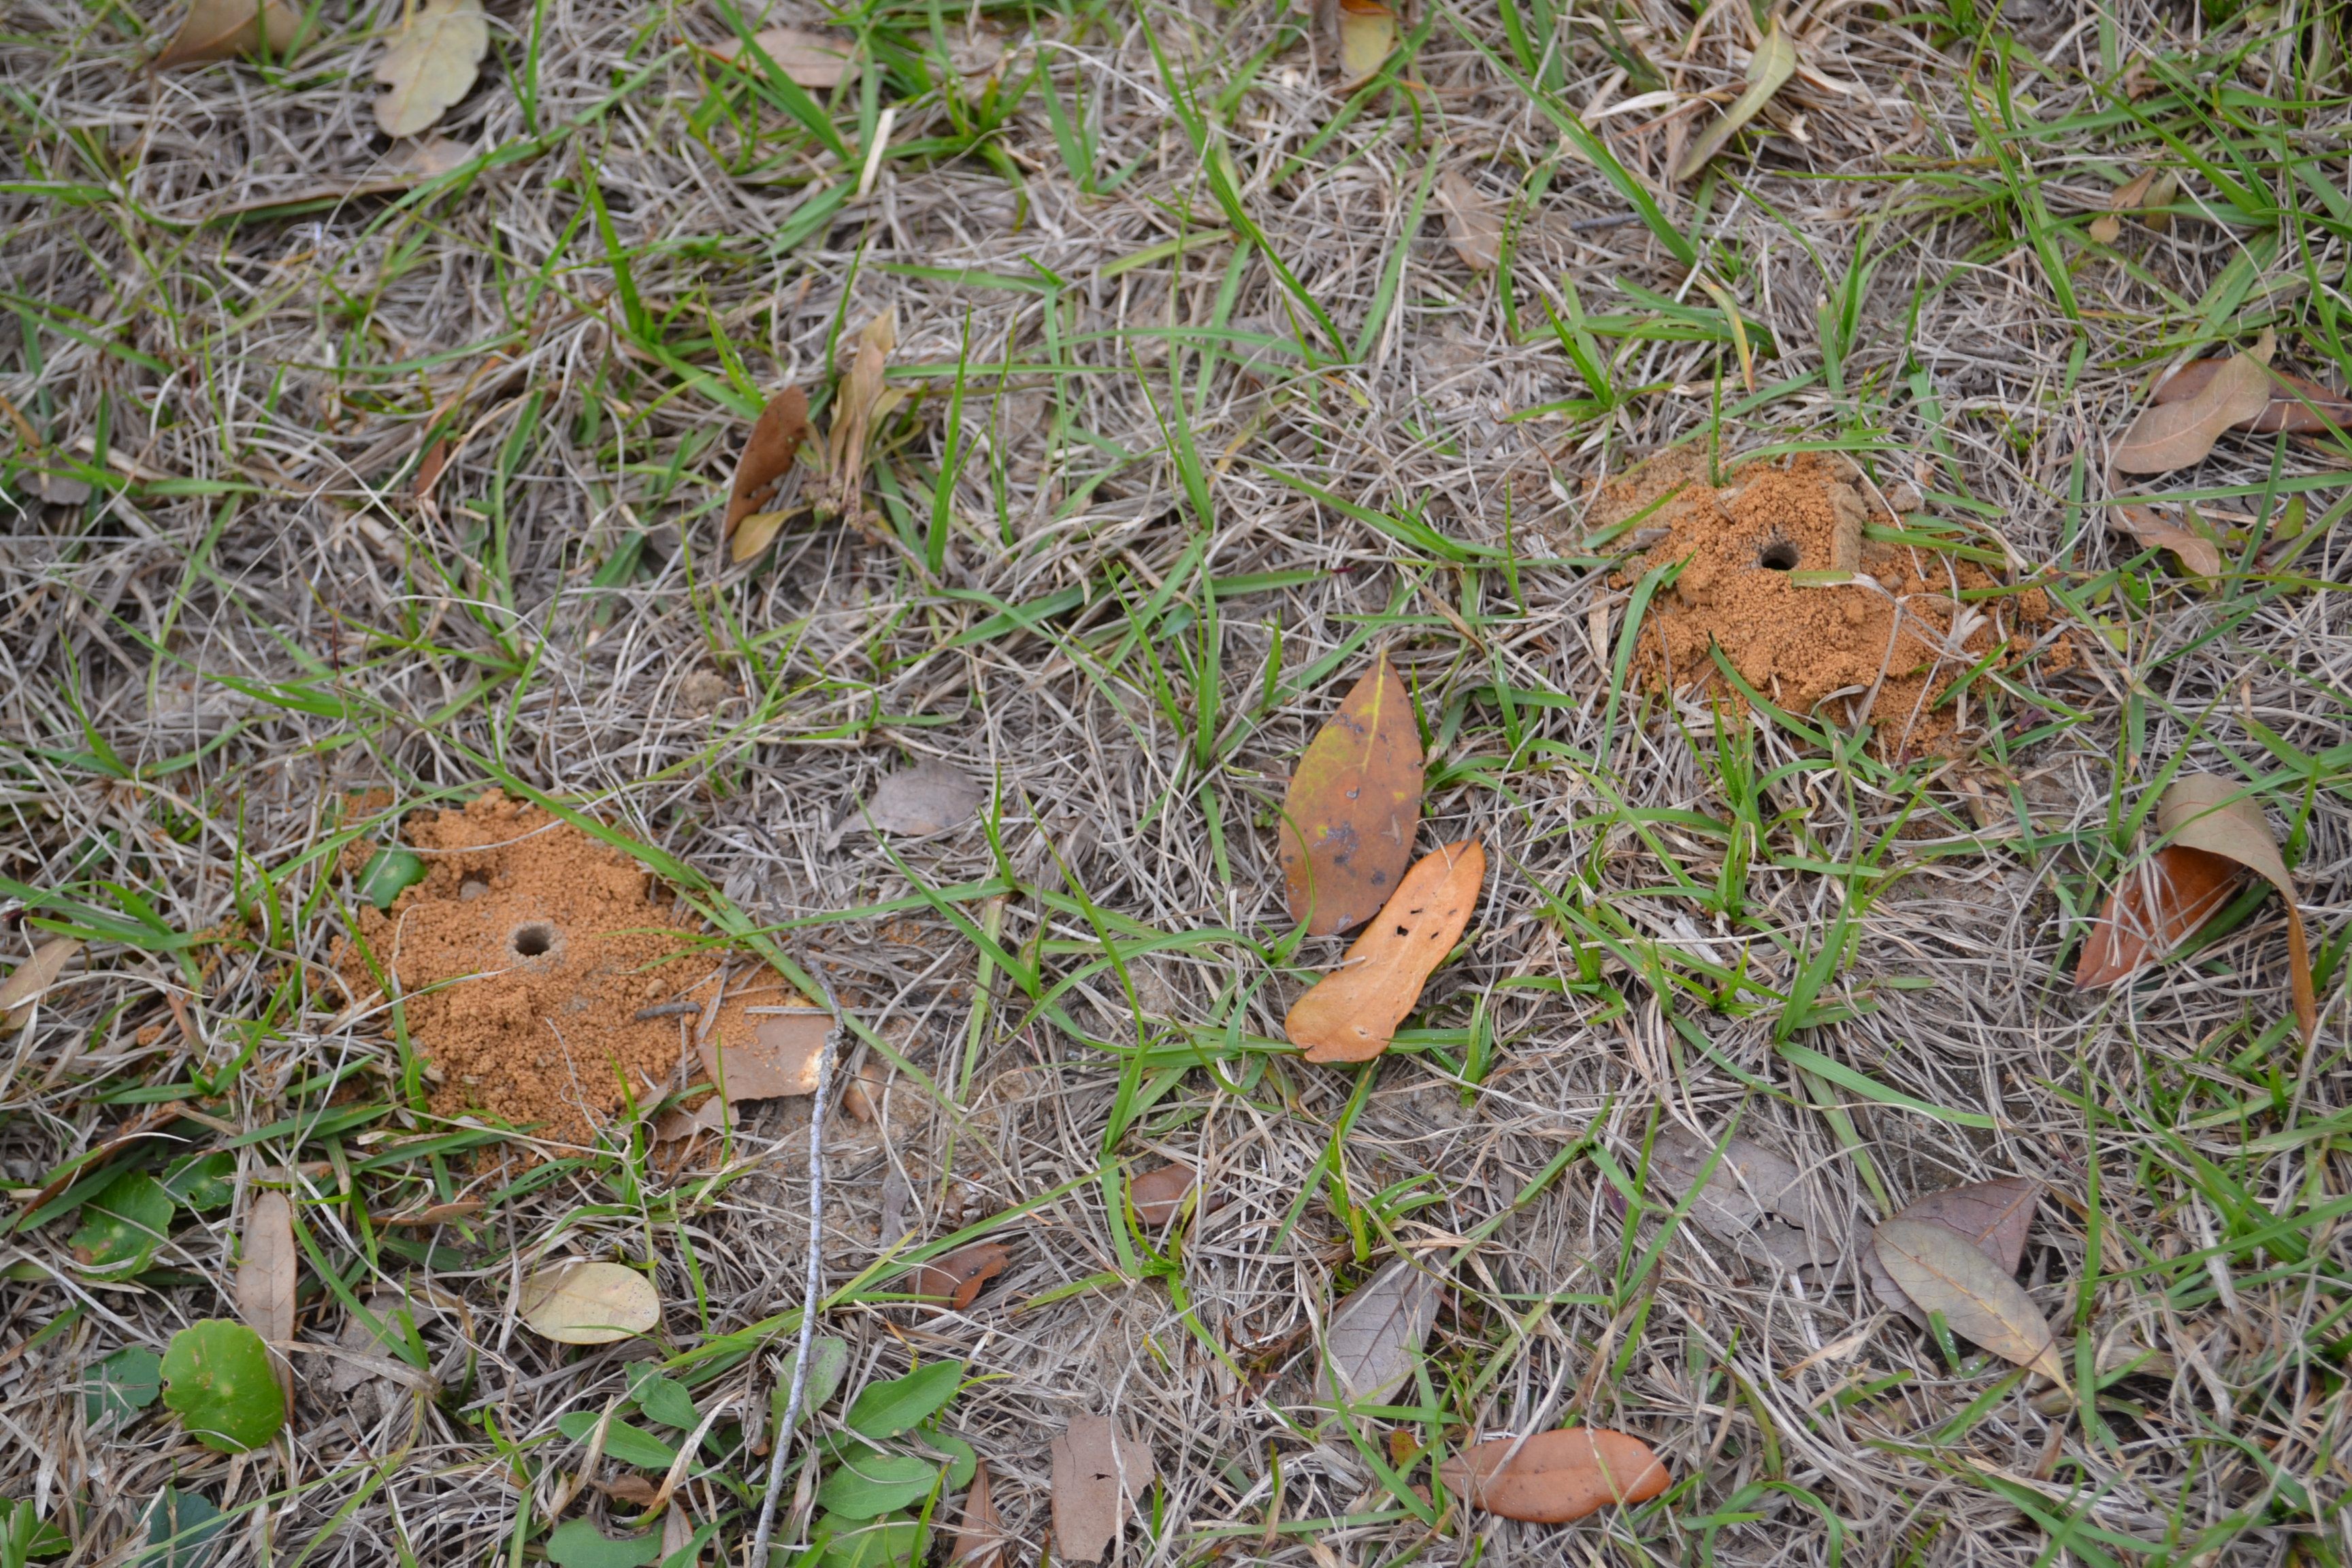
Another favorite site for solitary bees is in the ground. These ground nesting solitary bees should not be compared to yellow jacket wasps. Solitary bees are not aggressive. Mining or digger bees need some bare soil surfaces in order to excavate small tunnels for raising a few young. Maybe you have an area that does not need a complete cover of turf but is fine with a mixture of turf and ‘wildflowers’. A few open spaces, especially in late winter and early spring will be very attractive to solitary bees.

Beneficial solitary bee mounds in the ground of a winter centipedegrass lawn area. Photo by Beth Bolles, UF IFAS Extension Escambia County
One of our fastest disappearing homes for wildlife are natural cavities. In residential sites, we often prune or remove limbs or trees that are declining or have died. If the plant or tree is not a hazard, why not leave it to be a home for cavity nesting birds and mammals. If the dying tree is large, have a professional remove hazard pieces but leave a trunk about 10-15 feet tall for the animals to make a home. You may then get to enjoy the sites and/or sounds of woodpeckers, bluebirds, owls, flying squirrels, and chickadees.
by Beth Bolles | Jan 13, 2020
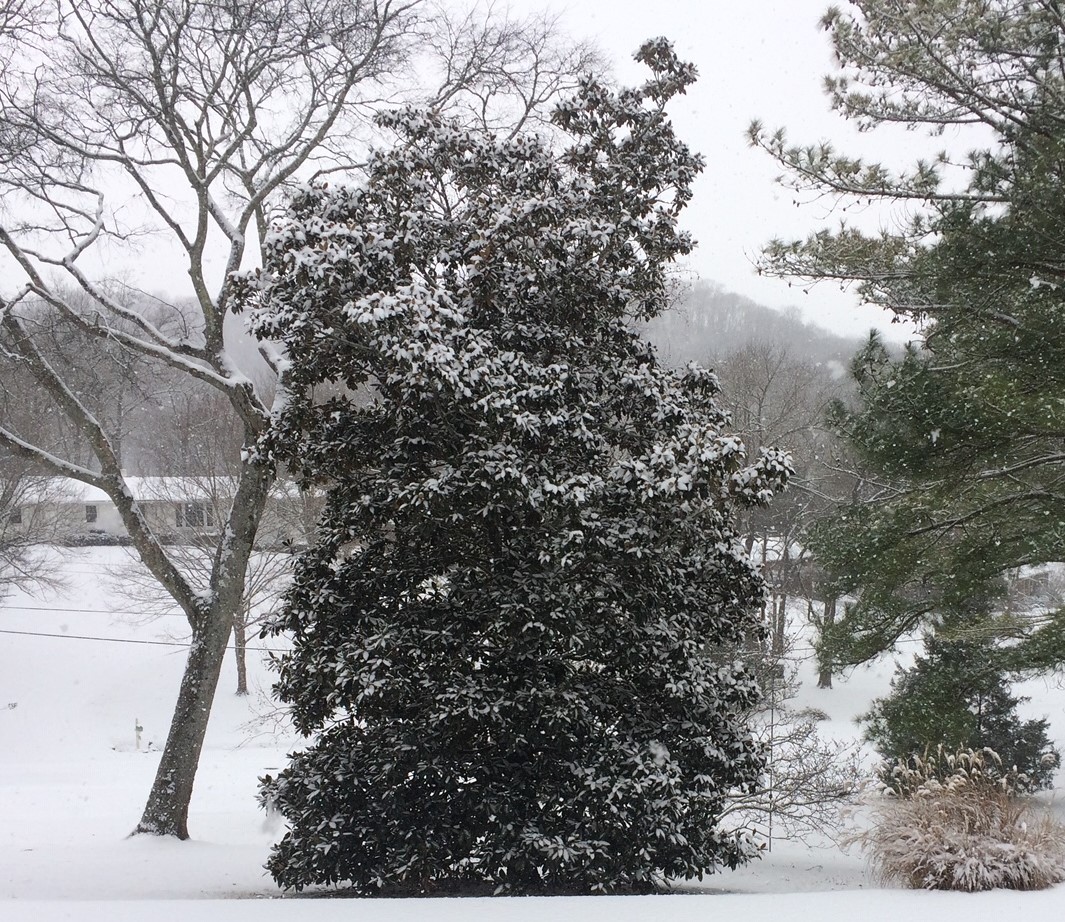
The Southern magnolia (Magnolia grandiflora) has always been a favorite tree since it is associated with my childhood home in Tennessee. I always enjoyed the evergreen leaves and large white flowers. In my parent’s yard, the southern magnolia had branches to the ground that allowed the large leaves to stay hidden in a self- mulching area. I never recall the tree begin called messy because of this growth style.
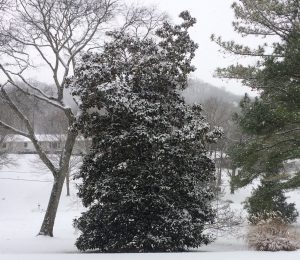
A Southern Magnolia in a Tennessee winter. Photo by Beth Bolles, UF IFAS Extension Escambia County
Many landscapes today may not have room for a southern magnolia that can grow an average of 60 feet in height with an average spread of 25 feet. Because it’ qualities are still desirable, nursery professionals have developed southern magnolia cultivars that are very popular as landscape features due to different growth habits, leaf sizes, and hardiness to our area’s weather. Although the cultivars will be different from the old favorite southern magnolia in growth form and size, homeowners should still do their homework to make sure trees are located in spots for plants to reach proper height and width growth. Also, like I mentioned for my parent’s tree, many of the new cultivars look best if the lower limbs are not removed.
If you or your landscaper are considering a Southern magnolia cultivar, here are a few details about some you may find available.
‘Little Gem’ dwarf southern magnolia has been the go-to magnolia for new landscapes. The dark green leaves are smaller and the plant will be more compact than the traditional southern magnolia. It is often misplaced in landscapes because of these features. Trees still grow about 25 feet high with a spread of 15 feet.
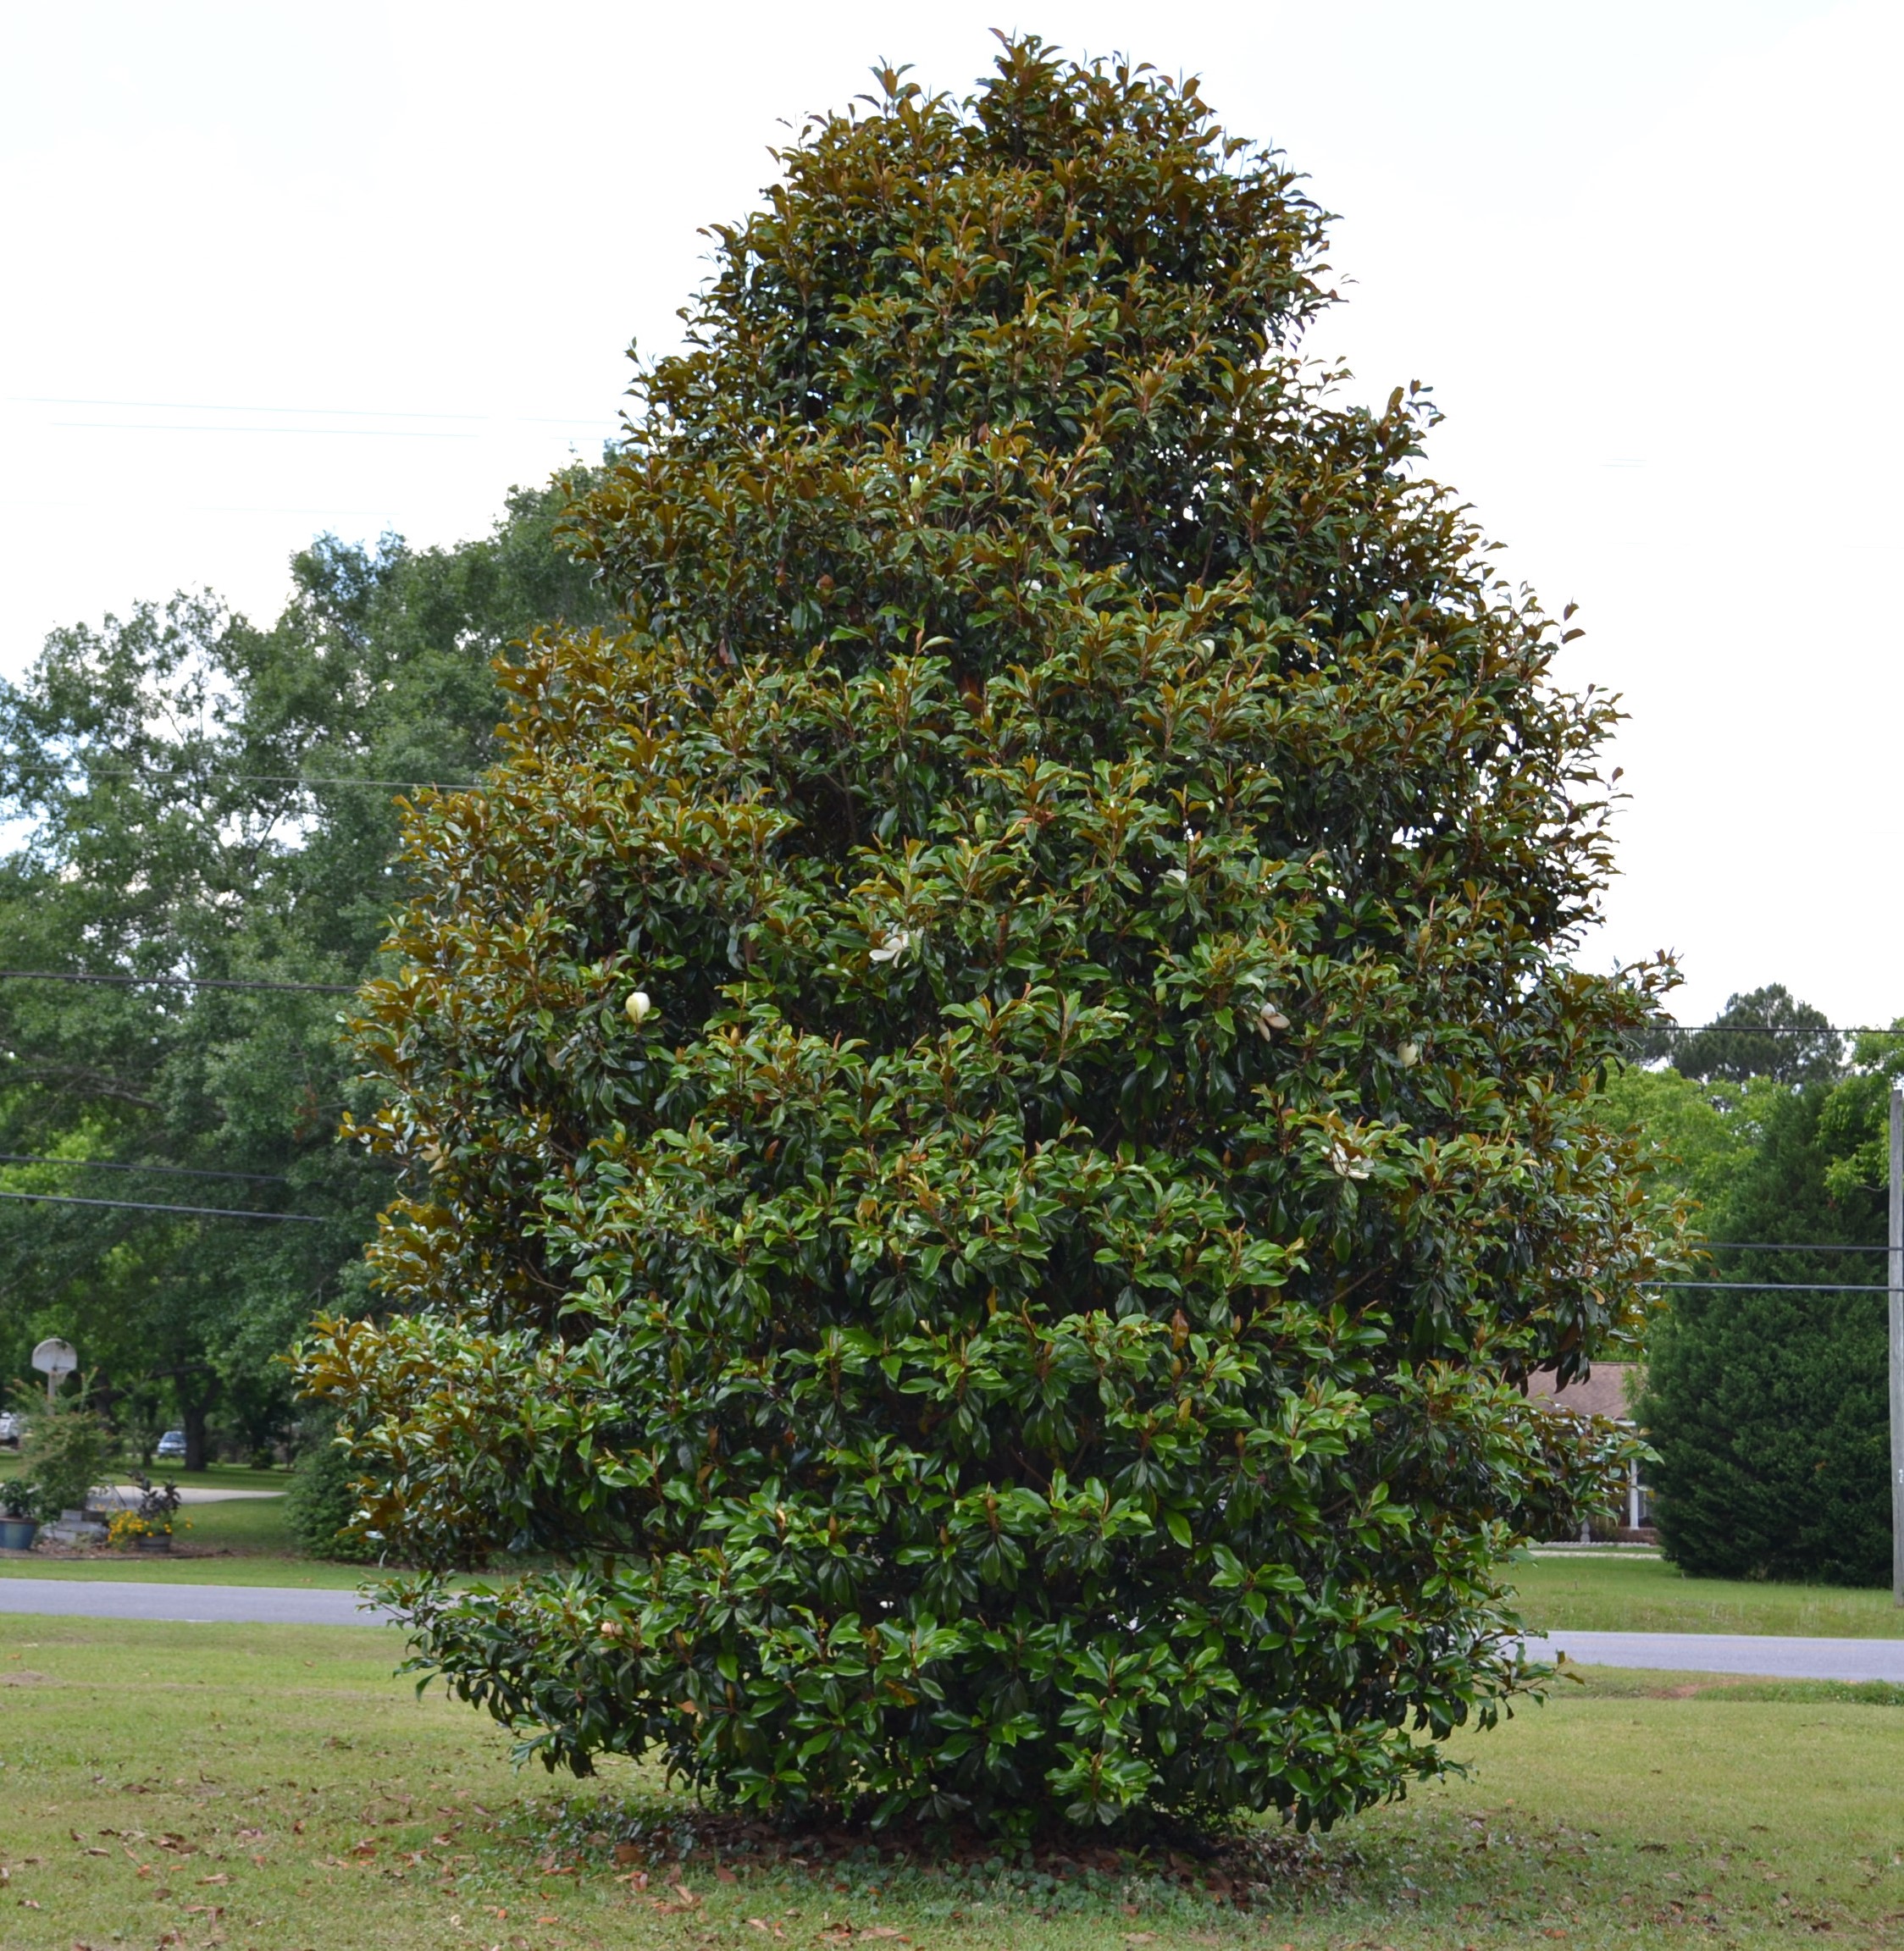
‘Bracken’s Brown Beauty’ is a very attractive magnolia when given room to grow. Foliage is very attractive with shiny green above and brown on the undersides. This plant can grow 40 to 50 feet in height with a spread averaging 20 feet. Plan not to prune lower limbs to maintain a beautiful form.
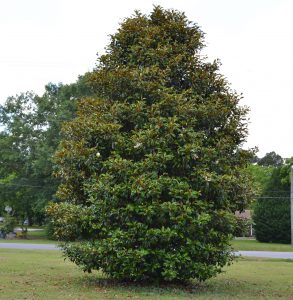
Bracken’s Brown Beauty as an accent tree in a lawn area. Photo by Beth Bolles, UF IFAS Extension Escambia County
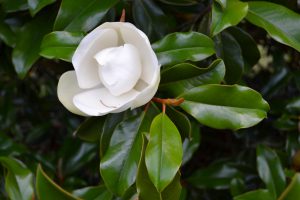
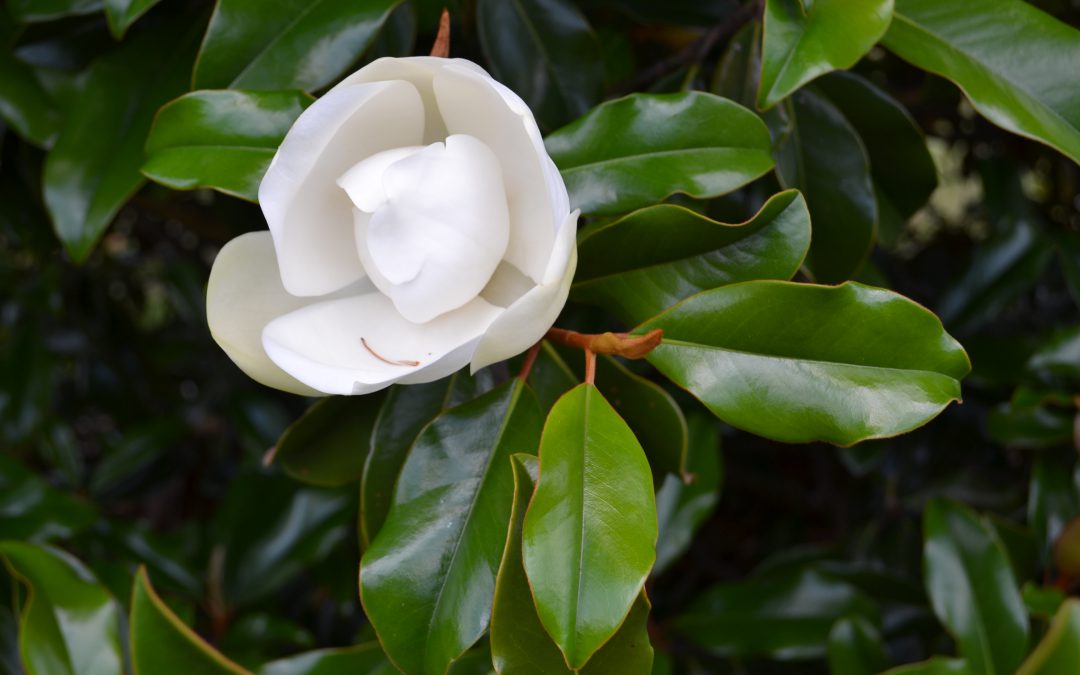
Bracken’s Brown Beauty flower. Photo by Beth Bolles, UF IFAS Extension Escambia County
‘Southern Charm’ magnolia, registered as Teddy Bear is also a compact plant. It grows upright to about 20 feet with a spread about 15. You still have the beautiful green and brown leaf color along with 6 inch wide flowers.