by Blake Thaxton | Mar 24, 2015
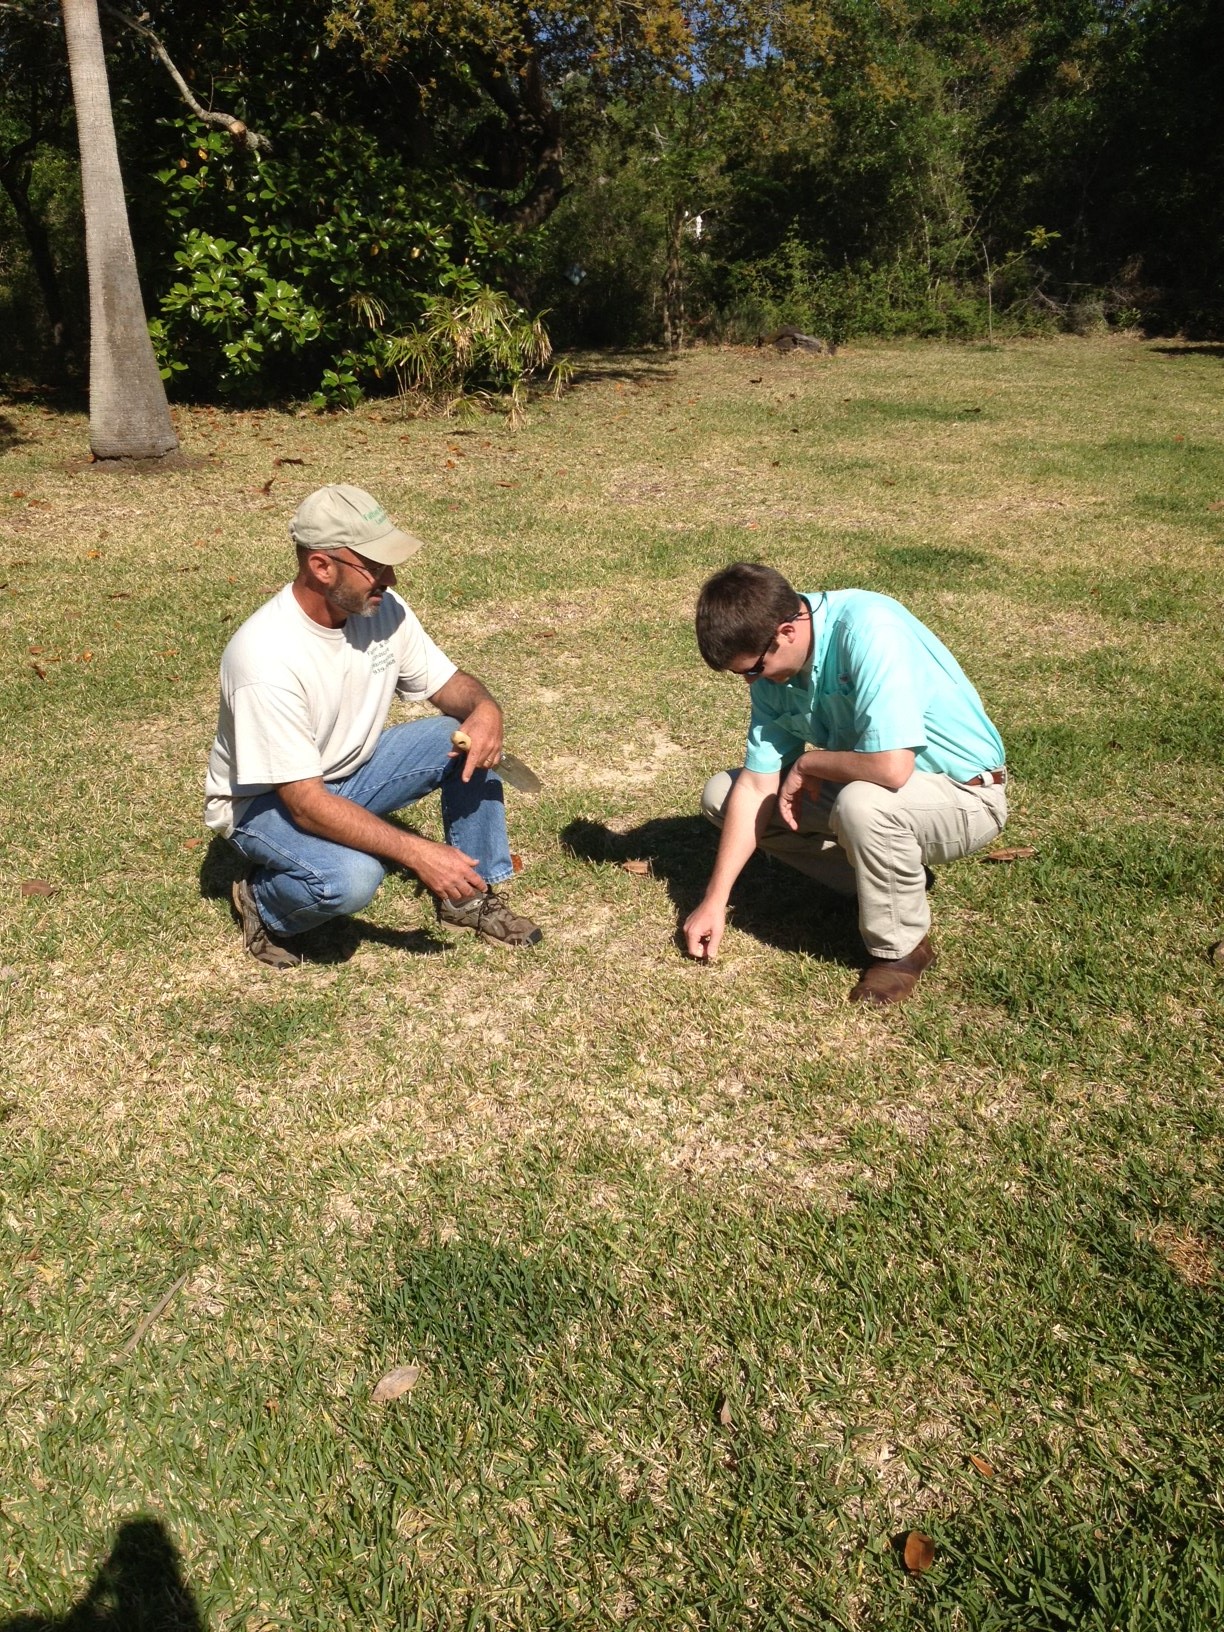
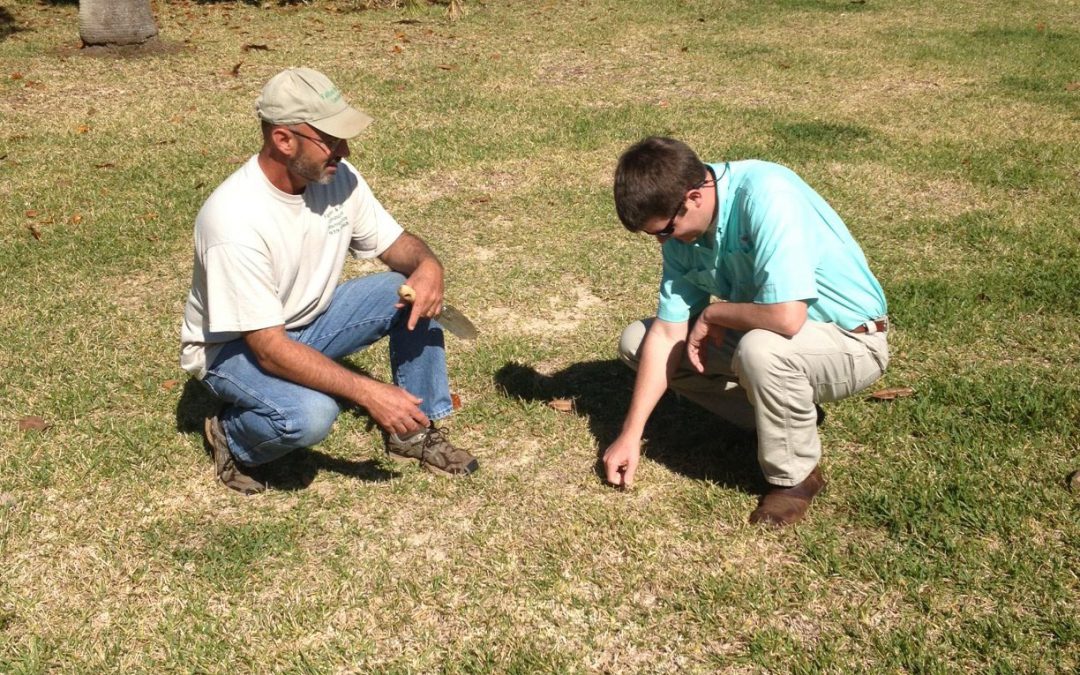
Some times the lawn just gets away from us. It can be completely invaded by weeds or have a devastating disease or insect pest cause total destruction. If your lawn is problem prone there are many cultural practices that can be modified to ensure a successful lawn, but sometimes the lawn is in need of a fresh start and needs to be completely reestablished. If over 50% of the lawn is undesirable than it is time to take action to develop better lawn.
What are the factors that may have caused your lawn to decline so badly? Well here are some common problems that may need to be overcome as you move your lawn into its new era:
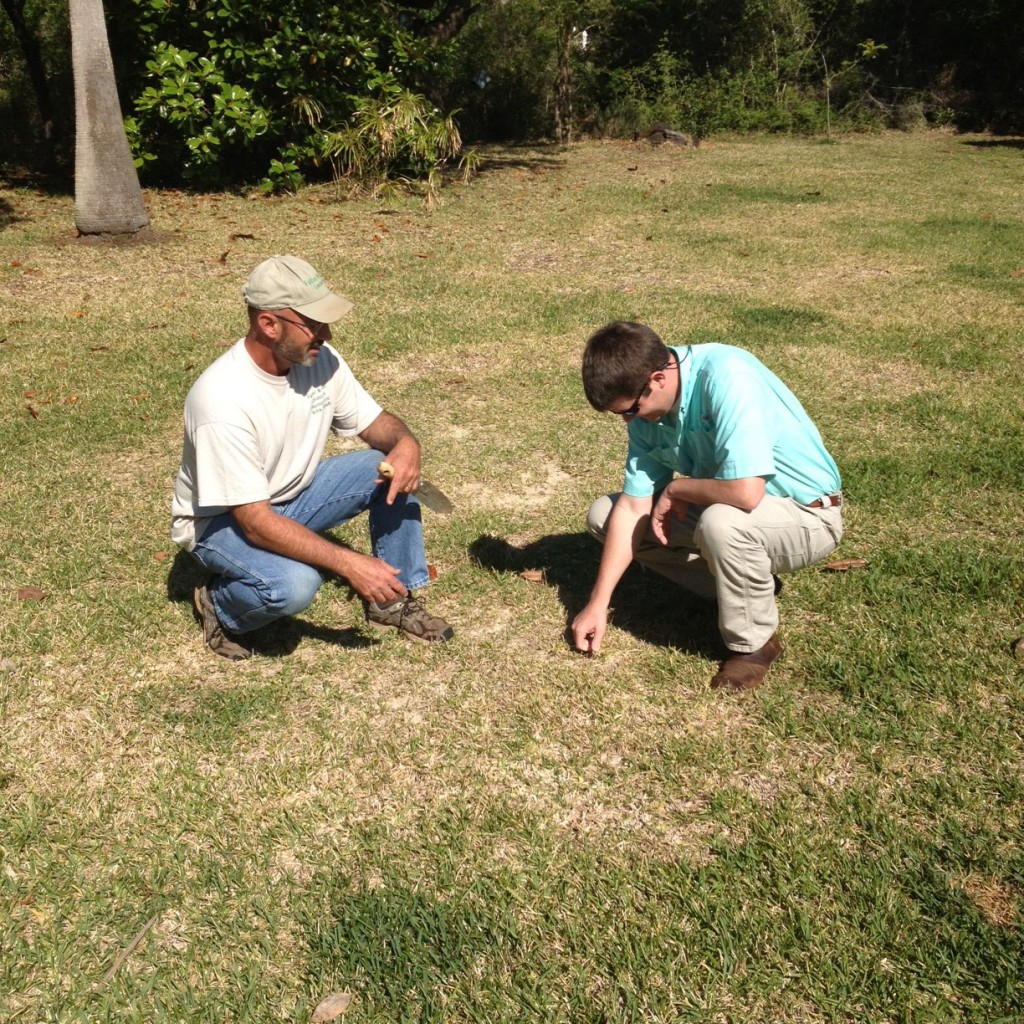
Contact your local UF/IFAS Extension Agent for lawn recommendations, Photo Credit: Blake Thaxton
As a new lawn is established, correcting these problems will help to ensure the investment will be better taken care of in the future.
Which turf should I choose for my next lawn? Try to answer these questions before you decide:
- How much maintenance can I provide?
- What do I expect aesthetically?
- Are there any site limitations ?
Here is a publication from Alabama Cooperative Extension to help you choose the correct turfgrass for your next lawn: Selecting Turfgrasses for Home Lawns (while looking at the tables use the South adaptation for the Florida panhandle)
Once the turfgrass type has been chosen, a variety must be chosen. Here are some recommendations:
- Centipede – ‘Common’
- Zoysia – ‘Empire’, ‘UltimateFlora’, ‘El Toro’
- St. Augustine – ‘Palmetto’, ‘Classic’
Get more information on Lawn Management in the Florida Lawn Handbook

by Blake Thaxton | Feb 24, 2015
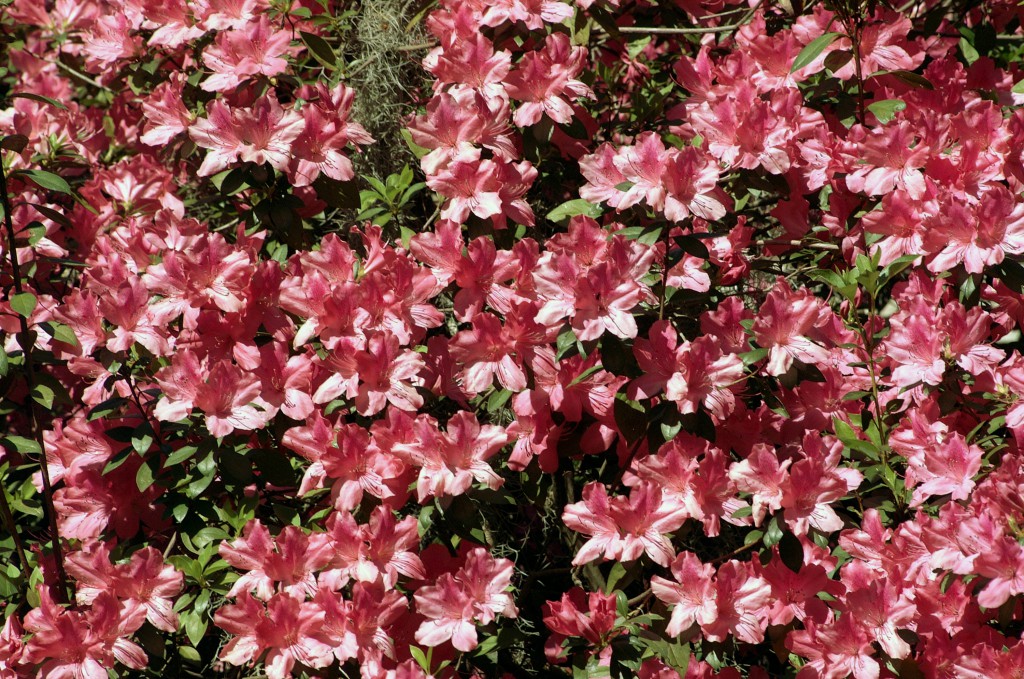
UF/IFAS Photo by Thomas Wright
Soon beautiful blooms will come forth from one of the great landscape shrubs that characterize the South. Blooms of many colors will be produced from the azalea. It will be a magnificent show as it is every spring. Annual pruning of azaleas must be very carefully timed to maximize bloom potential. Too early and this years blooms may be cut off, but too late and next years buds may be removed, which will become next years blooms. Therefore, pruning must be timed for the sweet spot on the calendar!

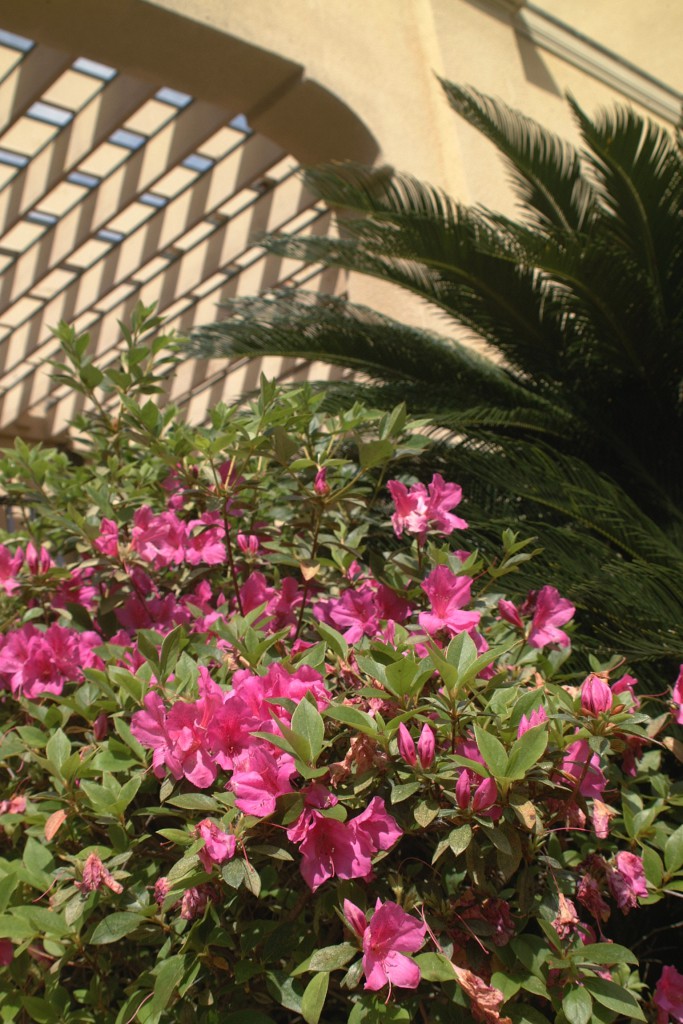
UF/IFAS Photo by Sally Lanigan
Azalea blooms are located on last years growth or one year old wood. This makes it very important to wait to prune until after the blooms have occurred in order to capture the colorful spring bloom that azalea gardeners prize. Though many get “Spring Fever” this time of year and cut everything in sight, restraint is in order to prevent bloom loss and not only get green foliage from this years’ azaleas.
UF/IFAS Photo by Sally Lanigan
Also it is very important to remember that since blooms are formed on one year old wood, azaleas must not pruned too late in the growing season. If pruned too late the plant will not have time to set flower buds on the new growth before fall begins. A good rule of thumb is to never prune an azalea after July 4th.
So when should our wonderful azaleas be pruned?
Never before flowering in the late winter and early spring
- After flowering as ended in the spring
- Before July 4th
Please see more information on the care of azaleas in the UF/IFAS publication, Azaleas at a Glance.
by Blake Thaxton | Jan 27, 2015

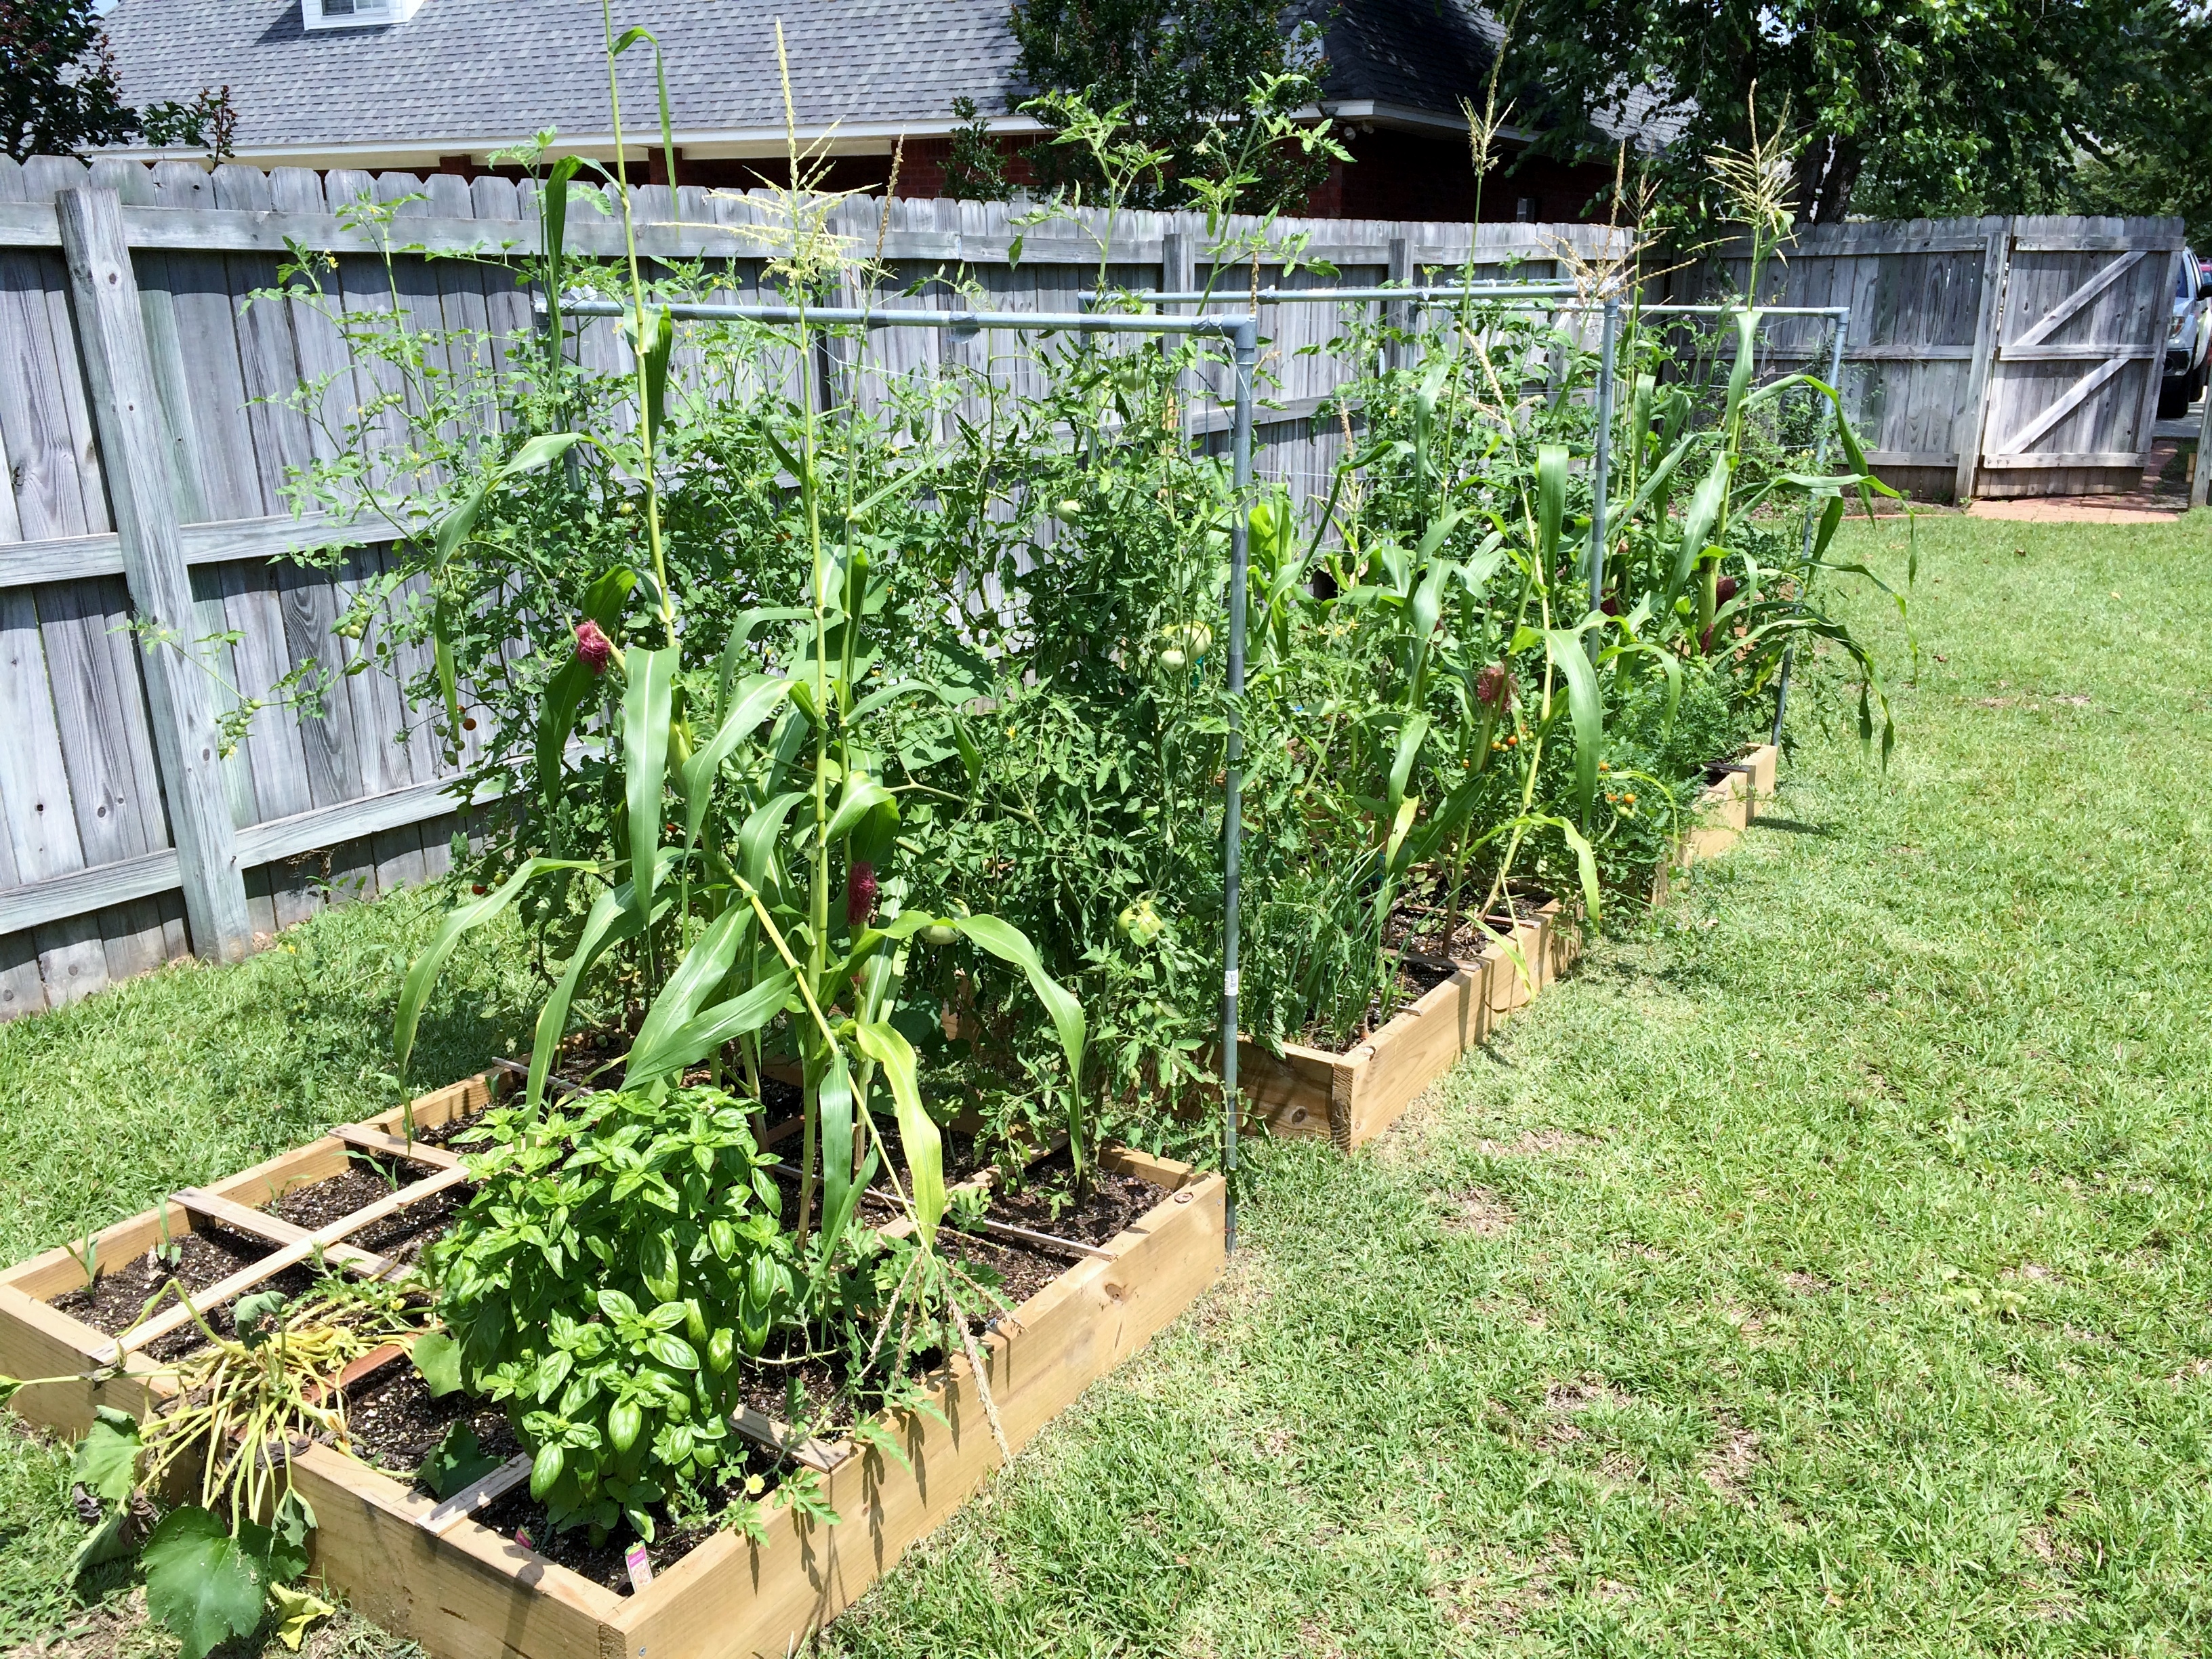
Raised bed spring vegetable garden in NW Florida – photo credit: Blake Thaxton
Growing spring vegetables in northwest Florida can be challenging! Sometimes failures seem more numerous than successes. Extreme cold events in the winter and blistering hot summer days make it tough on vegetables. One suggestion is to get the garden started earlier than usual!
The climate in northwest Florida challenges the gardener due to very high insect pest pressure and it being the perfect environment for fungal and bacterial diseases to grow. Hot and humid summers with moderate winters can be disastrous because diseases will be very active and the insects are not eliminated by extreme cold temperatures. Random cold temperatures in the spring make it hard to know when to plant the vegetable garden.
[important]Because insects and diseases become more active as it gets warmer in the spring, getting a head start may aid the success of your vegetable garden.[/important]
How can a gardener get a head start? Here are a few suggestions:
-
Start Vegetable Transplants Inside
Seems simple, but just getting seed started in a temperature controlled environment can help the vegetable plants get a leg up on the insect pests and diseases that are eminent. If you have a greenhouse structure, that would work perfectly. If not, consider starting your plants in a room with as much possible natural light. On warm days take the plants outside to get some sunshine.
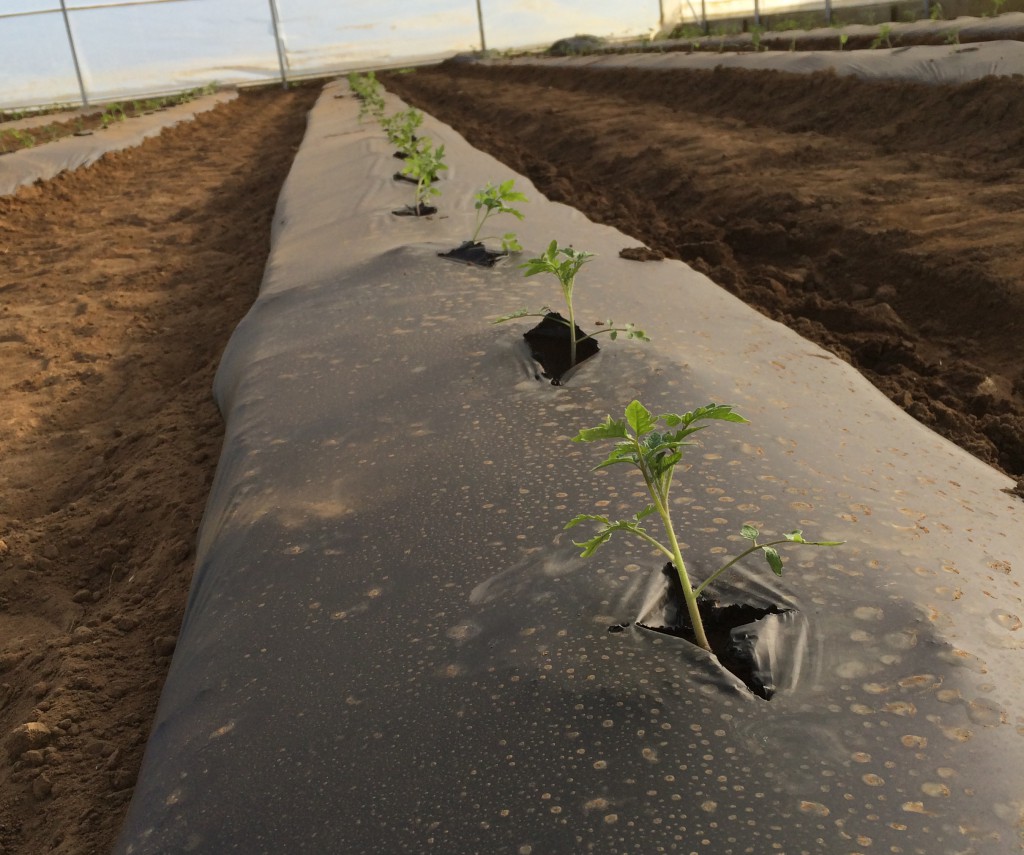
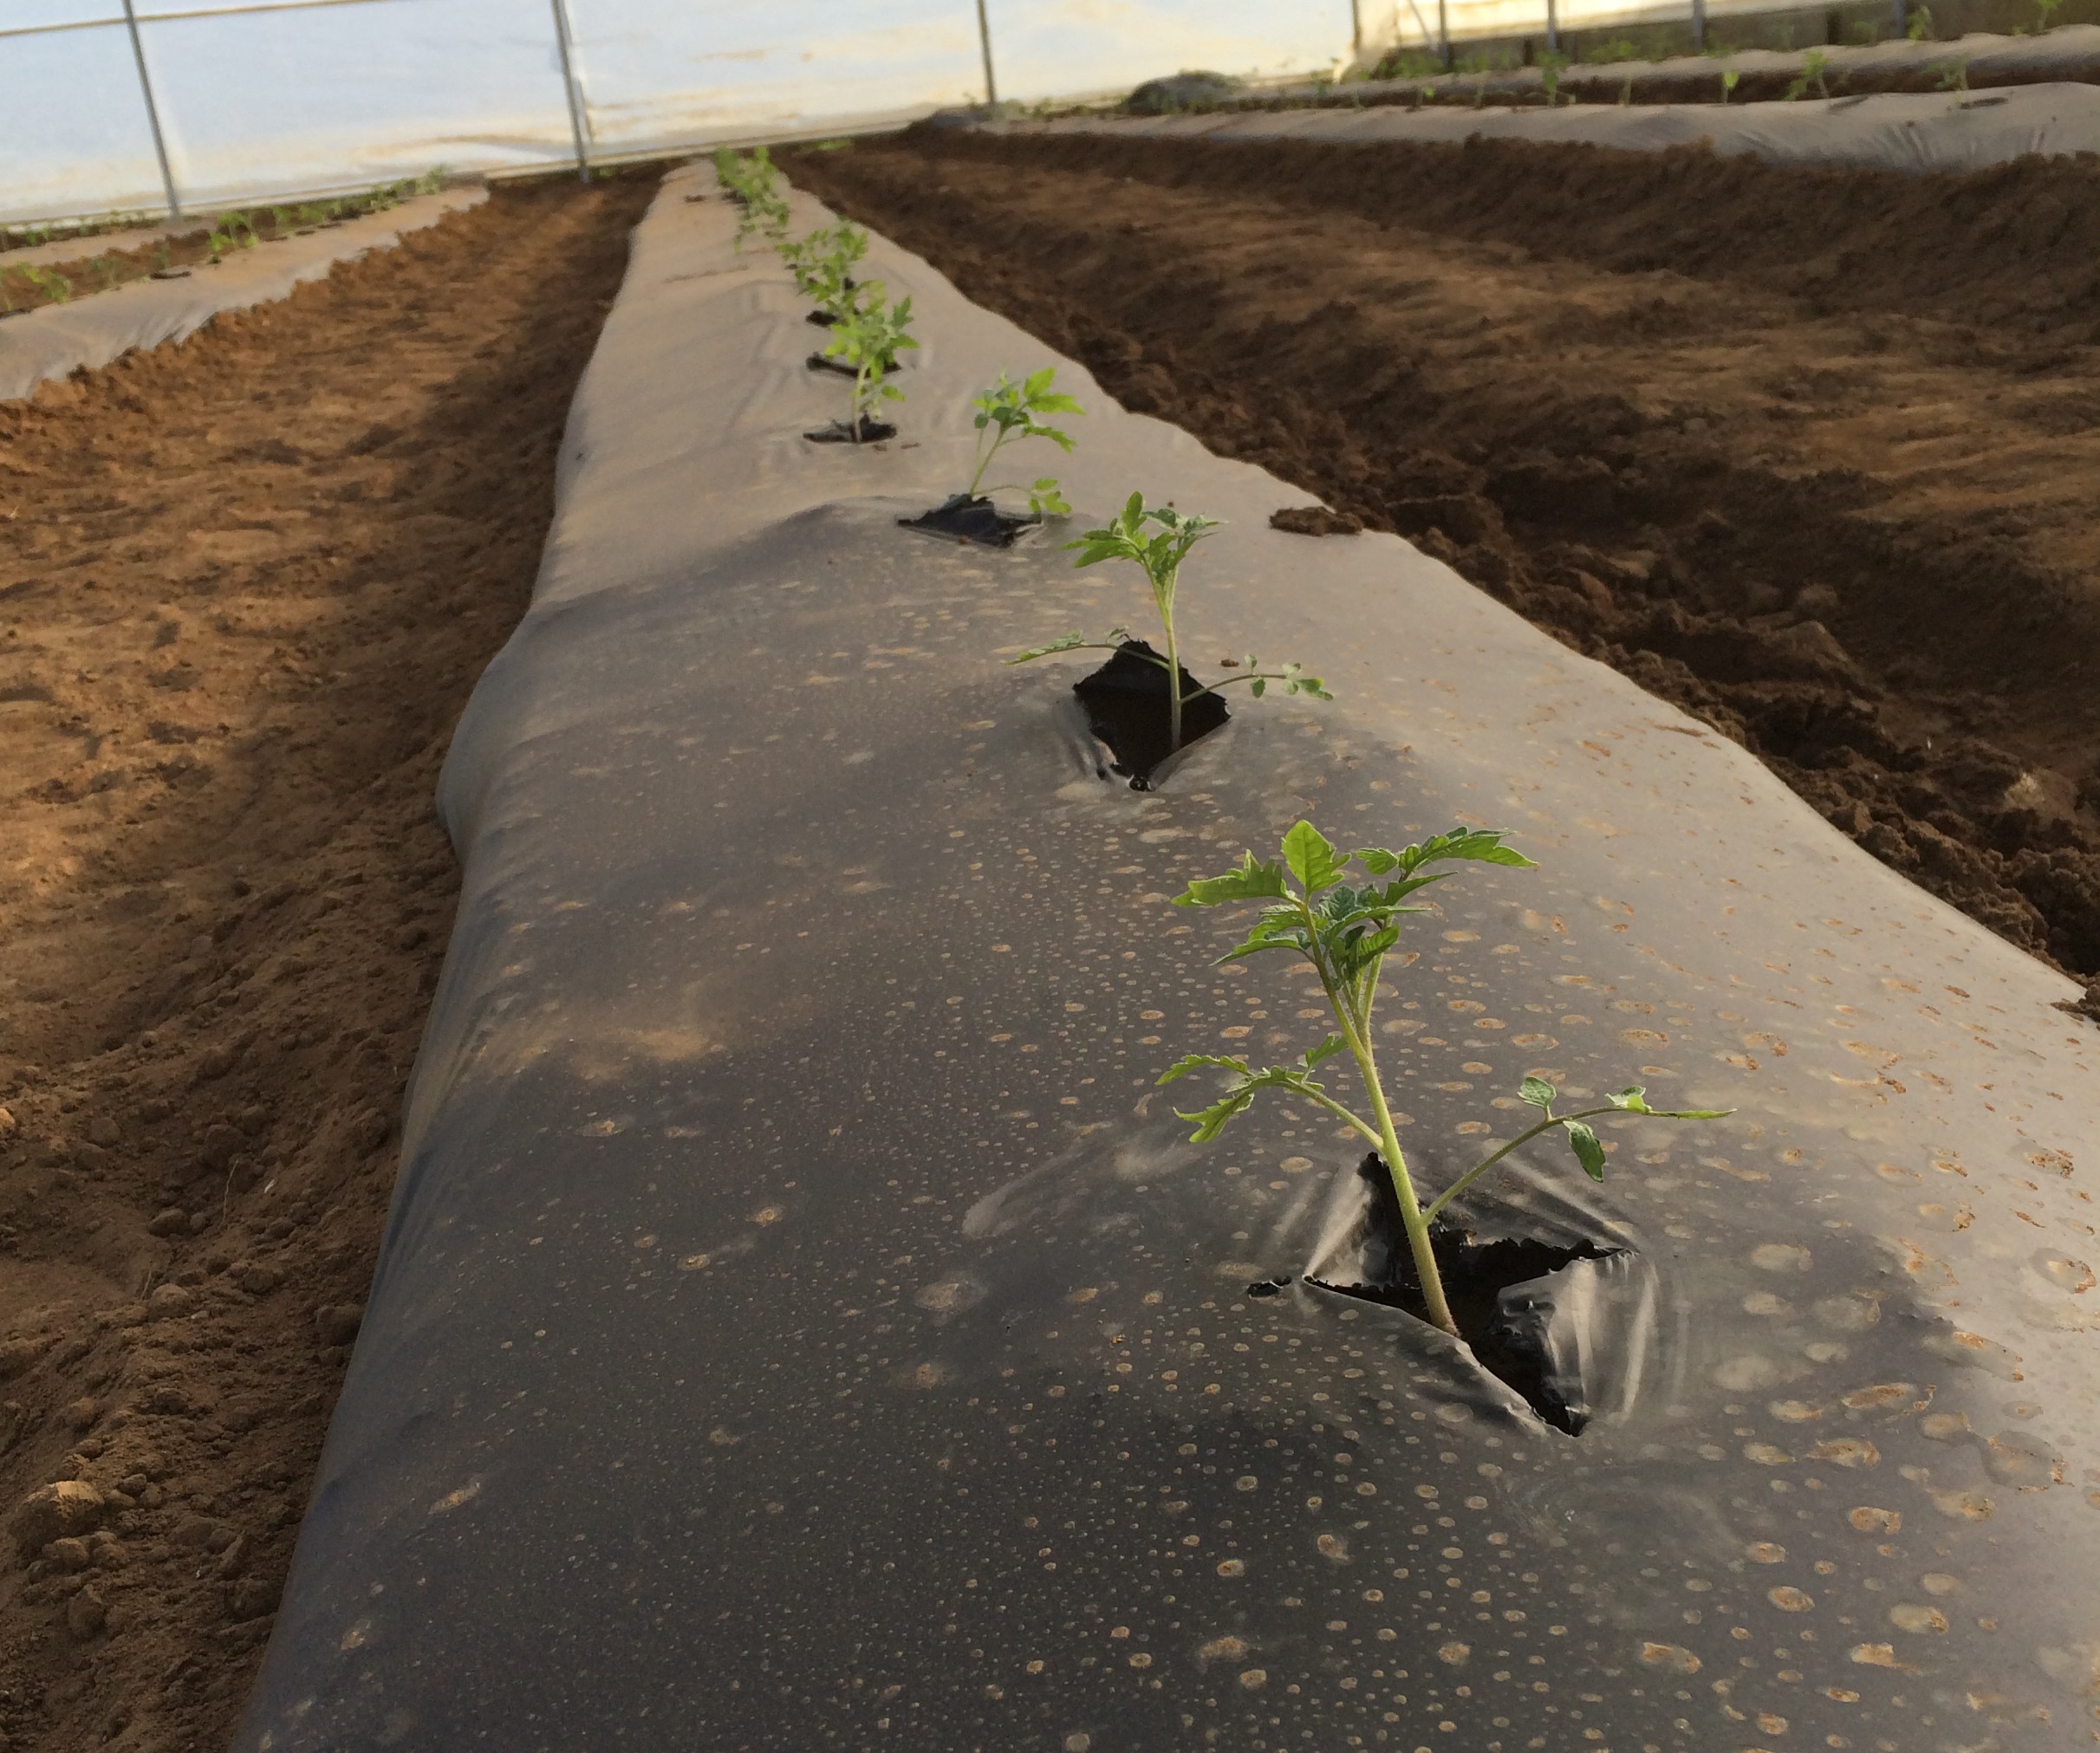
Tomato Plants grown with black plastic mulch – photo credit: Blake Thaxton
Black plastic mulch is commonly used in commercial vegetable production. One of its main functions is to help warm the soil to encourage root growth of the vegetable plants. Other benefits include good moisture and weed control.
Learn more from this Penn State Extension website: Plastic Mulches
Row Covers protect vegetable plants in the ground when temperatures drop lower than expected in the early spring. Row covers are transparent or semitransparent flexible materials used to cover a row of plants to help insulate the air around the plant from the colder temperatures and wind. If you can not find this kind of material you can always use black plastic nursery pots, Styrofoam cups, or other materials to protect individual small plants.
Learn more from this UF/IFAS publication: Row Covers for Growth Enhancement

A High Tunnel with end walls and side walls removed for cooling warmer temperatures – photo credit: Blake Thaxton
Another method of protecting your vegetable garden from cold early spring temperatures is to construct a high tunnel, also known as a hoop house. A high tunnel is a structure that looks very much like a greenhouse but the crops are planted in native field soil and the structure lacks an active temperature control. The temperature is passively controlled by rolling up end walls and side walls on warm days and closing the walls when cool temperatures are expected.
Learn how to build a high tunnel from this video from Utah State Extension: How to Build a High Tunnel
For more information on any of these topics please contact your local UF/IFAS Extension Agent or email Blake Thaxton: bthaxton@ufl.edu

by Blake Thaxton | Dec 23, 2014
It’s December! 2014 is coming to an end, and with it, our success and failures with our gardens and lawns are in our past. Maybe your garden or lawn experienced a great resurgence this year or was set back by the floods of April and the record low temperatures of November. Time to sit back, relax and dream about 2015 and the possibilities of the NEW YEAR!
What will your 2015 gardening or lawn New Year’s Resolution be? Here are a few suggestions:

Image Credit UF IFAS Extension FYN Program
- Fertilize Appropriately, for the sake of your lawn or garden and the environment. Also, it would be good to start out right in the spring and fertilize at the proper time.
- Planting your new trees and shrubs correctly so they can live for many years to come.
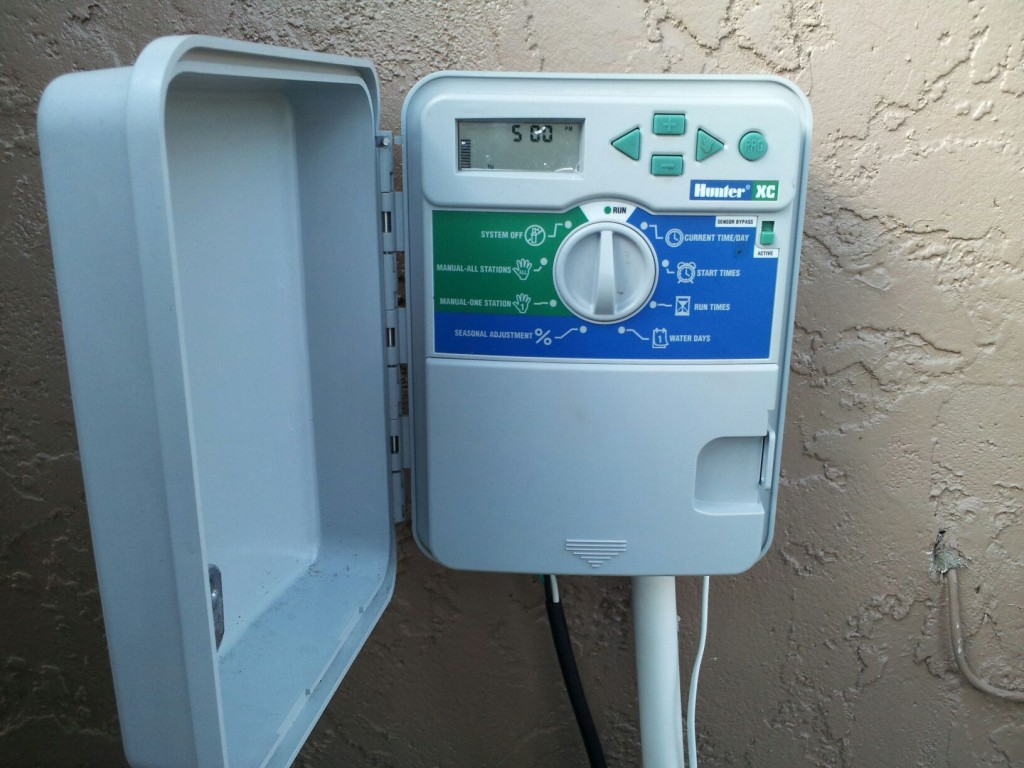
Home Irrigation Timer
- Calibrate your sprinkler system and get it functioning correctly.
- Properly prune (or not prune) your crapemyrtle
The possibilities are endless! Just dream up a resolution and go for it. And if you need help, UF/IFAS Extension will be right here beside you to give you the best research-based advice available.
by Blake Thaxton | Nov 25, 2014

Photo Credit: Blake Thaxton
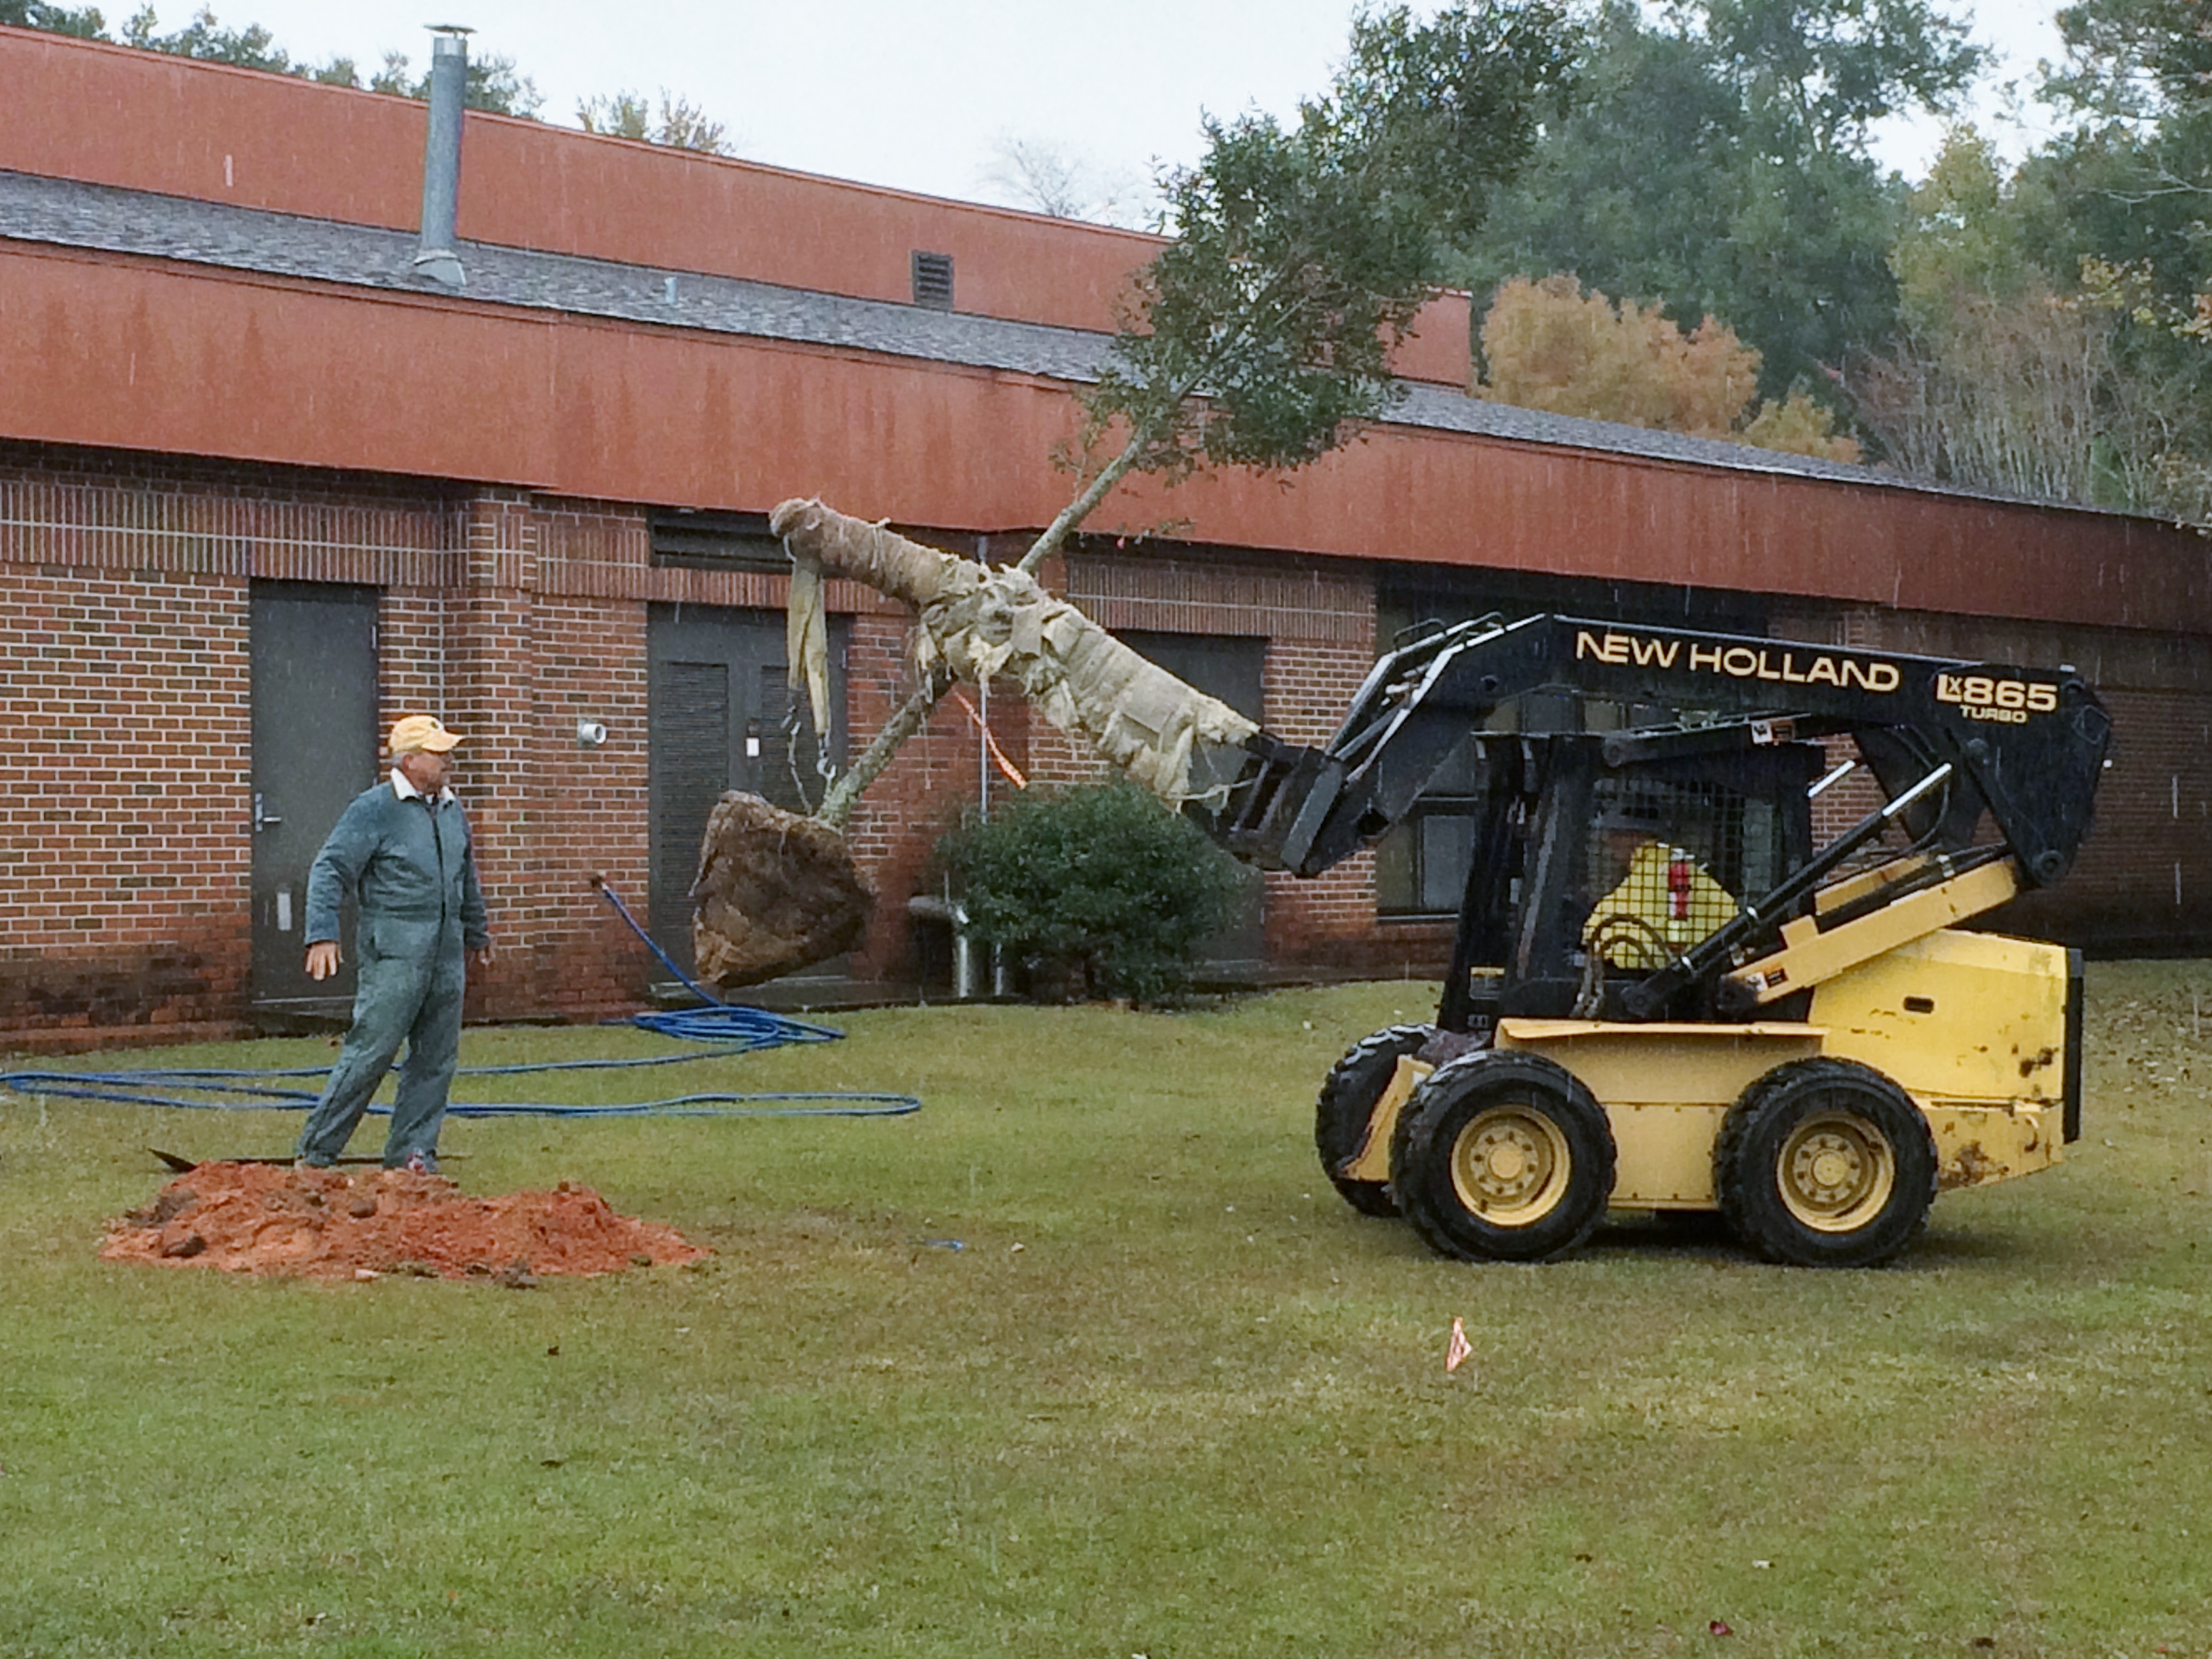
Often in Extension we are asked to look at unhealthy plants in the landscape. We see every problem under the sun. Whether it is diseases, insects, or cultural problems we run into them all. One problem that seems to be a trend, when clients show us a declining tree, is signs of improper tree installation. Though the tree may survive for 10 or 15 years after planting, it never thrives and it experiences a slow death. Here are 11 easy steps to follow for tree installation.
- Look Up
- Dig a shallow planting hole as wide as possible
- Find the point where the top-most root emerges from the trunk
- Slide the tree carefully into the planting hole
- Position the point where the top-most root emerges from the trunk slightly above the landscape soil surface
- Straighten the tree in the hole
- Remove synthetic materials from around trunk and root ball
- Slice a shovel down in to the backfill
- Cover the exposed sides of the root ball with mulch
- Stake the tree if necessary
- Come back to remove hardware
For more detailed information visit this UF/IFAS website.
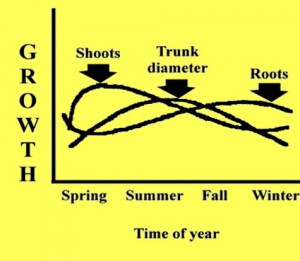
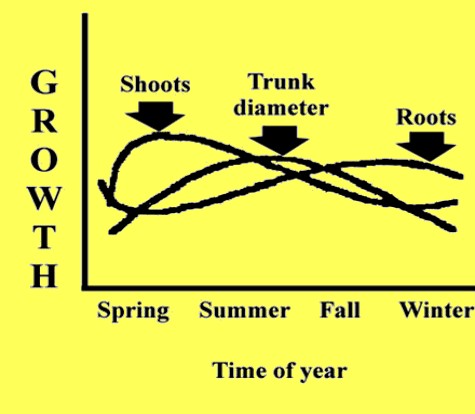
Also remember that fall is a great time to plant a tree because of the way trees grow. As you can see on the image above, roots tend to grow in the winter. This is a good thing so that the root system will be well established when spring comes and a new flush of growth will begin on the top of the tree.