by Larry Williams | Oct 26, 2016
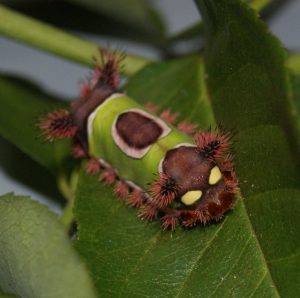
Saddleback Caterpillar – Image Credit Matthew Orwat
The reality of what happens deep down in the darkness of a fire ant mound hidden to human eyes or in the tunnels of a mole cricket where only creepy crawly things dare to enter may be too scary to believe.
University of Florida Institute of Food and Agricultural Sciences along with USDA introduced a tiny South American fly to the U.S. to help control the pesky imported fire ant. Literally, these introduced phorid flies cause the imported fire ants’ heads to fall off. They then use the decapitated heads to reproduce. The flies hover above the ants, dive in, latch on to the ant’s body and inject their eggs. The egg hatches, and a maggot wiggles its way into the ant’s head, where it grows for two to three weeks before secreting a chemical that dissolves the membranes holding the ant’s body together. In a few hours the ant’s head falls off. The maggot eats everything in it and then uses it as a pupae case. Gruesome, isn’t it?
Assassin bugs are frequently seen slowly crawling on shrubs in our landscapes. Most are brown to black but many are brightly colored. A common species is reddish-orange in the nymph stage. Assassin bugs feed on many harmful insects. Caterpillars are their favorite food.
They digest their prey before eating it. They do this by piercing their victim with their sharp beak, injecting digestive enzymes. This causes chaos on the unfortunate insect’s nervous system and liquefies the internal organs. The liquefied contents are then consumed, leaving only the shell of its kill. How tragic.
The larra wasp, an introduced predatory insect by University of Florida entomologists, enters a mole cricket tunnel. The female wasp will pounce on the mole cricket, wrestle with it and sting it on its soft underside. This immobilizes the mole cricket long enough to allow the wasp to deposit a single egg on its underside. The mole cricket recovers and burrows back into the ground. The wasp larva eventually hatches and slowly eats the mole cricket alive. Poor mole cricket.
We mere mortals should be aware of these horrifying happenings occurring in our own backyards. And we should be frightened by those people who attempt to kill every six-legged critter in sight because they have wrongly identified them as bad. In reality, less than one percent of all insects that exist are damaging to our plants. Most are of no consequence to our lawns, landscapes or gardens. And many are beneficial.
These beneficial insects are helping us gardeners battle the bad bugs during Halloween and year round.
by Larry Williams | Sep 23, 2016

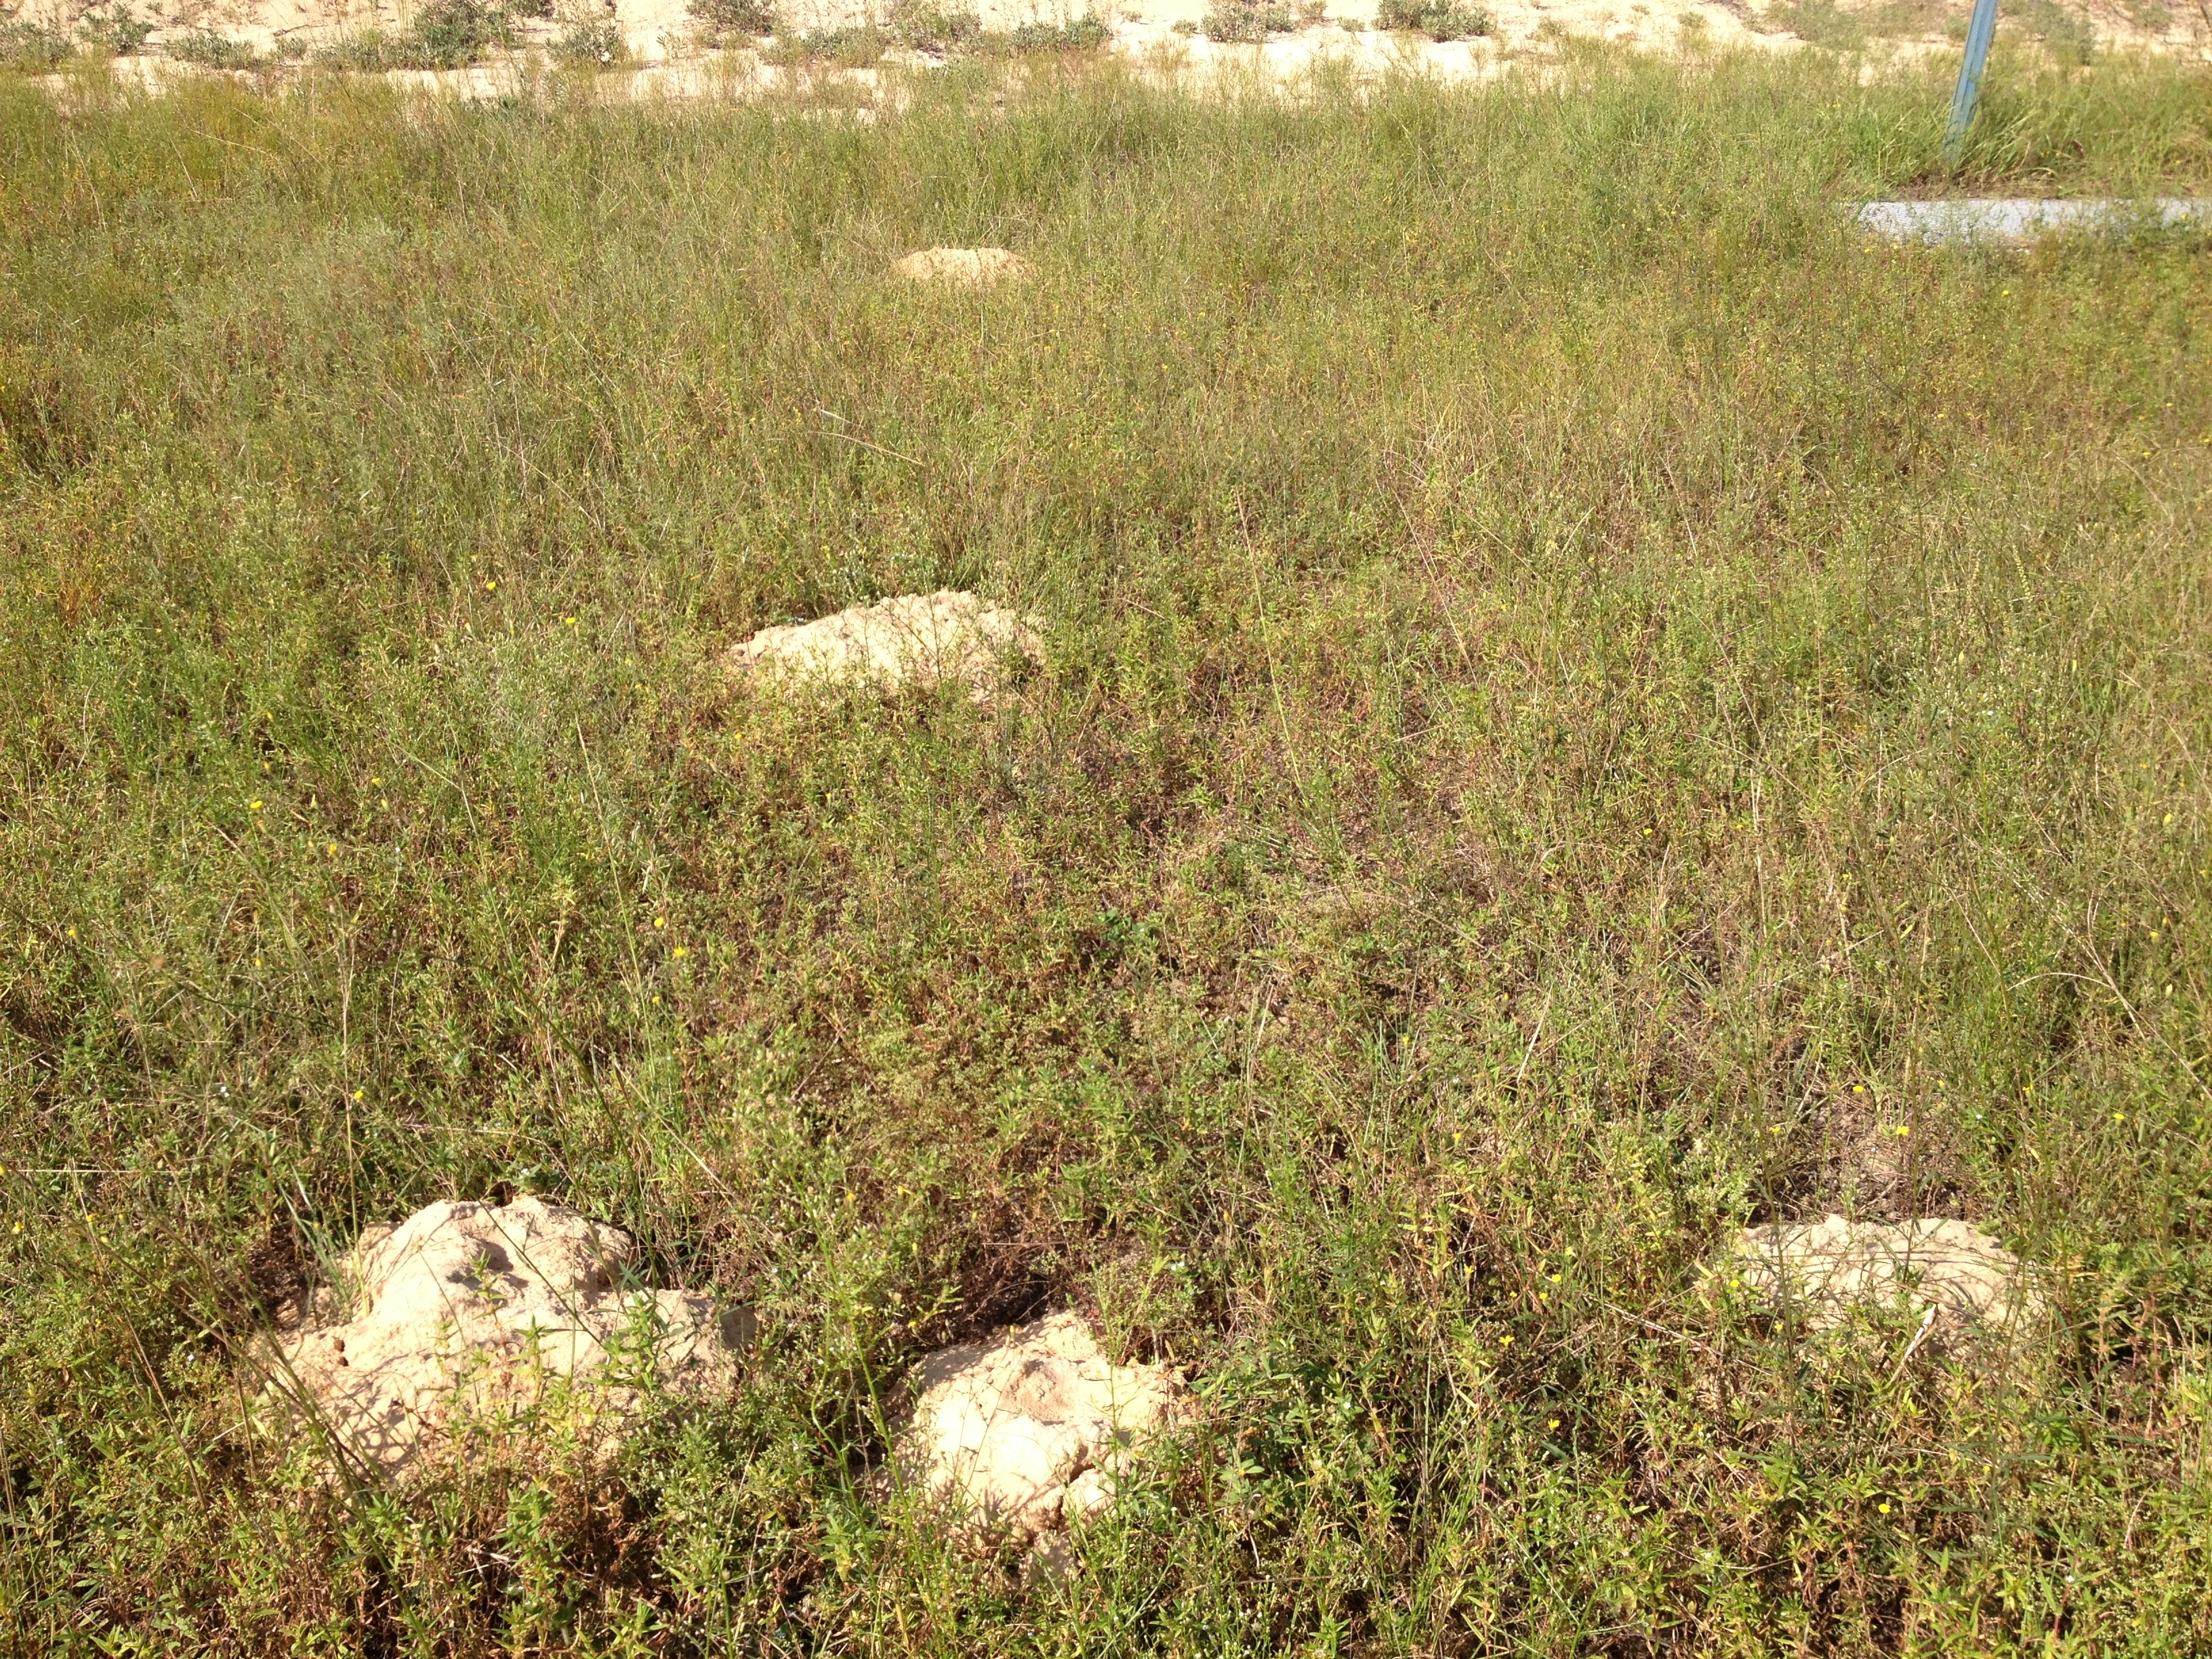
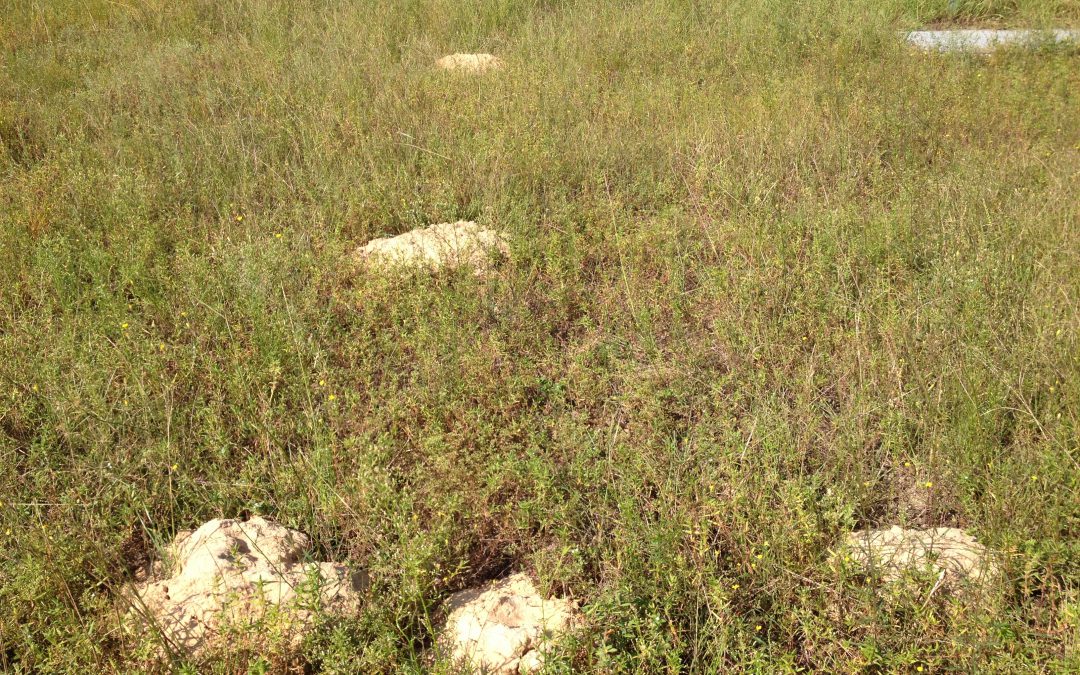
Mounds of sand made my pocket gopher along roadside. Photo Credit: Larry Williams
Pocket gopher is a furry animal known by many locals as “sandy mounder.” It was given this name because of the sandy mounds of excavated earth that the gopher pushes out of its underground burrows. The name sandy mounder, with time, became “salamander.” This animal is not a salamander at all. Salamanders are slimy amphibians shaped like lizards. Salamanders are often known as “spring lizards” in Florida.
To make this nomenclature problem more confusing, in some areas of Florida gopher means a certain burrowing tortoise – the gopher tortoise.
To simplify things keep in mind that in Florida “spring lizard” can mean “salamander” and “salamander” can mean “gopher” and “gopher” can mean “turtle.”
“Gopher” is a confusing word all over the country. Jeff Jackson, retired wildlife biologist with University of Georgia Extension says, “The Richardson’s ground squirrel of the west is called gopher. So is the thirteen lined ground squirrel of the Great Plains and Midwest. Moles are called gophers in many areas. And voles (certain short-tailed mice) are called gophers in some states.”
Jackson says there are six species of “sure enough, genuine pocket gophers in the United States.” Our pocket gopher is the Southeastern Pocket Gopher, found in north Florida, south Alabama and south Georgia.
The pocket gopher spends its time underground making tunnels and nests, eating roots and bearing and raising young. It may venture into residential areas where it can damage plants by feeding on tree and shrub roots or bulbs and tubers of various plants.
A pocket gopher can make fifty or more sandy mounds in a relatively short period of time. These mounds, which are normally four to six inches high and possibly a foot across, are what get homeowners’ attention. The mounds can “popup” overnight in lines or rows. They resemble fire ant mounds; however, they contain no ants.
The pocket gopher is a rodent that grows to about a foot long, has a short tail and weighs about half a pound. Its name comes from the large fur-lined pouches on the outside of its cheeks.
Even though they do contribute to the formation of soil and provide a food source for some predators, sometimes their damage may justify control measures.
Trapping is the most effective option. No chemical repellents are known to be effective. It’s illegal to use any poison to kill gophers. Vibrating devices have not been proven to repel gophers. A long held belief that Wrigley’s Juicy Fruit gum kills gophers by blocking their digestive system has been proven to be false.
A detailed fact sheet is available online at http://edis.ifas.ufl.edu/uw285.

by Larry Williams | Sep 2, 2016
Tropical sod webworms have been active in local lawns during the past few weeks here in North Florida. All of our warm season turf grasses are susceptible to these pests.
Sod webworms are not consistently a problem every year. Some years their numbers are low enough that they are not a problem. Some years we do not see them at all. Those years when they are a problem, it’s usually not until late summer and early fall that they become active and they may continue to feed on lawns until frost occurs.
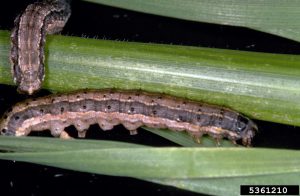
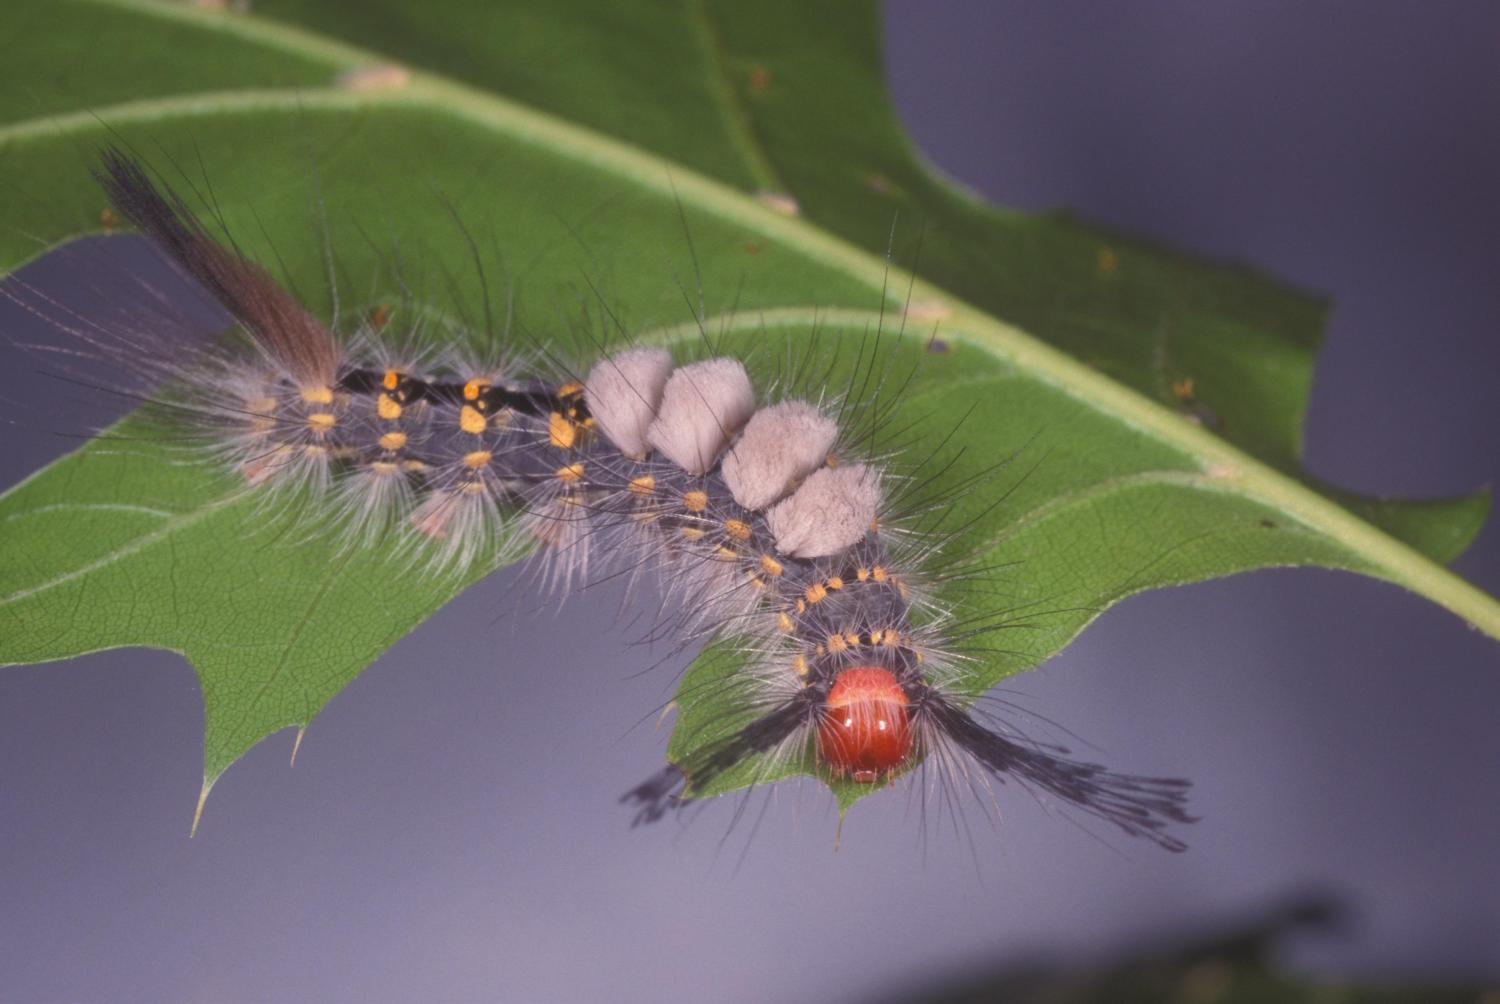
Fall armyworm. Photo credit: Frank Peairs Colorado State University, bugwood.org.
Fall armyworms and sod webworms can attack at the same time. Sod webworms are the smaller of the two species, reaching a length of about ¾ inch. Armyworms grow to ½ inch in length. Both of these caterpillars are greenish when young, turning brown at maturity. Armyworms generally have a light mid-stripe along their back with darker bands on either side of the mid-stripe. Their feeding is similar, resulting in notched or ragged leaf edges.
Sod webworms tend to feed in patches while armyworms cause more scattered damage. Sod webworms feed at night while armyworms will be seen feeding during the day. Sod webworm caterpillars rest, curled up near the soil surface during the day. Adults of both species are fairly small grayish to brown moths.
If your lawn has damaged spots, look closely for notched leaf blades from their chewing. You may first notice a patch in your lawn that looks like it has been mowed extra low. Closer inspection reveals grass blades that are chewed away. Caterpillar feeding on zoysiagrass shows up more as translucent whitish tan areas on the surface of individual blades more so than as notched blades.
Fall armyworms and sod webworms can be controlled with the same insecticides as the other lawn insects. But you also may use insecticides that contain Bacillus thuringiensis; a bacterium that only kills caterpillars. Control should only be directed against the caterpillars, not the non-feeding, flying adult moths. Always follow the label directions and precautions for any pesticide you use.
For more information on lawn caterpillars contact the UF/IFAS Extension Office in your County or visit http://edis.ifas.ufl.edu/topic_tropical_sod_webworm.
by Larry Williams | Aug 2, 2016

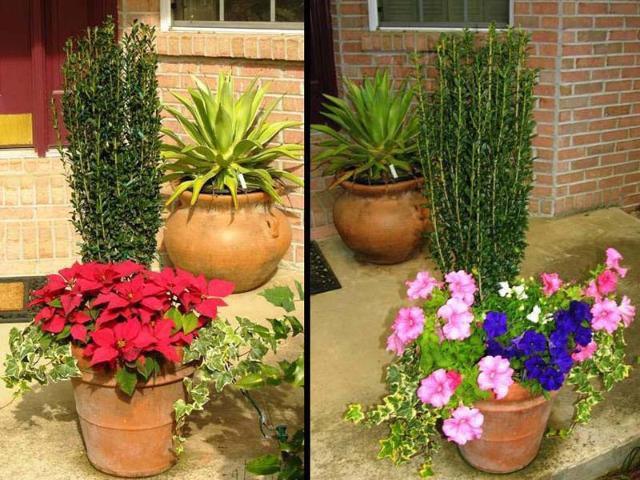
Containers to brighten bare spots. Photo Credit: UF/IFAS Extension
There are areas in most landscapes where it is not practical or possible to bring in the tiller and create a flowerbed. But that doesn’t mean you can’t have color in those areas. A little imagination, a decorative container and appropriate plants can turn a bare spot into a splash of color.
Consider using a container of annuals to add color to a backyard deck or a paved entrance way. Or what about that area under the tree where grass doesn’t want to grow and where it would be difficult to till without damaging the tree’s roots and the tiller? How about the dry spot where there is no irrigation but where it would be more practical to occasionally hand water a well-placed container of colorful caladiums?
A wide variety of flowering annuals work well in containers. But be sure to select plants based on the exposure. Some annuals quickly bake from full sun exposure and others become leggy and bloom poorly in a shady location.
Impatiens and begonias do well in shaded places and remain in flower almost continuously. Caladiums also do well in containers in shady areas. They don’t bloom but they have colorful leaves.
It’s more difficult to grow container plants in full sun but there are some annuals to consider for sunny spots. Periwinkle and all types of portulaca are heat tolerant and do well in full sun.
There are many other annuals that can be successfully grown in containers. You might like to try ageratum or salvia. In addition to annual salvia, there are numerous perennial types to try. And there are sun-tolerant begonia and sun coleus varieties for full-sun places.
by Larry Williams | Jun 22, 2016
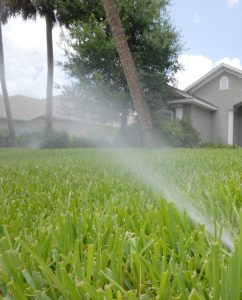
MICROIRRIGATION – Image Credit UF/IFAS Extension
When watering to establish a lawn or when renovating (redoing, patching, reestablishing, starting over, etc.) a lawn, we normally call for 2-3 “mists” throughout the day for the first 7-10 days until roots get established. These are just 10 minute bursts. Then back off to once a day for about ½ hour for 7-10 days. Then go to 2-3 times a week for about 7 days. By then your lawn should be established.
If we are experiencing adequate rainfall, you may not need to irrigate. Rain counts. But in the absence of sufficient rain, you’ll need to provide enough water at the correct time to allow your new sod to root – hence, the above directions.
A well designed and correctly installed irrigation system with a controller, operated correctly, helps to achieve uniform establishment. It can be difficult or impossible to uniformly provide sufficient water to establish a lawn with hose-end sprinklers, especially if the lawn is sizeable and during dry weather. Most people are not going to do the necessary job of pulling hoses around on a regular basis to result in a well-established lawn.
Too much water will result in rot, diseased roots and diseased seedlings and failure. Too little water will result in the sod, seedlings, sprigs or plugs drying excessively and failure to establish. The end result at best is a poorly established sparse lawn with weeds. Or complete failure.
There is no substitute or remedy for incorrect irrigation when establishing a brand new lawn or when renovating an entire lawn or areas within a lawn.
It would be wise to not invest the time and money if the new lawn cannot be irrigated correctly. Taking the gamble that adequate (not too much, not too little) rainfall will occur exactly when needed to result in a beautiful, healthy, thick, lush lawn is exactly that – a gamble.
An irrigation system is nothing more than a tool to supplement rainfall. As much as possible, learn to operate the irrigation controller using the “Manual” setting.
The above schedule should help when planting a lawn from seed, sprigs, plugs or sod.
For additional information on establishing and maintaining a Florida lawn, contact your County UF/IFAS Extension Office or visit http://hort.ufl.edu/yourfloridalawn.