by Larry Williams | Apr 7, 2016
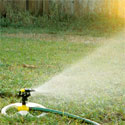
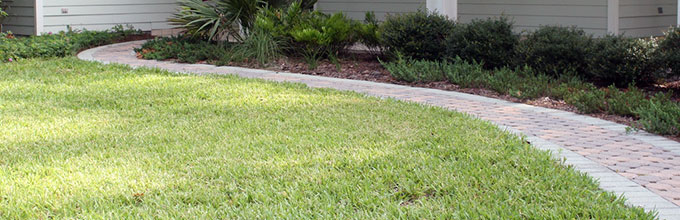
Watering to establish lawn
When watering to establish a lawn or when renovating (redoing, patching, reestablishing, starting over, etc.) a lawn, we normally call for 2-3 “mists” throughout the day for the first 7-10 days until roots get established. These are just 10 minute bursts. Then back off to once a day for about ½ hour for 7-10 days. Then go to 2-3 times a week for about 7 days. By then your lawn should be established.
Of course, if we are experiencing adequate rainfall, you may not need to irrigate. Rain counts. But in the absence of sufficient rain, you’ll need to provide enough water at the correct time to allow your new sod to root – hence, the above directions.
A well designed and correctly installed irrigation system with a controller, operated correctly, really helps to achieve uniform establishment. It can be very difficult or impossible and inconvenient and time consuming to uniformly provide sufficient water to establish a lawn with hose-end sprinklers, especially if the lawn is sizeable and during dry weather. Most people are not going to do the necessary job of pulling hoses around on a regular basis to result in a well established lawn.
There is no substitute or remedy for incorrect irrigation when establishing a brand new lawn or when renovating an entire lawn or areas within a lawn.
It would be wise to not invest the necessary time and money if the new lawn cannot be irrigated correctly. Taking the gamble that adequate (not too much, not too little) rainfall will occur exactly when needed to result in a beautiful, healthy, thick, lush lawn is exactly that – a gamble.
An irrigation system is nothing more than a tool to supplement rainfall. As much as possible, learn to operate the irrigation controller using the “Manual” setting. It is also wise and is state law to have a rain shutoff device installed and operating correctly. The rain shutoff device overrides the controller when it is raining or when sufficient rainfall has occurred. Rain shutoff devices are relatively inexpensive and easily installed. Also, a good rain gauge can be an inexpensive tool to help you monitor how much rain you’ve received. Rain counts.
Too much water will result in rot, diseased roots and diseased seedlings and failure. Too little water will result in the sod, seedlings, sprigs or plugs drying excessively and failure to establish. The end result at best is a poorly established sparse lawn with weeds. Or complete failure.
For additional information on establishing and maintaining a Florida lawn, contact your County UF/IFAS Extension Office or visit http://hort.ufl.edu/yourfloridalawn.

by Larry Williams | Mar 11, 2016
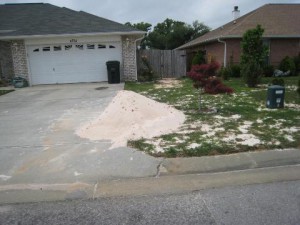
Topdressing material should be weed and nematode-free. Photo Credit: Bryan Unruh, UF/IFAS Turfgrass Specialist.
Q. I see some folks putting a layer of lawn dressing (usually sand) on their lawns in the spring. What’s the purpose for this and is it a good practice?
A. Routinely applying a layer of soil or sand to a lawn can cause more damage than good. This practice is sometimes referred to as topdressing. You can introduce weed seeds, nematodes and even diseases with some sources of lawn dressing. Basically, the only reasons to apply a layer of soil or sand to a lawn are to fill in low areas or bare areas, as a method of dealing with an identified thatch problem or possibly to cover surface tree roots.
Topdressing your lawn with sand on a regular basis is not a recommended practice.
Topdressing soil should be free of weeds and nematodes (sterilized is ideal) and should be of the same soil type (texture) as that on which the turf is currently growing.
While minor low spots can be corrected this way, you can easily overdo it and smother your lawn. Using topsoil from an unknown source may introduce undesirable plants and weeds into the landscape, creating additional work and expense to correct the problem.
It can be difficult to evenly spread the sand in a timely manner. Homeowners start with the best intentions of spreading the sand consistently and finishing by the end of the day only to find that the job is slow and difficult. The sand pile remains in the same spot for days, or longer, shading out and frequently killing the grass below. Once the initial enthusiasm wanes, just trying to reduce the mountain of sand overcomes the objective of spreading it consistently and evenly over the lawn. The end result is dozens of small mounds of sand all over the lawn.
To fill a low spot, shovel the sand, no more than about an inch or two deep, into the area. It’s best to maintain the lawn normally until the grass has grown on top of the first layer. Repeat until the low spot is filled.
Homeowners are sometimes convinced that topdressing will improve the condition of their lawn by increasing the spread and thickness of their turf.
“Topdressing home lawns has minimal agronomic benefits” according to Dr. Bryan Unruh, University of Florida Extension Turfgrass Specialist. When asked his advice for homeowners on topdressing, his reply was “don’t”.
by Larry Williams | Feb 10, 2016
It
Image courtesy UF / IFAS Florida Friendly Landscaping
It’s too early to fertilize our warm-season lawn grasses now. This includes the use of fertilizers contained in weed-and-feed products.
There are a number of reasons why it’s best to wait to fertilize your lawn.
First, the soil temperature is too cool for grass roots to have access to some of the fertilizer elements. For example, iron and potassium are poorly available until the soil warms up in spring. Some nutrients leach below the grass roots because the lawn can’t use them yet. This results in waste of fertilizer, time and money.
Secondly, fertilizing too soon can induce nutrient deficiencies and off color areas in your lawn. This is one cause for bright yellow areas in lawns during early spring. Nitrogen is readily taken up by the lawn, even under cool soil conditions, and stimulates early green growth. Early lawn growth is dependent on iron also being readily available. However, iron is poorly available under the cool soil conditions of late winter and early spring. Therefore lawns turn yellow in areas due to an iron deficiency caused by an early fertilizer application. Many times, as soil temperatures warm during mid April and May, the iron becomes available and the lawn turns green. So why not avoid this scenario by waiting until mid April to fertilize your lawn?
It takes consistently warm night temperatures to allow the soil to become warm enough for best root growth and optimal uptake of fertilizer.
Thirdly, the young, tender grass roots that are beginning to grow in early spring are easily burned by the fertilizer.
Fourthly, fertilizing too early can stimulate early lawn growth, which is tender and easily injured by a late frost. The average date for our last killing frost is mid March.
Also, be very cautious about using weed-and-feed products that recommend a late winter application. These products are usually high in nitrogen, which will cause your lawn to begin growing too early. If you’re trying to control weeds, it’s best to apply your herbicides separately from fertilizer, anyway.
In North Florida, it’s best to wait until your lawn has completely greened up in spring before applying any fertilizer.
Waiting allows for more efficient use of the fertilizer. You will not injury you lawn by waiting to fertilize but you can certainly injure your lawn by fertilizing too early.
So, have patience, allow your lawn to green up on its own and then fertilize, even if it’s not until mid April or May.
by Larry Williams | Jan 13, 2016
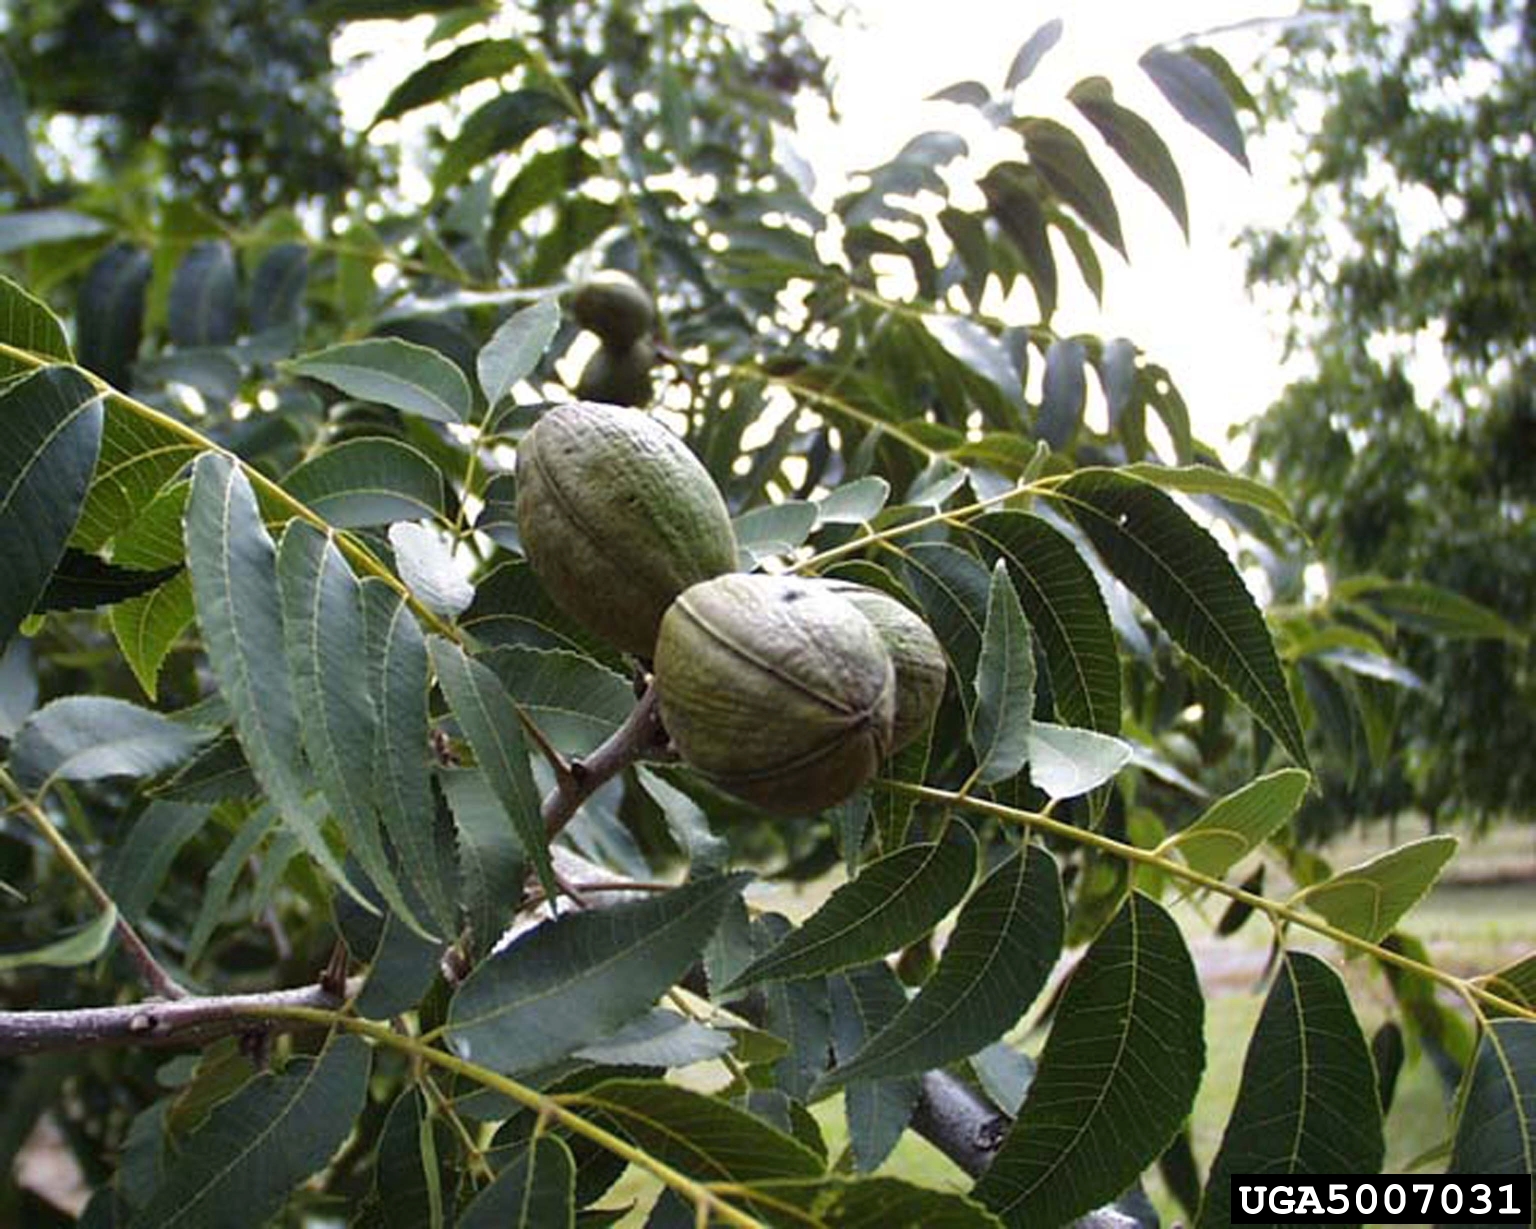
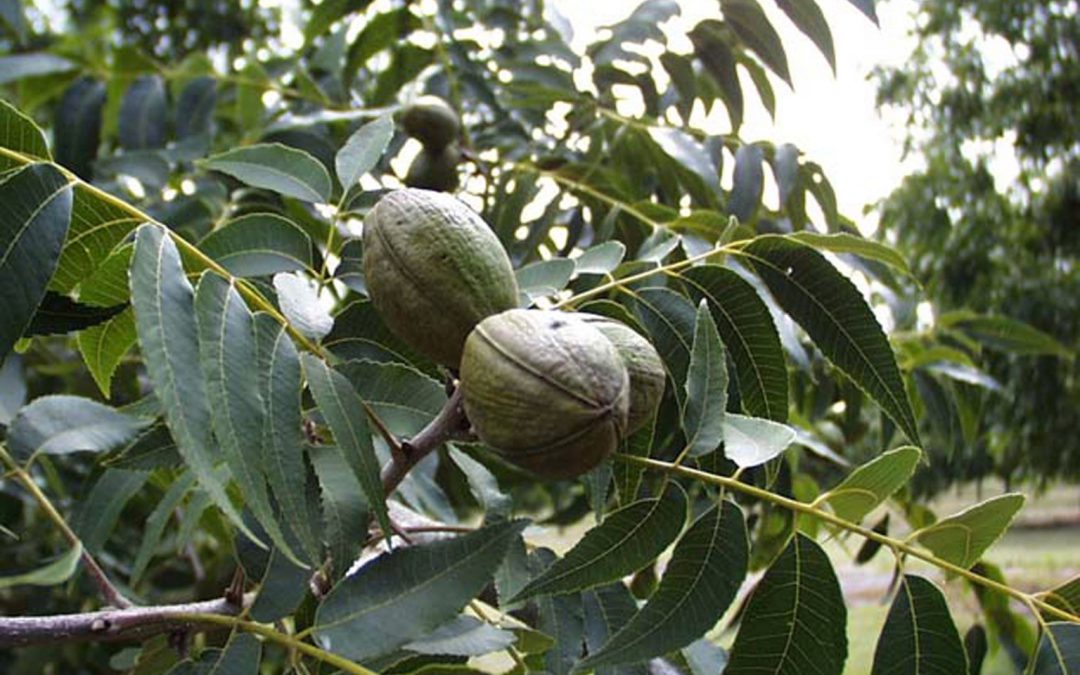
Pecan trees are well adapted to our area, making beautiful large shade trees. And, if the correct varieties are planted, they can provide pecans.
Only those pecan varieties that show some real resistance to disease problems are recommended for planting here in the humid south. Select grafted trees of Desirable, Curtis, Elliott, Moreland or Stuart varieties.

Pecan leaves and fruit. Photo credit: Brad Haire, University of Georgia, Bugwood.org
Obtain and plant your pecan trees during the winter – December through February. Purchase trees that are three to six feet tall. Larger trees are more difficult to transplant.
Give pecan trees plenty of room to grow. The distance between trees should be approximately sixty feet because mature trees are quite large. Commercial producers sometimes use a closer spacing, primarily because they are using varieties that will bear at an earlier age. But most of those varieties do not have good disease resistance and still require pesticide spray at times. Homeowners will not have the needed equipment to spray a large pecan tree and the drift from such sprays would not be desirable around your home, so commercial varieties aren’t recommended for home plantings.
One of the keys to survival of a pecan tree is not allowing the root system to dry out before, during or after transplanting. Regular watering will be required for a period of at least six months or until the young tree is well established. The planting hole should be 18 to 24 inches wide and only as deep as the root system. Spread the roots so they are not matted together. The planting depth is critical. Place at such a depth that the uppermost root is at or near the soil surface. Excessively deep planting can result in eventual death of the tree.
When planting your tree, there is no need or advantage to using peat moss, compost, manure or other organic matter in the planting hole. Plant the tree in the native soil without amendments.
Do not fertilize when the tree is planted. Wait until May of the first year after planning to apply fertilizer.
Remember that pecan trees are large at maturity, with branches spreading 30 feet or so from the trunk. Also, because of the brittle limbs and failing nuts, it’s best not to plant these trees too near the home, driveway or sidewalk.
by Larry Williams | Nov 4, 2015
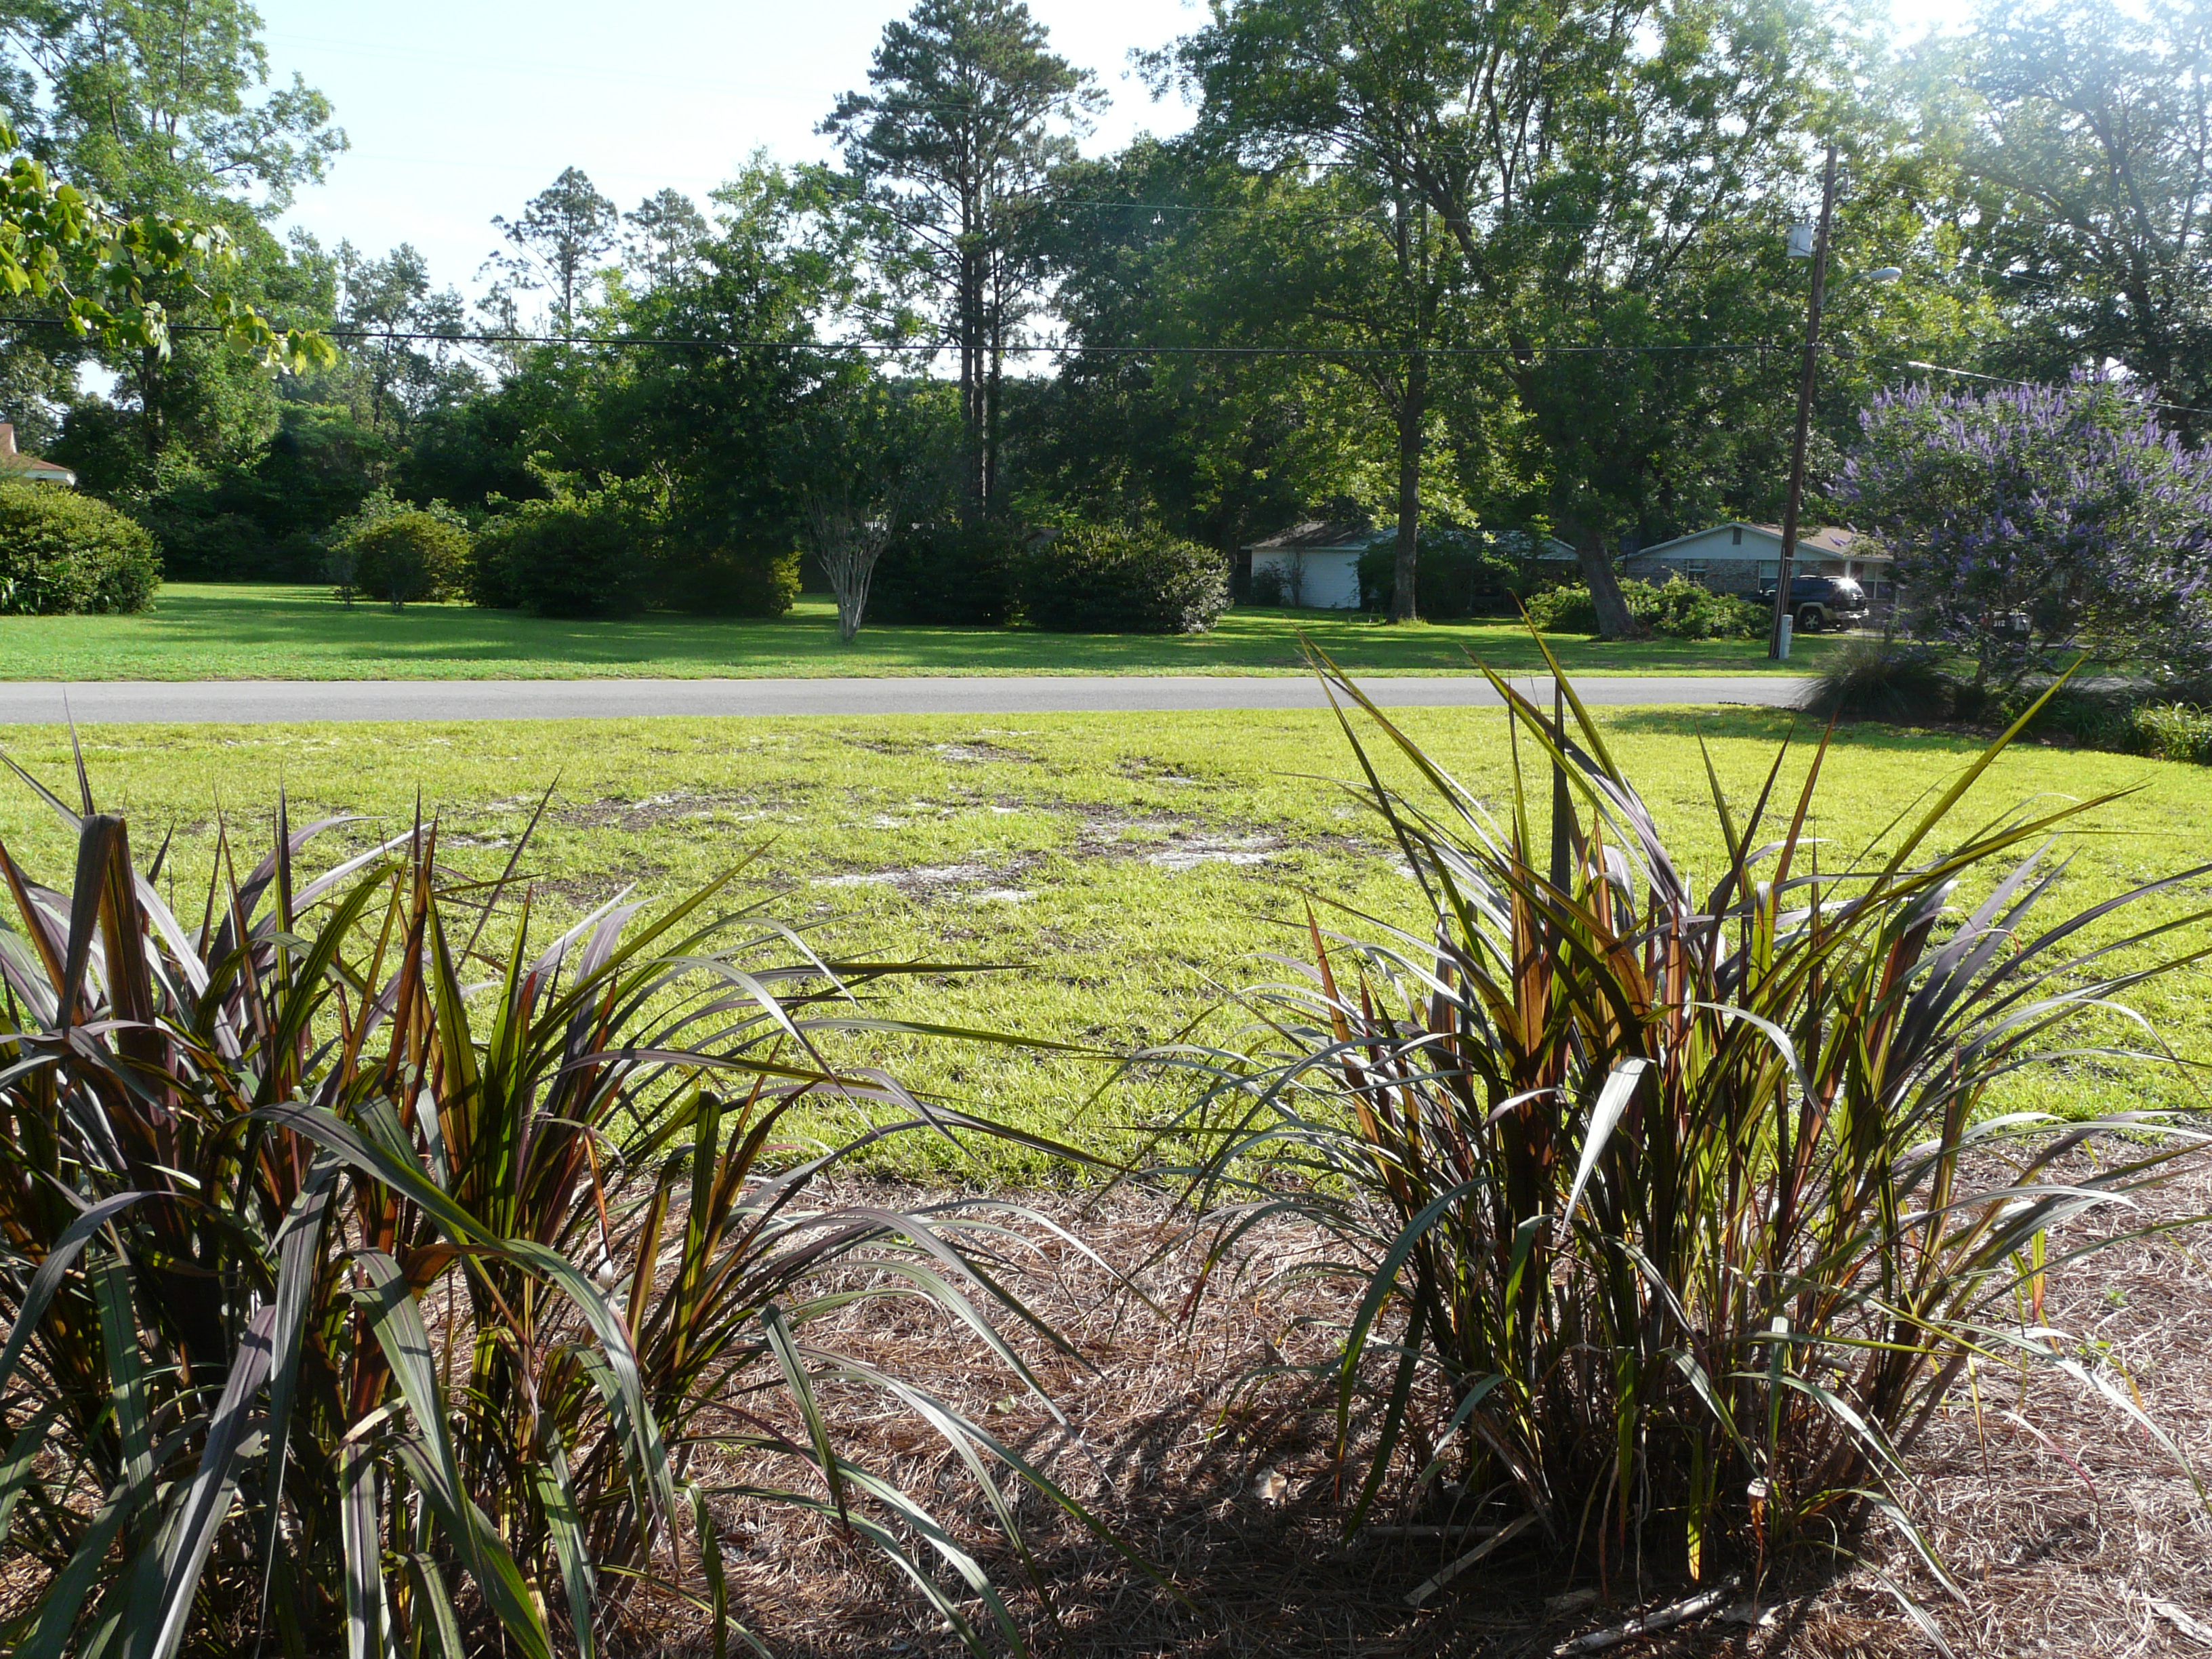
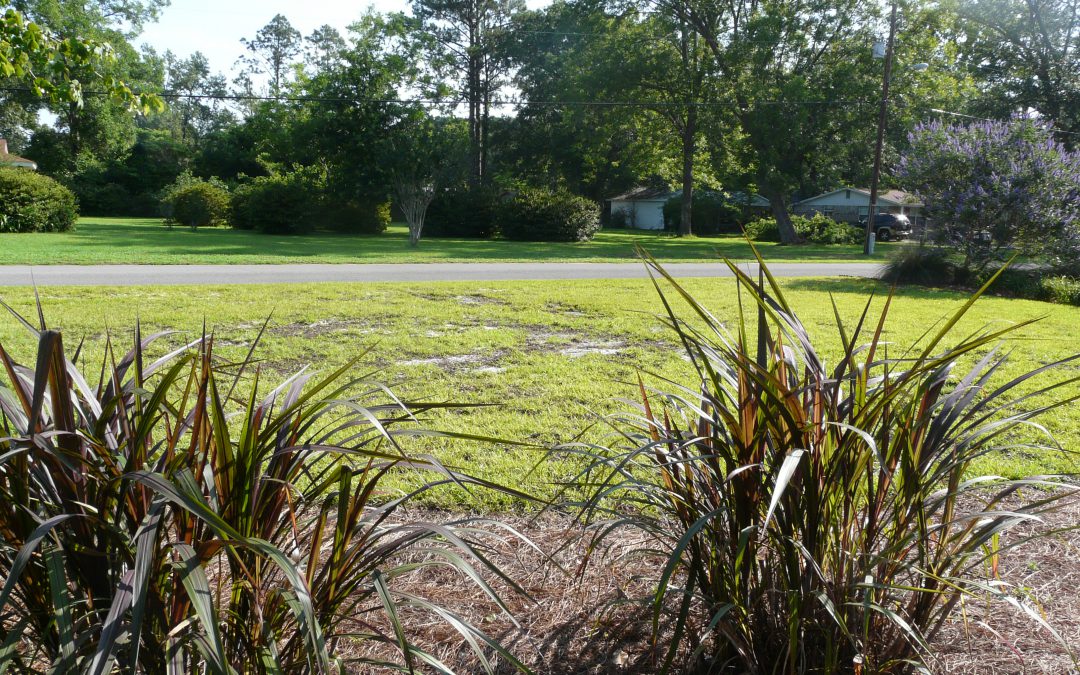
Fall is a good time to evaluate your landscape, learn from what has and what has not worked and formulate plans to improve your landscape.

Evaluate problem areas in lawn. Photo Credit: Larry Williams
Before your lawn and landscape plants go dormant, do a walk through of your landscape, make notes if necessary and visually inspect the plants. You get to see the plants that did great as well as the plants that were not so successful. You can make decisions on which plants to do away with, which to keep, which that might benefit from being moved to a more appropriate location, etc.
As you inspect your landscape, ask yourself questions. You can easily identify problem areas in the lawn now. As you identify problem areas in the lawn, attempt to determine why those areas aren’t doing so well. Begin formulating plans for correcting/improving those problem areas. Decide if renovating and replanting with grass is your best option. Or, something other than grass may be the best option, particularly if there is a history of problems with grass in a specific location.
It may be time to remove and replace an older, declining plant with something new. There may be a plant that hasn’t performed up to par but that would do better if moved to a more appropriate location – fall is a great time to relocate plants. Now is a good time to take a soil sample and take the guesswork out of liming or fertilizing. The UF / IFAS Extension Office in your County can provide information on how to have your soil tested.
This only represents a few ideas related to evaluating your landscape. You’ll probably think of many more as you’re out in the landscape. Taking notes will allow you to implement your ideas later.
Not only is fall a great time to enjoy the outdoors, there’s much that we can learn from our own landscapes this time of year. We can gather Information that will allow us to improve our own landscapes.