Whelp, the new year has come and gone. We find ourselves facing the beginning of a new gardening year. This naturally brings out the question of what can even be planted this time of year with all the cold that has set in over the last week? Luckily for you, IFAS has an answer with our North Florida Gardening Calendar. In this document, you’ll find several cool-season vegetables for planting, none the least of which is the humble potato (Solanum tuberosum).
UF/IFAS Photo: C. Hutchinson
A Brief History
Potatoes were originally domesticated in South America, specifically along the Andean mountain range. They were brought to Europe by Spanish explorers, where they were largely relegated to ornamental and livestock feed due to an association with the family Solanaceae.
This changed as European royals began to promote the crop widely. Most notably here are Fredrick the Great’s assigning guards to potato fields and Marie Antoinette’s use of potato flowers in fashion. The commoners noticed, and not long after, potatoes were seen on tables across the continent.
Due to its high nutritive value and ability to grow in poor soil, the potato supported population growth and quickly became a staple crop across Europe. In some areas, such as Ireland, this became a detriment as a single blight nearly destroyed the entire country.
Time for Local Growth
Potatoes have a rich history worldwide, but this small starchy crop can be grown even here in Northwest Florida.
Soil
Soil preparation is likely to be minimal in the Panhandle. Our soils are usually naturally acidic, which is perfect for your spuds. You will want to ensure that the soil is well-drained, and adding organic matter will likely provide some nutritional benefits. As always, the best way to determine fertilization is through testing. Potatoes are heavy feeders, and you’ll likely need multiple applications of nitrogen and potassium. Call your Extension Office for advice on both soil testing and fertilizer application.
Seed
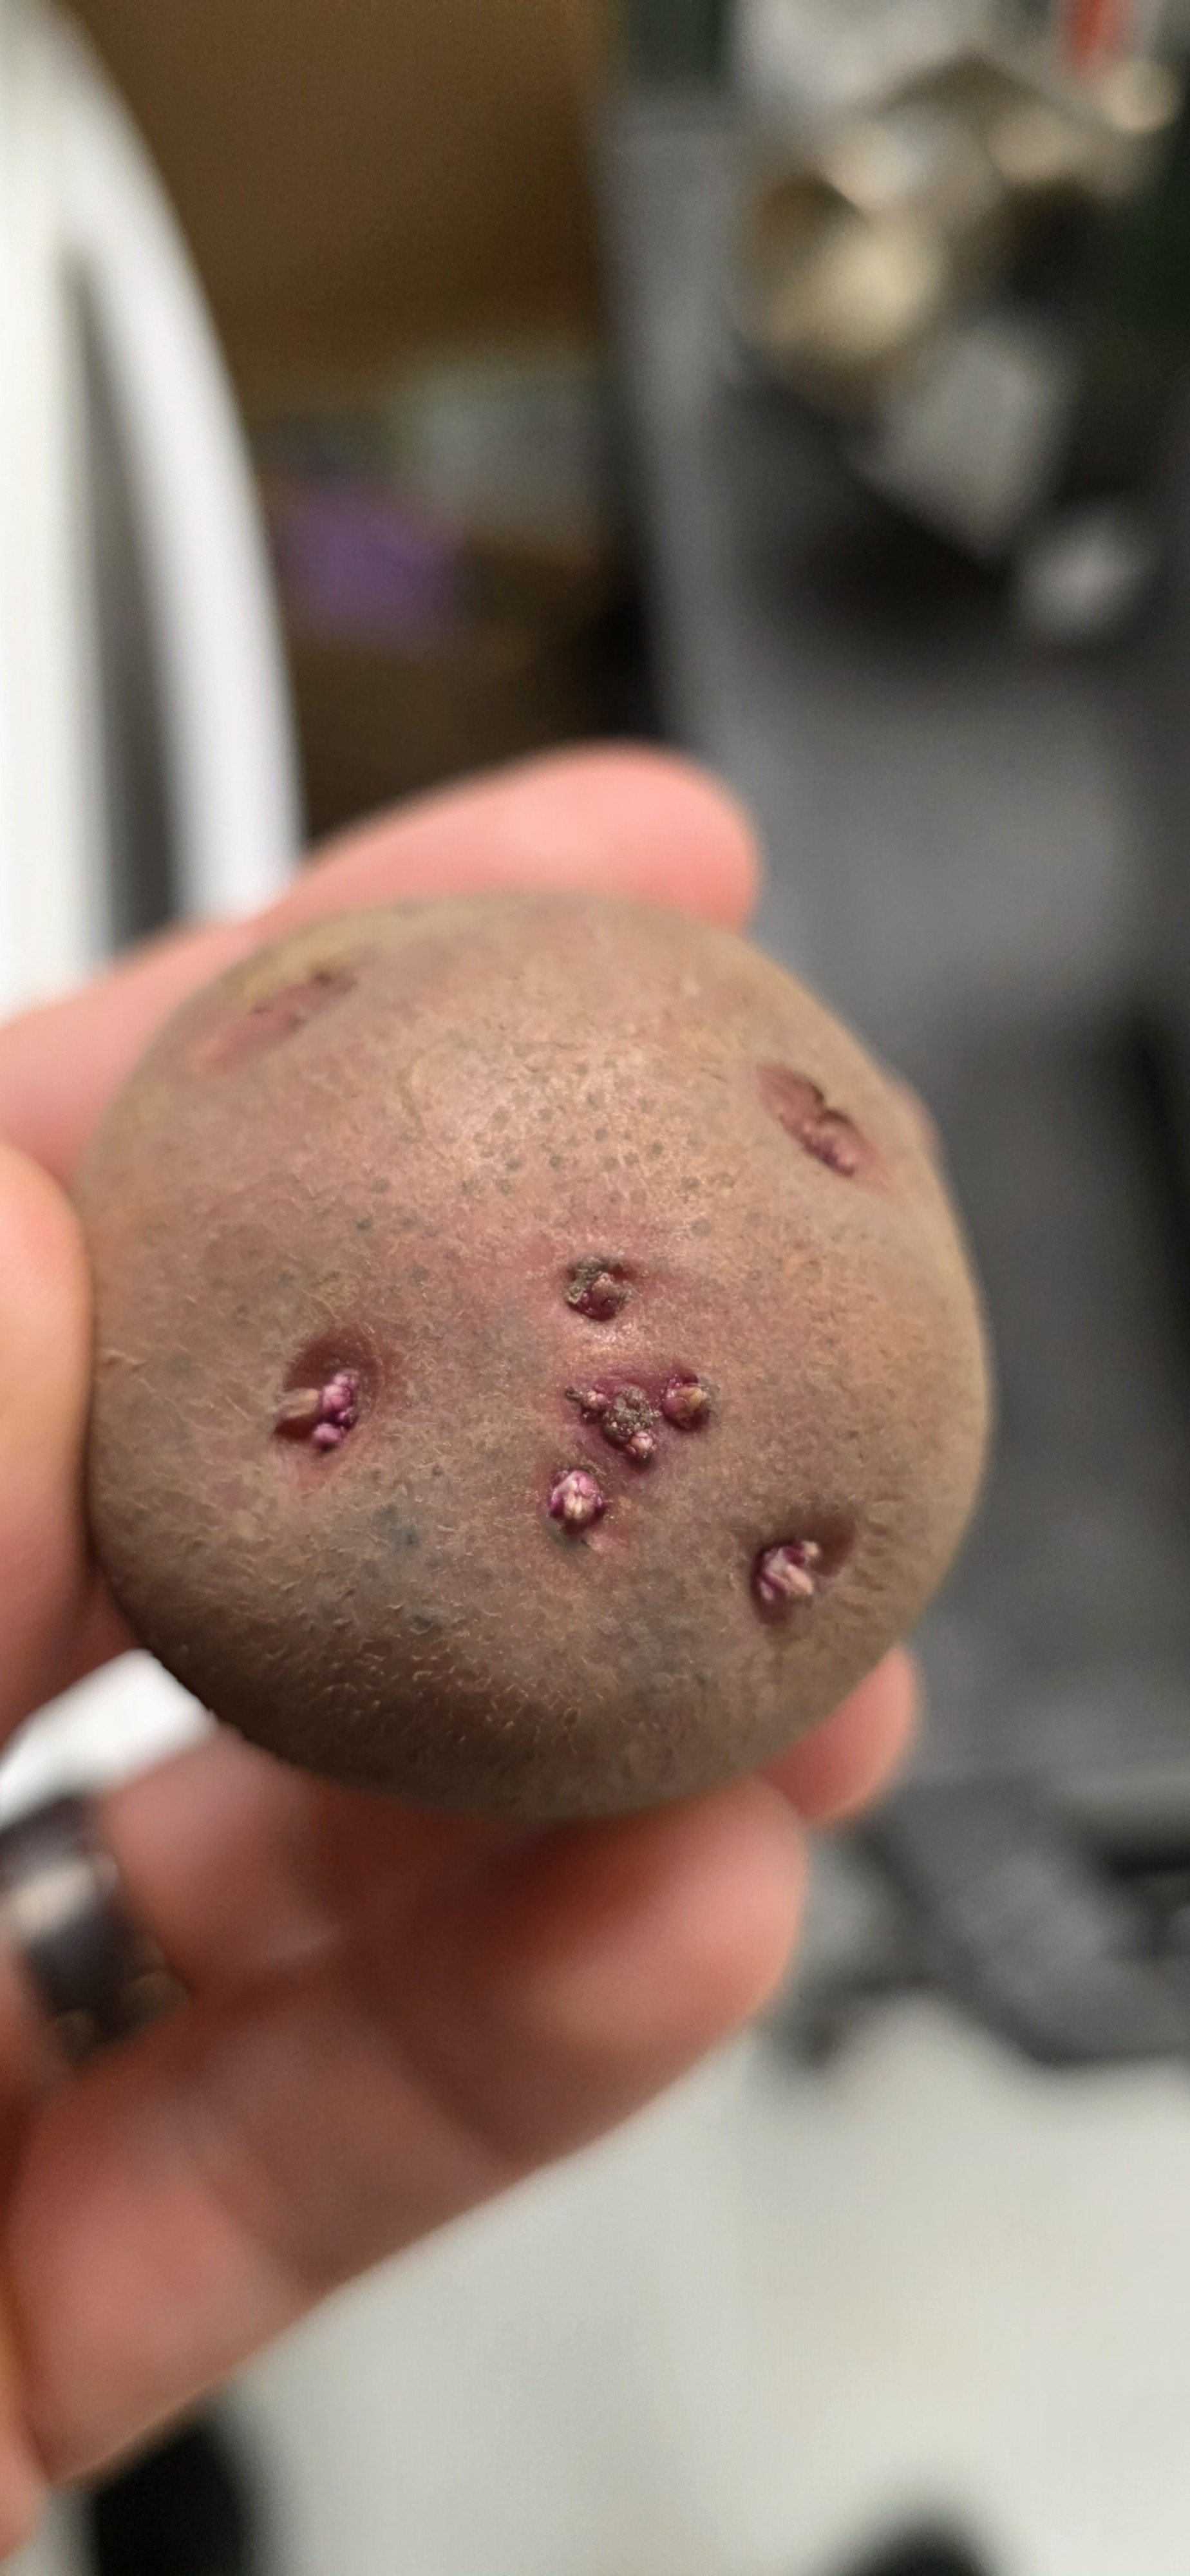
Begin in January by selecting seed potatoes. You’ll likely see videos online of people using grocery-store potatoes as seed stock, but this isn’t advisable, as they may harbor more pathogens. Leave the seed potatoes in a lit room for a few days to break their natural post-harvest dormancy. At this point, some of the “eyes” may begin to sprout. Whether sprouted or not, the seeds may be cut into roughly egg-sized pieces. Ensure each piece has at least one eye. Allow them to dry out for a few days before planting.
Potato beginning to sprout photo: J. Criss
How To Grow and Harvest
Space the pieces around 6-8 inches apart, roughly 4 inches below the soil surface. When you see the sprout emerge from the surface, add a few inches of soil, a process known as hilling. Maintain adequate soil moisture and scout regularly for insect and pathogen signs.
Vines will begin to show signs of dieback around 80-115 days after planting. Allow the tubers to remain in the soil for another 2-3 weeks after this die-off. Discard any green potatoes and any remaining seed pieces. Dig the potatoes, and store them in a cool, dry place for an additional two weeks. After this, store them as you would store-bought potatoes, and they should be good for up to 6 months.
To Sum Up
Potatoes can certainly be a challenge for those who’ve never tackled them before, but mastering their growth is something for which every gardener should strive. For more information on this topic, consult this document. For any questions about this or any other horticultural concern, contact your local Extension Office.
Looking to add a nutritional powerhouse to your early season garden this year? One plant that is often thought to be difficult to grow in Florida will surprise many home gardeners. This plant has a long, storied history, having been introduced extensively worldwide, and has invigorated and decimated entire populations. I speak, of course, of the humble potato (Solanum tuberosum), which performs well in our cooler North Florida winter. This member of the Solanaceae or nightshade family can trace its origins to the Andes mountains, where it was discovered by European settlers and brought back to their countries of origin. From there, the potato found success as a food crop and was reintroduced worldwide. This tuber is a big producer, and worthy of a spot in your home garden.
Varieties
The first objective with potatoes is to find a variety that will perform well in our sandy soils and climate. Russets are thought to be the gold standard in potatoes, and while some may be suitable, they are not optimal for Florida gardens. Instead look for some of the later entrants to this market. Several white and red varieties are available which mature quickly and can tolerate environmental conditions in the panhandle. White varieties suitable for this region are ‘Lachipper’ and ‘Sebago’, while the red varieties known to do well here are ‘Red Lasoda’ and ‘LaRouge’. These are compatible with our environment and as such perform well here.
UF/IFAS photo: C. Hutchinson
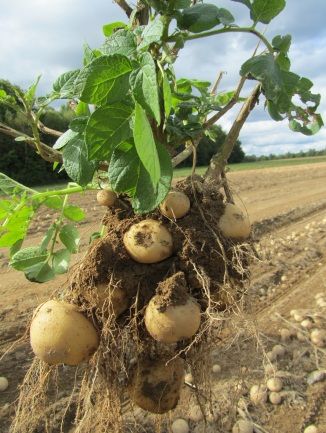
Growth Practices
A well-draining, slightly acidic, and loose soil will provide the best environment for maximum yield. As with all gardening, it’s best to have your soil tested well before you plant and make any pH adjustments required early. Potatoes grow from “seed” which are essentially smaller potatoes grown specifically to produce more plants. It’s best to acquire these from a reputable seller and avoid grocery store leftovers, as their variety and disease resistance is questionable. Growth happens from the “eye” of the seed, which may be planted with or without growing roots. Cut the seeds into smaller pieces, ensuring there is at least one eye per piece, and allow them to sit in a cool, dark environment for a few days to callous over. They are now ready to plant and should be four inches deep, spaced eight inches apart in three-foot rows. Potatoes require two fertilizer applications, emphasizing nitrogen and potassium specifically, as these pass through the soil easily with irrigation. Apply half of the fertilizer at planting with another application approximately 30-40 days later. Application rates vary and are based on yield goals as well as soil test results so check with your local extension agent to discuss application rates. Keep the potatoes evenly moist but make sure not to flood the rows. Finally, there is a unique methodology with potatoes in that you’ll need to add soil to the top of the row when the potatoes poke through. This is called hilling and is crucial to keep the tubers from turning green and producing a toxin known as solanine.
UF/IFAS photo: C. Christensen
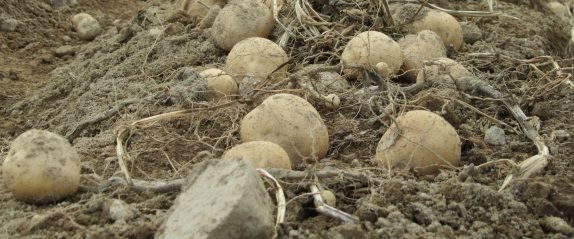
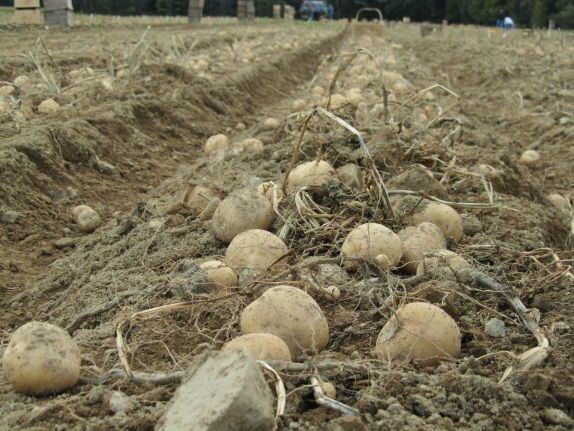
Harvest Time
Your potatoes should be harvestable in about 90-105 days, depending on variety and environmental factors. You’ll be able to tell the plant has matured as the vines will begin to die back naturally. Modern practices have augmented this to include a vine kill which may be performed mechanically or through chemical application. This will force the tubers to mature, allowing the gardener greater control of harvest times and helping to avoid the risk of late-season pathogens. Vine kills are performed between 80-90 days after planting with tubers remaining in the ground for an additional 21 days. All of these time frames are dependent on variety but will produce a more usable and easy-to-store tuber.
UF/IFAS photo: C. Christensen
Potatoes are a worthy addition to the garden and can provide a lot of nutrient-dense food in a small space. There are a few tricks to growing these tubers, but for what they give back, you’ll find it a very rewarding experience. For more information, see these Ask IFAS documents. As always, please contact your local extension agent for additional information on this and any topic regarding your gardens and more.