Understanding soil composition is crucial for successful gardening. Soil is the slow interaction of parent material with regional climates, topography, and soil biota over millennia. The breakdown of parent materials results in layers of material called horizons. A subset of soil science is dedicated naming soils with similar horizon development. In North Florida, three of these soil types predominate. Near the northern border, we find ultisols, these sandy soils have a higher clay content and are suitable for row crops with proper management. Through the center of the Panhandle counties, you’ll find entisols. These are sandy and undeveloped, thus requiring close attention to irrigation and fertilization. Finally, by the coast are spodisols rife with mineral pockets and known for being waterlogged. All are usable for plant growth, and with little knowledge of cultural practices can make your landscape thrive.
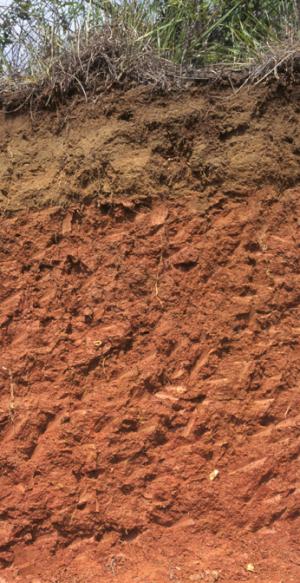
Soil horizons of ultisols Photo: USDA/NRCS
The Panhandle Parent Material
In Florida’s panhandle, the parent material stems from the Citronelle formation transitioning into the Miccosukee formation around Gadsden County. The Citronelle formation consists of unconsolidated quartz (sand), gravel, clay, and mineral deposits from rock formations in the Appalachian Mountains. Clay associated with this formation is the basis for the ultisol concentrations in the northern portion of the state. Alluvial flow or deposits left by rivers washes the sandier particles down into the center portions of the panhandle, and siltier particles flowing to the coast depositing minerals as they settle. The Miccosukee formation is similar but has different textures and particle sizes in the quartz deposits. Knowing where your soils originate will help you understand two major aspects with regard to soil’s physical properties. Those being texture and aggregation.
Soil Texture
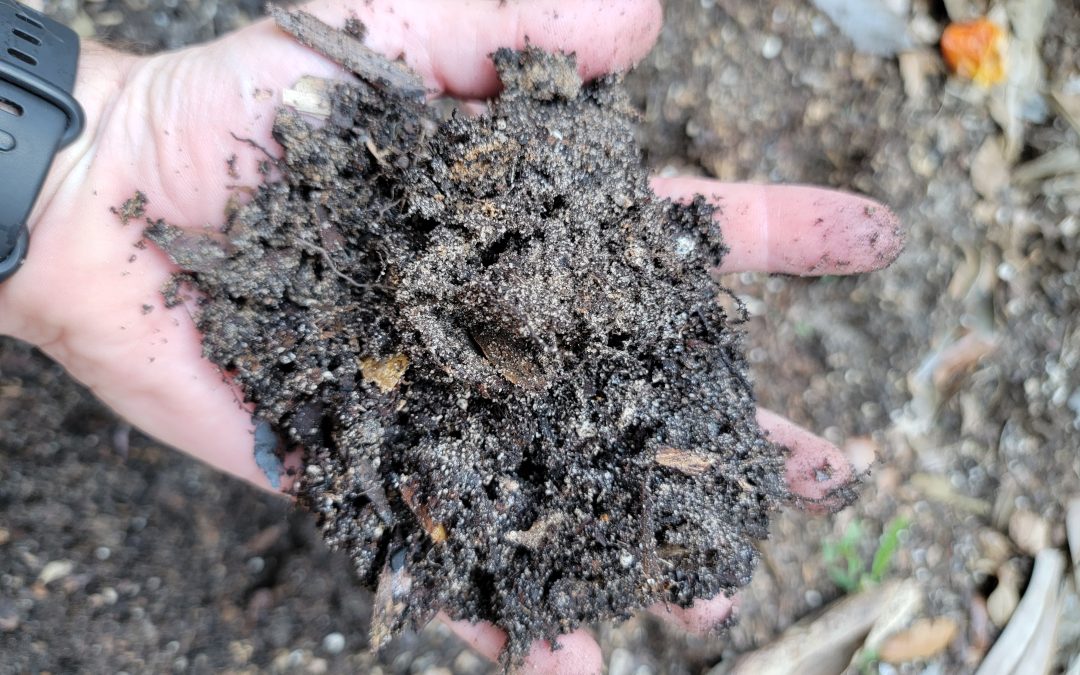
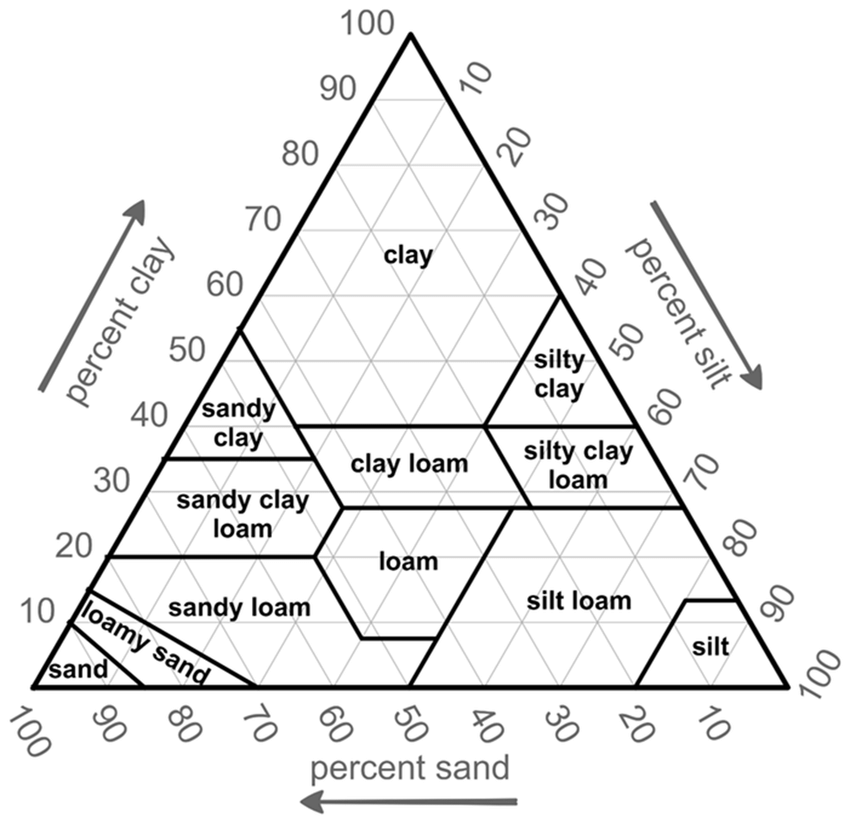
Soil, a blend of sand, silt, and clay, is not just the ground you walk on but the very foundation of your garden. These components, deposited in your location through natural processes (as outlined above), have been blended to create a soil unique to your garden. Sand is the largest of these particles, with silt considerably smaller and clay smaller still. This size difference, means there will be air spaces known as pore space within what appears to be a consistent material. These spaces comprise approximately 45% minerals, 25% air, 25% water, and 5% organic matter. Higher sand soils have larger pore spaces which facilitates water flow through that soil profile. What that means for your soil is less water holding capacity and higher losses of nutrients. In contrast, higher clay percentages have smaller pore spaces which coupled with charges at the atomic level are better at holding onto water and nutrients. Understanding your soil texture is key to determining the right timing for irrigation and fertilization while providing insight as to potential aggregation of your soils.
Soil Texture Triangle Photo: USDA
Aggregation
Soil structure is an often overlooked aspect of garden management. Well structured soils resist compaction, hold on to water, and retain plant nutrients. They also provide growth space for roots which have access to the resources they need to fuel healthy plants. Conversely, poor soil structure makes your garden more susceptible to ponding and inhibited plant growth. Soil aggregation is what provides this structure. Aggregation is the conglomeration of soil particles bound through chemical bonds and physical forces bolstered by soil biota. Aggregates form through a few mechanisms both inherent and dynamic. Inherent factors include clay content which form and break with changing moisture levels. Other inherent factors include those minerals inherently present in the soil such as calcium. Dynamic factors include levels of organic matter, and those fauna present in that soil.
Types of soil structures credit: USDA/NRCS
Maintaining Healthy Physical Structures
Many Florida soils are poorly structured which is why they need to be properly managed for homeowners to have successful gardens. Before you can begin to improve your soil, you must understand your soil’s story. Start with testing for compaction by pressing a screwdriver into the ground. If this is difficult, you need to take action to relieve the situation and increase the availability of air in your root zone. Tillage is a good way to do so, but be wary as excessive tilling can lead to higher compaction problems long term. Look into conservation tillage as a methodology to avoid this problem. Perform a jar test to understand the texture of your soil and thus its propensity to develop aggregates. For high sand soils, add organic matter to improve structure. Be careful to add smaller amounts at a time as organic matter has an inherent nutrition load and too much may begin to limit nutrients. Cover crop strategies are a great way to add organic matter while keeping soil covered during non-active growth periods.
Soil improvement and management will take multiple growing seasons. Stick to it and monitor your soil to keep your gardens healthy and thriving. For more information on soil, see these Ask IFAS documents, or contact your local extension agent for additional information on this and any topic regarding your gardens and more.
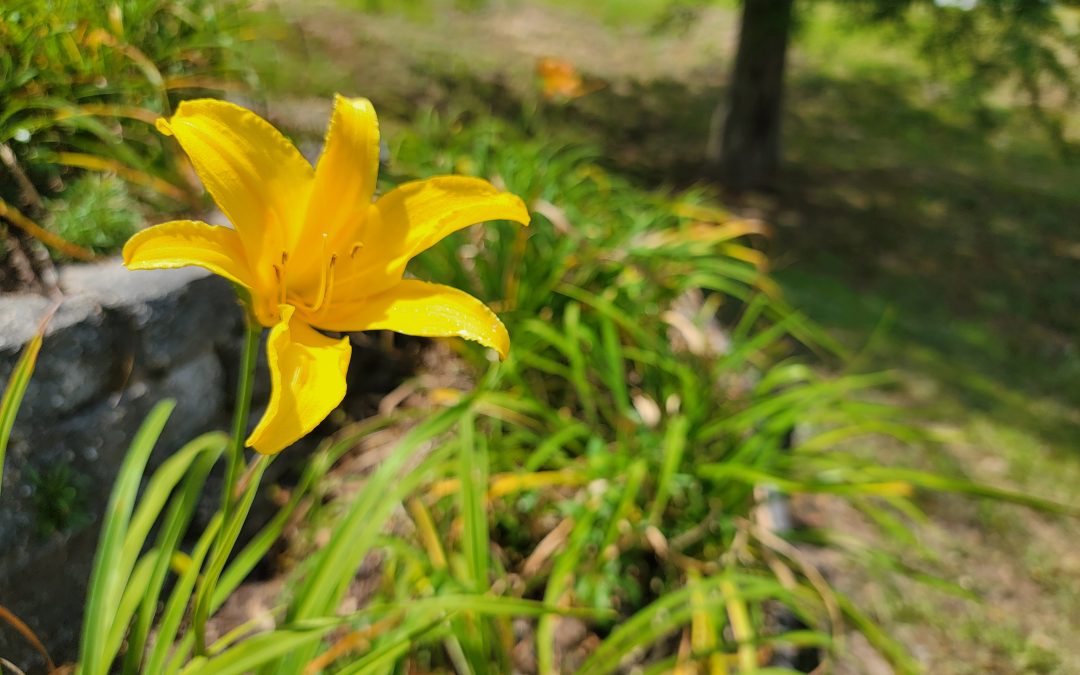
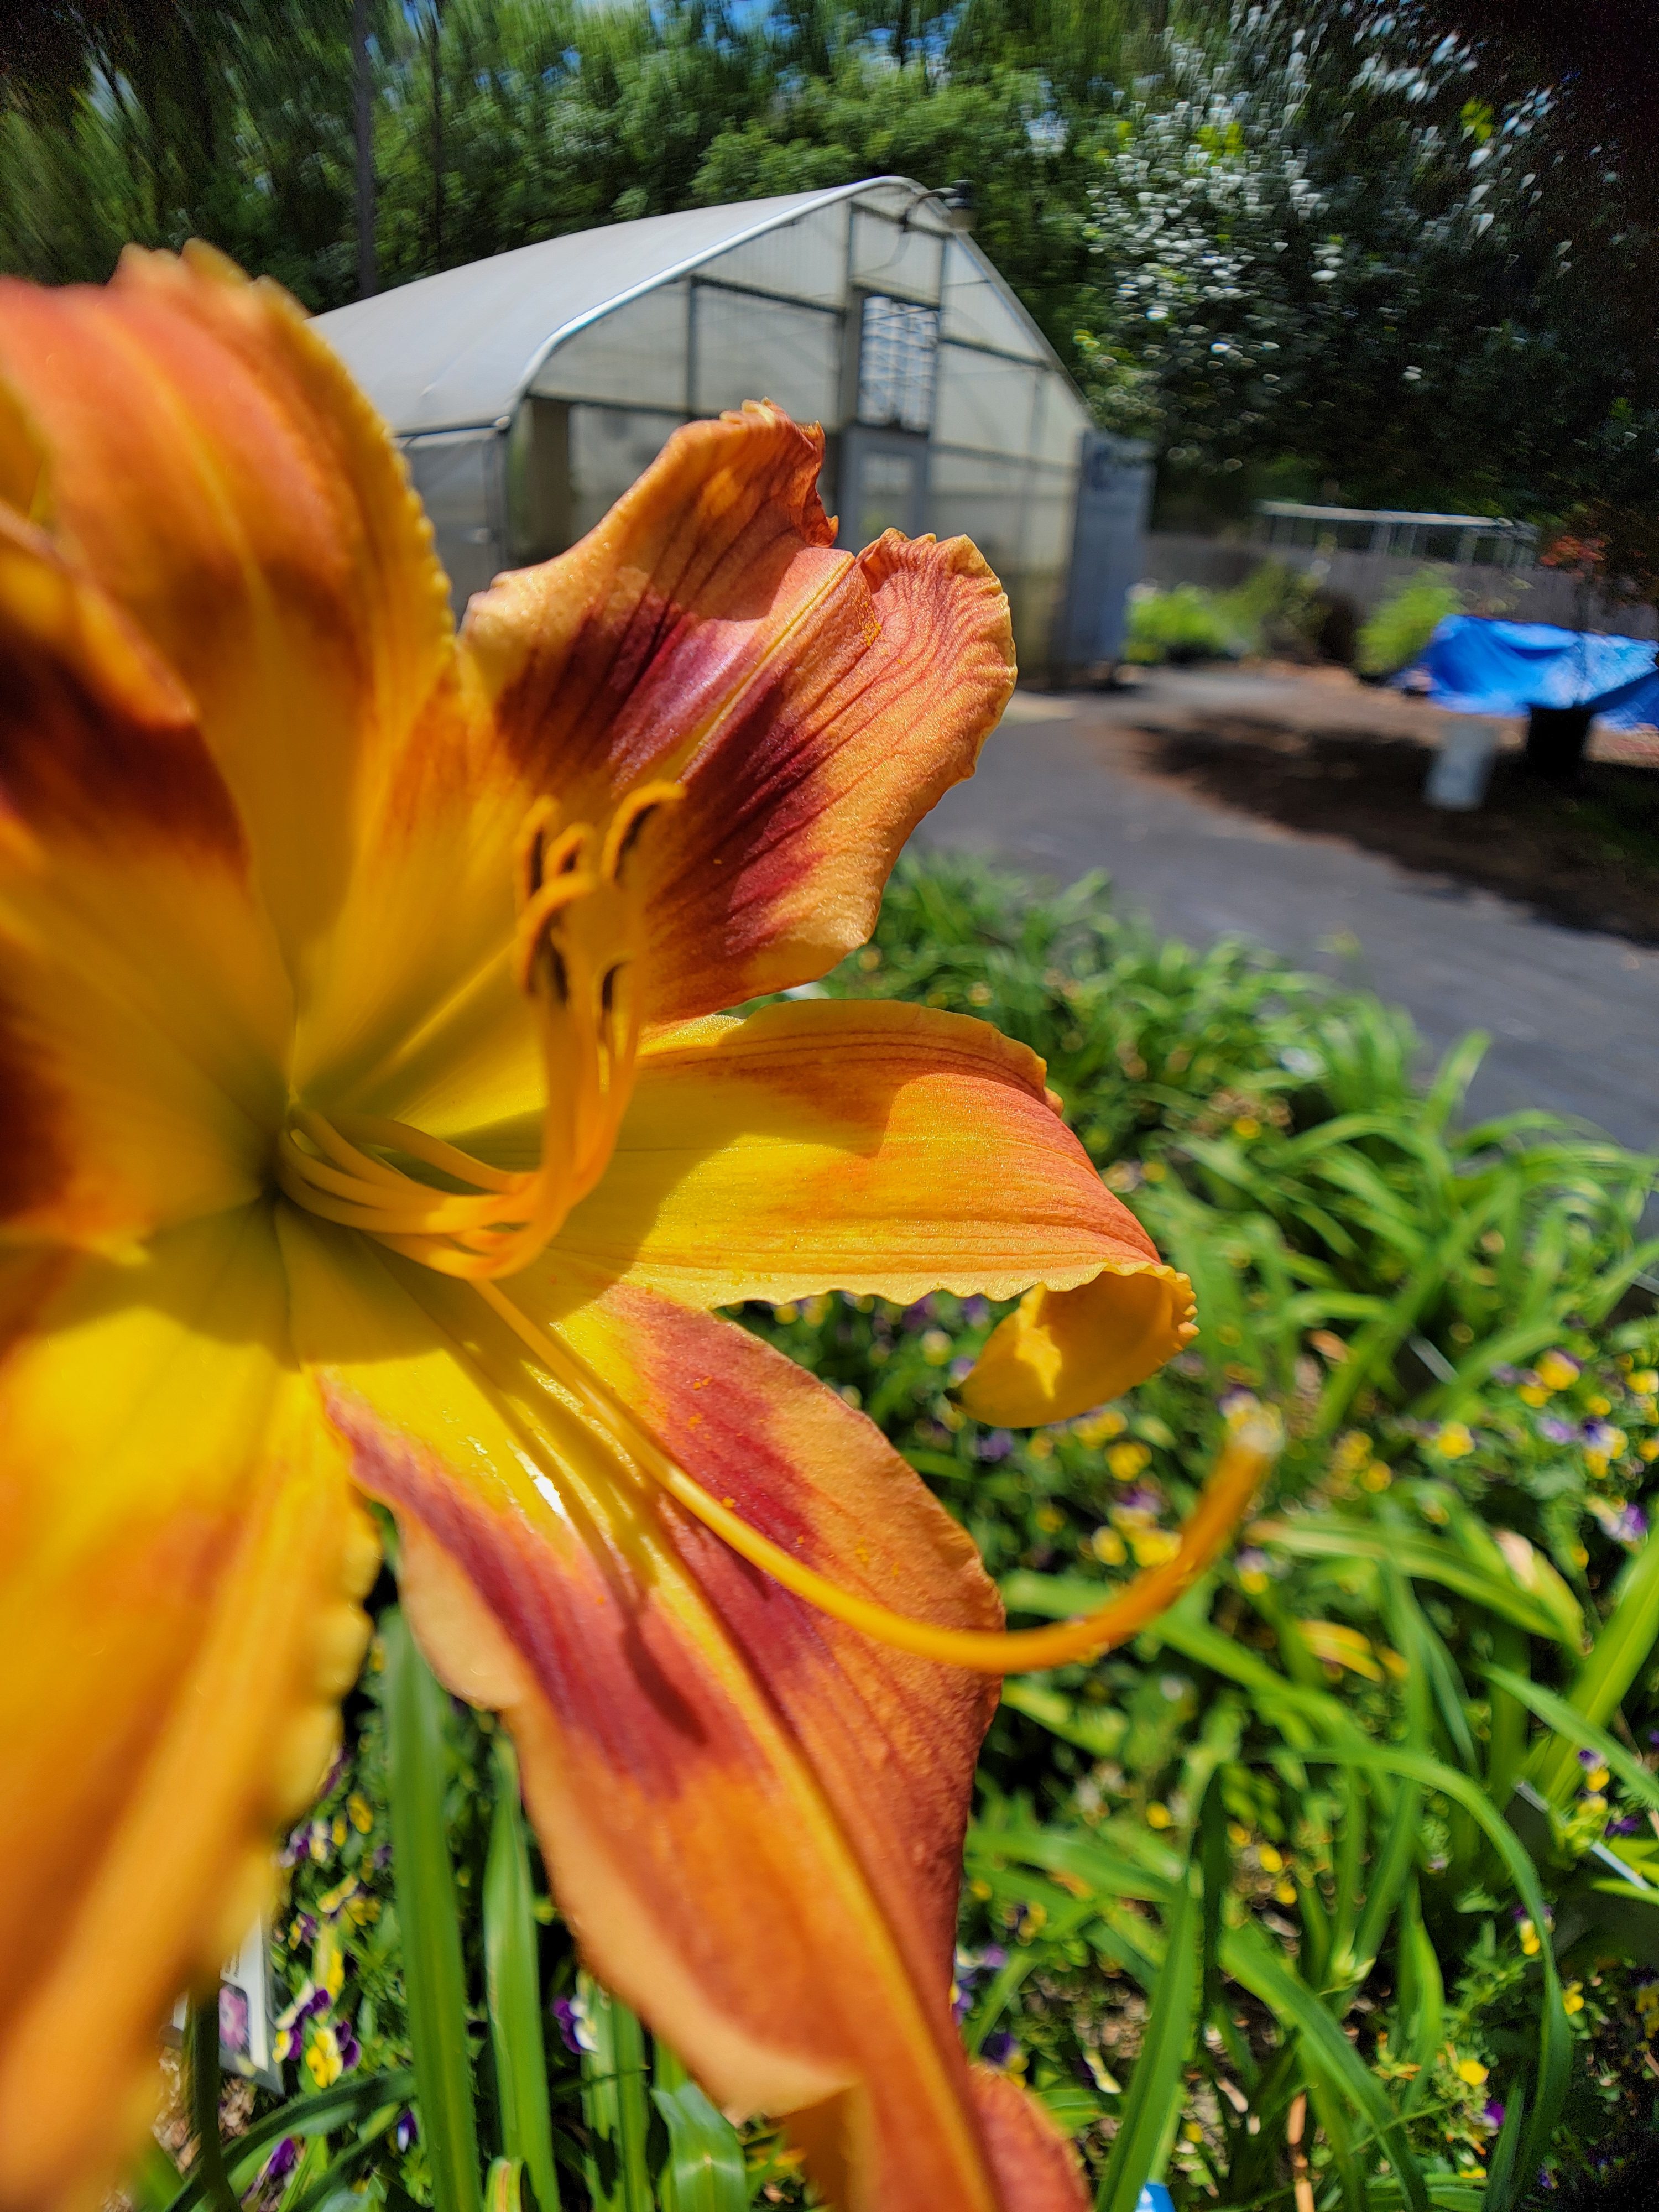
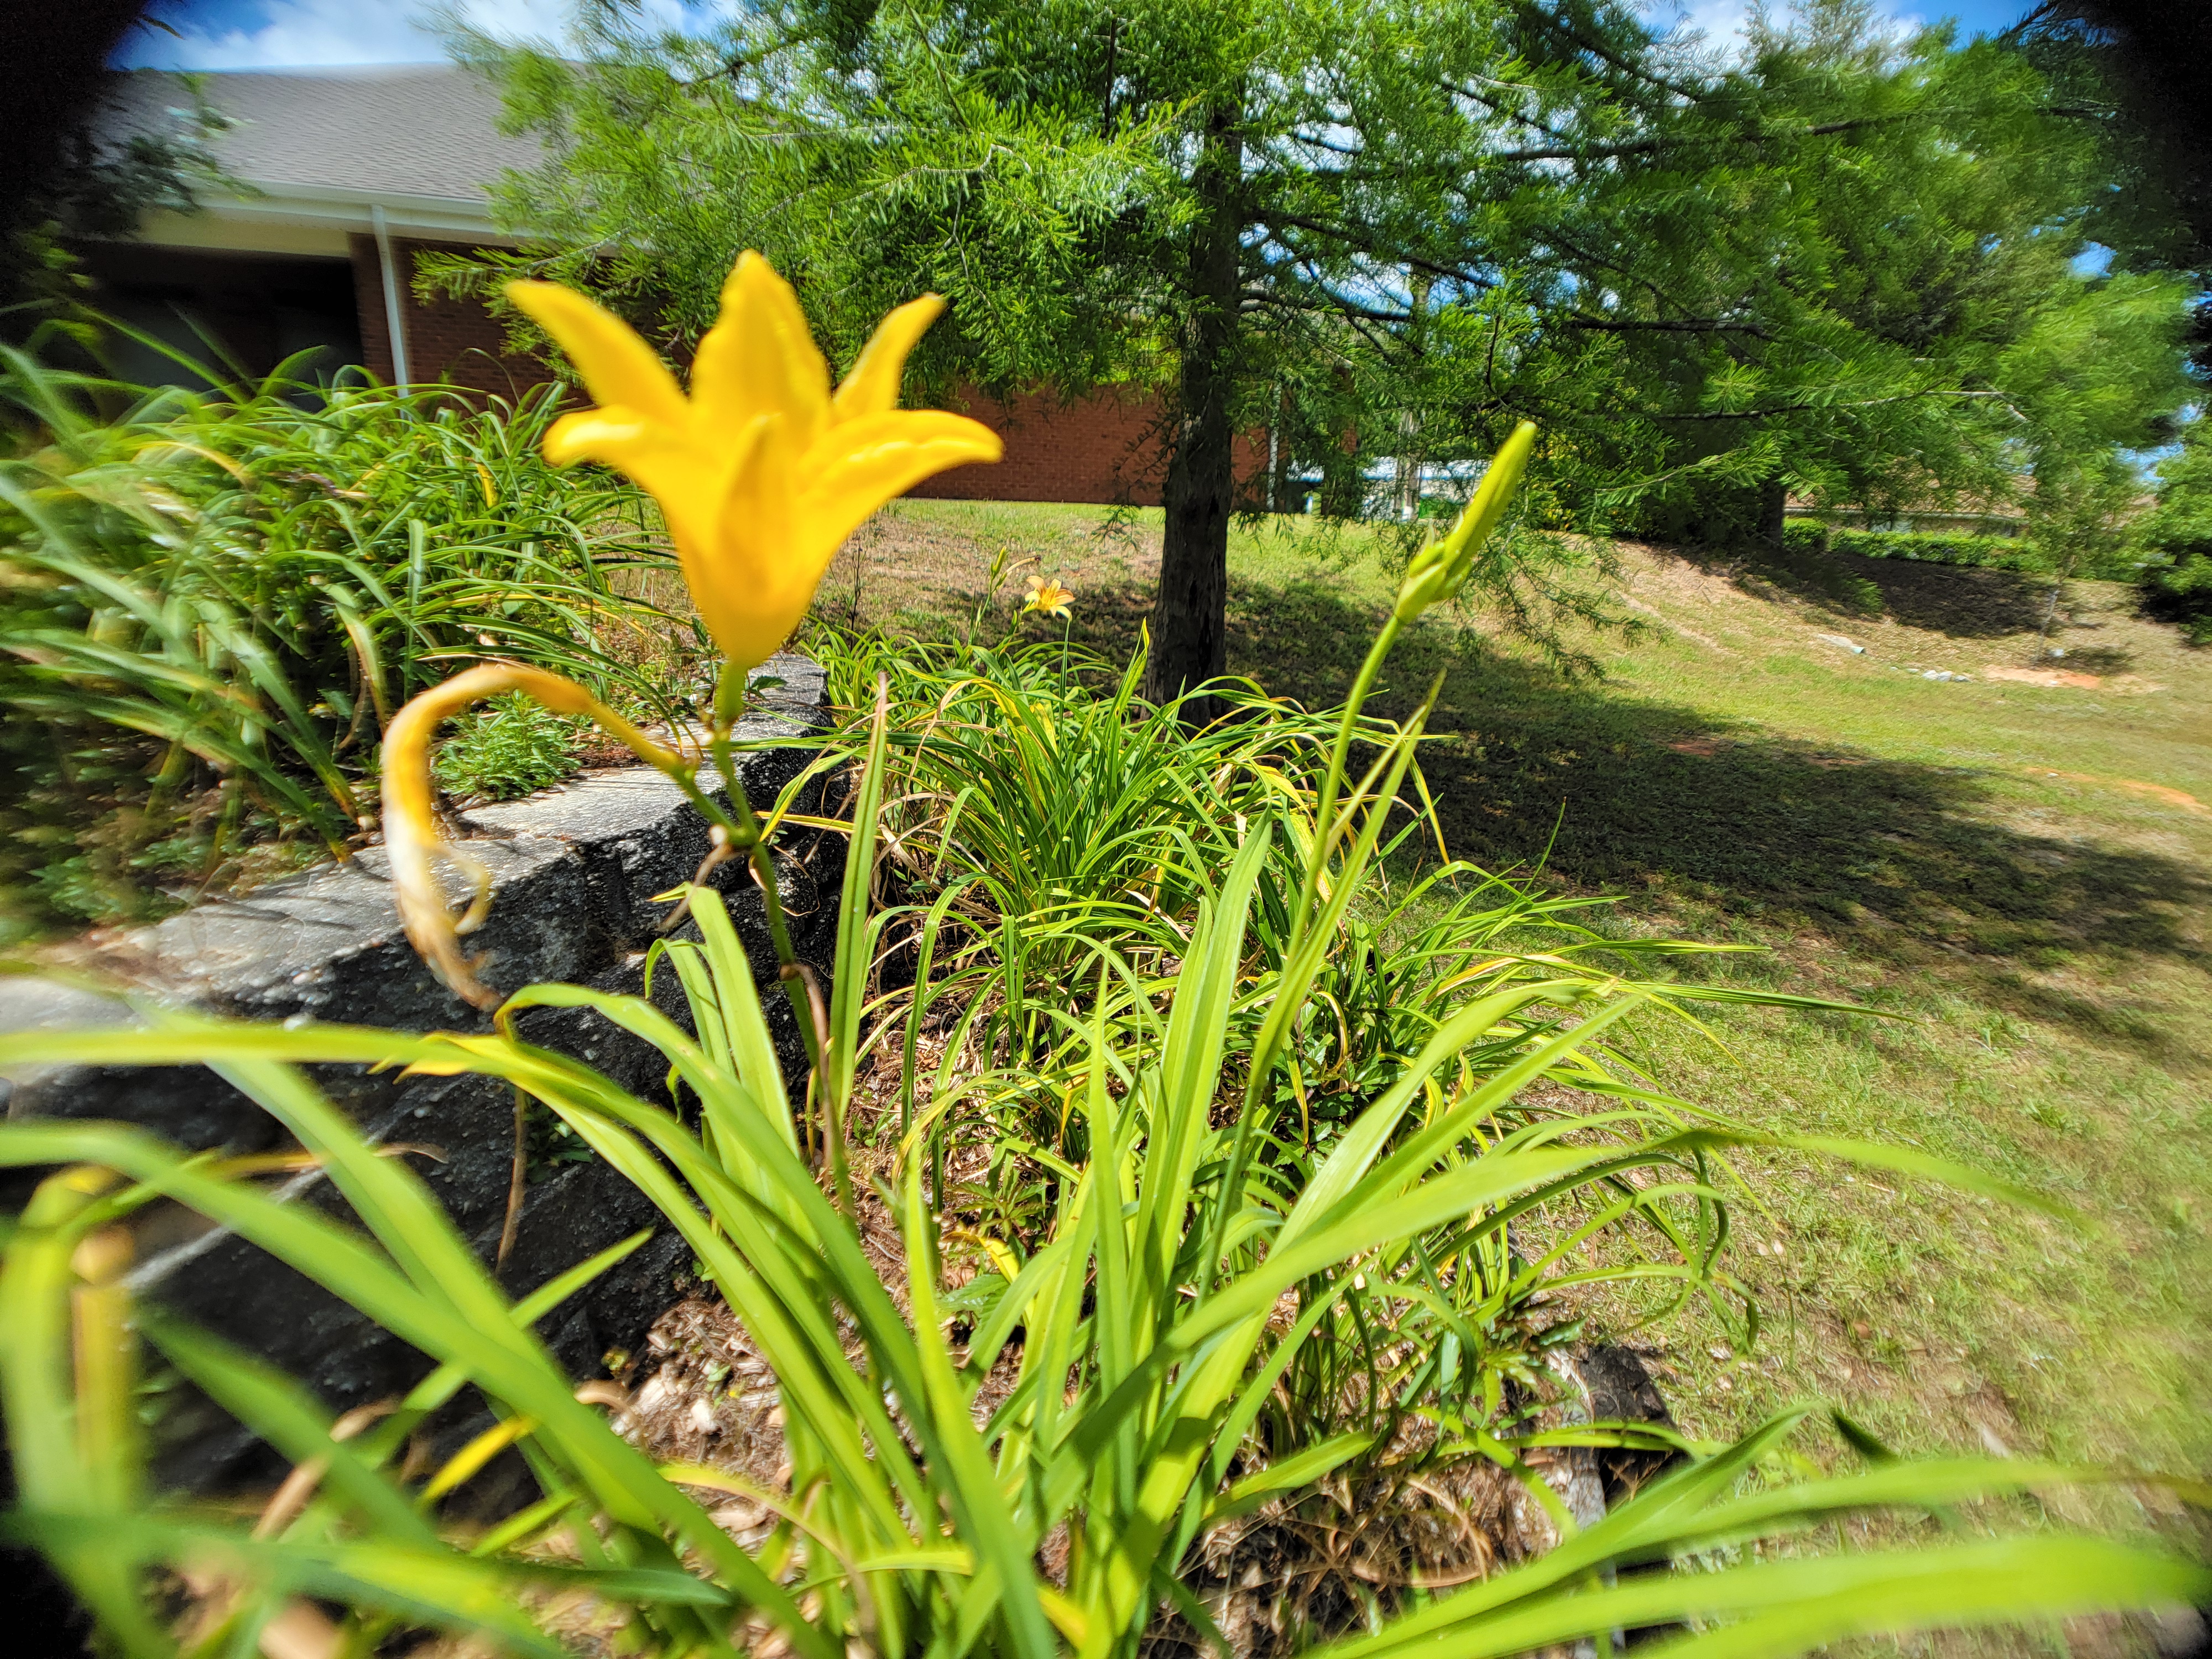
Spring has begun, and the flowers are making their debut en masse. The daylily is an exceptionally versatile plant that grows in various colors, shapes, and habitats (Hemerocallis spp.). This plant garners its name from a combination of Greek terms meaning “beauty for a day,” given the tapestry a mass planting provides, they live up to that name. These plants tend to bloom repeatedly for 4-7 weeks, though each individual flower only lasts one day. The time of year flowering begins varies by cultivar, but typically, they may be seen beginning in March, with later bloomers starting around mid-May. Add to their beauty that they are also edible, and you have a plant that can’t be beaten.
UF/IFAS Photo: J. Criss
These perennials are widely available as bare-root or potted plants. Both may be planted in Florida year-round, but planning in spring or autumn will increase success. Inspect roots before you plant them, removing any that are circling or damaged. Plant with the crown at ground level, much like a tree, and keep the soil moist until the plant is established. Though drought tolerant with deep roots, you’ll still want to apply mulch to retain moisture. Fertilizers may be added in spring, summer, and fall based on soil testing. Scouting this planting is important, but insects rarely cause lasting damage. They may be propagated vegetatively or via seed. Vegetative propagation will become important as these plants fill in spaces over the years and will need to be thinned.
Uses in the Landscape
Thanks to the hybridization efforts of growers worldwide, daylilies are available in every spectrum of color and a variety of flower shapes. Daylilies are clumping plants with grasslike foliage and flowers on a scape that may reach up to 36 inches tall. They can be striking when planted in groups of 10, included in a mixed border, or used to highlight a specific area of your gardens. Because they are so varied, it is important to carefully consider the design elements of your landscape and the growing conditions of your landscape when selecting varieties. All cultivars will require some sun, so avoid heavily shaded areas.
UF/IFAS Photo: J. Criss
A Note on Color
Your biggest concern when considering daylilies in the garden will be color. When it comes to landscape design, color integration has three main theories. The first revolves around monochromatic flowering. Simply put, except for the green foliage, all flowers in this type of garden will be one color. Certainly, daylilies fall into this category, which are often yellow and may be quite striking. The second theory on color in your garden spaces is an analogous scheme in which 3-5 colors on the color wheel are utilized to create continual flow. In this case, find daylilies with red flowers and pair them with violet or yellow flowers. The final theory on color use in gardens is a complementary scheme. In this instance, colors on opposite sides of the color wheel are utilized. The contrast created by this method can create a striking difference that draws the eye to a specific point. Keep in mind that these are all theories. Ultimately, it is your landscape, and you should use those flower colors which satisfy your sensibilities.
UF/IFAS: Gail Hansen
Daylilies are a wonderful plant for your landscape. Easy to grow with great variety, few others can compete with them. For more information, see this Ask IFAS document. As always, please contact your local extension agent for additional information on this and any topic regarding your gardens and more.
Now that we are moving into warmer soil temperatures, weak areas in lawns will have a better chance of making some recovery. However, this is highly dependent on whether or not correct lawn maintenance practices are followed. These practices include fertilizing, mowing and watering correctly.
Warmer soil and correct care help improve weak lawns
Many North Florida lawns came out of winter weak and thinning this spring. In areas of the lawn where there is at least sixty percent cover of the desirable type of lawn grass, recovery is possible. But where there is less than sixty percent desirable cover, reestablishment should be considered.
Applying the correct type and amount of fertilizer will promote lawn recovery. To maintain a healthy Florida lawn, it’s critical to use a fertilizer with adequate potassium. In most cases, use a lawn fertilizer with equal amounts of nitrogen (first number) and potassium (third number) such as 8-0-8, 10-0-10, 15-2-15 or similar analysis. Phosphorus (second number) should be low or zero unless you have the results of a reliable soil test indicating that more phosphorus is needed. Err on the side of being light handed when applying fertilizer to the lawn. In North Florida, most lawns will do just fine with an application in spring no earlier than mid-April and a second application in summer no later than mid-September.
Follow these mowing practices for a healthy lawn.
Never remove more than 1/3 of the leaf blade height at any one time.
Here’s the recommended mowing height in inches for each lawn grass: bahia – 3 to 4; centipede – 1.5 to 2; standard St. Augustine cultivars – 3 to 4; dwarf St. Augustine cultivars (Captiva and Seville) – 2 to 3; zoysia cultivars suitable for home lawns- 2 to 2.5; bermuda – .5 to 1.5.
Keep mower blades sharp.
Follow these irrigation practices for a deeper rooted and drought tolerant lawn.
Turn your automatic sprinkler system off and learn to operate it manually on an as-needed basis. Your lawn needs water when leaf blades start to fold in half lengthwise or when footprints remain visible in the lawn long after being made. Irrigate when at least 30% of the lawn shows these signs of water need.
Apply ½ – ¾ inch of water when you do irrigate. Place empty, straight-sided cans in the area being irrigated to see how long it takes to reach this amount.
Irrigate during early morning for more efficient water use and to minimize lawn diseases.
Here is a link to a UF/IFAS Extension publication on Best Management Practices for a Florida lawn. http://edis.ifas.ufl.edu/ep236
Written by: Khadejah Scott, Horticulture, Agriculture, & Natural Resources Extension Agent, UF/IFAS Extension – Wakulla County
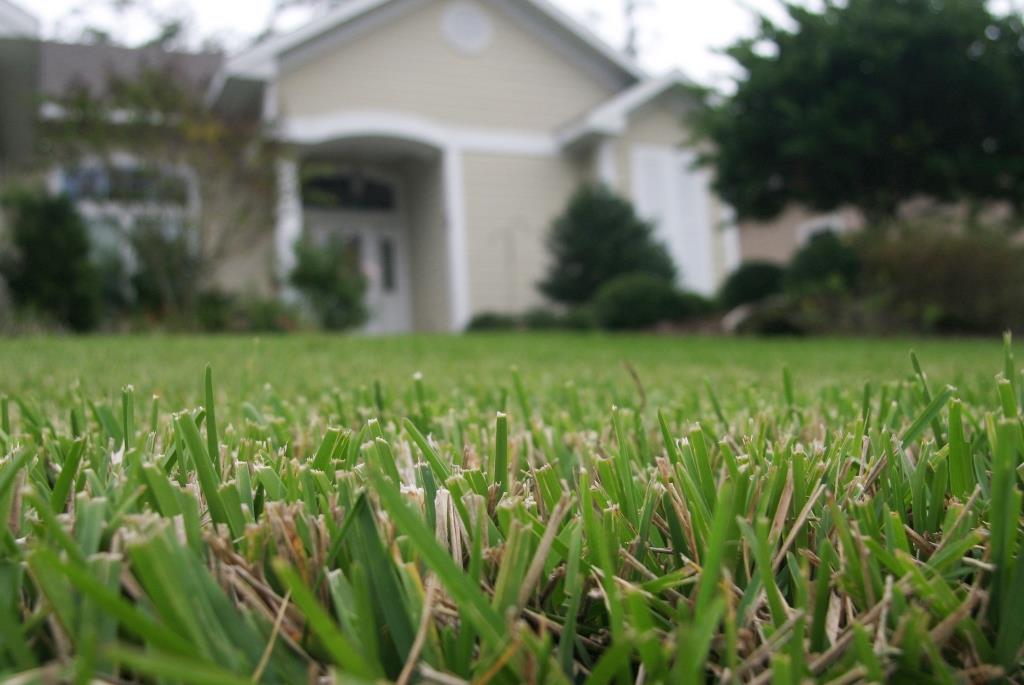
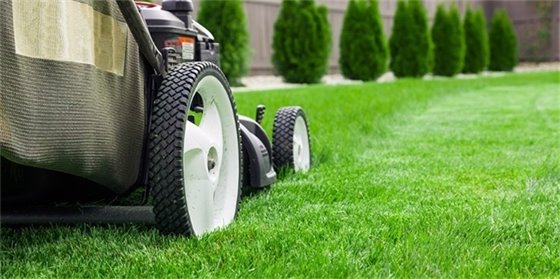
A well-manicured lawn not only enhances the beauty of your property but also provides a welcoming outdoor space. In North Florida, where warm weather and abundant rainfall create ideal conditions for lush green lawns, proper mowing practices play a crucial role in maintaining a healthy and vibrant landscape. With the right techniques and considerations tailored to the unique characteristics of this region, you can achieve a pristine lawn that becomes the envy of the neighborhood. In this article, we will explore essential tips and insights for mowing your North Florida lawn, helping you unleash the full potential of your outdoor haven while ensuring its long-term health and sustainability.
Mowing a lawn. Photo Credit: University of Florida/IFAS
Mowing Heights
The turfgrass species’ growth pattern and leaf width influence the ideal mowing height. Grass species that grow horizontally and have narrow leaf blades are often cut lower than grasses that grow upright and have wider leaf blades. Because of its numerous tiny leaf blades, Bermudagrass is an example of a plant that is mowed at low heights. St. Augustinegrass, on the other hand, has wider leaf blades and is cut at a higher height. Rooting depth is also influenced by mowing, with deeper roots developing in response to higher mowing heights. Greater resistance to drought, insects, disease, nematodes, temperature stress, poor soil conditions, nutritional deficiencies, and traffic are benefits of the deeper root system. The main cause of turf damage is frequent mowing below the suggested heights for each species, which should be avoided.
Mowing Frequency
The frequency of lawn mowing is determined by the rate at which the grass grows, which is influenced by various factors such as the type of grass, time of year, weather conditions, and the level of maintenance. In North Florida, the need for mowing during winter months may vary depending on the climate and the type of grass present. Grasses like bahiagrass, which require less maintenance, may primarily be mowed to remove seedheads rather than cutting the leaf blades. To maintain a healthy lawn, it is recommended to mow frequently enough to remove no more than one-third of the blade height at a time. Preserving an ample amount of leaf surface is crucial to allow for photosynthesis, especially when the grass is exposed to environmental or site-related stresses.
A lawn up close. Photo Credit: University of Florida/IFAS
Using Grass Clippings
Leaving grass clippings on the lawn is generally beneficial as it aids in recycling nutrients and organic matter, while reducing waste in landfills. When lawns are regularly mowed, clippings pose minimal issues. Microbes in the soil readily decompose the clippings, returning valuable organic matter and nutrients to the soil without contributing to thatch buildup under normal conditions. However, infrequent mowing can lead to excess clippings, resulting in clumping and potential thatch formation. Excessive thatch can create various problems, including reduced water infiltration, increased risk of pests and diseases, and diminished turf quality. To mitigate environmental concerns, it is crucial to sweep up any grass clippings from hard surfaces like sidewalks or driveways. These clippings contain nutrients that, if washed into storm drains or water bodies, can contribute to water pollution. By sweeping them back onto the lawn, the grass can benefit from the nutrients while minimizing environmental impact.
Proper mowing practices are essential for maintaining a healthy and vibrant lawn in North Florida’s unique climate. Understanding the growth patterns of different grass species, adjusting mowing frequency accordingly, and leaving clippings on the lawn to recycle nutrients are key aspects of lawn maintenance. By following these guidelines, homeowners can achieve a well-manicured lawn that enhances the beauty of their property while promoting environmental sustainability. Additionally, regular mowing helps prevent thatch buildup, ensures optimal photosynthesis, and reduces the risk of pest and disease infestations. By implementing these best practices, residents of North Florida can enjoy a lush, resilient, and visually appealing lawn that serves as a welcoming outdoor space for years to come. Remember, mowing is not just a chore but an art that contributes to the overall health and aesthetics of your landscape. UF/IFAS provides a wealth of information online regarding maintaining a well-manicured lawn. For any questions or concerns, be sure to consult with your local UF/IFAS Extension Office.
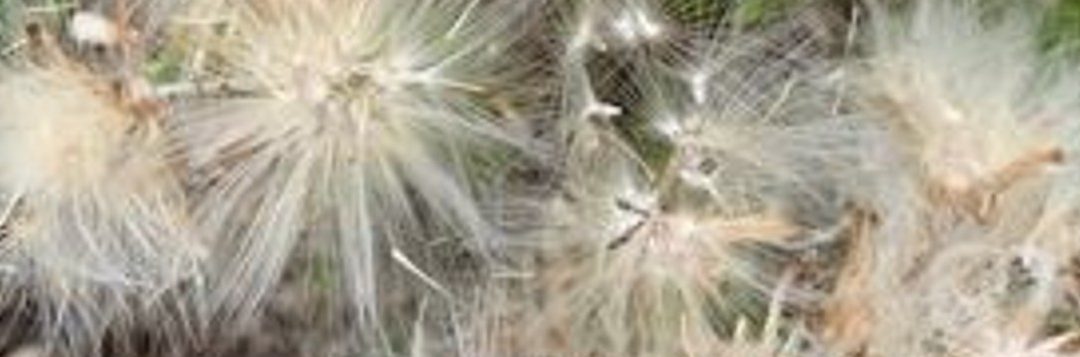
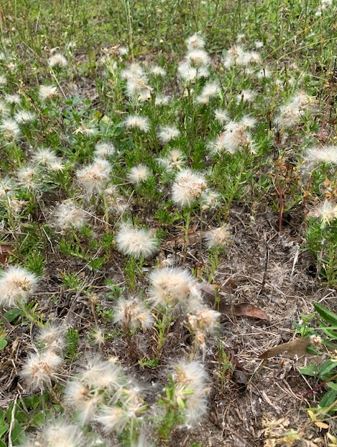
Do you have a low-growing weed that is producing tufts of white, fluffy, dandelion-like seeds, which float in the wind when disturbed or mowed? This is Annual Trampweed (Facelis retusa). I did not see this weed in North Florida until recent years. It’s native to South America.
Mid-April to early May is the time of year when this winter annual weed goes to seed in North Florida. That’s what it is doing now and it is a prolific seed producer. Each white tuft contains numerous seeds. Each tiny seed is attached to a small individual bristle, coming out of the larger tuft, which is carried by wind. This allows hundreds of seeds to move to other locations.
Trampweed is approaching the end of its life as we move into early May. As a winter annual, the individual weed dies in response to warm temperatures only to leave behind hundreds of seeds that survive the summer. These same seeds come up the following fall to early winter to begin the next generation. The best time to attempt chemical control with an herbicide is well before these weeds mature and begin flowering.
Trampweed in bloom. Credit: Larry Williams
One chemical control option is to apply a lawn preemergence herbicide during October when nighttime temperatures drop to 55° to 60°F for several consecutive nights. This will be just before these winter annual weeds emerge. Done correctly, the application of a preemergence herbicide forms a temporary chemical barrier along the soil surface preventing the winter annual weeds from emerging. Hence the name preemergence.
A second application of preemergence herbicide may be required six to nine weeks after the initial application to achieve season-long control, based on the product’s label directions.
If you miss this narrow window of opportunity to apply a preemergence herbicide, watch for the small young weeds in winter and treat then with a postemergence herbicide that is labelled for use in the type of lawn grass you are growing.
Waiting until trampweed is producing flowers and seeds in April and May to attempt control is almost worthless in controlling this weed. Correct timing is critical.
Trampweed usually is found in areas of a lawn that are already weak and thinning. It favors open, dry, stressed and low-fertility areas of a lawn. So, try to manage your lawn correctly. This involves learning to mow, irrigate and fertilize correctly for the type of lawn grass you are growing.