by Larry Williams | Apr 20, 2015

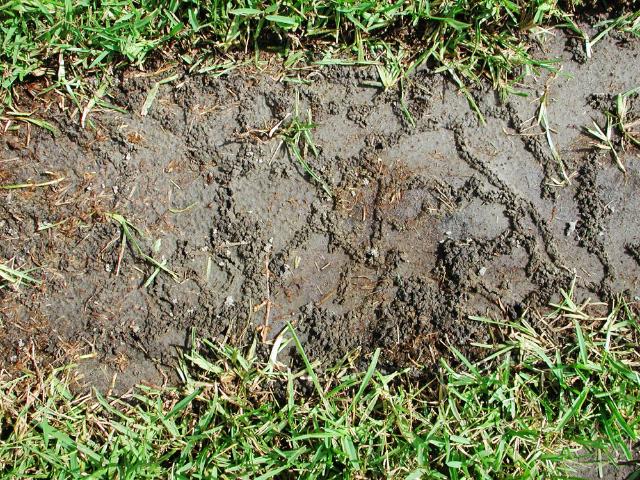
Mole cricket tunnels. Credit: N. Leppla, UF/IFAS
Many people treat their lawn with an insecticide when they see mole crickets in the spring or at the first sign of a brown area in their lawn. What they don’t understand is the biology of this pest.
Mole crickets spend the winter as adults in the soil. As temperatures warm in late February and March, adult mole crickets emerge and begin to mate. Male mole crickets construct a chamber in the soil and chirp to attract female crickets. Attracted females fly to the males. After mating, males die and females fly to a suitable area for egg laying. Mated females begin tunneling and laying eggs in the tunnels. They lay about four clutches of eggs in different areas, averaging 35 eggs per clutch. Female crickets die shortly after laying their eggs.
Use of insecticides during early spring is not recommended because:
- adult mole crickets are not easily killed
- they cause minimal lawn damage during the mating and egg laying process, and,
- reinfestation from subsequent flights is likely.
The best time to treat for mole crickets is during mid-June through July. This will be when eggs have hatched but before the nymphs (immature mole crickets) are large enough to do much damage. Proper timing of the insecticide application is very important to achieve control.
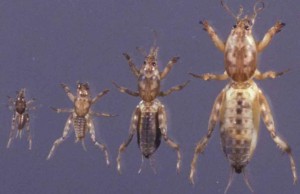
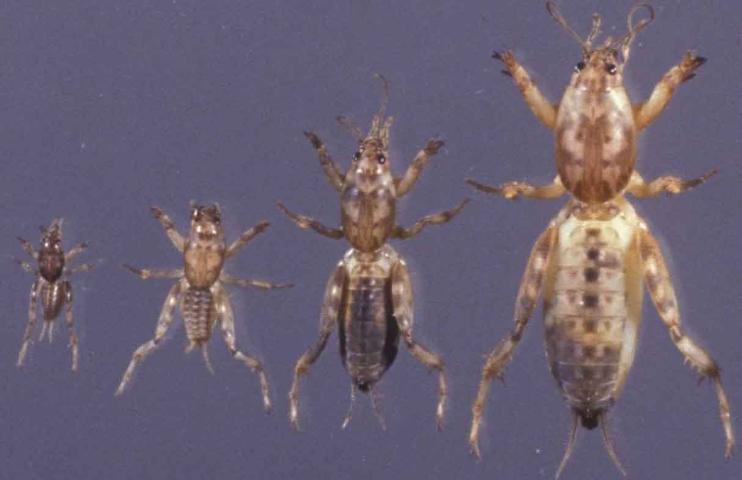
Mole cricket nymphs. Credit: J. Castner, UF/IFAS
If you are not sure if mole crickets are present, you can find out with a soap solution. Mix 1½ fluid ounces of a lemon scented liquid dishwashing soap in two gallons of water in a sprinkling can or bucket. Pour the soapy water over an area approximately four square feet and count the number of mole crickets that emerge. If they are present, it only takes several minutes for mole crickets to crawl to the surface after the soap treatment. Repeat the process around the yard where you suspect mole cricket problems. If you flush an average of two to four crickets per site, treat the lawn with an insecticide. Follow up with spot treatments if any crickets escape the first insecticide treatment. But don’t treat at all if there is no evidence of mole cricket activity.
There are a number of products for mole cricket control in home lawns. Look for insecticides that contain the following active ingredients: bifenthrin, carbaryl, cyfluthrin, deltamethrin, imidacloprid , lambda-cyhalothrin or permethrin.
Before using any product for mole cricket control first identify the problem as mole cricket damage by using the soap flush technique. Then choose an insecticide that lists mole crickets on its label. And finally, read the container carefully for use directions, application techniques, irrigation requirements and precautions.
by Taylor Vandiver | Apr 14, 2015
Rain gardens are an easy way to return water to our aquifer, reduce erosion, and help prevent stormwater runoff.
Running down the driveway or patio, rainwater can pick up lawn chemicals and pesticides. A rain garden is basically a low section of the landscape planted with native plants that like to get their “feet” wet. The garden collects rainwater, giving it a chance to “strain” out impurities before draining into the aquifer.

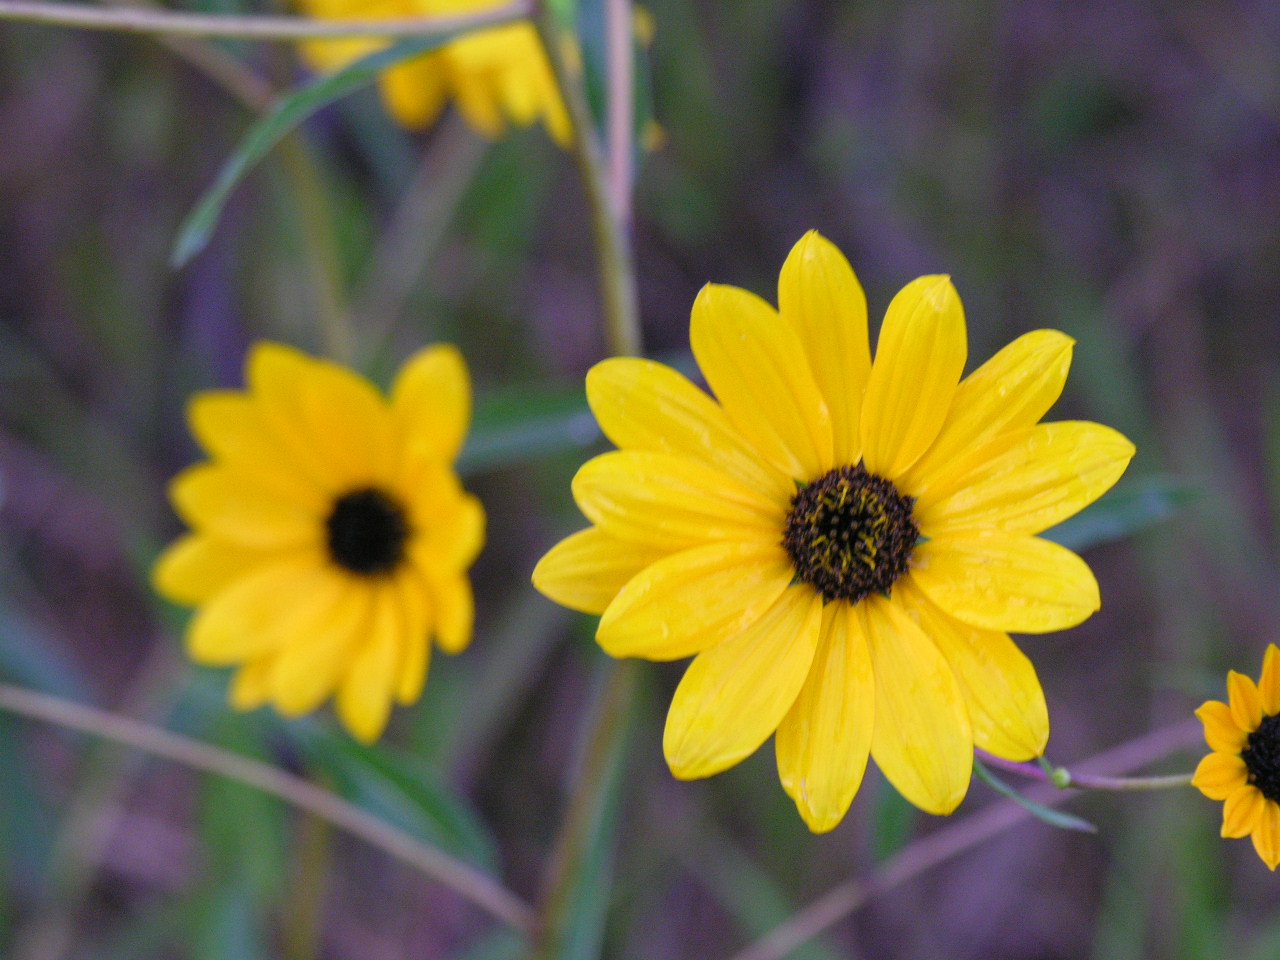
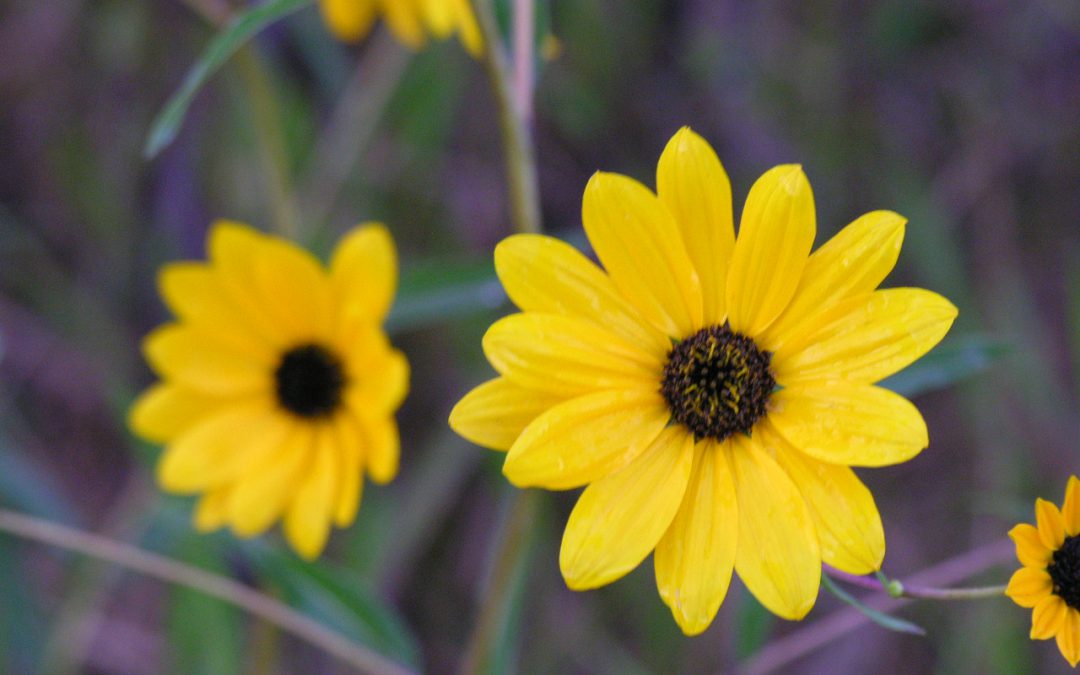
Swamp sunflower. Photo courtesy UF/IFAS.
They work best when they’re placed at the bottom of downspouts or naturally low spots in the landscape, usually where water tends to puddle. They’re especially useful for collecting runoff from paved surfaces. Rain gardens can be any size or shape and can attract thirsty wildlife.
When selecting plants, you’ll need to consider how much sun your site gets and how much space is available. Make sure you select plants that are not just water-tolerant, but also drought-tolerant for the times between rains.
Rain gardens rely on plants that will survive dry spells but then soak up excess stormwater during Florida’s rainy months, preventing the water from running across your landscape.
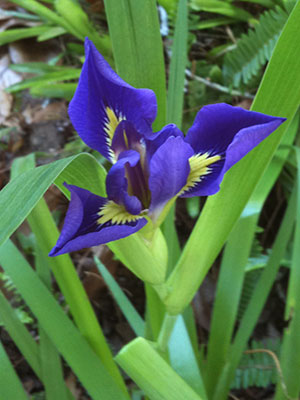
Blue flag iris. Photo courtesy UF/IFAS.
Include different types of plants in your rain garden to create a complete and cohesive look that will provide year-round interest. The following is a short list of flowers, shrubs, and grasses that would perform well in a rain garden.
Flowers:
- Blue flag iris
- Goldenrod
- Swamp sunflower
- Spider lily
- Milkweed
Grasses:
- Florida gamma grass
- Muhly grass
- Wiregrass
Shrubs:
- Virginia willow
- Buttonbush
- Wax myrtle
Here is a list of native plants that will do well in your North Florida rain garden. As always consult your local Extension Office for more information. All of the information in this article was provided by UF/IFAS Extension.

by Eddie Powell | Apr 14, 2015
Growing wholesome, healthy vegetables in a container are a way of life these days. Here are some easy and less expensive tips for creating that bucket garden.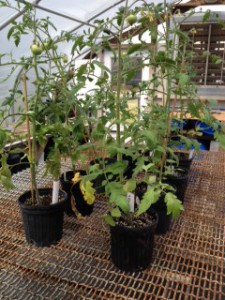
- In a large container or on a plastic mat on the ground, mix garden soil and compost in a 2:1 ratio. Two scoops of soil and one of compost, add the recommended quantity of slow release fertilizer from product label
- Drill 6 to 8- ½ inch holes in the bottom of the 5-gallon buckets. Make sure that the buckets did not contain toxic materials!
- Line the bottom of the bucket with gravel. You may substitute broken pottery or sticks that are broken in short links
- Fill the bucket to within 3 inches of the top of the container
- Place container in sunny spot that will allow drainage
- Plant chosen vegetable with two seeds in center of the container
- Water well and keep moist but not wet
- Place plant support around seeds
Plant requirements:
- Nutrients. Basic needs in plants are Nitrogen (N), Phosphorus (P), Potassium (K). These are listed on all fertilizers as a ratio, example – 8-8-8 contains 8% Nitrogen, 8% Phosphorus, and 8% Potassium and the remaining 76% is a filler. Soils contain many more trace minerals and they are listed on the fertilizer label including directions for use and amounts
- Sunshine or artificial sources of light (grow lights).
- Water. Soil must be kept moist but not wet. Wet soils will create root-rot and encourage fungus. Measure moisture by pinching the soil to see that the soil is moist but never wet. Adding water as needed; plants in hot areas will need much more water than plants in cool spots. Wilted plants need more water!
- Carbon Dioxide (CO2). Plants absorb CO2 and give off Oxygen making them VERY important to human and all animal life.
- Proper Temperatures. Plants will die when it is either too hot or too cold. Make sure that if your plants are outside and the temperature goes below freezing, the plants must be protected or brought inside.
Resources:
by Julie McConnell | Apr 13, 2015

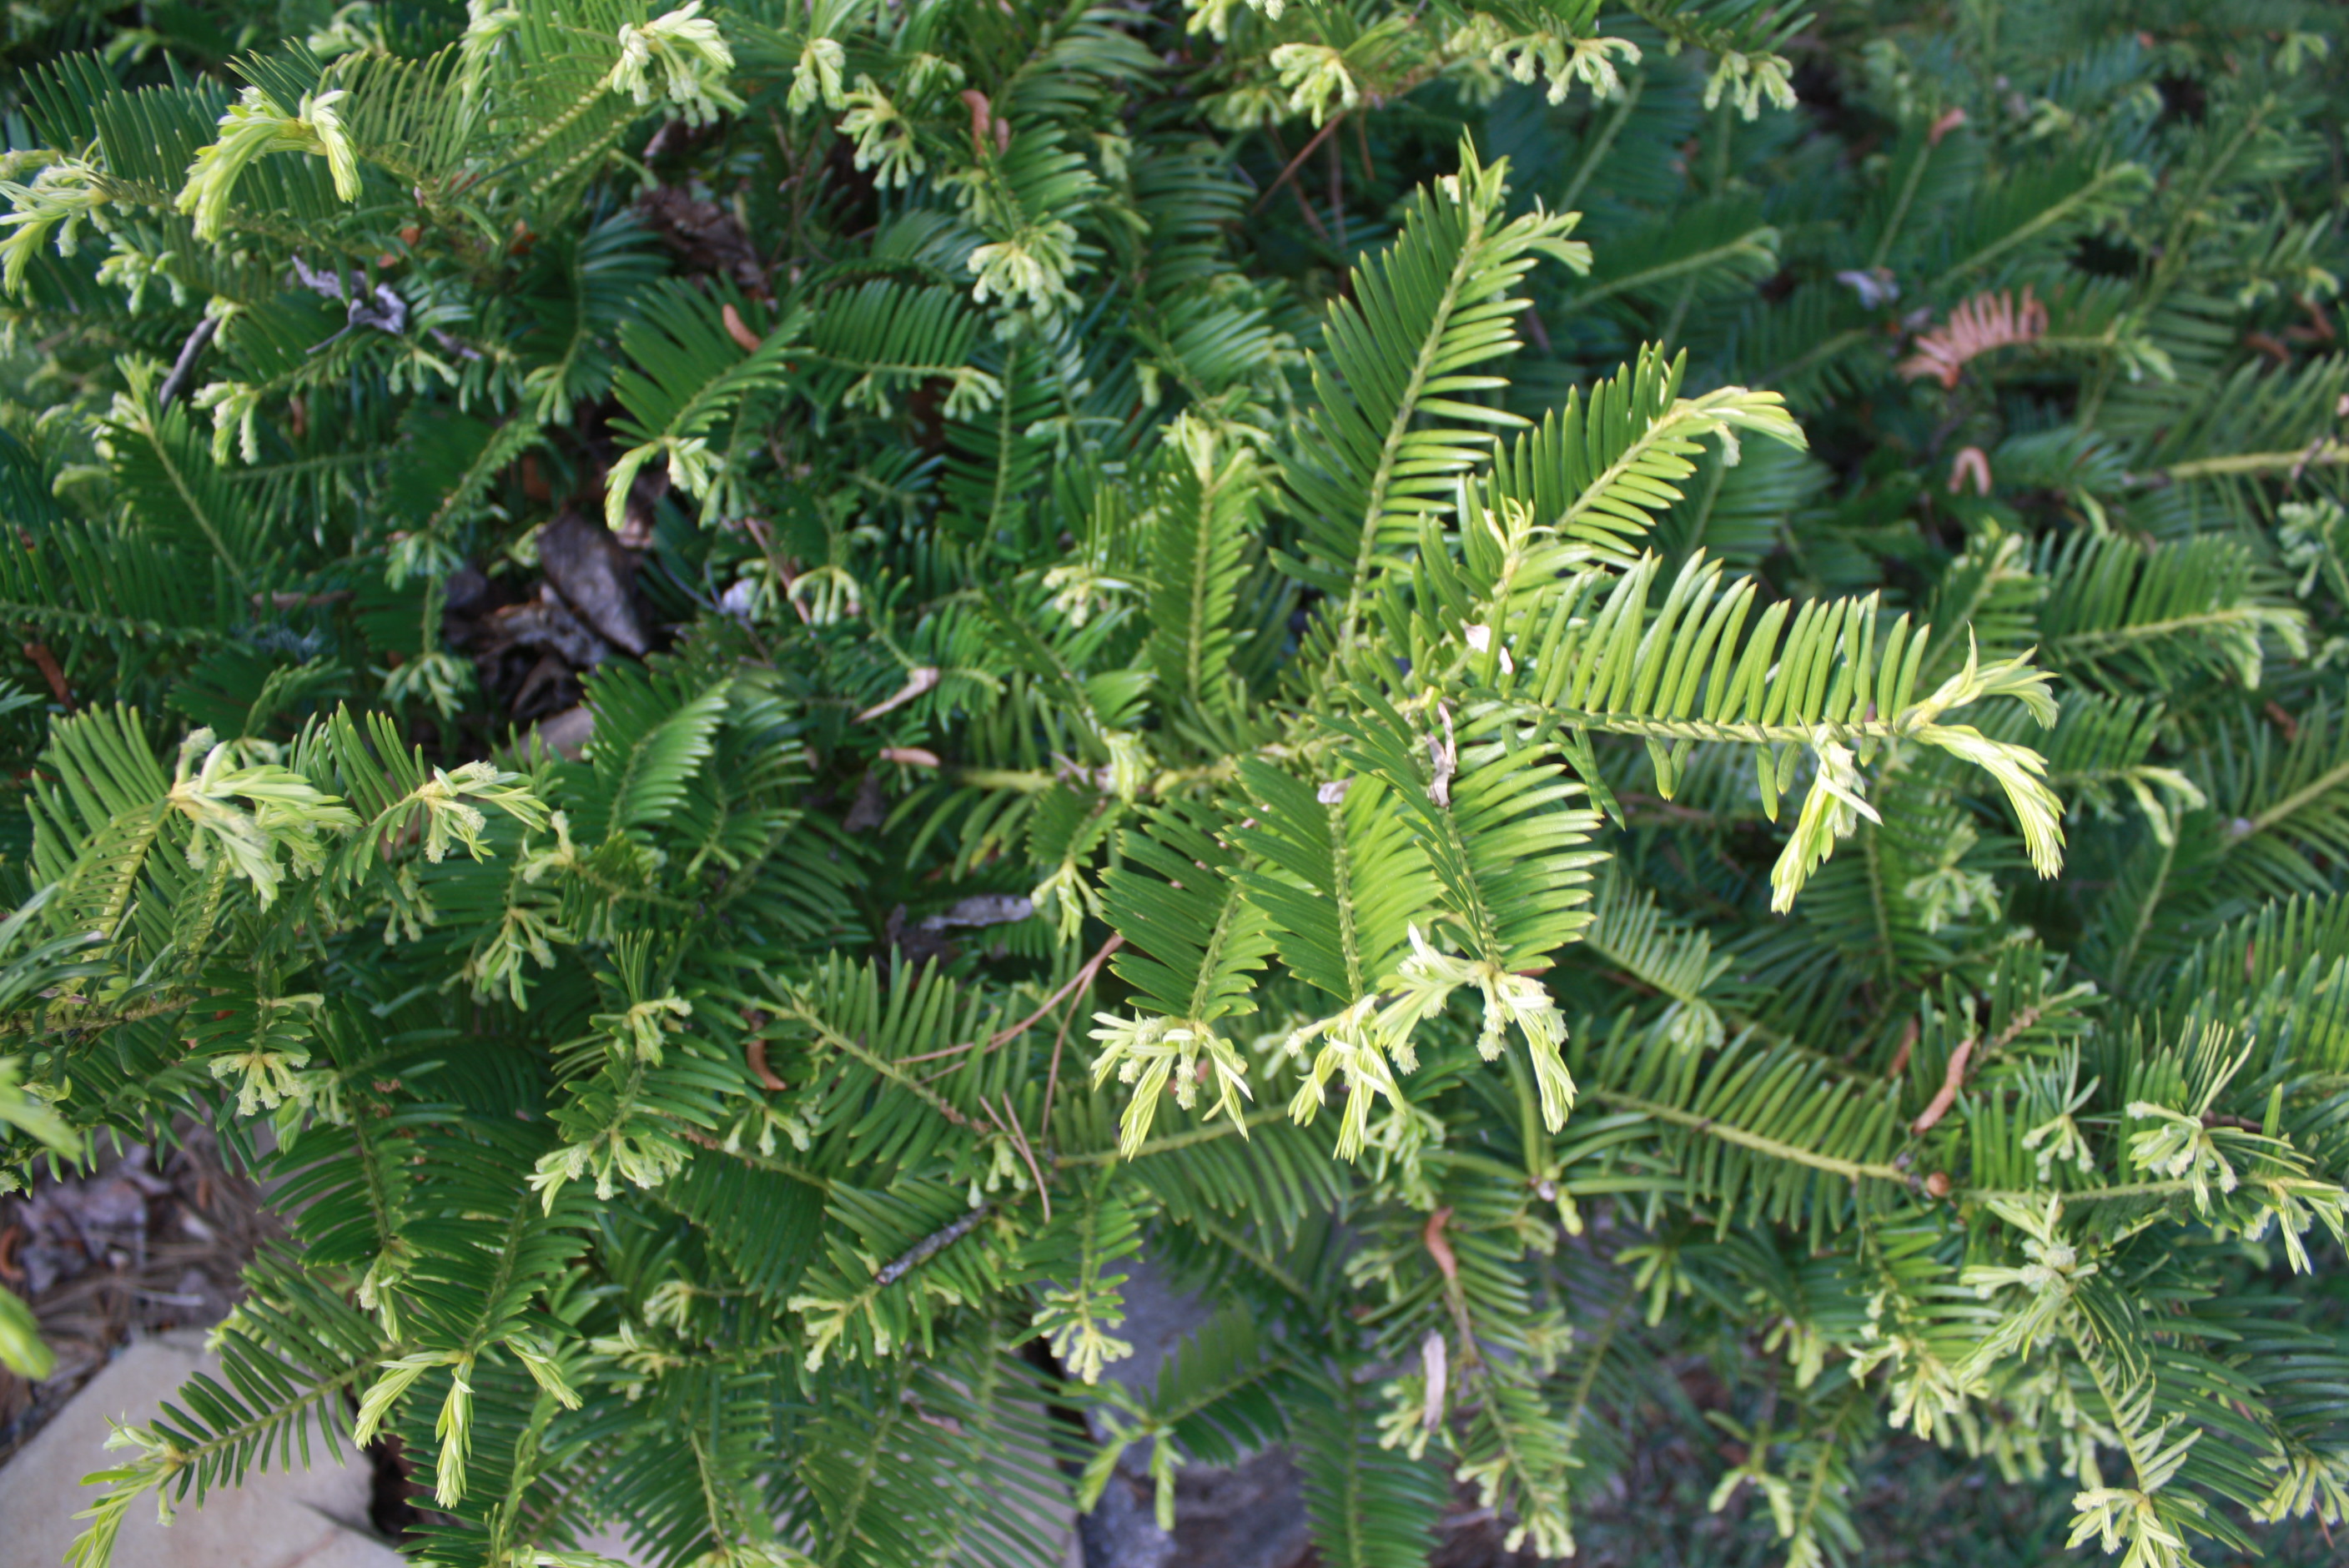
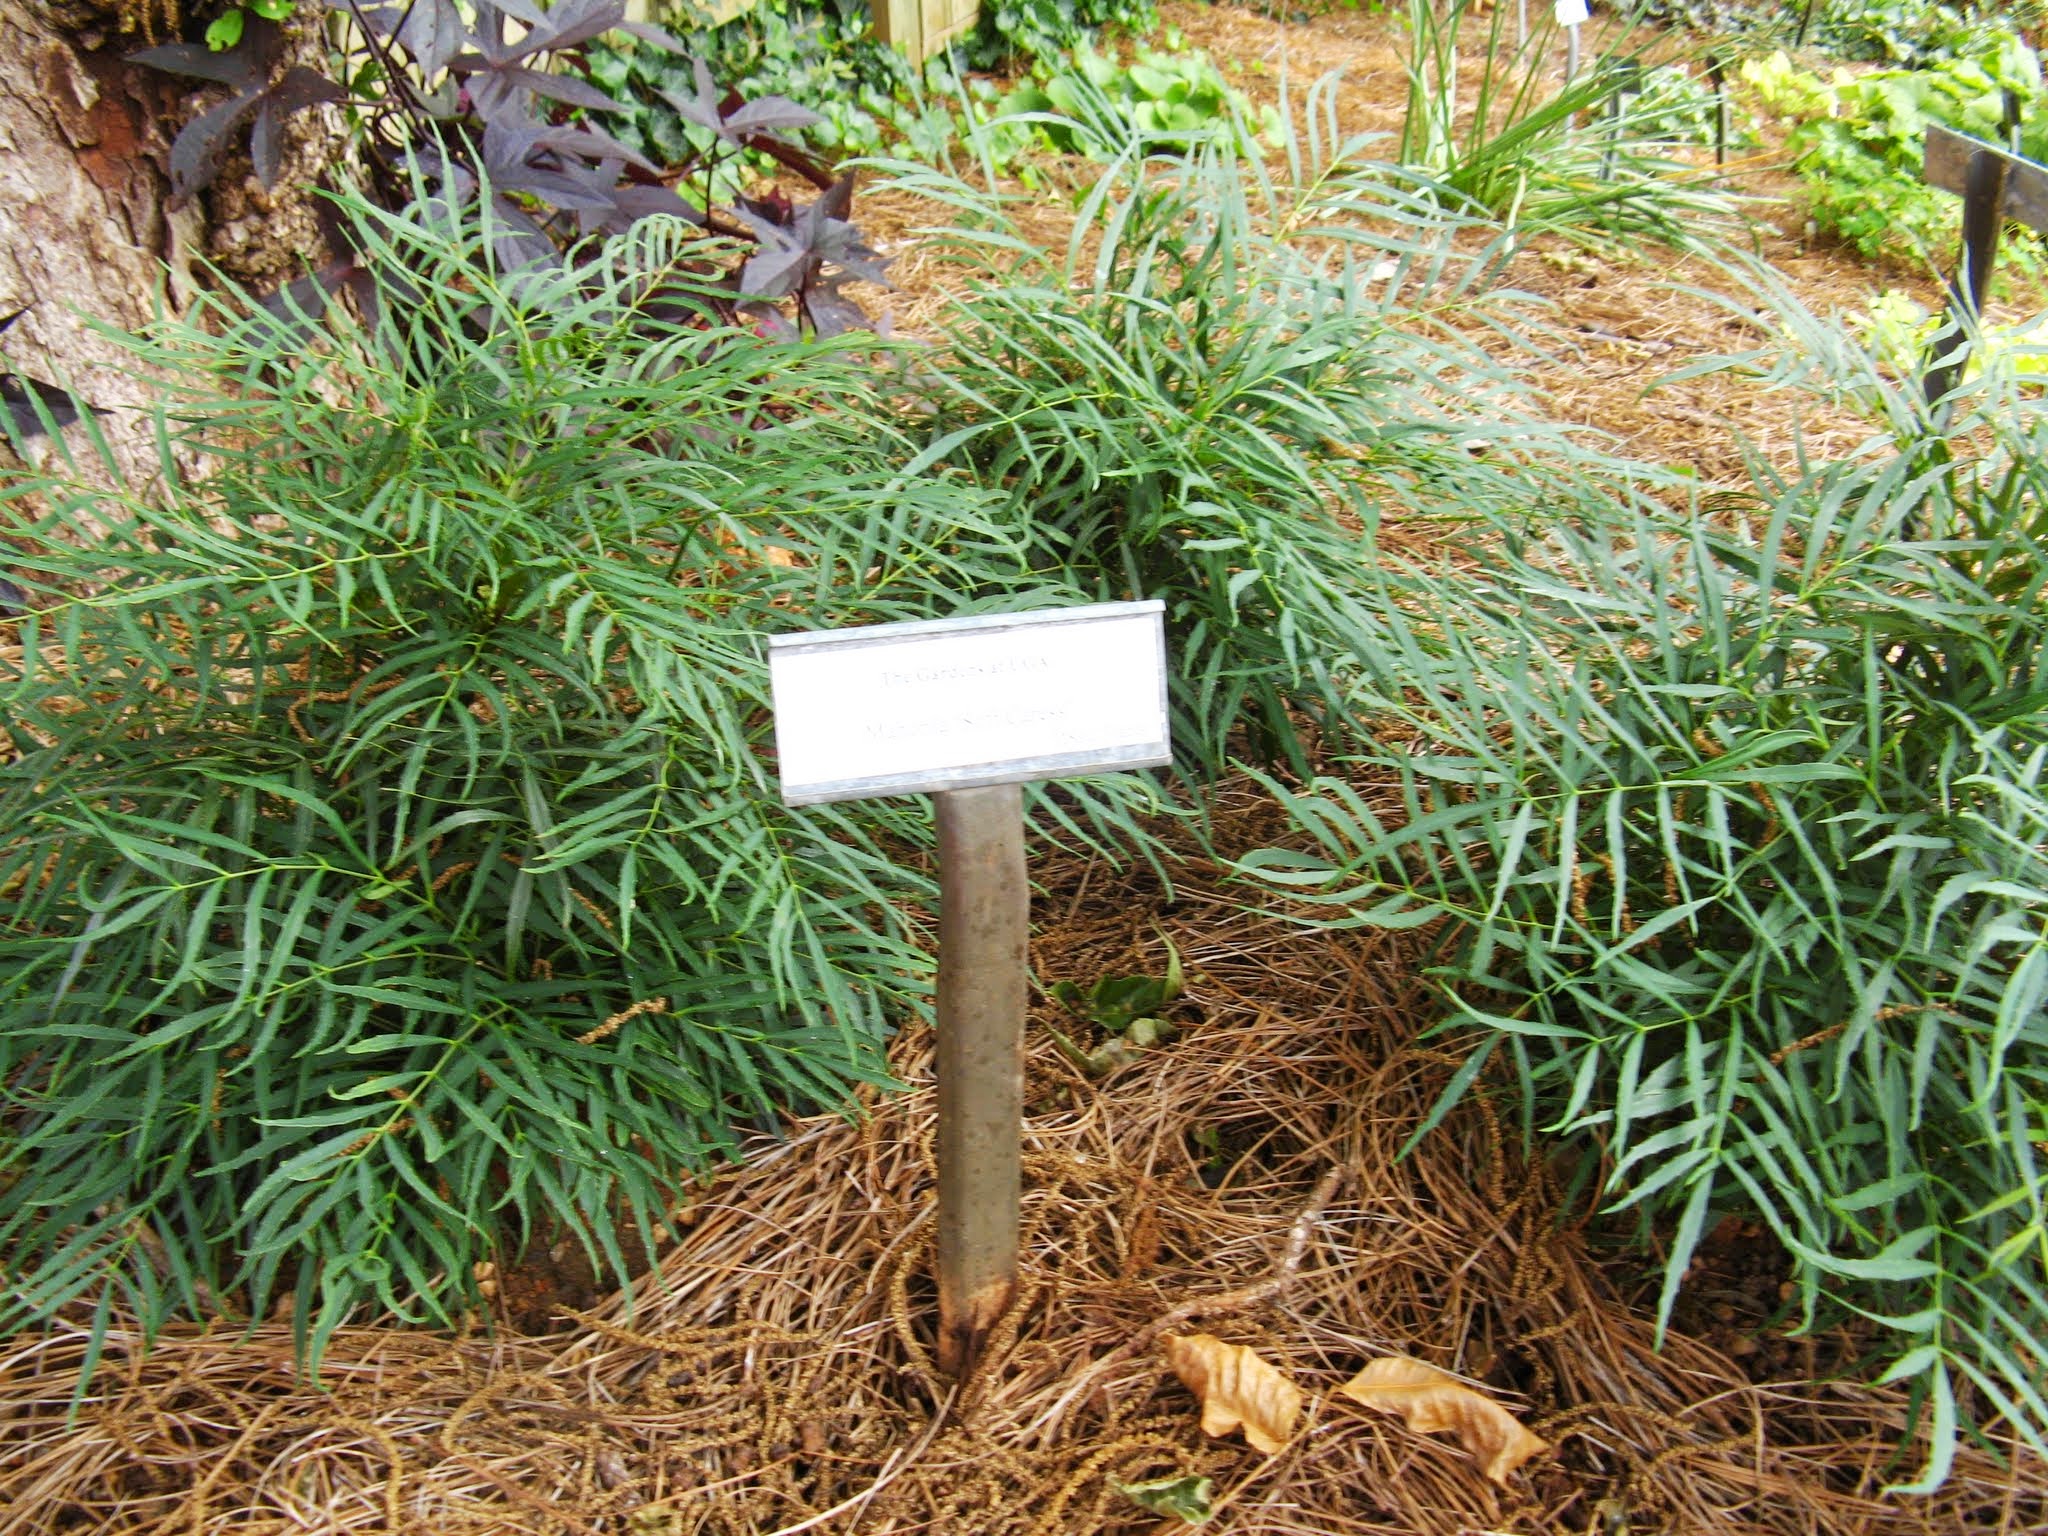
New foliage of Japanese Plum Yew Photo credit: Julie McConnell, UF/IFAS
Trying to grow turfgrass in shaded areas is a losing battle but that doesn’t mean you have to settle for mulch in those dark areas of the landscape. There are many plants that will tolerate shady conditions found under the canopy of large trees, and some offer year round interest!
One of the most important aspects of site assessment is sun exposure. Plants need light, but do not all need the same amount or intensity.
If plants requiring full sun are planted in the shade, they tend to get leggy and do not flower well. Although they may live, they will not perform at their peak.
Shade loving plants grown in the sun may be stunted, show leaf scorch, and will struggle. Most shade plants can tolerate some filtered light or morning sun, but need to be protected from direct mid-day to afternoon sun.
So, what evergreen plants can add some color and texture to your shaded spots?
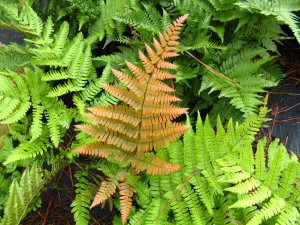
Golden tones of new foliage is what gives Autumn Fern its common name. Photo credit: Julie McConnell, UF/IFAS
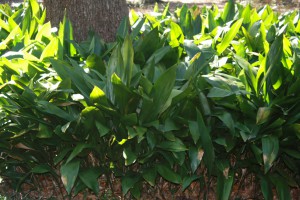
Cast Iron Plants under a live oak tree. Photo credit: Julie McConnell, UF/IFAS
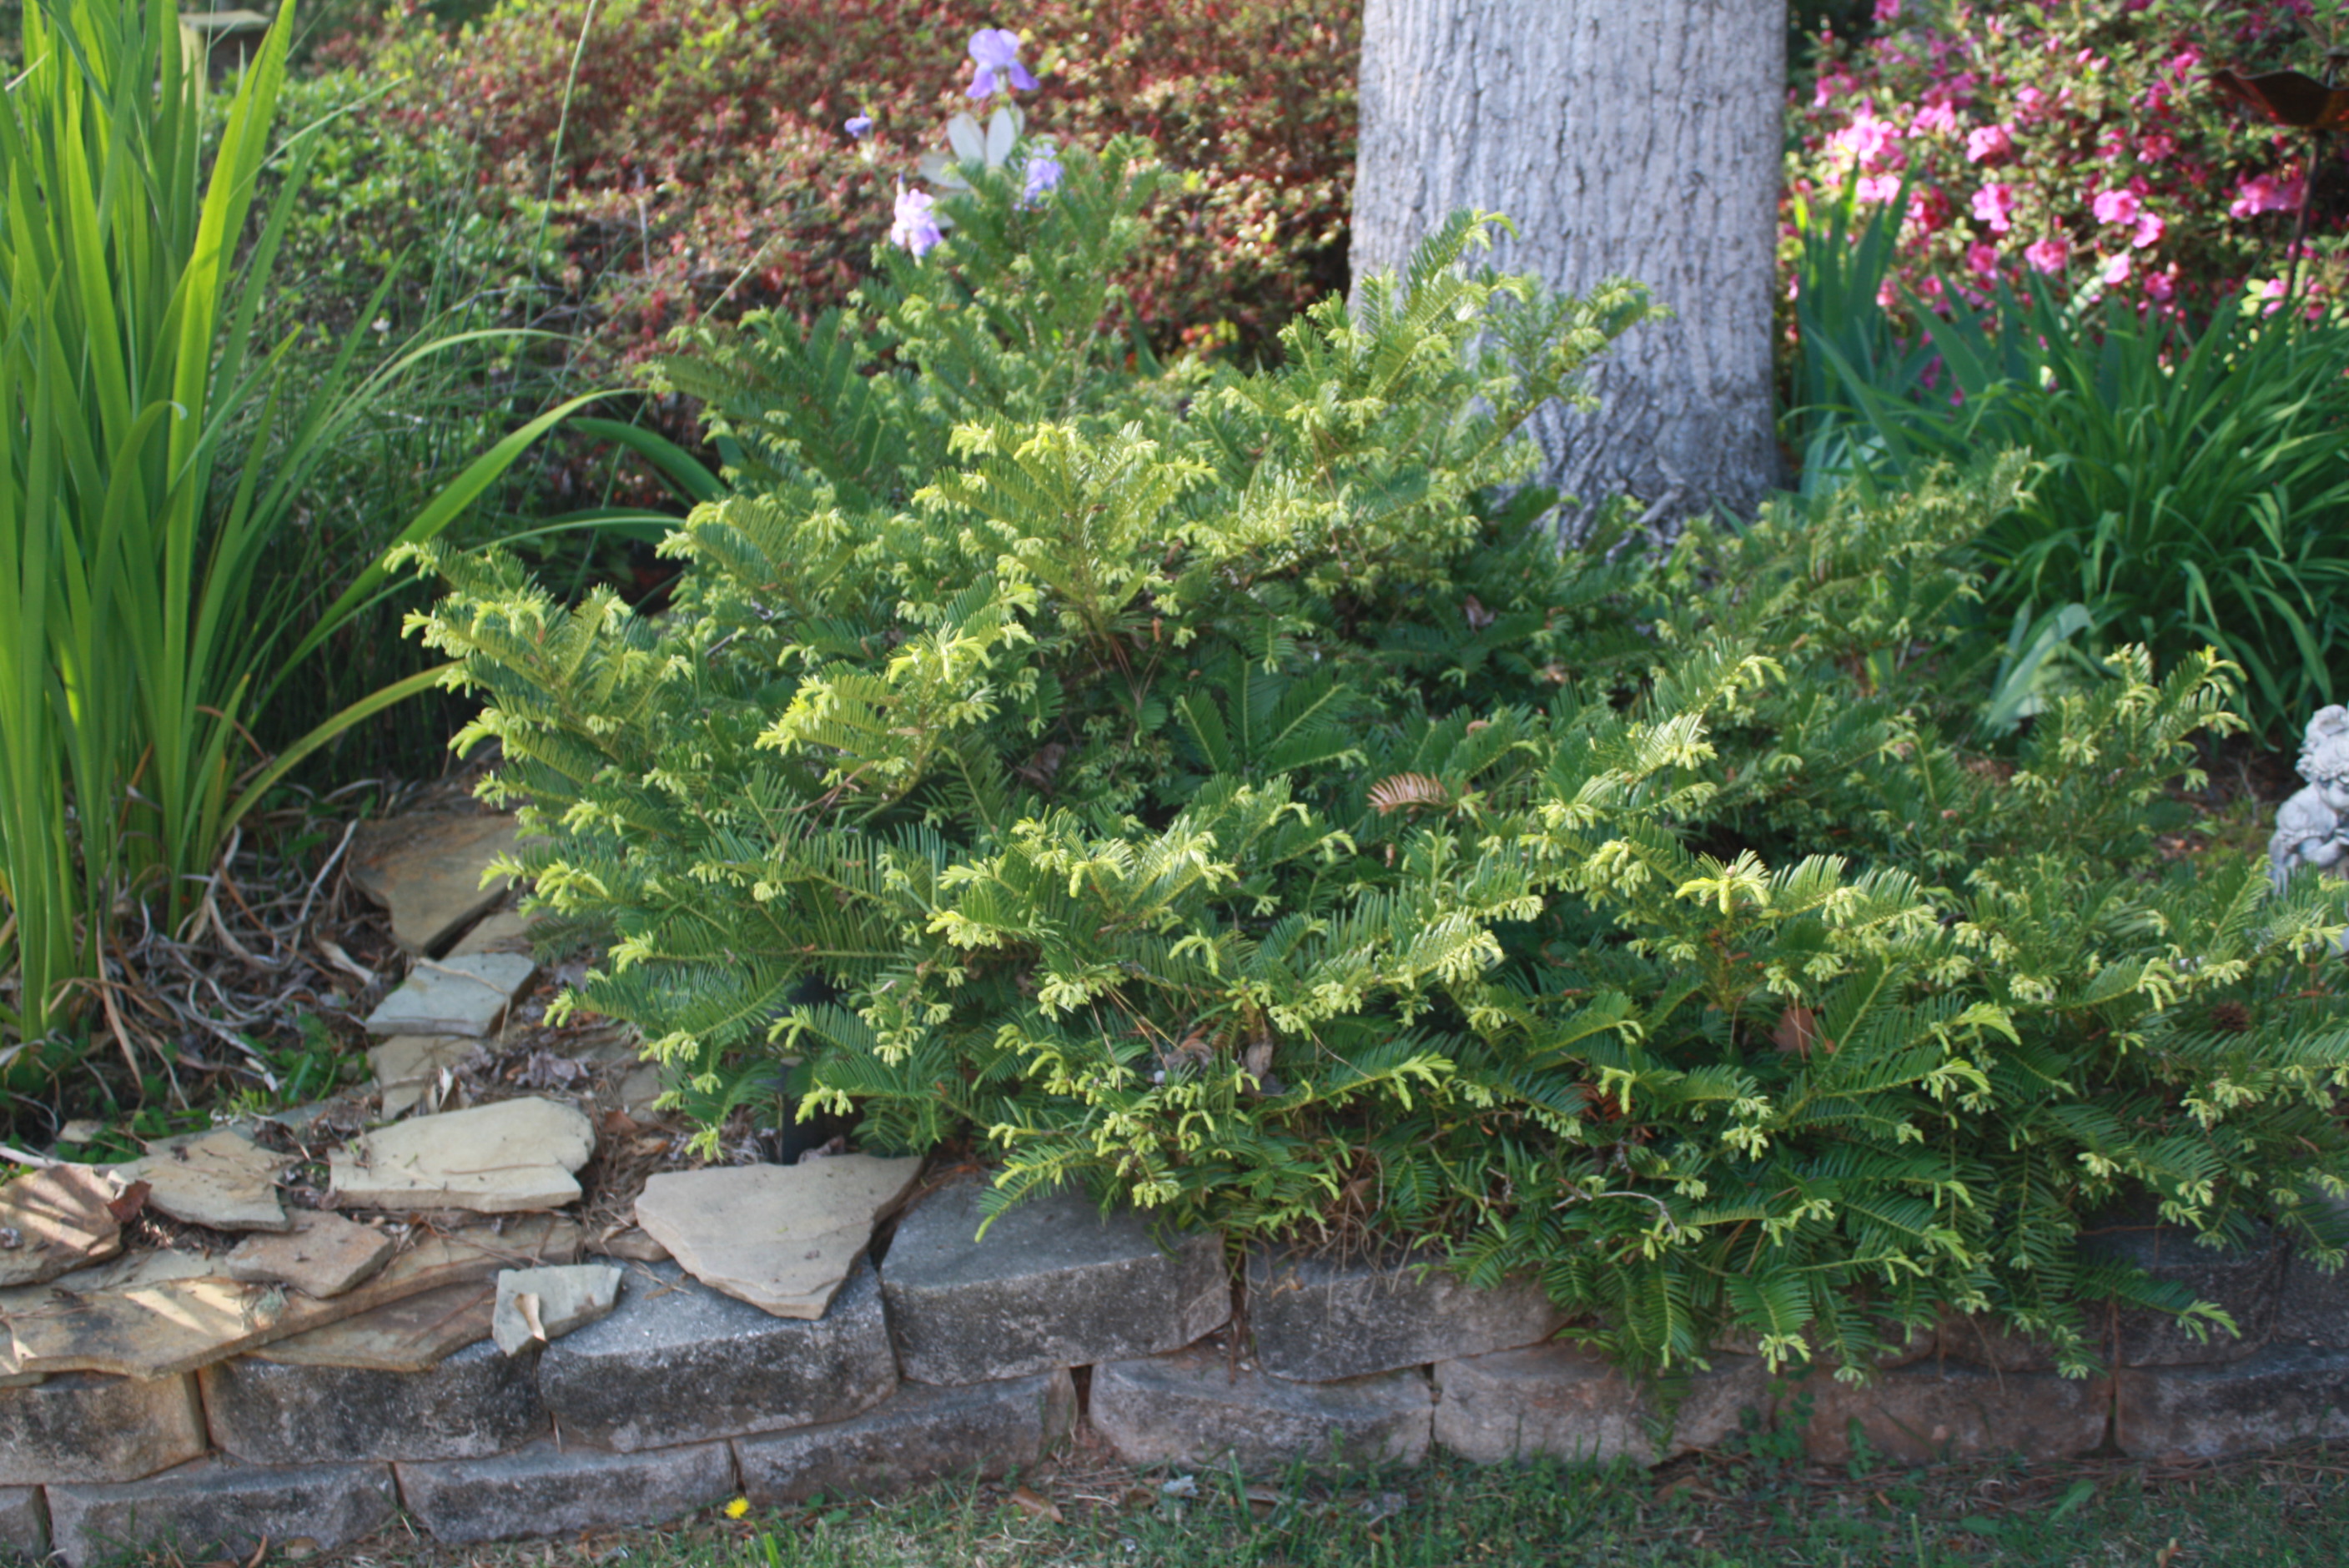
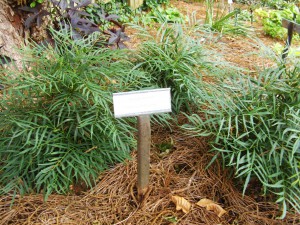
Japanese Plum Yew. Photo credit: Julie McConnell, UF/IFAS
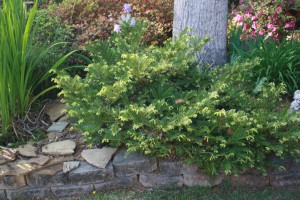
Soft Caress Mahonia. Photo Credit: Julie McConnell, UF/IFAS
by Beth Bolles | Apr 7, 2015
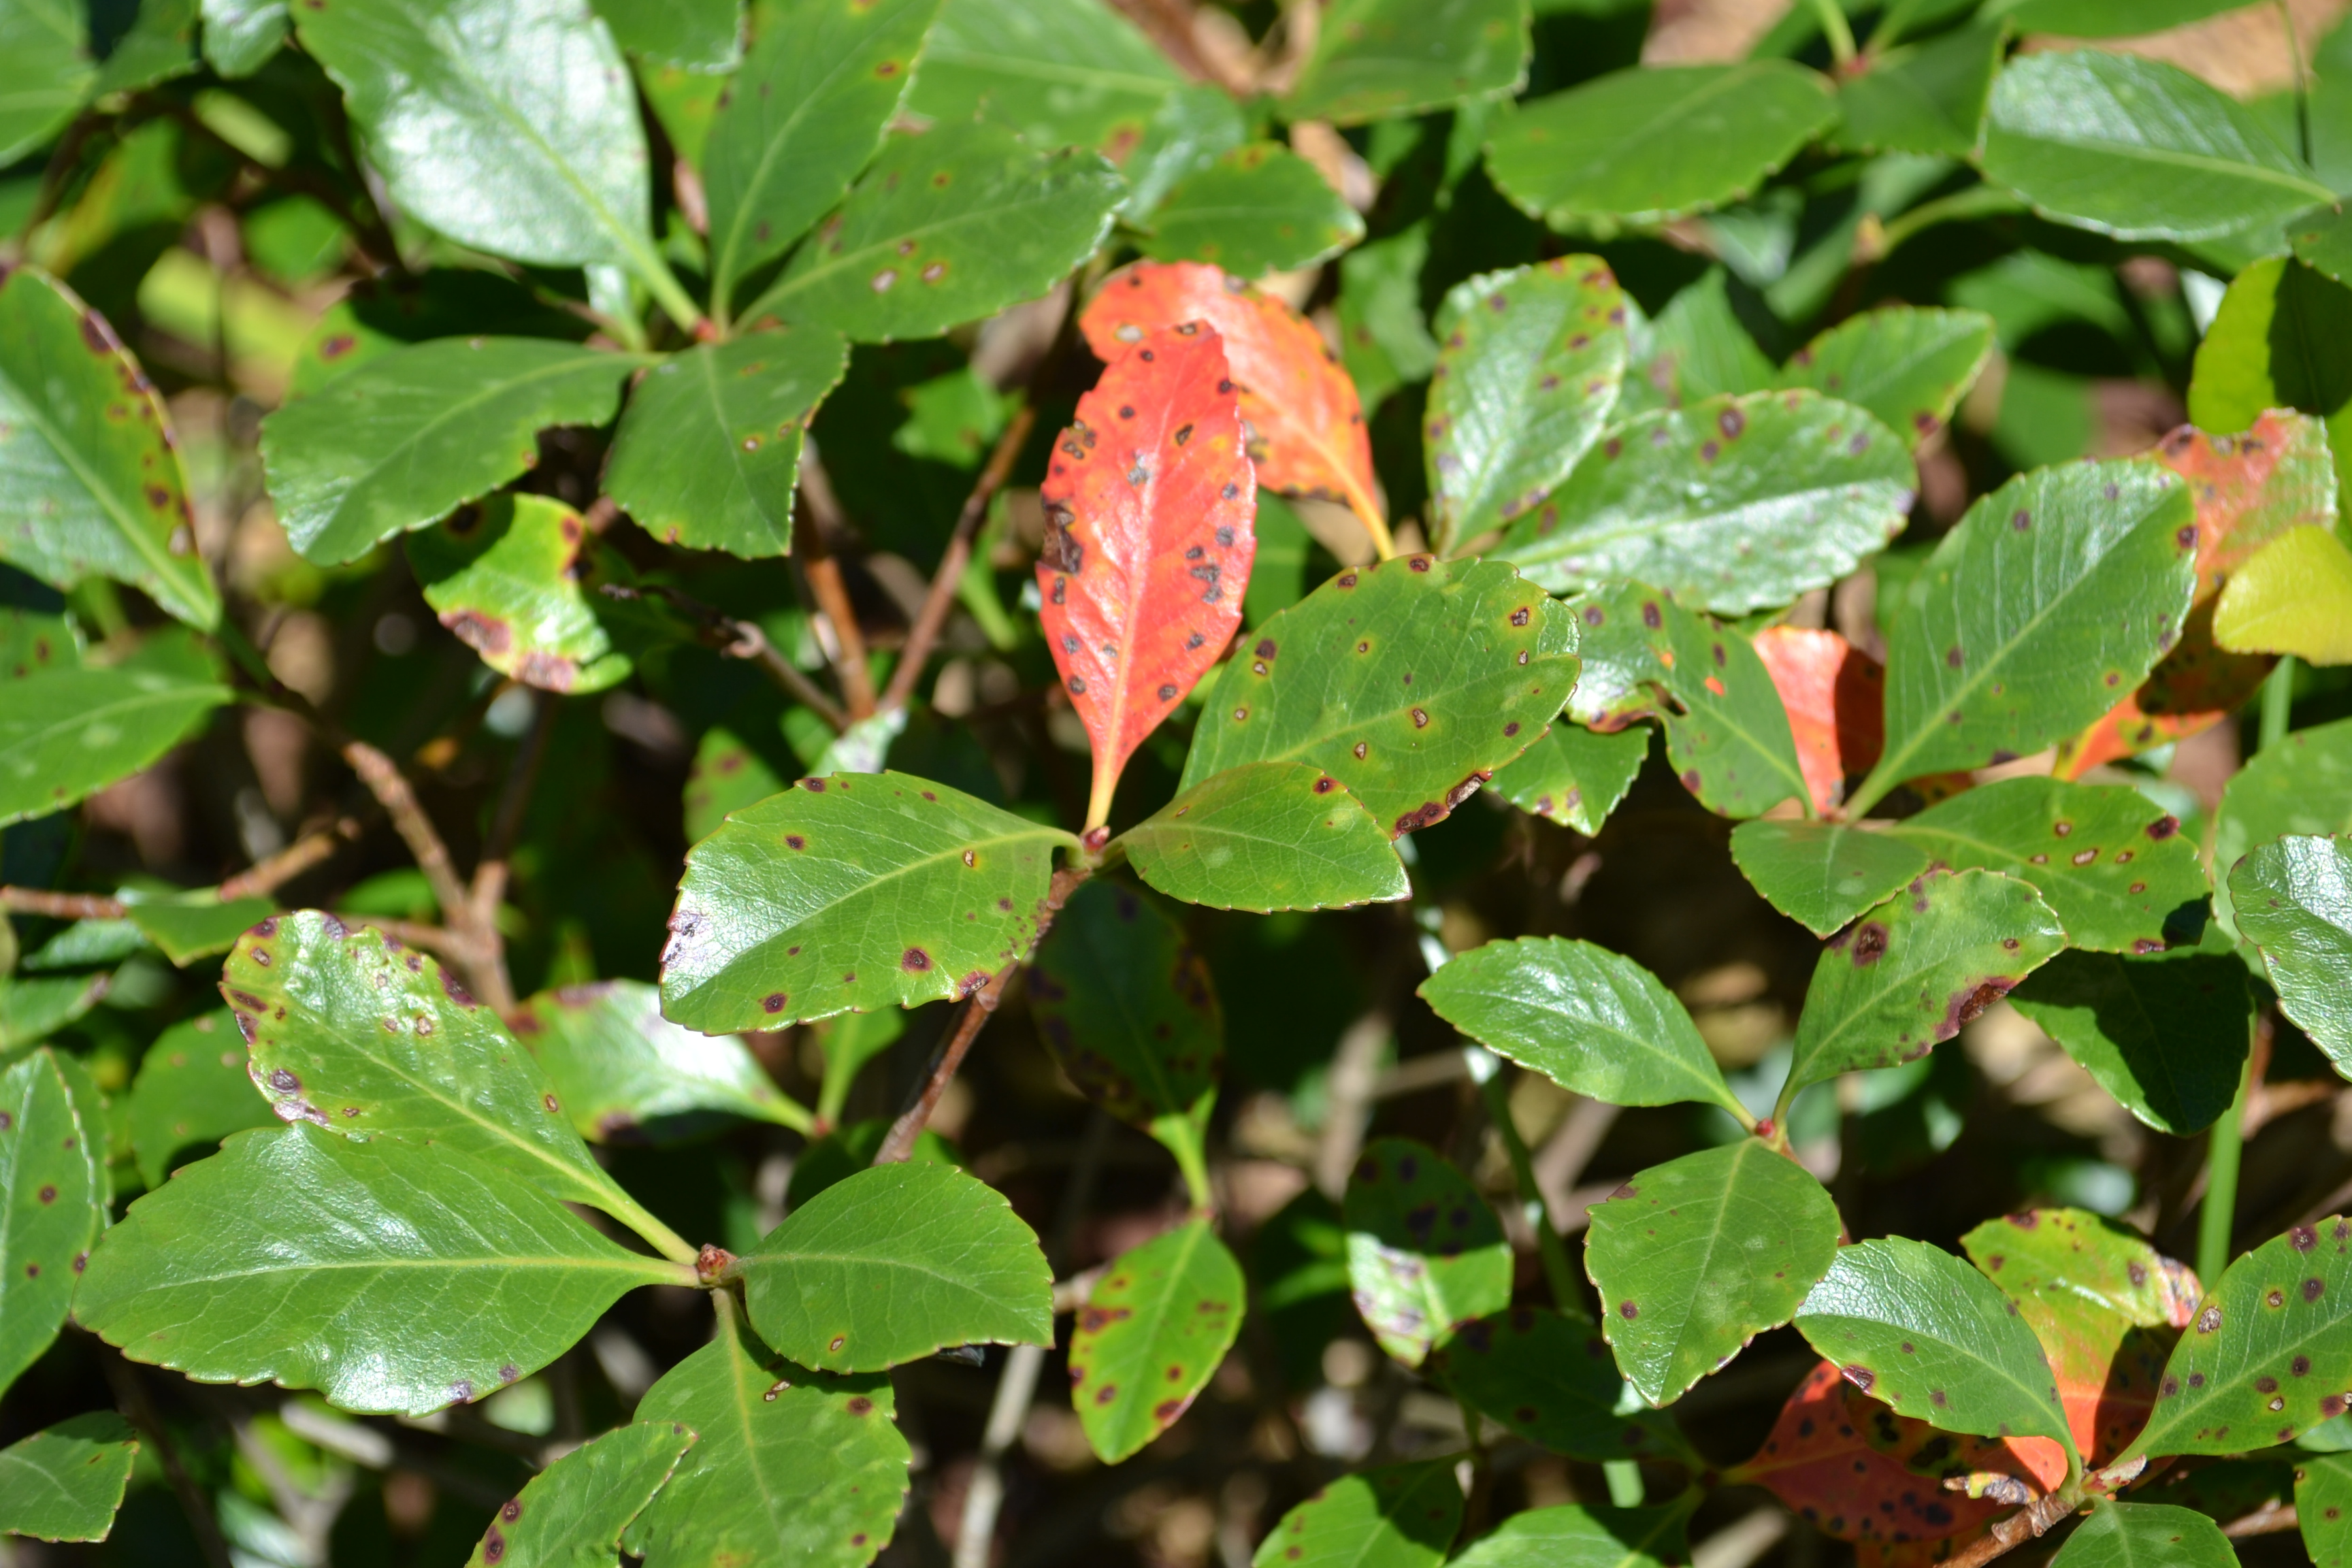
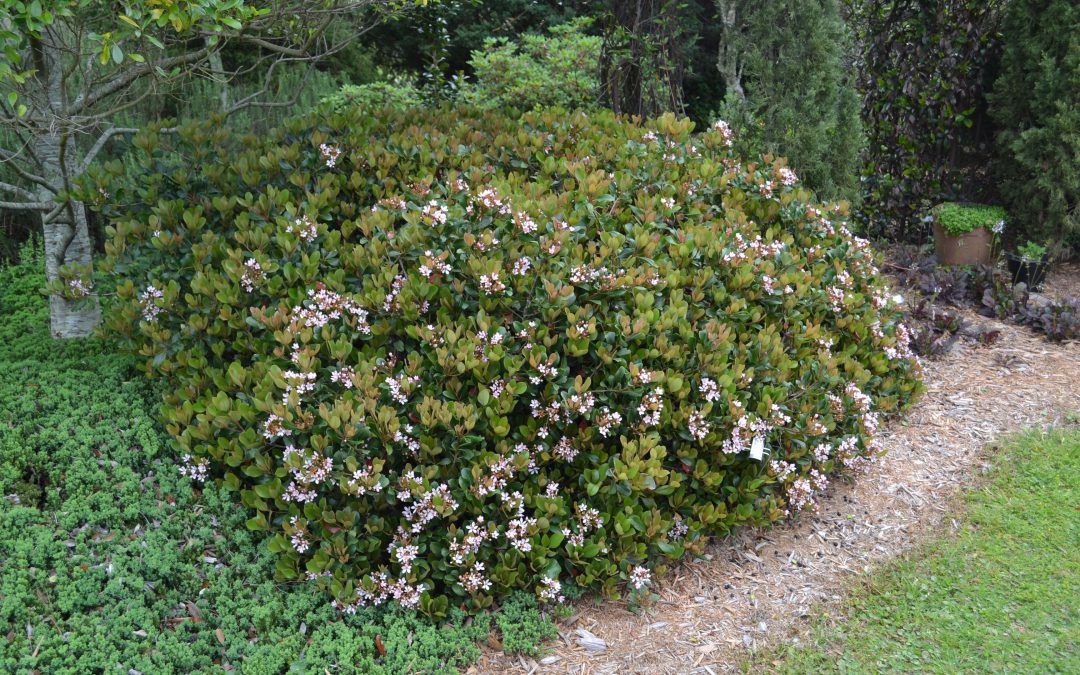
One of the most commonly used shrubs in landscapes is the Indian hawthorn, Rhapheolepsis indica. Although not native to Florida, it can be a very attractive shrub when used properly in landscapes. Plants offer spring flowers in pinks and whites followed by berries that are a food source for birds.
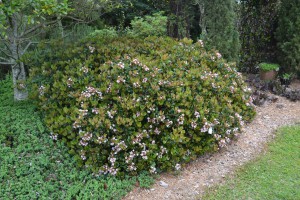
Indian hawthorn as a single planting can be attractive.
Indian hawthorn plants in landscapes are susceptible to a couple of pests that create unattractive and unhealthy plants. A leaf spot fungus called Entomosporium leaf spot easily spreads from infected plants through irrigation and rainfall leading to leaf discoloration, leaf drop, and dieback of limbs. Scale insects can also be common on leaves causing yellowing and dieback. The fungal problem is difficult to manage on heavily infected plants but the scale can be managed with a low toxicity pesticide choice such as a horticulture oil.

A heavy infection of leaf spot fungi is often too difficult to manage when plants are routinely irrigated.
Most often the problems on Indian hawthorn, especially fungal, are the result of poor management. This shrub likes sun, well-drained soil, and no overhead irrigation. Once established, plants should need little supplemental irrigation and water should only be applied to the base of plants. Since plants normally form a rounded mound, there is also little need for pruning if planted in a correct spot and spaced appropriately when planting. Most landscape installations of Indian hawthorn space plants based on the gallon pot size and not the mature size of the plant which is about 3-5 feet in height and spread.
Indian hawthorn can still be a good selection for homeowners. Buy healthy plants without any signs of spots on leaves and don’t plant a monoculture of these plants in the landscape. If one plant does have serious pest issue it is easier to either treat or remove one plant versus a mass planting.