
by Eddie Powell | Jun 10, 2015
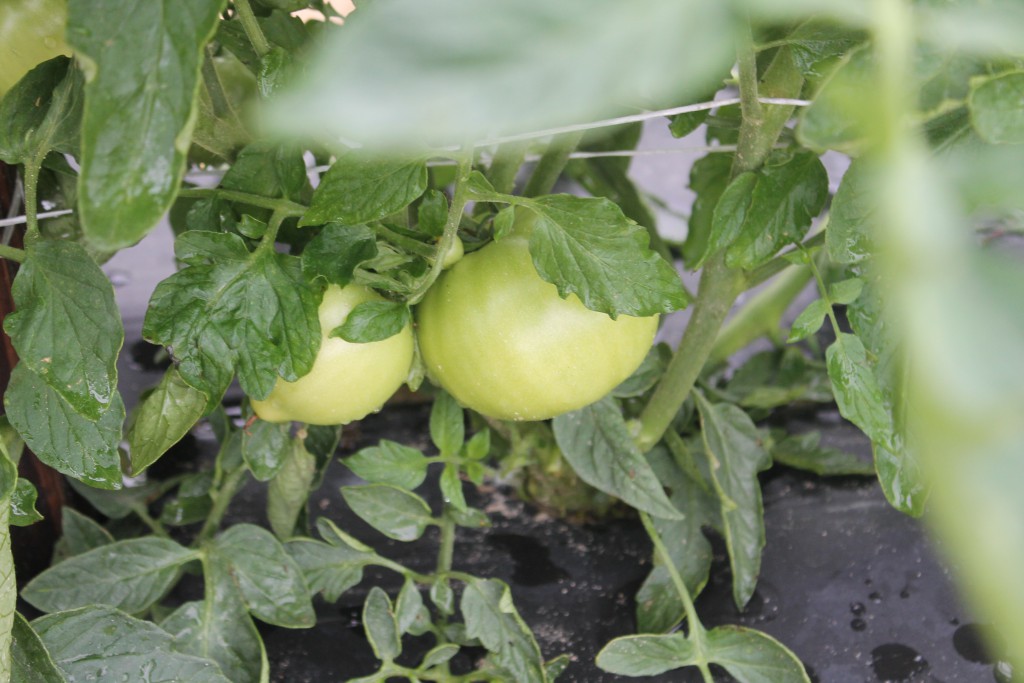 During this growing season, monitor your plants to keep them healthy. Healthy plants will be able to survive pest attacks better.
Nematodes are microscopic worms that attack vegetable roots and reduce growth and yield. Nematode populations can be reduced temporarily by soil solarization. It is a technique which uses the sun’s heat to kill the soil-borne pests. Also, adding organic matter to the soil will help reduce nematode populations. The organic matter will also improve water holding capacity and increase nutrient content.
If you choose to use pesticides, please follow pesticide label directions carefully. Learn to properly identify garden pests and use synthetic chemicals only when a serious pest problem exists, or a history of a particular problem exists at your site. Organic gardeners can use certain products like BT (Dipel) to control pest. Please remember not every product is for use on every crop, so be sure the target crop is listed on the label before purchasing the product. Follow label directions for measuring, mixing and pay attention to any pre-harvest interval warning. The pre-harvest interval is the time that must elapse between application of the pesticide and harvest. For example, broccoli sprayed with carbaryl (Sevin) should not be harvested for two weeks after application.
Pesticide application techniques:
- Spray the plant thoroughly, covering both the upper and lower leaf surfaces.
- Do not apply pesticides on windy days.
- Follow all safety precautions on the label, keep others and pets out of the area until sprays have dried.
- Apply insecticides late in the afternoon or in the early evening when bees and other pollinators are less active.
- To reduce spray burn, make sure the plants are not under moisture stress.
- Water if necessary and let leaves dry before spraying.
- Avoid using soaps and oils when the weather is very hot, because this can cause leaf burn.
- Control slugs with products containing iron phosphate.
Many common diseases can be controlled with sprays like chlorothalonil, maneb, or mancozeb fungicide. Powdery mildews can be controlled with triadimefon, myclobutanil, sulfur, or horticultural oils. Rust can be controlled with sulfur, propiconazole, ortebuconazole. Sprays are generally more effective than dusts.
If you have questions please call your UF/IFAS county extension office. We can provide helpful information about insect and disease identification.
by Eddie Powell | May 8, 2015
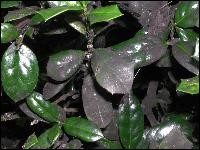
Florida soft scale. Photo credit: UF/IFAS.
Scale insects are one of the most serious problems homeowners face on ornamentals this time of year. The most common are armored scale, soft scale, and mealybugs. They cause damage by sucking plant fluids from the leaves, stems, and sometimes roots. Some species feed on the underside of the leaves which can appear as yellowing spots or chlorotic lesions. Heavy infestations can cause extensive leaf yellowing, premature leaf drop, branch dieback, and plant death.
The life cycle starts when the eggs are laid beneath a waxy covering or beneath the adult female. After the eggs hatch two to three weeks later, the nymphs (crawlers) move around the plant until they find a suitable feeding site. Crawlers then insert their straw-like mouthparts into the plant and begin to feed and grow. The male often develops wings and flies to locate a mate.
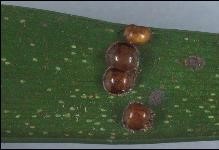
Armored scale nymphs. Photo: UF/IFAS.
Armored scale is distinct from other types of scales because they secrete a waxy covering over their body that is not attached to the body. The scale lives and feeds under this covering ranging 1/16 to 1/8 inch in size. They can be any color or shape, depending on the species. Armored scale does not produce honeydew.
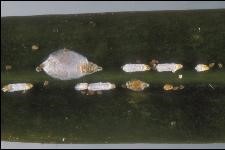
Armored scale. Photo credit: UF/IFAS.
Soft scale also secretes a waxy covering but it is attached to the bodies. Soft scales vary in color, size, and shape. They are circular shaped and range from 1/8 to ½ inch in diameter. Because they consume so much plant sap, they excrete a lot of sugary liquid called honeydew. Honeydew is the sticky liquid found on the leaves.
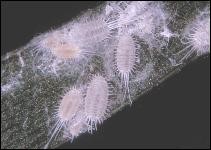
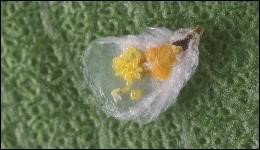
Mealybugs. Photo credit: UF/IFAS.
Mealybugs are soft bodied insects that are often covered with cottony white filaments. They are 1/8 inch in size and feed on all parts of plants. Injured plants have discolored, wilted, and deformed foliage.
Sooty mold is caused when mealybugs and soft scales excrete large amounts of honeydew which provides an excellent medium for the growth of the black fungus. Sooty mold is not only unattractive; it slows down the growth of the plant as it interferes with photosynthesis. Over time, with the control of the insect population, the sooty mold will weather away. Ants can also play a big factor in controlling sooty mold as they will feed on the honeydew.
Sooty mold. Photo credit: UF/IFAS.
To control scale and mealybugs, avoid over-fertilizing and monitor your plants often. If the infestation becomes over-bearing, spray a fine mist of Horticultural Oil on the foliage. Avoid spraying in the summer heat because of damaging foliage. Other chemicals that can be used if necessary are Sevin dust and Malathion.

by Eddie Powell | Apr 14, 2015
Growing wholesome, healthy vegetables in a container are a way of life these days. Here are some easy and less expensive tips for creating that bucket garden.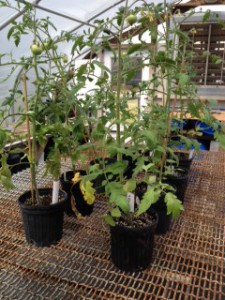
- In a large container or on a plastic mat on the ground, mix garden soil and compost in a 2:1 ratio. Two scoops of soil and one of compost, add the recommended quantity of slow release fertilizer from product label
- Drill 6 to 8- ½ inch holes in the bottom of the 5-gallon buckets. Make sure that the buckets did not contain toxic materials!
- Line the bottom of the bucket with gravel. You may substitute broken pottery or sticks that are broken in short links
- Fill the bucket to within 3 inches of the top of the container
- Place container in sunny spot that will allow drainage
- Plant chosen vegetable with two seeds in center of the container
- Water well and keep moist but not wet
- Place plant support around seeds
Plant requirements:
- Nutrients. Basic needs in plants are Nitrogen (N), Phosphorus (P), Potassium (K). These are listed on all fertilizers as a ratio, example – 8-8-8 contains 8% Nitrogen, 8% Phosphorus, and 8% Potassium and the remaining 76% is a filler. Soils contain many more trace minerals and they are listed on the fertilizer label including directions for use and amounts
- Sunshine or artificial sources of light (grow lights).
- Water. Soil must be kept moist but not wet. Wet soils will create root-rot and encourage fungus. Measure moisture by pinching the soil to see that the soil is moist but never wet. Adding water as needed; plants in hot areas will need much more water than plants in cool spots. Wilted plants need more water!
- Carbon Dioxide (CO2). Plants absorb CO2 and give off Oxygen making them VERY important to human and all animal life.
- Proper Temperatures. Plants will die when it is either too hot or too cold. Make sure that if your plants are outside and the temperature goes below freezing, the plants must be protected or brought inside.
Resources:
by Eddie Powell | Mar 17, 2015
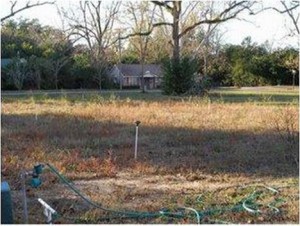
Site selection of your vegetable garden is a very important part of vegetable gardening because if the appropriate site is not selected than success may be limited.

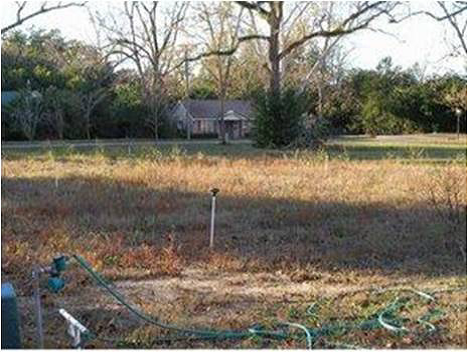
Identify distance between vegetable garden and water source. Image of a Walton County Community Garden site in DeFuniak Springs, FL.
Photo Credit: Eddie Powell
First, the gardener should place the garden in a convenient location near the house so it will be easier to maintain. The garden area also needs to be located near a good water source. Second, the gardener needs to determine how well-drained the soil is in the area and make sure that the soil is not compacted. If it is compacted, tilling will be needed to reduce compaction of the soil and help roots reach out into the soil so that optimal nutrient uptake is ensured. Third, the garden needs to be located in an area that receives at least six hours of direct sunlight daily.
Vegetable plants can be added in the landscape with other ornamental plants with proper care. Garden sites along coastal areas are also suitable places for gardens. It is good, when possible, to rotate the garden from place to place to prevent soil diseases and other pests with specific host species from accumulating in one location. One helpful tip for gardeners is to have a vegetable garden plan drawn out including the names of the plants, their location, and the dates they were planted.
Determine how many hours of sunlight is available to the garden. Image of a Walton County Community Garden site in DeFuniak Springs, FL.
Photo Credit: Eddie Powell
Stop by your local University of Florida IFAS extension office to pick up a Vegetable Gardening Guide. It contains the dates for planting vegetables and maturity timeframes. This guide will also help you decide if you prefer ordering seeds or transplanting bought plants. If using transplants, seeds need to be sowed 4 to 6 weeks before the recommended planting date to allow time for adequate growth before transplanting. The vegetable gardening guide also includes a list of plants that do best as transplants and ones that perform better directly seeded. To learn more on this topic please feel free to stop by your local University of Florida / IFAS Extension office or visit http://edis.ifas.ufl.edu/
by Eddie Powell | Feb 17, 2015

Correct way to pull a soil sample is the use of a soil probe
Photo Credit : Eddie Powell
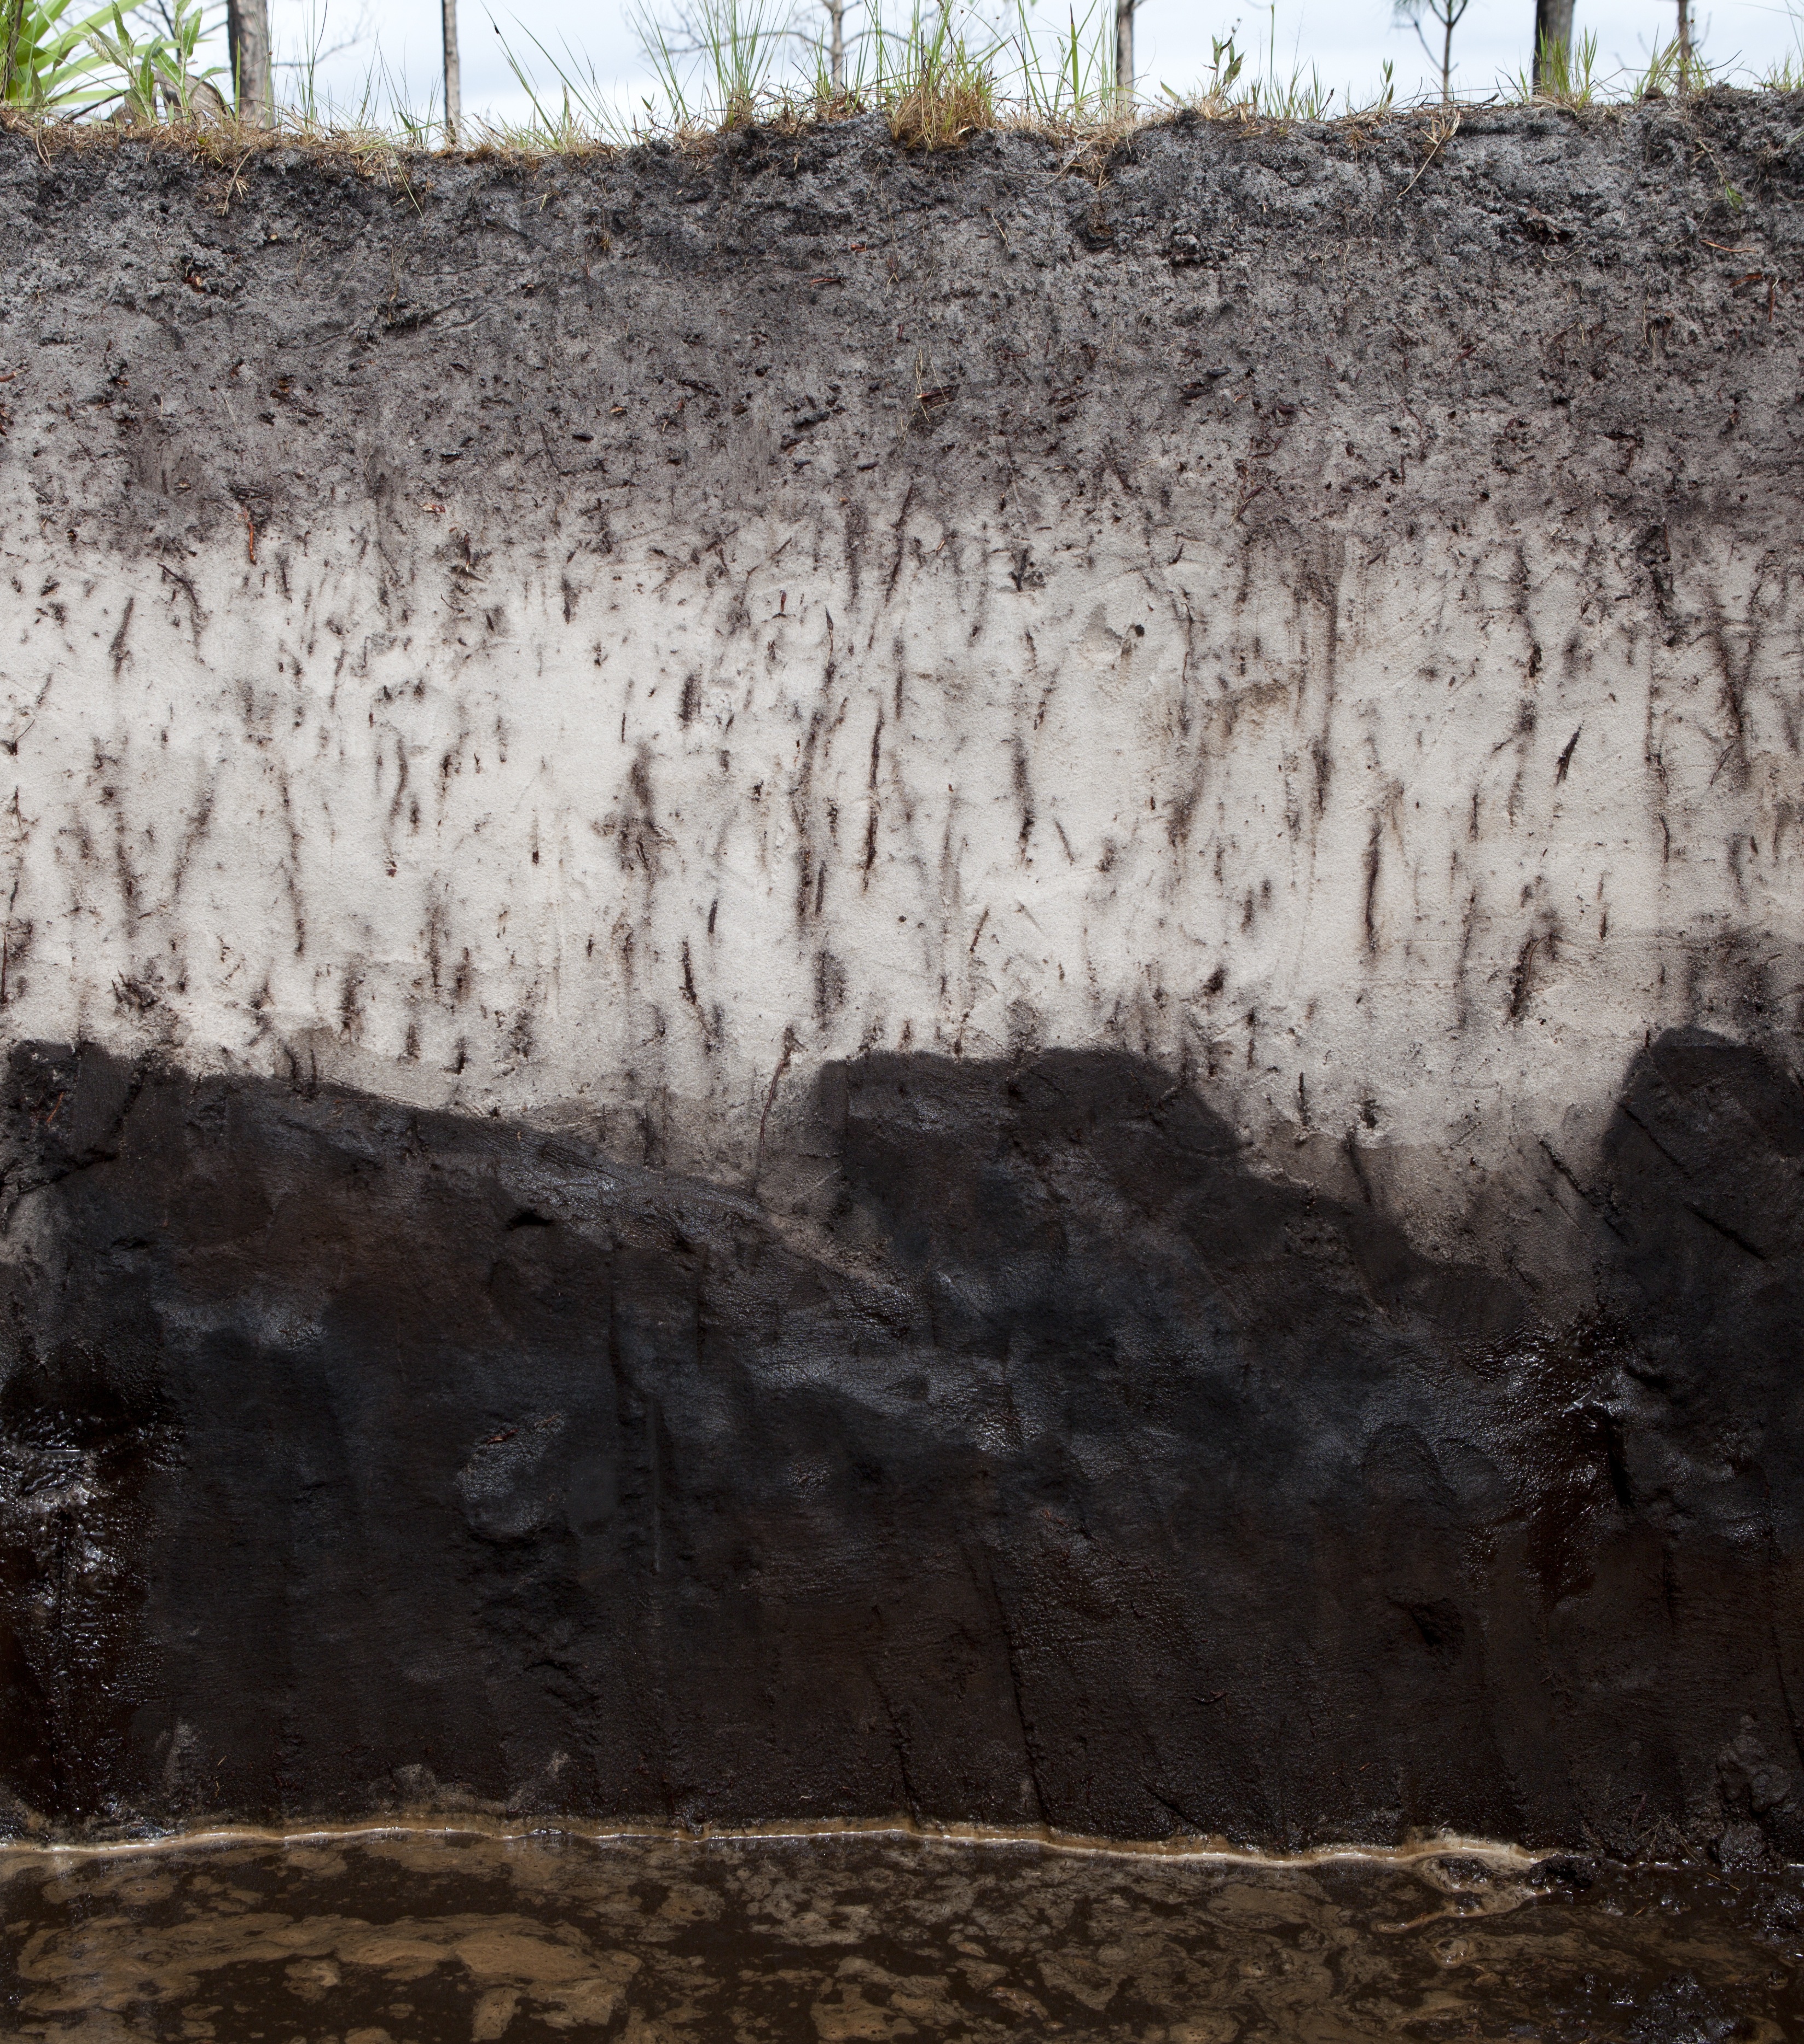
Many home gardeners ask, why take soil samples? Soil sampling must be done prior to the planting of crops to determine the correct amount of nutrients and lime to add to the soil.
It is best to take soil samples late in the fall or early winter of each year because certain additives, such as lime, require several fallow months before fully activated in the soil. Thus the 2-3 months lead time will allow lime, if needed, to react with the soil in time for spring planting.
Soil testing also determines proper fertilization rates support good plant growth, based on what is being grown. A soil test does not specify when and how often fertilizer should be applied, just what quantity. Additionally, soil tests do not test for nitrogen.
Information about timing fertilization is available at your local Extension Office. It is best to consult with your local extension agent once you have received your soil results so that he or she can advise you on the proper steps to take as to when and how to apply these items to the soil.
Soil testing will save you money and is probably the most important step that is taken in preparing your soils for good plant support. If this step is left out of the soil preparation stage, then it will be impossible to determine the proper amounts of nutrients to add to the soil to support a healthy plant.
Remember now is the time to do your soil testing for the spring. Contact your Local Extension office for any questions on getting a soil test.


