Ah, springtime is approaching quickly. You and I both know you’re getting anxious to get out into your gardens to grow your plants. I’m not faulting you, far from it. You’ll find that your local Extension agents want your garden to succeed as much as you do. Because we all want you to have a bountiful harvest, we need to have a conversation about fertility in your lawns and gardens.
Definitions
Before we get too deep into this topic, let’s define nutrition. You may hear some refer to fertilizers as “plant food.” While this is a common phrase concerning fertilizers, it is not factually accurate. Food is associated with energy creation within an organism. Plants are autotrophs, meaning they convert sunlight into energy. So, under this premise, sunlight is plant food, whereas plant nutrition is the building blocks of tissues or catalysts of metabolic processes.
The 17 elements designated as plant essential nutrients are categorized based on the quantity needed for healthy growth. All are important to have in your soil; as per the “Law of the Minimum,” your plant’s development will be limited based on the most deficient element.
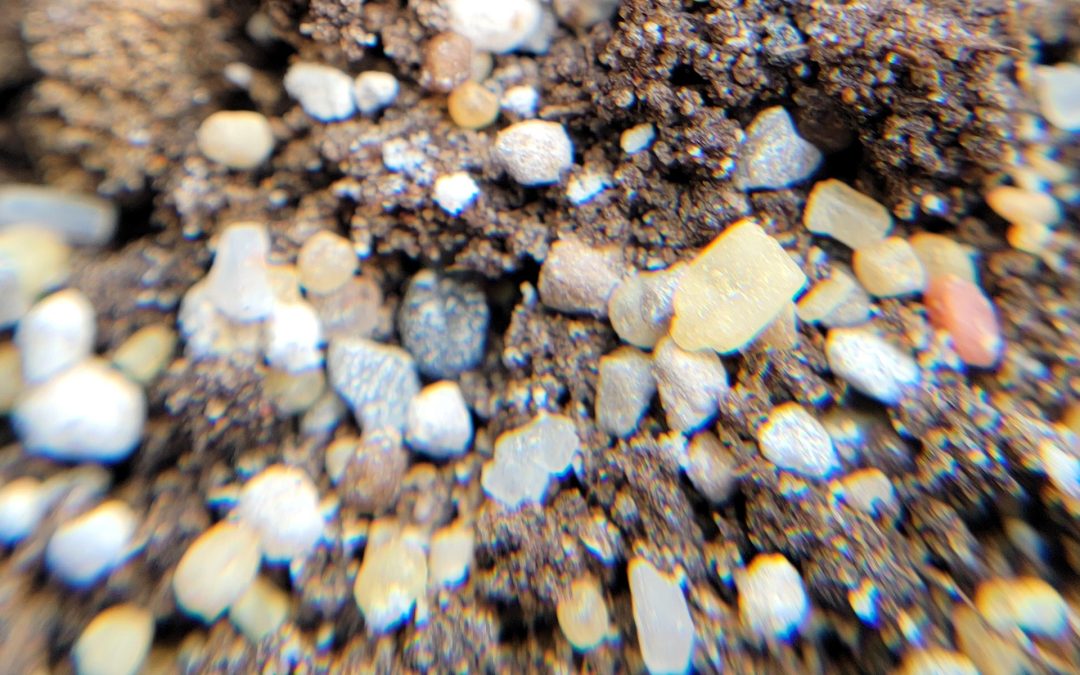
UF/IFAS Photo
Macros
Those elements with the largest demand within the plant are known as macronutrients. The three most critical of these are very often absent in fertilizer conversations as they cannot be added to soil in granule form. These are carbon, hydrogen, and oxygen, and their presence in your garden results from your cultural practices. You get them from air and water in the pore spaces of your soil. Appropriate tillage and irrigation are the only ways to provide these elements to your plants. They are critical for proper photosynthesis and fluid balance in the plant.
The most discussed elements are so vital that they make up the three numbers on every bag of fertilizer. These are nitrogen (N), phosphorous (P), and potassium (K), all of which may be added to soil to overcome deficiencies (N often being the limiting factor). These elements are crucial for protein creation, photosynthesis, and fluid movement.
Secondary Nutrition
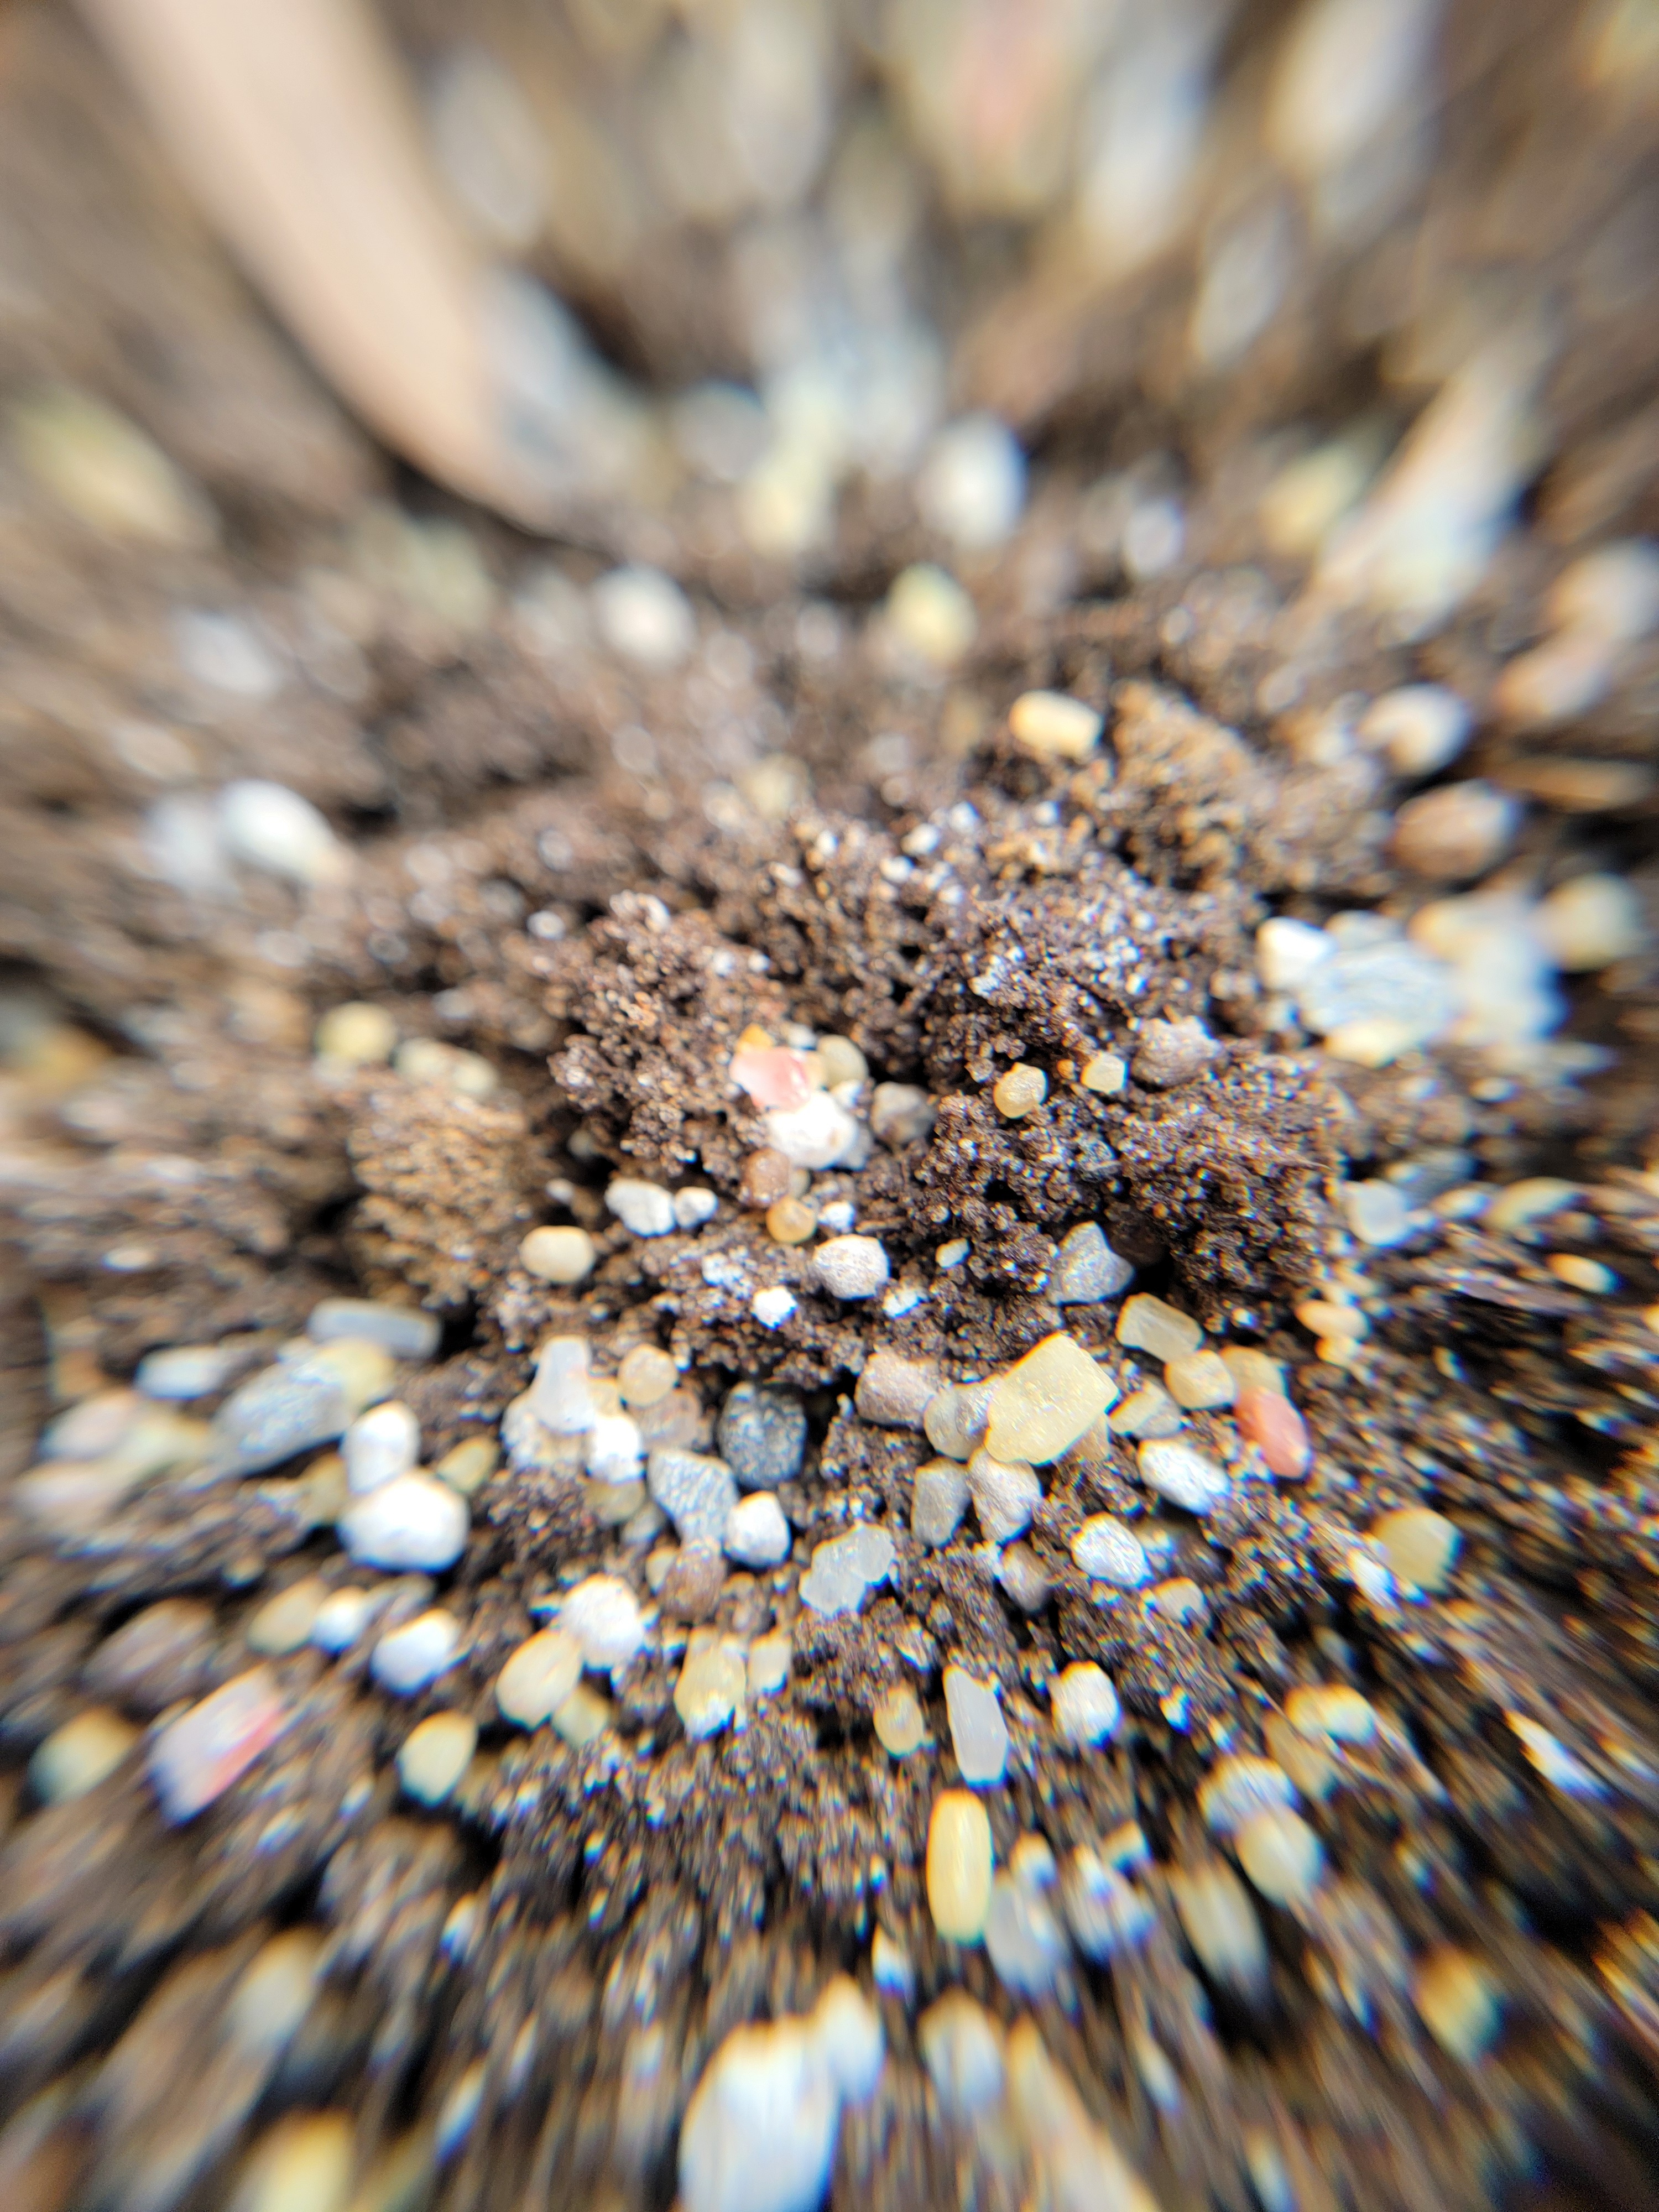
UF/IFAS Photo: J. Criss
The next set of nutrients have less demand than NPK. They are sulfur (S), magnesium (Mg), and calcium (Ca). Ca is essential for cell structure but is often abundant in our soils. S is frequently rained out of the atmosphere (though you may still need to add some) and facilitates enzymatic processes in plant cells. Mg needs the most attention in this category as it has a lot of mythology among gardeners. You’ve likely heard you should add this element to “green up” your plants. While it is true that Mg is critical to chlorophyll, adding it without testing for deficiencies first is a recipe for poor plant growth.
Micros
Our final category of fertilizer is micronutrients. These are iron (Fe), manganese (Mn), boron (B), chlorine (Cl), zinc (Z), copper (Cu), molybdenum (Mo), and nickel (Ni). These serve various functions in the plant, mainly in metabolic processes.
To Sum Up
Plant fertilization is critical for lawns and gardens. It behooves gardeners to understand these elements and their role in plant growth. Once you do, you’ll understand the importance of applying the correct version of the element in the proper amount at a time and location to maximize use efficiency. You can learn more about what they do and how they react in the soil here. For more information, contact your local extension office.
It’s hard to have a great yard full of Centipedegrass isn’t it? All the fertilizer, watering, aerating, weed spraying, fungicide spraying, insect spraying, the list is never-ending and wallet draining. Except, it’s not hard and doesn’t have to be expensive. It’s easy. In fact, it’s so easy that people even make it hard because they think it should be. The list of basic tips to achieve a great yard of Centipedegrass is very short, let’s get into it.
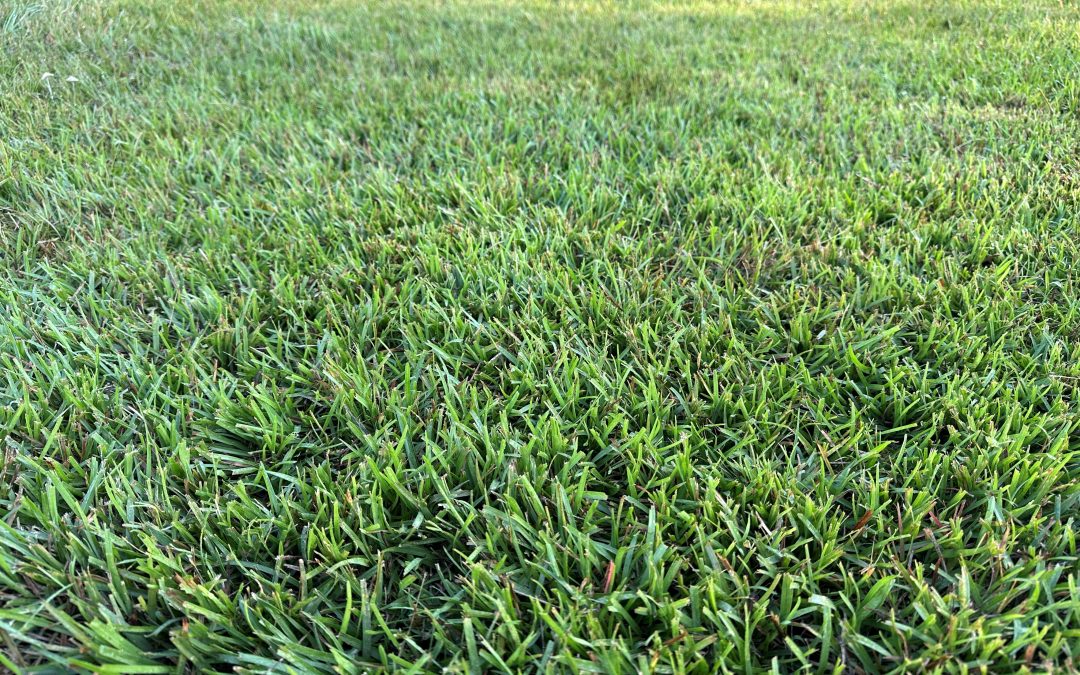
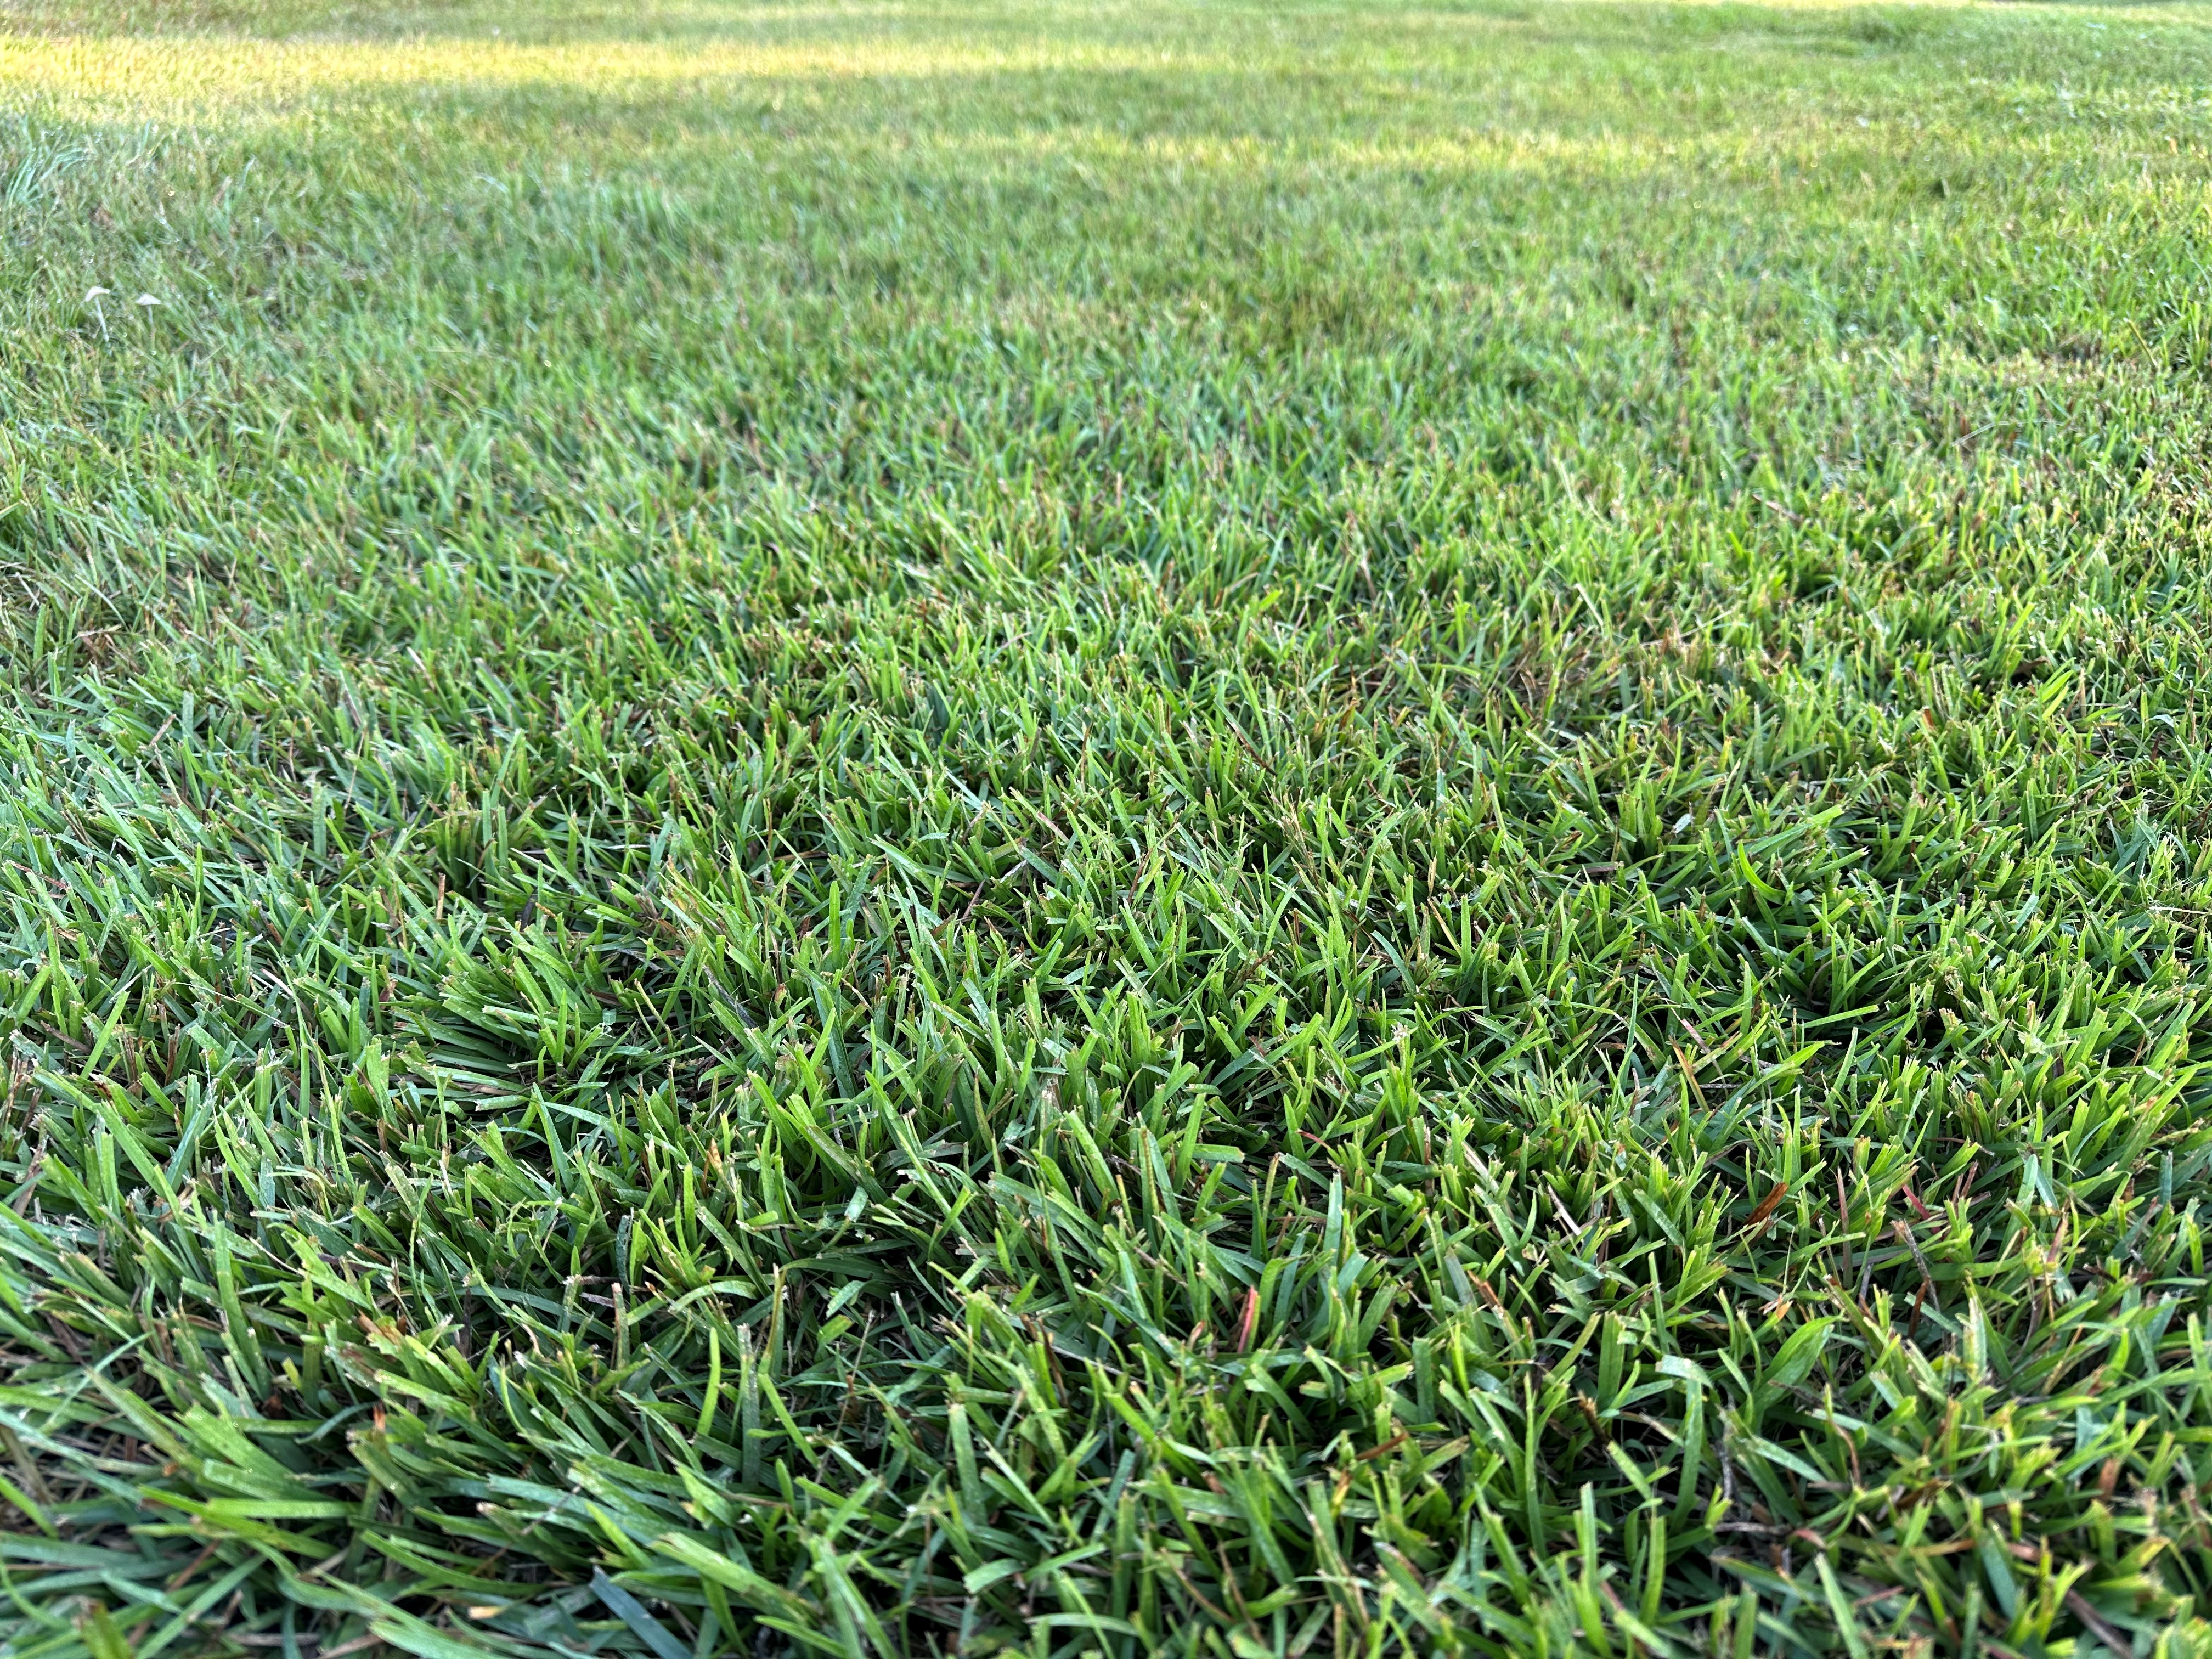
FertilizingProperly – Keep it to a minimum! Centipedegrass has a very low Nitrogen (N) requirement for optimum growth and development (0.4 lbs – 2 lbs/1000 ft 2 per year). Centipede is naturally light green in color and trying to force the deep green of Kentucky Bluegrass upon it will almost certainly do it harm. There are many excellent quality Centipedegrass lawns in the Panhandle that have never received a single prill of fertilizer. Don’t take my word for it though, the UF/IFAS publication Centipedegrass for Florida Lawns says, “Established centipedegrass lawns require about 50% less nitrogen fertilizer than other lawn grasses grown in Florida. Centipedegrass is a low maintenance turfgrass and does not respond well to excessive use of fertilizer, especially nitrogen.”
Centipedegrass lawn that has never been fertilized and mowed regularly when it reaches 3″ to achieve a 2.5″ cut height. Photo courtesy Daniel Leonard.
Timely Mowing – Other than overfertilizing, the next easiest way to cause significant damage to a Centipedegrass lawn is to mow it incorrectly. Centipede prefers a mowing height of around 2.5” and actively growing grass should be mowed every 7-14 days, removing no more than 1/3 of the grass blade. In my experience, this is much higher and often less frequent than many people mow their lawns. All too often, I see Centipede lawns that are allowed to grow tall and unkempt and then mowed to near golf course fairway height with the occasional bare “scalped” spot where the mower ran across an unlevel area of lawn. Mowing short and infrequently is harmful because mowing is inherently a major stress to the grass. You’re asking a lot of a plant by removing a large chunk of photosynthetic leaf tissue and then repeatedly asking the plant to regrow. Be kind to your grass and mow correctly. *Additionally, try to not mow your lawn in droughty conditions as this can exacerbate mowing stress and cause serious lawn issues.
Right Plant, Right Place – Much of the bad rap turfgrass receives comes from people trying to force it to grow where it shouldn’t be. If your yard has areas of significant shade or receives significant foot or vehicle traffic, Centipedegrass (or most any grass for that matter) may not be for you, in those areas at least. Like all turfgrasses (though some are more shade and traffic tolerant than others), Centipedegrass does best in full sun and detests having the soil its roots are going in repeatedly trampled and compacted. In areas with those conditions, maybe having a mulched landscaped bed with shade tolerant plants or a rocked walking path would be more appropriate. You and the grass will certainly be happier working with those options than fighting against your site conditions.
Though maintaining a Centipedegrass lawn is simple, that isn’t to say that if you follow all these tips that your yard will be perfect all the time. There will still be the occasional dieback, weed ingression, mole cricket infestation and the like, however, following the above tips will make your grass much more resilient and equipped to handle those stresses. For more information about Centipedegrass or other horticultural topics, contact your local UF/IFAS Extension office. Happy gardening!
The May Gardening in the Panhandle Live focused on the various aspects of turfgrass care and species characteristics.
The panel included:
Dr. Bryan Unruh, UF IFAS Extension Turfgrass Science Professor
Sheila Dunning, UF IFAS Extension Commercial Horticulture Agent in Okaloosa County
Josh Criss, UF IFAS Extension Residential Horticulture Agent in Santa Rosa County
Daniel Leonard, UF IFAS Extension Horticulture Agent and Director in Calhoun County
Q: Does No Mow March cause more problems in maintaining a good lawn? Pay attention to what you are leaving behind. If you have aggressive perennial weeds, that could cause issues later. Also, be aware of what types of weeds. Annual wildflowers may be acceptable that will reseed next year. Mowing before seeds mature is always an option too. Remember that if there are significant weeds, they are taking advantage of a void in the turf. Find out why the turf is not growing as well and work on that issue. Improve the health of the grass to have less issues with some weeds.
Q: What is an unhealthy lawn? Grass that is not performing at a level that is normal for that turf. Not growing well, does not have appropriate color for the species, thinning out. The difficult part is figuring out why. Could be that that turf is not suited to the site, cultural practices are an issue, pest problem. We tend to manage turf too much. Take a more minimalistic approach and as needed for turf management instead of a scheduled maintenance plan.
Q: Fertilizer and pesticide inputs aside, can ornamental lawns provide environmental benefits such as carbon sequestration? Plants remove CO2 and supply O2. Turf areas can reduce temperatures, serve as erosion management and build soil. Also filtering some pollutants. Turfgrass also has huge potential to accumulate and store carbon. Turf has many recreational uses that other surfaces don’t offer and the overall aesthetics of a healthy lawn can improve value of the property.
Q: What is the best grass for Florida? You have to match the turf to an appropriate site and turfgrass may not be the best choice for a site. On an urban site, shade from trees will also dictate if turf is appropriate. The best grass for the back yard may not be the best suited for the front yard. Centipedegrass is a good selection for the case of a grass that grows well with low inputs. It will be a lighter shade of green which is its natural color. If you prefer to have inputs of fertilizer and water routinely, centipedegrass would not be the best choice. Zoysiagrass is more suited for those who desire a more magazine cover type lawn that is well manicured. A field type lawn is best with bahiagrass.
Q: Is zoysiagrass the fastest growing market for turfgrass? There are now good zoysiagrass varieties on the market and better ones coming along.
Zoysiagrass is a very drought tolerant species but it survives by going into dormancy. It survives without water by going from green to bluishgray to brown very quickly. In order to maintain a green, well manicured zoysiagrass lawn, irrigation input is needed.
Q: Can I grow a lawn from centipedegrass seed? How long will it take to fill in? It takes 3 years to establish a lawn from centipedgrass seeding. That is with minimal inputs but mowing is important in the establishment process. Dr. Unruh does not recommend seeding into patches because water needs for seed are higher than established grass. Sodding or plugging is better for patching spots.
Q: What is the best choice of grass for a partly shaded lawn/best under a large tree? Long term, you need a shade tolerant grass such as one of the St. Augustinegrasses or certain cultivars of zoysia (Palisades is one). As the tree grows over the years, grass may not remain suited for that location.
Q: What type of grass would you recommend for a meadow area that would be natural/unmowed? Bahiagrass is a good option.
Q: How do we encourage bee lawns? Centipedegrass flowers will attract some bees. Clovers (Red, white, hopclover) in the winter months through spring. Consider your space. May just be small sections or at the edge of the yard.
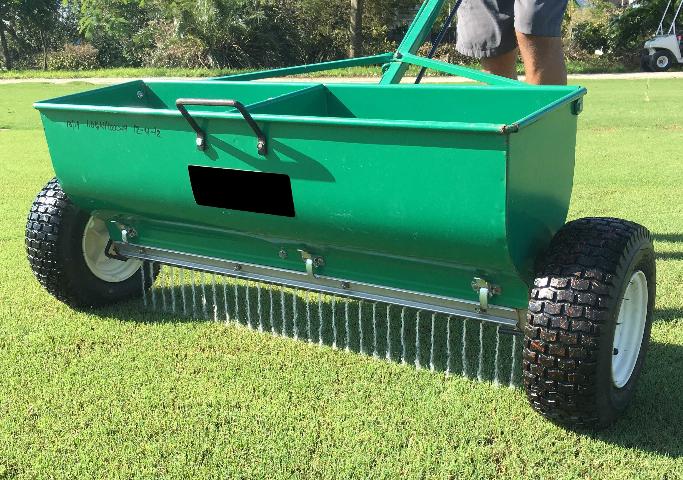
Q: How often should you aerate your lawn and what is the best method? Sandy soils can compact. Every other year aeration if you have traffic patterns from vehicles, play, or paths. Use a ½ tine with lots of holes back and forth over the lawn.
Q: How to maintain a healthy lawn in our hot and humid summers? Overwatering is common. Grass gives signs of needing water such as leaf blades folding in half, a color change, and grass not recovering after walking. Calibrate your system to apply ½ to ¾ inch at each time.
Q: How to measure water volume with an automatic irrigation system. In a zone, randomly place 10-15 straight edged cans that are all the same size. Run your system for a set time and see how much is in each can. You will be able to see where coverage is poor, just right, and overlapping too much. Measure with a ruler and average out the amount. Adjust your time to meet ½ to ¾ inch. Each zone is calibrated separately. Same for zoysiagrass but this grass will show you where your system is not functioning well since it’s response to drought is to go dormant. Still ½ to ¾ inch as needed.
Q: Do I have to fertilize and apply pesticides to have a healthy lawn? No. All plants need nutrition and fertilizer is just one source of nutrition. A good soil can provide sufficient levels of nutrients for the lawn. Sandy soils may need supplemental nutrients. Could be from compost incorporated in as well.
Q: My yard is a mix of grasses. Is this a problem for fertilizer and watering? You may need to fertilize differently depending on the needs of the various grasses. If a grass is growing into another, then it is favorable conditions for that grass – sunlight, mowing, water availability. You may have to manage for the one that is doing the best.
Q: Should I bag my mowing clippings for my Zoysia lawn or not? Generally the recommendation is to allow clipping to fall for a yard that is being routinely mowed. Blades will compost. The exception is with zoysia when thatch is becoming a problem or when you have neglected mowing for a period and clumps of clipping are piled on the lawn.
Q: Is weed control beneficial or harmful? Improperly used herbicides could have environmental impacts. Follow the label carefully. Manage weeds through cultural practices too.
Q: How do I get rid of crabgrass? Annual weed that germinates when soil temps reach 55 degrees F. Could be mid-January or a little later. Pre-emergent herbicides can help. Not many options for post emergent weed control. From Dr. Unruh: We do not recommend Weed and Feed products since timing is different for both. North Florida fertilizer applications should not occur before mid-April. 0-0-7 with pre-emergent would be the only exception. The 0-0-7 is just potassium.
Q: How to detect, kill and prevent ground pearls. There are no chemicals controls for ground pearls. Thinning out areas. Insects that are in the soil, with pearl stage attached to the roots. Females are hot pink and crawlers. Maybe something in the future. Try to outgrow ground pearls with faster growing grasses such as St. Augustinegrass and zoysiagrass.
Q: How do you control a heavy infestation of doveweed? Do not handpull. Annual weed that germinates later when soils reach 70 degrees F. Pre-emergent herbicides. Mow more often and manage irrigation. Improve drainage. Clean mowers too.
Q: Are there herbicides that will not harm birds? Insecticides have the biggest impact on wildlife compared to other types of pesticides. Many herbicides use a carrier that looks like a grain so water immediately according to label to move chemical off carrier. Follow the restrictions about application close to water. Read the label.
Q: Are all zoysia grasses hard to keep out of landscape beds? Establish a border with edging to block the growth. Must be buried and above grade as well.
Q: If we’ve lost most of our backyard due to killing off weeds with only some grass left, how’s the best way to start? For smaller spots, allow surrounding turf to run back into areas. Resodding areas or plugging new grass.
Q: Large sections of my front lawn died last summer and I diagnosed it as brown spot/large patch. How do I address? Why having large patch – poor drainage and fix that issue. Also zoysiagrass is susceptible to large patch. You can restablish grass but manage so conditions are not as suitable for the disease. Water as needed and nutrients only as needed.
Q: We have a lot of bald spots in our yard that we can’t seem to get rid of. Diagnosing is necessary – compaction, water issues, fertility problems. Loosen area and make sure water is able to move into soil. Then can reestablish grass.
Q: If your centipede lawn is spotty with a variety of weeds, would it be better to kill the whole thing off and sod with Zoysia? Centidegrass and zoysia have different pH requirements so may not be as simple as just replacing with new type of grass. Why is centipedegrass not doing well? Soil testing and cultural practice evaluation before considering to replace grass. Current centipedegrass may just need different care to thrive.
Q: What is the best alternative to turf grass? Perennial peanut is an option as a vegetative cover. It does freeze back in many spots of North Florida. It does creep and there are many cultivars. Edging is necessary. Sunshine mimosa is an option but it also freezes back. Lyre leaved sage for shady areas.
Silkgrass for drier areas. Frogfruit for moist areas
Final thoughts from Dr. Unruh Shut the irrigation off. Most people tend to overwater. Back off inputs to as needed instead of a schedule. A few weeds are ok for most home lawns and lawns can still be attractive.
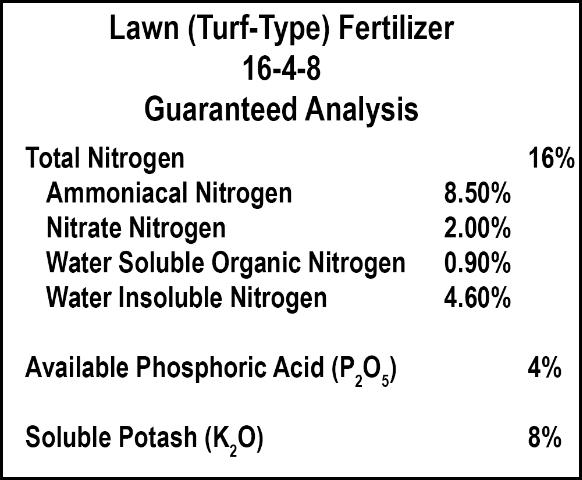
Fertilization is a subject that throws many a gardener for a loop. It can be confusing, and we in the professional horticulture world understand. This topic will almost always be approached from the prospective of nitrogen. So why does nitrogen get so much attention? What is its role in plant growth? Nitrogen is the primary driver of protein synthesis, plant metabolism, energy creation, and is the structural component in chlorophyll. These are all extremely important functions leaving little doubt as to why it’s so critical. Your plants use this resource abundantly for healthy growth. The reason it gets so much attention is owing to its frangibility in the soil. Nitrogen goes through changes once applied to soils and is readily lost to the environment. For this reason, nitrogen application needs to be timed appropriately, and your cultural practices need to be such that encourage plant uptake over losses to the environment. Fear not my friends, this article will bolster your insight into the wonderful world of nitrogen, and have your plants growing strong and healthy.
The What and Why of Nitrogen
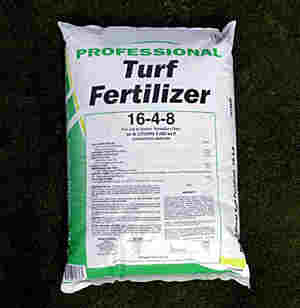
Nitrogen is one of three macronutrients identified in every fertilizer bag as the first of three numbers. This standardized NPK labeling refers to the amount of this nutrient in the bag by percentage of total weight. Application rates should be based on this number, and how much nitrogen you’ll need to cover a specified area. which number you use is based on the equipment you have to apply more so than the plant requirements.
UF/IFAS Photo: Dan Culbert
Nitrogen can be natural or man made. Natural sources come in the form of composts, manures, and through atmospheric deposition. The later of these sources means rain, which washes nitrogen out of the atmosphere and into your soils. Man made sources conversely come in bags and are the result of a combustion process developed by Fritz Haber, and Carl Bosch circa 1910. Either way, nitrogen will be in the form of ammonia, nitrate, ammonium, or urea. Knowing this is important as it will dictate application methodologies. For instance, urea applied to the surface will escape into the atmosphere if not incorporated into your garden.
UF/IFAS photo: T.W. Shaddox
Nitrogen type will also affect soil pH. This is especially important with ammonia-based fertilizers as residual acidity from them may lower pH. Applying the correct type will mitigate large unwanted changes in soil. Why are we concerned with soil pH? It speaks to nutrient availability and, thus how well your plants grow. It can be overwhelming, but with soil testing and a call to your extension office, it’s easy to identify the appropriate fertilizers for your application.
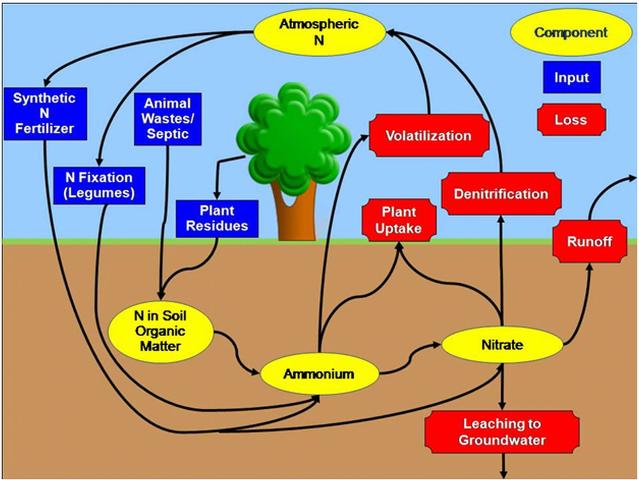
Reactions in Soils
Soil is often considered inert, holding plants in place while providing a pantry full of the nutrients they crave. Nothing is further from the truth. Soil is a living entity with its own physical and chemical properties. The addition of anything, including irrigation, affects these properties.
Nitrogen takes two forms in your soil aside from nitrogen source. Inorganic nitrogen is converted from soil organic matter in a process known as mineralization or added from bagged fertilizers and is available for plant uptake. Organic nitrogen is unavailable for plant uptake and will be present in the natural forms listed in the previous section. Both are susceptible to the nitrogen cycle and may be lost to the environment. This happens as water passes through soil (leaching), erosion, runoff, or is lost to the atmosphere through volatilization and may have negative effects on surrounding water bodies.
UF/IFAS Photo
To mitigate these risks through responsible fertilizer application, irrigation management, and landscape design. Apply fertilizers when plant uptake is favorable, and only to the level required by your plants. This will be during heavy vegetative growth periods such as initial installation. Irrigate as dictated by your plant life vs on a timer. Watering is a vital practice, but often overdone. Keep water levels enough to avoid plant stress but not excessive. Doing so reduces leaching potential and will keep your plants healthier. Finally, design your landscape with Florida Friendly Landscaping principles. Integrate diverse plant life, including turfgrasses and landscaped beds. The goal here is to allow enough plant life to absorb excess storm water, and support local pollinator populations.
Nitrogen is a critical piece of your fertilizer routine. It’s important to understand how it reacts with both your plants and your soils. A little knowledge can go a long way to keeping your plants healthy while mitigating risks from over fertilization. For more information, see this Ask IFAS document, or contact your local extension agent for additional information on this and any topic regarding your gardens and more.
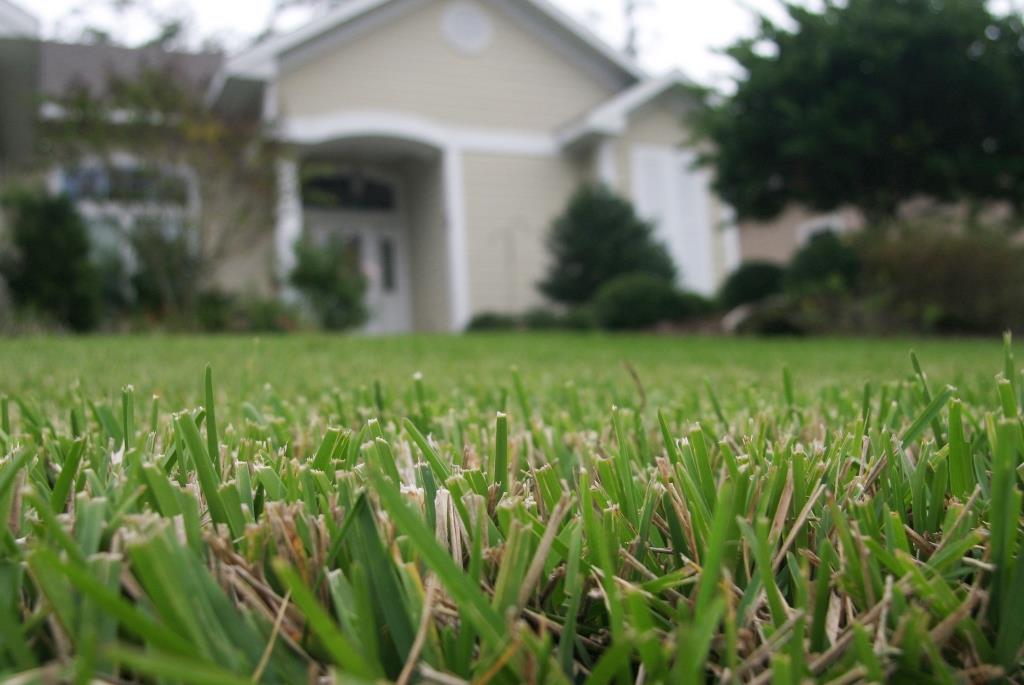
Now that we are moving into warmer soil temperatures, weak areas in lawns will have a better chance of making some recovery. However, this is highly dependent on whether or not correct lawn maintenance practices are followed. These practices include fertilizing, mowing and watering correctly.
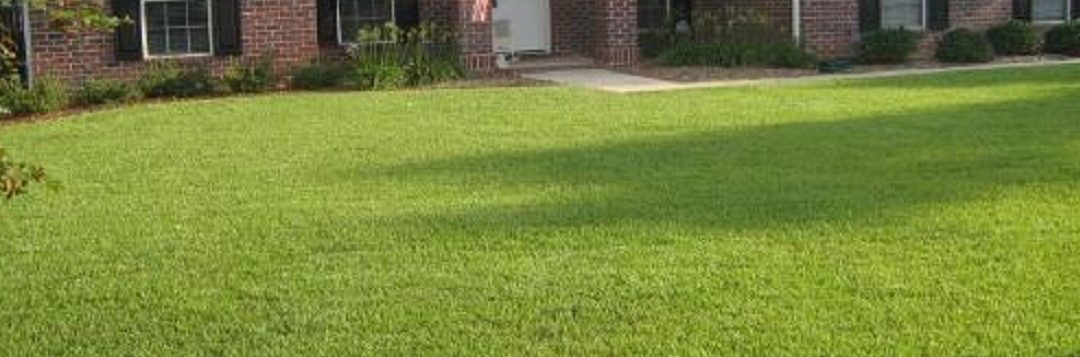
Warmer soil and correct care help improve weak lawns
Many North Florida lawns came out of winter weak and thinning this spring. In areas of the lawn where there is at least sixty percent cover of the desirable type of lawn grass, recovery is possible. But where there is less than sixty percent desirable cover, reestablishment should be considered.
Applying the correct type and amount of fertilizer will promote lawn recovery. To maintain a healthy Florida lawn, it’s critical to use a fertilizer with adequate potassium. In most cases, use a lawn fertilizer with equal amounts of nitrogen (first number) and potassium (third number) such as 8-0-8, 10-0-10, 15-2-15 or similar analysis. Phosphorus (second number) should be low or zero unless you have the results of a reliable soil test indicating that more phosphorus is needed. Err on the side of being light handed when applying fertilizer to the lawn. In North Florida, most lawns will do just fine with an application in spring no earlier than mid-April and a second application in summer no later than mid-September.
Follow these mowing practices for a healthy lawn.
Never remove more than 1/3 of the leaf blade height at any one time.
Here’s the recommended mowing height in inches for each lawn grass: bahia – 3 to 4; centipede – 1.5 to 2; standard St. Augustine cultivars – 3 to 4; dwarf St. Augustine cultivars (Captiva and Seville) – 2 to 3; zoysia cultivars suitable for home lawns- 2 to 2.5; bermuda – .5 to 1.5.
Keep mower blades sharp.
Follow these irrigation practices for a deeper rooted and drought tolerant lawn.
Turn your automatic sprinkler system off and learn to operate it manually on an as-needed basis. Your lawn needs water when leaf blades start to fold in half lengthwise or when footprints remain visible in the lawn long after being made. Irrigate when at least 30% of the lawn shows these signs of water need.
Apply ½ – ¾ inch of water when you do irrigate. Place empty, straight-sided cans in the area being irrigated to see how long it takes to reach this amount.
Irrigate during early morning for more efficient water use and to minimize lawn diseases.
Here is a link to a UF/IFAS Extension publication on Best Management Practices for a Florida lawn. http://edis.ifas.ufl.edu/ep236