
Composting Made Easy
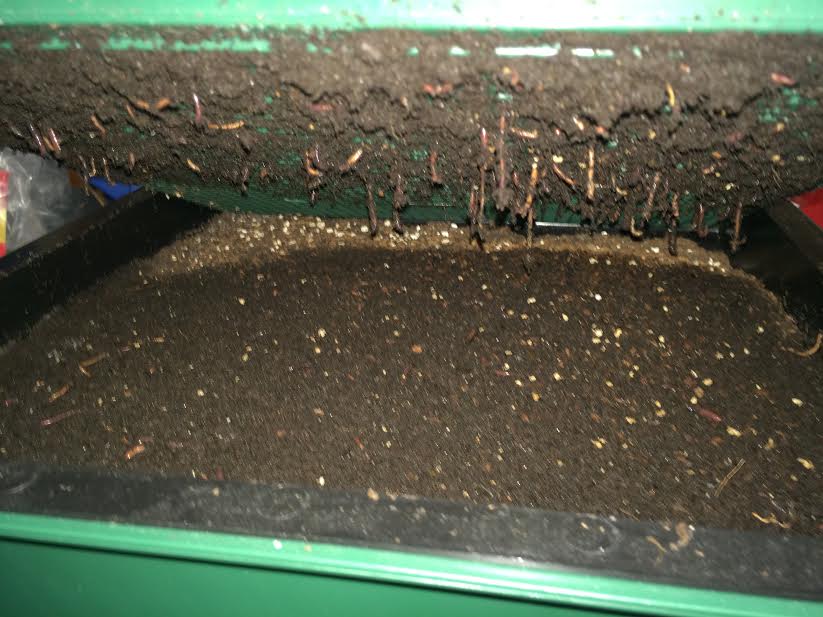
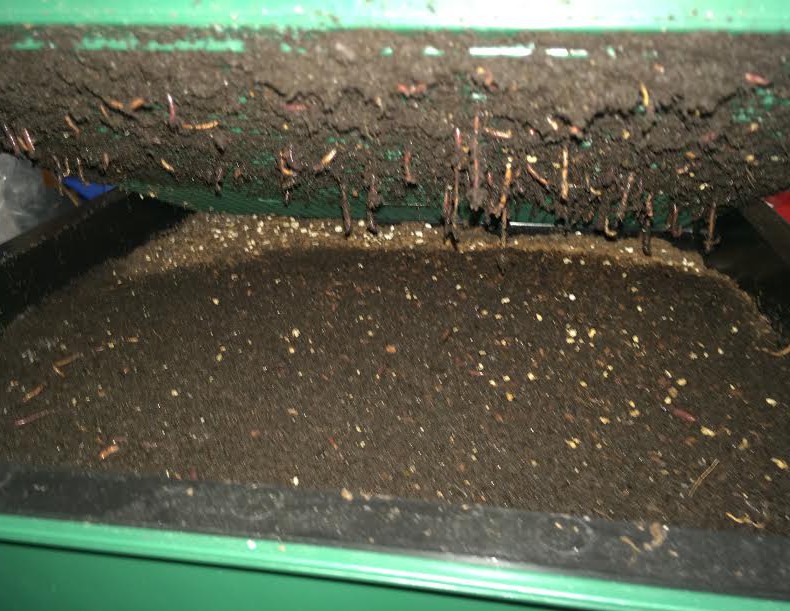
Red wigglers hanging through the bottom bin of a “Worm Factory” vermicompost system. Photo by Molly Jameson.
What if I told you there was a way to create compost indoors? No pitchfork required, no hot steamy temperatures, a simple mix of ingredients, and it would fit right under your kitchen sink? As long as you can convince your family to have worms in the house… you can start vermicomposting.
Vermicomposting uses a type of worm called red wigglers. These worms specialize in digesting organic matter, can digest their own body weight in food each day, and can double their population within months. It is, therefore, a wonderful way to responsibly dispose of food waste and can reduce your garbage by more than a third. Microorganisms inside the worms are actually doing most of the work, and the “castings” excreted are teaming with beneficial microbes and nutrients that will condition your soil and make the plants in your garden shine.
You can easily construct a vermicompost bin at home, but you can also purchase one online. Bins should hold about five gallons for one to two people or ten gallons for three to four (Rubbermaid containers work nicely). Your container should not exceed 12 inches in depth, as red wigglers do not like to burrow deeply. You will also want good aeration, so drill holes in the bottom of the bin and either place the bin in another container or put the bin on bricks and use a tray underneath to capture escaped materials. Either way, you will want a lid – as worms do not like light and need moisture – but they also need to breathe, so make sure it is not airtight. Be sure your bin is never in direct sunlight or in a location that regularly exceeds 80°F.
To get started, you will need about 1,000 worms, which weighs about one pound. Red wigglers can also be purchased online, at local nurseries, and some bait shops. Better yet – if you know vermicompost enthusiasts, they may be happy to share.
Before you purchase your worms, you want to prepare your worm bedding. Shredded newspaper and coconut fiber (coir) – which you can find at your local nursery – work great. You will also need to add a small scoop of garden soil to inoculate your bin with microbes. To get started, lightly moisten your bedding material and fill your bin about two-thirds full.
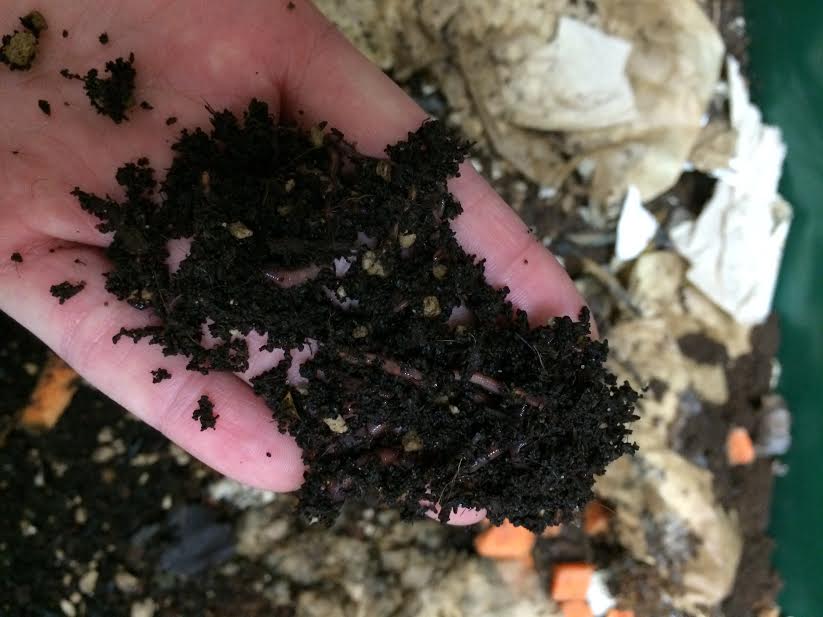
Finished worm castings will be dark, slightly moist, and will have an earthy smell. Photo by Molly Jameson.
Now it is time to add the food. Worms love vegetable scraps, most fruits, moldy bread, coffee filters and grounds, tea bags, and crushed eggshells. Chop their food into small pieces for fastest consumption. Foods to avoid include meat, dairy, large amount of citrus, and onion peels. Start out slow, and put the chopped food in the corner of your worm bin. Once your worms are settled, maintain the bin as half bedding, half food scraps. If your bin looks too dry, add more food. If your bin looks too wet, add more bedding or hold back on food a few days. Bad odors will develop only if the worms are overfed.
Give your worm bin about three to four months, and then you can begin to harvest. Add a handful of castings to potting mix or a thin layer directly to your garden. Give vermicomposting a try – your plants will thank you, your trash will not stink, and you will reduce your global impact.