by Daniel J. Leonard | Jul 14, 2022
It seems like every time I pick up a home and garden type magazine, the cover photo is dotted with flowering orchids and indoor foliage plants that are inevitably in pristine condition. However, years of experience troubleshooting issues with both my own interior plants and those for clients tell a different story. All too often, indoor potted plants languish for years, barely alive, until they finally succumb. I’ve taken several to the plant graveyard just past the edge of the back yard because of this exact scenario. In recent times though, I’ve figured out a way to mostly avoid pitiful looking indoor plants – take them outside in the warm months!
To appreciate the perks of getting your indoor plants outdoors, it’s helpful to first think about why most interior situations aren’t very conducive to plant growth. There are three primary reasons houseplants fail: not enough light, improper watering, and low humidity. Most plant species grown for interiorscapes hail from the tropics where they grow in the understory of large trees, receive bright, filtered sunlight, and experience abundant moisture and humidity. These conditions are VERY hard to mimic in the typical American house unless you huddle all your plants near windows, take steps to increase humidity (which doesn’t play super well with furniture and other household items), and really tune in your watering. Taking indoor plants outside to play in the Panhandle summers just really makes the whole situation much easier!
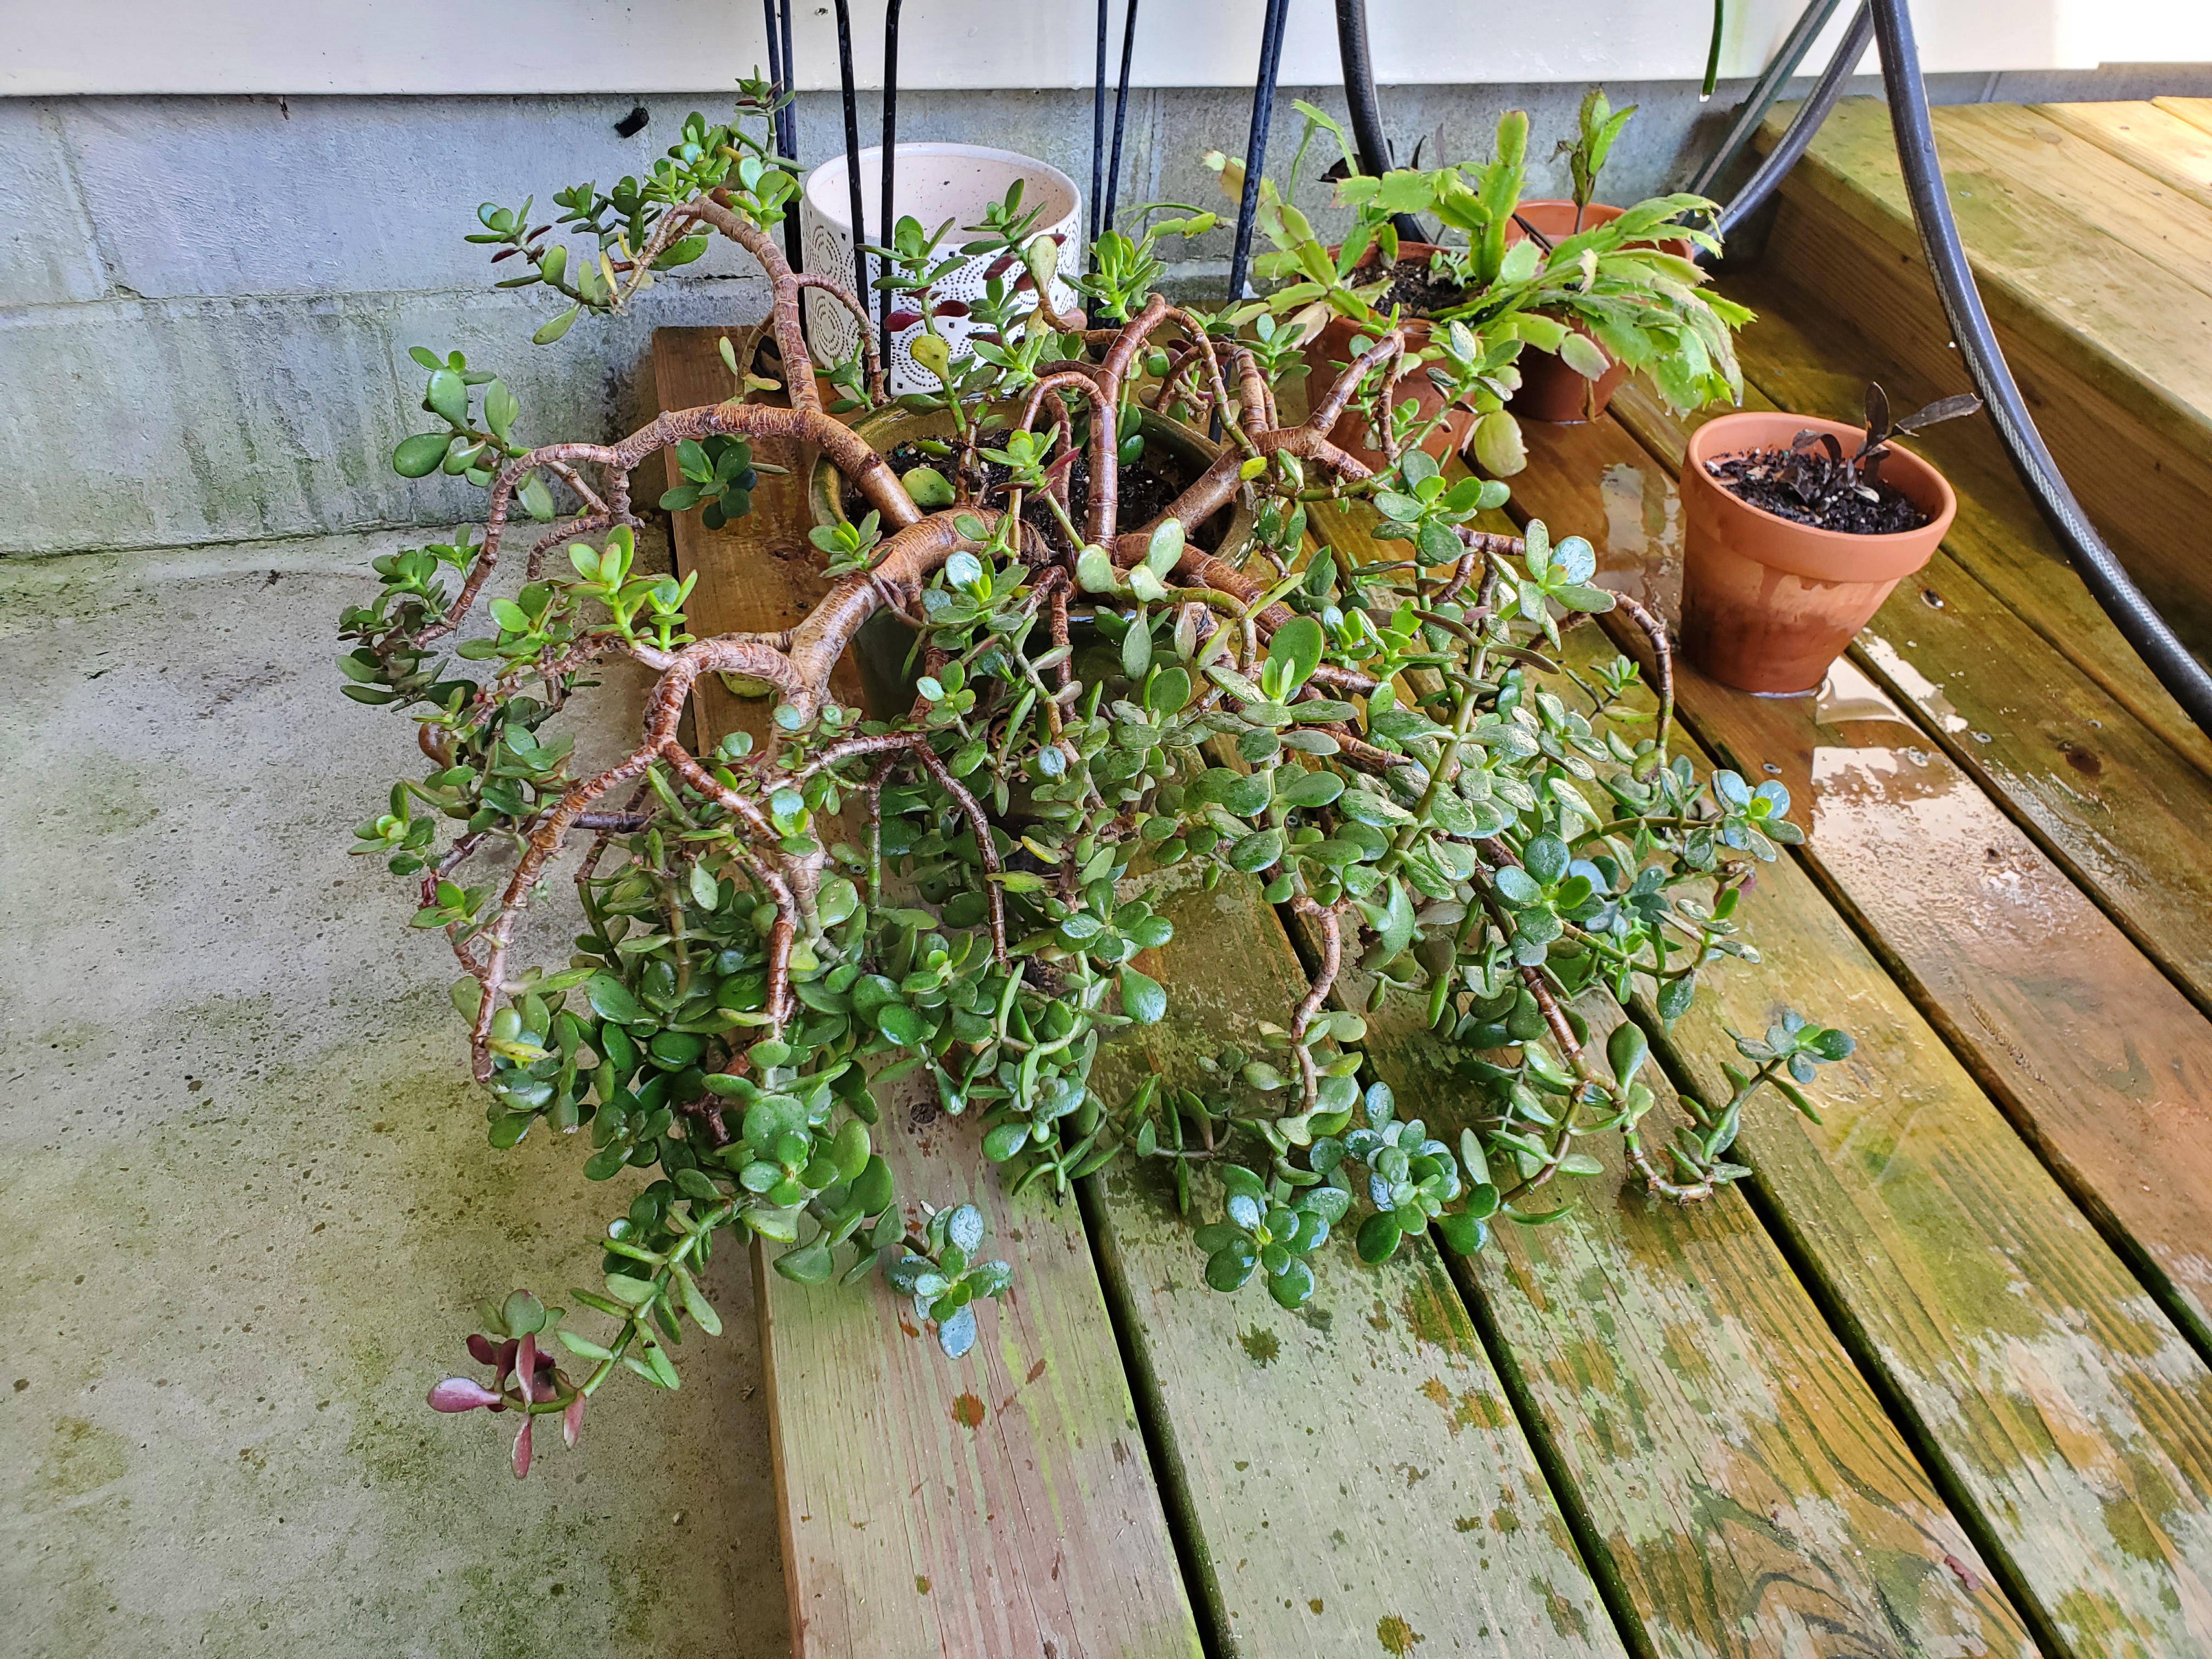
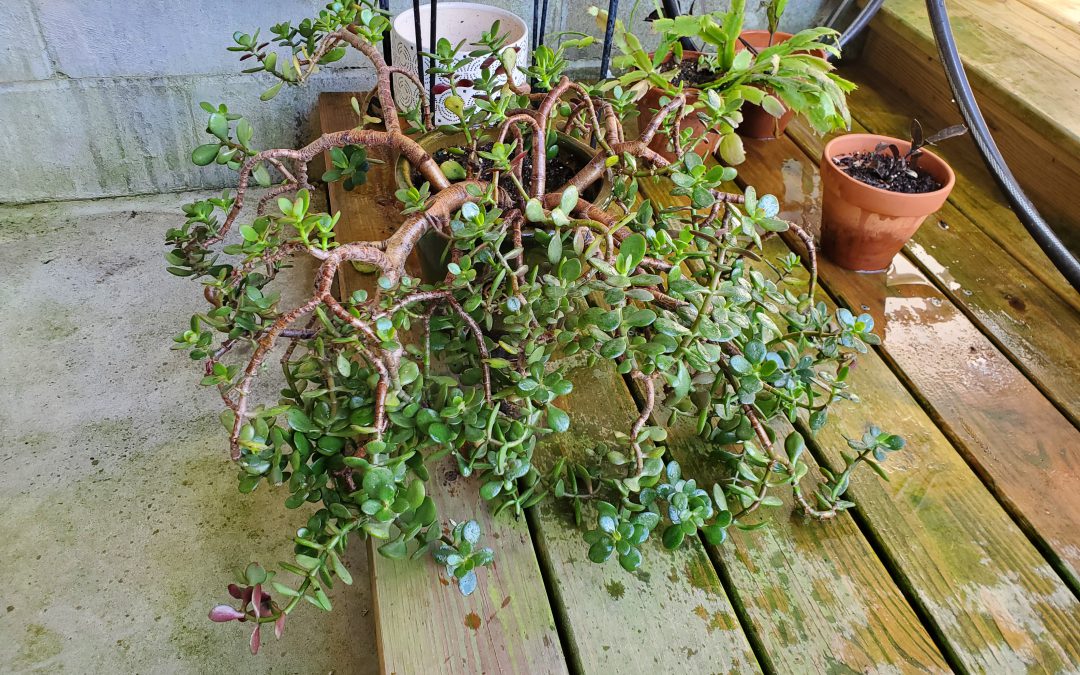
A Jade Plant that had languished indoors during the winter beginning to perk up outside! Photo courtesy of Daniel Leonard.
Now that you’ve made the decision to move your indoor plants out, figuring out where to site them is the next step. I’ve found that, with few exceptions, houseplants prefer to be in a bright area but away from direct sunlight – under mature trees, on a covered porch, anywhere that doesn’t get direct sunlight will do! It is also a great idea to place plants near a watering source. If a hose doesn’t easily reach the spot or it’s inconvenient to tote a watering can to them, your plants won’t get watered regularly and will suffer. You’ll be surprised how much water plants use when they’re in conditions conducive to growth so be sure to check pots every couple of days to prevent droughty conditions! Once in these new and improved growing conditions, your houseplants will also respond very well to a little extra fertilizer. A good general prescription is a topdressing of a slow-release fertilizer using the recommended label rate as soon as you bring them outside and following that up once each month with a supplemental liquid fertilizer.
Keeping houseplants happy in the Florida summer is easy and begins with getting them outside. Find a spot with bright, indirect light, keep them watered well, add a little fertilizer, and watch them grow like they never have before! For more information on growing houseplants or any other horticultural or agricultural topic, contact your local UF/IFAS County Extension office. Happy gardening!
by Daniel J. Leonard | Jun 8, 2022
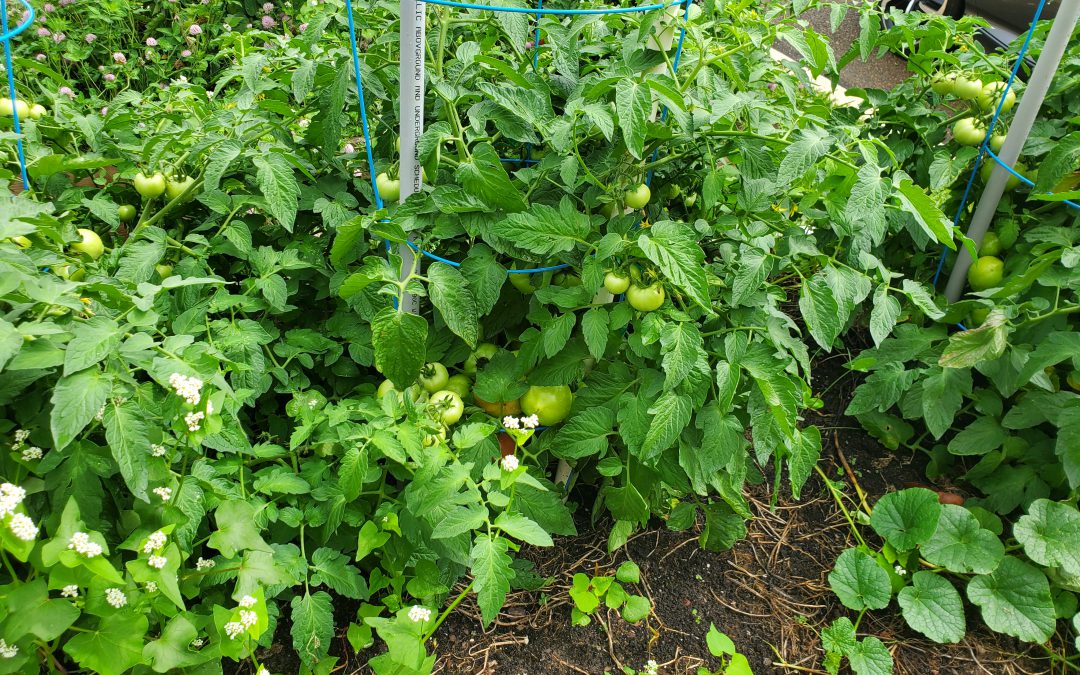
2022 has been a good tomato growing year for many Panhandle gardeners, myself included. It would have been difficult to have better climatic conditions to aid a terrific tomato harvest. After enduring a late frost just before Easter, the Panhandle then experienced two mild months in April and May that combined with nearly a month of dry weather during fruit development to deliver an excellent fruit set season with minimal disease and insect pressure. However, despite the favorable growing conditions, I have talked with several gardeners that once again struggled to yield a good crop of fresh garden tomatoes. Why is that? With the Panhandle tomato home gardening season nearing its conclusion, now is a perfect time to revisit 3 of the most common mistakes that prevent an excellent harvest!
Not Starting Early – Since Memorial Day, the rain and heat have really ramped up. These hot, wet conditions are perfect for developing tomato plant problems like fungal and bacterial diseases, not to mention the fact that tomato plants will stop setting fruit once nighttime temperatures rise above 75 F. While spraying fungicides preventatively can certainly help decrease disease incidence, the absolute best thing a gardener can do is try to get ahead of the disease-bringing heat and humidity by starting plants early when more favorable growing conditions prevail. So, what is early? I try to have tomato transplants in the ground by March 15 or soon after*. If you plan to grow plants from seed, they should be started indoors mid-January for planting outdoors in mid-March. Most tomato varieties take between 60 and 80 days to mature after planting, so a mid-March planting date normally yields harvestable tomatoes by the middle of May, comfortably beating the June disease deadline. *Planting early means protecting plants from occasional late frosts. Be prepared!
Not Scouting Your Plants – Pest and disease problems are a lot easier to manage if caught early and the best way to do that is to spend time with your plants. If you scout (just walking by and giving plants a short inspection) daily, you’ll learn what tomato plants and the beneficial insects that hang around all the time are supposed to look like an and be able to spot abnormalities and bad bugs when they occur. While tomato diseases and pest outbreaks can certainly cause a lot of damage in a short amount of time, they don’t reach disastrous levels immediately – be vigilant and catch them early!
Not Fertilizing and Watering Correctly – It takes a lot of energy for a tomato plant to grow a nice, bushy plant AND yield an abundance of America’s favorite vegetable (or fruit, depending on who you ask). To produce that necessary energy, gardeners must ensure plants receive adequate nutrition and water. Here’s my general prescription. At planting, apply a general purpose, slow-release fertilizer according to the label rate (for example, Osmocote, Harrell’s, or similar) and gypsum (a calcium supplement that helps prevent blossom end rot) at one pound per hundred square feet of garden. Then, supplement later in the season with a quick-release general purpose fertilizer sufficient to drive growth and fruit development. Watering is more of an ongoing concern. For the first couple of weeks of the tomato plant’s life, you can get by with watering once a day or every other day. As the plants get larger and the days get hotter however, watering twice daily is often needed to prevent wilting down in the heat of the day. Allowing tomato plants to wilt, even for a little while, is an excellent way to encourage blossom end rot and a subpar harvest!
When tomato season rolls around in 2023, remember to start early, scout often, and water and fertilize correctly. Follow those few tips and you’ll be well on your way to a great harvest in 2023! For more information about growing tomatoes or any other horticultural or agricultural topic, contact us at the UF/IFAS Calhoun County Extension Office at 850-674-8323 or email d.leonard@ufl.edu. Happy Gardening!
by Daniel J. Leonard | Jun 2, 2022
The Oracle of Omaha, Warren Buffett, once said “Someone is sitting in the shade today because someone planted a tree long ago.” While that’s all fine and good and I’m happy that the next generation gets to enjoy the things we grew, most of us would like to enjoy shade in our lifetimes too! If you too want to plant your own shade, one of the best rapidly growing shade tree choices for the Panhandle is the majestic Florida native Green Ash (Fraxinus pennsylvanica).
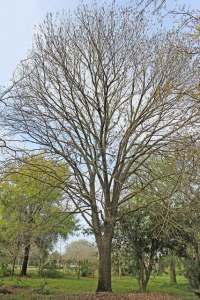
Green ash trees have a vase shape form. Photo Credit: University of Florida/IFAS
Green Ash is a large (50-100’ tall), oval-shaped, deciduous shade tree native to the entire eastern half of North America, but best of all for those of us craving shade, it grows to its mature height in a relative hurry. While most trees that grow extremely fast tend to be inherently weak and short-lived, this is not the case with Green Ash. Capable of growing 6-10’ in a single year if irrigated and fertilized appropriately and often living well over 100 years, there aren’t many plants in the Panhandle that grow quicker or live longer.
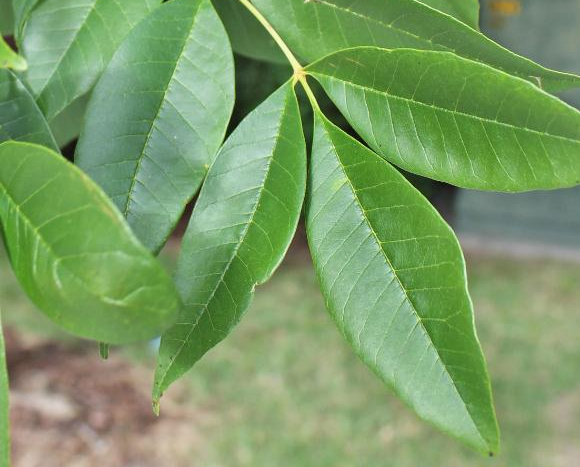
There’s much more to Green Ash than growth rate and life span, however. The tree is also one of the prettiest around. Come on, you didn’t think I’d recommend an ugly plant, did you? A look up into the canopy at different times of the year and one can see the tree’s deep, dark green foliage, good-for-Florida yellowish fall color, and slightly showy light green seed pods. Below, the straight trunk is laced with distinctive diamond-shaped bark that hints at the extremely high-quality wood underneath. Fun fact, Ash is historically the most popular wood used to make baseball bats due to its hardness at a relatively light weight – more MLB home runs have been hit with Ash than any other species!
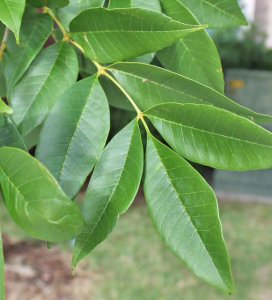
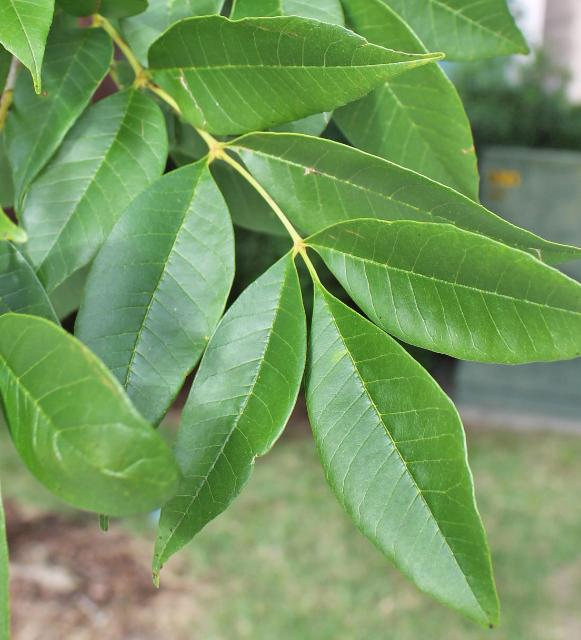
The compound leaf of a green ash tree. Photo Credit: University of Florida/IFAS
As a Florida-Friendly plant, Green Ash is fairly low-maintenance and provides many environmental services. The species, like any other plant, requires supplemental water and fertilizer during the establishment period, generally the first year or so after planting, but doesn’t demand much else from gardeners after that. Green Ash specimens in Florida also don’t have much in the way of pest problems (the invasive Emerald Ash Borer has devastated ash populations in northern states but thankfully has not yet been found in Florida). However, as a host plant for several native pollinators, including the Eastern Tiger Swallowtail, Mourning Cloak, Orange Sulphur, and Viceroy Butterflies, you may occasionally find caterpillars munching away on the tree’s foliage. If you can handle a little leaf damage, try to leave any caterpillars alone and enjoy the stunning butterflies they later morph into!
Green Ash is a beautiful, ultra-adaptable shade tree. Though the species prefers moist areas, there aren’t many sites the tree can’t thrive in. Do you have a low-lying area near a swamp or stream that stands in water from time to time? Great! Green Ash will thrive. Do you need a street tree to survive in a harsh environment with a cramped root zone surrounded by concrete? Green Ash will be right at home there as well. Green Ash is simply a classic shade tree with many interesting attributes that improves the look of any landscape it occupies. Plant one today!
For more information about Green Ash, other shade tree species, or any other horticultural/agricultural topic, contact us at the UF/IFAS Calhoun County Extension office.
by Daniel J. Leonard | May 12, 2022
It’s the most asked question of Extension agents everywhere. “What is this weed and what herbicide should I buy to kill it?” The first part of that question is straightforward. Between personal field experience, formal plant identification training, and a team of weed science specialists to call on, Florida Extension Agents can get your weed accurately identified. The second part of the question is slightly more nuanced. Many weed problems can be avoided by following lawn and landscape Integrated Pest Management (IPM) practices, like not overwatering, mowing at the correct height, using mulch where you can, etc., but sometimes herbicides are required. For these situations, if you follow the “homeowners only need four post-emergent herbicides rule”, you’ll be ready for any weed challenge you face!*

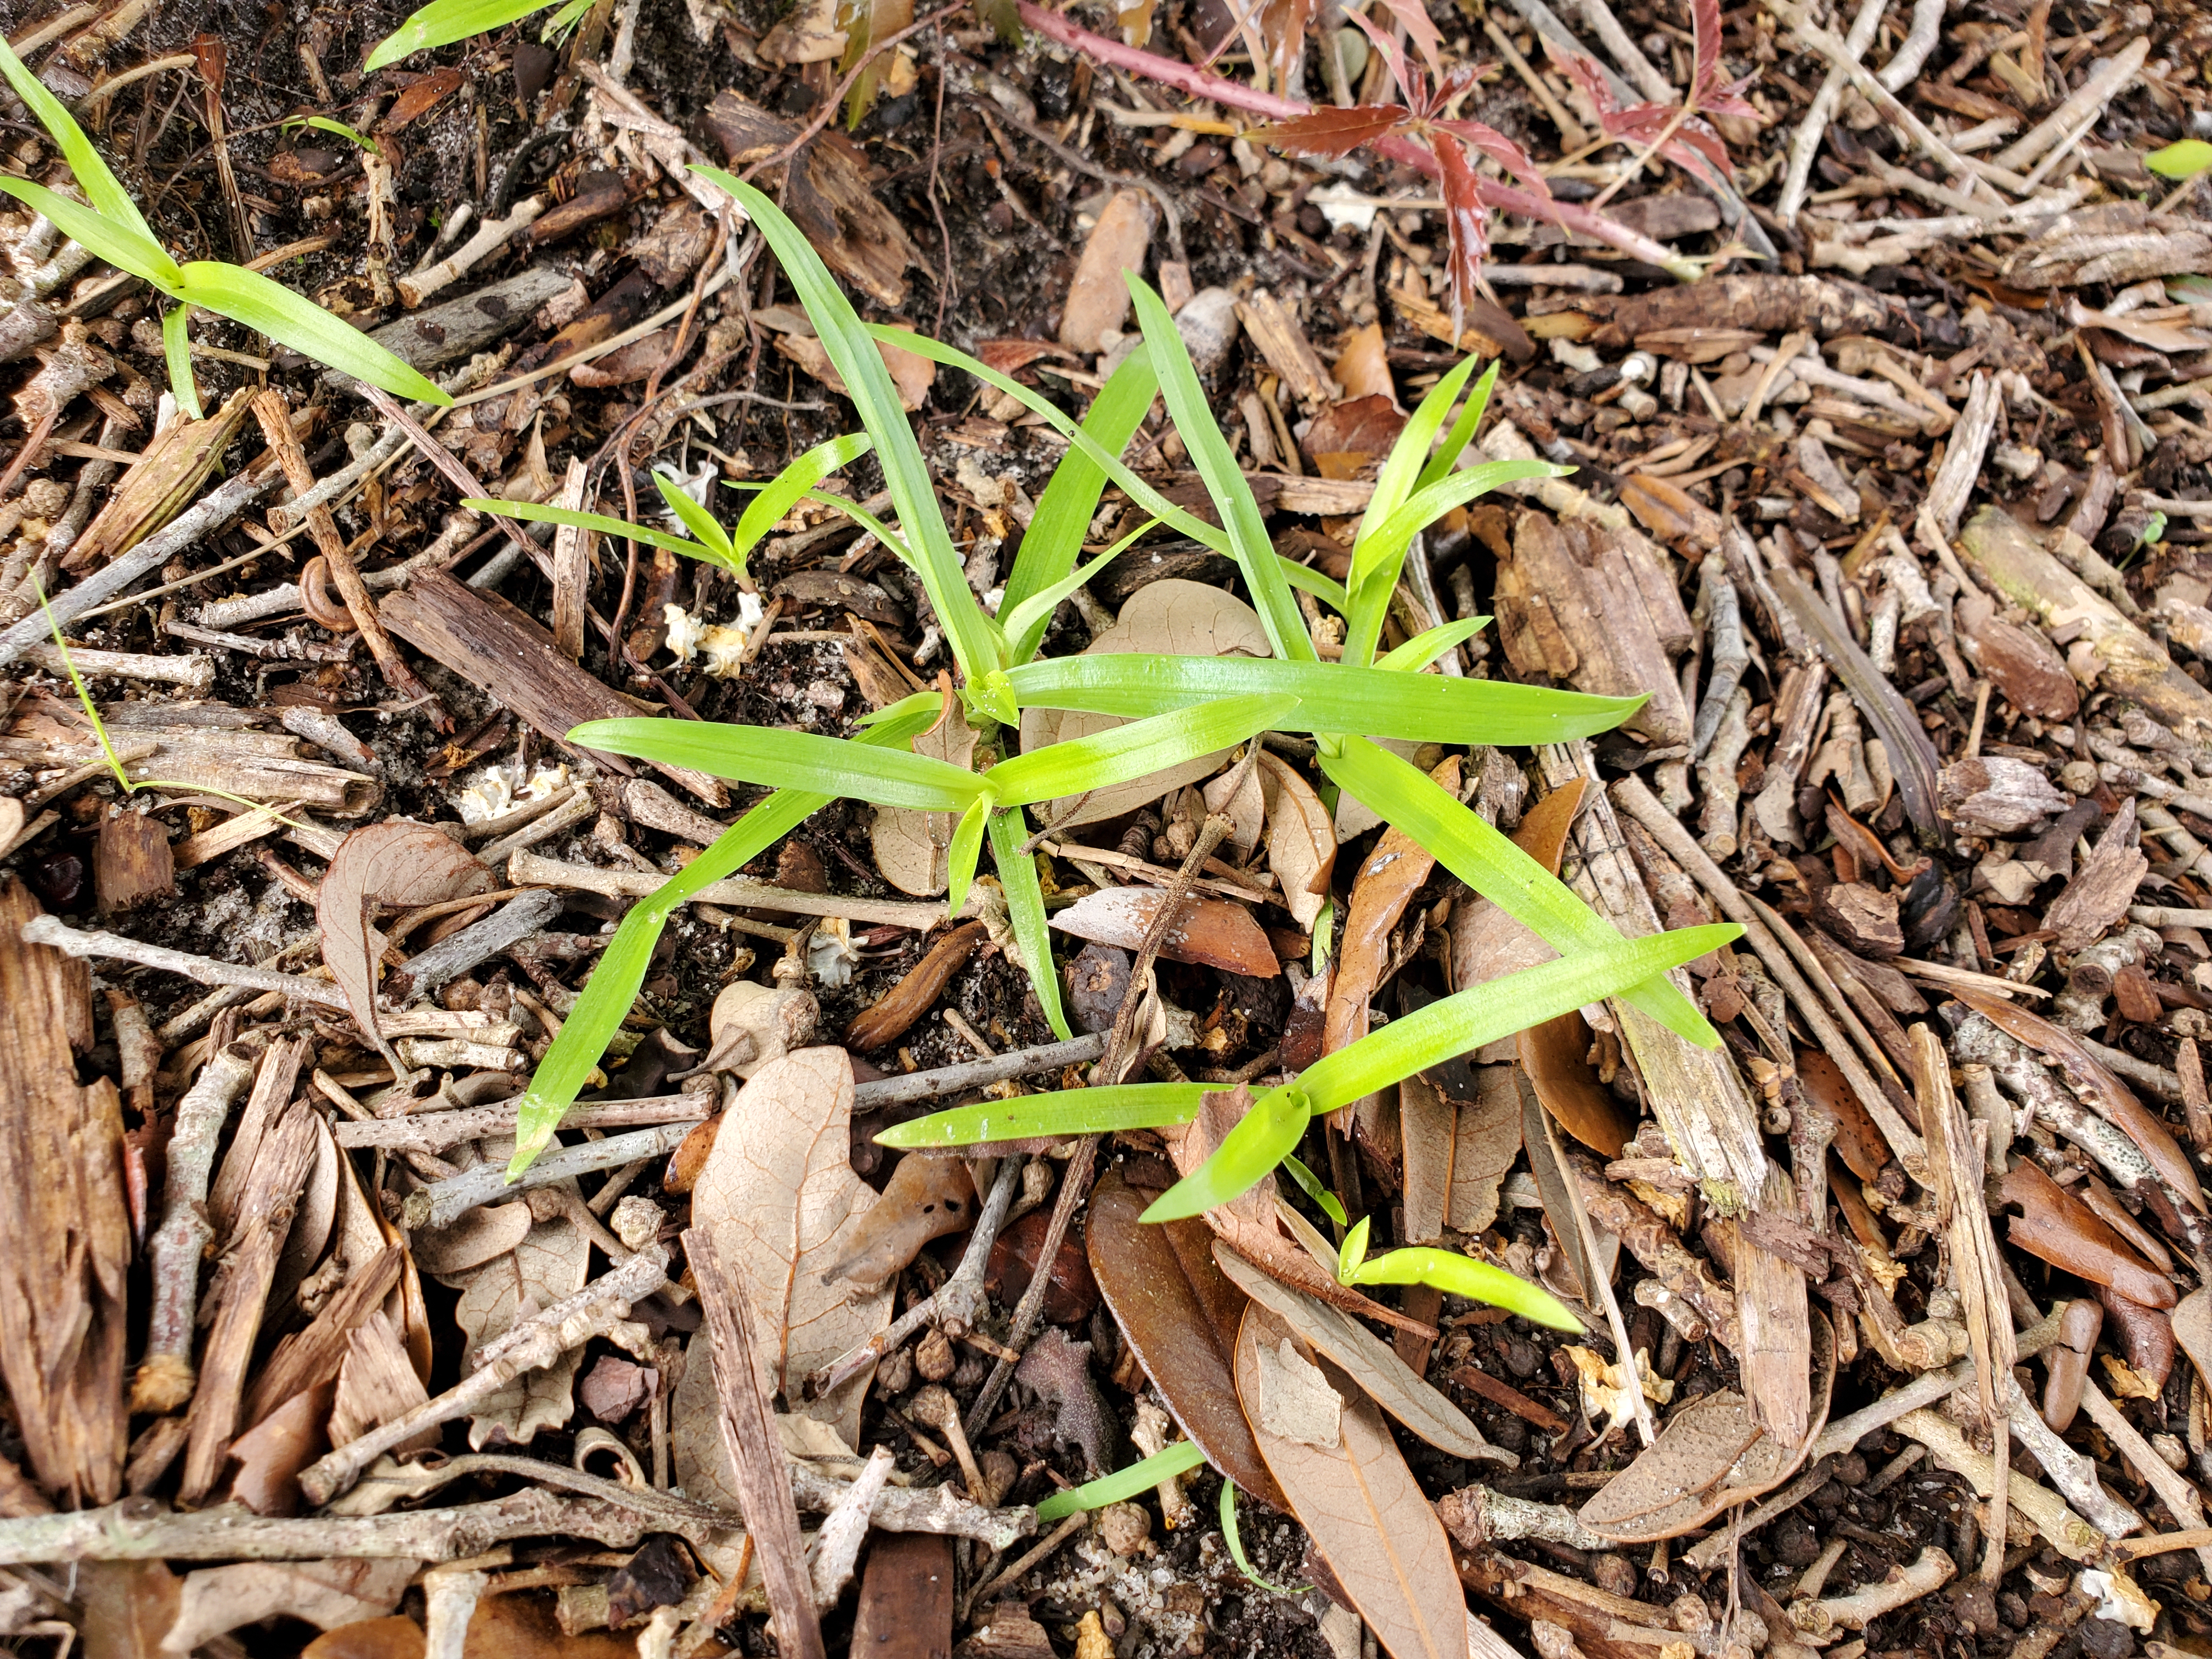
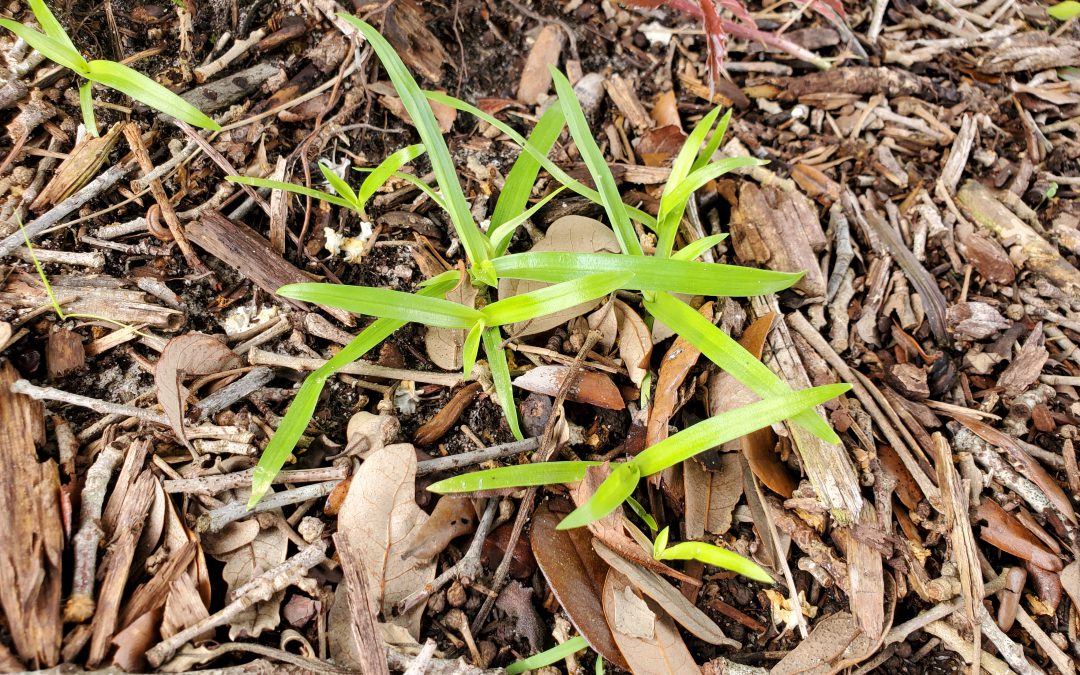
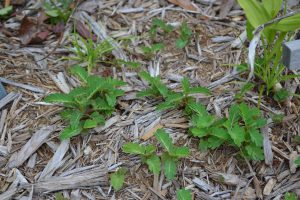
Doveweed seedlings just emerged on July 9, 2021. Photo courtesy of Daniel Leonard.
The first weed scenario you should be prepared for is spot spraying weeds in landscape beds and around hardscapes like concrete pads, sidewalks, pools, driveways, etc. For this situation, you’ll turn to the backbone of the four herbicides rule and a staple in any weed management program, glyphosate. Glyphosate is the active ingredient (AI) in many non-selective products ranging from the infamous Roundup brand to cheaper generics like Killzall and Cornerstone. Glyphostate is extremely cost-efficient and very effective on a huge range of emerged weeds including grassy weeds, broadleaf weeds, and even sedges (also called nutsedge or “nutgrass”). Just be sure not to get any overspray on desirable plants or they’ll be seriously damaged!
The second situation we face occurs when “bad” grassy weeds invade landscape beds, shrubs, and vegetable gardens. These cases call for a grass-selective herbicide that you can spray right over the top of your broadleaf annuals, perennials, and shrubs to take out the unwanted grasses. In this case, there are two options at your disposal: sethoxydim (AI in many products like Fertilome Over the Top, Hi-Yield Grass Killer, Poast, etc.) and fluazifop (AI in the product Fusilade). Both products work well in removing weeds like crabgrass, bermudagrass, goosegrass, and others and can be safely applied over the top of many ornamentals.
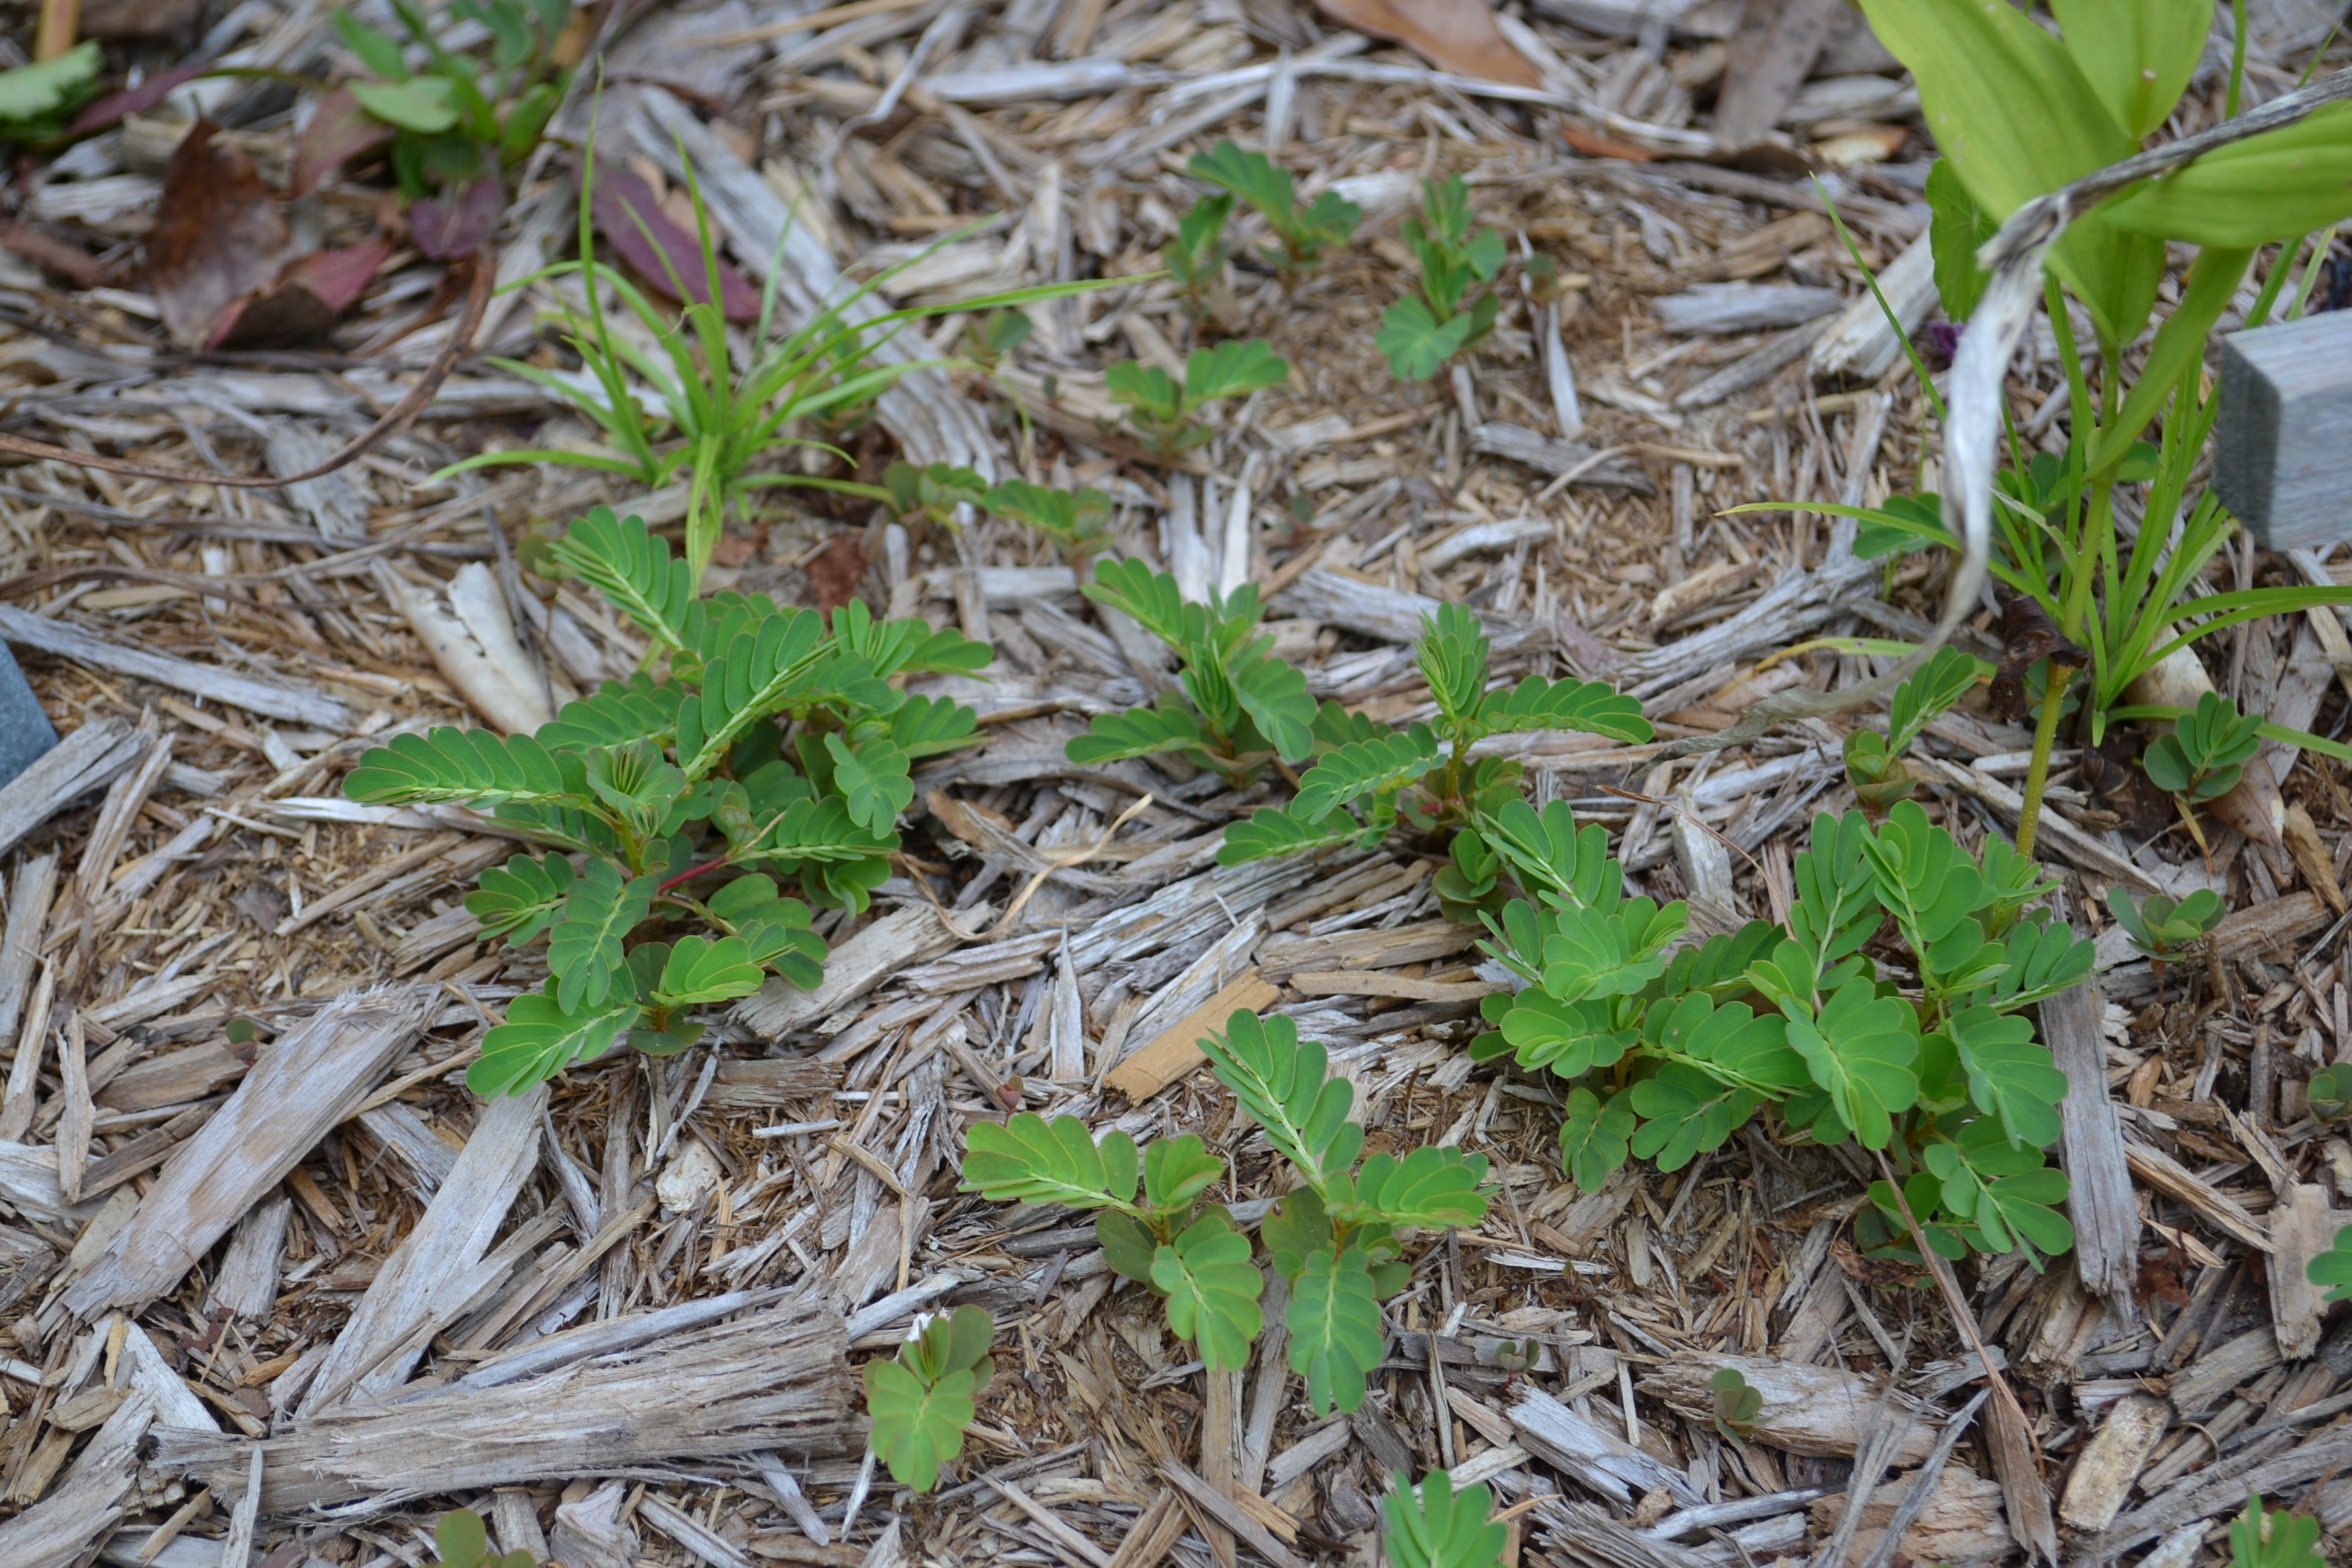
Seeds from annuals like Chamberbitter easily get into mulch and turfgrass from surrounding areas. Photo by Beth Bolles, UF Extension Escambia County
From time to time, we need to treat a broadleaf weed like dollarweed, doveweed, chamberbitter, or any number of others, that have invaded our lawn grass. Some of these weeds are tougher than others, but almost all of them can be managed with the proper rates of 2,4-D, Dicamba, other similar products, or a combination of several of them. These active ingredients have been on the market for decades so there are many generic options at your disposal. However, if you have a truly tough broadleaf weed problem, the newer product Celsius WG from Bayer (a combo of Dicamba and two newer AIs), while a little pricey and only available online or at specialty chemical dealers, is well worth the expense and knocks out the most gnarly of lawn weeds.
Finally, there is a category of weeds that aren’t broadleaves and aren’t quite grasses either. These are the sedges. Commonly known around the Panhandle as “nutgrass”, sedges are a serious pest of lawns, particularly those that stay a little on the damp side, and vegetable gardens. Sedges, with their glossy leaves and distinctive flowers, stand out in lawns and gardens, are very unsightly in an otherwise well-maintained area, and can outcompete the desirable plants they invade. Fortunately, there are several AIs that work very well on sedges and are safe to use around turfgrass and many other plants. The most effective sedge herbicide AI for homeowners is halosulfuron-methyl (AI in Sedgehammer in lawns and Sandea and Profine in vegetables). Sedgehammer works very slowly (results can take up to a month) but is very safe in turfgrass and ornamentals and highly effective! If Sedgehammer and other halosulfuron products are difficult to obtain, Imazaquin is a slightly less effective but more common substitute. This AI can be found in the product Image Kills Nutsedge and is safe for use in turfgrass and most ornamental plantings.
The challenge of controlling the many types of weeds in your lawn, landscape, and vegetable garden seems daunting, but having just four basic classes of herbicides on hand can greatly simplify things! Whether you need to control a broadleaf, grass, or sedge weed problem, putting together a weed control toolbox containing a non-selective herbicide like glyphosate, a broadleaf selective like 2-4,D, a grass selective like sethoxydim, and a sedge selective like halosulfuron-methyl can allow you to handle most any weed you come across at home. For more information on controlling weeds in home landscapes and gardens or any other horticultural topic, contact your local UF/IFAS Extension office. Happy gardening!
*Most homeowners discover weed problems after the weeds are already up and growing, making post-emergent products necessary. Pre-emergent products have a place in weed management programs but are not the focus of this article.
by Daniel J. Leonard | Apr 14, 2022
Lost in the sea of more popular and showy spring-flowering landscape shrubs like azalea, spirea, and the like, is an underused, exceedingly tough, and currently flowering Florida native shrub that is deserving of a spot in your landscape, Walter’s Viburnum (Viburnum obovatum).
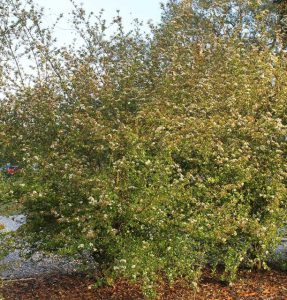
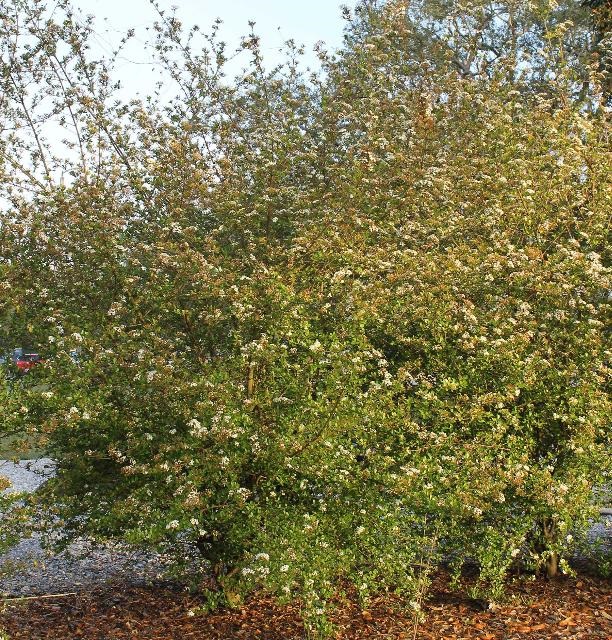
Species Walter’s Viburnum (Viburnum obovatum). Photo Credit: UF/IFAS.
Walter’s Viburnum, named for English-born botanist turned South Carolina farmer Thomas Walter, who first described the species in the late 1700’s, is a spring-flowering mostly evergreen shrub/small tree native to the Southeastern United States. In its native environment around hammocks, swamp edges, and near-river forests beneath the understory of canopy trees, Walter’s specimens often grow to around 15’ in height, live for more than 50 years, and spread slowly into loose thickets from their extensive underground root system. After covering themselves in clusters of small, showy, pollinator-attracting white flowers in spring, Walter’s produces small reddish-black fruit that are magnets for birds and other small wildlife in summer.
Though this tough, low-maintenance nature and gorgeous pure white March flower display should have seemingly enabled Walter’s to be a standout in the landscape, Walter’s Viburnum languished in popularity for many years as it didn’t fit into most landscapes in its wild form. Not too many folks in modern landscape situations are looking for a thicket forming, unkempt-looking tree! However, with increased breeding efforts aimed at selecting superior dwarf varieties and the rise in interest in using low-maintenance native plants, Walter’s has rapidly gained market share on traditional flowering shrubs in nurseries and yards in across Florida.
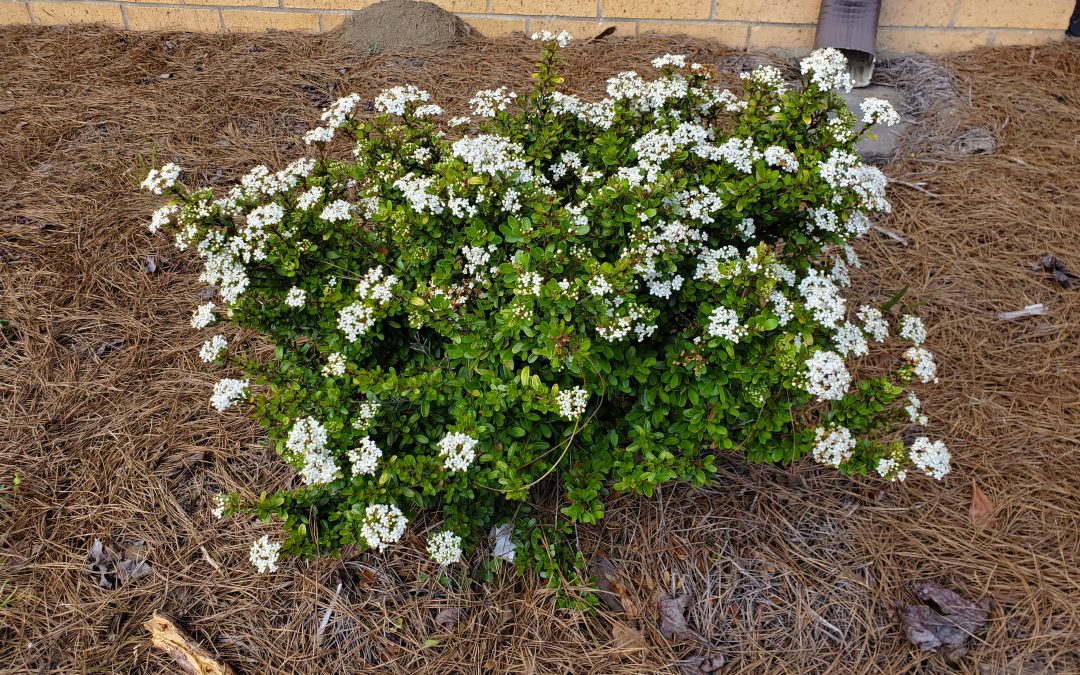
These newer dwarf varieties of Walter’s, including standouts like ‘Mrs. Schiller’s Delight’ and my personal favorite ‘Whorled Class’, only grow 3-4’ in height and make an excellent replacement for more commonly planted small foundation shrubs. Why plant a disease-prone Boxwood when you can have a disease-resistant native dwarf Walter’s Viburnum? Why allow your landscape to be saddled with drab Dwarf Yaupon Holly when you could get the same basic effect AND an awesome flower show by planting a dwarf Walter’s? Tired of having to constantly prune those Loropetalum or Azaleas to keep them from hiding the house? I think you know the answer by now; plant a slow-growing dwarf Walter’s!

‘Whorled Class’ dwarf Walter’s Viburnum in a Calhoun County, FL landscape. Photo Credit: Daniel Leonard, University of Florida/IFAS Extension – Calhoun County.
Both the “wild-type” Walter’s Viburnum and the newer dwarf cultivars are about as low maintenance landscape shrubs as one could want. Though Walter’s normally occurs in shaded understory situations with moist, acidic soils in the wild, it is very adaptable to all manner of landscape situations. The species takes full sun extremely well but will also thrive with shade. It will tolerate very moist soil but, once established, is drought tolerant. I fertilize my Walter’s plants each spring with a general purpose, balanced garden fertilizer to boost growth, but there are many plantings of the species that get by without supplemental fertilizer. Finally, due to the dwarfing nature of the previously mentioned Walter’s cultivars, constant shearing won’t be necessary to maintain a pleasing shape, but they do respond well to pruning when a haircut is needed!
If you’ve been looking to include something a little bit different from the standard spring flowering fare in your landscape but also require your plants to be tough adaptable, try Walter’s Viburnum, especially the cultivars ‘Whorled Class’ or ‘Mrs. Schiller’s Delight’. They’ll be attractive, low-maintenance additions to nearly any Panhandle landscape for years to come! For more information about Walter’s Viburnum or any other horticultural or agricultural topic, contact your local UF/IFAS County Extension office. Happy gardening!