by Julie McConnell | Nov 3, 2014
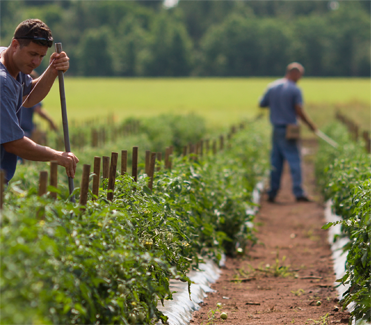
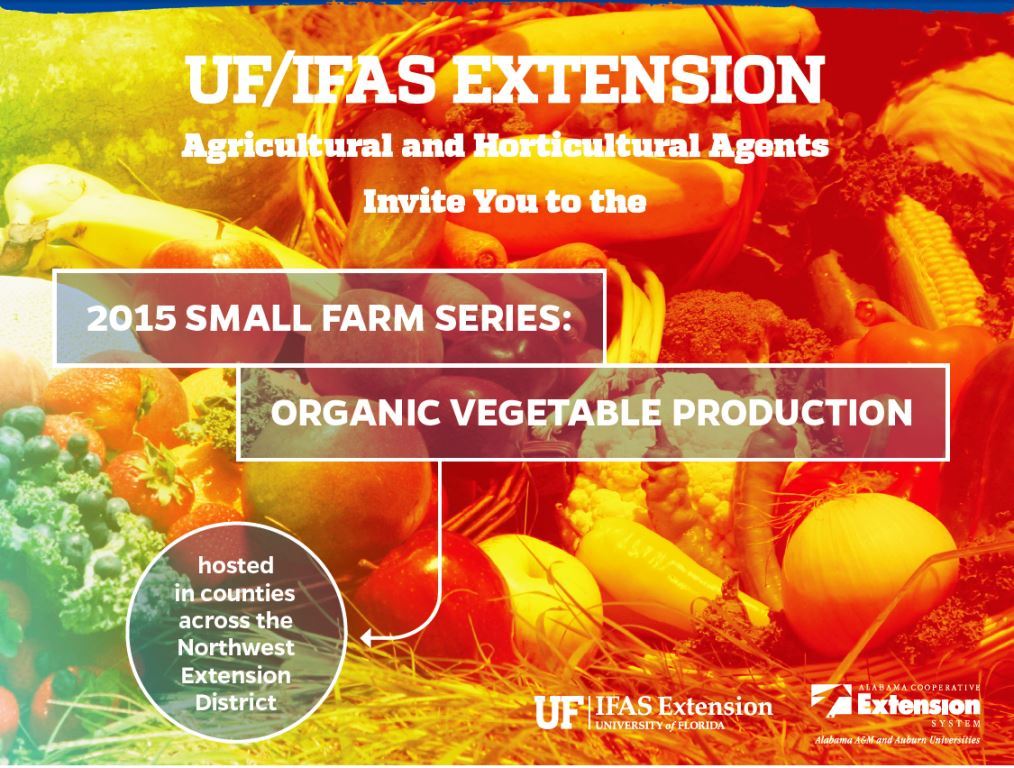
2015 Small Farms Series coming in January!

Image Credit: UF / IFAS
The three week series will be offered at 12 locations from Mobile, Alabama eastward to Jefferson County, Florida via interactive video conferencing. This technology allows state specialists to reach a wide audience from the comfort of their local county extension offices. Participants will receive educational materials and will be able to submit questions to speakers through their host site.
Some of the topics that will be covered include
Nutrient management
Cover crops
Alternative organic pest control
Disease control systems such as high tunnel, drip irrigation, and mulch
For more information or to register for this class series please see the
by Julie McConnell | Oct 8, 2014
 By Brad Buck, 352-294-3303, bradbuck@ufl.edu
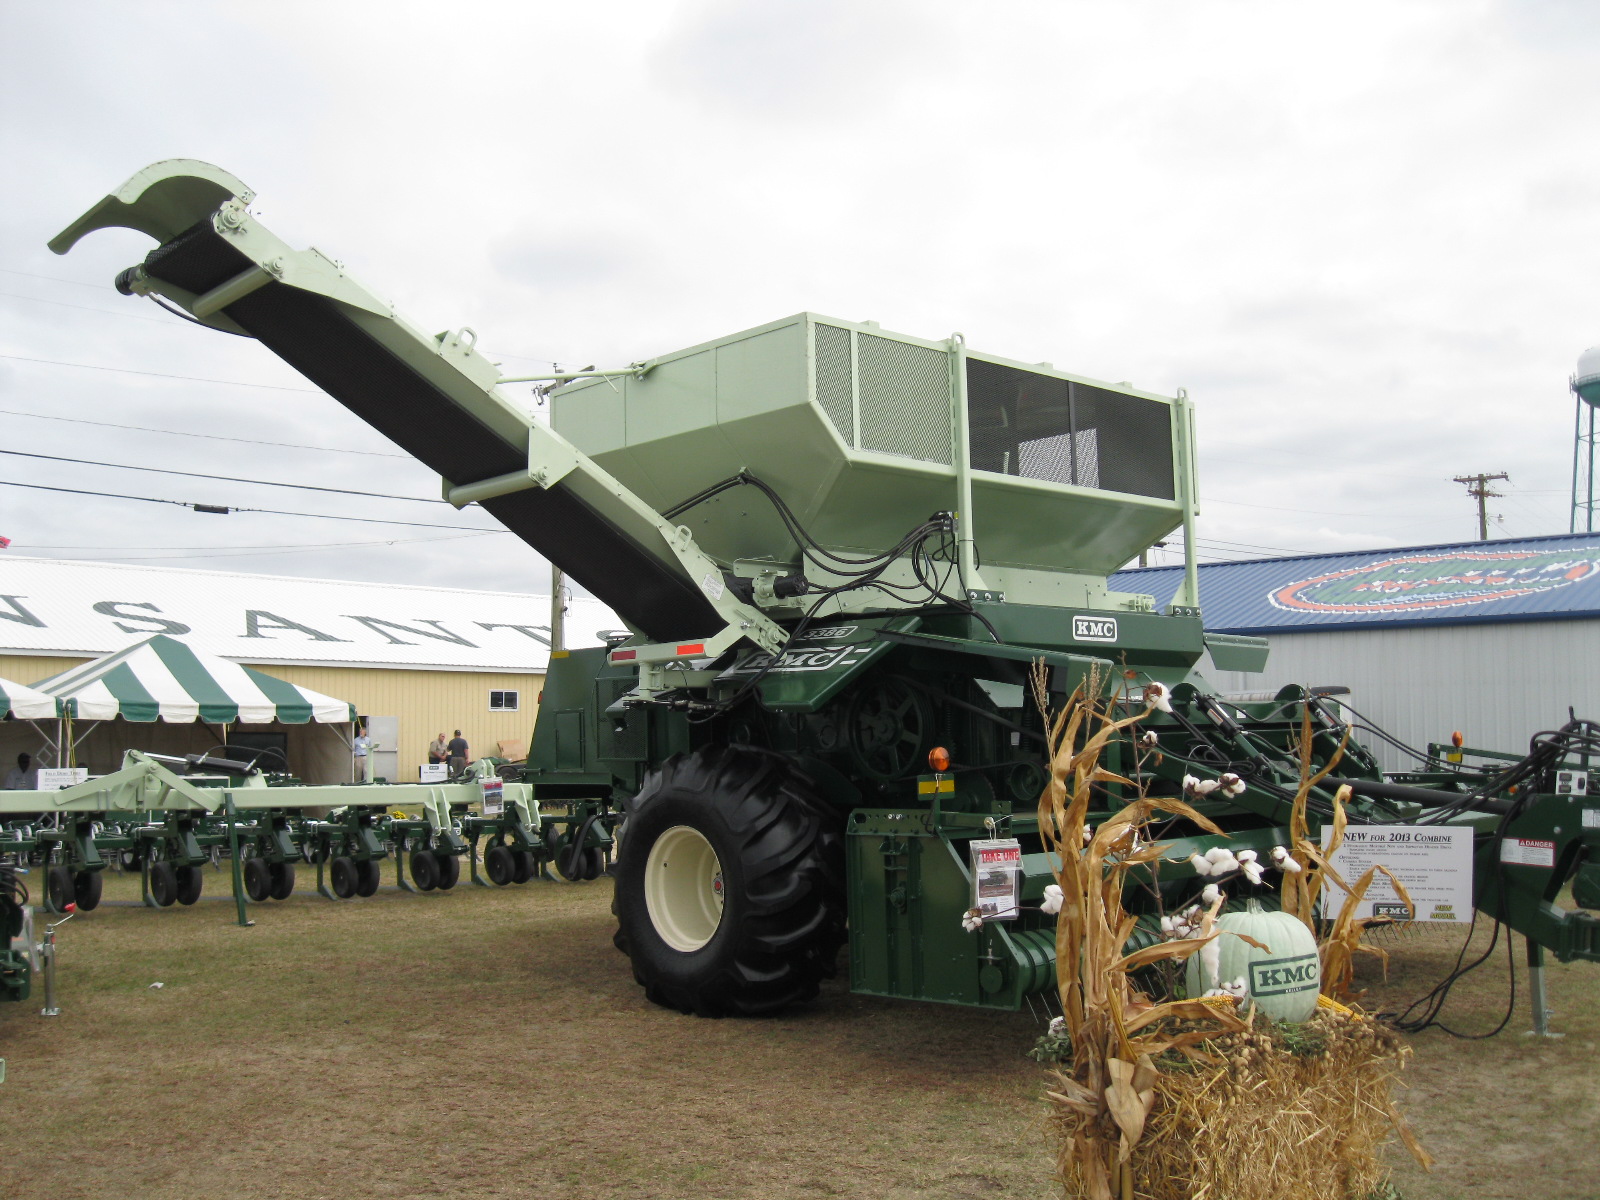
GAINESVILLE, Fla. – You can find out when to plant crops, how to can foods safely and how to use paper to pot plants from University of Florida experts at the 37th annual Sunbelt Ag Expo.
The Sunbelt Ag Expo, Oct .14-16 in Moultrie, Ga., is the largest agricultural expo in the southeast, and more than 100,000 people attend each year.
“The Sunbelt Expo gives people from all walks of life a chance to learn about everything Extension offers from our experts,” said Nick Place, dean of Extension for UF’s Institute of Food and Agricultural Sciences.
Known as North America’s Premier Farm Show and the largest such show in the U.S., the expo unites all segments of rural living. The setting features the latest agricultural research, a live farm harvest and insights into various agricultural businesses, according to its website.
UF/IFAS will have a permanent building, popular with visitors because of engaging displays and giveaways such as peanuts from the Florida Peanut Growers Association, Florida Orange Juice provided by Natalie’s Orchid Island Juice Company and many other “Gator Giveaways.”
This year, the Extension Service celebrates the centennial of the Smith-Lever Act of 1914, which created the national service, in which agents deliver unbiased research data to their constituents. Florida’s program remains as viable as ever, helping its many stakeholders. That includes guiding growers to maximize production through the most efficient use of their resources.
UF/IFAS’s three branches, Extension, research and the College of Agricultural and Life Sciences (CALS) will feature six interactive booths with the theme “Solutions for the Next 100 Years.”
Experts will interact with the public on several topics:
- “Canning parties” were some of the first Extension programs to help people better understand how to safely preserve foods. Expo visitors can learn more about this tradition as Family and Consumer Science Extension agents share from the past and present to provide the latest innovations for home food preservation.
- 4-H is one of UF/IFAS’ oldest recognized Extension programs. See how youth are leading and learning to meet the challenges of the next century. Visitors will learn about a 4-H recycling project and can take home a start to their family garden.
- Farming tools and methods are constantly improving. Visitors can see some of UF/IFAS’ favorites from the past and contrast them with flyin
 g drones and infrared scanners for today and the future. These new tools aid farmers in early identification of disease, pest and nutritional problems.
- Natural Resource and Sea Grant Extension agents are bringing Florida’s beaches and bays to Georgia. Touch tanks and displays with animals will highlight this exhibit focused on beach and boating safety and stewardship.
- Horticulture displays will give visitors insight into establishing a Florida Friendly yard by using appropriate plants and cultural methods. Butterfly gardening plants will be featured. Visitors will also learn how to distinguish beneficial insects from problem pests.
- Visit with CALS Ambassadors and learn about life as a UF agriculture student. Ambassadors will give information about major programs, admission, enrollment and hand out plenty of Gator goodies.

by Julie McConnell | Oct 7, 2014
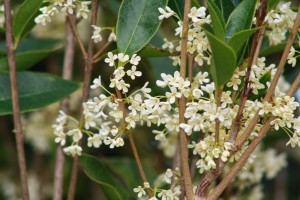
Flowers on Sweet Olive. Photo credit: Julie McConnell, UF/IFAS Extension
Sweet Olive Osmanthus fragrans is a versatile evergreen that produces fragrant flowers from the fall through the winter months. This upright-growing large shrub or small tree has medium green leaves and small white flowers that form in the leaf axils. The tiny flowers are not very showy, but have a light lemony fragrance that will have you searching for the source.
Sweet Olive is not a fast grower but will need space in the garden to reach maturity (15-20 feet tall x 10-15 feet wide). It makes an ideal privacy screen for outdoor living spaces where you can enjoy the flower scents while temperatures are cool.
Sweet Olive will grow in sun or shade, although the foliage is less dense in heavily shaded spots. It performs well in all soil types as long as they are well-drained and once established tolerate drought conditions. Sweet Olive is cold tolerant to zone 7b and has few pests. Although it is in the same family as olives, the fruit is not edible or showy.
To read more about Sweet Olive visit http://edis.ifas.ufl.edu/pdffiles/ST/ST42500.pdf
by Julie McConnell | Sep 2, 2014

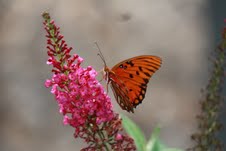
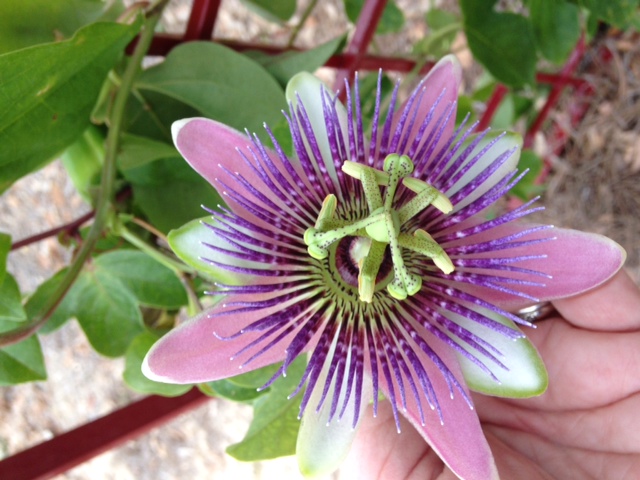
Purple passionflower
Gulf Fritillary caterpillars have a voracious appetite for purple passionflower vine Passiflora incarnata! This native vine is a host for the Gulf Fritillary Butterfly Agraulis vanilla larvae, is easy to grow, and readily available in garden centers.
Like any other vine, it grows quickly and may spread across your garden, so keep this in mind when choosing a location. It prefers full sun, is drought tolerant, adapts to many soil types, and should be given support for twining tendrils. Purple passionflower has intricate purple flowers that are followed by the fruit called a maypop, which is another common name for this vine.
Gulf fritillary butterflies are primarily orange with some black and white markings. They prefer sunny areas and adults will feed on nectar from many different flowering plants. However, they are more specific about where they will lay eggs because the diet of the caterpillar is more selective than adults.
If you have purple passionflower in your landscape, look for tiny yellow eggs and orange caterpillars with black spikes to see if you have a backyard Gulf fritillary nursery. Plants may be totally defoliated by the hungry caterpillars, but healthy plants can tolerate the damage and should flush back out without difficulty.

by Julie McConnell | Aug 12, 2014
 Most people appreciate a colorful landscape, but may not have a lot of time or money to invest into keeping it looking good. Add to that the low nutrient soils that do not hold water that are common in the western Panhandle and keeping an attractive yard becomes even more challenging, especially if irrigation is not available.
If you are looking for plants that require minimal maintenance beyond watering until establishment here are a few you might want to try.
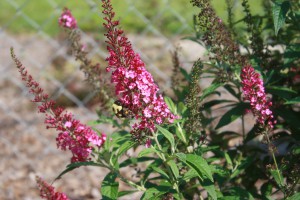
Butterfly Bush Buddleia spp.
There are many different mature sizes and colors, but if you have a small space consider a dwarf like CranRazz or the Lo & Behold® series. Butterfly bush blooms throughout the warm season and if it slows down, just deadhead or prune heavily and it will flush out with new foliage and blooms. As the name suggests, butterflies are attracted to the blooms.
Hyssop
Another plans that is very heat tolerant with low water requirements is Hyssop Agastache rupestris. Fine textured foliage and flowers that bloom all summer and thrive on neglect. These come in hot colors including orange, pink and bicolor varieties.
Sedum
Sedum love hot, dry spots and Sedum rupestre “Angelina’ is a groundcover type with showy yellow foliage. It performs great in containers or sprawling over beds. Evergreen with a bronzy winter color, it stands out all year. Tiny yellow flowers appear to float above the foliage in the early summer, but do turn brown and need to be snipped off to keep plants looking tidy.