by Julie McConnell | Jan 21, 2014

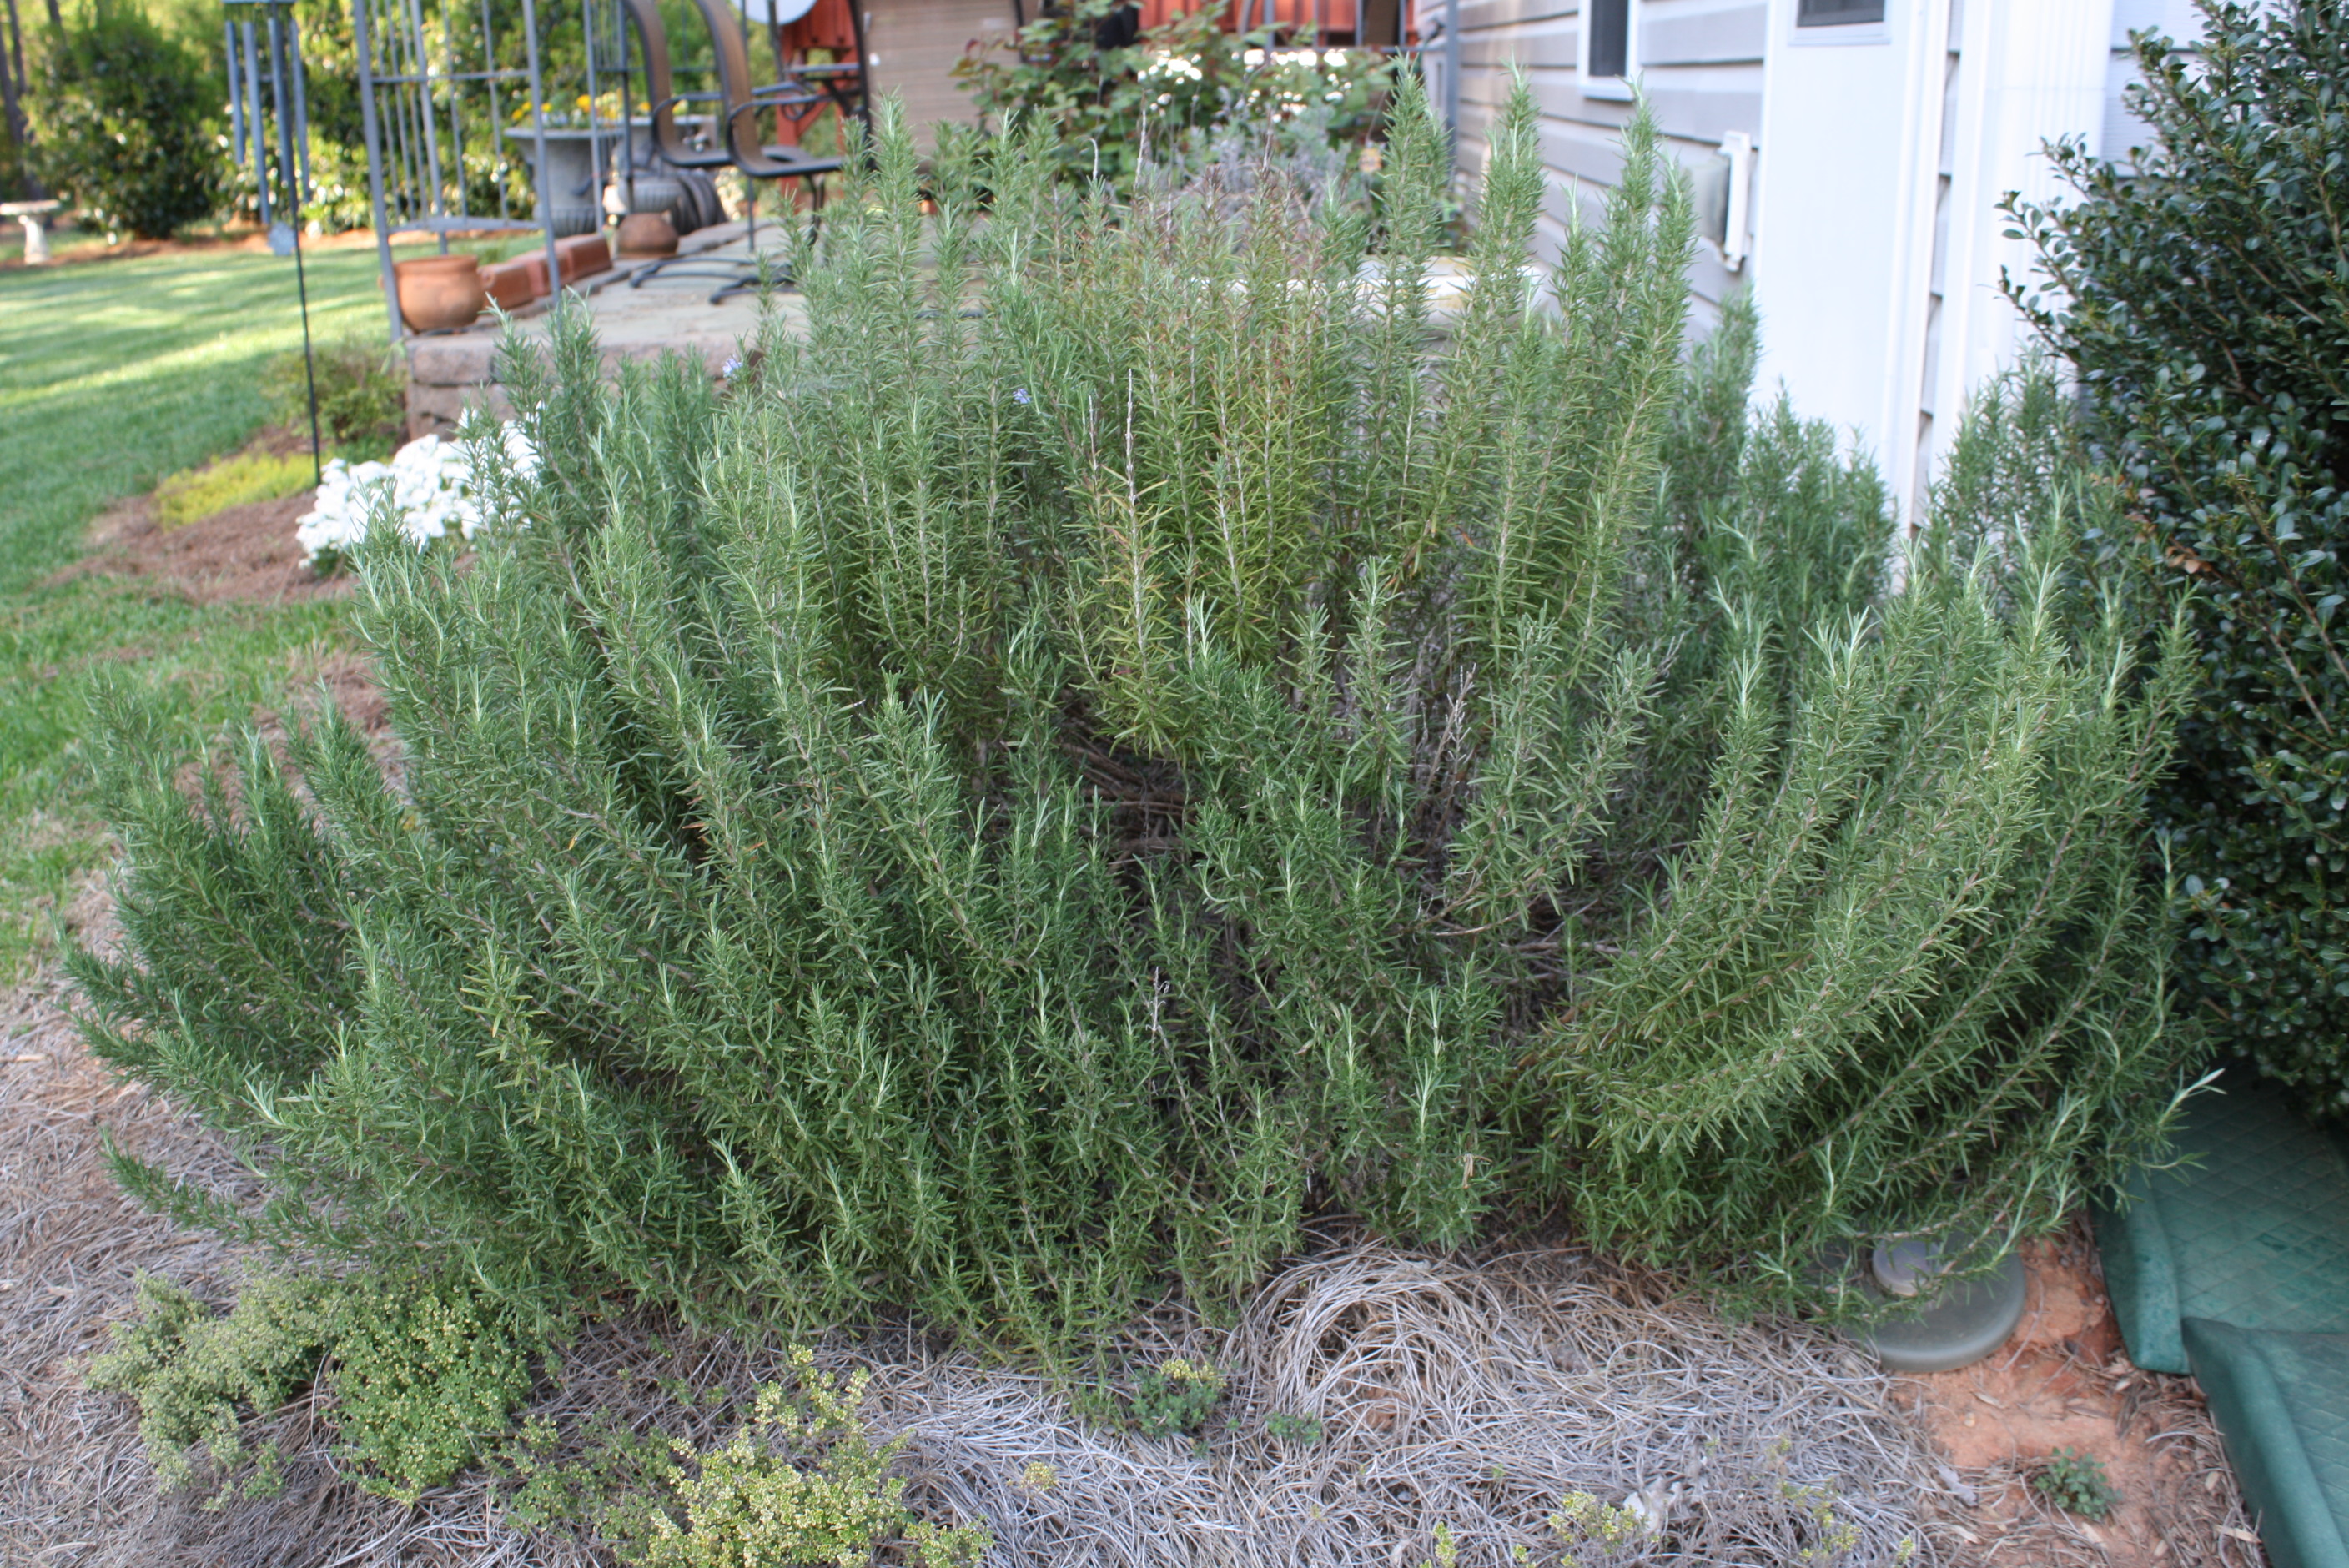
Rosemary
Rosemary (Rosmarinus officinalis) is an attractive evergreen woody perennial and a culinary herb that grows well in the Florida Panhandle with very little attention.
Rosemary is quite tough and thrives in hot, dry spots with well-drained soil. All plants require some water to become established (the time it takes to grow enough roots to support the plant without watering). Once established, it responds well to neglect as long as it is given sunlight, drainage, and air circulation.
Mature plants can grow to be over four feet tall by four feet wide, but may be kept a little more compact with pruning. Leaves are harvested to use in recipes calling for fresh rosemary or can be dried for later use. To read more about growing and cooking with herbs, please read the following EDIS publications.
Herbs in the Florida Garden
Cooking with Fresh Herbs
by Julie McConnell | Jan 13, 2014
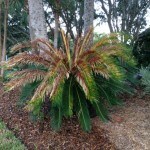
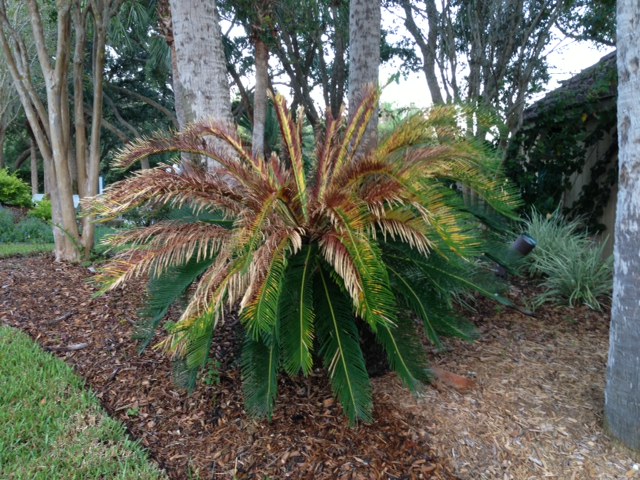
King Sago Palm. Photo credit: Mary Derrick
The wordpress-platform version Gardening in the Panhandle began in May of 2012 and had 188 views from its inception through the end of the year. This was a new online version of a long running and award winning traditional print newsletter. 2013 brought a new e-newsletter format and a ramped up effort to provide science based articles that you, the reader, find interesting and useful as you garden in the panhandle. We have gotten your attention, you visited Gardening in the Panhandle 23,422 times in 2013!
Below is a list of the top fifteen most read articles from 2013 with links so that you can visit again if you missed it. Please let us know if there are topics you would like to see covered by leaving comments or emailing one the editors Matthew Orwat mjorwat@ufl.edu or Mary Derrick mderrick@ufl.edu.
# of Hits Title Author
by Julie McConnell | Dec 9, 2013
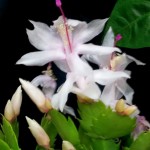
Photo credit: Julie McConnell, UF/IFAS
If you are looking for an easy to grow, colorful indoor flowering plant, look no further than Holiday Cactus. The two main types are Thanksgiving Cactus and Christmas Cactus which have similar care requirements but as the name indicates, bloom at different times.
When purchasing a new plant, don’t assume that it is “Thanksgiving” or “Christmas” based on when it was blooming at the store, growers know how to manipulate plants for flowering based on market demand. Instead look at the leaf shape and anther colors for positive identification. Thanksgiving cacti have pointed teeth on leaf margins and yellow anthers in the flowers. Christmas cacti have flattened leaves with rounded teeth on the margins and purple anthers.
The best spot for your Holiday cactus is a bright location away from any drafts or heating and cooling vents. Keep soil slightly moist, but take care not to over water. They can tolerate some drying out, but too much can cause flower buds to drop. In Northwest Florida’s mild climate you may keep your Holiday Cactus outside most of the year, but protect it from full sun during the summer months and bring it indoors if temperatures are forecast to fall below 50° F.
Fertilize Holiday cacti with a general purpose houseplant fertilizer from April until August following label directions. To make your plants fuller, prune or pinch in June and this will encourage more branching. Holiday cacti are easy to propagate. Take those pieces you pinched off and place in a lightweight potting soil or vermiculite and they will grow roots and you will have new plants to share.
So, how do you control flowering time? Holiday cacti form flower buds based on two environmental factors, photoperiod (length of daylight) and temperature. They are considered “short day” plants which mean that they bloom when light is reduced to 8-10 hours a day, but this description can be a little misleading. The true influencing factor is not the number of daylight hours, but rather the number of hours in uninterrupted darkness. One way to initiate flower bud development is to place the plant in a dark closet from 5 p.m. until 8 a.m. for 20-25 days straight. This treatment will stimulate flower bud development. Another factor that influences flower bud initiation (even without light control) is the temperature at night. The ideal night temperature for flower bud formation is between 55 and 68° F. Temperatures above 68° and below 50° F can prevent flower bud development.
To learn more about caring for your Holiday Cactus visit the following link Thanksgiving & Christmas Cacti Clemson Cooperative Extension HGIC1554.
by Julie McConnell | Nov 18, 2013
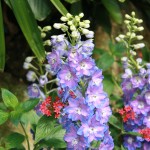
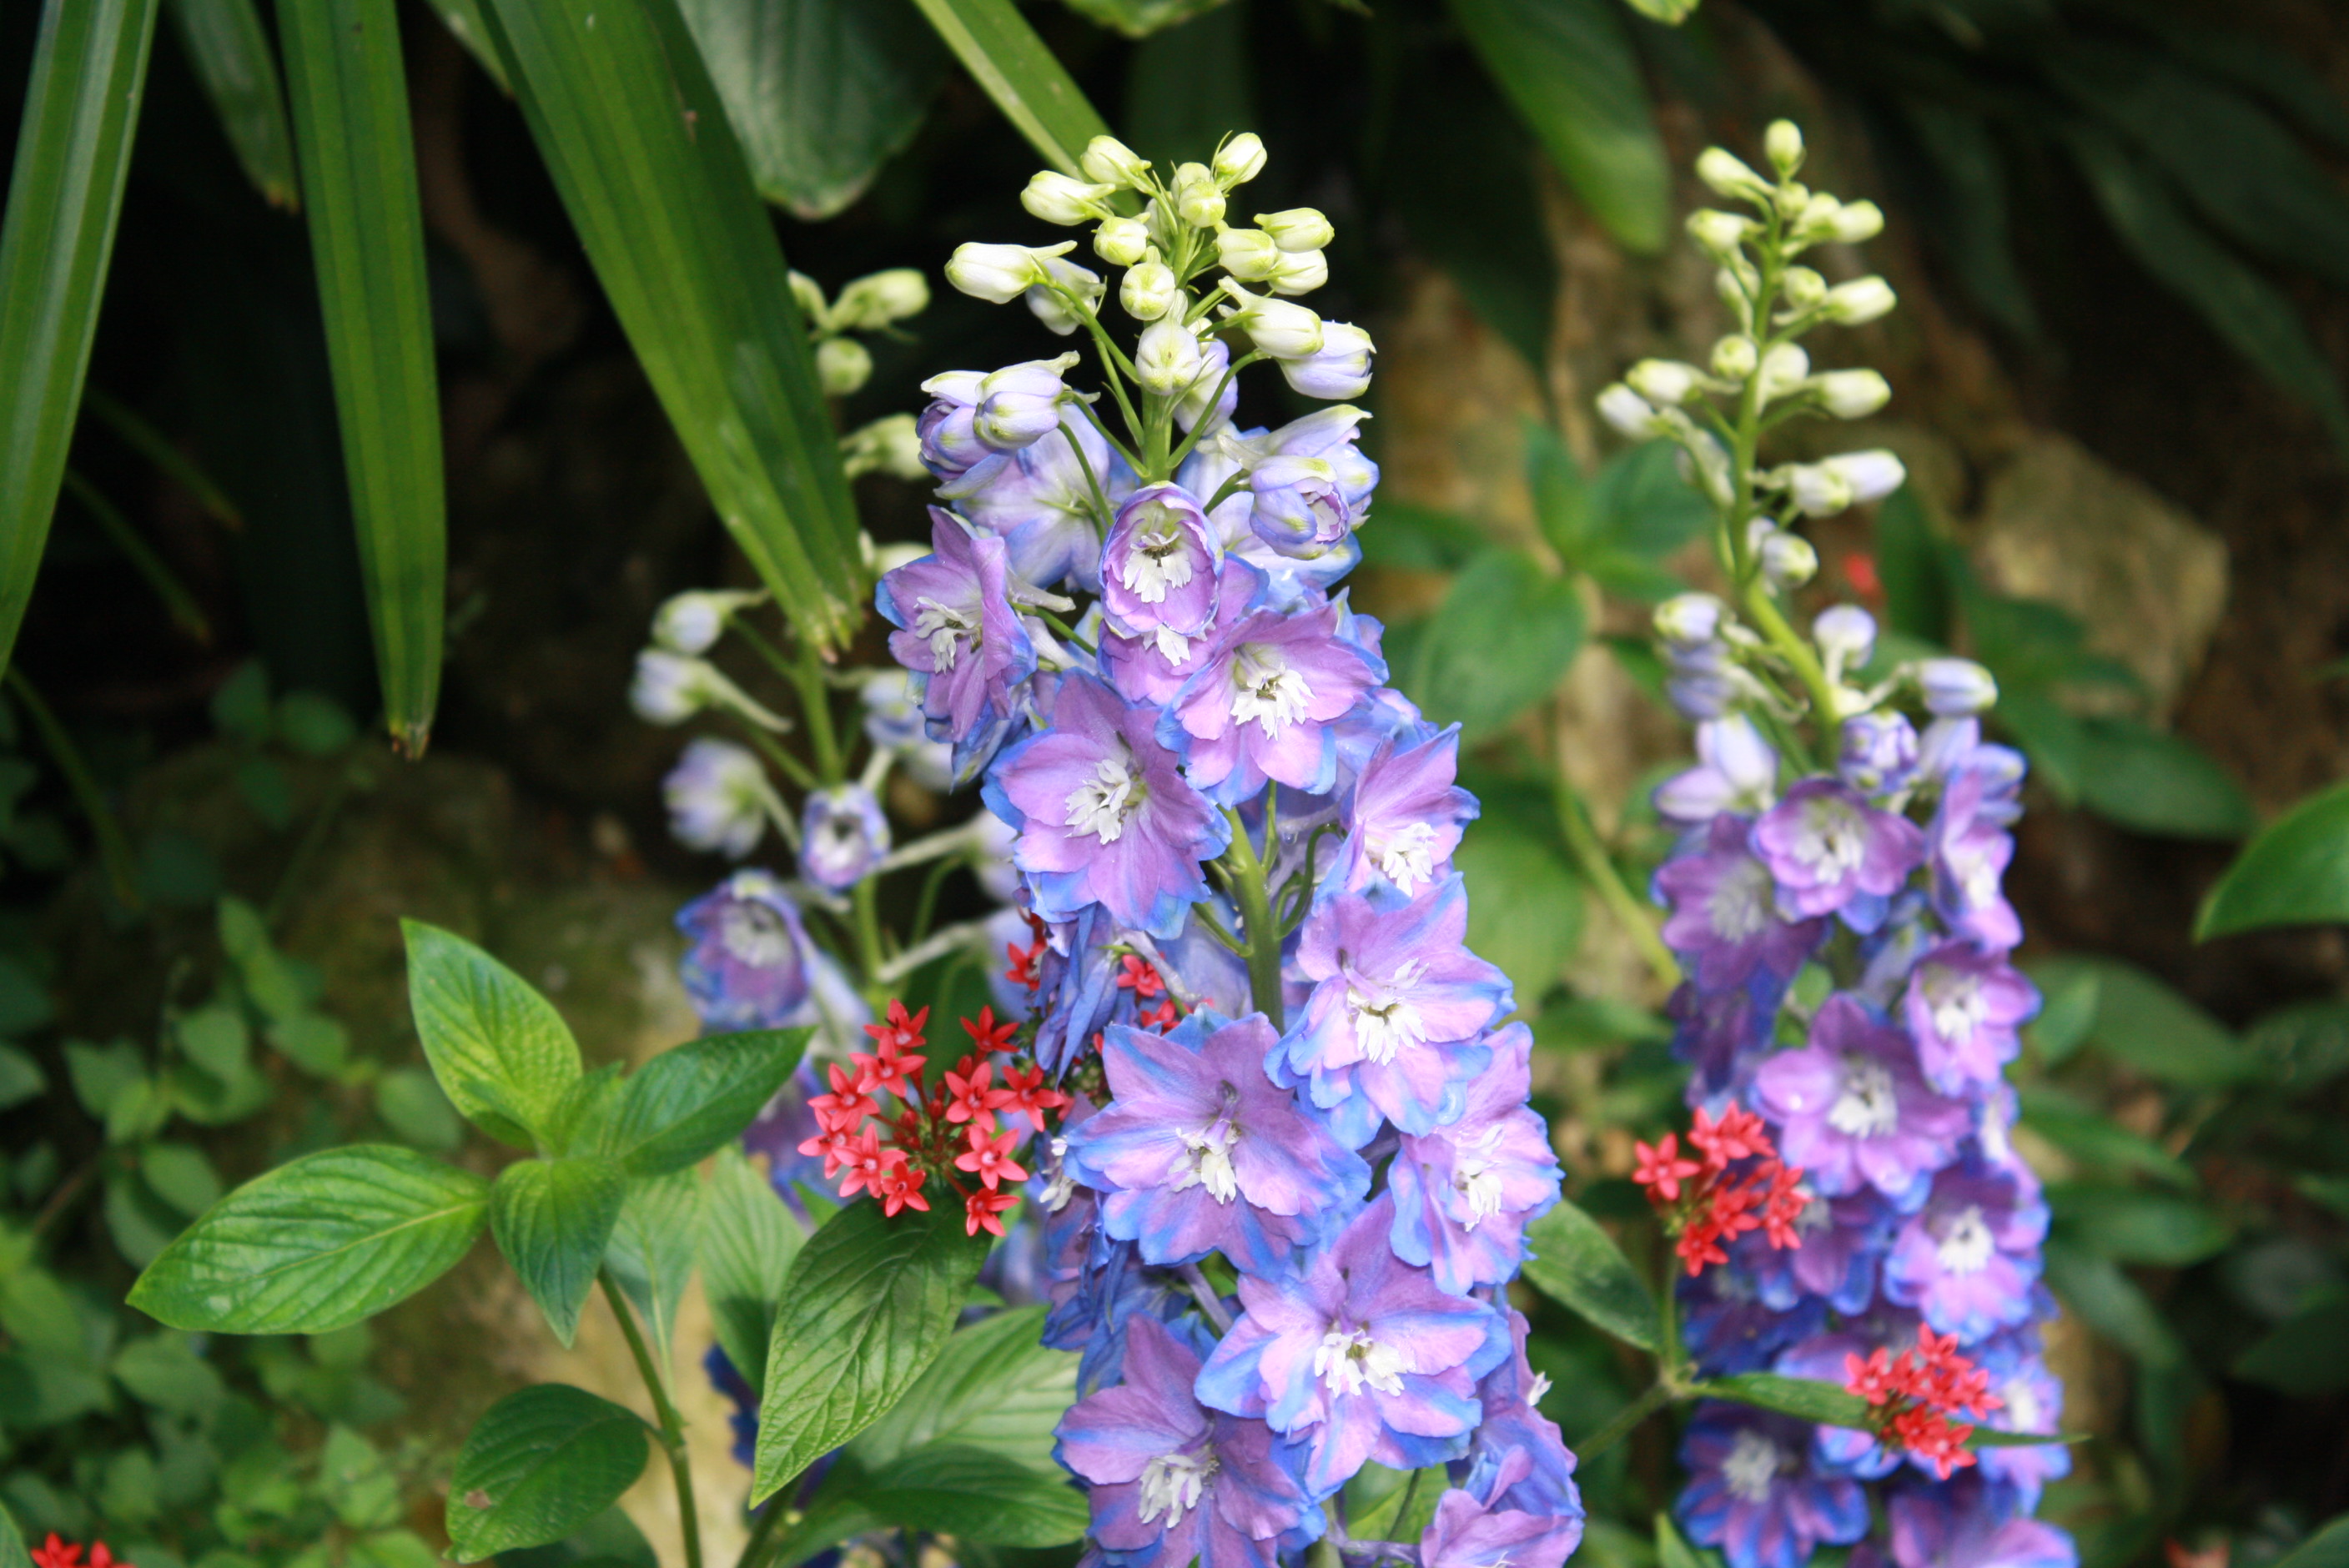
Delphiniums
As the weather changes, so should your flower bed. Annual flowers provide fantastic color to landscapes with months of flowers or attractive foliage, but the trade-off is that they give you all they’ve got over one growing season.
There are two main groups of annuals, summer (warm season) and winter (cool season). Summer annuals are considered “tender” and will not tolerate frosts, but winter annuals are “hardy” meaning they can stand cool temperatures and even hard frost if given time to establish before the coldest weather arrives. Most winter annuals actually prefer cooler temperatures and perform poorly during the hottest part of the year.
Some hardy winter annuals that can be planted after October are pansies, violas, snapdragons, dianthus,delphinium, petunia, alyssum, dusty miller, hollyhock, ornamental cabbage and kale, and verbena. With all the choices available, winter flower beds can be filled with all ranges of the color palate!
Plan to change flower beds to winter annuals from October to November, depending on the weather. Wait until cool weather trends arrive so that the new plants are not stressed by hot weather and high humidity. Most winter annuals will perform well until warm weather arrives, typically April or May in North Florida. Read more about “Gardening with Annuals in Florida.”
by Julie McConnell | Oct 14, 2013
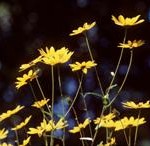
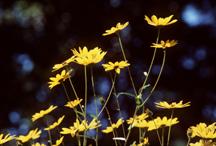
Swamp Sunflower Photo credit: UF/IFAS Milt Putnam
Fall Blooming Native Wildflowers
Drive along any highway or rural road at this time of year and chances are some color will catch your eye; not so much in the tree tops, but in ditches and right of ways.
Although yellow seems to be the predominant color in the fall, pay attention and you may spot reds, oranges, and even some blues in the wildflower pallet.
Examples of wildflowers that bloom late summer to early fall in the Panhandle:
• Bluestar (Amsonia ciliate), blue flowers, 1-3’
• Butterfly Weed (Asclepias tuberosa), orange flowers, 1-3’
• Lanceleaf Coreopsis (Coreopsis lanceolata), yellow flowers, 1-2’
• Leavenworth’s Coreopsis (Coreopsis leavenworthii), yellow flowers, 1-3’
• Swamp Sunflower (Helianthus angustifolia), yellow flowers, 2-6’
• Rayless Sunflower (Helianthus radula), purple flower, 2-3’
• Cardinal Flower (Lobelia cardinalis), red flowers 2-4’
• Lyreleaf Sage (Salvia lyrata), purple flowers, 1-2’
• Goldenrods (Solidago spp.), yellow flowers, 1.5-6’
• Tall Ironweed (Veronia angustifolia), purple flowers, 2-4’
To learn more about these and many other wildflowers read EDIS Publication “Common Native Wildflowers of North Florida.”