by Molly Jameson | Jul 12, 2017
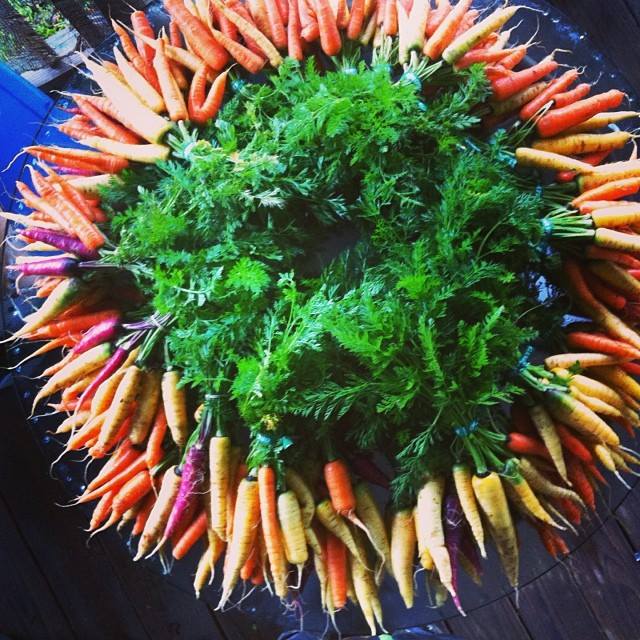
The modern carrot is available in many sizes, colors, and flavor profiles thanks to thousands of years of plant breeding. Photo by Kelly Thomas.
Fruits and vegetables have undergone various forms of domestication for thousands of years. Throughout this time, selective breeding of wild forages has allowed humans to develop crops with many desirable traits, such as increased size, higher sugar content, more nutrition, and brighter colors.
If you ate a carrot 5,000 years ago, you would be in for a surprise. First, it would not be orange. Instead, it would be white or purple, and would taste very bitter and be very small. We think wild carrots were first cultivated around 1,100 years ago, but that it took another 600 years to develop carrots that are not only available in white and purple, but also yellow, orange, and even red.
Sweet corn 9,000 years ago was a thousand times smaller, and barely edible, tasting more like a raw dried potato than corn, with only a few hard kernels per ear.
When you trace back the history of fruits and vegetables, you not only see many changes taking place through human intervention, but also many rituals, beliefs, and superstitions along the way. Take the mighty onion, for example. Did you know that Greek athletes in the Ancient Olympic Games would eat pounds of raw onion, drink the juice of onions, and rub onions all over their bodies before competing?
Roman generals believed garlic gave soldiers courage and strength, so they planted whole fields of it in areas they conquered, believing this transferred bravery to the armies. According to ancient Egyptian records, the Pharaoh gave the Egyptian slaves who built the pyramids garlic daily, along with their meager rations of beer and flat bread, as a means to increase strength and endurance. By today’s standards, it is believed it cost the Pharaoh two million dollars to keep the slaves supplied with garlic.
The Aztecs domesticated tomatoes around 500 BC, but they were not introduced to Italy until the 16th century. Even then, it took Italians another 250 years to embrace the tomato, as this member of the nightshade family was – understandably – feared to be poisonous. Can you imagine your pizzas and spaghetti without marinara?
Cucumbers originated in India, where their domestication started more than 4,000 years ago. They were traded to the Middle East and Europe about 3,000 years ago, and were even mentioned in the Epic of Gilgamesh. In Ancient Rome, Emperor Tiberius, who reigned briefly from 14 to 16 AD, demanded that he be served cucumbers daily. In the winter, his gardeners had to grow cucumbers in mobile wooden frames to protect the plants and expose them to the sun.
So the next time you enjoy the crunch of a bright orange carrot, sink your teeth into a chunk of hot garlic bread, or nurture your prized heirloom tomatoes, reflect back on just what it took our ancestors to get to the fruits and vegetables we relish today.
by Molly Jameson | Jun 10, 2017
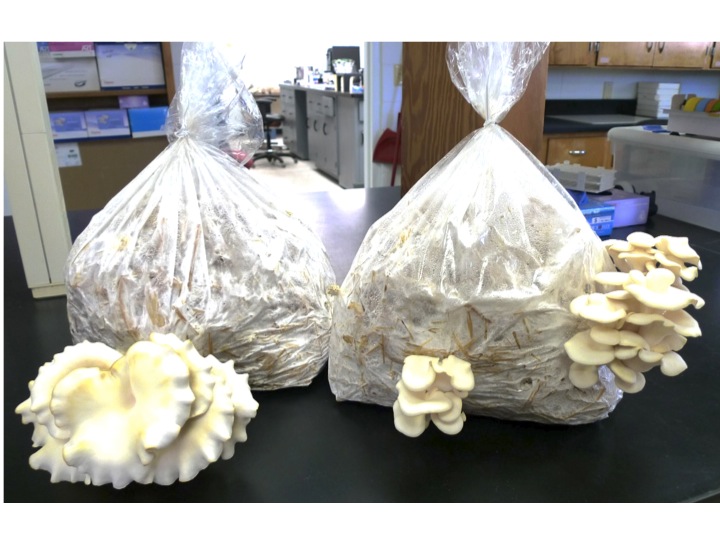
Following basic instructions, grow oyster mushrooms using sterilized straw, a plastic bag, oyster mushroom spawn, and water. Photo by Sunny Liao.
Oyster mushrooms (Pleurotus ostreatus) – which have nothing to do with oysters besides their similar shape – are some of the most delicate, subtlety flavored, and easiest to prepare mushrooms of the culinary world.
They can easily be fried, stir-fried, or braised within a matter of minutes in broths, vinegar, wines, and sauces; or added to soups, stuffed, or mixed with chopped garlic. Other mushrooms, such as shiitake, are sturdier and impart a meatier flavor and texture to a dish. Oyster mushrooms, especially those lighter in color, pair well with seafood or a white meat. Highly perishable, you will want to freeze oyster mushrooms after sautéing with butter or oil to preserve, or dehydrate them to enjoy at a later date.
In addition to being an easy mushroom to prepare, oyster mushrooms are a great source of fiber, protein, and many vitamins and minerals, as well as an excellent source of the antioxidant ergothioneine.
Oyster mushrooms can come in many shades, from cream-colored, to gray, golden, tan, and brown. Their white colored gills, when present, extend from beneath the cap down to their very short stems. They are often described as smelling slightly like licorice and can grow up to about nine inches, but are best consumed young when tender and mild.
Oyster mushrooms grow in many subtropical and temperate environments, commonly found in nature growing in layers, decomposing the wood of dying hardwood trees. This decomposition benefits the ecosystem, as the mushrooms return nutrients and minerals back into the soil.
Interestingly, oyster mushrooms are one of the few known carnivorous mushrooms. The mycelia of the fungi can consume and digest nematodes, which is how it is thought the oyster mushrooms acquire nitrogen.
Arguably one of the best qualities of oyster mushrooms are the ease to which they can be cultivated at home. Using sterilized straw, a plastic bag, oyster mushroom spawn, water, and following basic instructions, oyster mushroom can be produced in as little as two weeks!
You can learn all about oyster mushroom production on the Penn State Extension page: Cultivation of Oyster Mushrooms (http://extension.psu.edu/plants/vegetable-fruit/mushrooms/publications/guides/cultivation-of-oyster-mushrooms).
Once you have the materials gathered, follow this guide, developed by UF/IFAS Suwannee County Extension, to prepare oyster mushrooms bags at home: Preparation of Oyster Mushroom Bags (http://suwannee.ifas.ufl.edu/documents/PREPARATIONOFOYSTERMUSHROOMBAGS.2012.pdf).
As well as being healthy and delicious, oyster mushroom cultivation is fun, and just needs a small amount of space and effort!
by Molly Jameson | May 11, 2017
If you are a farmer, you have most likely heard about the Food Safety Modernization Act, or FSMA, by now. If you are not a farmer, you probably do not know that food safety regulations are going through a big change. The FSMA, which was passed in 2011, is considered the largest update to food safety regulation in over 80 years.
The proposed produce safety rule under the FSMA is very robust, establishing the minimum standards for worker training, health and hygiene, agricultural water use, animal soil amendments, on-farm domesticated and wild animals, equipment, tools, buildings, and sprout production.
But this new rule will not apply to all farmers. The commodities they produce and the value of their produce sold will ultimately dictate whether they will need to comply.
First, the rule does not apply to produce that is not a raw agricultural commodity, or commodities the Food and Drug Administration (FDA) has identified as “rarely consumed raw.” Secondly, if a farm has an average value of produce sold of $25,000 or less within the previous three years, they are also exempt.
If the farmer produces an agricultural commodity in which the rule applies and the value of their produce sold is over $25,000, it is still possible the farm will be exempt from most of the requirements.
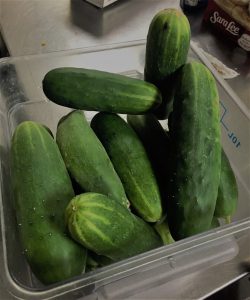
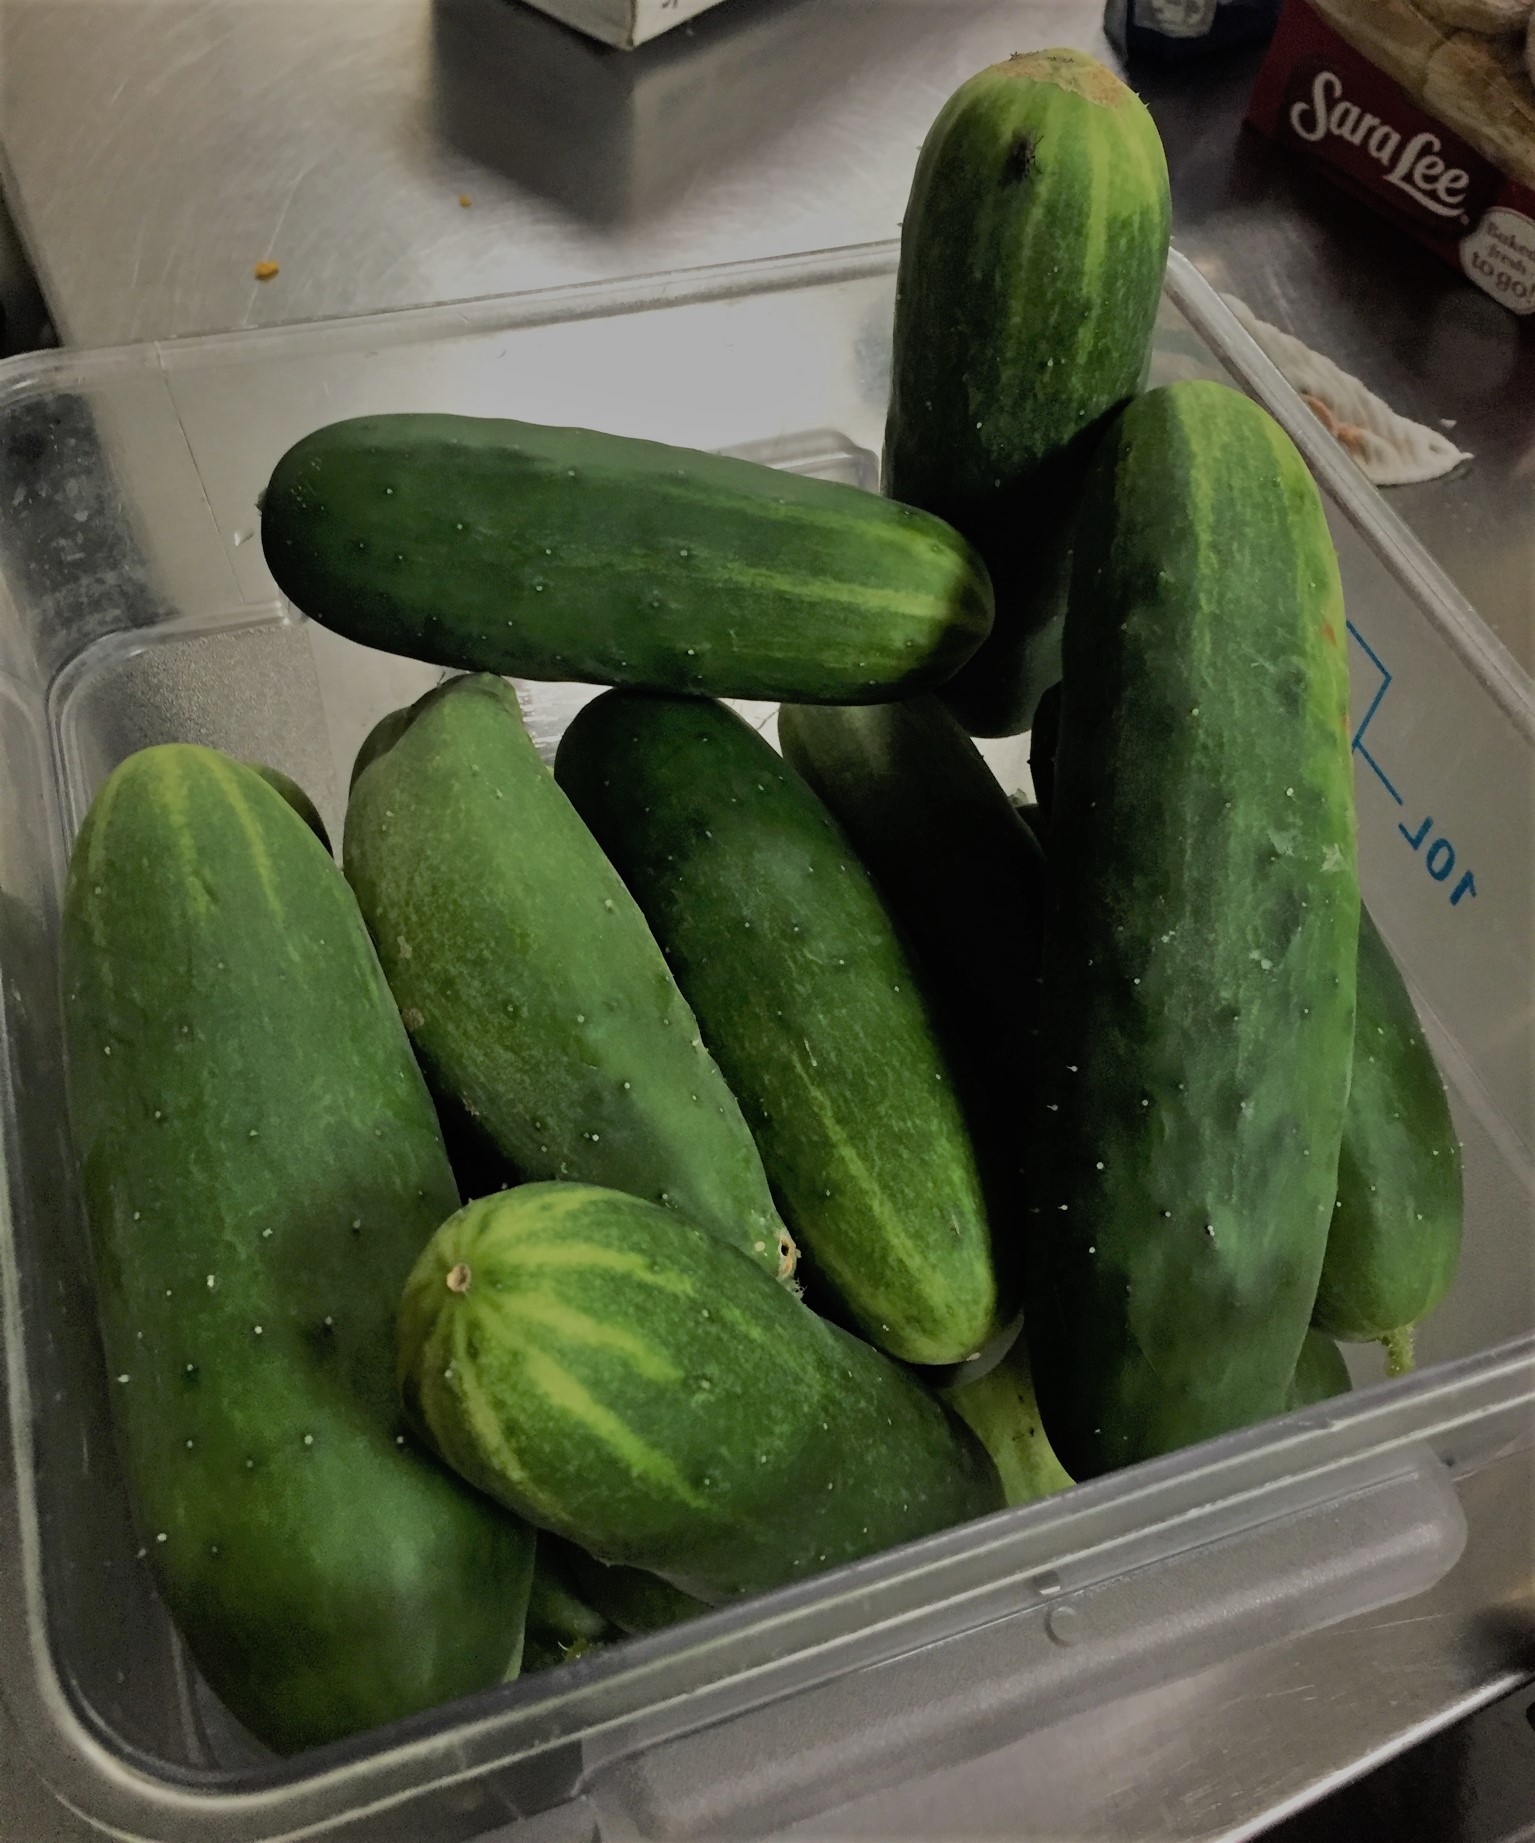
Fresh cucumbers, for example, are considered a raw commodity. But cucumbers that will undergo further processing, such as for pickling, would be eligible for exemption from the produce rule. Photo by Molly Jameson.
For instance, if the average annual monetary value of food sold directly to qualified end-users was more than the average annual value of the food sold to all other buyers within the previous three-year period, the farmer would meet the first half of exemption eligibility.
What is a “qualified end-user”, you ask? They are considered the consumers of the food, or restaurant or retail food establishment, located with the same state as the farm that produced the food (or no more than 275 miles).
But even if farmers meet the above exemption eligibility standards, they must also meet the second requirement. That is, the average annual monetary value of all food sold during the three-year period must be less than $500,000, when adjusted for inflation.
If this all sounds confusing, you are not alone! This is why the FDA developed a chart to help farmers determine if they will be exempt: Standards for Produce Safety – Coverage and Exemptions/Exclusions for Proposed 21 PART 112.
Whether farms will be exempt from the FSMA produce safety rule or not, it is always a good idea to follow good agricultural practices and to have a farm food safety plan. To learn more about food safety on farms, view the EDIS document Food Safety on the Farm: An Overview of Good Agricultural Practices.
If you are a farmer, or know someone who would benefit from having a food safety plan, the UF Small Farms Academy Extension Agents are offering a Building Your Own Farm’s Food Safety Manual Workshop in Tallahassee to help growers develop their own food safety manuals.
The workshop is tailored to fresh fruit and vegetable farms, fields, or greenhouses and is partially supported by a grant through the Florida Specialty Crops Block Grant program from the Florida Department of Agriculture and Consumer Service.
The registration fee is $35 for the first person representing a farm and $15 for an additional attendee from that farm. The workshop is limited to 20 farms on a first come, first serve basis.
The workshop will take place at the Amtrak Station, County Community Room, 918 Railroad Ave, in Tallahassee, FL, on Tuesday, May 23, 8:00 a.m. to 4:00 p.m. Register on Eventbrite by following this link: https://farmfoodsafetymanualworkshop.eventbrite.com
Please note, this class will help farmers develop their farm’s food safety manual, but it does not fulfill the new FDA FSMA one-time training requirement.
by Molly Jameson | Apr 7, 2017
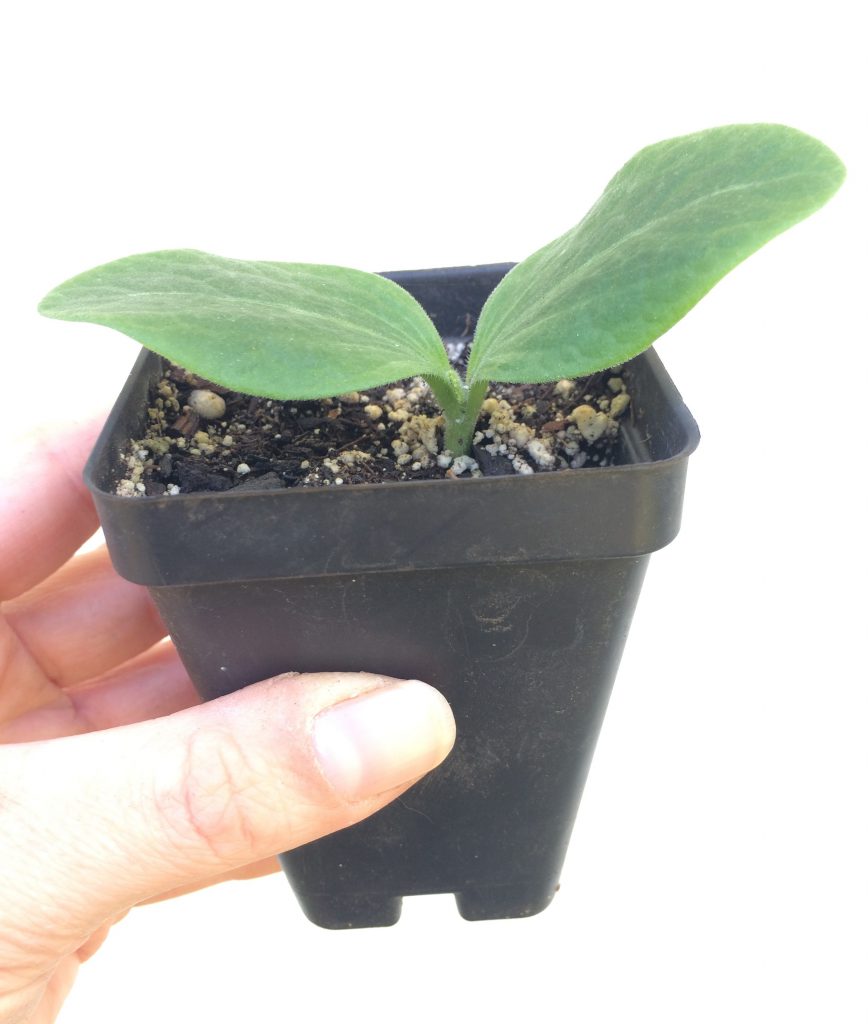
Be careful planting cucurbit transplants, as they have sensitive roots. Photo by Molly Jameson.
When I think of the end of winter and the hot temperatures that will soon be here to stay in the Florida Panhandle, I often feel a little melancholy. But the one silver lining that always picks me back up is remembering what warmer temperatures will mean in the garden. This is the start to all the fun, colorful, fruiting crops. Think of the oranges, reds, yellows, and even purples that will soon fill their vines.
As an extension agent, one of the questions I am often asked is whether to start summer vegetables from seed directly in the garden, or to start seeds in pots and transplant them later. The answer is – as is often the case – it depends.
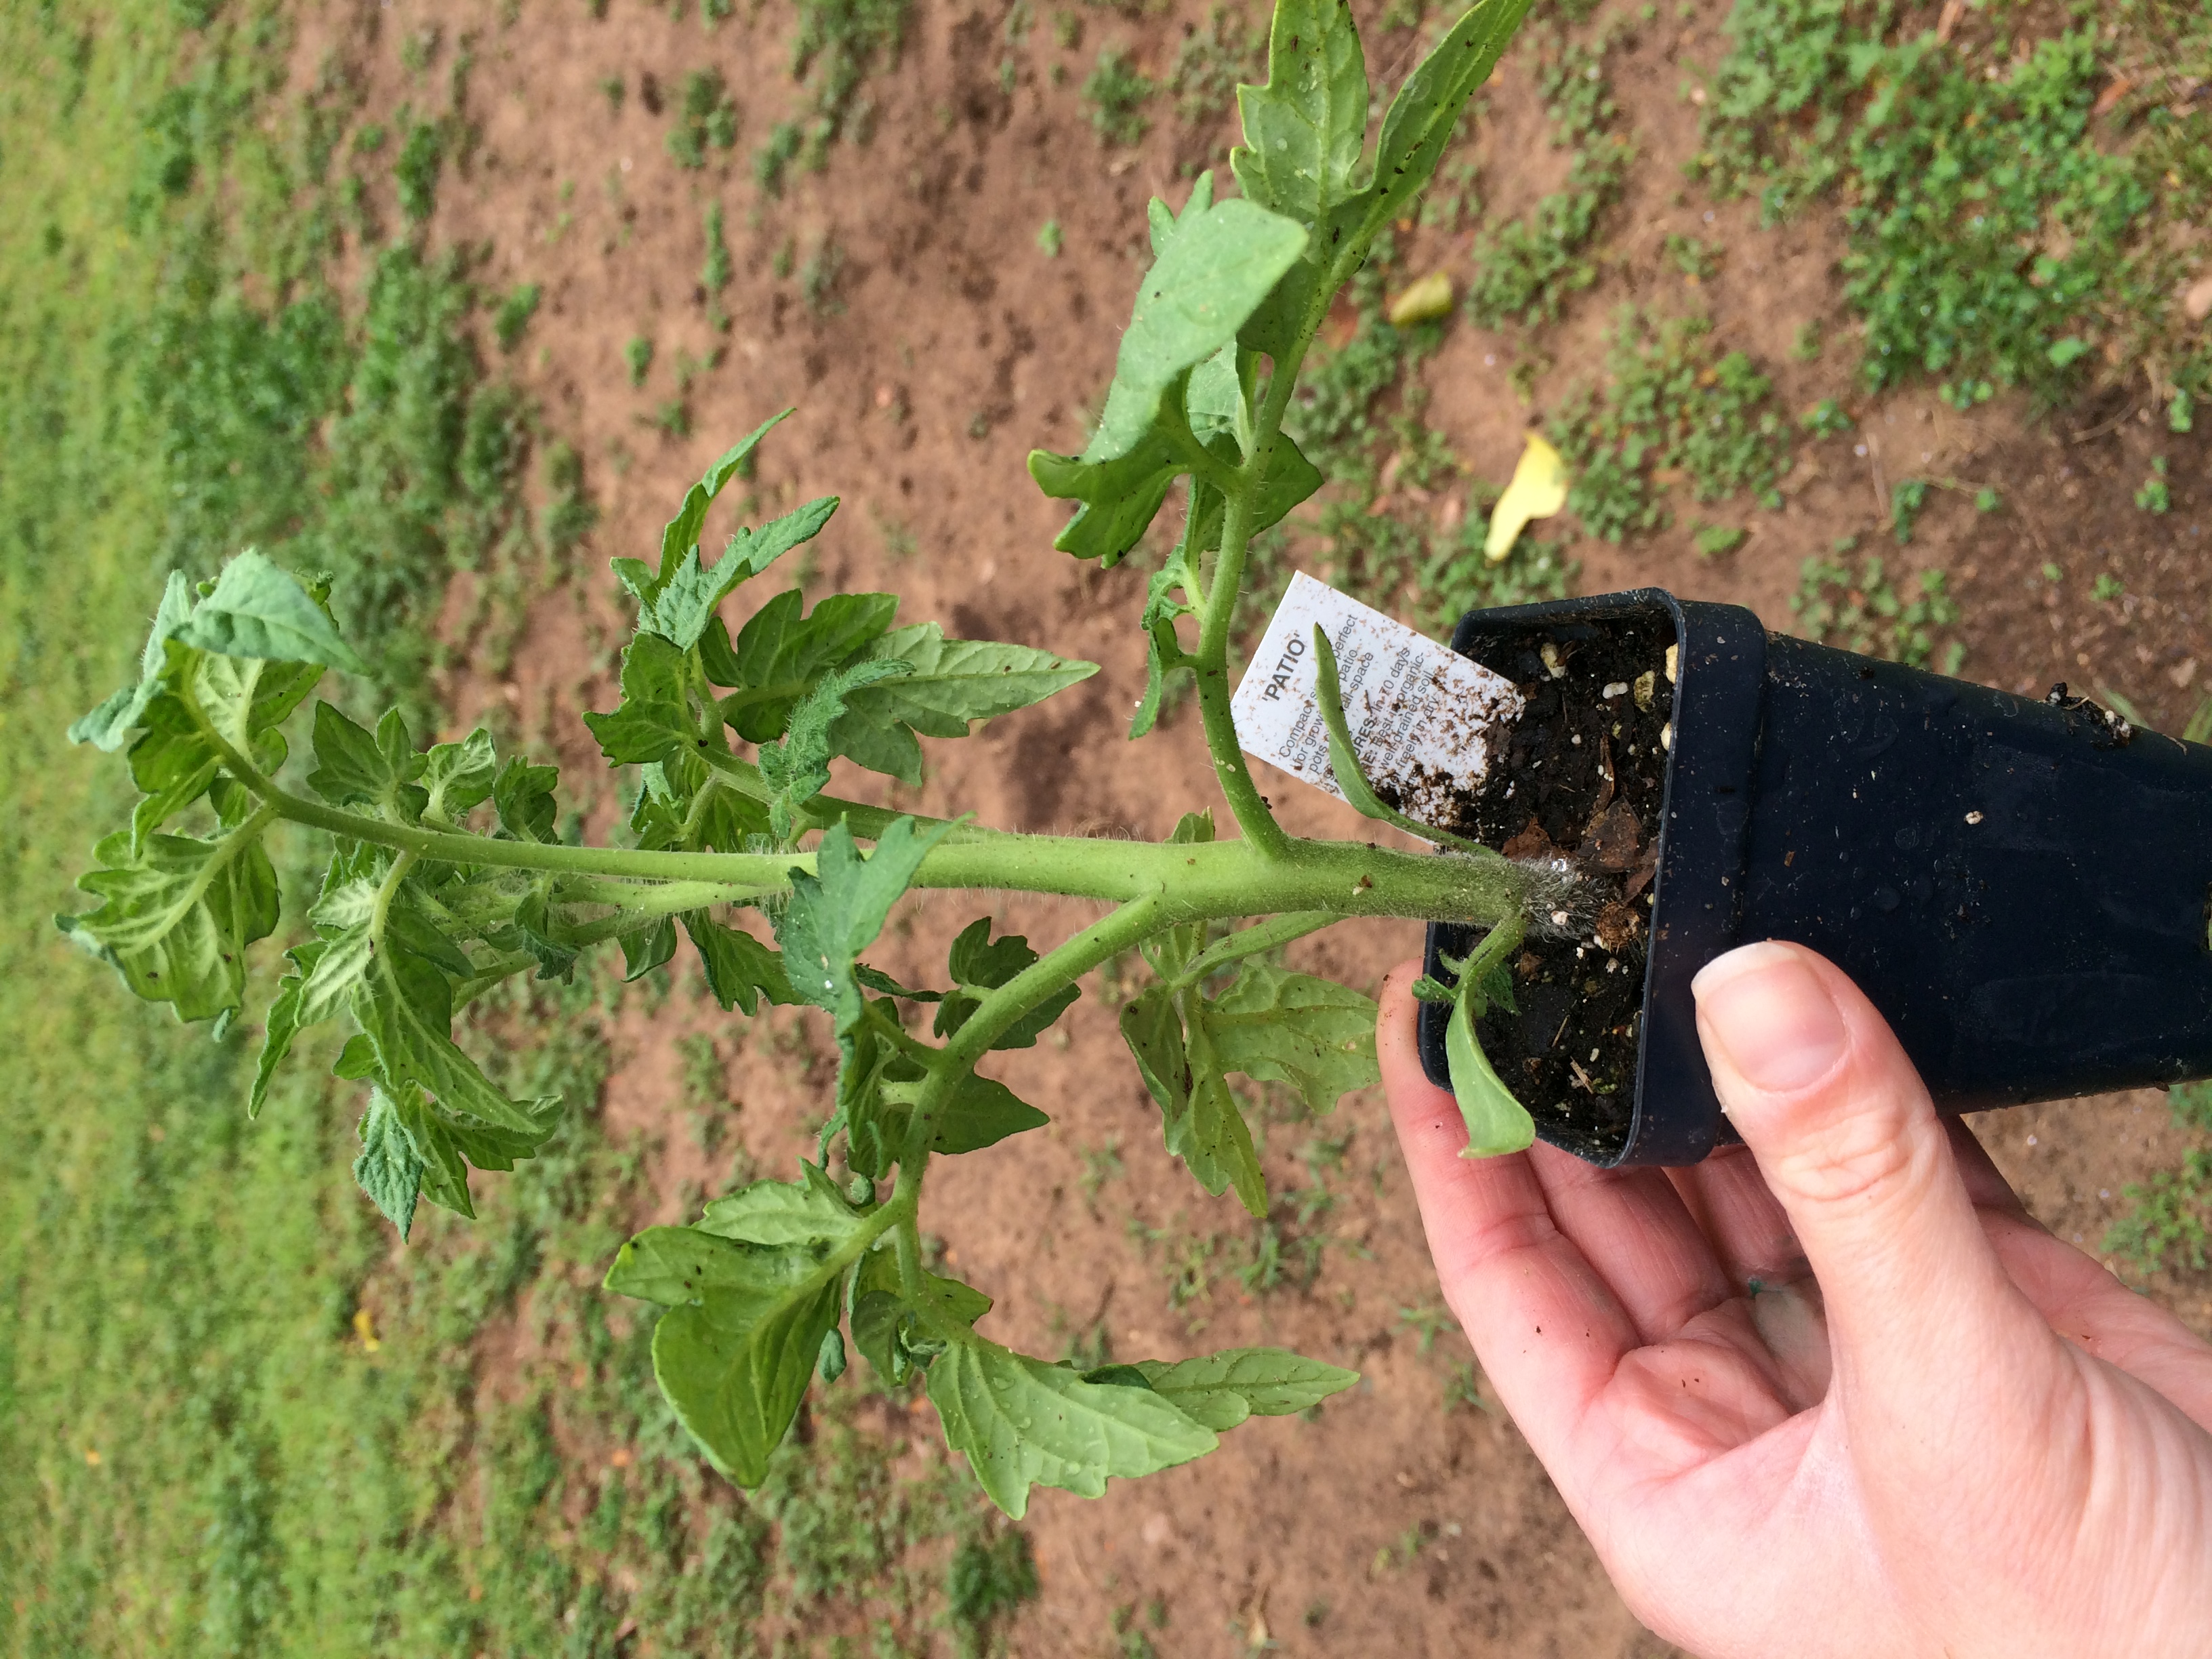
Are you planting tomatoes, peppers, or eggplant? Well, the beginning of April is too late to start from seeds with these crops in our neck of the woods. Buy transplants! Are you growing beans, okra, or root crops? Now that we are past the risk of frost, put those seeds directly into your garden. Are you growing cucurbits, like squash, cucumbers, or melons? You have a choice. You could seed them directly, or you could start seeds in pots. What is the advantage of starting in pots, you ask? Well – this will give you the chance to pick the strongest plants and will allow you to transplant them exactly where you want them. The disadvantage? Other than the extra work, cucurbits tend to be sensitive to disturbance. Be sure to handle with care and do not over water once your seedlings have sprouted.
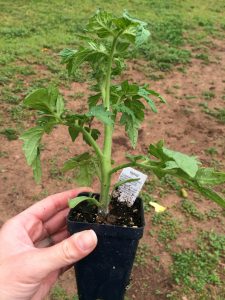
Transplant into the garden when the plant is about the length of its pot. Photo by Molly Jameson.
Whether you grew the seeds in pots yourself or acquired transplants elsewhere, there are certain practices you can follow to ensure your plant babies have a good start. Here are a few tips when it comes to transplanting into the garden:
What should be considered when purchasing transplants? When purchasing transplants, it is important to make sure the plant is healthy. Look for plants with strong stems, green leaves, and no signs of pest or disease damage. Ideally, the plant should not be much taller than the length of its pot, and should be about as tall as it is wide. Also, avoid vegetable plants that are already producing fruit, this is an indication they have been in their pot too long, prompting them to become stressed. When stressed, annuals often feel they need to hurry and produce seeds to carry on the next generation.
When should transplants be planted into the garden? For spring gardens, plant transplants once danger of frost has passed (late March in the Panhandle), when the transplant has had time to develop a strong root system, and when the transplant is about the length of its pot. If you are growing your seeds indoors or in a greenhouse, allow the plant to “harden-off” by placing the plants outdoors in partial shade for a few hours a day for about a week before transplanting.
What is the transplanting process?
- First, prepare your garden site with compost and other soil amendments.
- Water your plants very thoroughly just before planting to decrease transplant shock. The entire root system should be completely wet.
- Dig a hole that is at least double the width of the plant’s root ball.
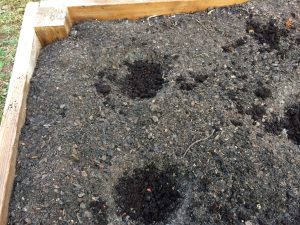
Add fresh compost or worm castings to each planting hole to give your plants an extra nutrient boost. Photo by Molly Jameson.
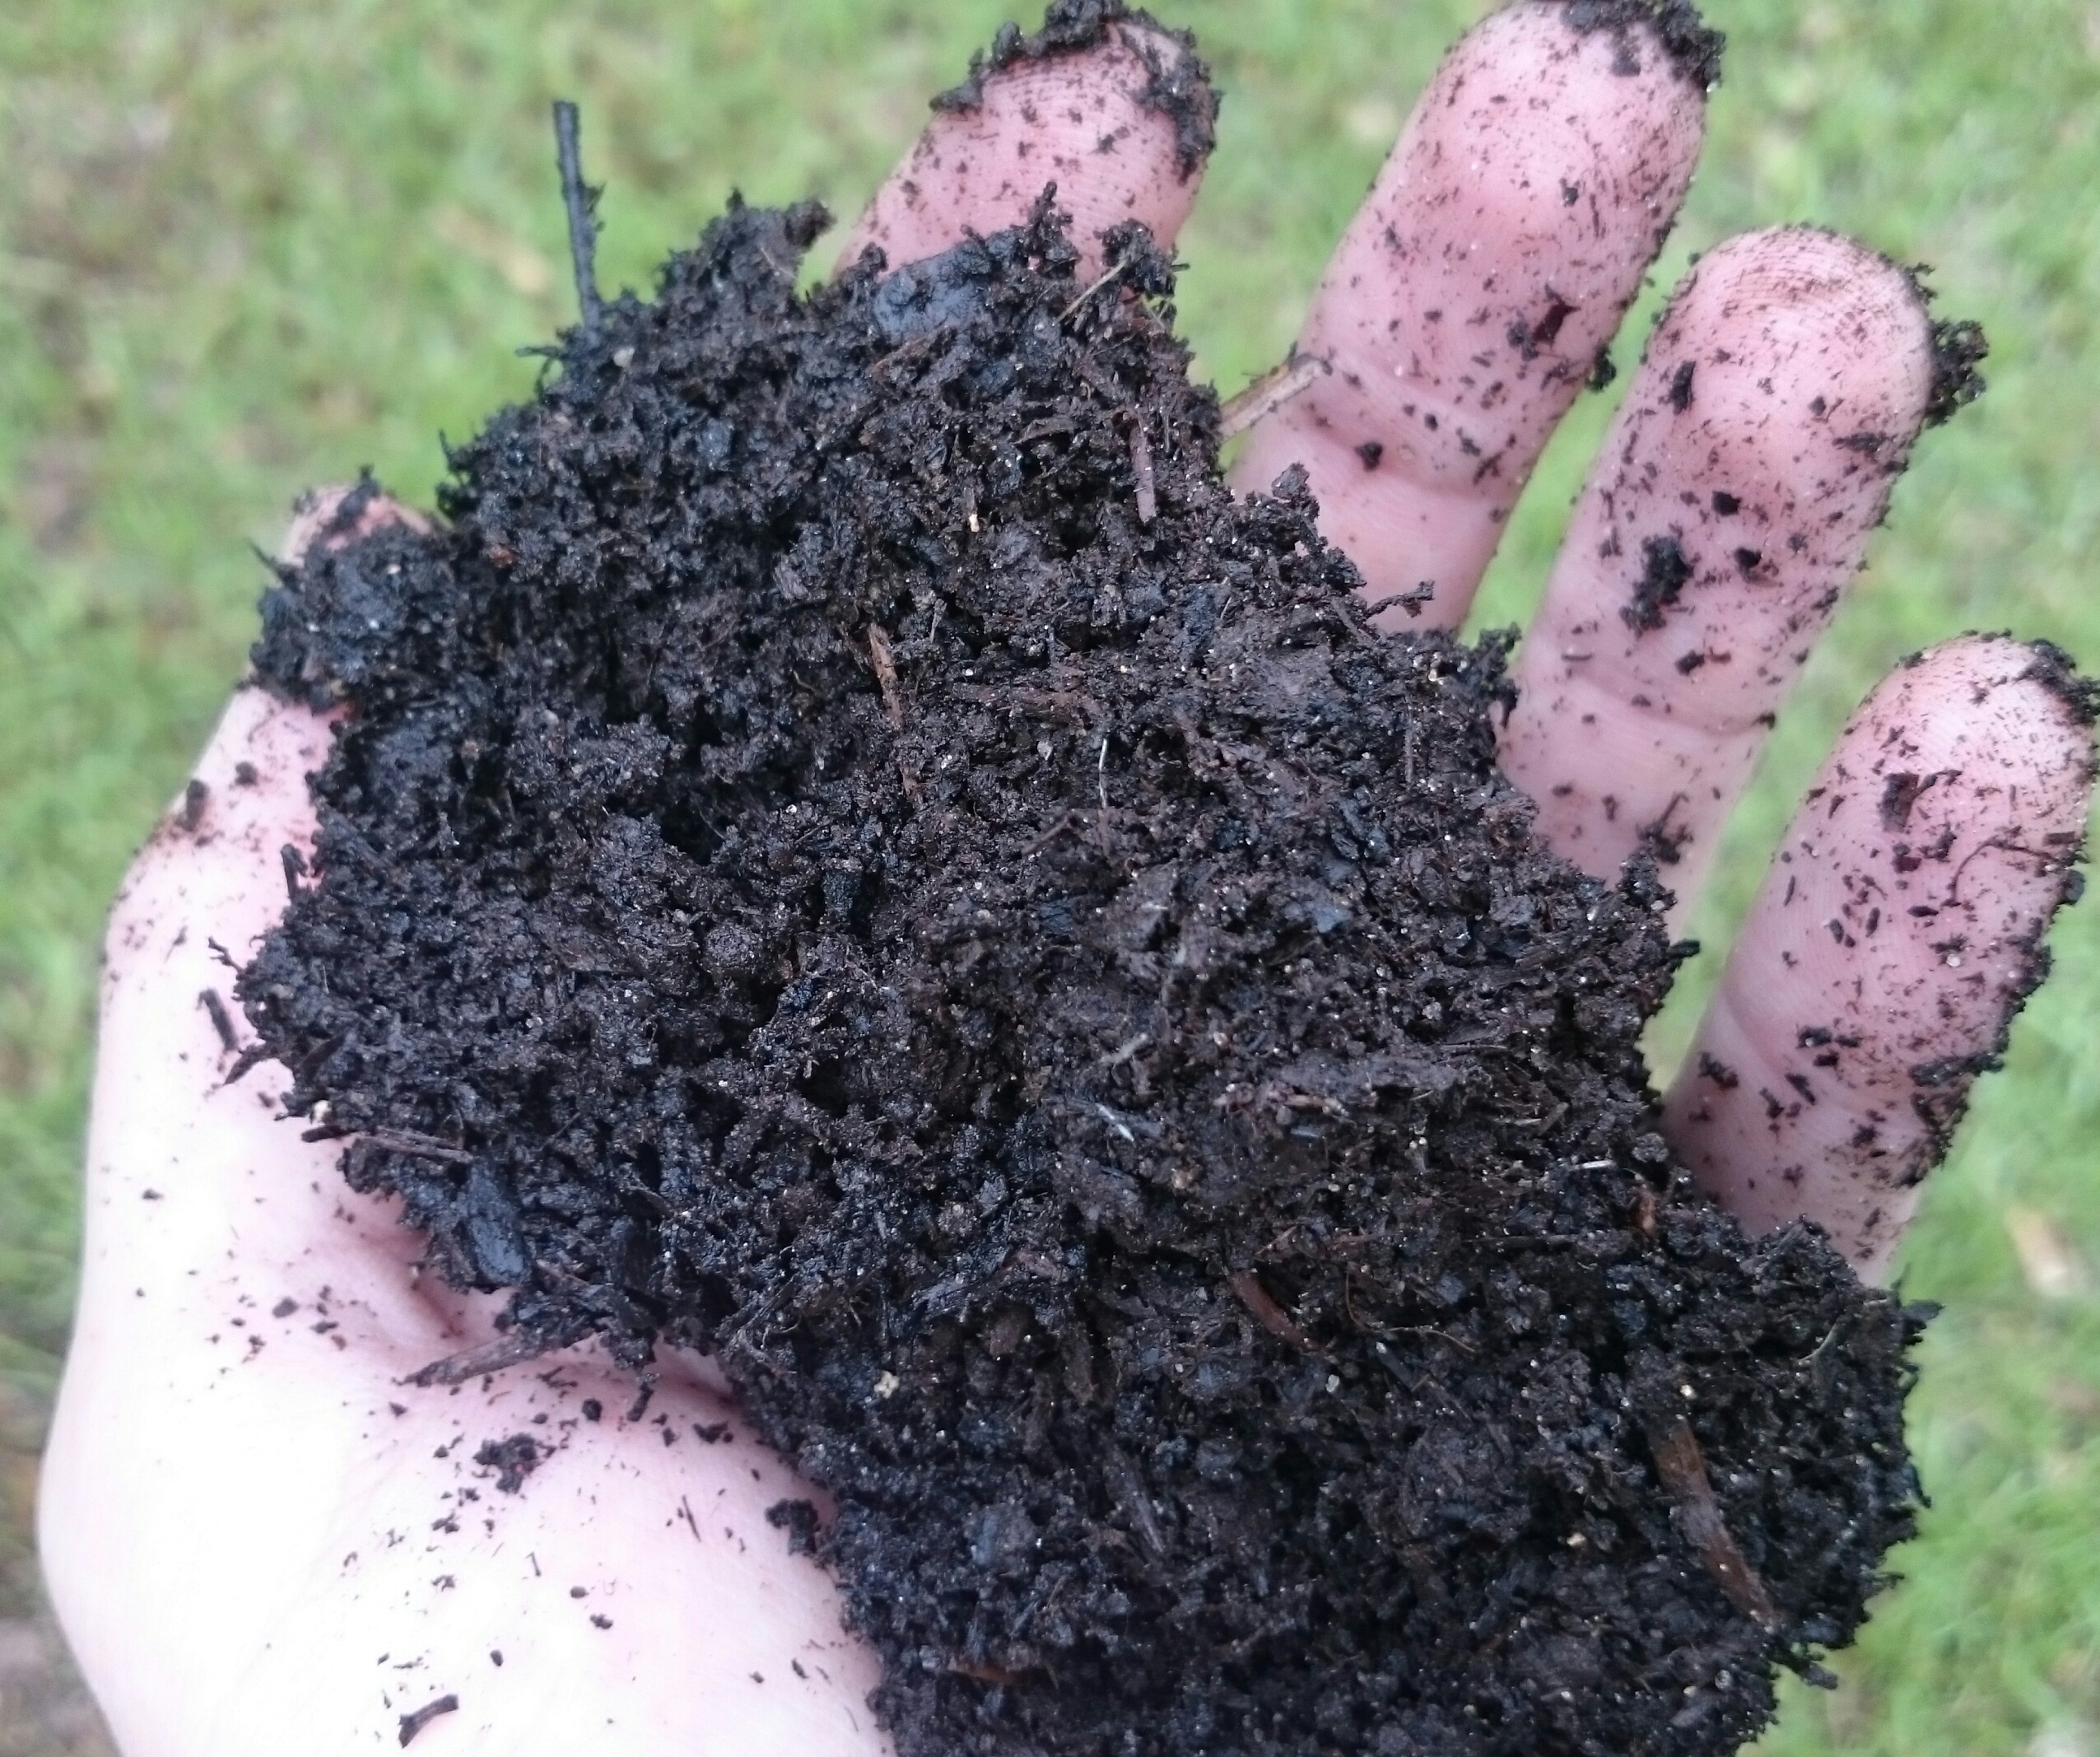
- Add one to two handfuls of fresh compost or worm castings to each hole. These soil amendments will improve soil health, introduce beneficial microbes, and provide a slow- release nutrient source for your growing seedlings.
- Avoid covering any leaves or stems under the soil surface. Remove these lower leaves and stems with sharp garden clippers to minimize the size of the wound.
- Avoid touching the stem and avoid disturbing the root ball when removing the transplant from its pot. Gently squeeze the pot to loosen the potting soil and turn the transplant sideways or upside down with the palm of your hand to gently “catch” the transplant.
- Unless the transplant is a tomato, plant it so that the soil level is about the soil level of the transplant, making sure the plant has good structure to decrease susceptibility of falling over as it grows.
- If transplanting a tomato, plant deeper than the soil level of the transplant, as tomatoes can grow what are called “adventitious” roots – roots that grow from their stem – that will improve overall root development.
- Make sure to cover up all roots, and water the soil around the plant thoroughly. Continue to water deeply, keeping the soil moist but not soggy, for the next three to four days while the plant becomes established. You can then begin to switch to a normal watering pattern.
- Always water the soil around the plant, not the plant leaves, throughout the season to decrease susceptibility to disease.
Remember: gardening is a science and an art! And just like art, there are many aspects that are open to interpretation. Have fun gardening – experiment and try new techniques. Keep a journal tracking all your gardening adventures. With time, this can become your road map to the sweetest of summer fruit.
by Molly Jameson | Mar 1, 2017
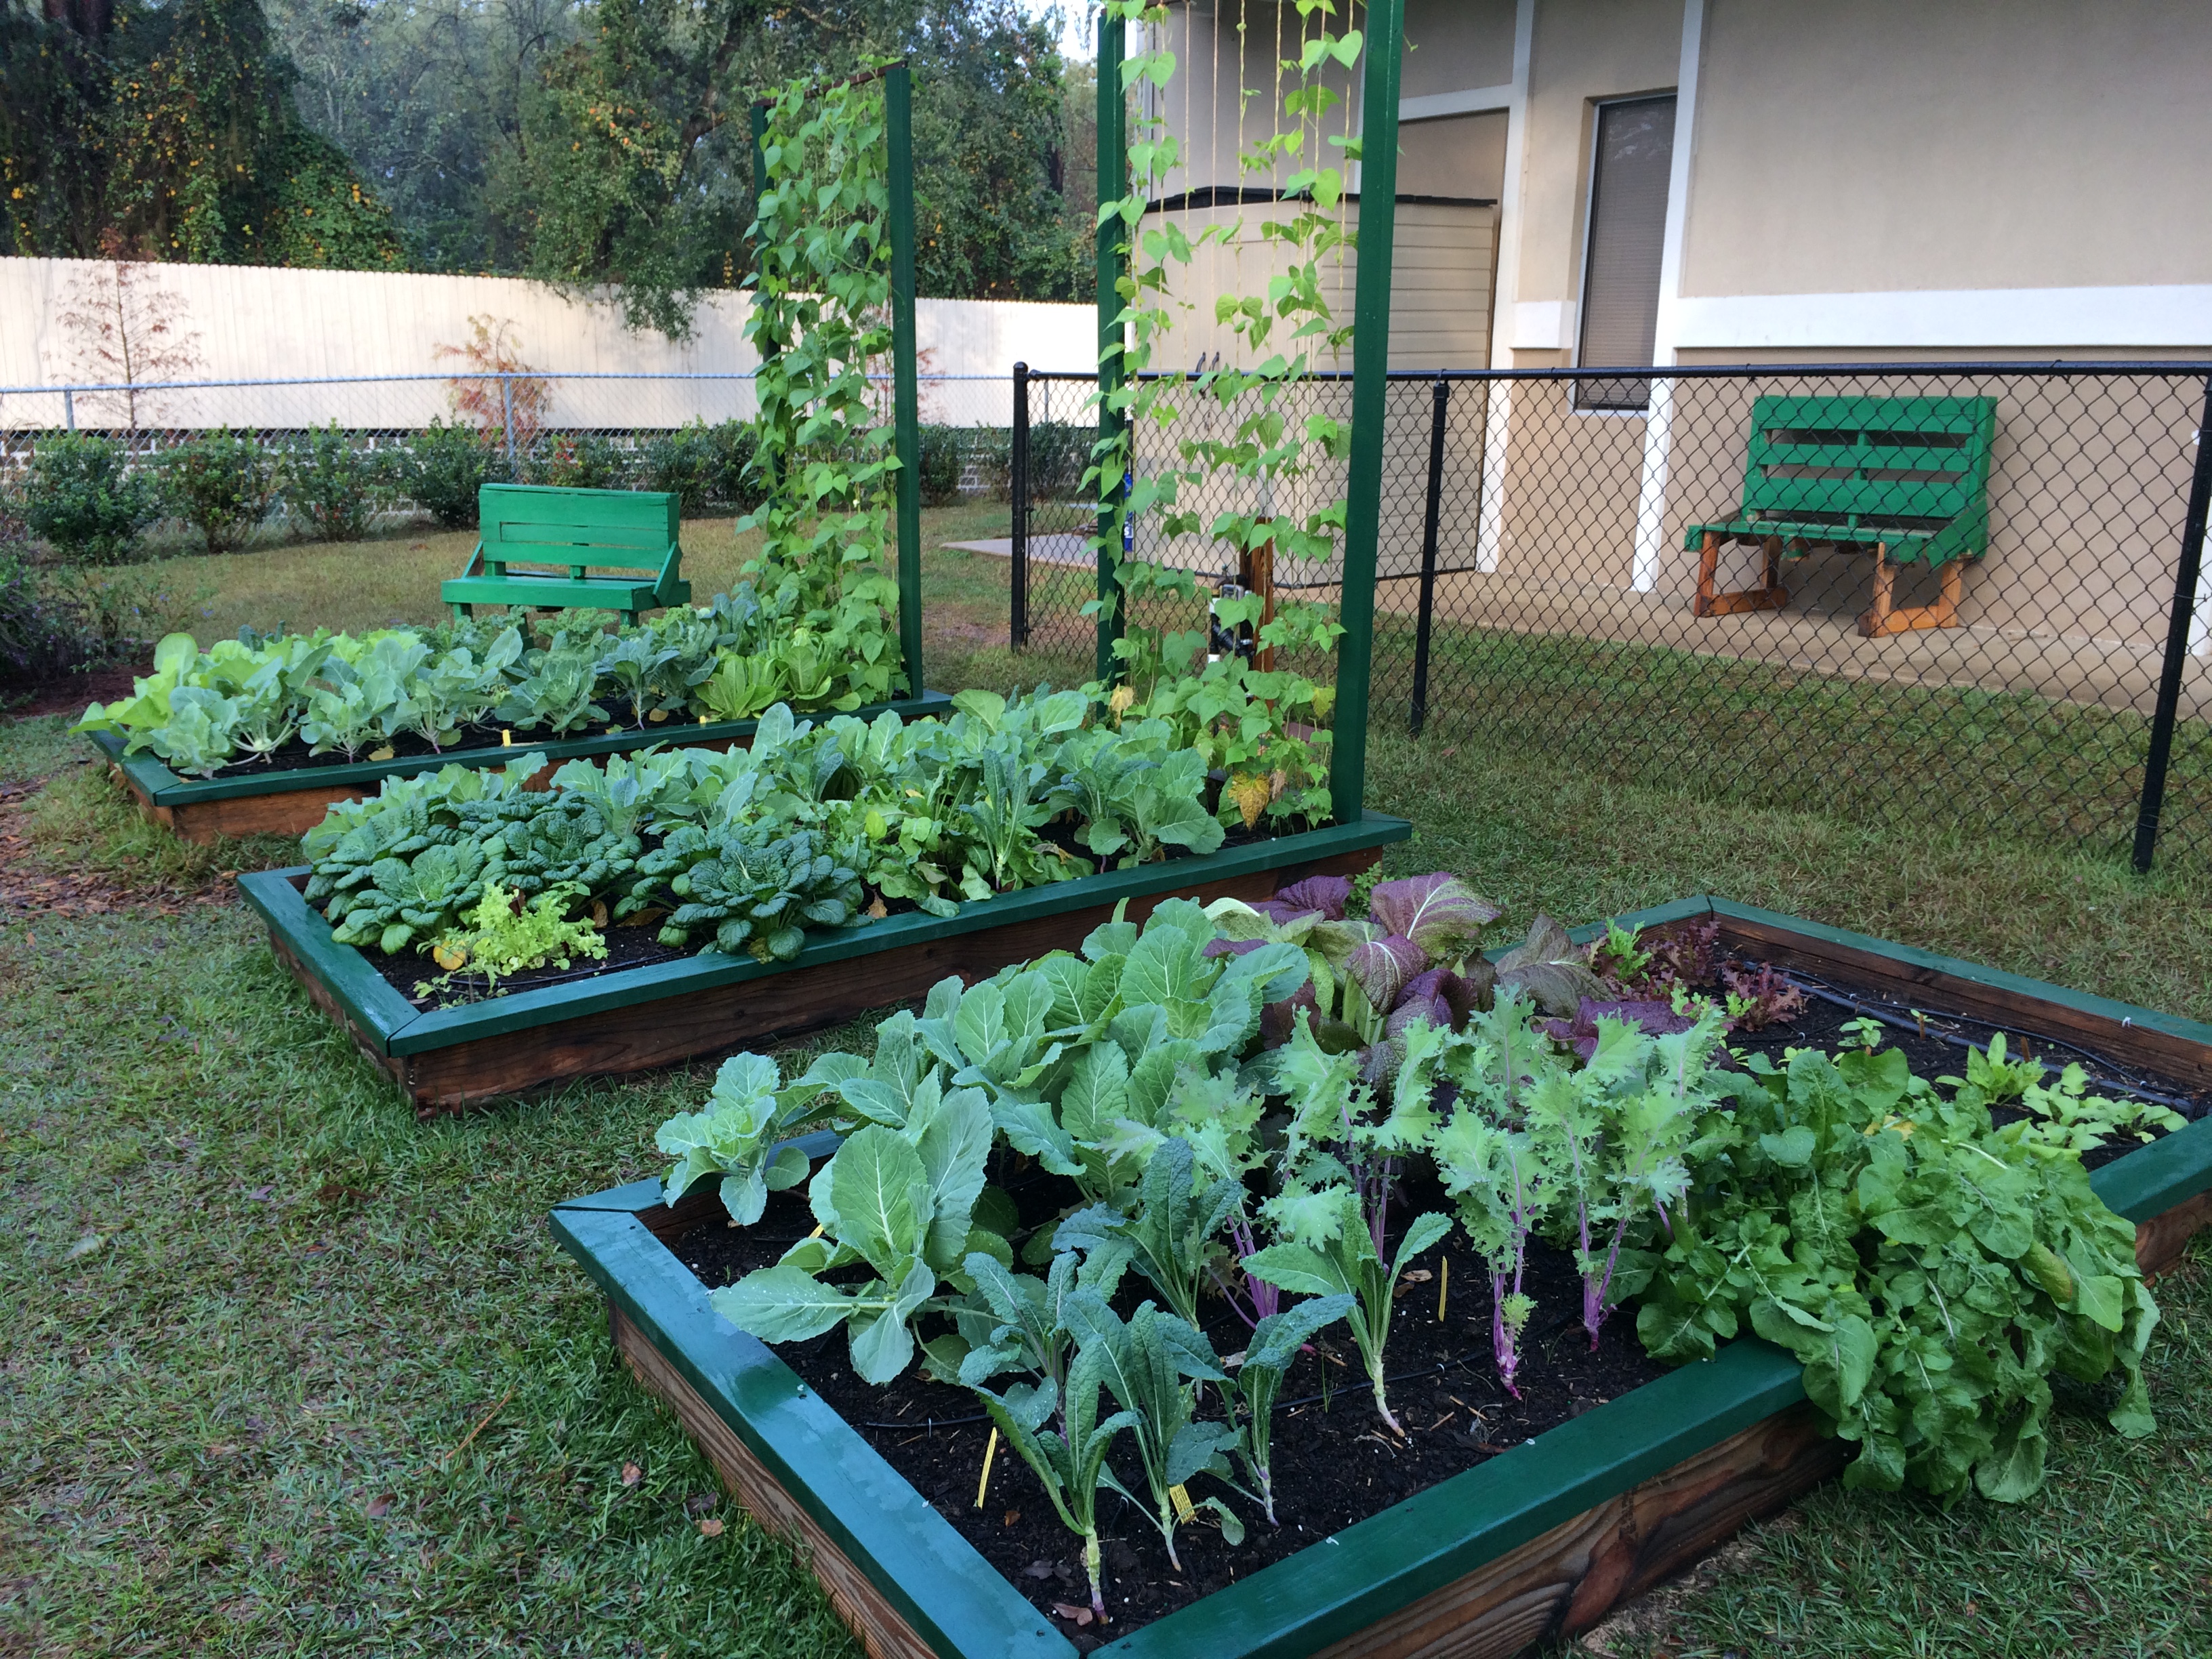
Raised-bed gardening can maximize production in a small amount of space. Photo by Molly Jameson.
Want to start a vegetable garden, but don’t know where to start? Are you seeing rectangular boxes popping up all over your neighbors’ yards and wondering why? Well, I am here to spread the news of raised-bed gardening!
Raised-bed gardening is a convenient way to grow vegetables without worrying about the quality of your soil. This is because you will be bringing in a high quality soil mix to your site. Vegetable plants need nitrogen, phosphorus, potassium, and many other nutrients to grow and mature properly. In many Florida Panhandle soils, we either have too much sand, too much clay, and nearly always, not enough organic matter. Organic matter results from the various stages of decay of anything that was alive. Think of it as the “glue” that holds the soil together, improves both soil moisture-holding capacity and drainage, and slowly releases nutrients that become available to the plant.
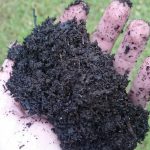
Organic matter is the “glue” that will hold your soil together. Photo by John Edwards.
Although you could add nutrients and organic materials to your soil without building a raised bed, the walls of a raised bed will hold your soil in place, reduce erosion, and even help keep out weeds. Here are a few things to consider when planning the installation of a raised-bed garden:
Location
The most important thing to consider when picking your location is sunlight. Vegetable plants need a lot of direct sunlight for optimum production. Leafy vegetables (lettuce, kale, arugula) can tolerate four to five hours, but fruiting crops (tomatoes, squash, peppers) generally need six hours of full sunlight to grow strong and produce fruit.
When starting a garden, remember that we are in the northern hemisphere, and this means the sun dips to the south, especially in the winter. Objects therefore cast a shadow to the north, so pay attention to the position of southern tree lines, houses, and anything else that may block the sun. If you must choose, morning sun is better than afternoon sun, as afternoon sun can be very extreme in our area, especially in the summer.
Lastly, consider visibility! If you stick your garden in the very back corner of your yard, how often will you see it? The more visible it is in your daily life, the more likely you will notice easy-to-pull weeds, when your garden needs watering, what is ready to be harvested, and everything else that goes on in the garden.
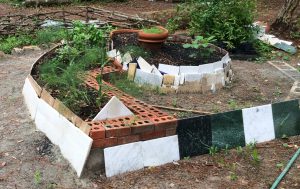
Although wood is most popular, you can use materials such as concrete, bricks, or tiles to build a raised bed. Photo by Molly Jameson.
Materials
Now you have chosen a perfect garden location. What materials should you use to build your raised bed? Lumber is the most popular material. But you could use concrete blocks, bricks, tiles, or anything else that can support soil. You can make your beds as long as you like, but the important thing to remember is not to make the raised bed wider than four feet. This will allow you to reach all areas of your soil without stepping into the bed, which causes compaction. If you are working with kids, two or three feet wide is even better. You should make the height of your bed 10 to 12 inches, which will allow good drainage and enough space for your vegetable plants to develop strong roots.
When choosing lumber, you can go with untreated or treated wood. Within the last 15 years, wood preservatives considered unsuitable for raised-bed gardening have been phased out. There is well-documented research that has shown the newer products are considered safe for gardening. Although untreated wood typically will not last as long as treated, even treated wood will still begin to decompose after a few seasons. Either way, connect your wood with lag bolts, instead of nails, to hold the wood together tightly.
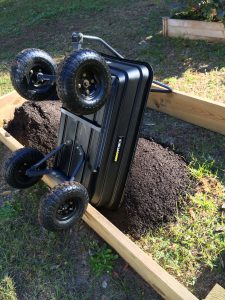
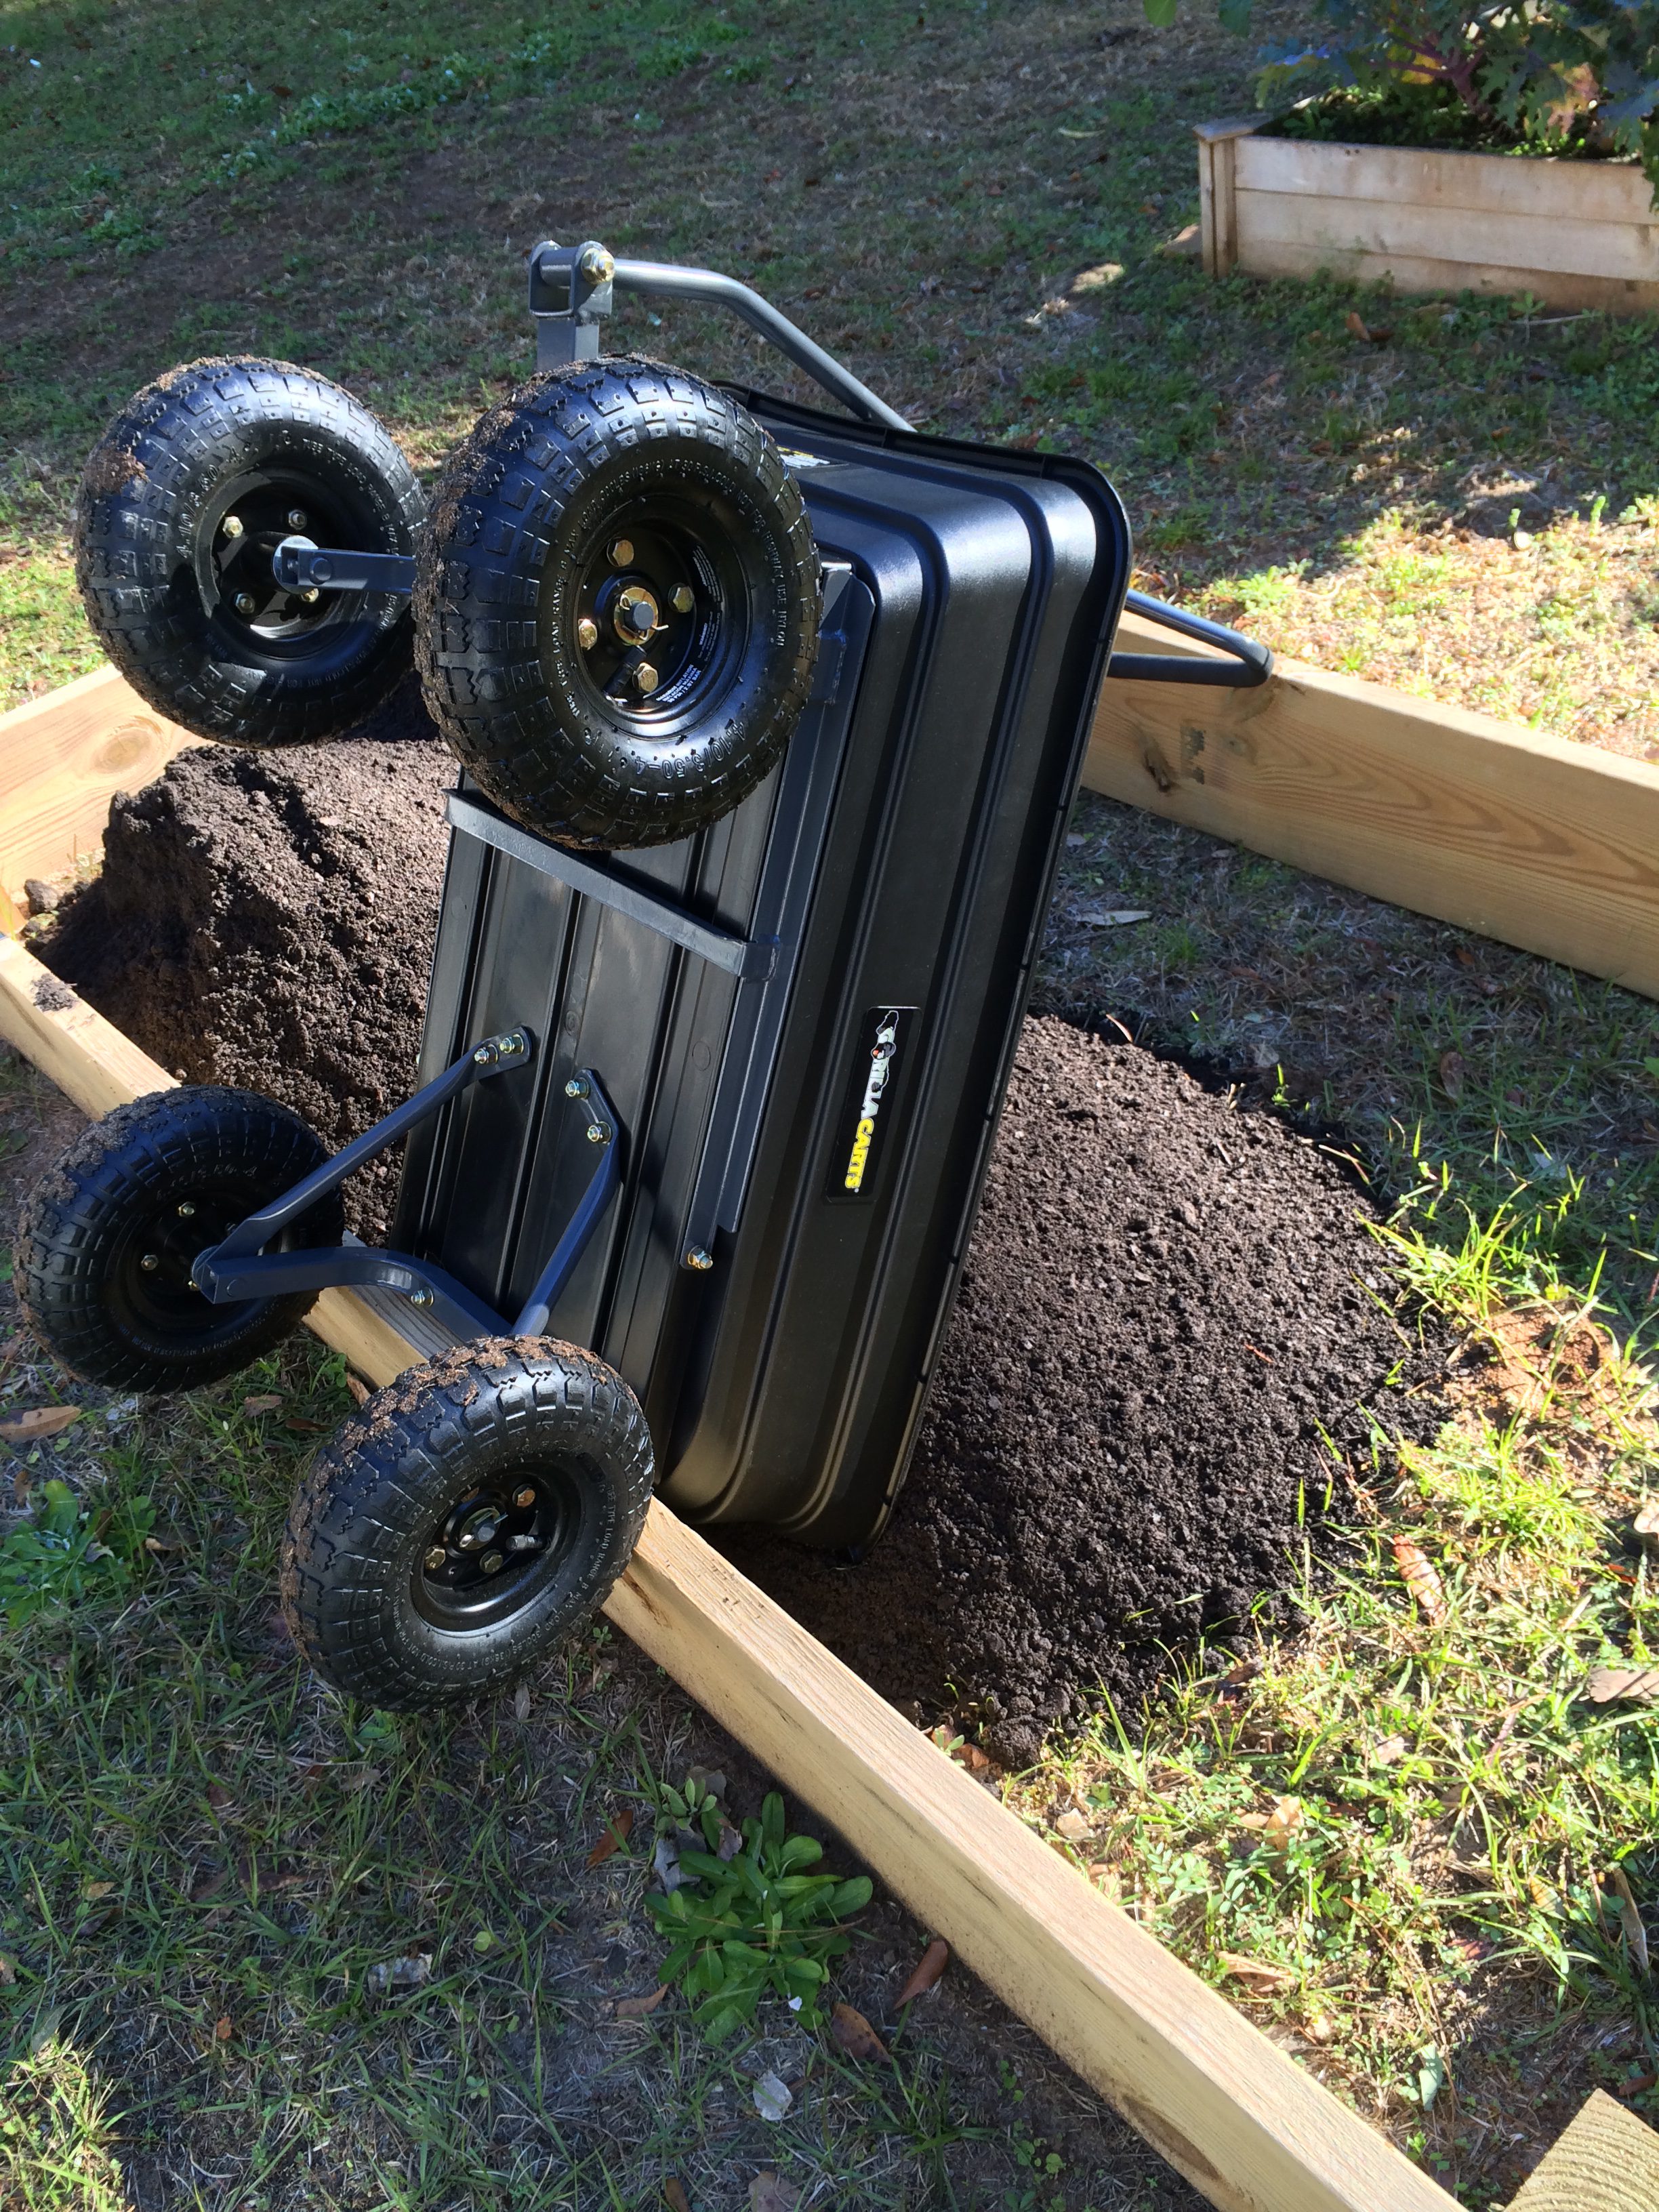
When filling a four ft. by eight ft. raised bed, you will need about 1 cubic yard of soil mix. Photo by Molly Jameson.
Soil
Now that you have your raised-bed structure built, what will you put in it? There are many landscape and nursery companies that can offer vegetable garden soil mixes for purchase in bulk. Typically, they will be about 50 percent compost (organic matter) and 50 percent top soil (nutrient-containing minerals). If you are filling a four foot by eight foot by 12 inch raised bed, you will need about one cubic yard of soil mix, which typically costs $30 to $60. This is about the volume of the back of a pick-up truck. If you do not have access to a truck, most companies will deliver in bulk for a $30 to $50 fee. This could be worth it if you are filling up multiple beds! Seasonally, you will then need to top off your raised bed as your soil will shrink as the organic materials decompose. But for this, you can buy bagged soil mixes or make your own compost.
The last step is filling your raised bed with vegetable plants! This could also be considered the first step… as you now must consider plant spacing, spring vs. fall vegetables, seeding into the garden vs. using transplants, trellising, pest control, harvesting…but we’ll save all that for future articles. Happy gardening!