by Molly Jameson | Jun 8, 2016
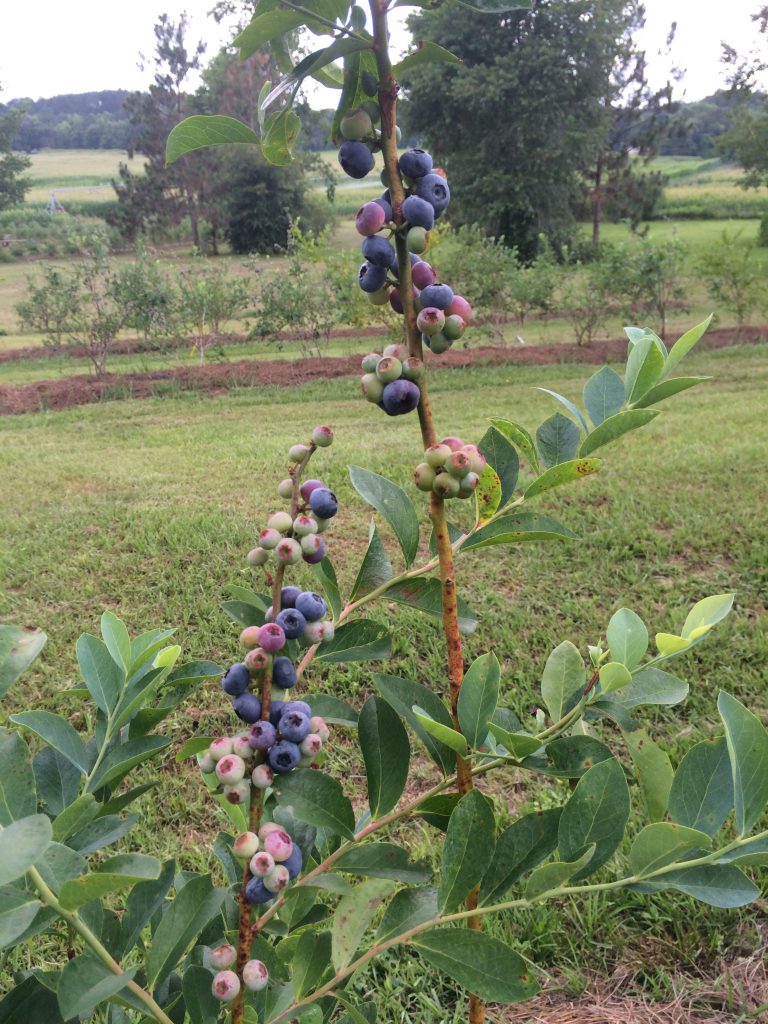
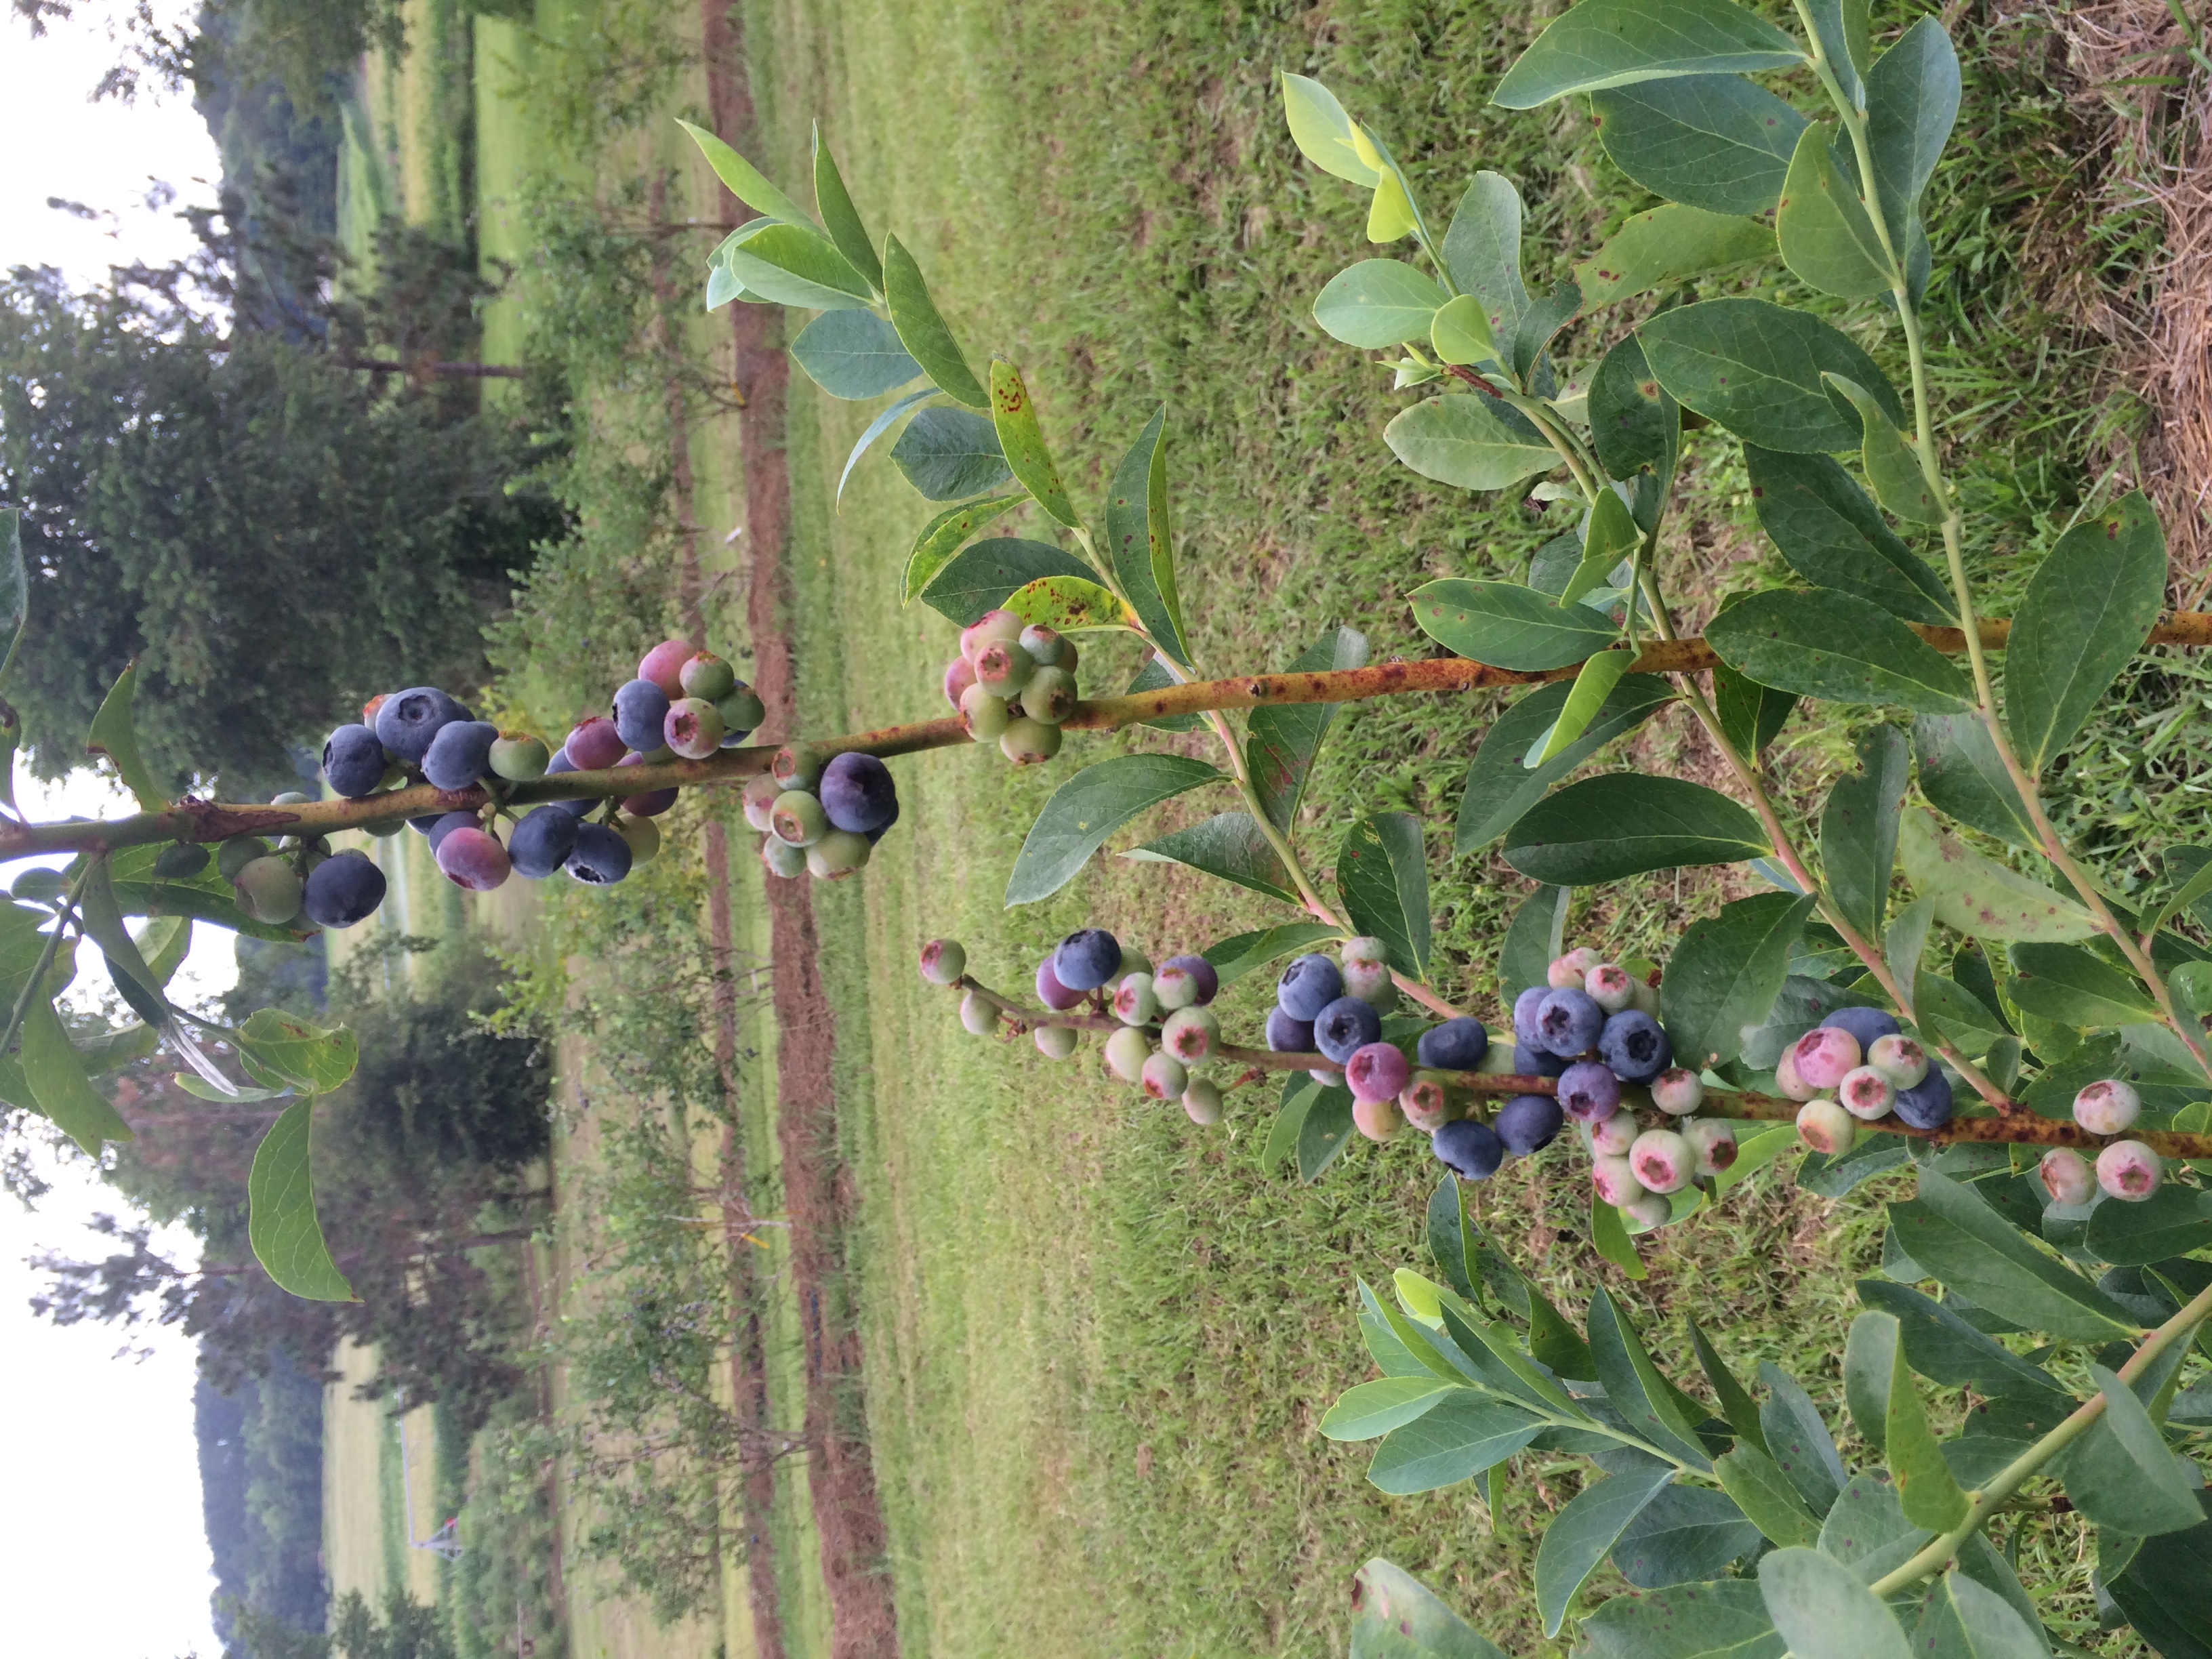
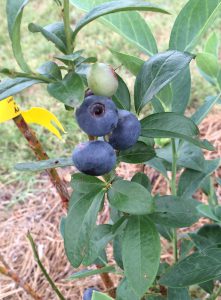
Blueberries beginning to ripen at Blue Sky Berry Farm. Photo by Molly Jameson.
There is something almost magical about picking vibrantly blue blueberries off a bush and eating them fresh. If you watch the blueberries develop, you see them go from shades of pale green and blush red to dark and puffy and bright blue. When a blueberry is ready – you know it!
Blueberries are one of the few crop plants that are actually native to eastern North America. The most popular types are the rabbiteye blueberry (Vaccinium ashei) and the highbush blueberry (Vaccinium corymbosum). Both can be found in northern Florida and southern Georgia, and the highbush blueberry can be found as far north as southeastern Canada. There are at least eight other Vaccinium wild blueberry species that can be found in the woods and near swamps in Florida. They are usually smaller and don’t taste quite as sweet as the rabbiteye and highbush, but birds rely on them heavily for forage.
If you’ve never experienced a fresh blueberry right off the bush, then you may want to consider either foraging for wild blueberries, growing your own, or scouting out a local u-pick blueberry farm near you.
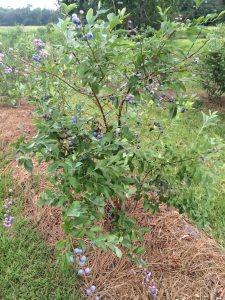
Mulch blueberries with pine straw. Photo by Molly Jameson.
Let’s first consider the joys of growing your own. Blueberries require an acidic soil pH, between about 4.0 and 5.5. Lucky for most of us in the Panhandle, our soil pH is largely naturally acidic. If you have pine trees growing in your area, you most likely can grow blueberries. And the pine straw makes an excellent blueberry mulch! There are many rabbiteye cultivars that have been specifically developed to grow well in our hot climate – requiring fewer “chilling hours” than their northern counterparts. Check out varieties such as Powderblue, Brightwell, Tifblue, and Climax. Highbush blueberries can also do well in northern Florida, although they tend to flower early, making them susceptible to late freezes. Try highbush varieties such as Bluecrisp, Emerald, and Star. Each has its own advantages and drawbacks, such as fruit cracking and insect susceptibility. Click here to learn more about growing blueberries in Florida.
If you are not already growing blueberries, and you want fresh blueberries, then be sure to check out a local u-pick near you. This year you may have noticed we had a warm winter, which delayed the onset of blueberry dormancy. This means the crop is hitting its peak about two or three weeks later than normal. But don’t delay – blueberry season in north Florida typically declines by the beginning of July, so the season is upon us!
If you are in the east Panhandle, be sure to check out u-pick operations such as Blue Sky Berry Farm, Myrtle Creek Farm, Green Meadows Farm, and Blueberry Springs Farm.
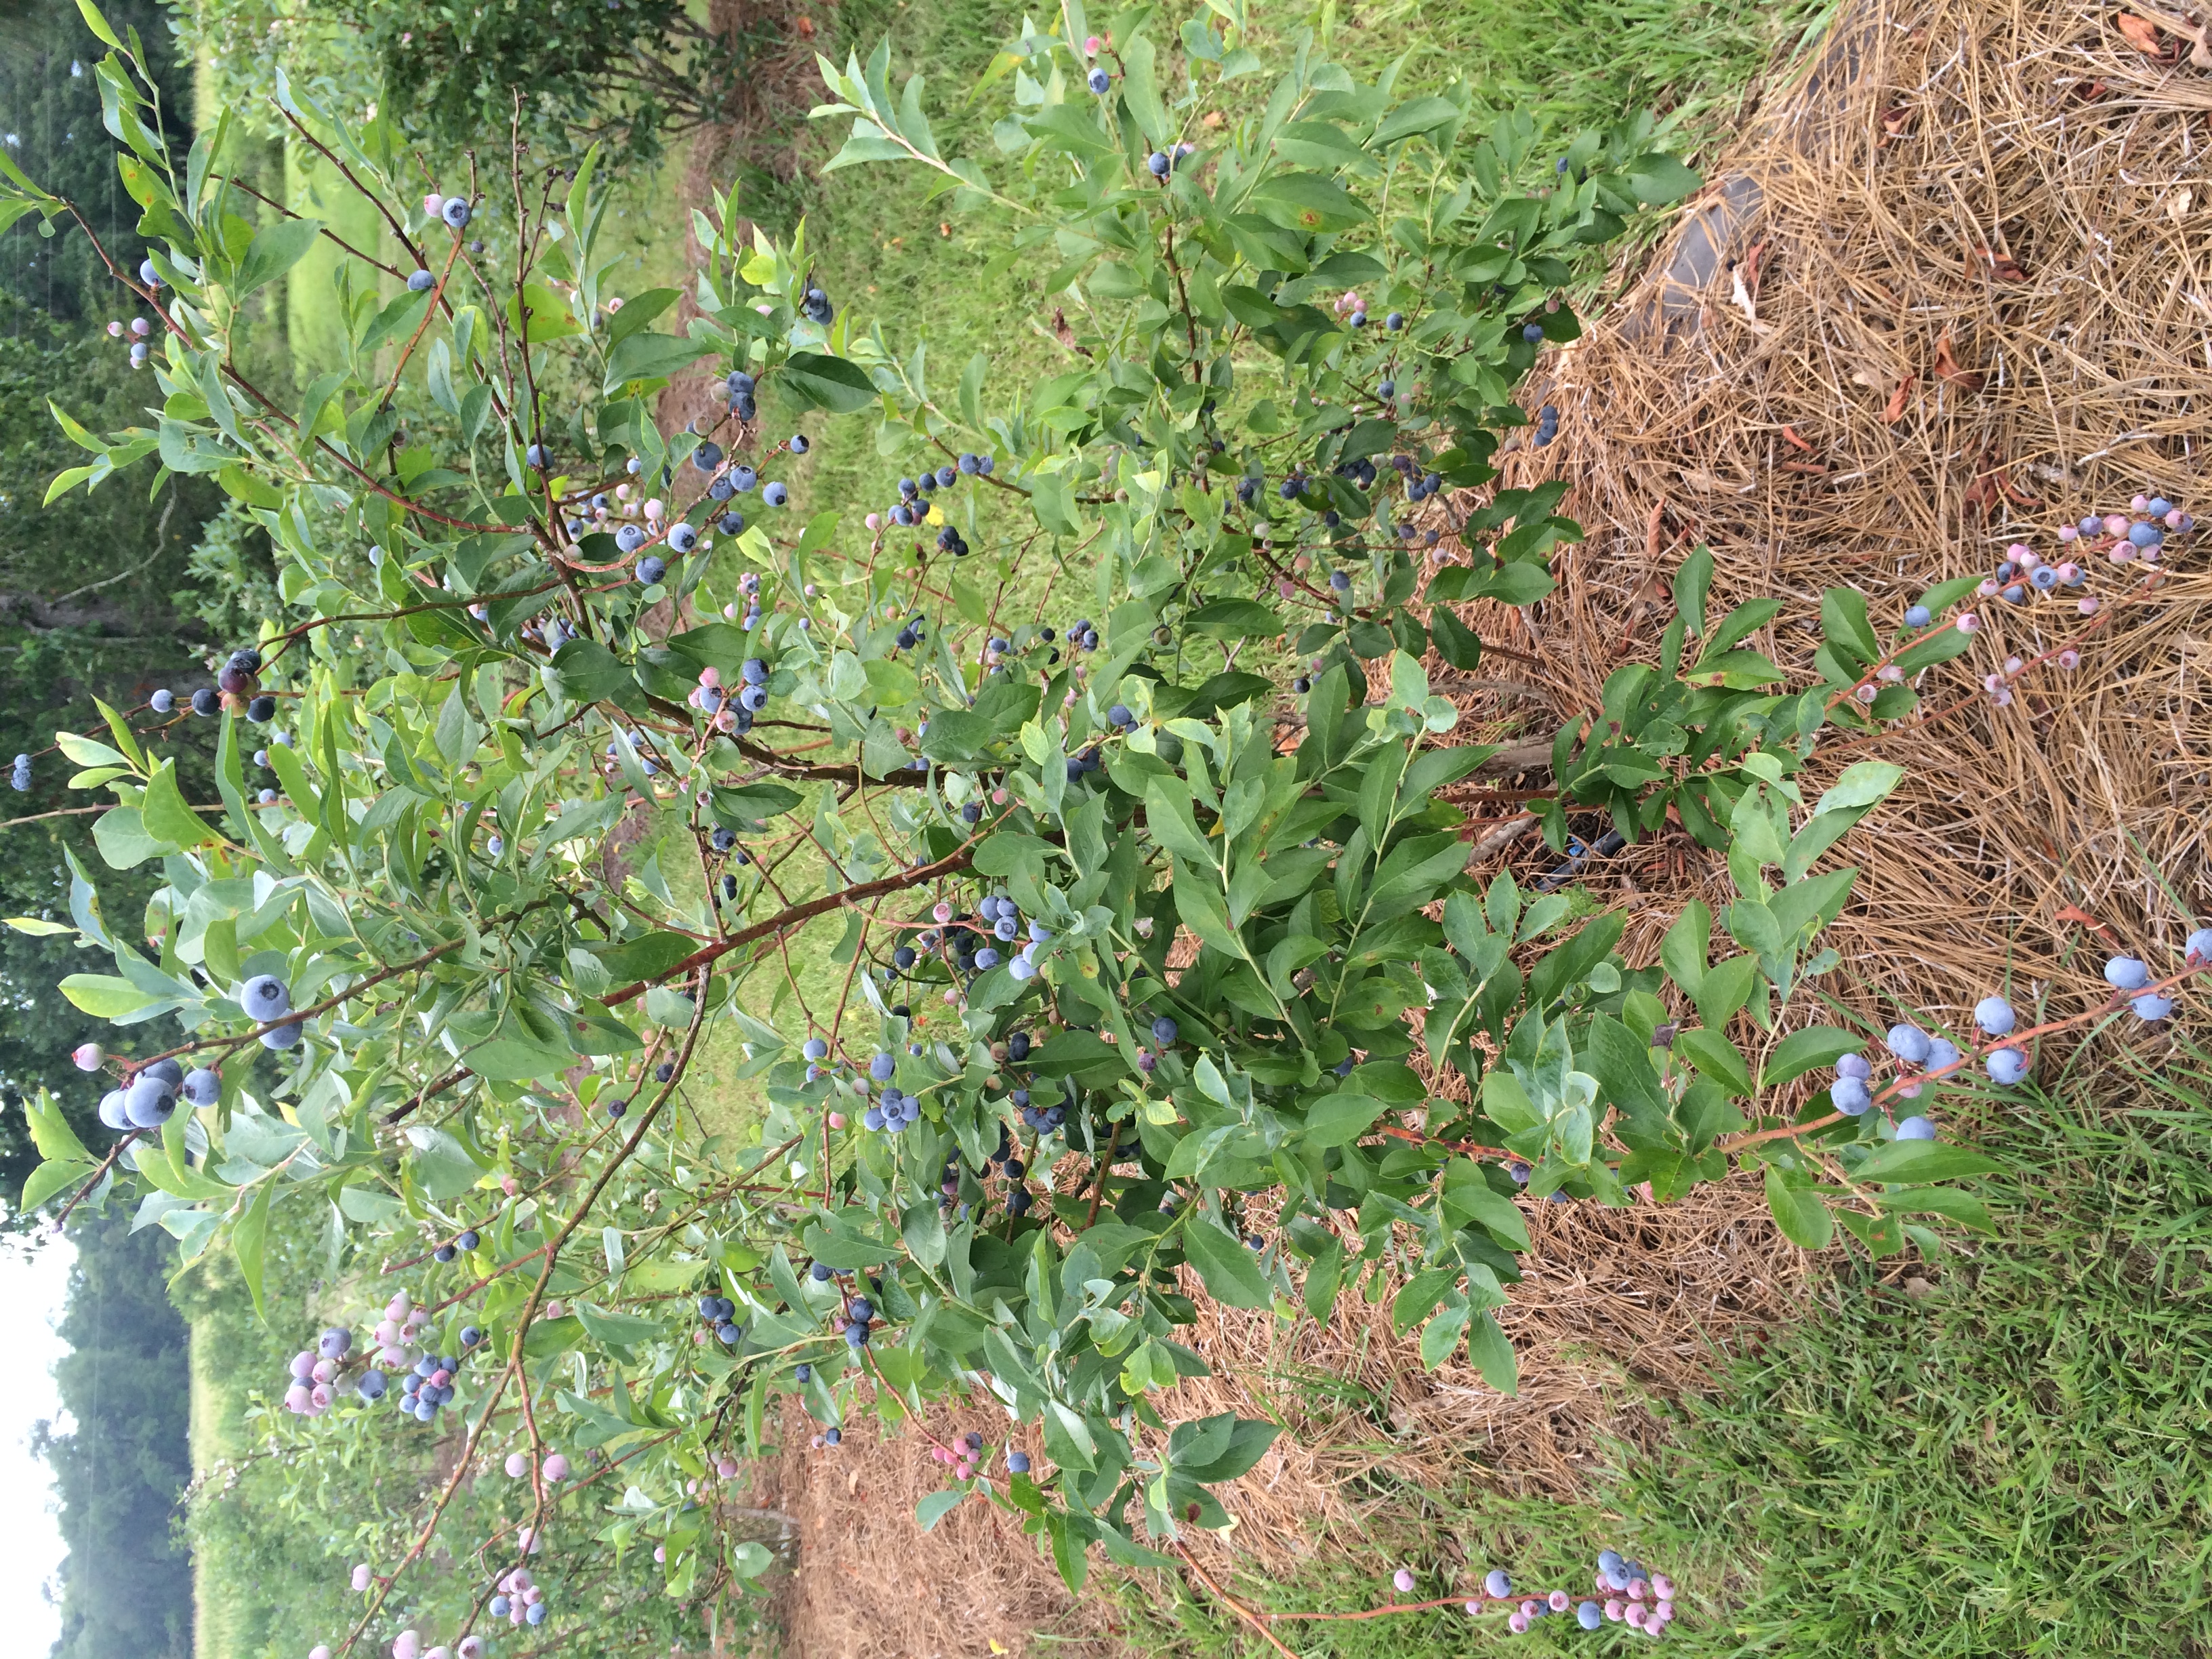
Blue Sky Berry Farm, which is located just three miles south of the courthouse in Monticello, on 1180 Ashville Highway, is entering its second season as a u-pick, and its bushes have really grown! They use organic fertilizer and grow using sustainable farming methods. Blue Sky Berry Farm anticipates being open Saturdays and Sundays from 8 a.m. to 1 p.m. this summer, but anyone interested in picking blueberries should first check the Blue Sky Berry Farm website (http://www.bskyfarm.com), as it is updated regularly during the season.
‘Titan’ blueberries at Blue Sky Berry Farm. Photo by Molly Jameson.
Green Meadows Farm, located at 177 East Bluebird Road in Monticello, is five acres of USDA certified organic blueberries. The farm is located among the trees and has been designated a Certified Wildlife Habitat by the National Wildlife Federation. It is open Fridays and Saturdays from 7:30 a.m. to noon and 5:00 p.m. to dusk, and Tuesdays from 7:30 a.m. to noon, while the blueberries last.
Myrtle Creek Farm, located at 2184 Tram Road in Monticello, has beautiful blueberry fields that are dappled with shade in the late afternoon and early evening. They currently have u-pick blueberries and blackberries available. They are open during the weekdays and weekends while the blueberries last, but do call ahead (850-997-0533) to check on availability.
Blueberry Springs Farm is located at 383 Wacissa Springs Road in Monticello, and is celebrating their 25th anniversary of harvesting blueberries. They first planted in December of 1991 and had their first harvest in June of 1991. They are open Tuesdays through Sundays 7:00 a.m. to noon and 5:00 p.m. to 7:00 p.m. You can contact Blueberry Springs Farm at (850) 997-1238 for updates, pricing, and directions.
Also check out the Florida Blueberry Growers Association website and the Florida Department of Agriculture and Consumer Services u-pick locator to discover u-picks around the state, including grape and blackberry u-picks.
Whether you are foraging for wild blueberries, picking your own blueberries, or visiting a u-pick, be sure to bring along plenty of water, a hat, close-toed shoes, and sunscreen, as blueberry season can be a very hot and sunny time of year! But once you’ve experienced your first taste of hand-picked Florida blueberries, you will be hooked and coming back for more each and every summer!
by Molly Jameson | Apr 27, 2016
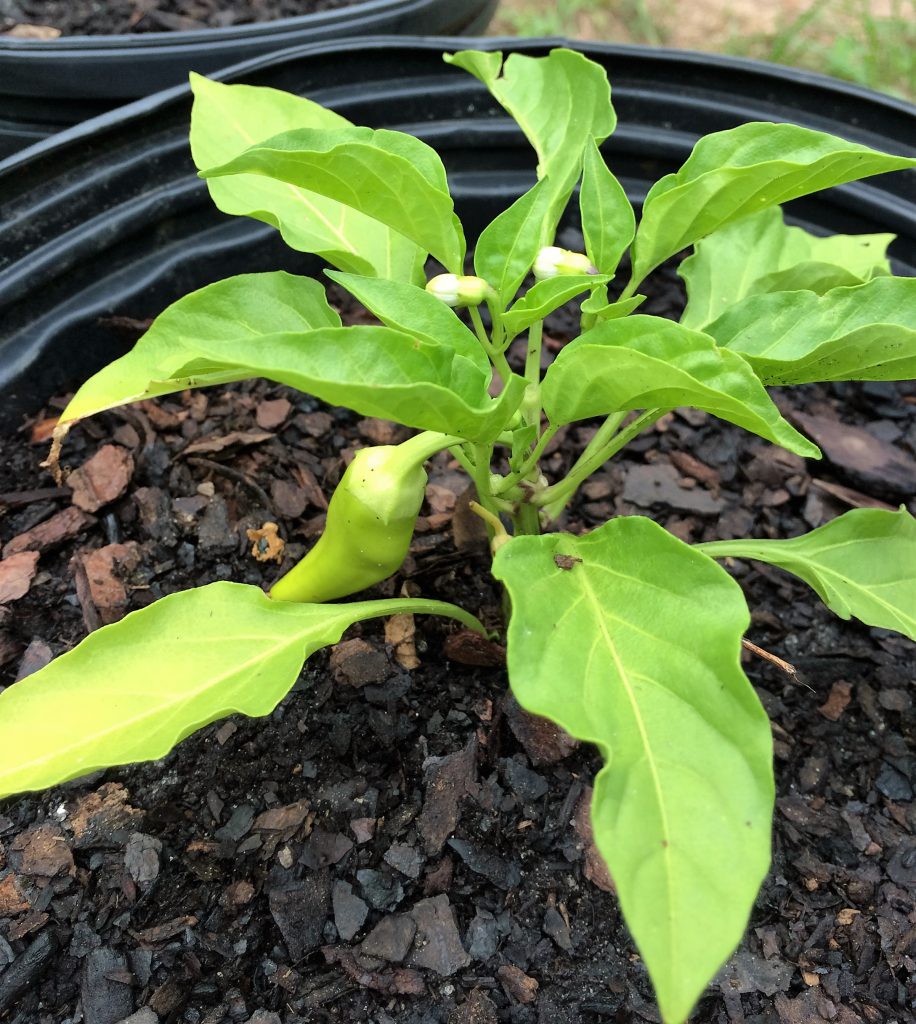
Banana pepper in container. Photo by Molly Jameson.
Interested in having a garden, but have limited space? Maybe you live in an apartment, have poor soil quality, or you just don’t have many areas that get enough sunlight. Maybe you’ve tried gardening, but given up, labeling yourself as one of those who “just doesn’t have a green thumb.” Well, I’m here to tell you, don’t give up! Try container gardening. Growing your own vegetables in containers is easy and can be a very rewarding experience. Container gardens also tend to have fewer weed, pest, and disease problems then regular in-ground gardens. Following just a few guidelines, you can have a bountiful harvest of fresh fruits, vegetables, and herbs right by your front (or back) door-step!
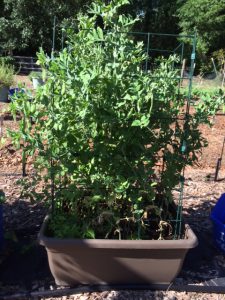
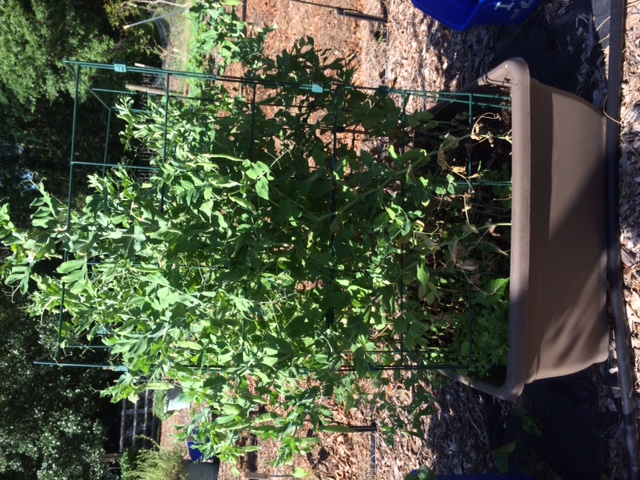
Grow vegetables easily in a large planter. Photo by Molly Jameson.
So, what are these guidelines, you ask? Well, you first want to choose the right container. This could be a large flowerpot, window box, planter, 5-gallon bucket, half-barrel, recycled material…the list can be endless. Just as long as your container is big enough and has proper drainage. Generally, the container should be at least 10 inches wide and 10 inches deep. The bigger the better, as it will give the roots more space to grow, and the soil will not dry out as fast. Tomatoes, for instance, do best in larger pots, preferably the size of a five-gallon bucket. For many herbs, you can get away with planting two or three different types in the same container. It is also important that your container has drainage holes, so water can escape and air can circulate. Use a one-fourth inch drill bit to create holes in the bottom or along the sides near the bottom of the container if it does not have holes.
Most of us know plants need both sunlight and soil. But just how much sunlight and what type of soil? If you are growing vegetables, it is best to have full sun – which means at least six hours of direct sunlight per day. An advantage of growing in containers is that you can easily place a container in an area of your yard or on a balcony that receives adequate sunlight, when it would be much more difficult to build a garden in these same areas.

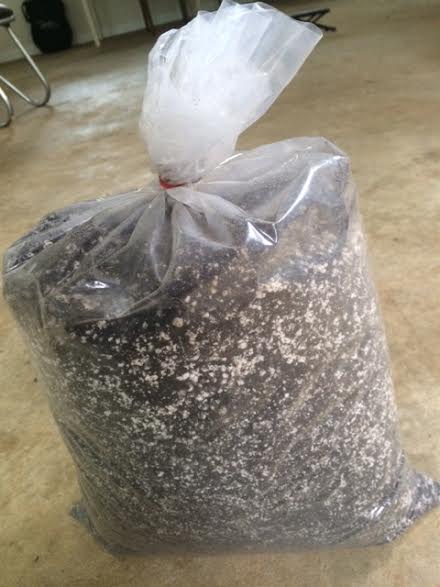
Buy potting soil in bulk to cut down on costs. Photo by Molly Jameson.
So what about soil? When growing in containers, you want to make sure you get potting soil that is made for containers. These mixes will contain materials such as peat, perlite, and vermiculite for both good drainage and moisture-holding capacity, and materials such as compost and nutrient amendments that will keep your plants healthy. You can simply ask your nursery specialist for a mix formulated to grow vegetables in large outdoor containers. If you are growing a lot of vegetables, you can cut down on costs by making your own mix. Just make sure you have a good balance of the aforementioned materials, and mix in a slow-release vegetable fertilizer, following directions on the label.
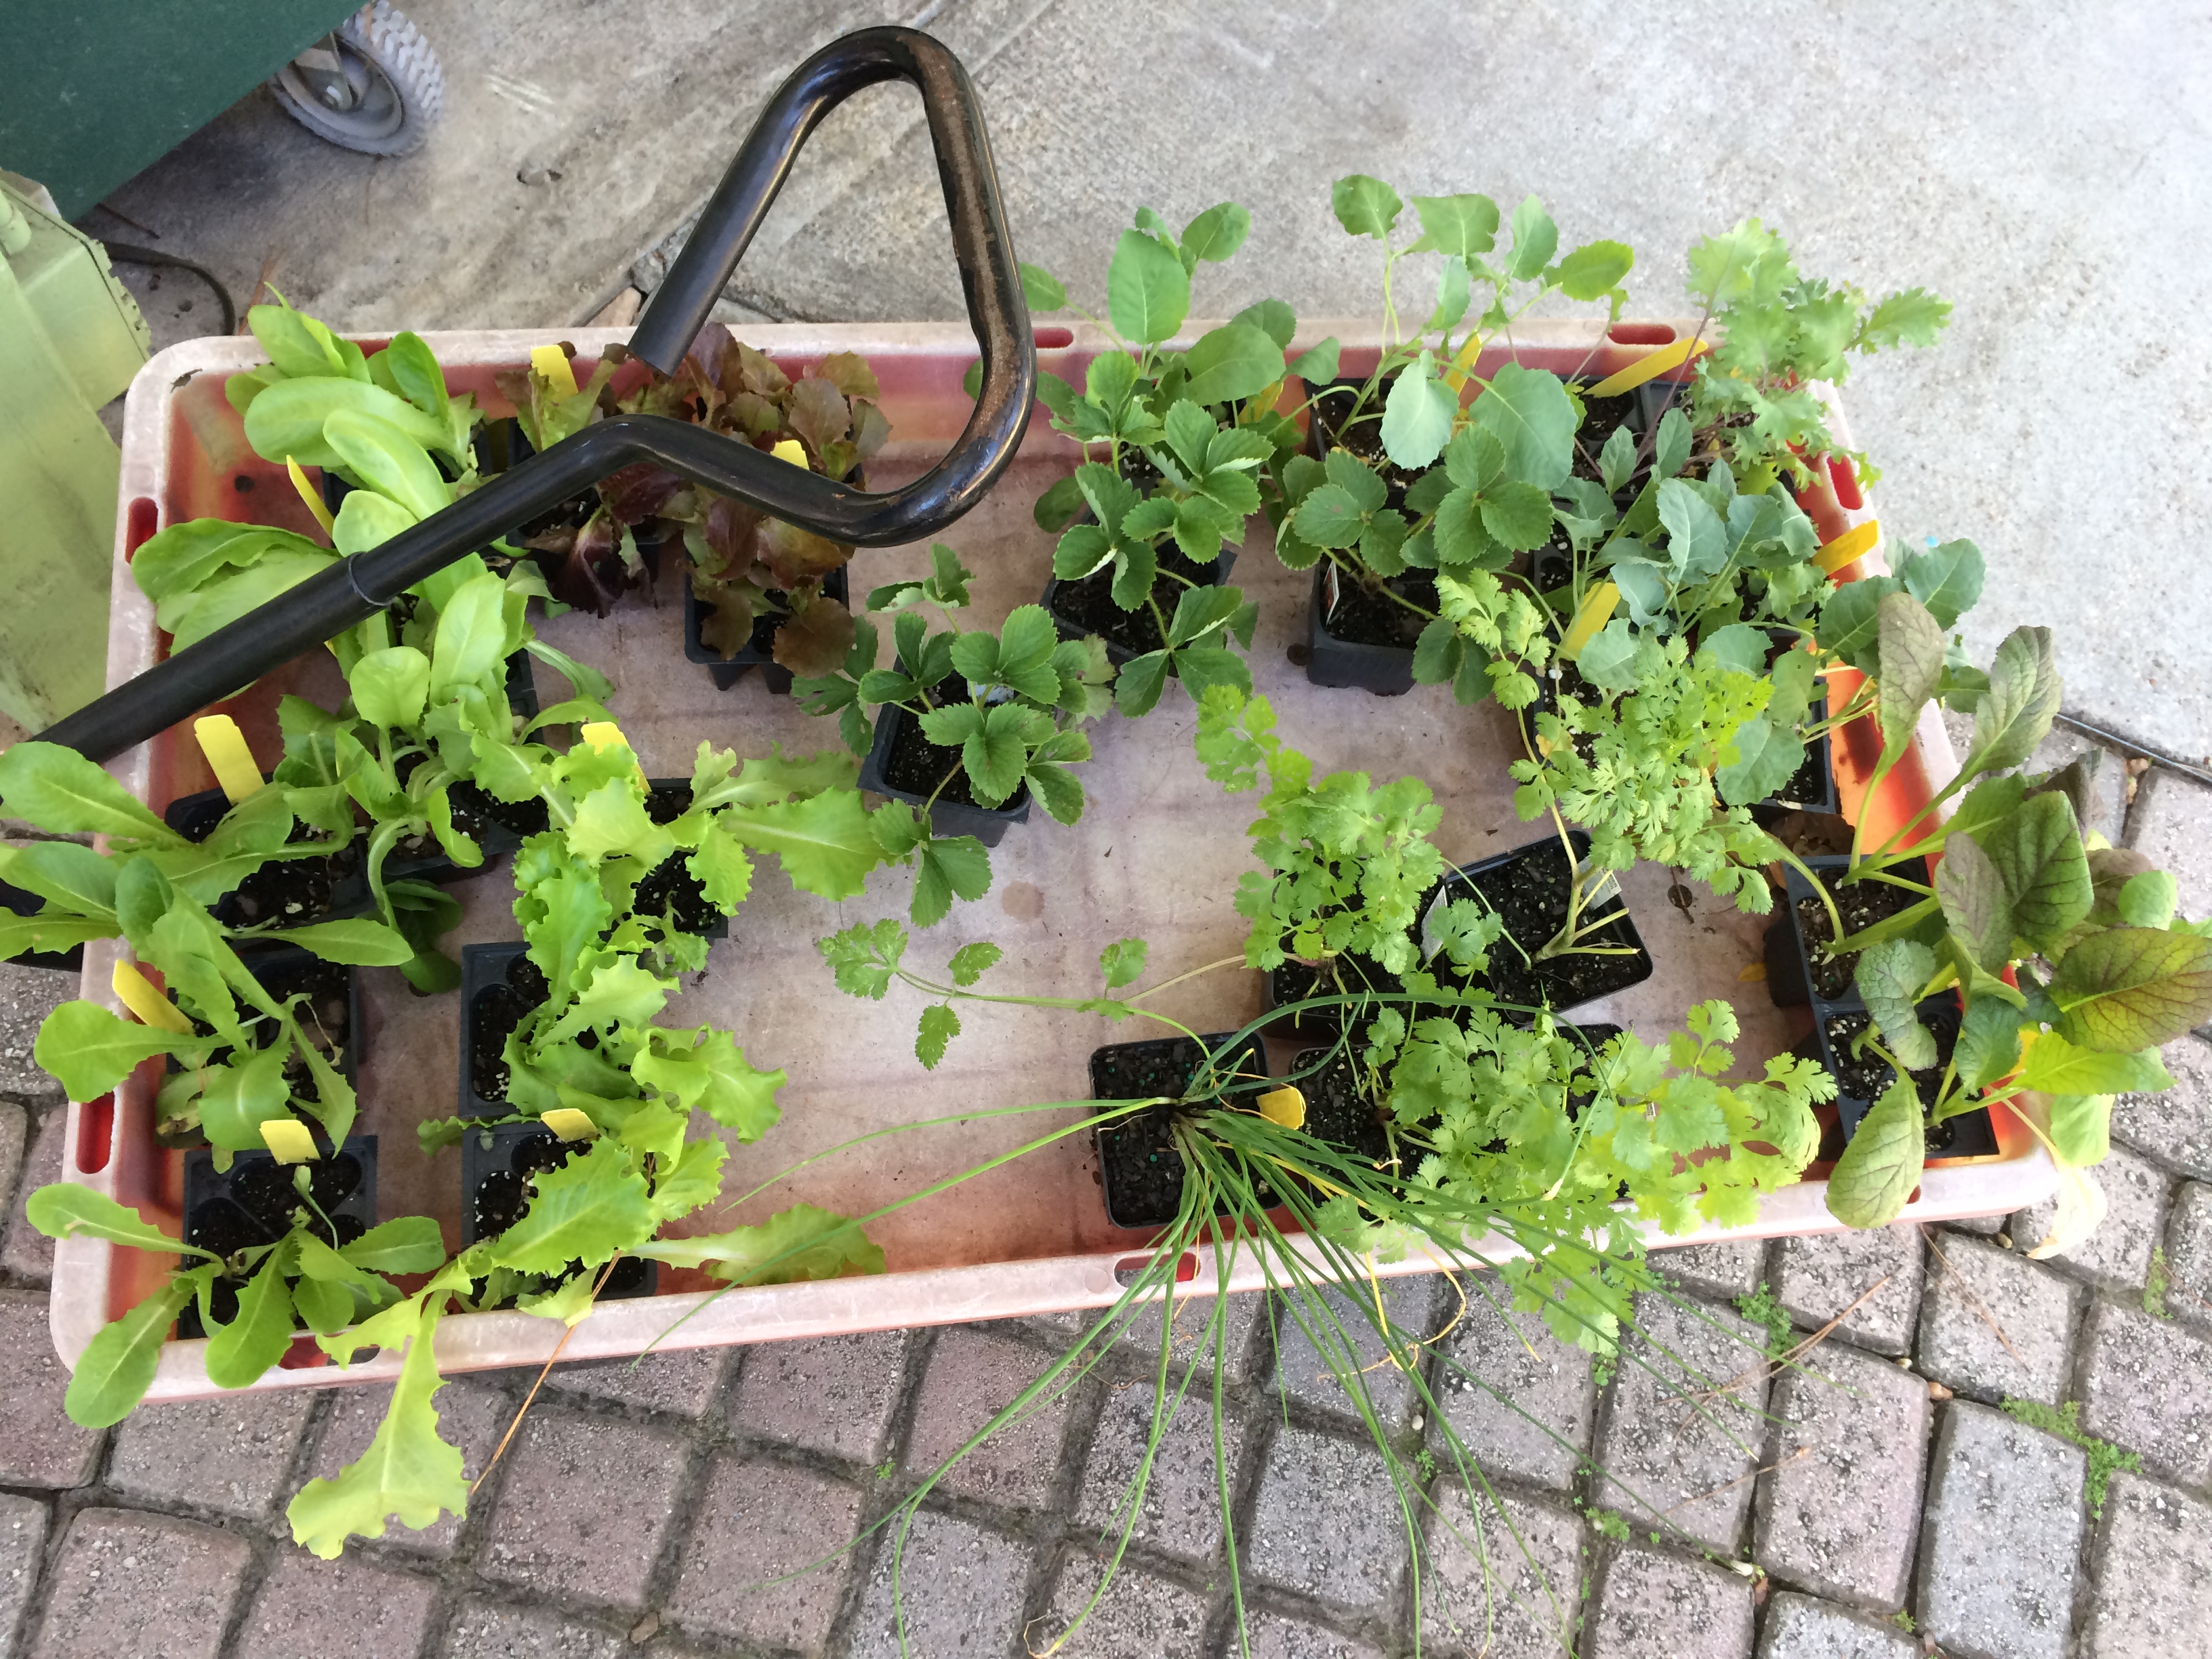
Now that you have your container, your soil, and a sunny location, it is time to get the plants. Some plants are best bought as transplants or grown from seed started indoors. Vegetables such as broccoli, collards, kale, tomatoes, eggplant, peppers, and strawberries fall into this category. Other plants, such as root crops, arugula, lettuce, spinach, mustards, beans, peas, cucumbers, squash, okra, cilantro, and basil can be started from seed directly into containers.
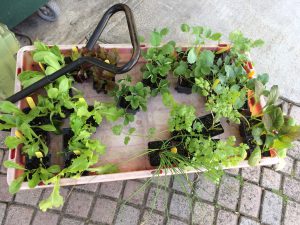
For some vegetables, buy transplants from your local nursery. Photo by Molly Jameson.
Okay, so you have all the materials. Now what? If you are growing from transplants, first thoroughly moisten the potting mix and the plant’s soil. “Transplant shock” is reduced when there is proper moisture. Set plants at about the same level they were growing in their original pot. For tomatoes, remove lower leaves and plant deeper in the container. If you are growing from seed, simply plant the seeds according to their label. A good rule of thumb is to plant the seed to a depth of about two to three times the seed’s diameter. If you are worried about your seeds not germinating, go ahead and plant more seeds than you need. But remember to thin to appropriate spacing if they do, indeed, all come up. Spacing will be specific to the type of vegetable.
After planting, water gently but thoroughly. Monitor your container garden, making sure the potting mix does not dry out. You can reduce evaporation by mulching with leaf litter, straw, or a similar material. Plants that grow tall or produce vines, such as tomatoes and cucumbers, will need support. A wire cage or pole, inserted into the container at planting time, will support the plant as it grows.
Last step is to call over all your friends and family and show off your beautiful vegetable plants! They will surely be impressed by your “green thumb” and will be eager to learn your gardening secrets.

by Molly Jameson | Mar 9, 2016
Please join UF/IFAS Leon County Agricultural and Horticultural Extension Agents as they present the:
The series will run from 6:00-8:00 PM on March 24 and March 31, 2016 at the Leon County Extension Office, located at 615 Paul Russell Road, Tallahassee, Florida 32301.
The two-day series will feature Extension Agents Mark Tancig, Molly Jameson, and Trevor Hylton as they discuss:
Garden site selection
Soil and fertilization
Spring planting and gardening techniques
Gardening in small spaces
Spring vegetable varieties
Common pests
Extension Demonstration Garden tour
Question and answer session
Light refreshments will be provided. Please wear closed-toe shoes on March 31, as we will tour the Leon County Extension Office Demonstration Garden, located on site.
The cost is $20 per person or $30 per couple, by cash or check at the door or by mail.
Please register by calling Genice at 850-606-5218.
For more information, contact Molly Jameson at mjameson@ufl.edu or by phone at 850-606-5219.
by Molly Jameson | Jan 13, 2016
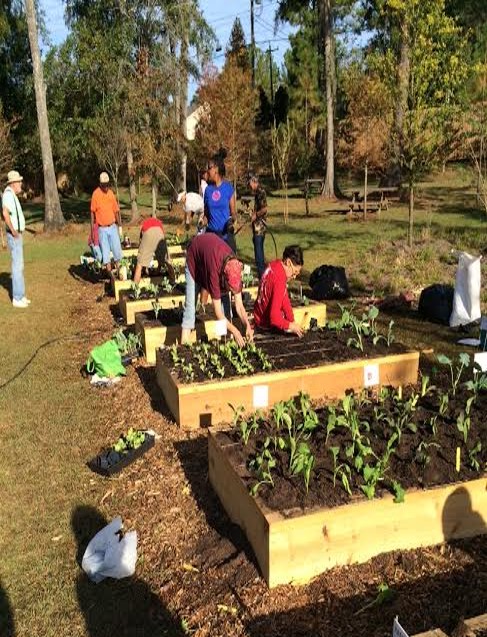
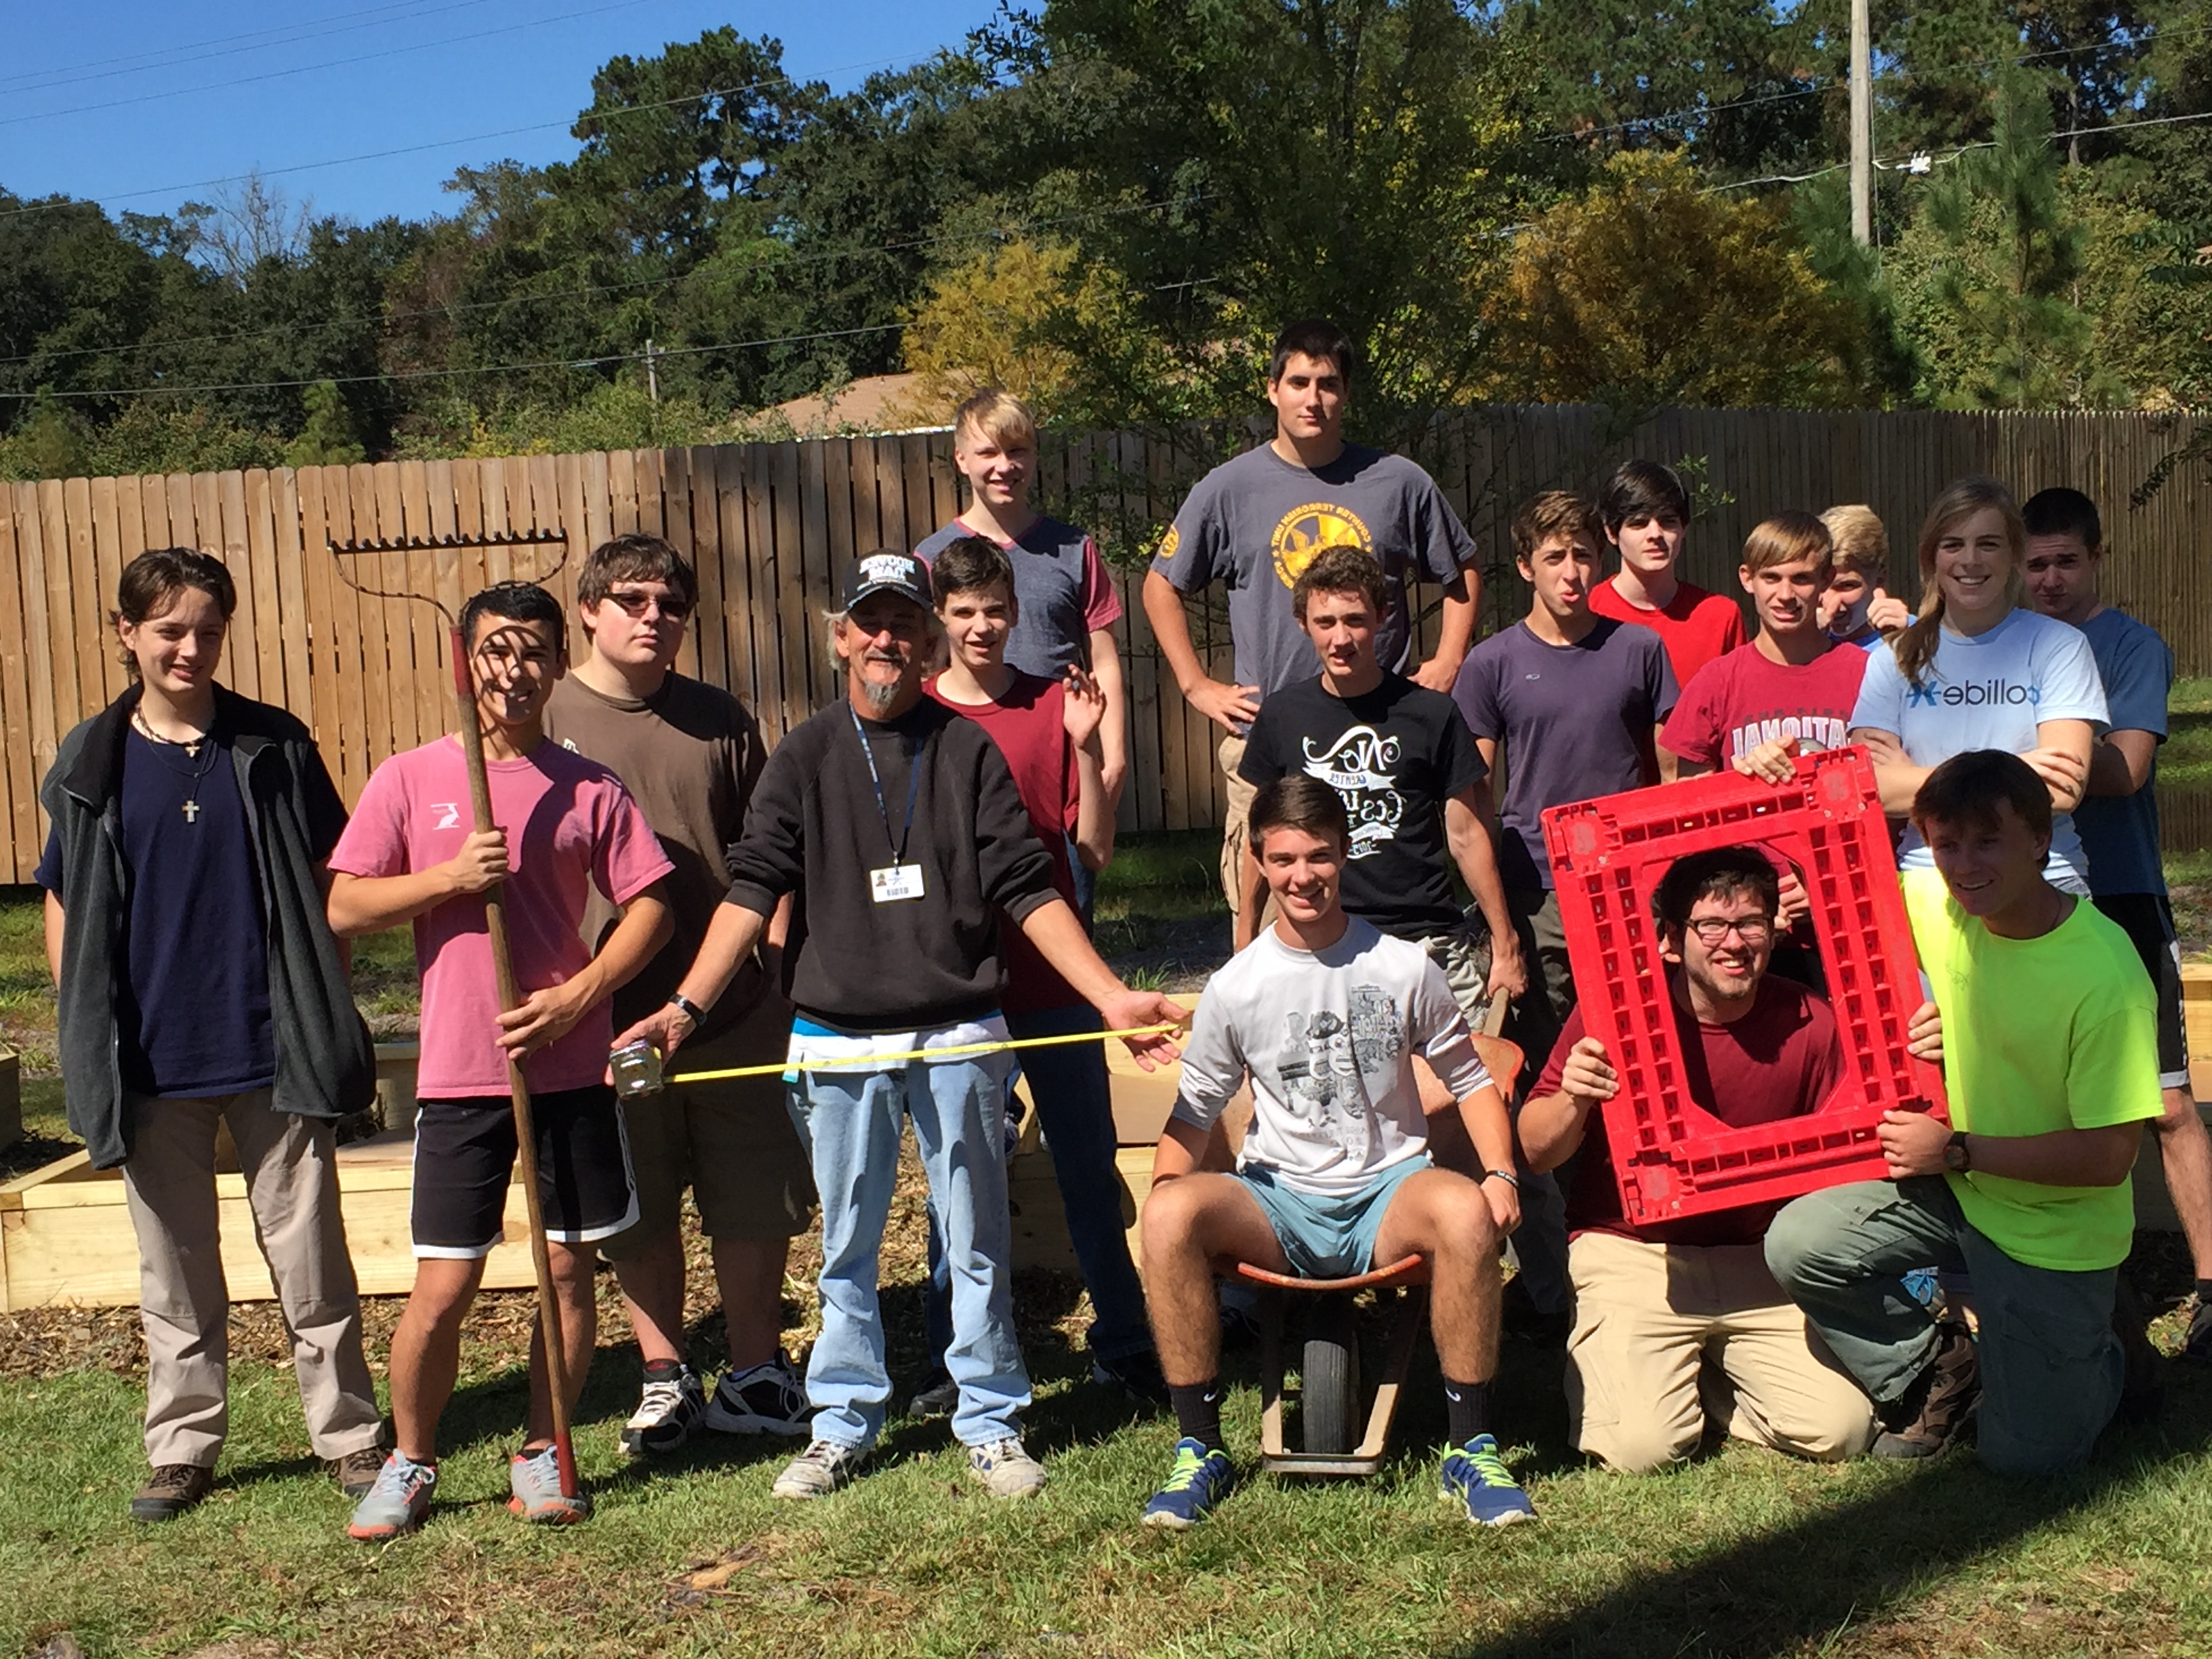
Volunteers after lots of hard work mulching and adding compost to eight raised beds at The Shelter garden.
Have you ever been interested in volunteering at a school or community garden? Are you involved with a garden that could use some help? Well, UF/IFAS Leon County Extension recently started an Adopt-a-Garden program for volunteers to “adopt” a school or community garden for volunteer credit. Volunteers can teach hands-on gardening techniques, conduct educational talks and present displays at garden workdays, assist with garden planning and networking, encourage gardeners to work together, and help with any other activity that adds to the vitality of the garden. The program focuses on garden education and outreach as the primary objectives.

Volunteers hard at work planting fall vegetables in The Shelter garden.
The first major project of the Adopt-a-Garden program has been very exciting, with UF/IFAS Leon County Extension Master Gardeners “adopting” the new homeless shelter at the Kearney Center in Leon County. Master Gardeners lead the way in the organization and construction of eight raised bed vegetable gardens located on site directly behind The Shelter facility. They were awarded a community garden mini-grant from Leon County, which helped to cover garden supplies.
The Leon County Master Gardeners have received assistance from UF/IFAS Extension Agents, Florida State’s College of Social Work, and many other members of the community in gathering supplies and donations, recruiting volunteers, communicating with The Shelter staff, building and filling the raised beds, planting the garden, and maintaining the garden.
The gardening materials for The Shelter garden were generously supplied at no coast or at discounted costs by Lowe’s Home Improvement, Britt’s Dump Truck Services, Tallahassee Nurseries, Native Nurseries, Asplundh, and the FSU College of Social Work.

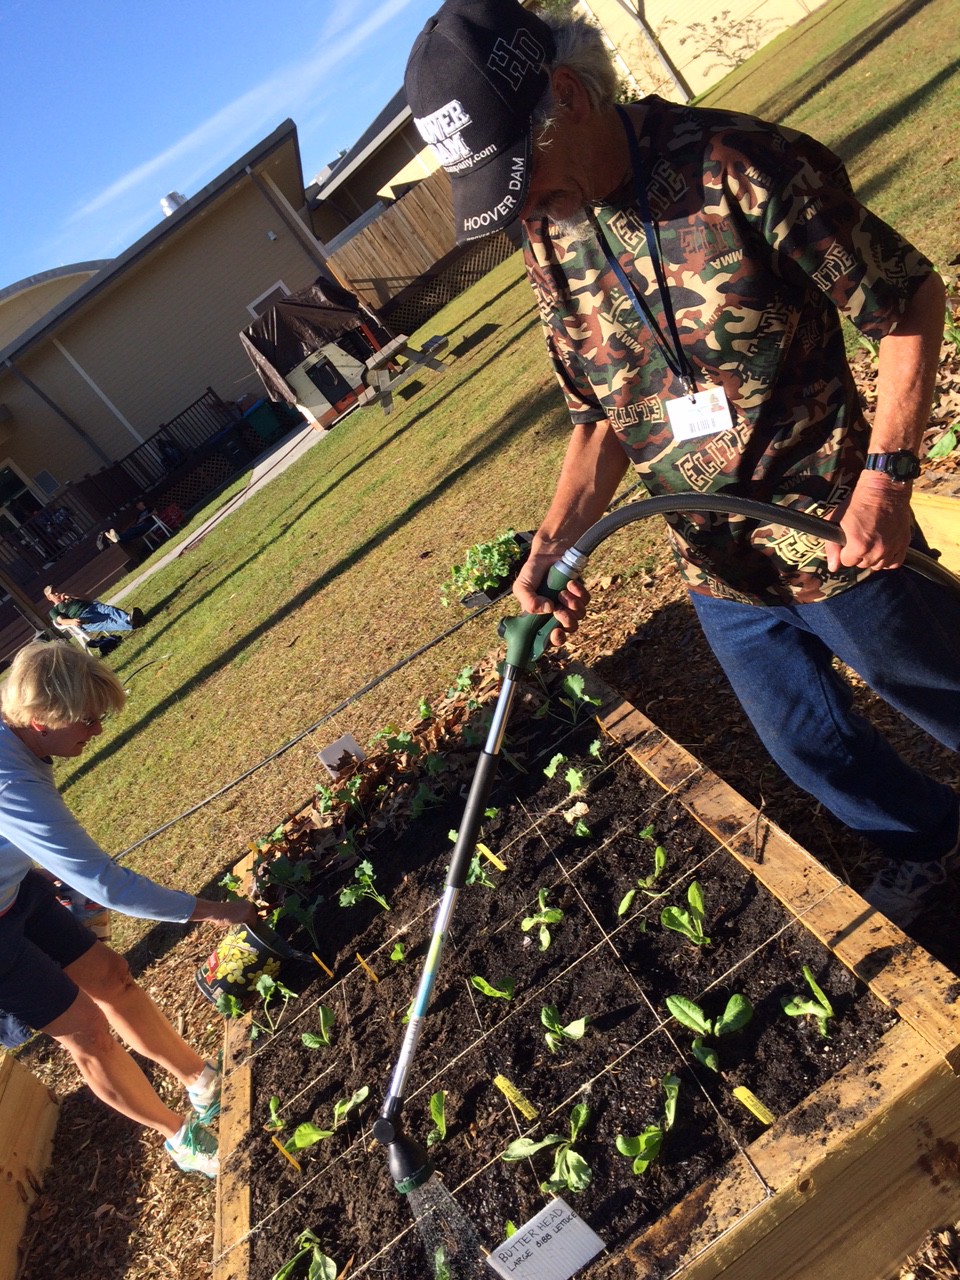
Shelter resident watering freshly planted lettuce.
Leon County Extension and Leon County’s Office of Resource Stewardship will conduct shelter resident and staff garden trainings to ensure the garden is maintained and successful going forward. Extension’s Family Nutrition Program is currently offering nutrition education classes to shelter residents as well.
This project will allow shelter residents to get hands-on experience working in a vegetable garden, learn about different vegetable varieties, and taste their harvest, as vegetables that are grown in the garden go directly to The Shelter kitchen for meal preparation. The garden was officially dedicated as the Wendy Crook Memorial Garden by Leon County Government, with the dedication event reported by local television station ABC 27 WTXL. The article and video clip can be viewed here.
Along with the Wendy Crook Memorial Garden, other school and community gardens have been “adopted” by volunteers. If you are in the Leon County area and are interested in becoming a volunteer with the Adopt-a-Garden program, you can find out more information at the Leon County Adopt-a-Garden website or contact Extension Agent Molly Jameson, at mjameson@ufl.edu. Volunteers are encouraged to team up on garden projects and all levels of gardening experience are welcome.