by Molly Jameson | Nov 24, 2015
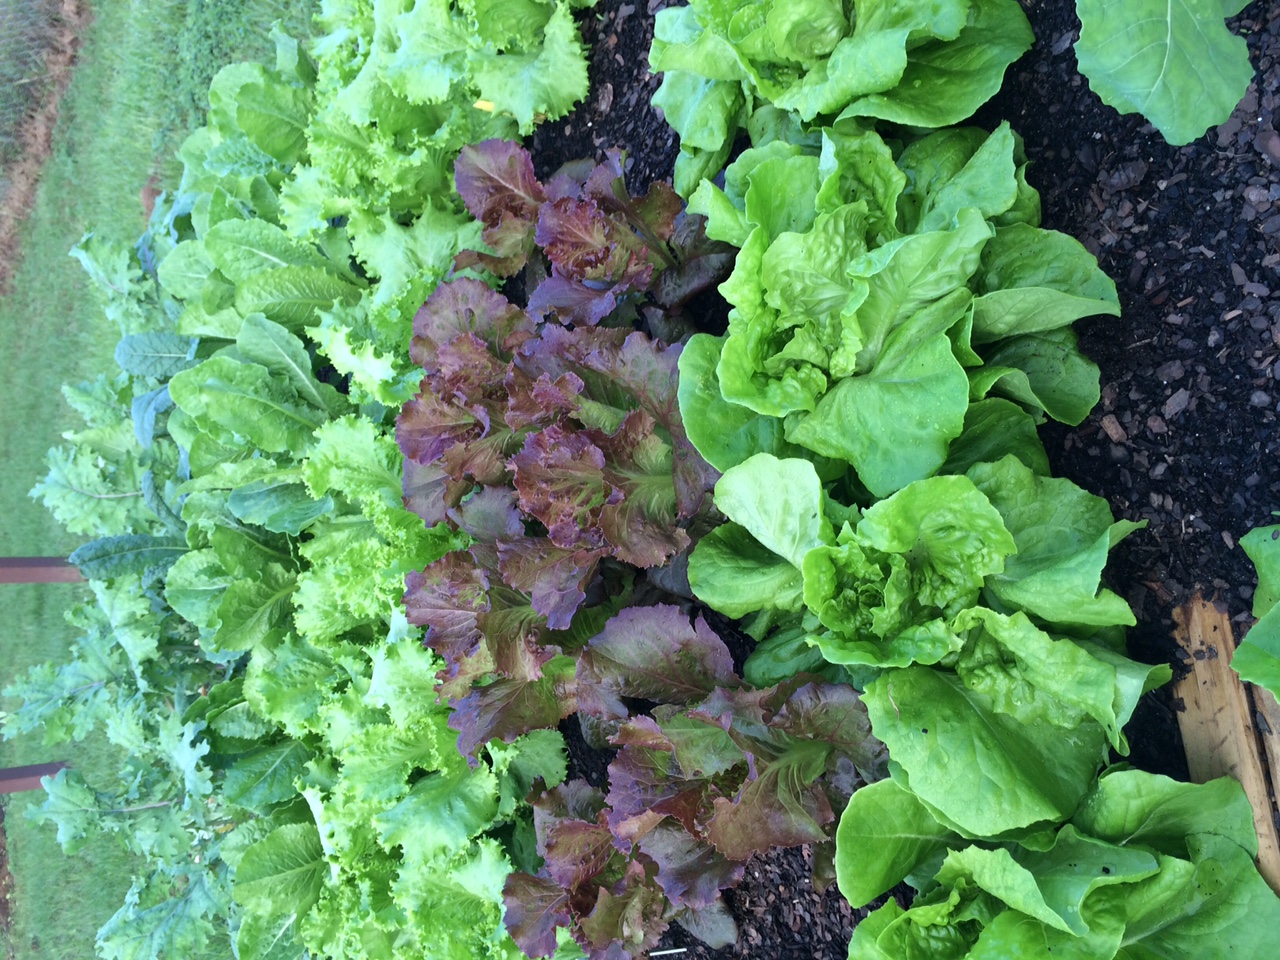
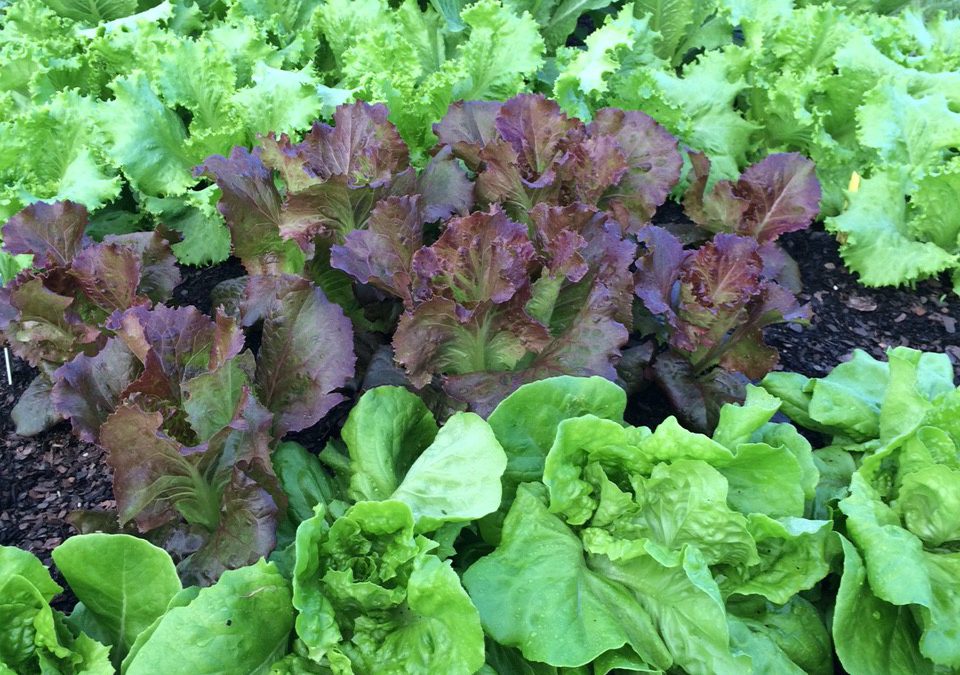
Kale, mustard, and lettuce in fall garden. Photo by Molly Jameson.
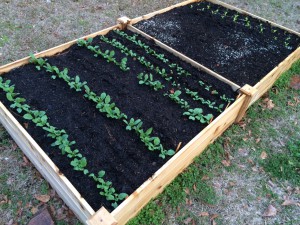
In North Florida, December can mark the peak in fall vegetable gardening. Early lettuce varieties are beginning to head and your later varieties are coming on strong. Radishes are starting to erupt out of the ground, and leafy greens are producing big beautiful leaves. But did you know that simple changes in how you harvest can greatly increase the longevity of your fall garden?
Here are a few harvesting tips for stretching out the fall harvest to ensure you will have plenty of greens all the way into spring:

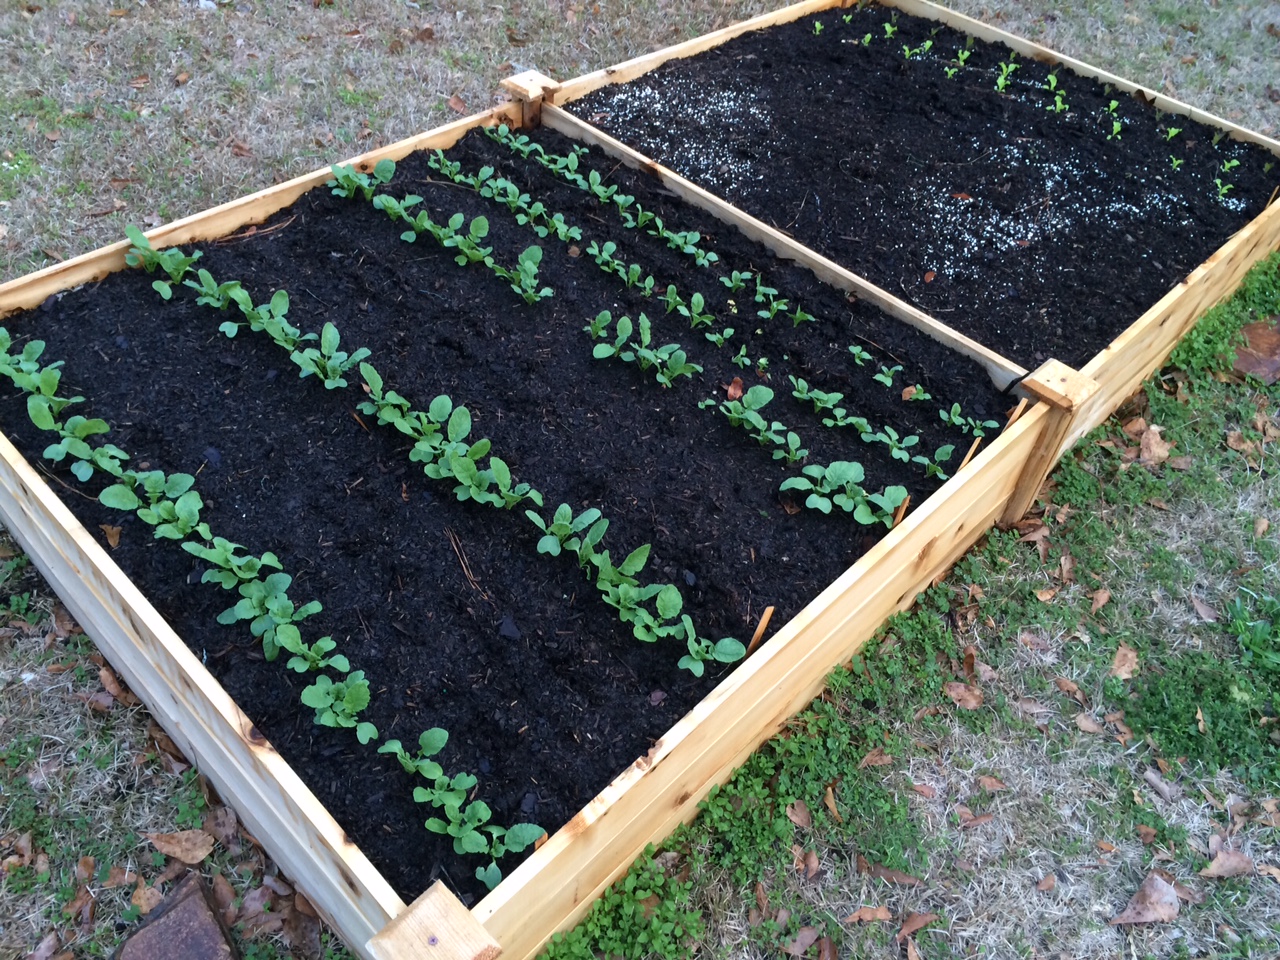
Plant radishes and arugula as gaps form in fall vegetable garden. Photo by Molly Jameson.
- Harvest leaves often: Leafy vegetables and herbs often produce more leaves the more you pick them. Harvest the lower, oldest leaves of vegetables such as leaf lettuce, kale, collards, and Swiss chard often. Be sure to maintain two to three leaves per plant; this method will ensure tender, pest-damage-free leaves, while encouraging the plant to keep producing.
- Thin to eat: Plants such as arugula and spinach are excellent vegetables to seed heavily and thin to eat. Once the plants have produced their first few true leaves, harvest the whole plant and use the leaves in salads. Continue this method until plants are about six inches apart, and then harvest leaves only. In this way, you will have salads filled with small tender leaves in the beginning of the season, and larger leaves for salads and cooking all the way into spring.
- Cut stems of florets high: Once your broccoli or cauliflower curds are ready to be harvested, cutting the stem high will often mean more secondary heads will form. Once your plants quit producing florets, start harvesting the leaves, which have great flavor and are highly nutritious. Also, with cauliflower, loosely tie the leaves around the curd. This forms a protective barrier from the sun and also improves color.
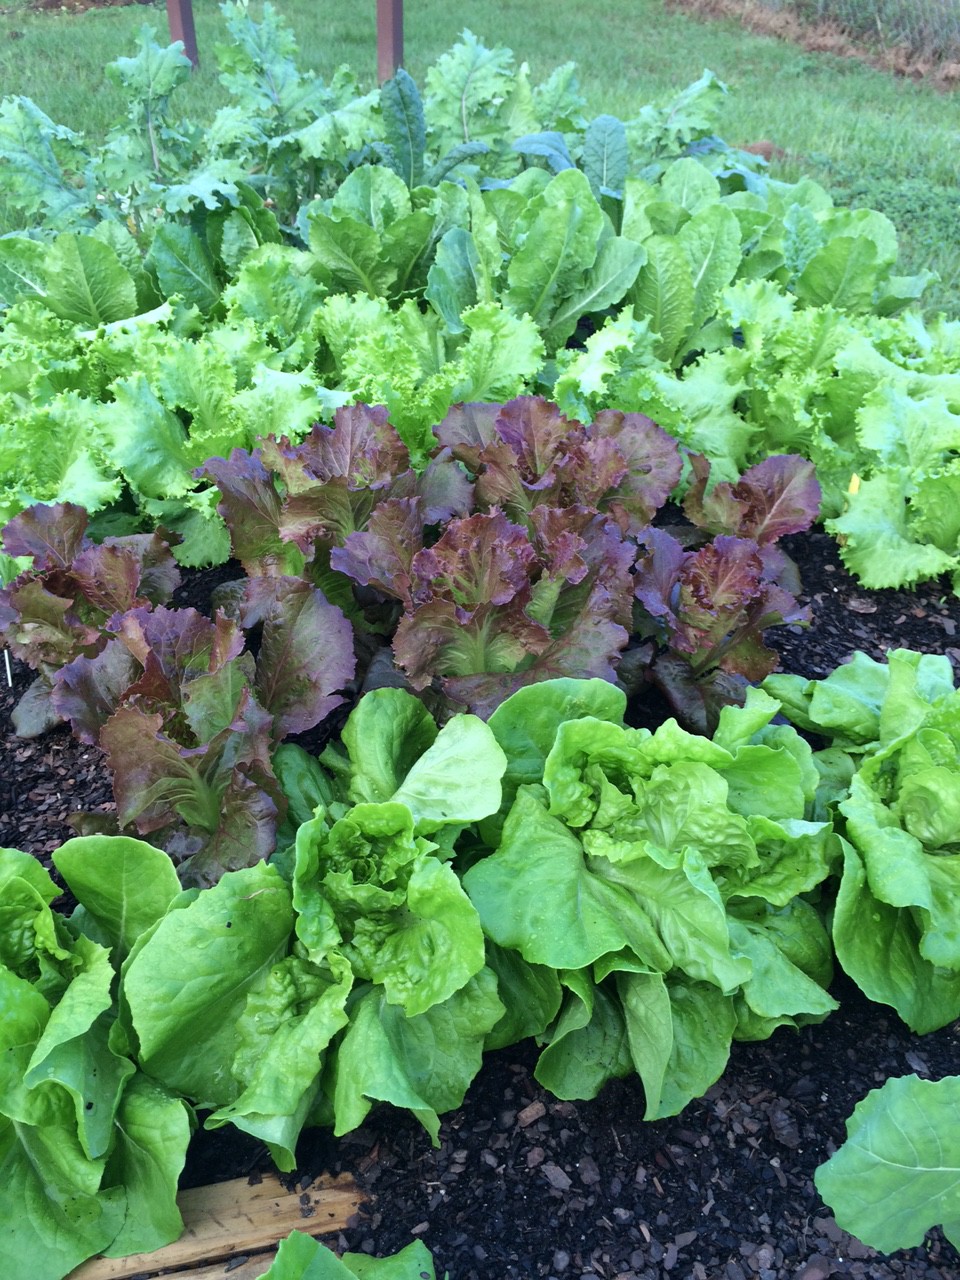
Assorted greens in fall vegetable garden. Photo by Molly Jameson.
- Harvest in the morning: Plant moisture and nutrient content are often highest in the morning. Once harvested, these leaves are less likely to wilt, and flavor will be preserved. Submerge or run cool water over the plants to maintain vigor. Alternatively, you can harvest in the evening if you plan to prepare the food that night.
- Fill in the gaps: Once you begin harvesting frequently, you will notice space begins to open up in your garden. It is often too early to plant cold-sensitive spring crops, yet you can continue to plant some quick growing fall vegetables, such as radishes and arugula. Sow these seeds as space opens up to maximize your food production until it is warm enough for the new season.
- Use materials to extend the season: By using frost cloth, low tunnels, cold frames, and shade cloth, you can protect your vegetables from early cold snaps and extend the season into spring. These materials, as well as wire and netting, can also protect your crop from deer, squirrels, and rabbits.
by Molly Jameson | Nov 4, 2015
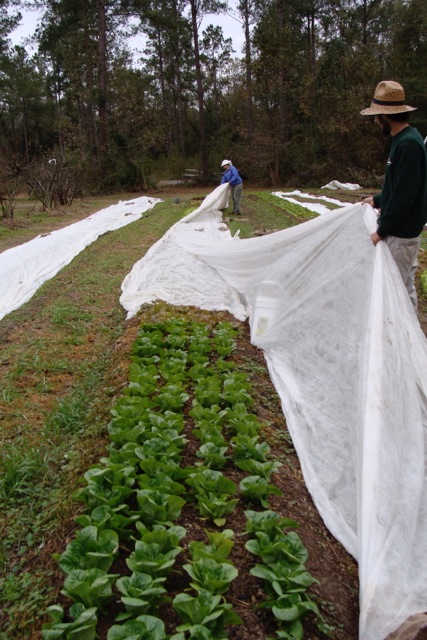
Covering a row of lettuce with frost cloth at Turkey Hill Farm. Photo by Turkey Hill Farm.
While most of Florida does not have to worry about freezing winter weather, the Florida Panhandle is certainly an exception. North Florida experiences a few hard freezes – temperatures less than 28°F for over five hours – every year. Although most of our cold weather occurs in January and February, we can expect our first frost around the second week of November. Therefore, it is important for gardeners to be prepared.
Most of the Panhandle is in zone 8b, which means average minimum temperatures are between 15 and 20°F. Nights – especially consecutive nights – that get this cold can “burn” the tips of even the toughest vegetables, such as collards and kale. It is also important to remember that if you live in a more rural area, temperatures will be slightly cooler, relative to the city. Frost is also more likely to occur on clear nights, as heat that radiated down from the sun during the day will escape the atmosphere at night, if clouds are not present. Also, if you were late getting your fall garden started, it is even more important to protect your vegetable plants, as young plants are more susceptible to cold weather.
Young plants are more susceptible to cold weather, so be sure to use cold protection. Photo by Molly Jameson.
One strategy home gardeners can use to protect their plants during cold weather is to use frost cloth. Frost cloth is a breathable polyester fabric that is light weight and heat-retentive. It can moderate temperatures about six to eight degrees Fahrenheit. Use it on all of your garden plants if there is a hard freeze, but do not cover cold hardy vegetables in mild frosts, as their flavor can actually become sweeter in cool weather, and the plants will become more tolerant to the cold.
Frost cloth can be found at most plant nurseries, and it can last multiple years if you take care of it. Use wire hoops to keep the cloth off smaller crops, as ideally the cloth should not touch the plant. Most importantly, the cloth must touch the ground at all points to be effective, as it works by trapping heat that radiates from the soil and increases the humidity around the plant.
In the morning, do not remove frost cloth too early, as quick thawing can actually cause the most severe damage. Wait until the outside air temperature is about 50 to 60°F. Since frost cloth is breathable, if temperatures do not reach 50 to 60°F during the day, you can leave it on multiple days.

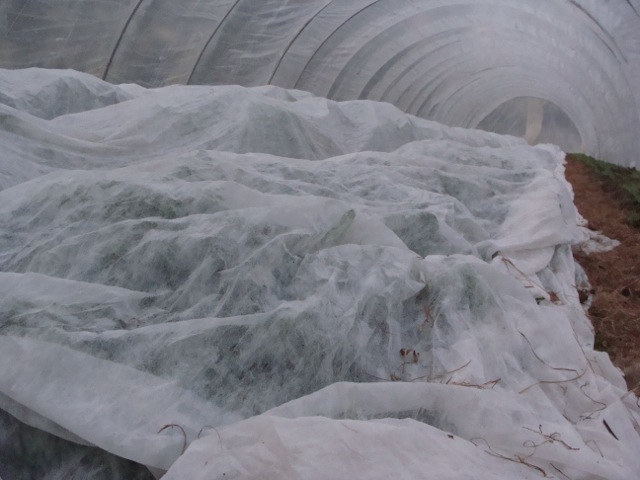
Frost cloth in high tunnel at Turkey Hill Farm. Photo by Turkey Hill Farm.
Sheets or blankets (not plastic) can be a frost cloth substitute, but there are disadvantages, such as not allowing proper air circulation or not being large enough to reach the ground.
Another strategy that can help keep your garden safe from cold weather is to keep your plants well watered, as frost damage is actually dehydration. When ice crystals form on the leaf surface, it draws moisture from the leaf tissue. Damage will therefore be less severe if the plant is not already drought-stressed. You can also mulch around the base of your plants with wood chips or straw to help moderate soil temperature and retain moisture.
Being prepared for cold weather will help keep your vegetable garden going strong all the way into the spring. Remember that healthy plants will be more resistant to cold weather than unhealthy plants, and investing in a few sheets of frost cloth can go a long way to ensure your veggies survive our chilly North Florida winters.
by Molly Jameson | Oct 6, 2015
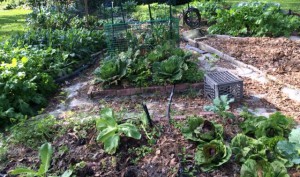
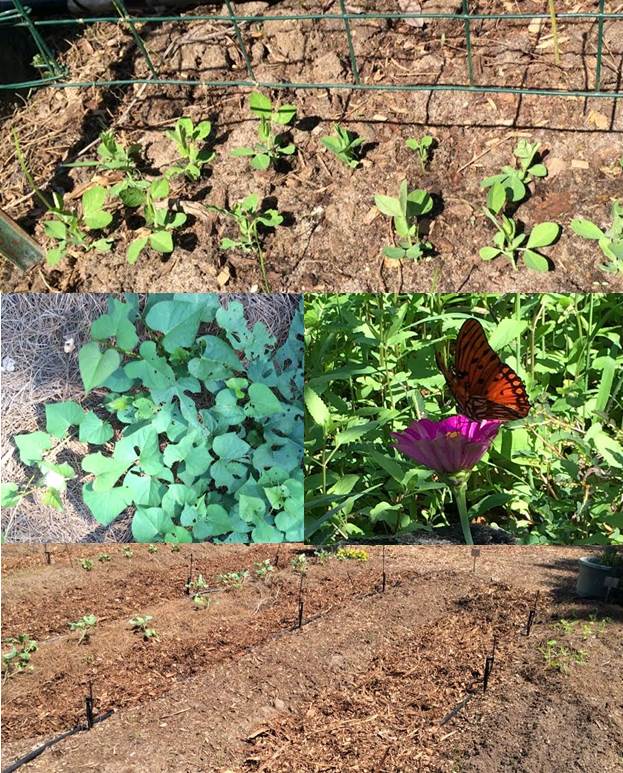
A diverse garden attracts pollinators and helps balance soil fertility. Photo by Molly Jameson.
The kids are back to school and you know what that means – everyone in the house will soon come down with the sniffles and a sore throat. But what if when the kids came home, Jack went straight to his room, Susie to her room, Dad went to work in the garage, and Mom read in the office? This separation – along with good hand washing techniques – may be what prevents the entire house from turning into a sick ward. Since humans are very closely related genetically, we are susceptible to many of the same diseases. Well, believe it or not, plant families operate very similarly. If you keep planting crops together that are in the same plant family, they will be susceptible to the same diseases.
Although it can be challenging to keep your family from getting sick, there are certain practices in the garden that can go a long way in keeping your vegetable plants disease free and healthy. One easy step you can take is implementing a crop rotation. By separating crops that are in the same family during the season and not planting the same plant families in the same locations year after year, you not only help prevent diseases, but it will also help control insects, balance nutrients, and improve the condition of your soil.
Probably the most important reason to use a crop rotation system is to prevent plant diseases. For example, if you grow tomatoes in the same section of your garden year after year, certain pathogens that attack tomatoes, such as some bacterial spots and blights, can overwinter in your garden, and will have an easily accessible host (next year’s tomatoes) the following spring. Tomatoes are in the nightshade family, along with crops such as potatoes, peppers, and eggplants. If these crops are planted in the same location, they then become susceptible to the same pathogens, and the cycle continues.
Turn your garden into a revolving collage. Photo by Molly Jameson.
Many pests in the garden are also attracted to many of the same crops. For instance, the mustard or brassica family, which includes vegetables such as broccoli, kale, collards, and turnips, easily attract aphids. By regularly rotating your brassicas, you can help break the life cycles of these garden pests.
Another important aspect of crop rotation is considering the fertility and health of your soil. Different crops require different types and amounts of nutrients to grow. Legumes, such as peas and beans, actually “fix” nitrogen from the atmosphere, which can increase the nitrogen in your soil, reducing your need to add fertilizers. You would then want to follow legumes with plants that require a lot of nitrogen, such as lettuce or broccoli. Subsequently, follow heavy feeders with light feeding root vegetables, such as onions or carrots, which are good nitrogen “scavengers.”
Root crops also help break up the soil, which is then advantageous to legumes, which thrive in loose soil. Growing leguminous “cover crops,” such as clovers and alfalfa, is an excellent way to improve the fertility and organic matter content of your soil. Incorporate the biomass of the cover crops into your soil prior to seed production for optimum benefits.
Remember that the key to both a healthy garden and a healthy diet is diversity! Incorporating many different botanical families into your garden will help break disease life cycles, attract beneficial insects, effectively utilize soil nutrients, and improve soil composition. In turn, eating many different types of vegetables will ensure that you are getting the full spectrum of vitamins and minerals. Which, by the way, will help keep your family healthy and strong and able to combat those pesky colds!
by Molly Jameson | Sep 3, 2015
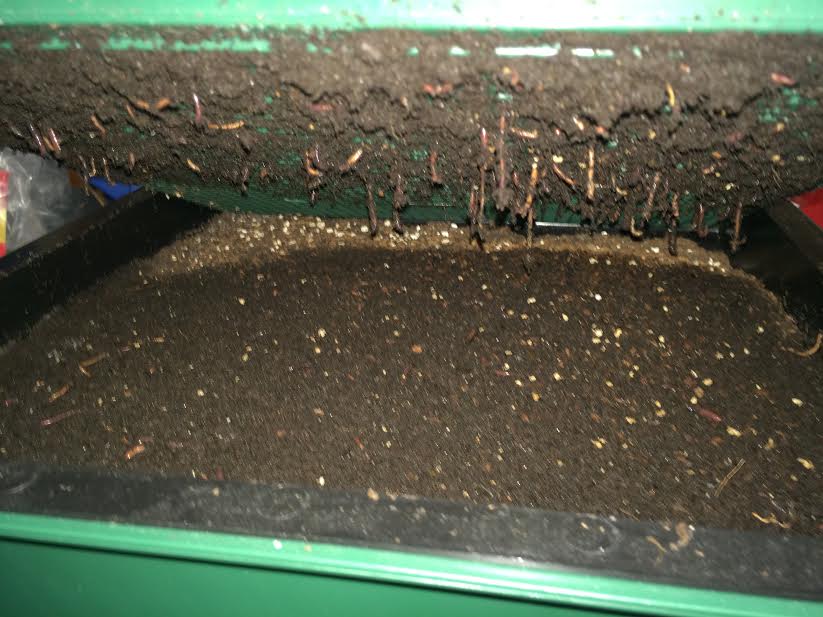
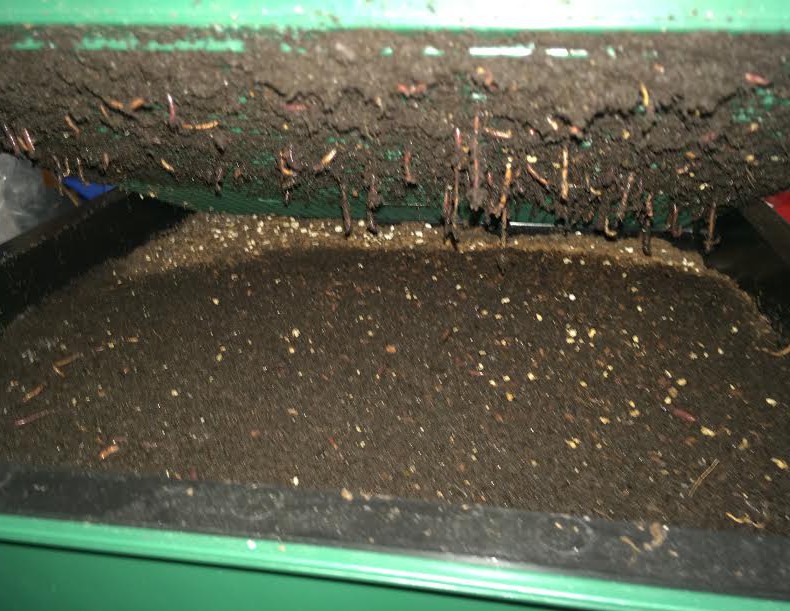
Red wigglers hanging through the bottom bin of a “Worm Factory” vermicompost system. Photo by Molly Jameson.
What if I told you there was a way to create compost indoors? No pitchfork required, no hot steamy temperatures, a simple mix of ingredients, and it would fit right under your kitchen sink? As long as you can convince your family to have worms in the house… you can start vermicomposting.
Vermicomposting uses a type of worm called red wigglers. These worms specialize in digesting organic matter, can digest their own body weight in food each day, and can double their population within months. It is, therefore, a wonderful way to responsibly dispose of food waste and can reduce your garbage by more than a third. Microorganisms inside the worms are actually doing most of the work, and the “castings” excreted are teaming with beneficial microbes and nutrients that will condition your soil and make the plants in your garden shine.
You can easily construct a vermicompost bin at home, but you can also purchase one online. Bins should hold about five gallons for one to two people or ten gallons for three to four (Rubbermaid containers work nicely). Your container should not exceed 12 inches in depth, as red wigglers do not like to burrow deeply. You will also want good aeration, so drill holes in the bottom of the bin and either place the bin in another container or put the bin on bricks and use a tray underneath to capture escaped materials. Either way, you will want a lid – as worms do not like light and need moisture – but they also need to breathe, so make sure it is not airtight. Be sure your bin is never in direct sunlight or in a location that regularly exceeds 80°F.
To get started, you will need about 1,000 worms, which weighs about one pound. Red wigglers can also be purchased online, at local nurseries, and some bait shops. Better yet – if you know vermicompost enthusiasts, they may be happy to share.
Before you purchase your worms, you want to prepare your worm bedding. Shredded newspaper and coconut fiber (coir) – which you can find at your local nursery – work great. You will also need to add a small scoop of garden soil to inoculate your bin with microbes. To get started, lightly moisten your bedding material and fill your bin about two-thirds full.
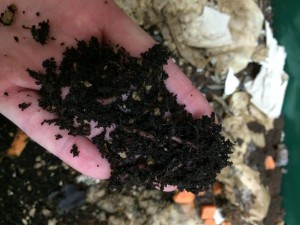
Finished worm castings will be dark, slightly moist, and will have an earthy smell. Photo by Molly Jameson.
Now it is time to add the food. Worms love vegetable scraps, most fruits, moldy bread, coffee filters and grounds, tea bags, and crushed eggshells. Chop their food into small pieces for fastest consumption. Foods to avoid include meat, dairy, large amount of citrus, and onion peels. Start out slow, and put the chopped food in the corner of your worm bin. Once your worms are settled, maintain the bin as half bedding, half food scraps. If your bin looks too dry, add more food. If your bin looks too wet, add more bedding or hold back on food a few days. Bad odors will develop only if the worms are overfed.
Give your worm bin about three to four months, and then you can begin to harvest. Add a handful of castings to potting mix or a thin layer directly to your garden. Give vermicomposting a try – your plants will thank you, your trash will not stink, and you will reduce your global impact.