
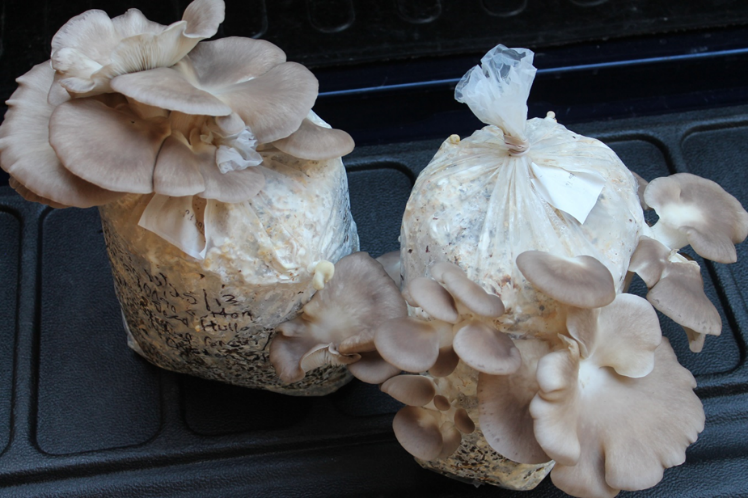
The Jackson County Master Gardeners are hosting a hosting a Mushroom Growing Workshop on Saturday, November 18 at the Jackson County Extension Office, 2741 Penn Ave., Marianna, FL.
Whiteflies Invade the Panhandle
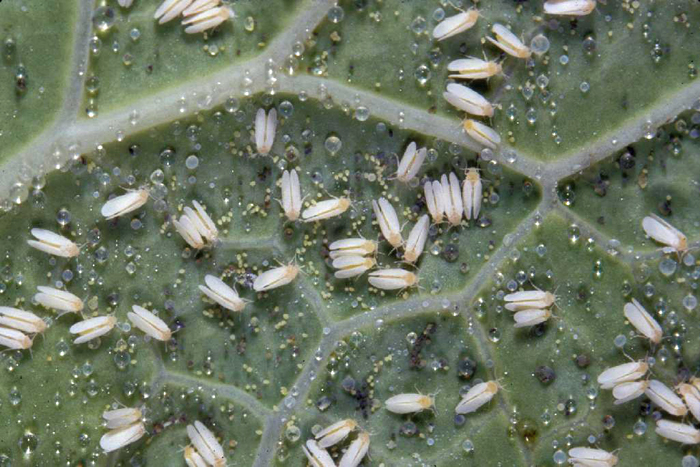
Over the last month or so, home gardeners and commercial growers alike have noticed what look to be large dust particles floating through the air. It’s probably not uncommon to have inhaled a few or even a few hundred of these mysterious particles. Most likely, these “particles” aren’t dust at all but whiteflies instead. Whiteflies are small (less than a tenth of an inch long), white, soft-bodied insects. They aren’t flies but are considered ‘true bugs’ by entomologists. The most common whitefly species in Northwest Florida is the silverleaf whitefly, also known as the sweetpotato whitefly. Whitefly numbers have exploded exponentially this year because of last years’ mild winter. These irksome insects feed on a variety of annuals, shrubs, vegetables and trees.
Magnified whitefly adults and eggs. Photo Credit: James Castner, University of Florida/IFAS.
Whiteflies typically feed on the underside of leaves. Initially, disturbed leaves will become pale in color, then a sticky substance may develop on the surface of the leaves. This sticky substance is called honeydew. Honeydew is actually a sugary substance excreted by the whiteflies as part of their elimination process, similar to what aphids and scale insects produce. After honeydew is deposited, sooty mold develops to feed on this readily available sugar source. Sooty mold is a fungus that forms a gray to black colored coating on plant leaves. It normally grows on leaves that were previously covered with honeydew. Sooty mold hinders the ability of leaves to absorb light and ultimately limits photosynthesis.
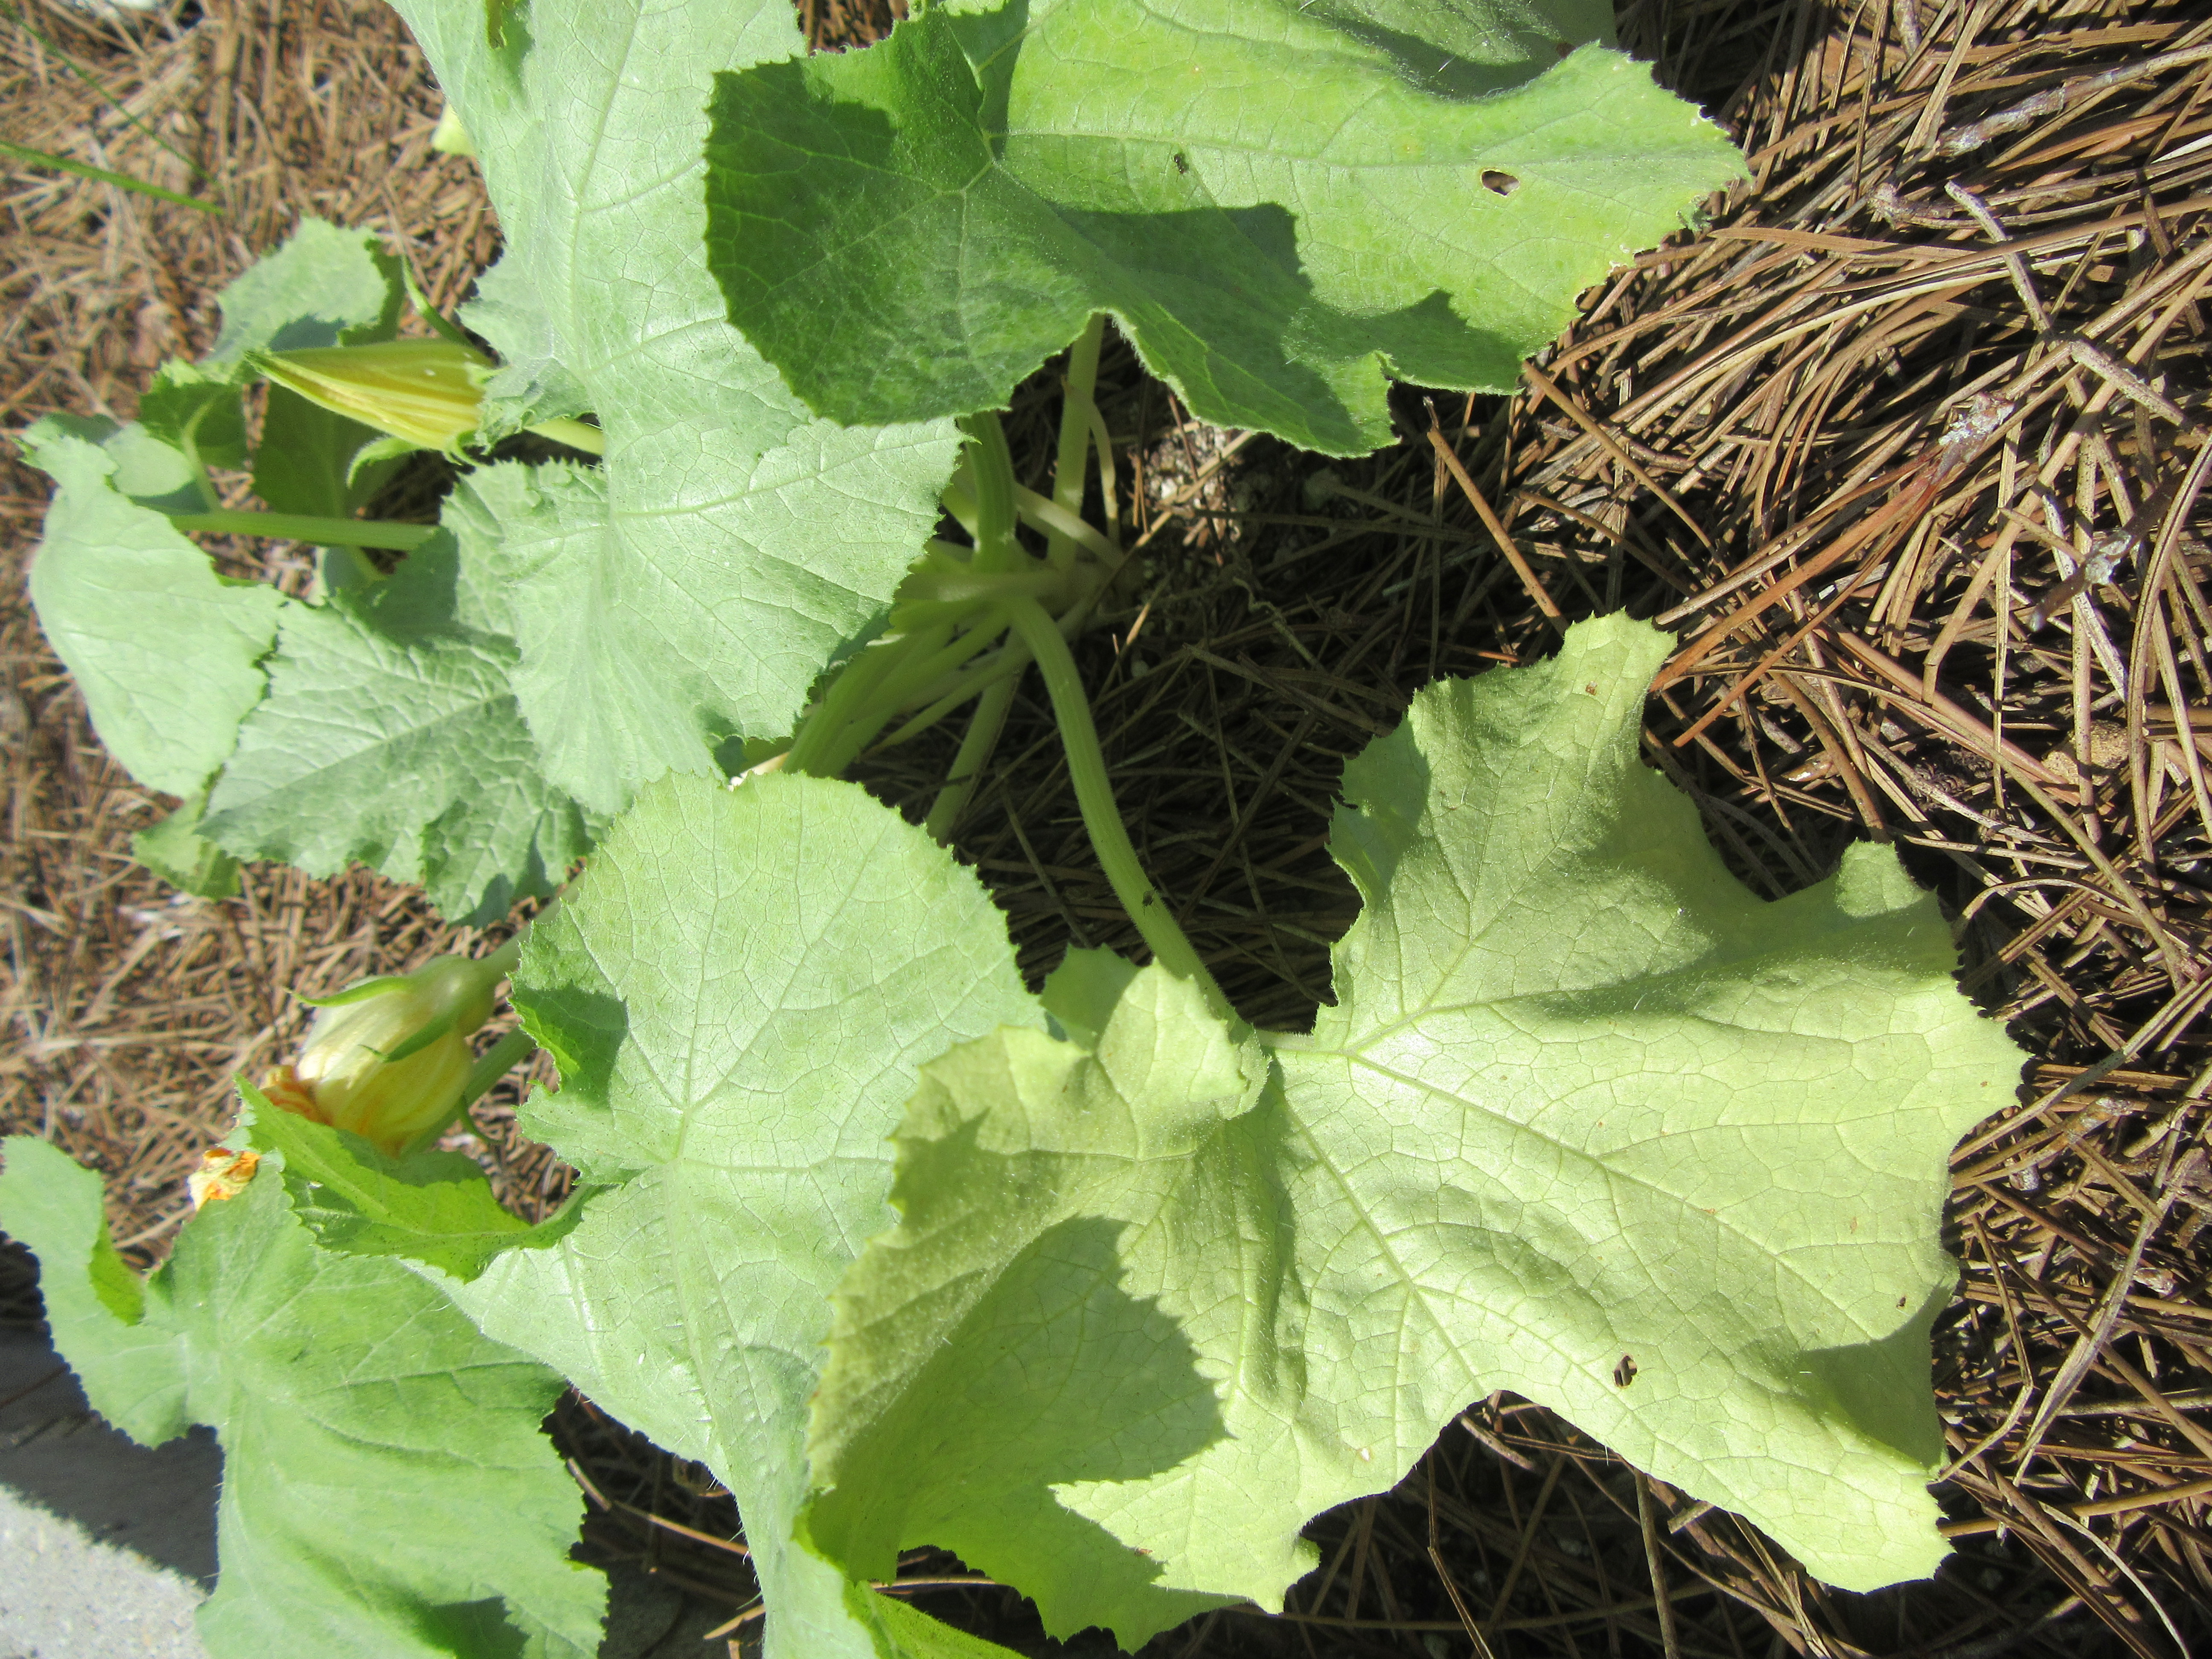
Pale squash leaves due to feeding from whiteflies. Photo Credit: University of Florida/IFAS.
So what should be done to control whiteflies? It depends on what is being grown. If whiteflies are present, the role of beneficial insects should be taken into consideration. Plenty of predatory insects such as lady bugs and green lacewings are around to feed on whiteflies. In fact, leaving the whiteflies alone on your trees and shrubs will attract more predatory insects. Below are some whitefly control methods that produce minimal damage to beneficial insect populations.
Whitefly Control in Vegetables
- Sticky Traps – Yellow sticky traps are a good way to monitor whitefly populations and can help determine when insecticide application is appropriate.
- Insecticidal Soaps – Insecticidal soaps are usually applied as a 1 to 2 percent solution (2½ to 5 tablespoons per gallon of water). It is important to follow the application directions on the label. Insecticidal soap should be applied in the evening, when the sun is low in the sky and the temperature is below 85°F. Some insecticidal soaps available at local lawn and garden centers include: Bonide Insecticidal Soap, Bonide Insecticidal Soap, and Bayer Advanced Natria Insecticidal Soap.
- Horticultural Oils – Horticultural oils should be handled like insecticidal soaps. Like the soaps, they should be applied in the evening. Some horticultural oils available at local lawn and garden centers include: Bonide All Seasons Spray Oil, Southern Ag Parafine Oil, and Garden Safe Neem Oil.
- Other Insecticides – Harsher chemicals are not recommended for the home gardener, because whiteflies have become resistant to most products on the market. Use of broad spectrum insecticides may also contribute to an increase in whitefly populations because they kill beneficial predatory insects.
Hopefully winter will be cooler this year and the profuse whitefly population will be knocked back. Until then, we wish all home gardeners the best of luck with fall gardening!
Permaculture Practices for the Home Landscape
If you’ve attended any of our landscaping classes, then you’ve probably heard the phrase “Right Plant, Right Place”. This phrase is a simple reminder to research plant growth habits and growing conditions before making selections for your landscape. This not only holds true for ornamental plants, but for edible crops as well. A term used to describe the use of edibles as ornamentals is “Permaculture”. Now this is an extremely simplified definition of the term, but permaculture comes from a combination of the words “permanent” and “agriculture”. The thought behind permaculture is to fashion an edible landscape after a natural ecosystem.
There are a number of strategies to becoming a successful permaculturist. Below you will find a few examples.
- Site Observation and Analysis – The slope, orientation to the sun, and sectors of your yard should all be documented.
- Slope – Identifying the slope of your yard can help you determine the natural flow of water and nutrients. For example, if you have a hill in your back yard you may want to install some plant beds between the peak of the slope and your house. These beds will help absorb water and nutrients before they have a chance to reach the house.
- Orientation – Think about the location, relevant to your house, of each of your edible landscape areas. The eastern side of your house receives morning sunlight, which is much cooler than the western side of your house that receives sunlight in the afternoon. A tomato plant will be much happier if it can avoid the afternoon heat.
- Sectors – While walking your property, you will notice differences in soil texture, soil moisture, and the plants and weeds growing in these different areas. You can divide your yard based on these characteristics along with slope, orientation, and shade percentage to develop sectors of your property.
 Cover Crops and Living Mulch – Cover crops are planted in areas that you would normally allow to go fallow. Living mulches are plants that are planted alongside edible plants to help fill voids. The benefits of both are listed below.
- Weed Supression
- Erosion Control
- Produce and/or Scavenge Nutrients
- Nematode Supression
- Harbor Beneficial Insects
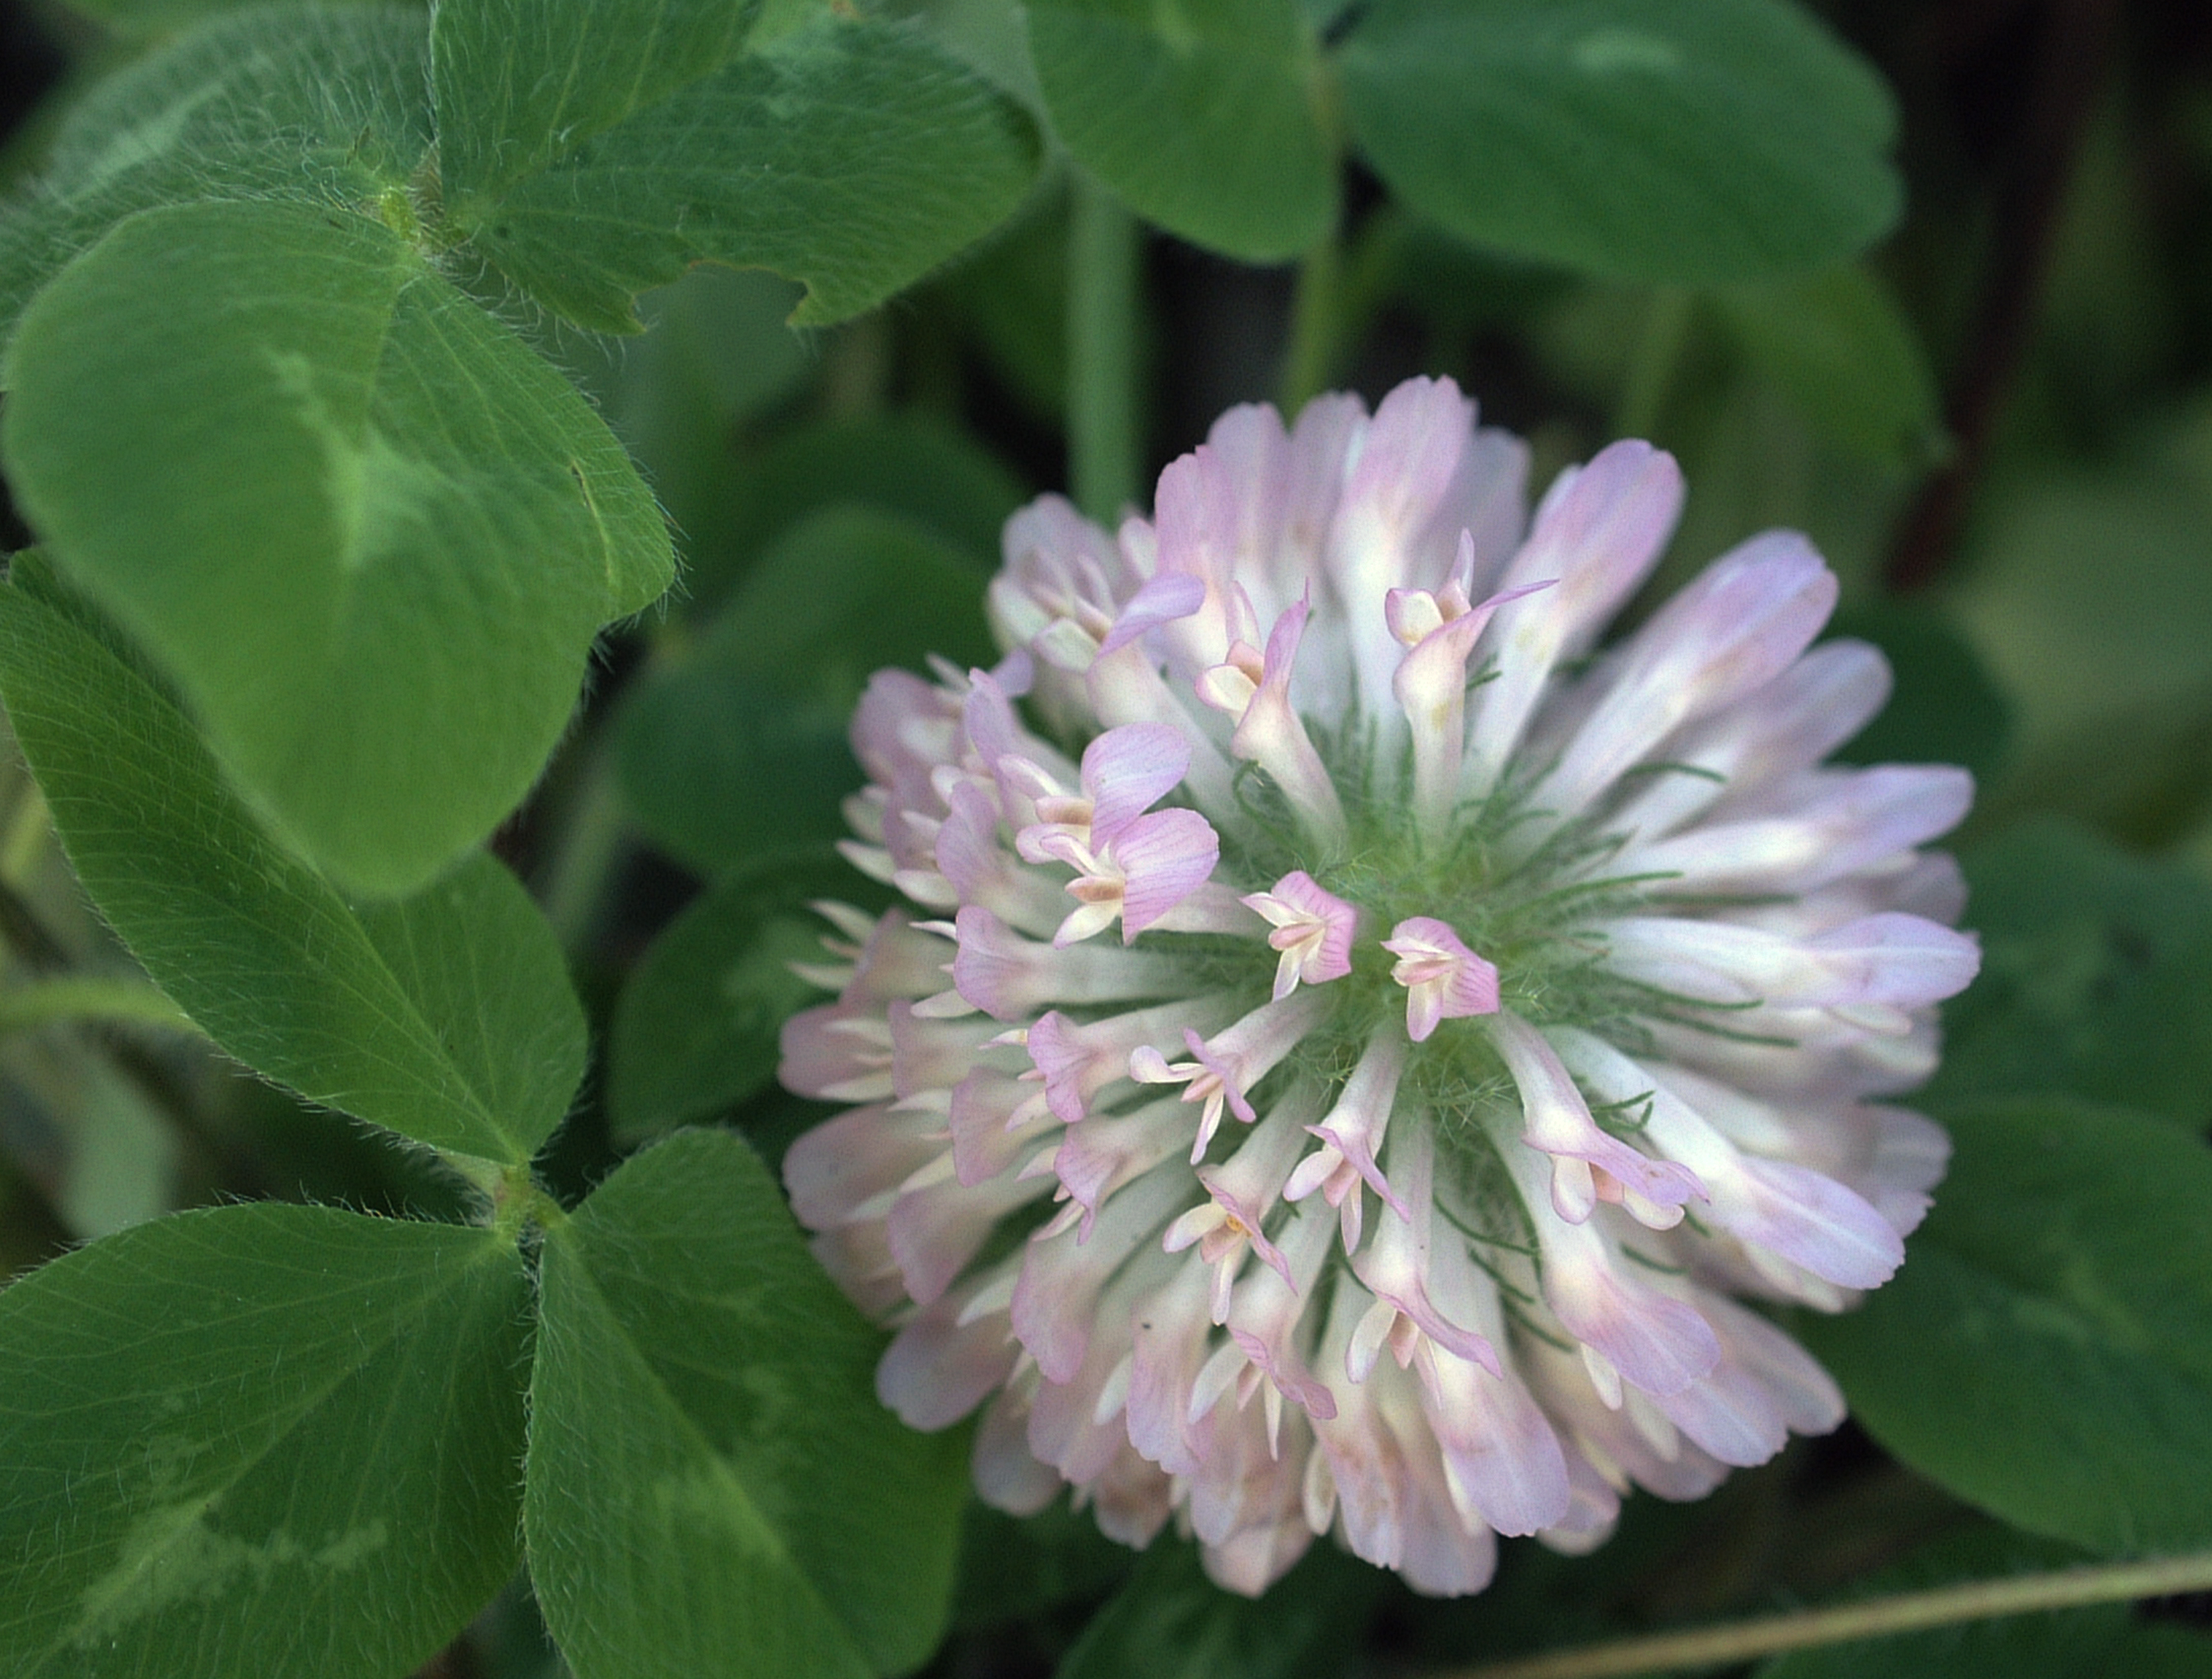
Clover is an excellent cover crop choice and has a beautiful flower. Photo Credit: University of Florida/IFAS.
- Space Utilization – The third criteria is to mimic a forest. Just like any good forest, your “forest garden” will consist of different layers of vegetation.
- You can start by planting large deciduous trees such as pecans or pears farthest from the house. These trees will allow filtered light to penetrate the layer below.
- Next, you can plant smaller fruit trees such as citrus or peaches along the understory of the larger trees.
- Then, you can plant your vegetable and herb garden around your fruit tree plantings.
- Finish by planting root and vining vegetables such as carrots or sweet potatoes at the edge of the forest.
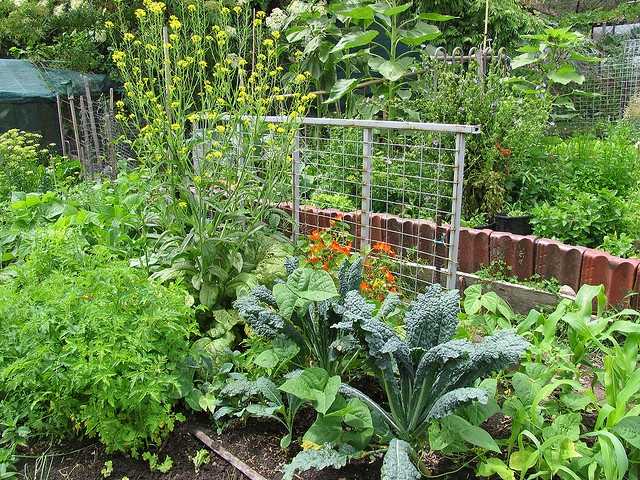
A mixed vegetable garden. Photo Credit: eXtension.org.
We’ve just scratched the surface of the concept of permaculture, but I encourage you to dig a little deeper. What could be the harm with being able to eat your landscape? Just don’t eat too much or you may lose your landscape entirely!
An “Intermediate Permaculture” class is scheduled for Saturday, September 23 at the Jackson County Extension Office. For more information, please call (850)-482-9620 and ask for Matt.
For more information on permaculture please visit the NC State Permaculture Page.
For more information on “Right Plant, Right Place” please visit the UF/IFAS Florida Friendly Living Site.
Gardening in Containers Workshop – August 19
The Jackson County Master Gardeners will host a “Gardening in Containers” Workshop on Saturday, August 19 from 9 AM to 2 PM at the Jackson County Extension Office, 2741 Penn Ave., Marianna, FL. The workshop will give you simple tips on growing vegetables, herbs, and flowers in containers. Bring your own unique container. Plant material and soil will be provided. The workshop is $25 and includes a home cooked lunch. Please see the flyer below for more details and call 850-482-9620 to pre-register.

Pickleweed – A Novelty Plant
I encountered pickleweed (Salicornia sp.) on a recent trip to Utah. I first noticed the plant growing in the bank of a pond at a salt factory. A sample was pulled for further investigation and it was determined to be some type of pickleweed. Pickleweed also happens to be a common name for a plant that grows here in Florida. The scientific name of the pickleweed found in Florida is Batis maritima. This article will focus on the pickleweed found in Utah.
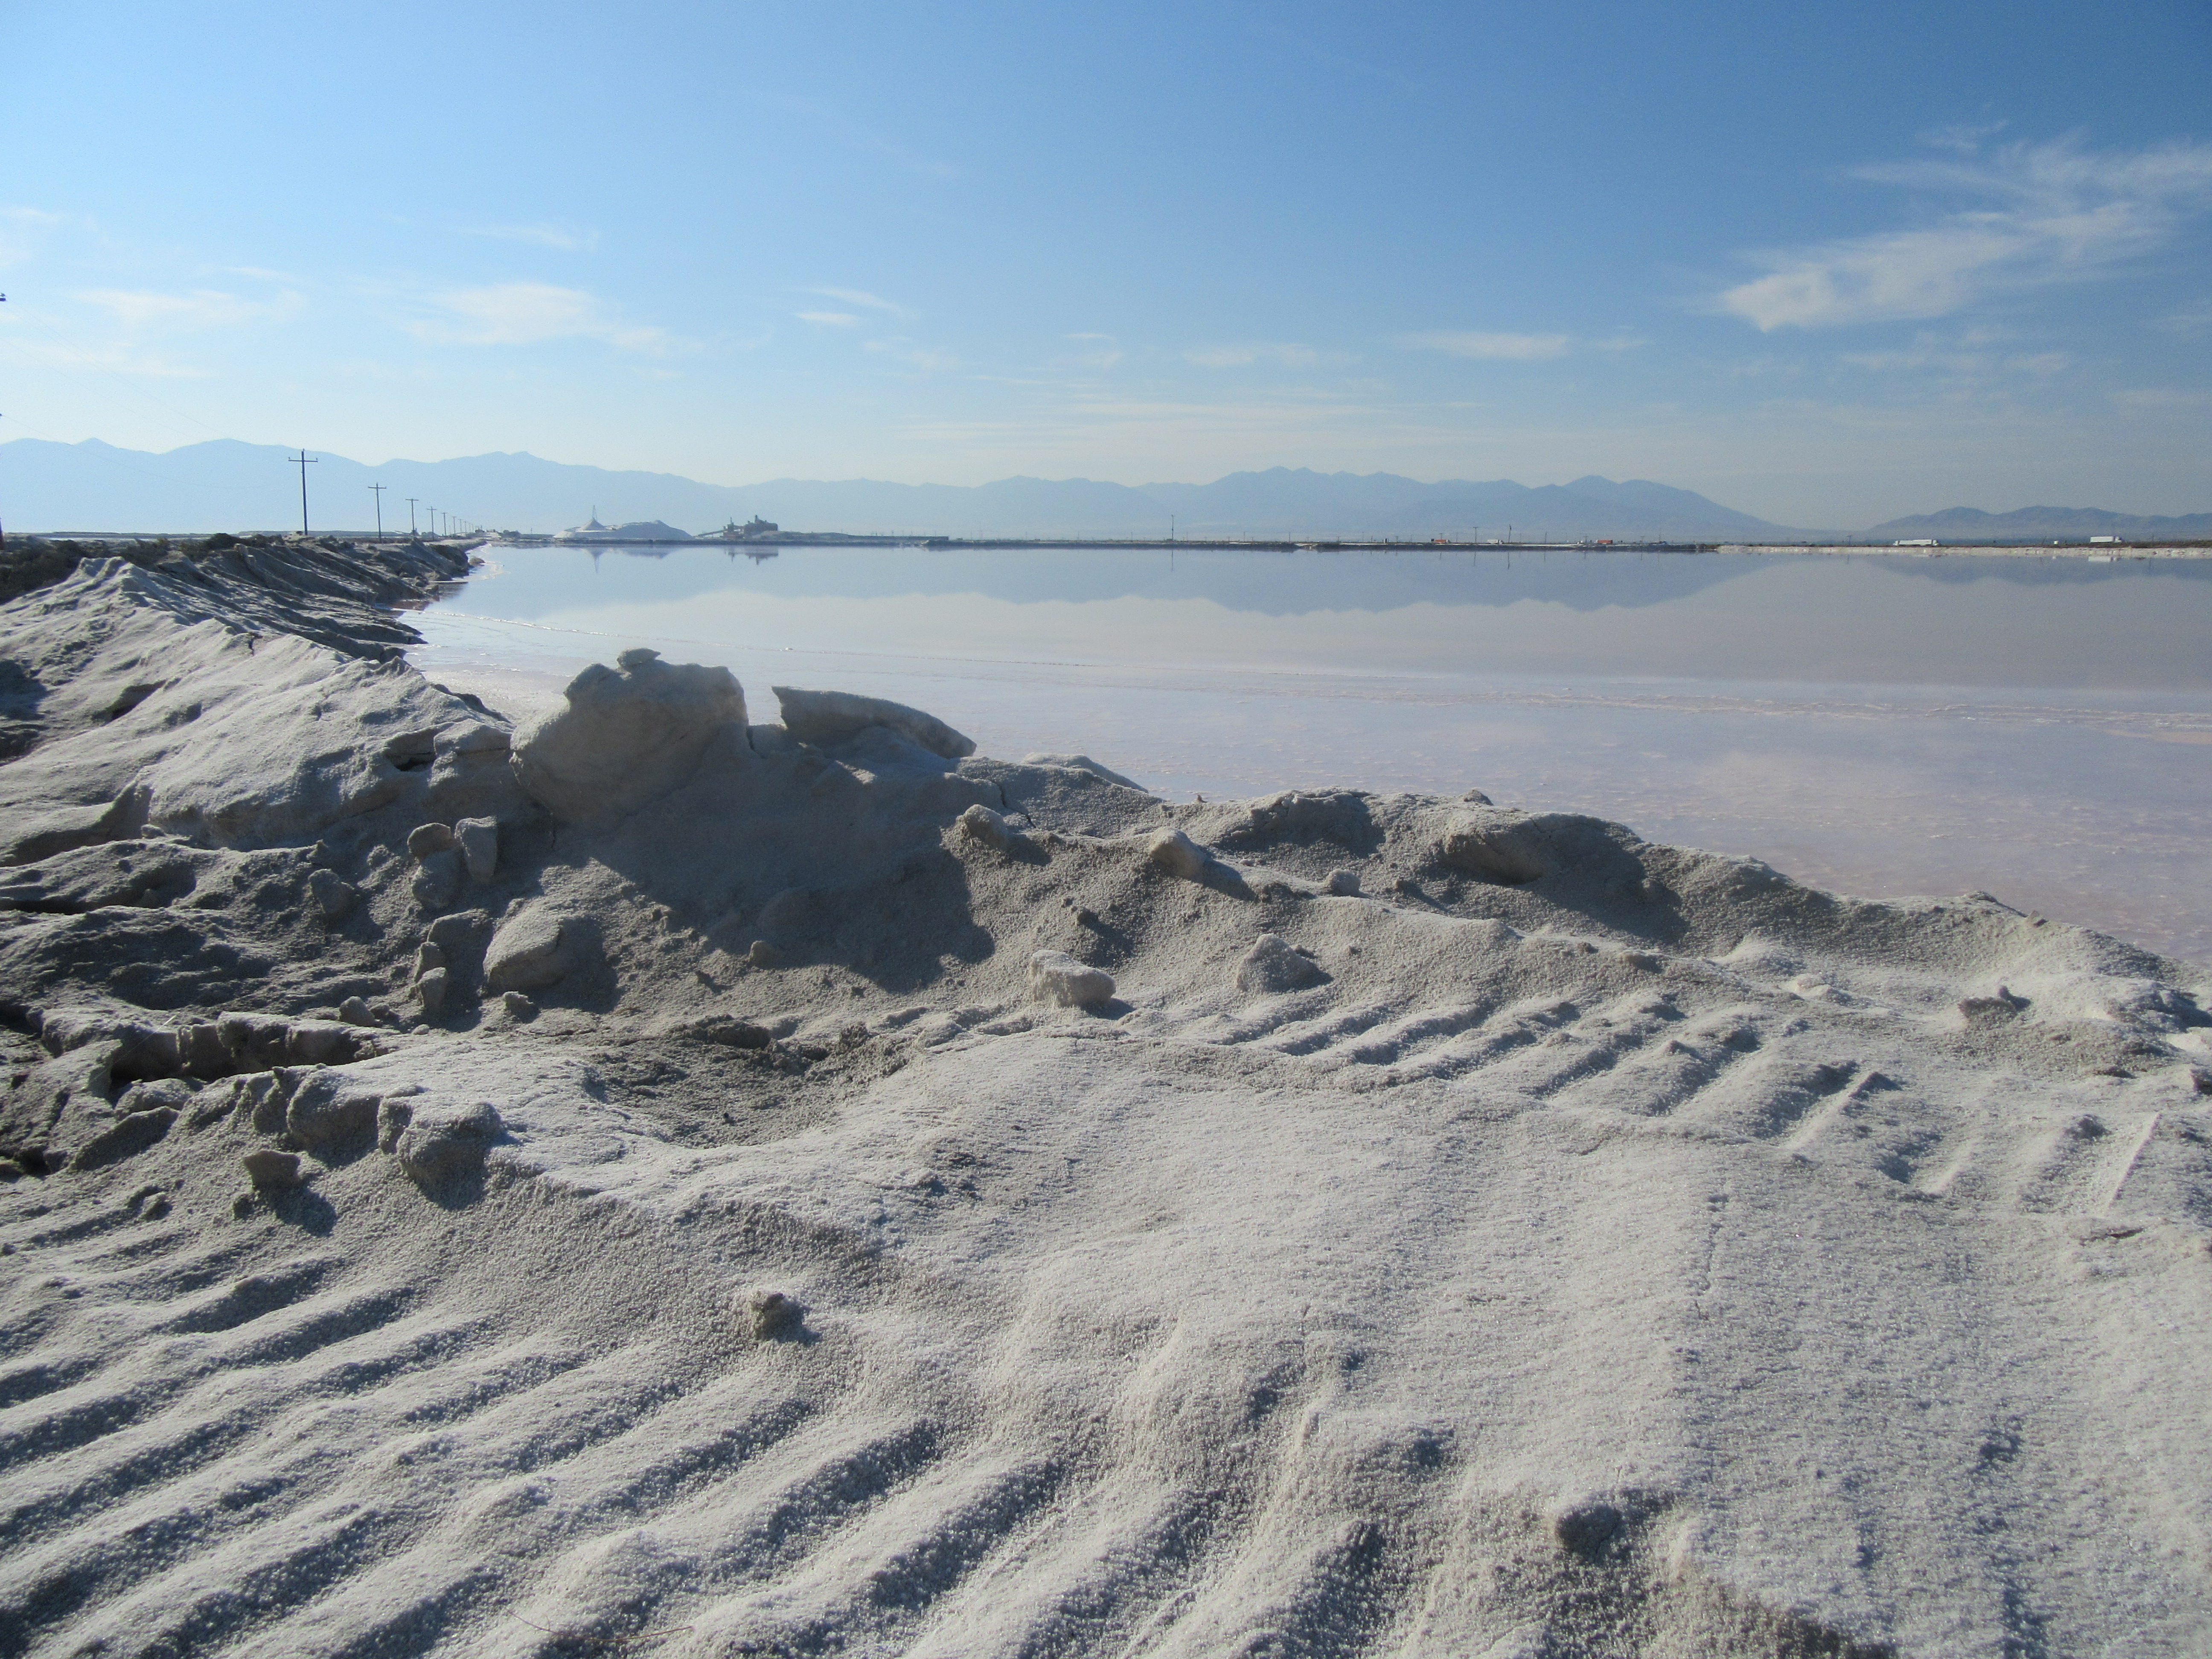
A salt factory in Utah. Photo Credit: University of Florida/IFAS Extension.
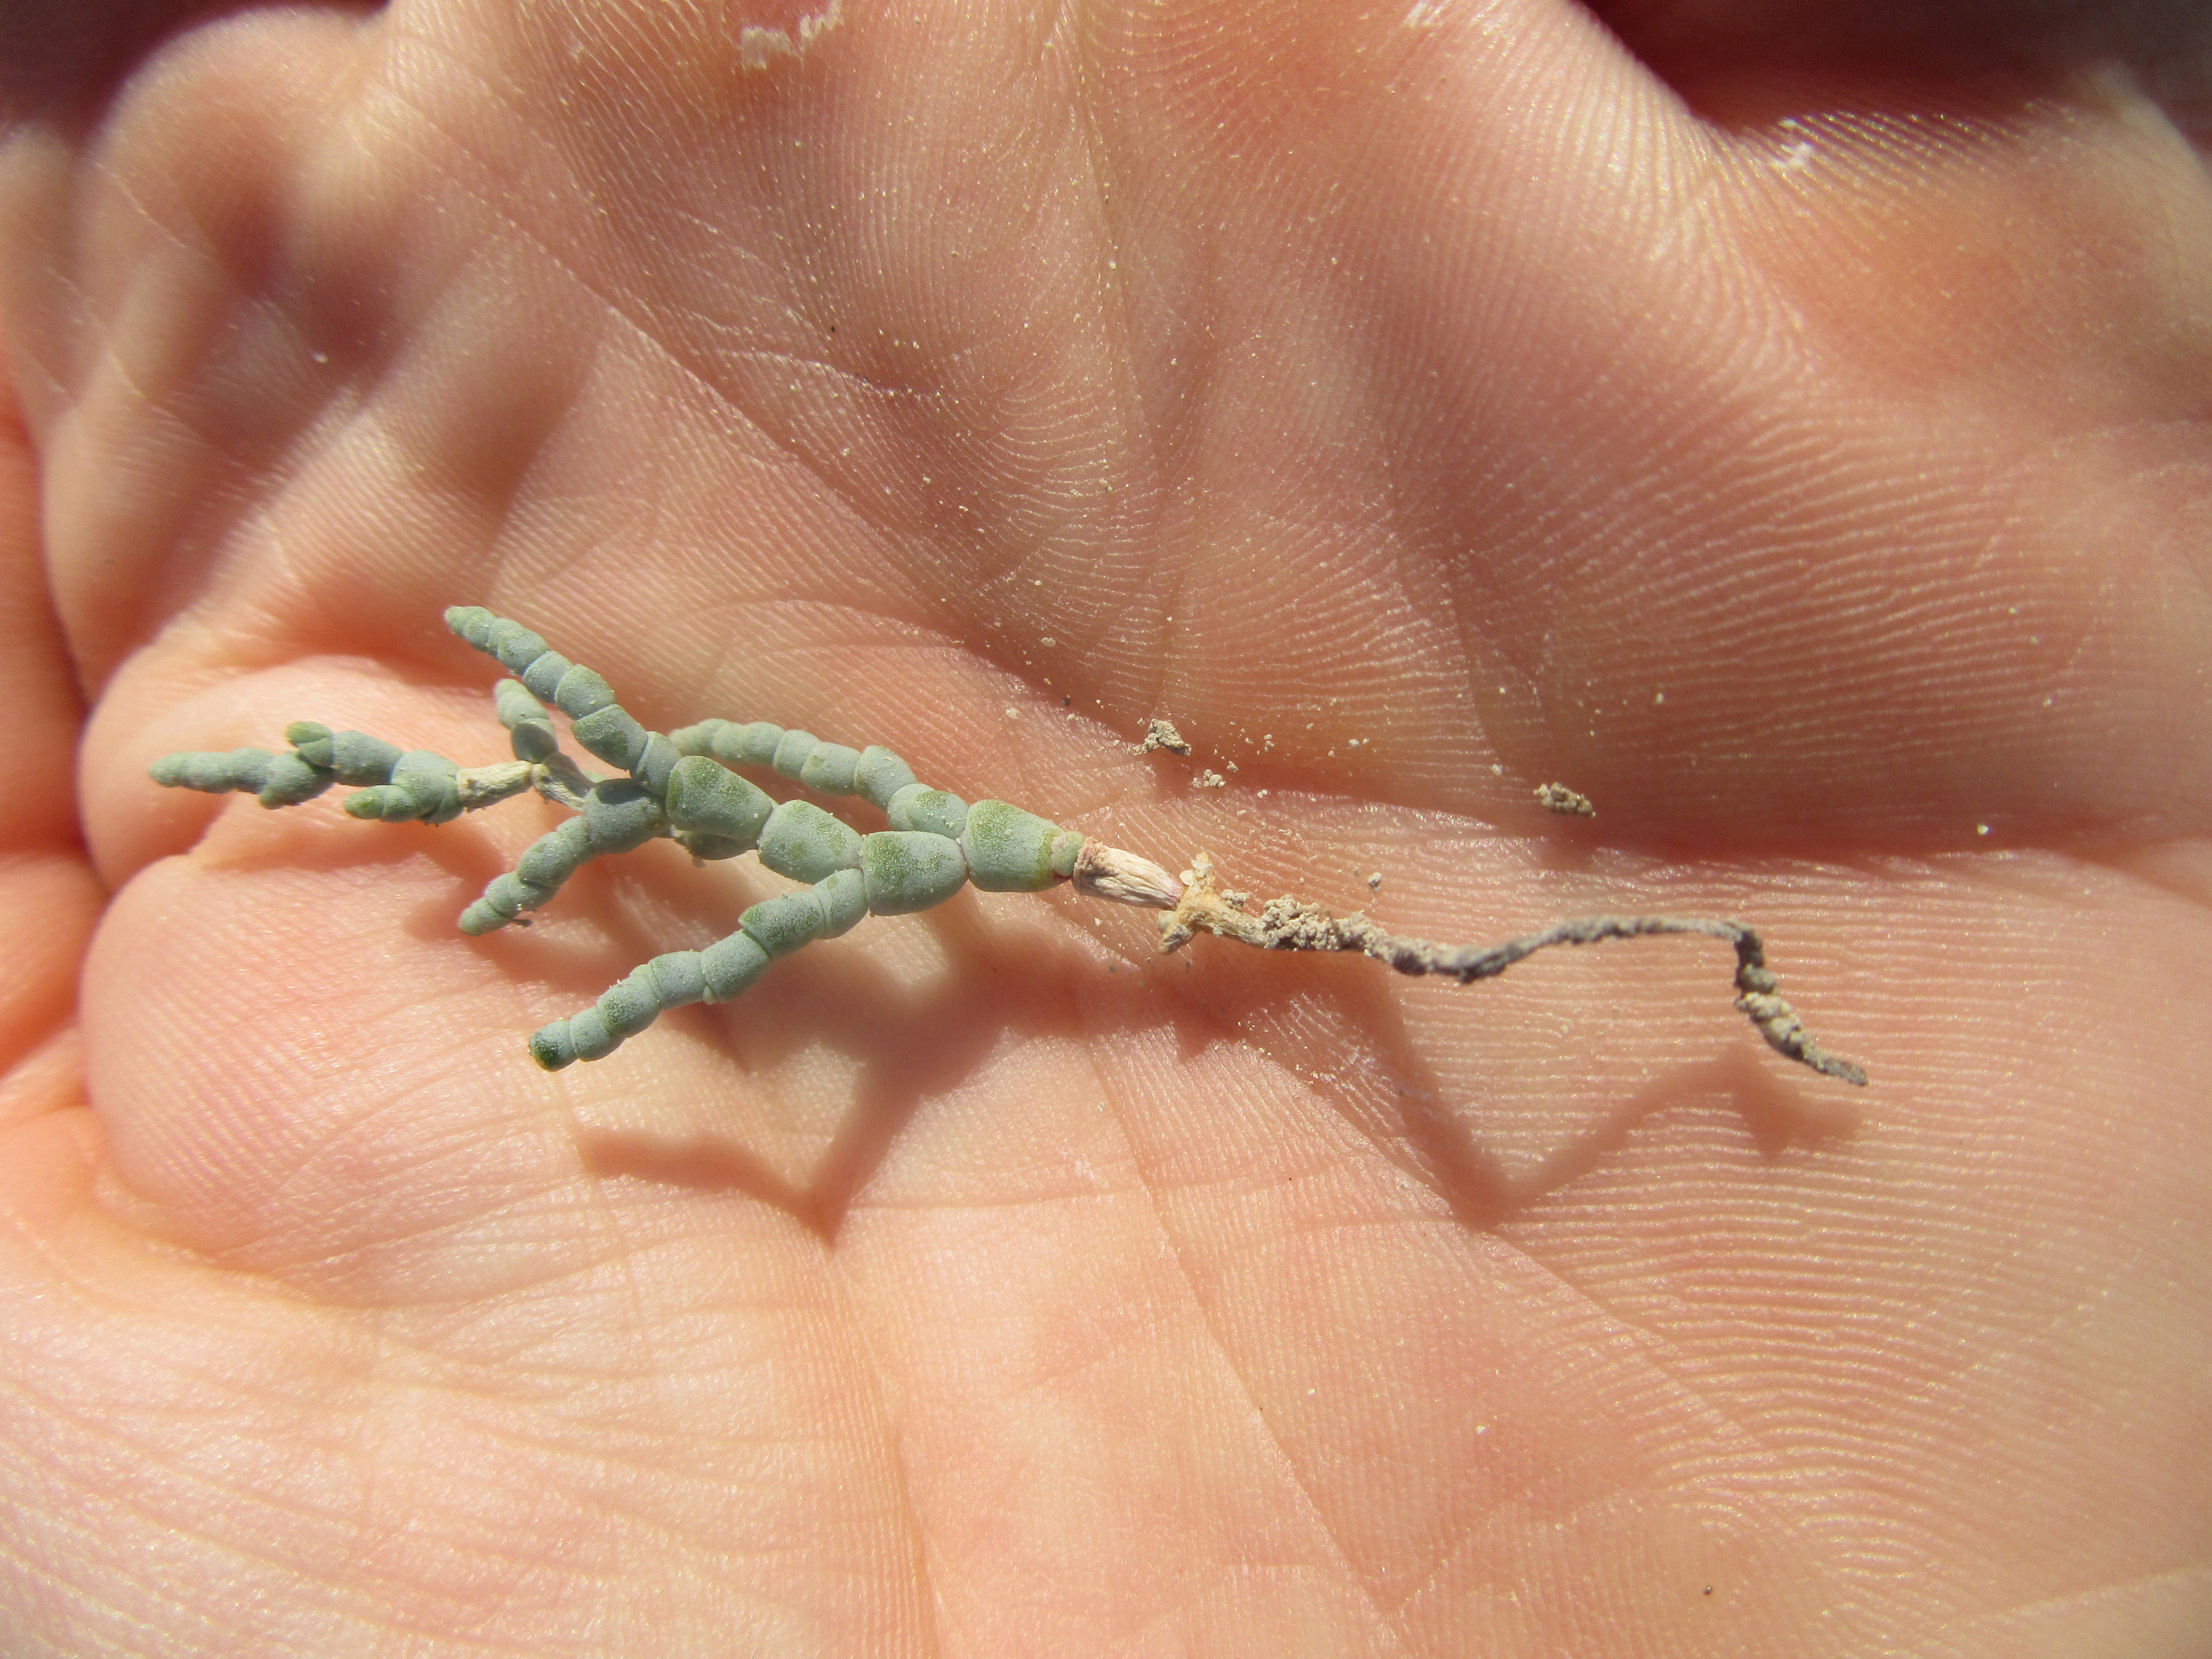
A pickleweed pulled out of a pile of salt. Photo Credit: University of Florida/IFAS Extension.
As you might have guessed, pickleweed is a salt loving (halophylic) plant. It is a member of the plant family Amaranthaceae (previously Chenopodiaceae), which also includes Russian thistle (Salsola iberica) a.k.a. tumbleweed. You won’t be happy to know that Russian thistle has found its way to our beautiful Florida beaches and is spreading. At first look, pickleweed seems to have no leaves, but its central stem is surrounded by succulent, salt storing leaf tissue. It is often spoken of as the “cactus” of the Great Salt Lake since it has no visible leaves and only a smooth green stem.
Pickleweed can be found growing in both coastal and interior portions of the United States. The variety growing around the Great Salt Lake is different from the coastal varieties due to its adaptation to this extremely salty environment. The Great Salt Lake has a salt content of about 30% whereas the Gulf of Mexico has a salt content of around 3%.
Pickleweed can also be found growing in the western landscape adjacent to the Great Salt Lake. These areas contain an interesting type of soil made up of ooids. Ooids are brine shrimp feces coated with layers of aragonite (a form of calcium carbonate CaCO3). Ooids can also be found on the east coast of Florida.
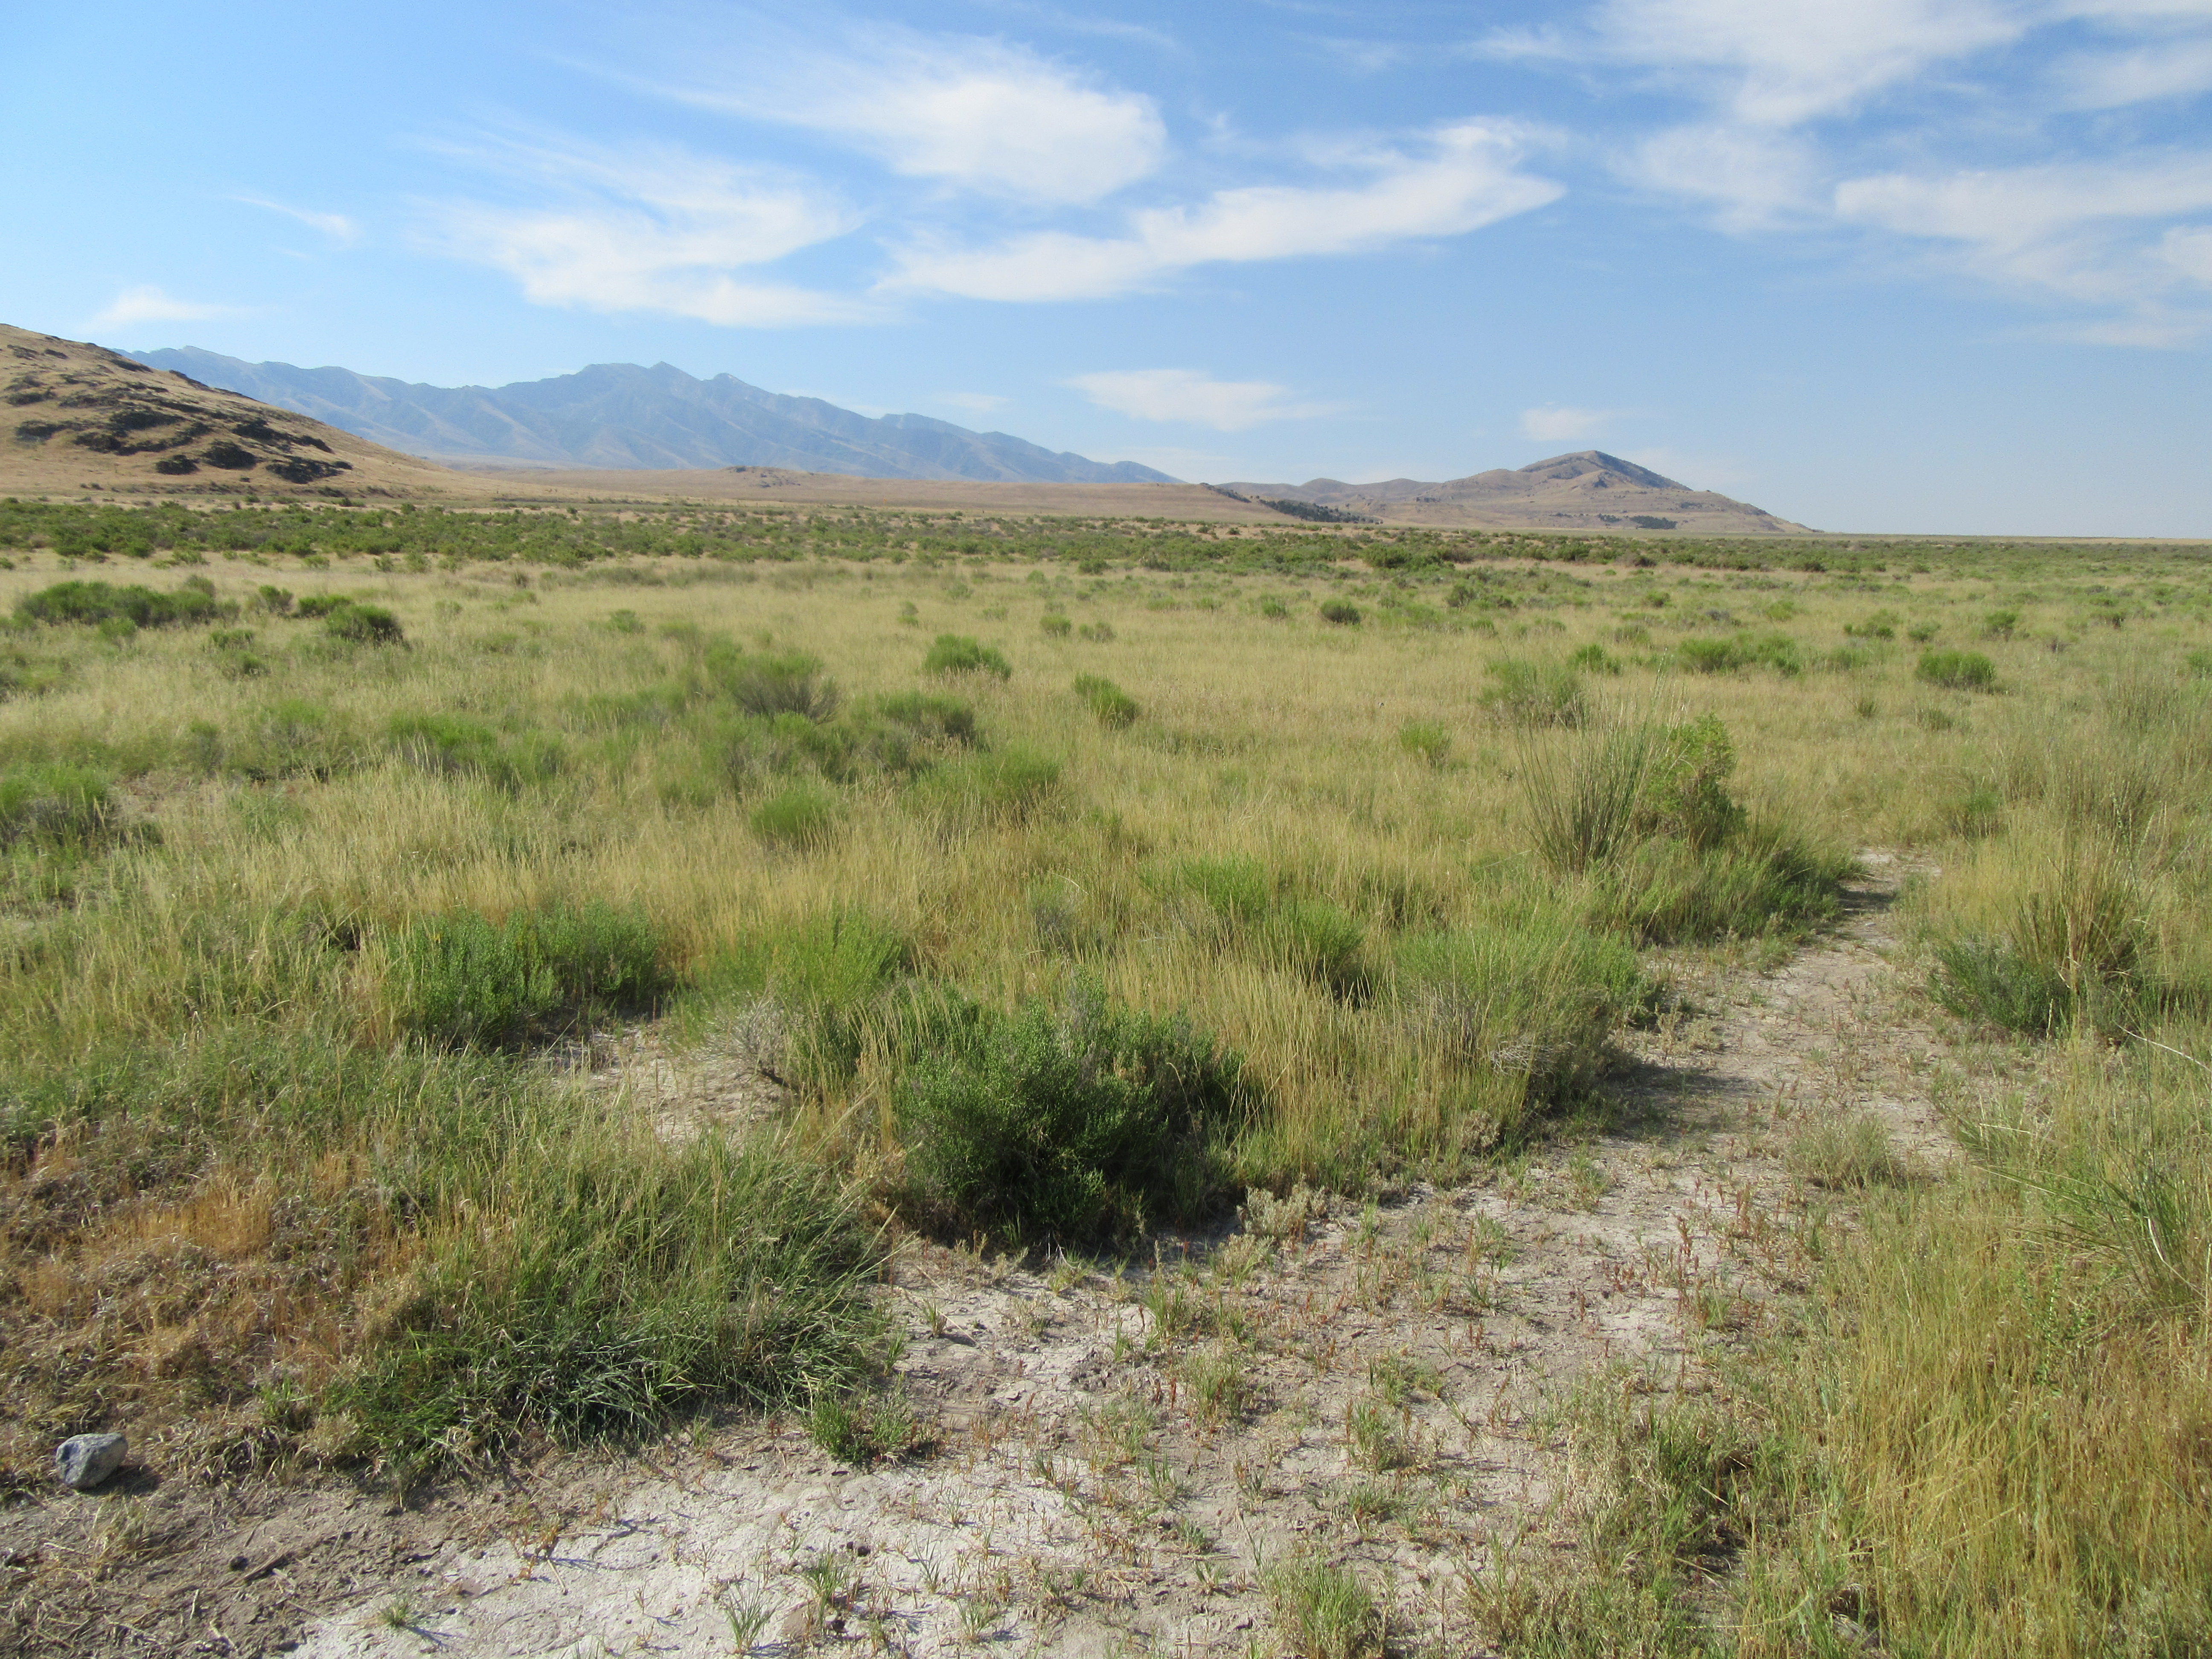
Pickleweed and other plant species growing in the Utah landscape near Timpie Springs. Photo Credit: University of Florida/IFAS Extension.
Although you probably won’t find pickleweed (Salicornia sp.) growing in a typical Florida Panhandle landscape, you might want to give it a try in your container garden or kitchen window. As you can see in the pictures, this plant likes to be neglected. It is difficult to grow at home. It needs a good amount of nitrogen and water. And it may benefit from periodic additions of table salt (sodium chloride). It needs to be in an area that receives 6 to 8 hours of sunlight per day. Seed and cuttings will be hard to come by. You will most likely have to take a trip to Utah to find a source.
Interestingly enough, some cultures use this plant as a vegetable/herb. You will need to conduct some more research if you wish to cook with pickleweed and remember to lay off the salt!