
by Matt Lollar | Mar 20, 2017

A type III fairy ring. Photo Credit: Alex Bolques, Assistant Professor, Florida A&M University
Mushrooms often are grouped in a circle in your lawn. This is due to the circular release of spores from a central mushroom. “Fairy Ring” is a term used to describe this phenomenon. Fairy rings can be caused by multiple mushroom species such as Chlorophyllum spp., Marasmius spp., Lepiota spp., Lycoperdon spp., and other basidiomycete fungi.
Occurrence
Fairy rings most commonly invade your yard during the summer months, when the Florida panhandle receives the most rain. The mushrooms cause the development and spread of the rings by the release of spores. Spores produce more mushrooms and are similar to the seed produced by plants.
Fairy Ring “Types”
Fairy rings can be seen in three forms:
- Type I rings have a zone of dead grass just inside a zone of dark green grass. Weeds often invade the dead zone.
- Type II rings have only a band of dark green turf, with or without mushrooms present in the band.
- Type III rings do not exhibit a dead zone or a dark green zone, but a ring of mushrooms is present.
The size and fill of rings varies considerably. Rings are often 6 ft or more in diameter. The fill of a ring can range from a quarter circle to a semicircle or full circle.
Cultural Controls
The rings will disappear naturally, but it could take up to five years. Although it is possible to dig up the fairy ring sites, it is a good possibility the rings will return if the food source (buried, rotting wood or other organic matter) for the fungi is still present underground.
In some situations, the fungi coat the soil particles and make the soil hydrophobic (meaning it repels water), which will result in rings of dead grass. If the soil under this dead grass is dry but the soil under healthy grass next to it is wet, then it is necessary to aerate or break up the soil under the dead grass with a pitchfork or other cultivation tool.
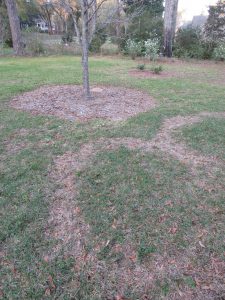
Rings of dead turf due to fairy ring fungi. Photo Credit: University of Florida/IFAS Extension.
Chemical Controls
Effective fungicides include products containing the active ingredients azoxystrobin, flutolanil, metconazole, pyraclostrobin, and triticonazole.
Fungicides inhibit the fungus only. They do not eliminate the dark green or dead rings of turfgrass and do not solve the dry soil problem.
A homeowner’s guide to lawn fungicides can be found at the University of Florida/IFAS Extension Electronic Data Information Source (EDIS) website (http://edis.ifas.ufl.edu/document_pp154).
by Matt Lollar | Feb 11, 2017
There are a number of reasons to remove large limbs from mature trees. The three most common reasons are to either remove dead wood, to keep limbs from interfering with one another and rubbing or growing together, or to keep the tree from having narrow crotch angles. (“Narrow crotch angle” is not a very charming phrase, but it simply refers to branches that grow at angles less than 45° relevant to the trunk.)

Photo Credit: Virginia Cooperative Extension.
Removing tree limbs larger than four inches in diameter should be done with care. Three cuts per limb are often needed to avoid tearing the bark down the side of the tree’s trunk.
- Make the first cut on the underside of the branch about 18 inches from the trunk. Undercut one-third to one-half way through the branch.
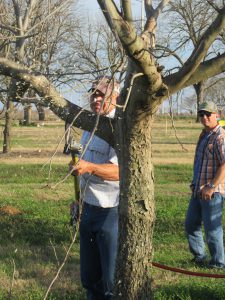
First Cut. Photo Credit: University of Florida/IFAS Extension.
- Make the second cut on the topside of the branch an inch further out on the branch; cut until the branch breaks free.
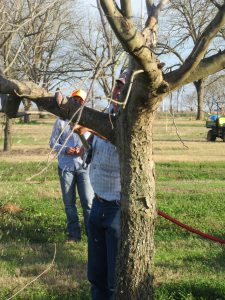
Second Cut. Photo Credit: University of Florida/IFAS Extension.
- Before making the final cut, identify the branch collar. The branch collar grows from the stem tissue around the base of the branch. Make pruning cuts so that only branch tissue (wood on the branch side of the collar) is removed. Be careful to prune just beyond the branch collar, but don’t leave a stub.
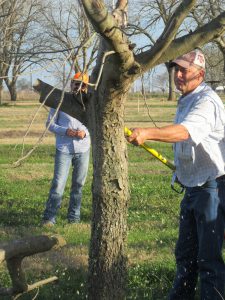
Final Cut. Photo Credit: University of Florida/IFAS Extension.
It is important to take your time whenever working with power equipment and trees in your landscape. You usually only have one chance to get the cut right and you don’t want to injure yourself or ruin your tree.
by Matt Lollar | Feb 10, 2017
BASIC HYDROPONIC GARDENING WORKSHOP
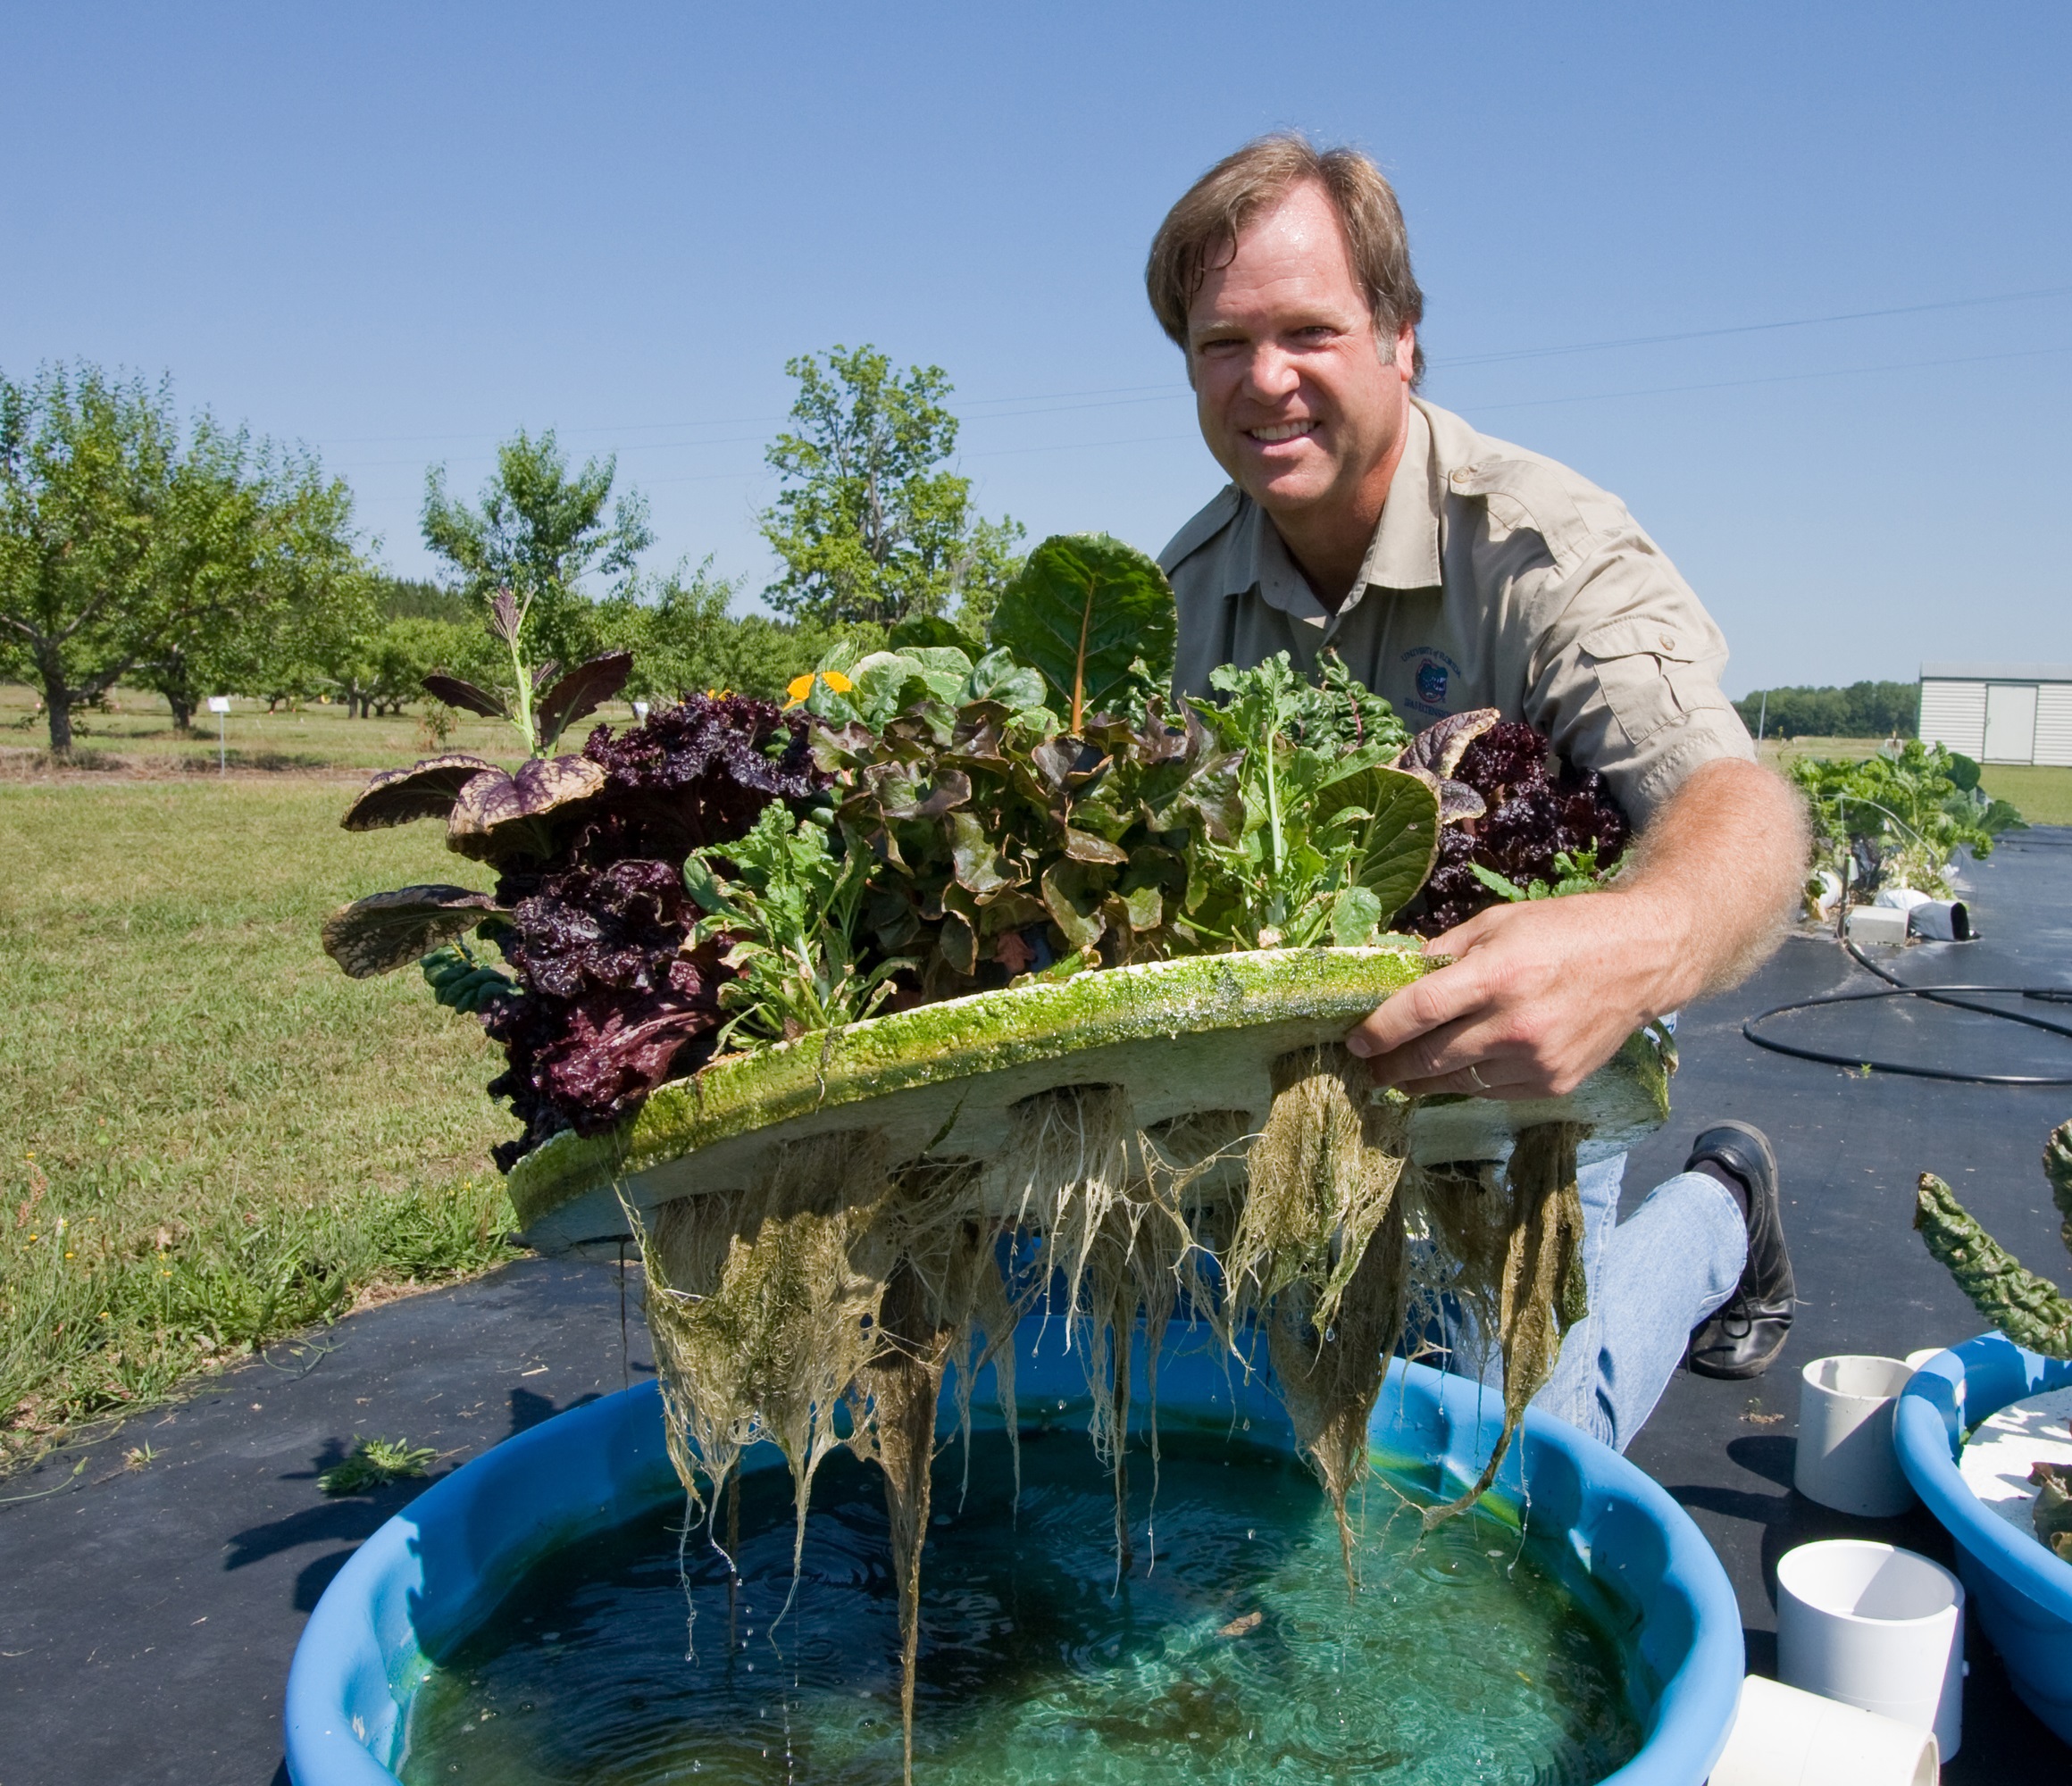
Bob Hochmuth shows one of the many hydroponic growing systems at the University of Florida’s Institute of Food and Agricultural Sciences Live Oak Research and Education Center. UF/IFAS photo: Thomas Wright
-
Learn hydroponic gardening basics.
-
Identify suitable plants for hydroponic gardening.
-
Learn plant food recommendations for hydroponic gardens.
-
Go home with equipment for a small portable hydroponic garden.
WHEN: Tuesday, February 28, 2017
TIME: 5:30 – 7:00 PM (Sign-in begins at 5:00 PM)
WHERE: Jackson County Agriculture Center
2741 Pennsylvania Avenue
Marianna, Florida 32448
REGISTRATION FEE: $20.00 (Includes Mini-Garden Materials and Plants)
Class size limited to 20 people.
Registration deadline Thursday, February 23, 2017
To register or for information, call (850) 482-9620.
by Matt Lollar | Dec 22, 2016
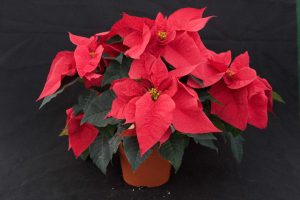
A beautiful poinsettia plant. Photo Credit: Tyler Jones, University of Florida
It’s Christmastime and time to pull your poinsettias out of the closet. Oh, you don’t have poinsettias left over from Christmas’ past? Well, if you follow some simple steps then you may be enjoying this year’s crop for years to come. But first, let’s go over a few fun poinsettia facts.
Poinsettia Facts
- The distinctive, colorful part of the poinsettia is not its flower but its petal-like leaves, botanically known as bracts. Bract color varies from red to pink, white, marble, orange, and even purple.
- The poinsettia is native to Mexico. The poinsettia got it’s name from the botanist and U.S. Ambassador to Mexico, Joel Poinsett, who introduced the plant to the U.S. in 1825.
- Contrary to popular belief, poinsettias are not poisonous to people or pets, however their milky sap can cause an allergic reaction in some individuals.
Care
With proper care, your poinsettias may stay colorful for many months. Poinsettias can retain their color until March if they are not exposed to freezing temperatures.
- Location. Poinsettias grow best in well-lit areas, but direct sun or hot lights can dry out the plants. They need at least 6 hours of indirect sunlight each day.
- Temperature. Keep your poinsettias away from drafts and chilly air. Room temperatures of 65 to 70 degrees Fahrenheit are best.
- Watering. Water your poinsettia when the surface of the soil is dry to the touch. Place a saucer under the pot, and drain the saucer if water starts to collect in it. Keep the soil from getting soggy. Too much water can kill a poinsettia.
- Humidity. Gently spray the plants with a mist sprayer or place them on gravel trays. Slightly humid air will help prolong color and life span.
- Fertilization. Lightly fertilize the plants every 4 to 6 weeks. High levels of fertilizer will reduce the quality of the plant.
- Storage/Recycling. When the leaves and bracts begin to fall off (usually in April), cut the plant back and give it sun, water, and fertilizer regularly. Starting in October, place the plant in complete darkness for 14 hours each day and in bright light the rest of the day. In December, your plant will begin to develop those beautiful, colorful bracts again.
Cut Flowers
Poinsettias may be used as cut flowers, but the stems must be treated right away. The milky sap must thicken inside the stems to prevent the plants from wilting.
Immediately after cutting, dunk the cut ends of the stems in almost boiling water for about one minute and then immediately place them in cool water. Keep the flowers away from the steam to prevent them from being damaged. Another method is singeing the cut ends of the stems with a flame for a few seconds and then placing the stems in cool water.
After the stems have been treated and placed in water, store the poinsettias in a cool place for at least eighteen to twenty-four hours before they are used in arrangements. Cut several more stems than you need, because not all flowers/bracts will survive.
by Matt Lollar | Nov 7, 2016
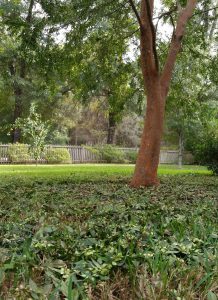
Chinese elm tree leaves fall due to feeding squirrels. Photo Credit: University of Florida/IFAS Extension
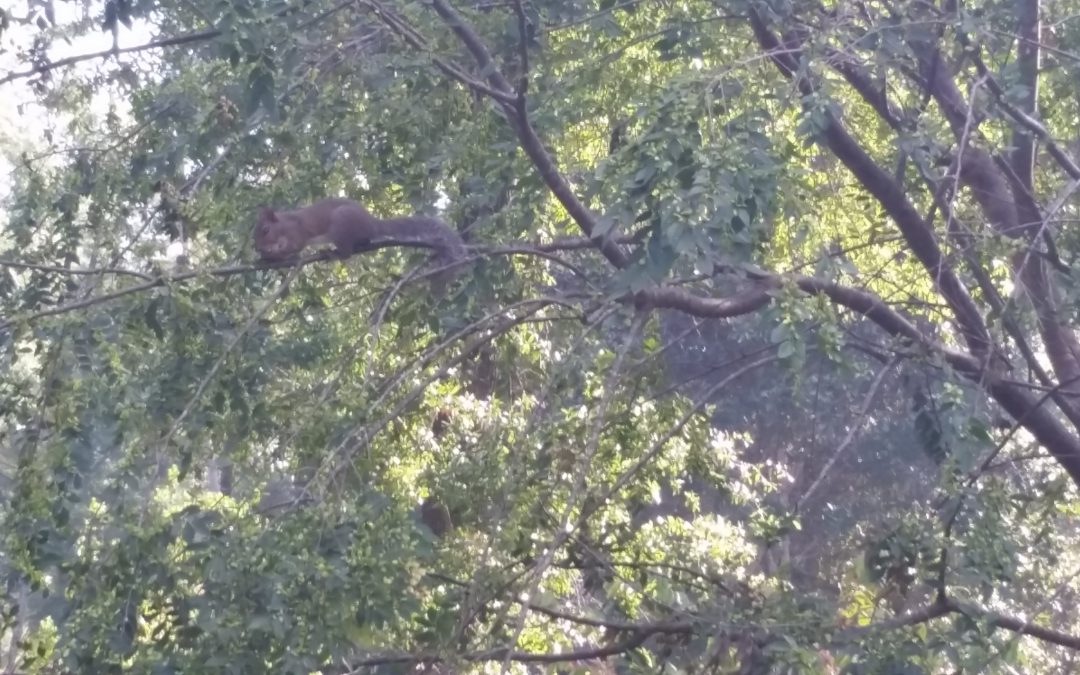
The Chinese elms in my yard are under attack. They are dropping leaves and the temperature’s still in the 70s. Upon closer look, they aren’t just dropping leaves but the tips of branches too. What is going on? Is there a new insect pest wreaking havoc on my trees? Did I do something wrong? No, no, and…no. The culprits are tree rats! You know, those bushy-tailed rodents that live in the trees (also known as squirrels).
Squirrels feed on a number of things in my yard including mushrooms, acorns, and now I’ll have to add elm branches to the list. Chewing on branches doesn’t sound appetizing to me but, as with everything, there is a reason for it. The best explanation is that the varmints can sense an accumulation of sugars in the trees and they are feeding on the cambium layer underneath the bark.
Another explanation is that there are no other preferred food sources available. However, I can debunk that theory because the squirrels have not even touched my ripe satsumas. And we all know that satsumas taste a lot better than tree branches.
A hungry squirrel feeds on Chinese elm wood. Photo Credit: University of Florida/IFAS Extension.
Whatever the reason, the feeding may actually do a bit of good for the trees. The squirrels mainly feed on the new tree growth. This helps to promote new branching, growth which will potentially contribute to better shading from the tree. However, there is a tried-and-true solution to the problem if the squirrels annoy you as much as they annoy me. I prefer to brine squirrel in a mixture of water, salt, and sugar before I put them on the grill but you can prepare them in any way you’d like.


