by Abbey Smith | Jun 5, 2025
The Florida Panhandle’s warm, humid, and sunny climate makes it ideal for lawns to stay lush and green for most of the year—but it’s also perfect for turfgrass diseases to develop. The summer weather has already been ramping up with temperatures reaching a little above 90 degrees Fahrenheit already this year which also means the signs of disease will be showing sooner rather than later. If you’ve been noticing large brown patches, thinning grass, or strange spots growing on you grass leaves, a disease may already be present. Here’s what you need to know to stay ahead of a total lawn takeover.
Large patch or rhizoctonia blight is one of the most common fungal turfgrass diseases to affect lawns, specifically if you have centipede turfgrass. This disease is most prevalent between the months of November and May, and if not controlled, will continue to spread in the fall. Symptoms are easy to spot, as large, brown circular discolorations that will grow larger in size over time. The best way to treat large patch is through preventative lawn maintenance over time. Water only when necessary to avoid excess moisture, apply slow-release appropriate lawn fertilizers, and clean your mower blades after each time you mow.
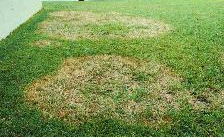
Large patch disease present in turfgrass. Photo Credit: Shelia Dunning, UF/IFAS Extension
Another common lawn disease to see during the warmer months is dollar spot. Dollar spot will affect all warm season turfgrasses but will be more commonly found in Bahia and Bermuda grass. Dollar spot disease creates small patches that are circular and will grow into larger areas. Individual grass leaves will have small lesions starting on the leaf margin that will have a light brown to tan coloration. It is important to know that grasses that are drought stressed, over irrigated, or mowed too low are more prone to contracting this disease. Proper cultivation practices are important to prevent dollar spot and other turfgrass diseases. For more sever cases, the use of chlorothalonil fungicide can be used during the treatment process.
There are various other lawn diseases that can be recognized over time. If you are trying to identify a potential disease in your lawn grass, consider using the UF Turfgrass Disease Identification Flowchart. It will walk you through the symptoms that are present to make a correct diagnosis. If you would like a more expert opinion, contact your local county Extension office for additional help. For additional information on turfgrass diseases, please visit:
https://sfyl.ifas.ufl.edu/media/sfylifasufledu/baker/docs/pdf/horticulture/TurfgrassDiseaseIdentificationGuide.pdf
https://gardeningsolutions.ifas.ufl.edu/lawns/problems-and-solutions/large-patch/
https://gardeningsolutions.ifas.ufl.edu/lawns/problems-and-solutions/lawn-diseases/
by Abbey Smith | Apr 24, 2025
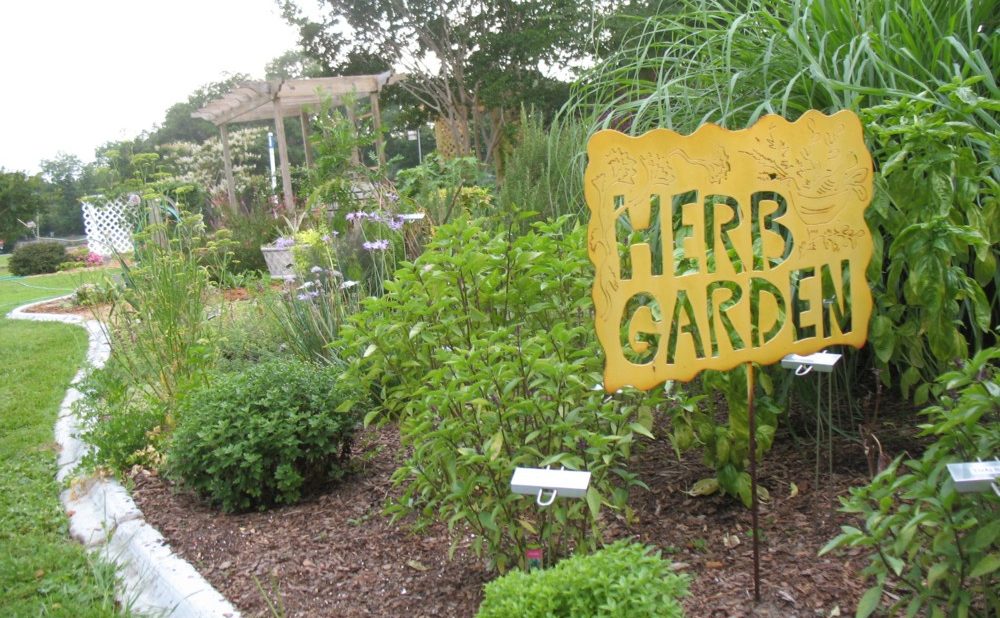
Herbs are one of the best ways to add diversity to your garden or patio in the summer as they have many uses and unique traits. Summer is the season where herbs truly shine. There are many benefits of growing and using herbs at home, such as adding flavor to foods and beverages. Throughout this article, you will learn about different types of herbs and their uses.
The use of herbs has dated back almost 5,000 years, specifically in what we know today as modern Asia and the Middle East. “The Age of Exploration” enhanced the herb and spice trade in many European countries when Christopher Columbus set sail in 1492 to discover the trade route to India. Three hundred years later in 1715, Spanish explorers were pushed to the east coast of Florida in the area we know today as St. Augustine, Florida. They introduced various herbs and spices such as vanilla, annatto, and sassafras. Herbs have a unique history, and you can read more from the book Herbs and Spices in the Florida Garden written by Charles R. Boning.

Photo Credit: Abbey Smith, UF/IFAS Extension Jackson County
There are many key things to consider when growing herbs at home, such as your growing location. Gardeners need to consider how easily their herbs can be accessed from the garden to the kitchen, the exposure of sunlight, and whether they will be grown in the ground or in containers. Most herbs like ample sunlight and well-drained soil. Herbs can be attractive additions to most flower beds and container pots. They can also be a great pollinator source as most will bloom. However, some herbs can grow quite aggressively and may be better suited for a container in order to control their growth.
There are various ways herbs can be propagated. The most common ways are by stem cuttings or germinating seeds. There are many herbs one can grow, but the best herb varieties acclimated for the summer heat are basil, chives, cilantro, cumin, lemon grass, marjoram, mint, oregano, rosemary, and thyme. Most herbs are used for culinary purposes like adding fresh flavor to a recipe or creating a spice rub for meat. When harvesting herbs to cook with, look for leaves that are younger and tender with good coloration to them. The younger leaves harbor more flavor and are better suited for fresh use.
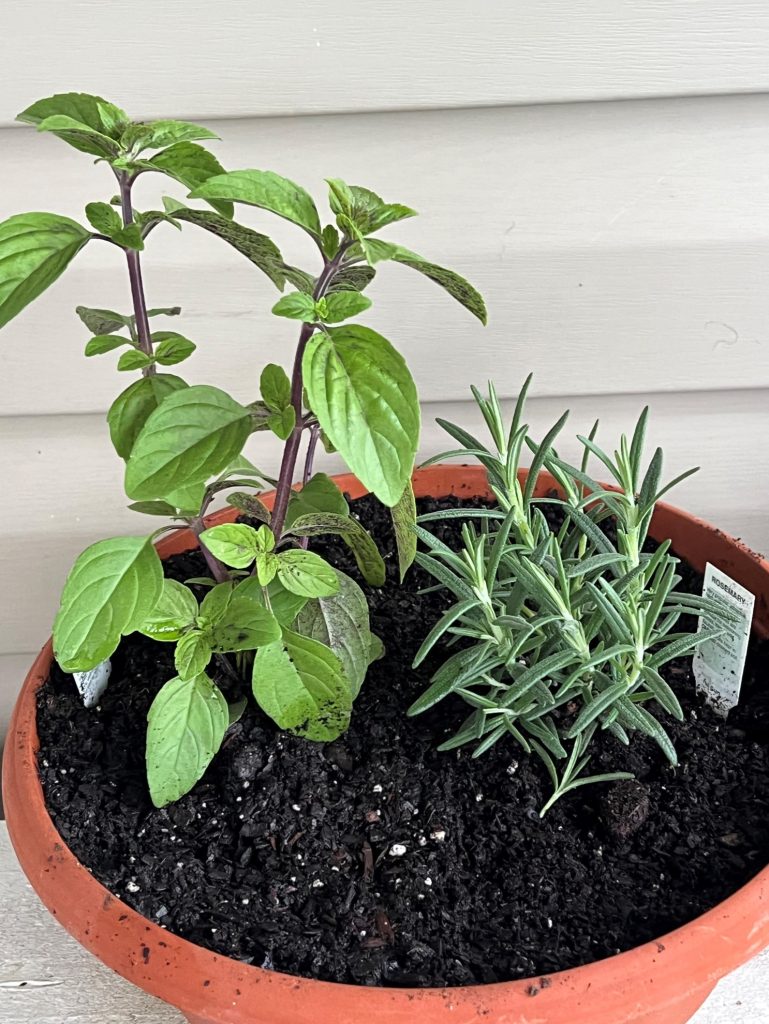
Container grown herbs. Photo Credit: Abbey Smith, UF/IFAS Jackson County Extension
Some of the most common herbs that gardeners keep on hand are basil, chives, and mint. See below the growing information for each type.
Basil
Basil belongs to the mint family, with many varying types that have a wide selection of scents and flavors. Sweet Italian basil is most used in Italian recipes, like pesto or marinara sauce. Basil is classified as an annual herb but can last for several seasons if it is winterized properly. You can plant basil in the early spring or fall and it prefers morning sun to afternoon shade. It is best to pinch off the flowers to produce more leaves, as the flowers can alter the flavor profile.
Chives
Chives are classified as a perennial herb that will flower between April and May. There are two different types of chives: garlic and onion. Both have obvious different culinary flavors but have the same growing requirements. Chives prefer full sun and a well-drained soil and will go dormant during the winter months. This herb will need to be divided every so many years to prevent overcrowding.

Onion Chives, Photo Credit: Abbey Smith, UF/IFAS Extension Jackson County
Mint
Mint is an easy to grow perennial herb that has hundreds of varieties to choose from. Some commonly recognized ones are Spearmint, Peppermint, and Chocolate Mint. It is commonly used in beverages and foods and is a great natural insect repellent. Mint has dark green levels and can grow in either shade, partial sun, or full sun. It likes plenty of moisture so heavy watering is needed. This is an herb that can quickly become a weed if not properly maintained so growing in a container is best.
To learn more about different herbs and their growing requirements, you can sign up for the UF/IFAS Jackson County Extension Garden to Table Workshop: Summer Herbs on May 9 at the Jackson County Extension Office from 6:00 pm to 8:00 pm. You can register on Eventbrite at: https://www.eventbrite.com/e/garden-to-table-summer-herbs-registration-1111961539899?aff=erelexpmlt
For more information please visit:
https://gardeningsolutions.ifas.ufl.edu/plants/edibles/vegetables/herbs/
https://gardeningsolutions.ifas.ufl.edu/plants/edibles/vegetables/herbs-for-pollinator-gardens/
by Abbey Smith | Jan 24, 2025
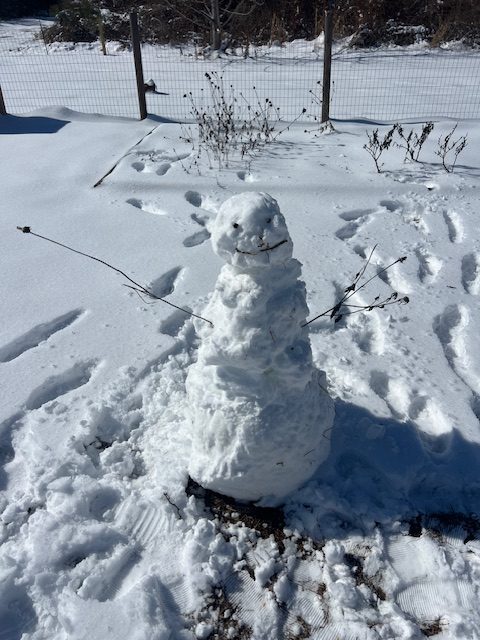
Snowman in the Garden. Photo Credit: Abbey Smith, UF/IFAS Extension
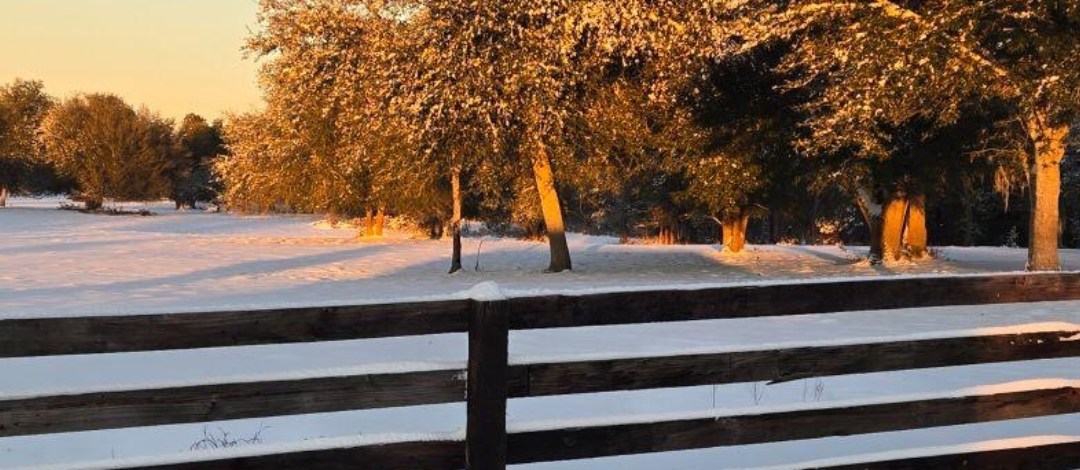
2025 has already been a year for the books, as Winter Storm Enzo has proven that it really can snow in the Sunshine State. With the fluffy white snow also comes below freezing temperatures, therefore most landscape plants that fit the hardiness zones of Florida are not cold-tolerant or what is also called “cold-hardy.” In the Florida Panhandle, freezes are becoming more prevalent in recent years, so it is best to act ahead of time to protect your patio and landscape plants from feeling the adverse winter affects.
Preparation in Advance
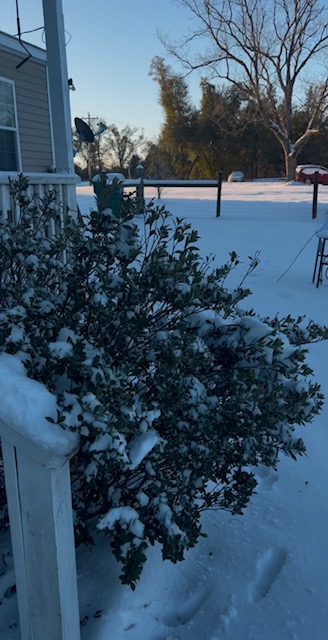
Gardenia bush in the snow. Photo Credit: Abbey Smith, UF/IFAS Extension Jackson County
It is always best to do your research and know what hardiness zone(s) your plants will thrive in. This will help you understand the level of cold tolerance the plant can withstand and will allow you to select cold tolerant varieties that will grow best in the Florida Panhandle. You can find your hardiness zone by using this link: https://planthardiness.ars.usda.gov/.
Proper care throughout the year will also help your patio and porch plants withstand freezing temperatures; a healthy plant has a better chance of recovering from cold damage than an unmaintained one. A freeze event can usually be spotted in the forecast multiple days in advance, and it is best to be proactive by moving potted plants that would be adversely affected to the indoors or to a warmer sheltered area.
Cold Protection Tips
One of the most effective ways to protect your plants from cold weather is covering them up during the night. Frost cloths can be purchased at most garden stores or through online platforms. If you are unable to buy frost cloths, you can use breathable materials such as old bed sheets or burlap bags that will still allow for air flow to the plant but keep it insulated and warm.
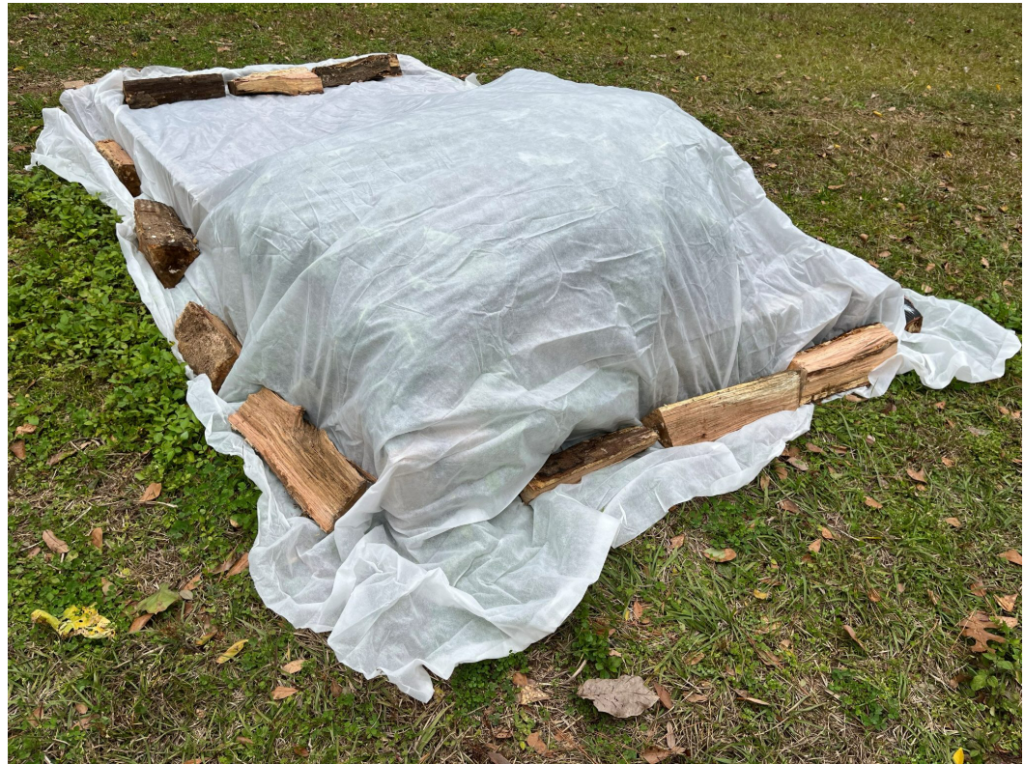
Example of frost cloth protection. Photo Credit: Molly Jameson, UF/IFAS Extension Leon County
You can also use mulch for insulation. Applying a thick layer of mulch around the base of your landscape plants will help insulate the soil to regulate ground temperatures and protect the plant’s root system from cold weather damage. Pine straw or leaves will work best and should be applied in a 3-to-4-inch layer kept away from the base of your stem or trunk of the plant. In some cases, it may be necessary to use an outdoor heat lamp, but always ensure that it is placed away from any flammable materials and only used as needed.
It has been said that using your irrigation at home can be a form of freeze protection. This is typically not effective for a homeowner. When farmers run irrigation to protect their crop, the irrigation systems that are used commercially are designed for scenarios like this. The irrigation must be run for several hours after temperatures rise for this method to work and protect the plants. With a home irrigation system, this is considered water-wasteful and the amount of water a home irrigation system emits can turn into heavy ice quickly, which will damage your plant rather than offer protection.
Cold protection for plants in Northwest Florida is all about preparation. Whether its covering plants, adding mulch to your landscape, or moving your plants indoors, a little effort can go a long way in preventing cold damage. With a bit of TLC, you can keep your landscape and garden beautiful all year long.
For more information please visit:
https://gardeningsolutions.ifas.ufl.edu/care/weather/treating-cold-damaged-plants/
https://gardeningsolutions.ifas.ufl.edu/lawns/maintenance-and-care/how-to-help-your-lawn-survive-the-chill/
by Abbey Smith | Oct 24, 2024
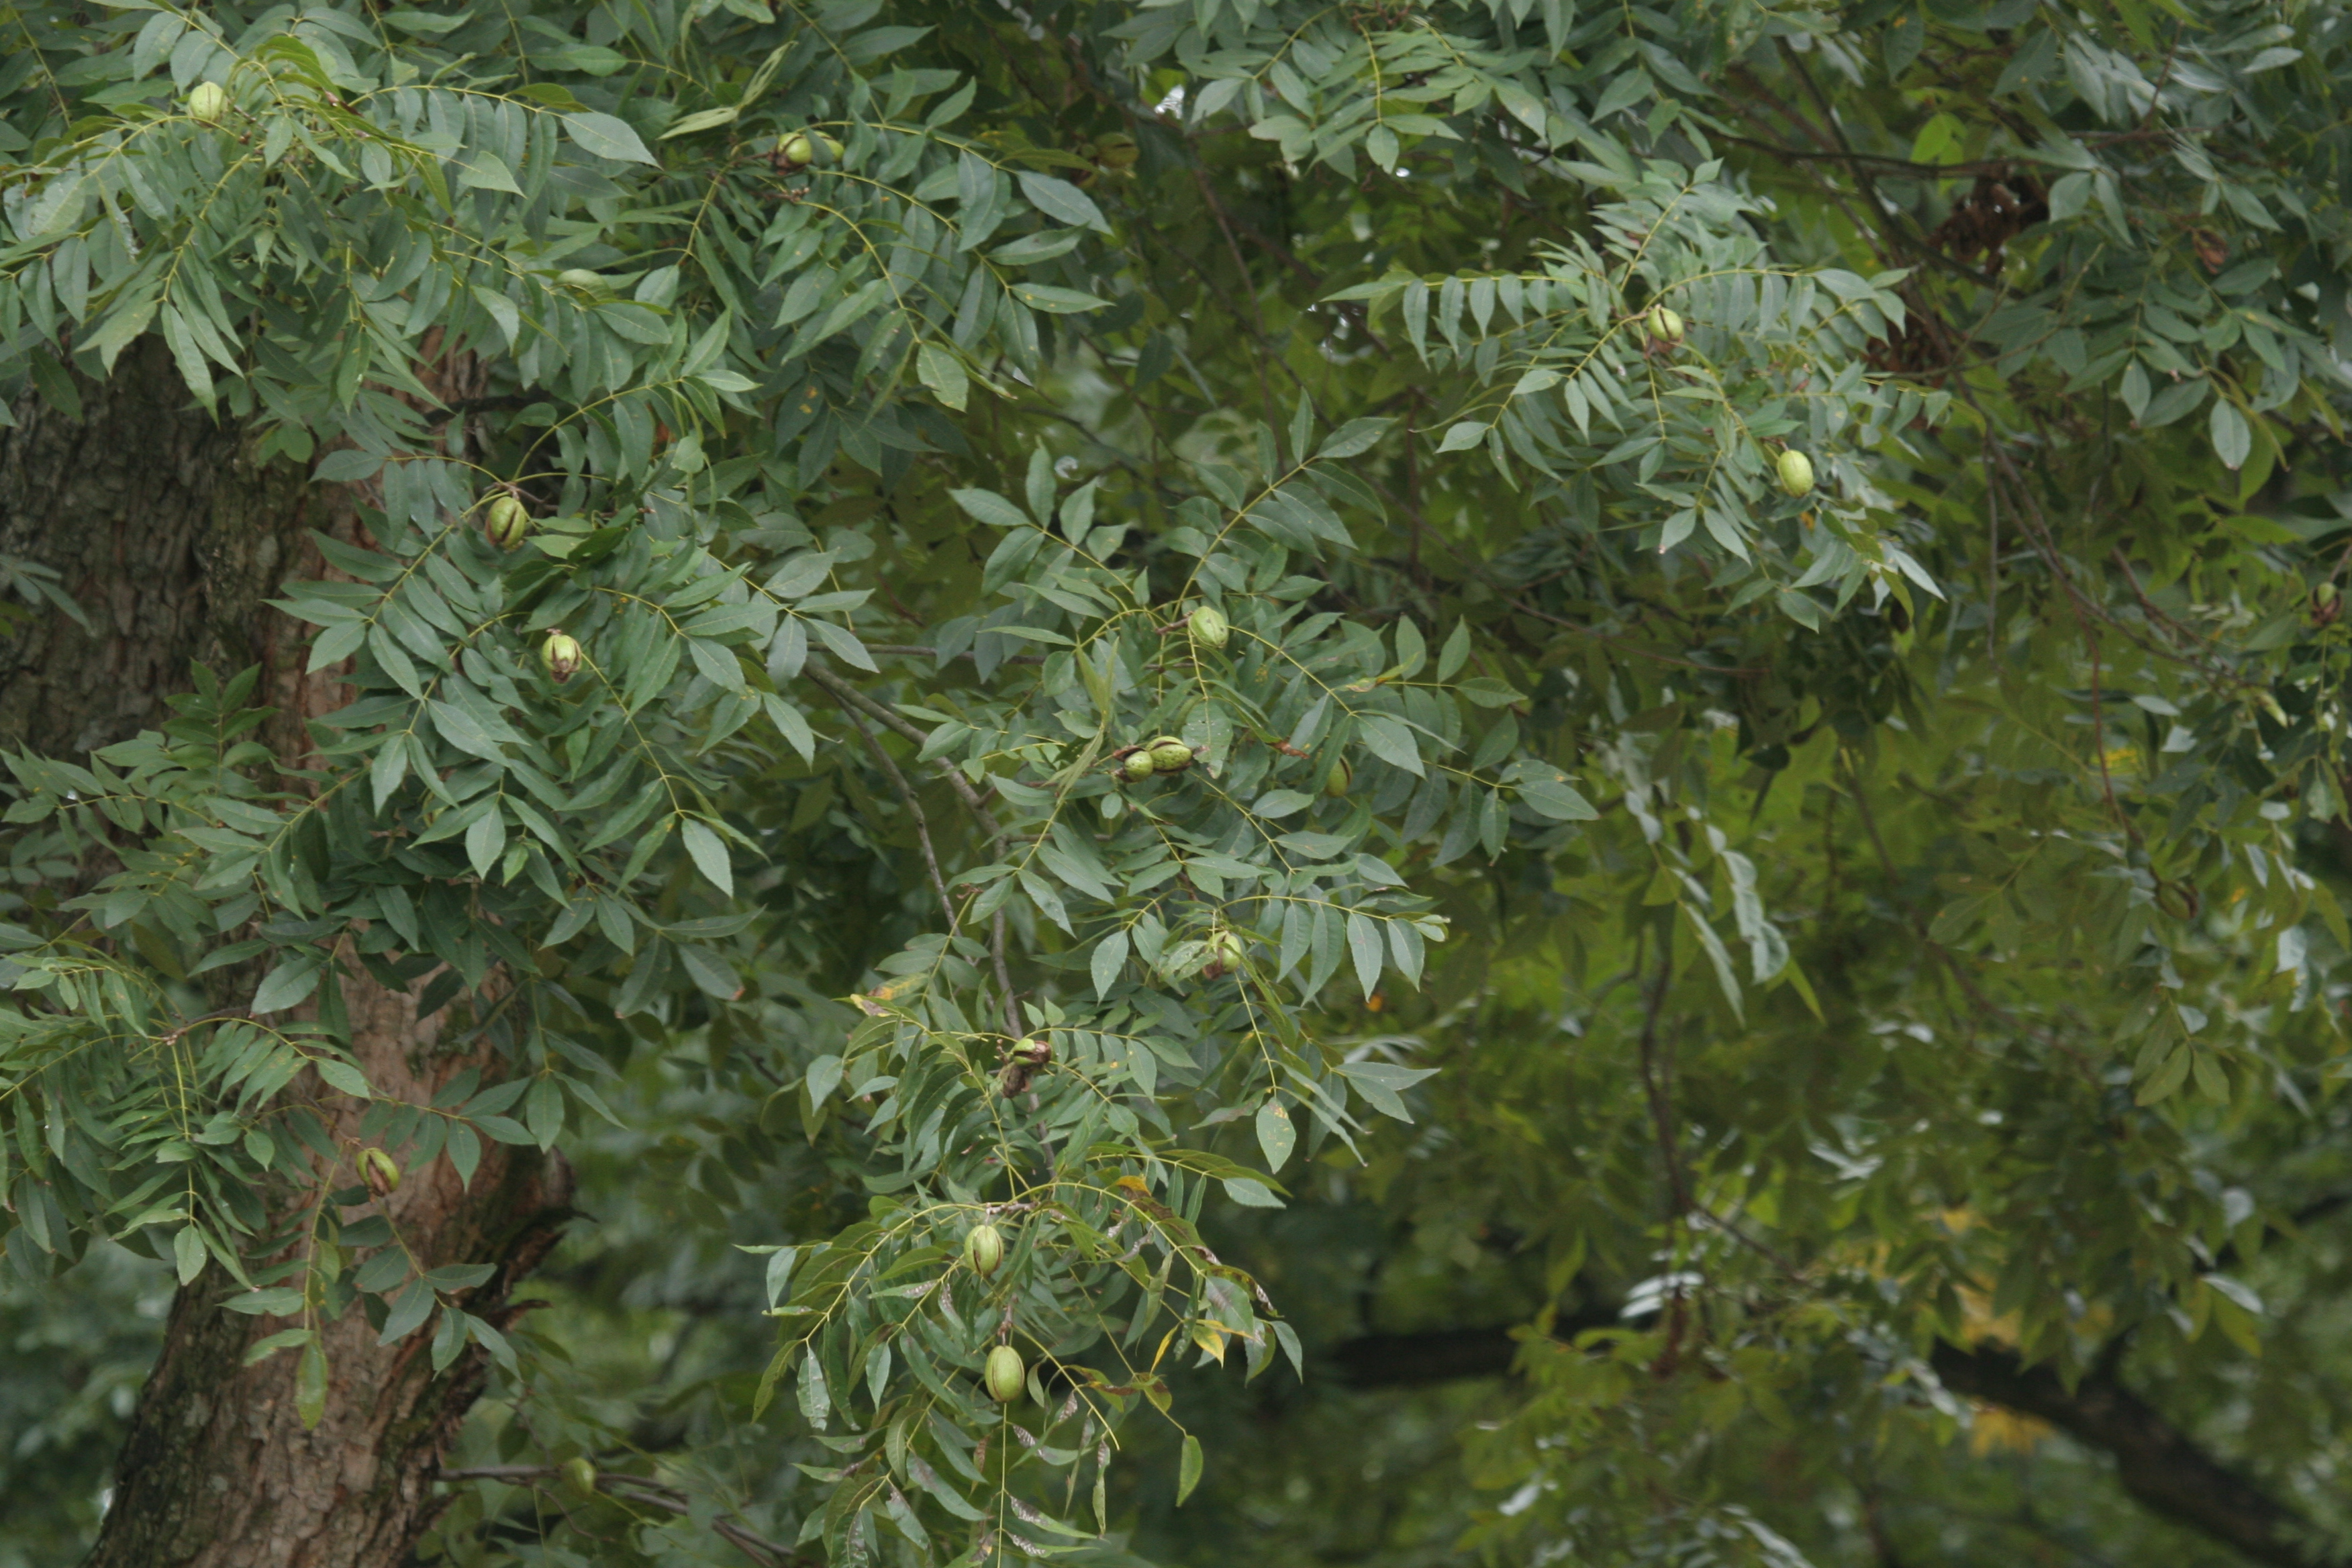
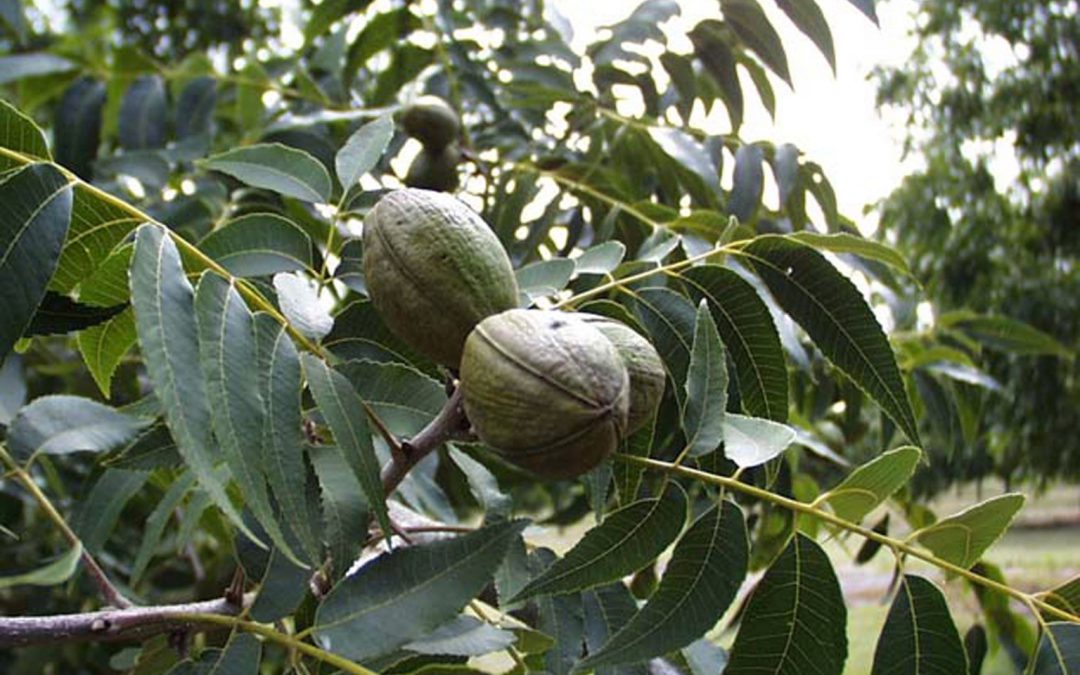
Pecan trees are a southern staple in the states of Alabama, Georgia, and North Florida, prized for their delicious nuts and gorgeous additions they make to the landscape. During October and November, we start to see the mature pecan nuts fall to the ground and these can be dried and stored for many months, making them a long-lasting and rewarding crop. Here is what you need to know to install pecan trees of your own at home.

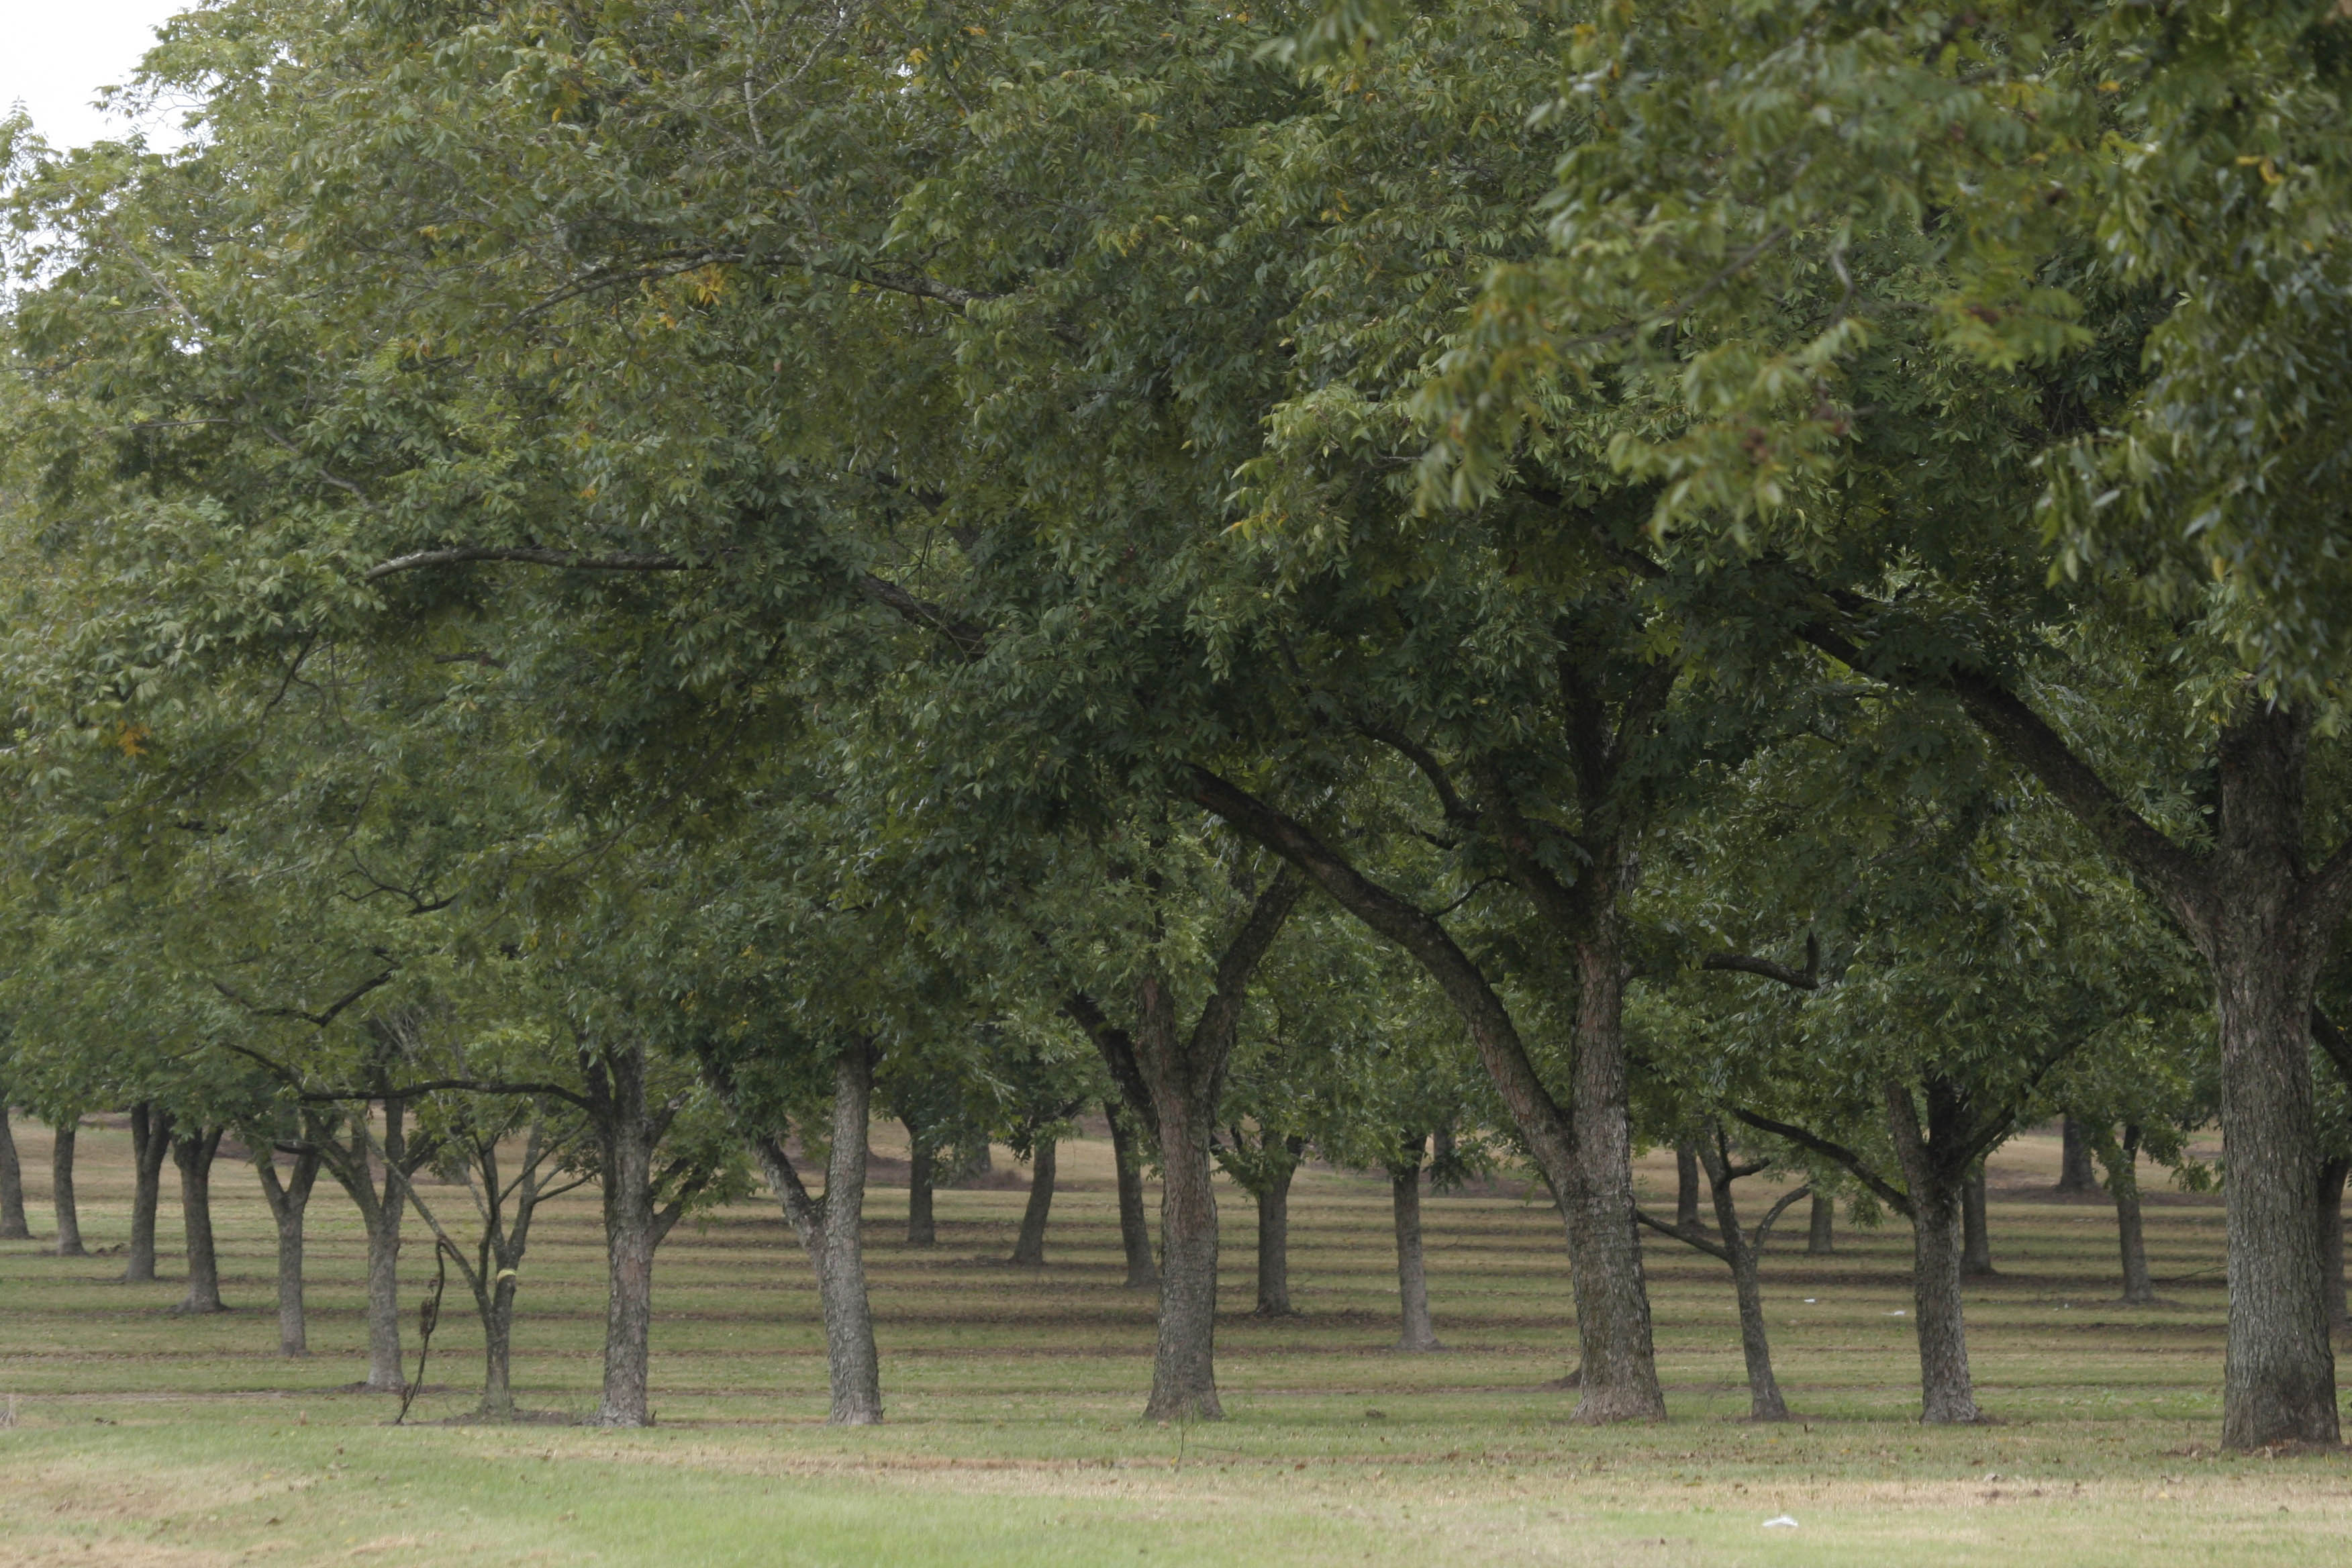
Pecan tree grove in North Florida. UF/IFAS Photo: Thomas Wright.
Choosing the Right Variety
Florida’s warm climate and extended growing season creates excellent conditions for pecan trees. But not all pecan tree varieties thrive in Florida’s climate. Because of the humid conditions that the state presents, some varieties are more susceptible to common diseases such as pecan scab. The recommended varieties for Florida include:
- ‘Elliot,’ ‘Excel,’ ‘Lakota,’ and ‘Sumner’ are typically the first varieties to be recommended because they have an excellent resistance to pecan scab.
- ‘Cape Fear,’ ‘Caddo,’ ‘Desirable,’ and ‘Kiowa’ are recommended on a case-by-case basis due to their high quality nut production but will require constant scouting due to their low disease resistance. These varieties are typically seen on a commercial production scale.
- The ‘Stuart’ pecan tree produces high quality pecans, but it can take up to 10 years to see any signs of production, so it is not commonly installed into the home landscape.
When planting your pecan trees, be sure to purchase trees from reputable and certified nurseries to ensure healthy, disease-resistant plants that produce high-quality nuts.
Planting and Soil Requirements
Pecan trees need well-drained soil with a pH of 6.0 – 6.5. If you are unsure of your soil’s pH, it is wise to take a soil sample prior to installing your trees. Contact your local UF/IFAS Extension office for more information. Here are a few things to consider when planting pecans:
- Site Requirement: It is important to remember that pecan trees require full sun and plenty of space to grow, as they can reach at least 70 feet in height with a wide canopy. They will need to be planted away from structures and power lines.
- Planting Depth: Pecan trees should be planted during the dormant season (November-February) and require a planting hole no bigger than 2 feet wide and 2 ½ feet deep to allow the taproot to extend directly into the ground.
- Tree Spacing: Older trees need to be spaced at least 60 to 80 feet apart. But younger trees or newly planted trees need to be spaced not as far as this. Pecan trees must cross-pollinate to produce nuts, so they must be close enough to share their pollen but far enough apart to not hinder the other trees’ root growth. Initial spacing can range from 30 to 40 feet apart.
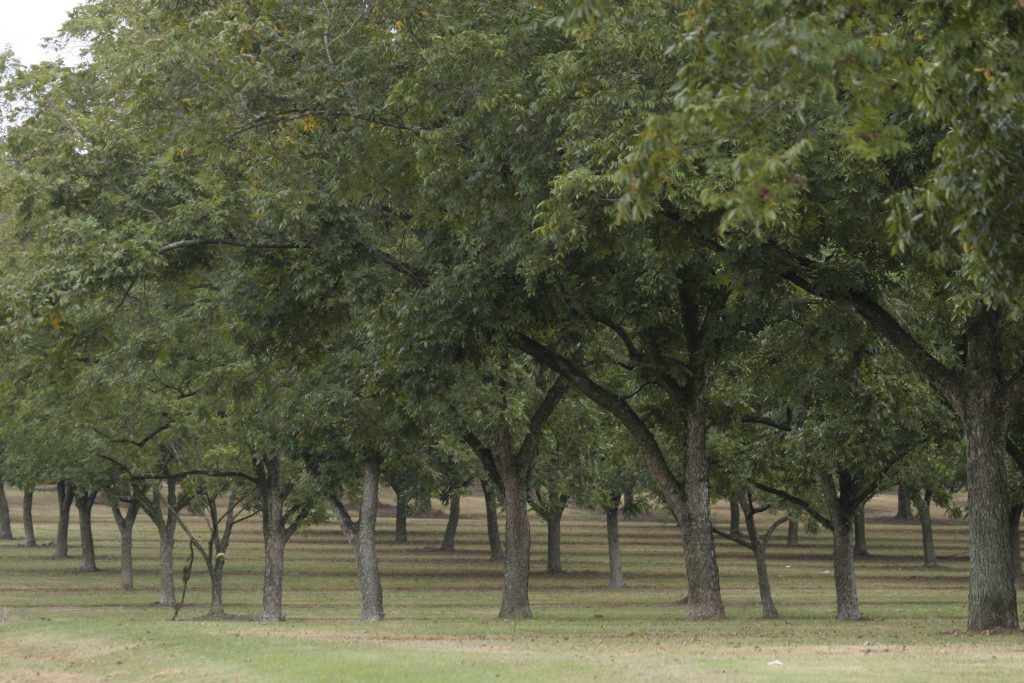
Pecan tree grove in North Florida. UF/IFAS Photo: Thomas Wright.
Fertilization and Watering
Young pecan trees need consistent watering after recently being transplanted to help establish their root system efficiently. Once established, pecan trees be relatively drought tolerant, but still benefit from deep watering during the dry periods. Irrigation is the most critical during the establishment of the first year. For the first 2 years of the tree’s life, they may require up to 10 gallons of water per day based on the current weather conditions. For fertilizer, apply 10-10-10 in early March through June. Fertilizer should be applied in a circle around the trunk of the tree. Avoid placing fertilizer directly against the trunk of the tree.
Growing pecan trees in Florida requires some planning and maintenance, but the rewards are well worth the effort. With the right variety selection, planting care, and attention to irrigation, you can have a bountiful harvest of homegrown pecans for your family to enjoy Whether you’re planting a single tree or a establishing a small orchard, pecan trees are a valuable and delicious to any Florida landscape. For more information, please visit:
https://edis.ifas.ufl.edu/publication/HS229
https://gardeningsolutions.ifas.ufl.edu/plants/trees-and-shrubs/trees/pecan/
by Abbey Smith | Sep 4, 2024
Even though it’s still 98 degrees outside, it’s the time of the year to be looking ahead to plan a fall garden. With the optimal climate of Northwest Florida, the fall season offers gardeners a time to refresh their plots and prepare for another productive season. Here’s a guide to make the most of the fall gardening season!
Site Prep for Fall Gardens
When transitioning from summer to fall, it is important to prep the area where a new crop will be placed. It’s best to remove all dead material from your spring garden so it will not spread disease or bacteria to the new plants. You also may consider adding nutrients to the soil after it has been tilled for fall vegetables. The best method to know how much to add into the soil is by first taking a soil sample. The soil sample results will show what is readily available for vegetables going in the ground and will give you a baseline of how much fertilizer or organic amendments to add. The fall season is also one of the best times of the year to prioritize soil health. Another way to do this in the off season is to incorporate a cover crop into your gardening regimen. For more information on cover crops please visit: https://nwdistrict.ifas.ufl.edu/hort/2023/10/19/cover-crops-in-the-garden/
UF/IFAS Photo by Tyler Jones.
What Vegetables Do I Plant in the Fall?
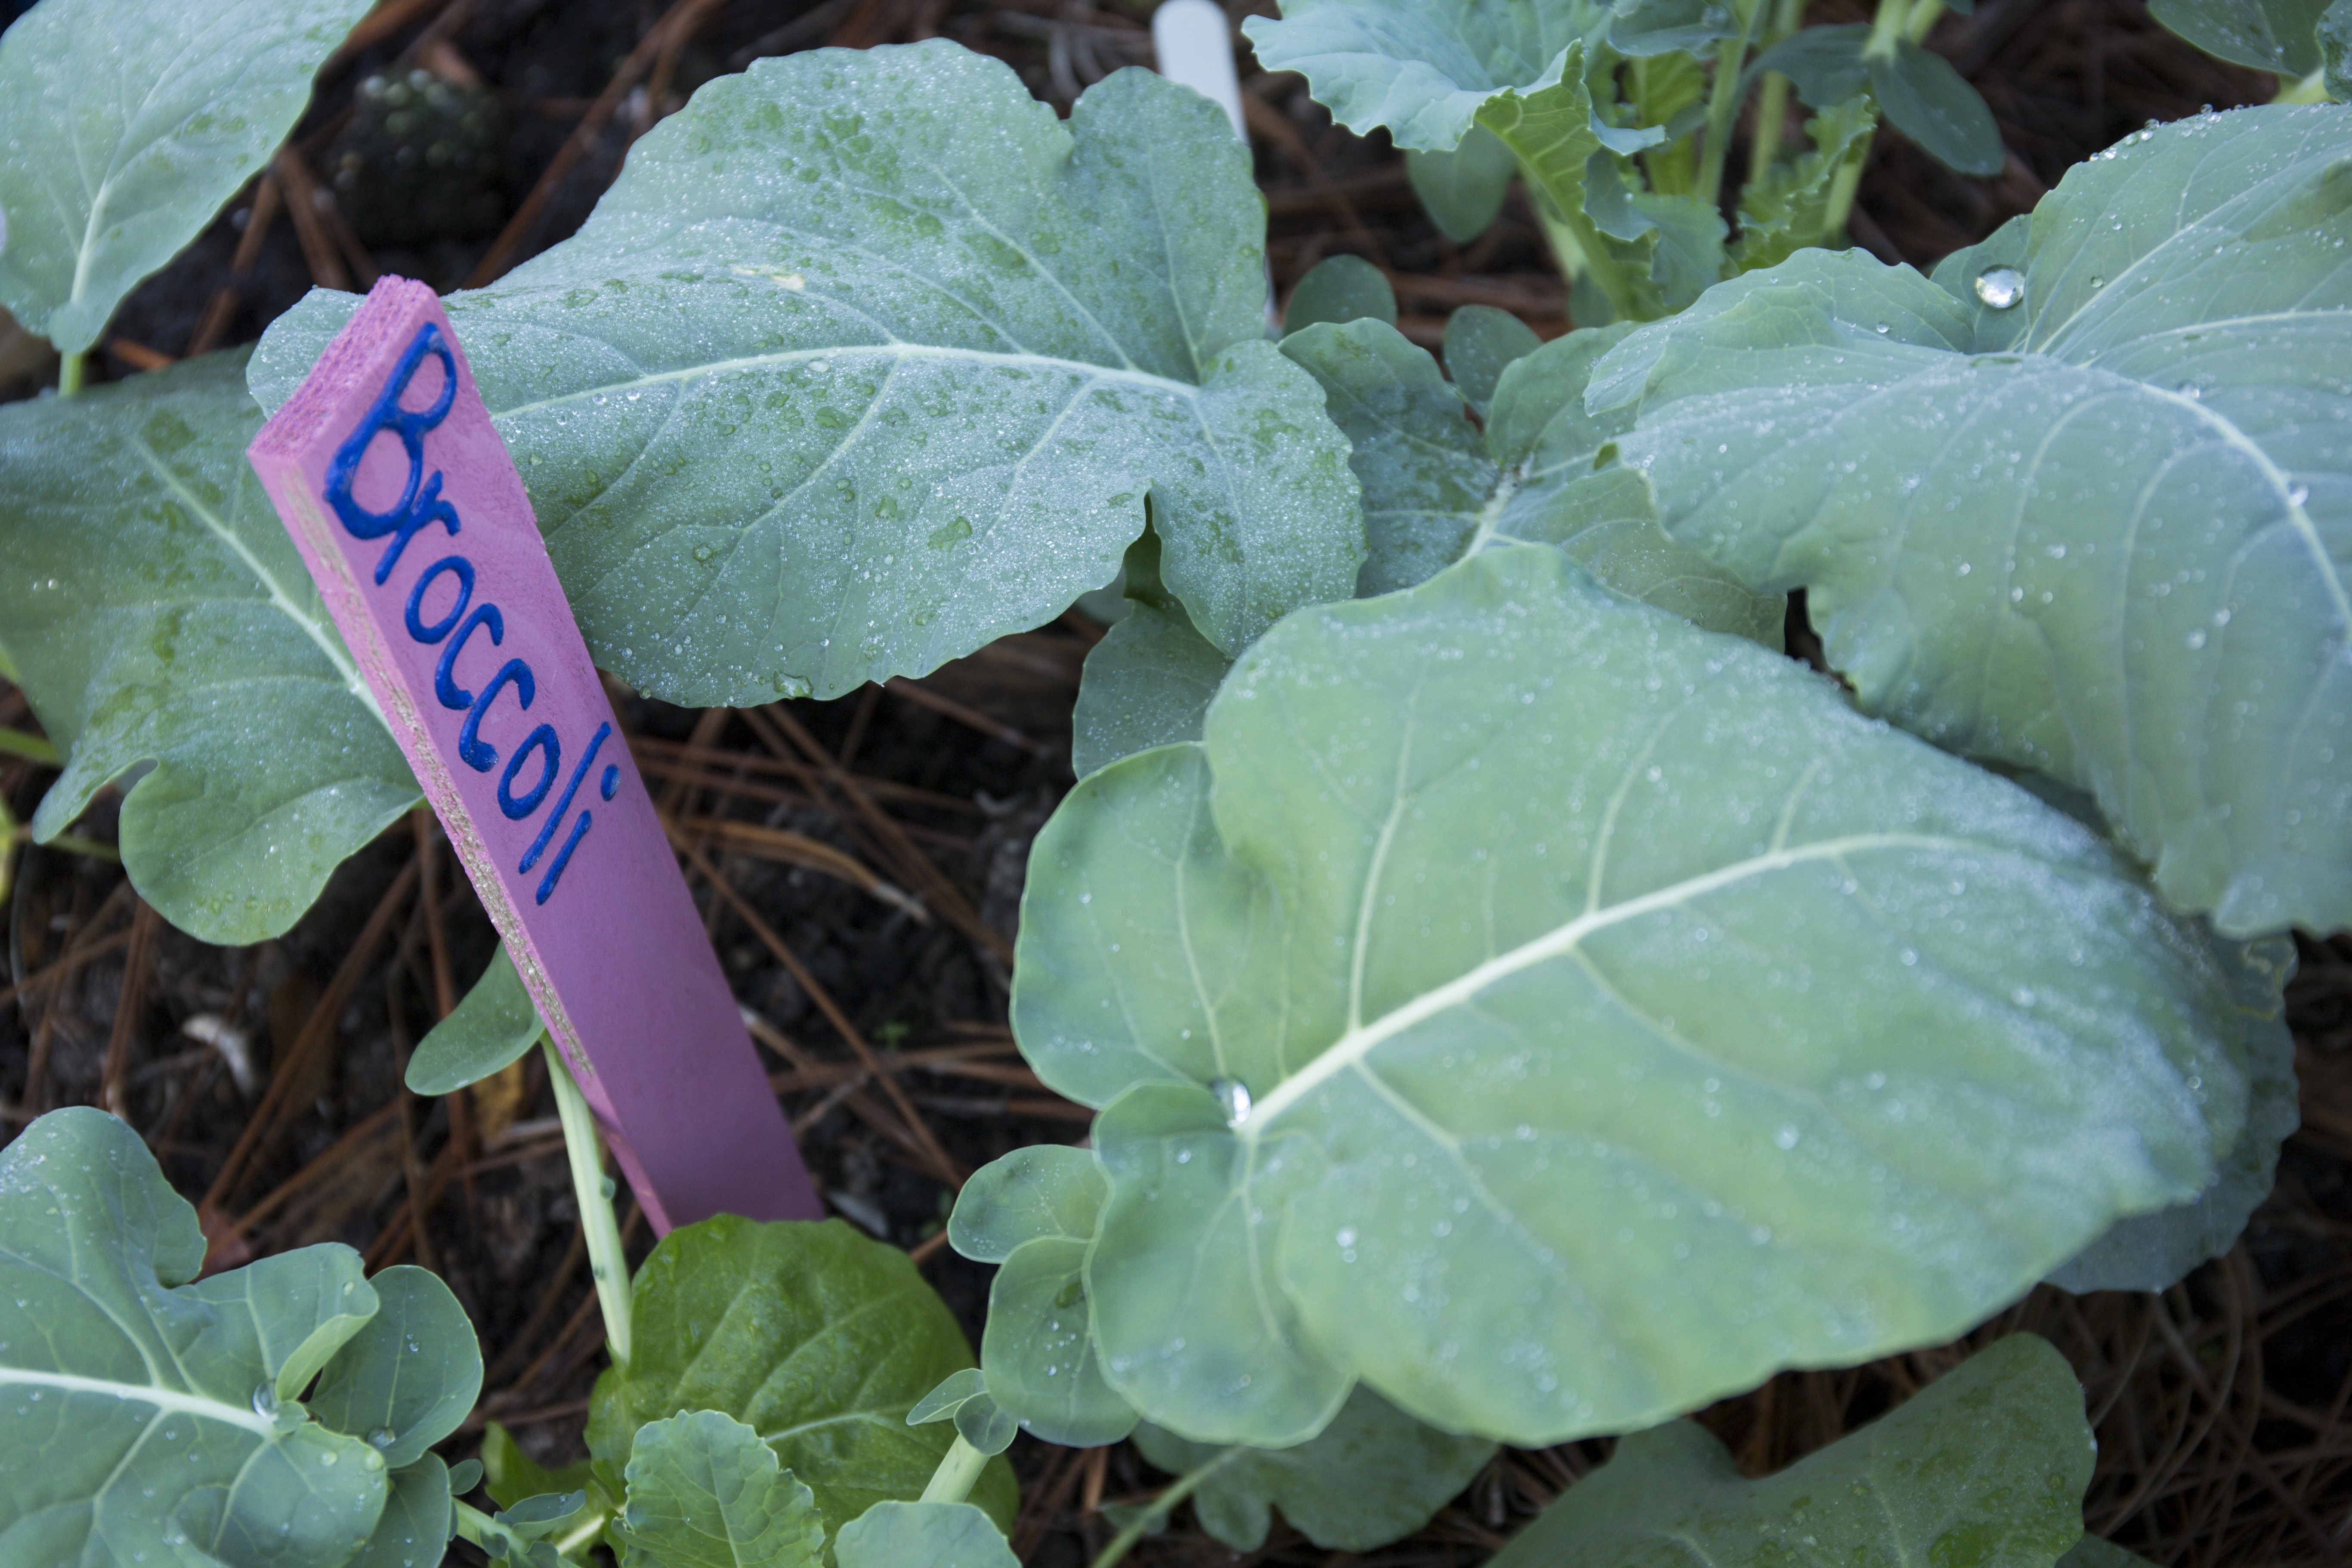
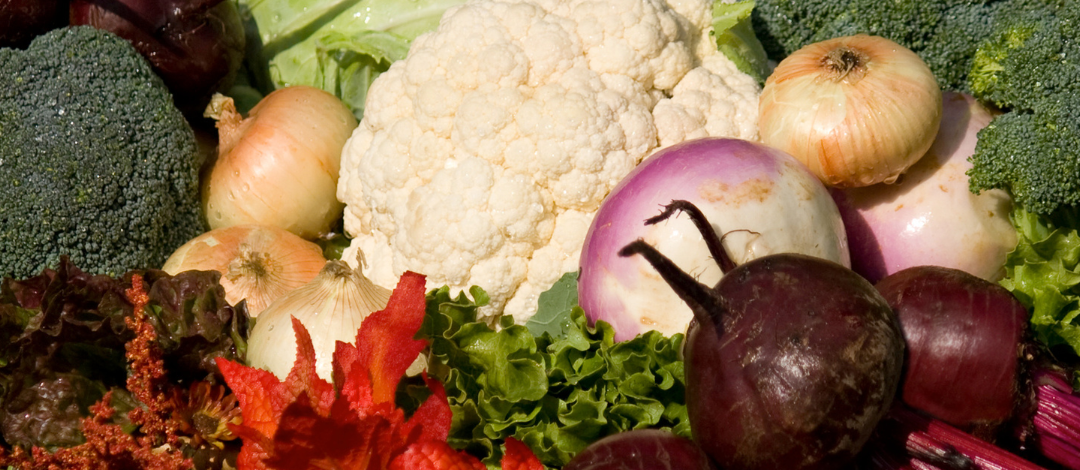
The “cool” temperatures of a Florida fall make it very ideal for a variety of cool-season vegetables. Vegetables can be classified a hardy, semi-hardy, and tender based on their abilities to withstand freeze conditions, cold temperatures, or high heat. That is how can put vegetables in warm-season and cool-season groups. Tender vegetables are considered short season and are typically seen in spring and summer months. Examples of tender vegetables are potatoes, tomatoes, and squash. Semi-hardy vegetables are mostly frost-tolerant but cannot withstand freezing temperatures. Examples are carrots, leafy greens like Swiss chard and Bok Choy, peas such as sugar snaps, and celery. Lastly, hardy vegetables are a true cool-season vegetable that is frost-tolerant and can withstand freezing temperatures up to a certain degree. Examples of hardy vegetables are broccoli, cauliflower, kale, onions, and garlic. To find more information on fall vegetables in northwest Florida, please visit: https://edis.ifas.ufl.edu/publication/EP451

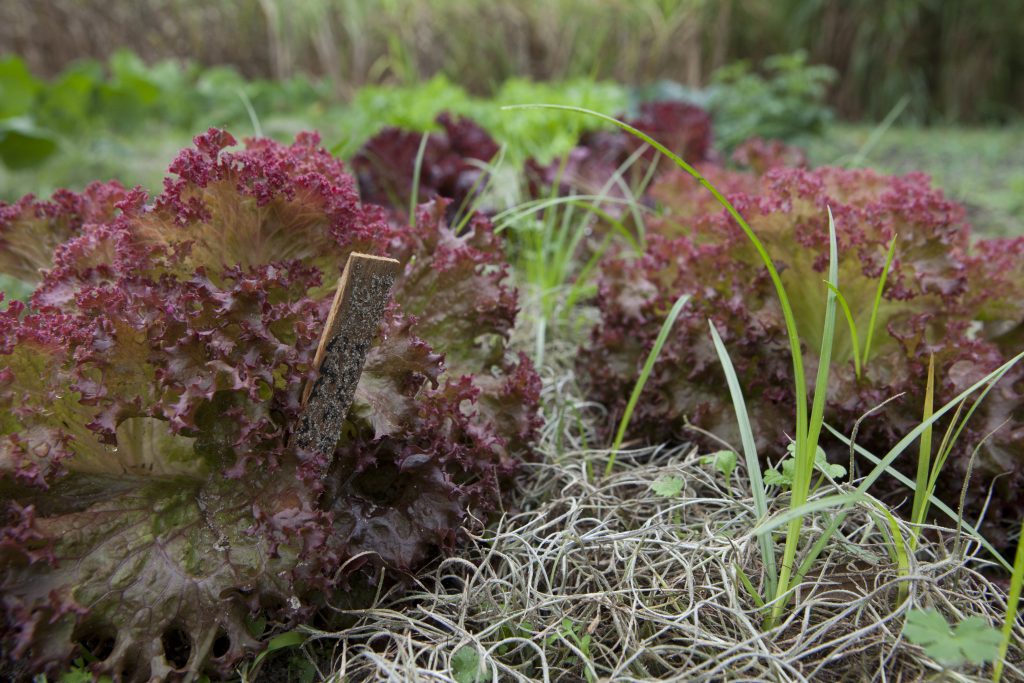
UF IFAS Photo by Tyler Jones
Fall Garden Maintenance
With the temperatures being cooler in the fall months, your garden vegetables will require less water. It is best to water your garden early in the morning to allow the soil to dry out during the day. Doing this will prevent fungal growth and root rot. Utilizing mulch will also help conserve soil moisture, regulate the soil the temperature from the cool weather, and suppress weeds. Even through the winters are typically mild in Florida, it is still best to have a freeze protection plan for your garden. Using row covers or frost blankets will help shield your garden when the temperatures drop.
As you enjoy your fall garden, planning ahead for winter and spring will also set you up for success. Research what crops will follow best behind your fall harvest and consider starting your seeds indoors to get a head start. By embracing these fall gardening tips, you can enjoy a bountiful harvest and a thriving garden throughout the season. Happy Fall!