by Sheila Dunning | Jul 28, 2014

The “Dog Days” are the hottest, muggiest days of summer. In the northern hemisphere, they usually fall between early July and early September. The actual dates vary greatly from region to region, depending on latitude and climate.
In ancient times, when the night sky was un-obscured by artificial lights, the Romans used the stars to keep track of the seasons. The brightest constellation, Canis Major (Large Dog), includes the “dog star”, Sirius. In the summer, Sirius used to rise and set with the sun, leading the ancient Romans to believe that it added heat to the sun. Although the period between July 3 and August 11 is typically the warmest period of the summer, the heat is not due to the added radiation from a far-away star, regardless of its brightness. The heat of summer is a direct result of the earth’s tilt.
Spending time outdoors this time of year is uncomfortable, potentially dangerous, due to the intense heat. However, the chinch bugs are very active in St. Augustine grass, and the summer flowers need water. So, take care of those tasks early in the day and then retreat to the air conditioning to plan your fall planting.
Plant tomato plants in August for tomatoes in October. Varieties such as Phoenix, Florida 91, Solar Set and Heat Wave II are good selections for setting fruit in high temperatures, should summer temperatures continue. Otherwise, try some of the newer UF/IFAS recommended varieties for fall planting in North Florida such as Bella Rosa, Tribute or Finishline. For more information on tomato selection refer to Tomato Cultivars for Production in Florida. For information on other vegetables for fall gardening refer to the Florida Vegetable Gardening Guide. Plan to attend the Fall Gardening program at the Extension office this September.
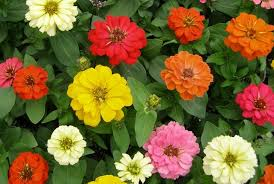 Many bedding plants flower quickly and can add color to the fall landscape. These include pentas, African marigolds, torenia, zinnias, melampodium and scaevola. Other can be planted in October for blooms all winter-long. Plan spaces and color themes for calendulas, pansies, snapdragons and violas. Add in ornamental cabbage or kale and some dusty miller to accent the garden. They too will perform through the cold. For more information on Annuals for the Florida Garden refer to Gardening with Annuals in Florida.
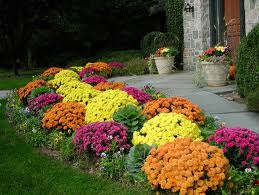
Dependable fall blooming perennials include lion’s ear (Leonotis leonurus), pineapple sage (Salvia elegans), firebush (Hamelia patens), cigar plant (Cuphea micropetala), yellowbells (Tecoma stans) and firespike (Odontonema strictum). Also, garden mums (Chrysanthemum sp.) and many different Irises will add color again in the spring. To gain information on perennials for Florida refer to Gardening with Perennials in Florida.
Webster’s second definition of “dog days” is a period of stagnation or inactivity. But, even when the heat forces you to slow down on the labor-intensive work, there is plenty of gardening “activity” to do. Stay in the air conditioning and plan that spectacular fall and winter yard.

by Sheila Dunning | Jun 17, 2014
 The old cliché is “April showers bring May flowers”, but April deluges create weak plants and yellow grass. You were following the UF/IFAS recommendations and waited until April 15th to fertilize. You followed the Urban Turf Rule and applied a low-phosphate fertilizer with slow-release nitrogen. Yet, your grass is yellow and the shrubs haven’t put on any new growth. What happened? The 18” + of rainfall that we experienced at the end of April flushed nearly everything out of the soil, including any fertilizer you applied. Nitrogen and potassium are highly leachable. Phosphorus is also depleted under saturated soil conditions.
If you haven’t submitted a soil test since the storm, now is the time to do so. It’s time to apply a summer fertilizer, but it needs to address all the nutrient deficiencies created from the excess rain. Soil test kits can be obtained from your County Extension office. When you get the results from the University of Florida Lab, it is important to remember the 4 Rs when applying fertilizer. It needs to be the Right Source, applied at the Right Rate, at the Right Time, and over the Right Place.
Best Management Practices (BMPs) have been developed to allow individuals to make conscientious decisions regarding fertilizer selection that will reduce the risk of water contamination. The Right Source for a BMP-compliant fertilizer is one that contains a portion of slow-release (water insoluble) nitrogen with little to no phosphorus, and a potassium level similar to the nitrogen percentage (e.g. 15-0-15, that contains 5% coated nitrogen). However, a soil test is the only way to accurately identify the specific nutrients your landscape is lacking. Many soil tests indicate a need for phosphate and currently it is illegal to apply more than 0.25 pounds per 1,000 sq. ft. without a soil test verifying the need.
Next, the fertilizer must be applied at the Right Rate. In order to do that, you must know the square footage of your property and how much you can spread using the settings on your equipment. Individuals walk at varied speeds and the product recommended rates are based on 1,000 sq.ft. areas. For information on calibrating application equipment refer to  the publication, “How to Calibrate Your Fertilizer Spreader”. Using the 15-0-15 fertilizer mentioned earlier, the Right Rate for one application would be 3 pounds per 1,000 sq.ft.. That 35 pound bag is all that is needed for a nearly 12,000 sq.ft. yard (a large corner lot).
The Right Time for applying fertilizer is when the plants are actively growing and beginning to show nutrient deficiencies. Summer, when rainfall and irrigation is frequent, is often a typical application time. The Right Place is only on living plant areas. Be cautious to avoid getting fertilizer on the sidewalk, driveway and street. A deflector on your spreader is very helpful. Otherwise, be sure to sweep or blow the fertilizer back onto the grass or into the landscape beds. Avoid having fertilizer end up in any water body.
by Sheila Dunning | May 13, 2014
Last summer’s heavy rain and the stress of January’s icy weather have contributed to widespread outbreaks of Take-All Root Rot, a soil-inhabiting fungus Gaeumannomyces graminis var. graminis that causes yellow grass patches ranging in diameter from a few inches to more than 15 feet. The symptoms first appear in the spring, but disease can persist all summer and survive the winter. Over time the entire area dies as the root system rots away.


The pathogen is naturally present on warm-season turfgrass roots. High rainfall and stressed turfgrass trigger the disease. Because the roots are affected, they are not able to efficiently obtain water or nutrients from the soil, nor are they able to store the products of photosynthesis, which result in the loss of color in the leaves. By the time the leaf symptoms appear, the pathogen has been active on the roots for several weeks, probably longer; potentially years. If the turfgrass is not stressed, leaf symptoms may never be observed.

This disease is very difficult to control once the above-ground symptoms are observed. Measures that prevent or alleviate stress are the best methods for controlling the disease. Any stress (environmental or man-made) placed on the turf weakens it, making it more susceptible to disease. Remember, that every maintenance practice, fertilizer application, and chemical (especially herbicide), application has an impact on turfgrass health.
Cultural practices that impact the level of stress experienced by a lawn include: proper turfgrass species selection; mowing at the correct height; irrigation timing, frequency and volume; fertilizer nitrogen and potassium sources and application quantities; thatch accumulation; and soil compaction issues. The selection of turfgrass species should be based on existing soil pH, sunlight exposure, use of the area and planned maintenance level.
Mower blades must be sharp to avoid tearing of the leaves. Additionally, turfgrasses that are cut below their optimum height become stressed and more susceptible to diseases, especially root rots. When any disease occurs, raise the cutting height. Scalping the grass damages the growing point. Raising the cutting height increases the green plant tissue available for photosynthesis, resulting in more energy for turfgrass growth and subsequent recovery from disease. If an area of the lawn has an active fungus, washing or blowing off the mower following use will reduce the spread of the disease to unaffected areas.
The amount of water and the timing of its application can prevent or contribute to disease development. Most fungal pathogens that cause leaf diseases require free water (rainfall, irrigation, dew) on the leaf to initiate the infection process. Irrigating every day for a few minutes is not beneficial for the turfgrass because it does not provide enough water to the root zone, but it is beneficial for turfgrass pathogens. It is always best to irrigate when dew is already present, usually between 2 and 8 a.m., and then only apply enough water to saturate the root zone of the turfgrass.
Excessively high nitrogen fertility contributes to turfgrass diseases. The minimum amount required for the grass species should be applied. Potassium (K) is an important component in the prevention of diseases, because it prevents plant stress. Application of equal amounts of nitrogen and potassium is recommended for turfgrass health. When turfgrass roots are damaged from disease, it is beneficial to apply nutrients in a liquid solution. However, nitrate-nitrogen increases the severity of diseases, so their use should be avoided when possible. Ammonium-containing fertilizers are the preferred nitrogen sources. Heavy liming has also been linked to increases in Take-All Root Rot. Since most turfgrasses can tolerate a range of pH, maintaining soil at 5.5 to 6.0 can suppress the development of the pathogen. When the disease is active, frequent foliar applications of small amounts of nutrients is necessary to keep the turfgrass from declining.
Additional maintenance practices that need to be addressed are thatch removal and reduction of soil compaction. Excessive thatch often causes the mower to sink which can result in scalping and reducing the amount of leaf tissue capable of photosynthesizing. Thatch and compacted soil prevent proper drainage, resulting in areas remaining excessively wet, depriving root systems of oxygen.
Since recovery of Take-All – damaged turfgrass is often poor, complete renovation of the lawn may be necessary. Removal of all diseased tissue is advised. As a native, soil-inhabiting pathogen, Take-All-Root-Rot cannot be eliminated. But, suppression of the organism through physical removal followed by proper cultivation of the new sod is critical to the establishment of a new lawn. Turfgrass management practices, not chemicals, offer the best control of the disease.
It is acceptable to use fungicides on a preventative basis while rooting in the sod. Azoxystrobin, fenarimol, myclobutanil, propiconazole, pyraclostrobin, thiophate methyl, and triadimefon are all fungicides that can be utilized to prevent disease development while having to excessively irrigate newly laid sod. Ideally, the turf area should be mowed and irrigated prior to a fungicide application. Unless the product needs to be watered in, do not irrigate for at least 24 hours after a chemical treatment. Do not mow for at least 24 hours, to avoid removal of the product attached to the leaf blades.
Now that we have added another major stress with the recent heavy rain, it will be very important to continue monitoring the turf and being cautious about the cultural practices being used. Take-All Root Rot is likely to flourish. Do not encourage its development.
by Sheila Dunning | Apr 15, 2014

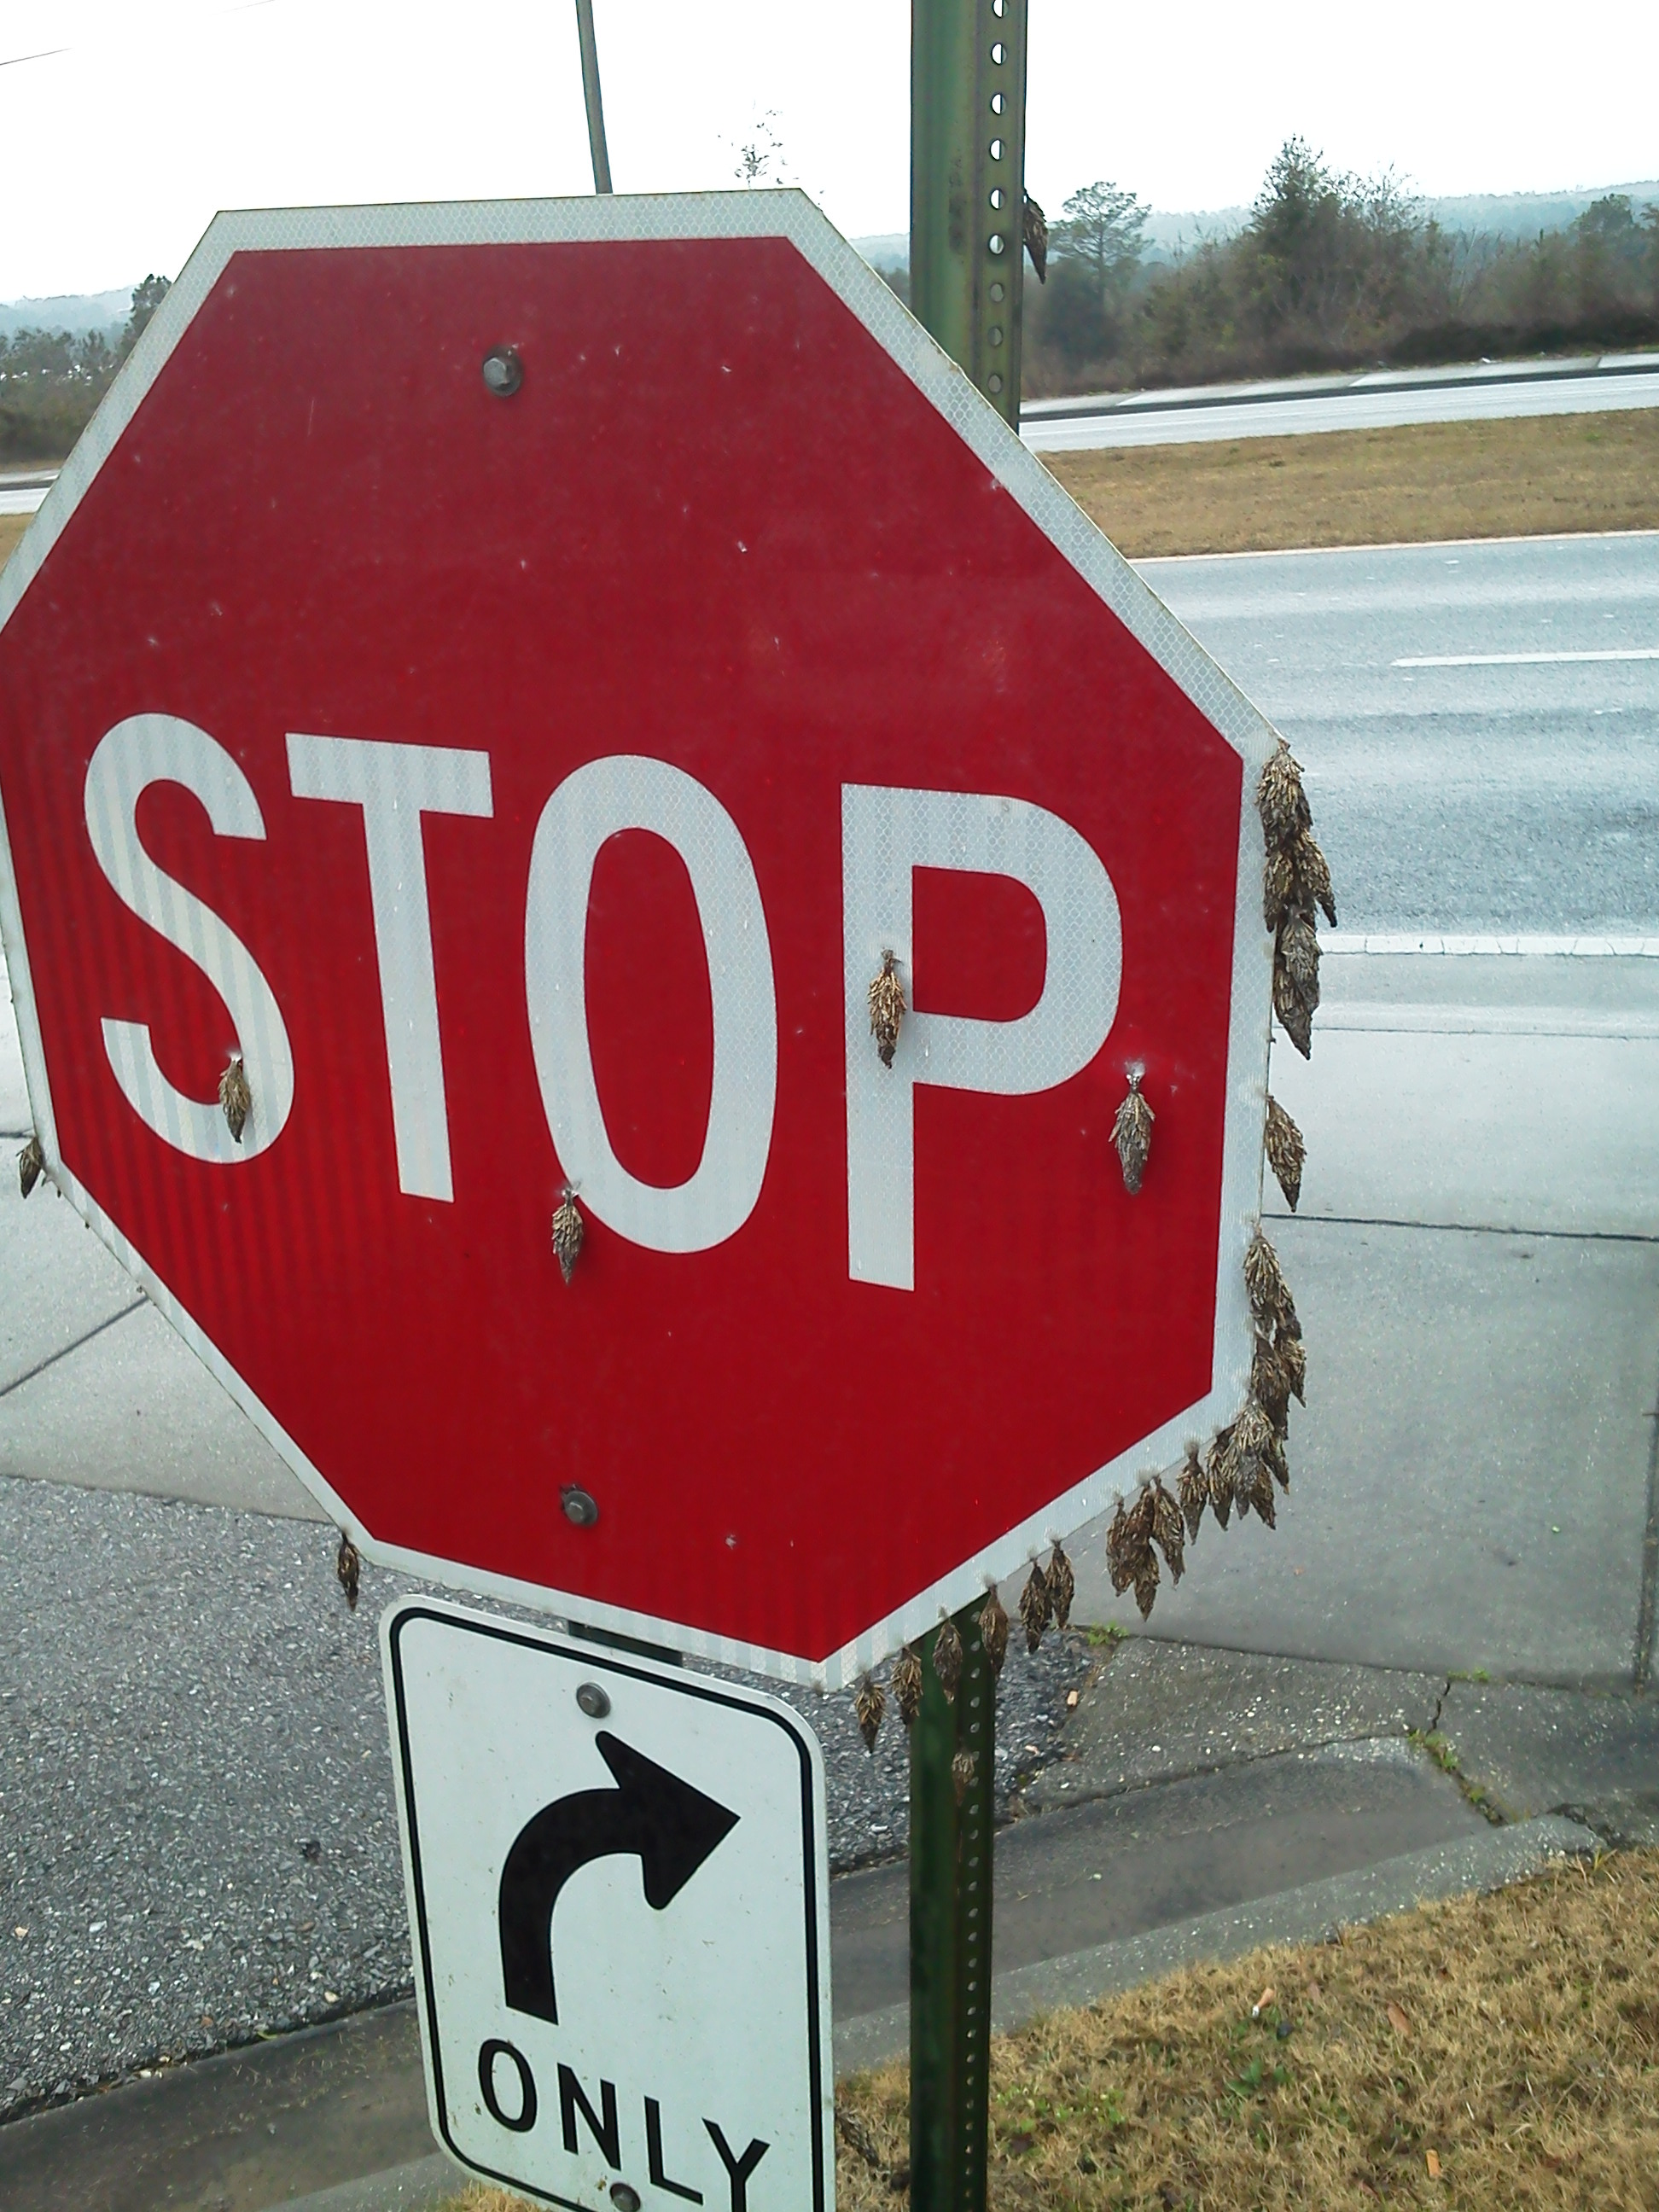
Bagworms on a stop sign
Northwest Florida is the most southern range of the common bagworm, Thyridoptgeryx ephemeraeformis, but the majority of the plants they feed on can be found here. Common host trees include Red Cedar, Live Oak, Maple, Elm and Pine. Other susceptible shrubs include Indian Hawthorn, Juniper, Arborvitae, Ligustrum and Viburnum.
Bagworms overwinter as a clutch of 500-1000 eggs wrapped in the leaves of the infested plant. In late spring the larvae hatch as tiny caterpillars that disperse to surrounding plants by spinning a silken thread and “ballooning” on the wind.
Once established on a host plant the young bagworms begin feeding and constructing a bag which is formed using pieces of twigs, leaves and silk.
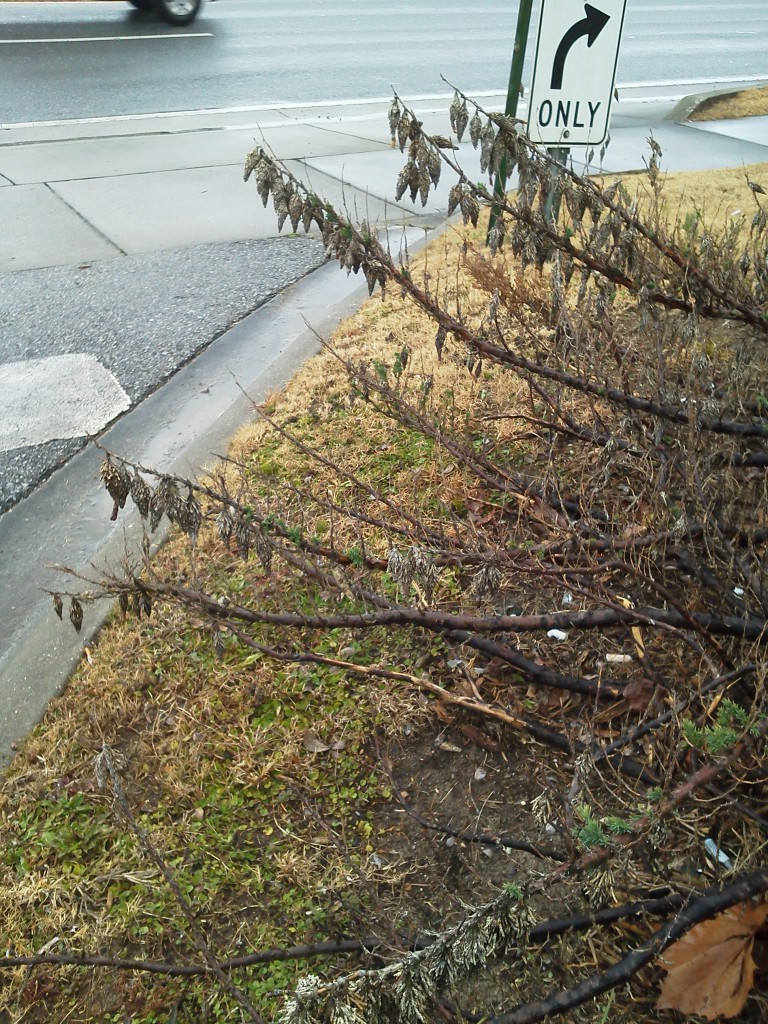
From then on, only the head and thorax of the female bagworms emerge from the foliage bag. She continually feeds on the plant, leaving it severely defoliated. As few as four bagworm larvae can cause a four-foot Arborvitae to be so damaged that it can’t ever grow enough foliage to return to a normal appearance. For four to sixteen weeks the caterpillars feed steadily. Once the larva has consumed enough food during the last instar, it attaches its bag securely with a thick silken strand to its host plant or nearby structure. The bagworm seals the posterior end of the bag, molts, and begins pupation. The bagworm’s 7-10 day long metamorphosis results in a moth. However, the adult female’s wings and appendages are reduced to mouthparts, legs and small eyes. She remains in a caterpillar-like state for a couple of weeks. She releases a pheromone that attracts the male. The male bagworm emerges as a free-flying, lacey, black moth that only lives one or two days; just enough time to mate with the female in her bag. Once mated the female then dies, mummifying around her eggs.
Bagworm populations can reappear in the same areas year after year. To control bagworms, mechanical methods and biological insecticides are the most effective practices. Hand-picking them from late fall to early spring and placing them in a bucket of soapy water or a sealed bag prevents new larvae from dispersing. Applying Bt, Bacillus thuringiensis, to the foliage is also an effective means of control when applied to new spring growth. This bacteria stops the feeding of all caterpillars, so be cautious about where it is used. Many desirable butterfly larvae can be harmed if the product lands on other larval plants.
by Sheila Dunning | Mar 4, 2014
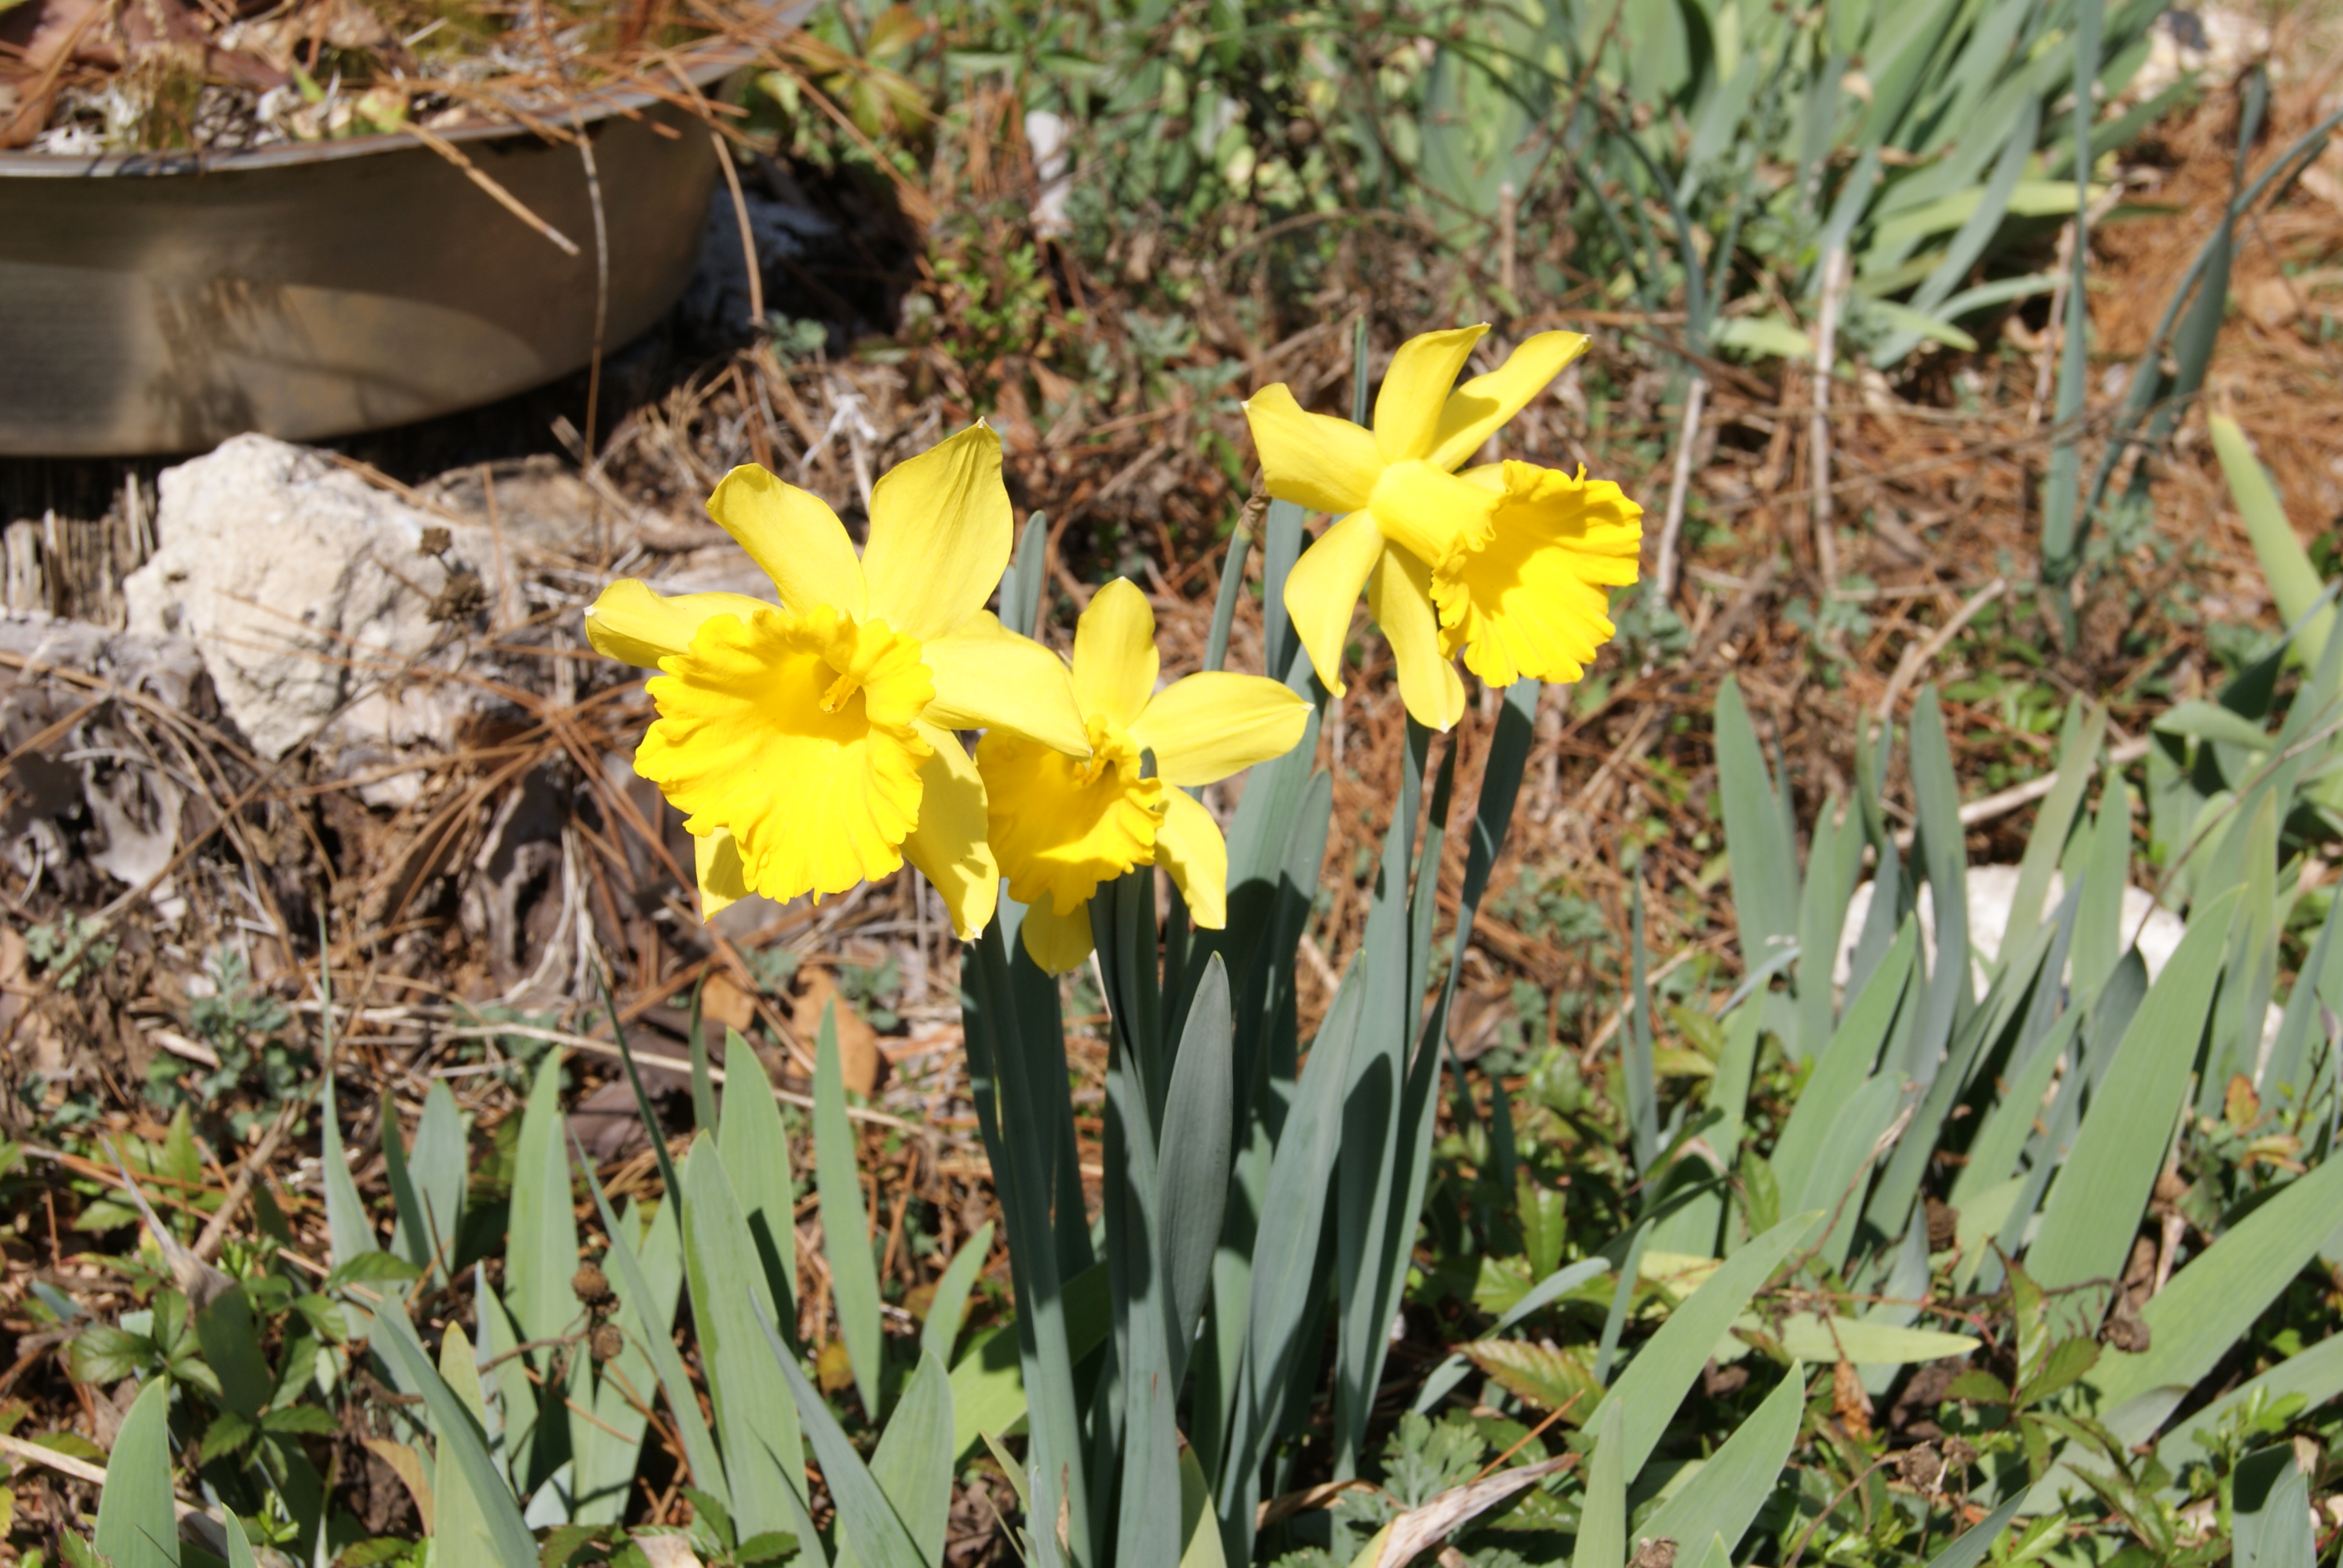
Few plants seem to signify the freshness of spring quite as well as daffodils. The name “daffodils” is derived from “addodell” a variant of Asphodel (a plant of the Asphodelus genus.) In historical documents and the common language of 16th century Europe, the term “daffodil” referred specifically to the wild daffodil, Narcissus pseudonarcissus.

Daffodil in bloom. Image Credit Matthew Orwat
The derivation of the Latin narcissus is unknown. It is frequently linked to the Greek myth of Narcissus, who was rumored to be so obsessed with his own reflection that he died while gazing at himself in a pool of water. From the location of his death sprang the narcissus plant. Another Greek myth finds Persephone, daughter of the goddess Demeter, lured to her doom by the God Hades while picking a narcissus. Therefore the plant is perceived as a symbol of vanity in some Western culture.
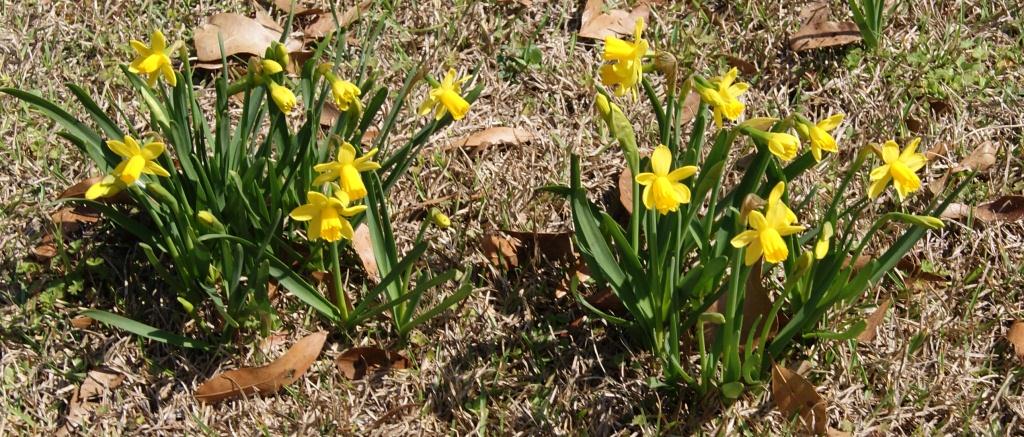
Daffidol cultivar ‘Tete-a-tete’ Image Credit Matthew Orwat
Others attribute the plants’ name to its narcotic properties. One translation of the Greek name is “I grow numb!” All narcissus species contain the alkaloid poison lycorine, mostly in the bulb but also in the leaves. Members of the Amaryllidaceae family contain unique types of alkaloids. They are responsible for the poisonous properties of a number of the species. Of the 200 different chemical compounds found in this plant family, at least 79 of them can be found in narcissus.
Daffodils are a popular potted plant for cut flowers, but also make attractive naturalized groundcovers in gardens and around trees, providing color from the end of winter through late spring. If the narcissus blooms on Chinese New Year, it is said to bring wealth and good fortune throughout the year. The flower color varies from white through pinks and yellows to deep reddish-orange with multiple petal forms. Hundreds of cultivars are available.
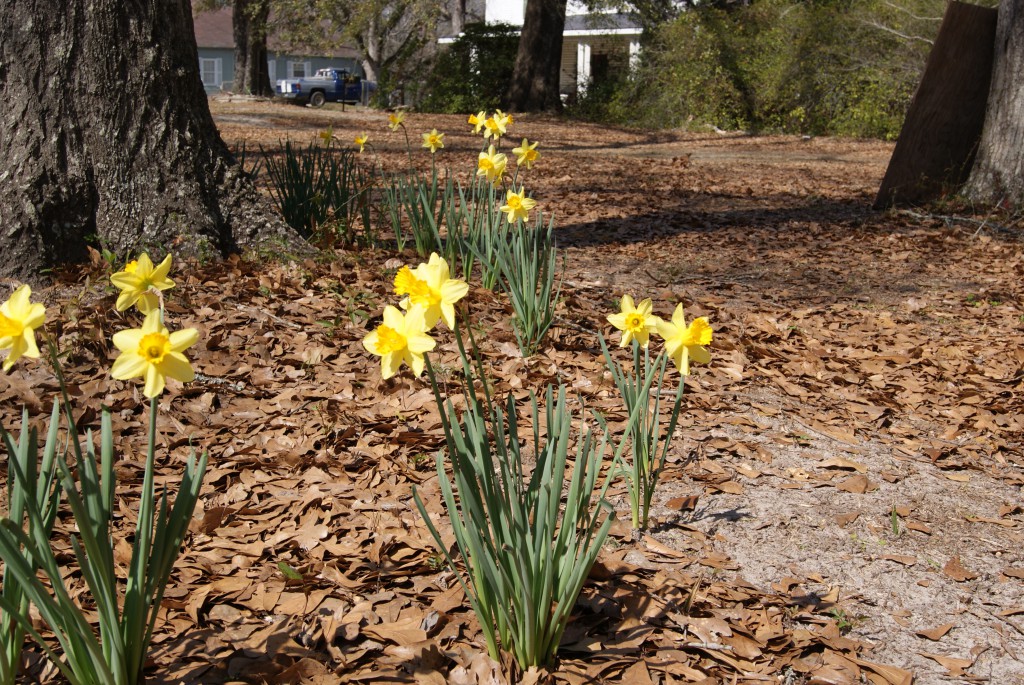
Daffodil bulbs under trees. Image credit Matthew Orwat
Planting dates vary according to geographical location, but bulbs are usually planted in the fall when the soil is cool. Daffodils grow well in full sun or light shade, with the blooms lasting longer when protected from the noon day sun. When selecting a location for planting, it should be noted that the individual flowers will face the sun.
Pre-chilled bulbs should be planted in 6-8” deep holes with a tablespoon of slow release fertilizer added to the soil directly under the bulb and with 4-5” of soil covering the bulb. Watering throughout the winter will be necessary if rains are infrequent. After flowering, the daffodils need to be fertilized and watering should continue. The foliage will naturally turn yellow and die as stored food is restored to the bulb.
Division, transplanting and collection for forcing potted plants can be done after all the foliage has declined. To force Daffodils to bloom at varied times in a container the dried bulbs will need to be stored at a 45° F temperature for 4-6 weeks prior to being placed in the sun to grow.
The bright, cheery Daffodil flowers are beginning to bloom now and will continue as Easter approaches, reminding us that spring really is coming.