by Taylor Vandiver | Feb 25, 2014
So you have alkaline soil… What next?
Throughout the Panhandle, a common problem that often arises is finding a way to raise soil pH. This is due to the fact that we often encounter sandy, acid soils in this region. An often overlooked issue is explaining the process of gardening in a soil that tends to be more alkaline in nature.
Soil pH is measured using a scale from 0 to 14. On this scale, a value of 7 is neutral, pH values less than 7 are acidic, and pH values greater than 7 are alkaline. Soil pH directly affects the growth and quality of many landscape plants. Extreme pH levels can prevent certain nutrients from being available to plants. Therefore, a high pH may make it difficult to grow certain plants.
Often alkaline soils occur in the home landscape as a result of calcium carbonate-rich building materials (i.e., concrete, stucco, etc.) that may have been left in the soil following construction. Soils that contain limestone, marl or seashells are also usually alkaline in nature. There are a few measures that can be taken in order to combat high pH. Incorporating soil amendments containing organic material is the most common method implemented to reverse alkalinity. Peat or sphagnum peat moss is generally acidic and will lower pH better than other organic materials. Adding elemental sulfur is another common practice. A soil test will need to be performed often in order to add the correct amount of sulfur to reach an optimal pH level.
Lowering the pH of strongly alkaline soils is much more difficult than raising it. Unfortunately, there is no way to permanently lower the pH of soils severely impacted by alkaline construction materials. In these circumstances, it may be best to select plants that are tolerant of high pH conditions to avoid chronic plant nutrition problems.
Some plants that will tolerate alkaline soils:
-
Shrubs
- Glossy Abelia (Abelia Xgrandiflora)
- Sweet Shrub (Calycanthus floridus)
- Flowering Quince (Chaenomeles speciosa)
- Burford Holly (Ilex cornuta ‘Burfordii’)
- Indian Hawthorne (Rhaphiolepis indica)

Firebush is wonderful butterfly attractant. Photo courtesy of UF/IFAS.
-
Perennials
- Larkspur (Delphinium carolinianum)
- Pinks (Dianthus spp.)
- Firebush (Hamelia patens)
- Plumbago (Plumbago ariculata)
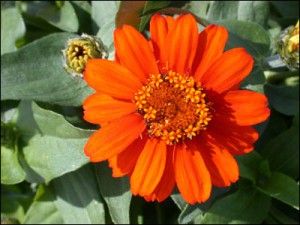
Zinnias come in a variety of colors, shapes and sizes. Photo courtesy of UF/IFAS.
-
Annuals
- California Poppy (Eschscholzia californica)
- Zinnias (Zinnia spp.)
- Cosmos (Cosmos bipinnatus)
by Taylor Vandiver | Jan 21, 2014
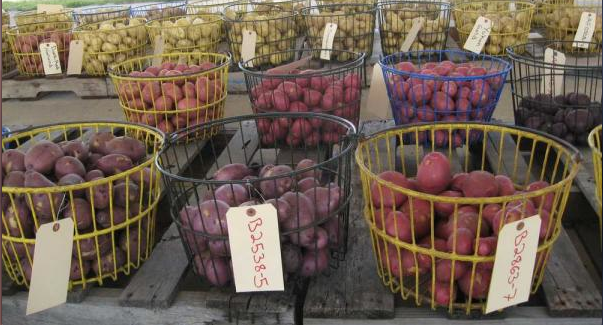
Florida-grown potatoes. Photo courtesy UF/IFAS.
The time to plant potatoes is now!
Potatoes are a good way to usher in the growing season of your home garden. They are easy to grow and their harvesting date doesn’t coincide with many other vegetables. In North Florida you can plan to put in your potatoes around the end of January through February. It’s easy to grow red- and white-skinned Irish potatoes. Also, brown-skinned russet potatoes do nicely in the garden. However, before we get ahead of ourselves, the first step you need to take is preparing your soil and garden plot.
Since potatoes prefer a loose, well-drained, slightly acidic soil (pH 5 to 6), little needs to be done in many Florida gardens. However, potatoes do not grow well in flooded conditions. Care must be taken to ensure that the root zone has adequate drainage. To help alleviate flooding conditions, beds should be formed into mounds (hills) about 10 to 12” above soil level. It’s always a good idea to add in organic matter to your soil, this will provide nutrients and structure to your soil.
The potato tuber is the plant “part” required to grow a new potato plant. When a piece of the tuber is planted, it is called a “seed” potato. Only certified seed potatoes should be planted in the home garden. Certification ensures that the seed tubers are free of disease and viruses. Certified seed can be obtained from a number of reputable garden supply stores. Do not purchase potatoes from the grocery store to plant in the home garden. Potatoes from grocery stores are often sprayed with chemicals that inhibit sprouting and they can contain diseases that would be harmful to your garden. Also, remember to never store tubers in direct sunlight. Seed potatoes should be cut so that each piece is about the size of an egg with at least one eye per seed piece. Seed potatoes should be allowed to “heal” before planting; this will reduce the risk of rot upon planting.
Potato plants should be spaced at about 6–8 in. within the row with at least 36 in. between rows. Seed pieces should be planted with the cut side down and eyes (or sprouts) facing up. Due to the fact that the seed piece should be planted only 4 in. below soil surface, new tubers could emerge from the soil surface. These exposed tubers will turn green and inedible in the sun. Therefore, hilling is a necessary process in growing potatoes. Hilling is the act of adding about 2 – 3 in. of soil to the top of the potato row.
Potatoes, in Florida are generally grown during the drier times of the year. As a result, supplemental irrigation may be required to provide plants with an adequate amount of water. Moderate soil moisture levels should be maintained throughout the season. Just remember to never over water!
Most potatoes are ready for harvest between 80 and 115 days after planting. To harvest, carefully dig potatoes below the potatoes and remove them from the root system of the plant. Potatoes are best stored in cool, dark, well-ventilated locations. An important fact to remember when harvesting potatoes is to always avoid eating green potatoes. Green potatoes have high levels of a toxin called solanine, which has a bitter taste. It is toxic even at very low levels. Potatoes can “green” in the field, in storage, and at home when exposed to the light.
As always, if you have any question or need further information please contact your local extension agent!
by Taylor Vandiver | Dec 24, 2013
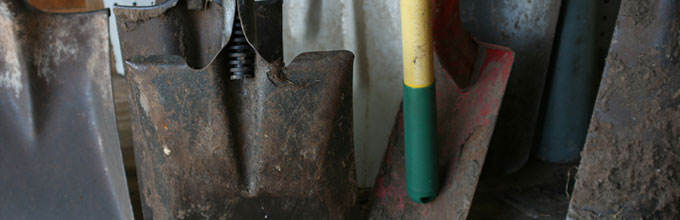
Garden Tools. Photo courtesy: UF/IFAS Gardening Solutions
Due to a lack of snow, Florida’s winter landscape chores are relatively uncomplicated. However, that doesn’t mean they’re unimportant. As the growing season comes to a close and gardeners mow, snip and spade for the final time, it’s time to consider proper cleaning and storage of all that equipment. A little preventative maintenance can avoid frustration and expensive repair in the future. When tools are maintained properly their life is extended substantially and their work efficiency is increased. A few examples of preventative care include cleaning and sanitizing, sharpening blades, and maintaining power equipment.
When cleaning tools, remove caked on soil or vegetation using a wire brush, scraper or a strong stream of water. Sharpen hoes, pruners, loppers and saws.
Always remember to check tools thoroughly for loose screws or nuts and tighten them accordingly. Spraying the bare metal parts and cutting edges of tools with a penetrating oil, such as WD-40, will help prevent rust. It is thought that wiping tools’ wooden handles with boiled linseed oil will help prevent wood from cracking and drying.
Another item to consider while preparing one’s landscape for the winter is the garden hose. While hoses don’t need a great deal of care, a few small steps are important if they are to last. Store hoses on hose supports or reels or coil them loosely rather than hanging them on nails. Using hose supports or reels prevents the hose from sagging and kinking. Drain all the water and store in a dry location before storing hoses away for the winter.
Power equipment, such as lawn mowers, may require additional winter preparations. Always refer to the owner’s manual for specific information. However, in general, the following steps can be taken to winterize this equipment.
Remove collected grease, dirt and plant material from the equipment. It is always beneficial to check for loose screws and nuts and tighten them accordingly. Remember to sharpen cutting edges. If equipment has a four-cycle engine, change the oil by following instructions listed in the owner’s manual. Remove all gasoline from tank. It’s good to run the engine a turn or two to coat the cylinder walls with oil, and then replace the plug.
Two-cycle engines, or engines that run with a gas and oil mixture, also should have the oil-gas mixture removed for the winter. Run the engine with the choke open to remove fuel from the lines. Check the spark plug and replace if it is worn. Replace other worn or damaged parts as well. Always avoid storing gasoline over the winter. Old gasoline does not ignite easily, making the machines using it work harder.
Once the cold weather creeps in to Florida, gardeners may feel as if they can sit back and wait for spring, however, don’t neglect proper maintenance of garden tools. When the weather warms up, properly working garden equipment will be the gardens’ best asset!
For more information feel free to contact your local Extension Office.
by Taylor Vandiver | Nov 11, 2013
As I made a visit back to my hometown in North Alabama I was reminded of the subtle changes from fall into winter, which are not always apparent to me living in Tallahassee: the vibrant palette of leaves as they make their permanent descent until spring, the litter of spent cotton along each highway and county road and the annual pecan harvest that has been a tradition in my family for as long as I can remember.
Due to the variations in climate and topography from upper Alabama to the panhandle of Florida, our seasons can differ greatly. However, I know of one entity that remains a constant and that is the availability of pecans. Pecan trees (Carya illinoinensis) are a common sight throughout the South. They can be spotted as far west as Texas and as far north as Illinois. The pecan tree is native to the Mississippi floodplain, which has deep, fertile, well-drained soils. Before the arrival of Europeans, Native Americans used pecans as a primary food source for thousands of years.
What’s more, pecans have major economic value. The annual value of pecans in the United States is estimated at 200 to 500 million dollars. Florida produces from five to ten million pounds of pecans annually. The majority of that pecan production acreage (6,500 acres) can be found in North Florida. While the nut is the main attractant of the tree, there’s not much that warms the heart more than seeing pecan pie at the dessert table on Thanksgiving.
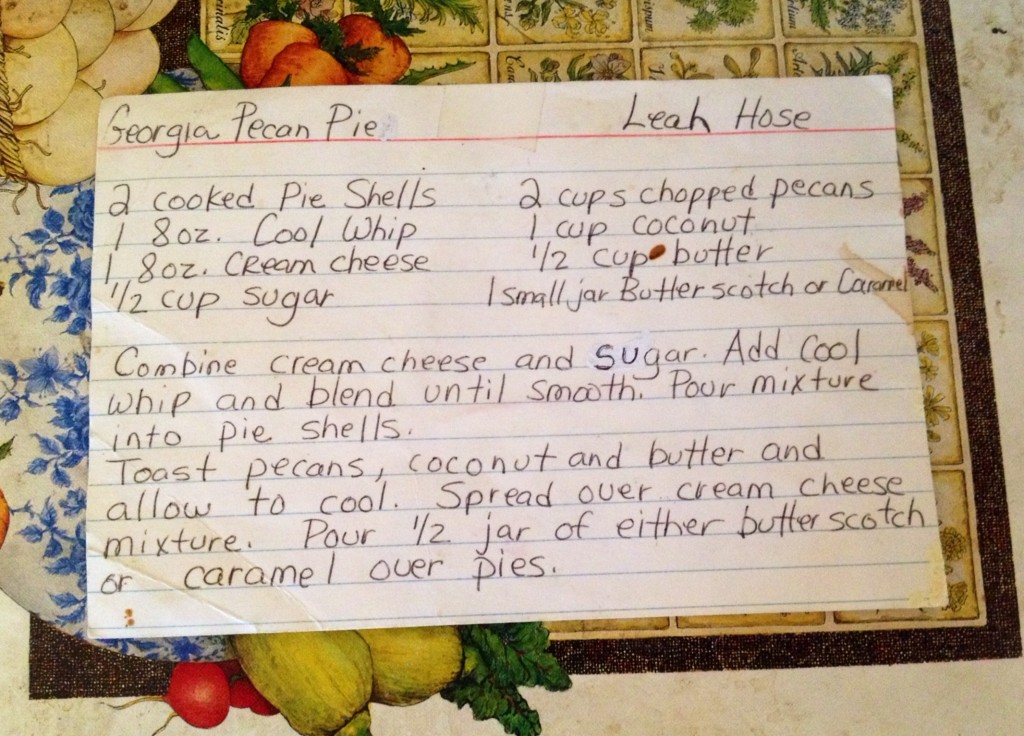
A well worn recipe for southern pecan pie that has been passed down through my family.
Pecan trees are deciduous, which means that they drop their leaves in the winter. An additional consideration for those planning to install pecan trees is to be aware that they are wind-pollinated and that their male and female flowers often do not mature at the same time. Therefore, in order to ensure the possibility of high yields, two or more cultivars should be planted together for cross-pollination.
Be sure to choose a variety like ‘Elliot’ or ‘Curtis’ that has good disease resistance, is suited for North Florida and will cross-pollinate well. Plant pecans during the colder months to allow for root growth before spring. The optimum soil pH for pecans is 5.5 to 6.5. At the lower end of this range, micronutrient deficiency symptoms should be less common. Pecan trees should start producing decent crops in six to twelve years. A tree at maturity can reach up to seventy feet tall so plan spacing and placement accordingly.
Pecan tree planted by my great-grandparents in Monrovia, Alabama.
For more information please consult Pecan Cultivars for North Florida or contact your local UF IFAS county extension office.
by Taylor Vandiver | Oct 25, 2013
Caution…Worms at Work!
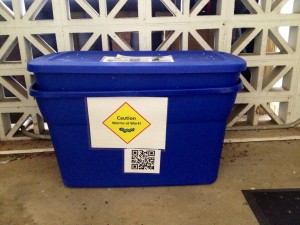
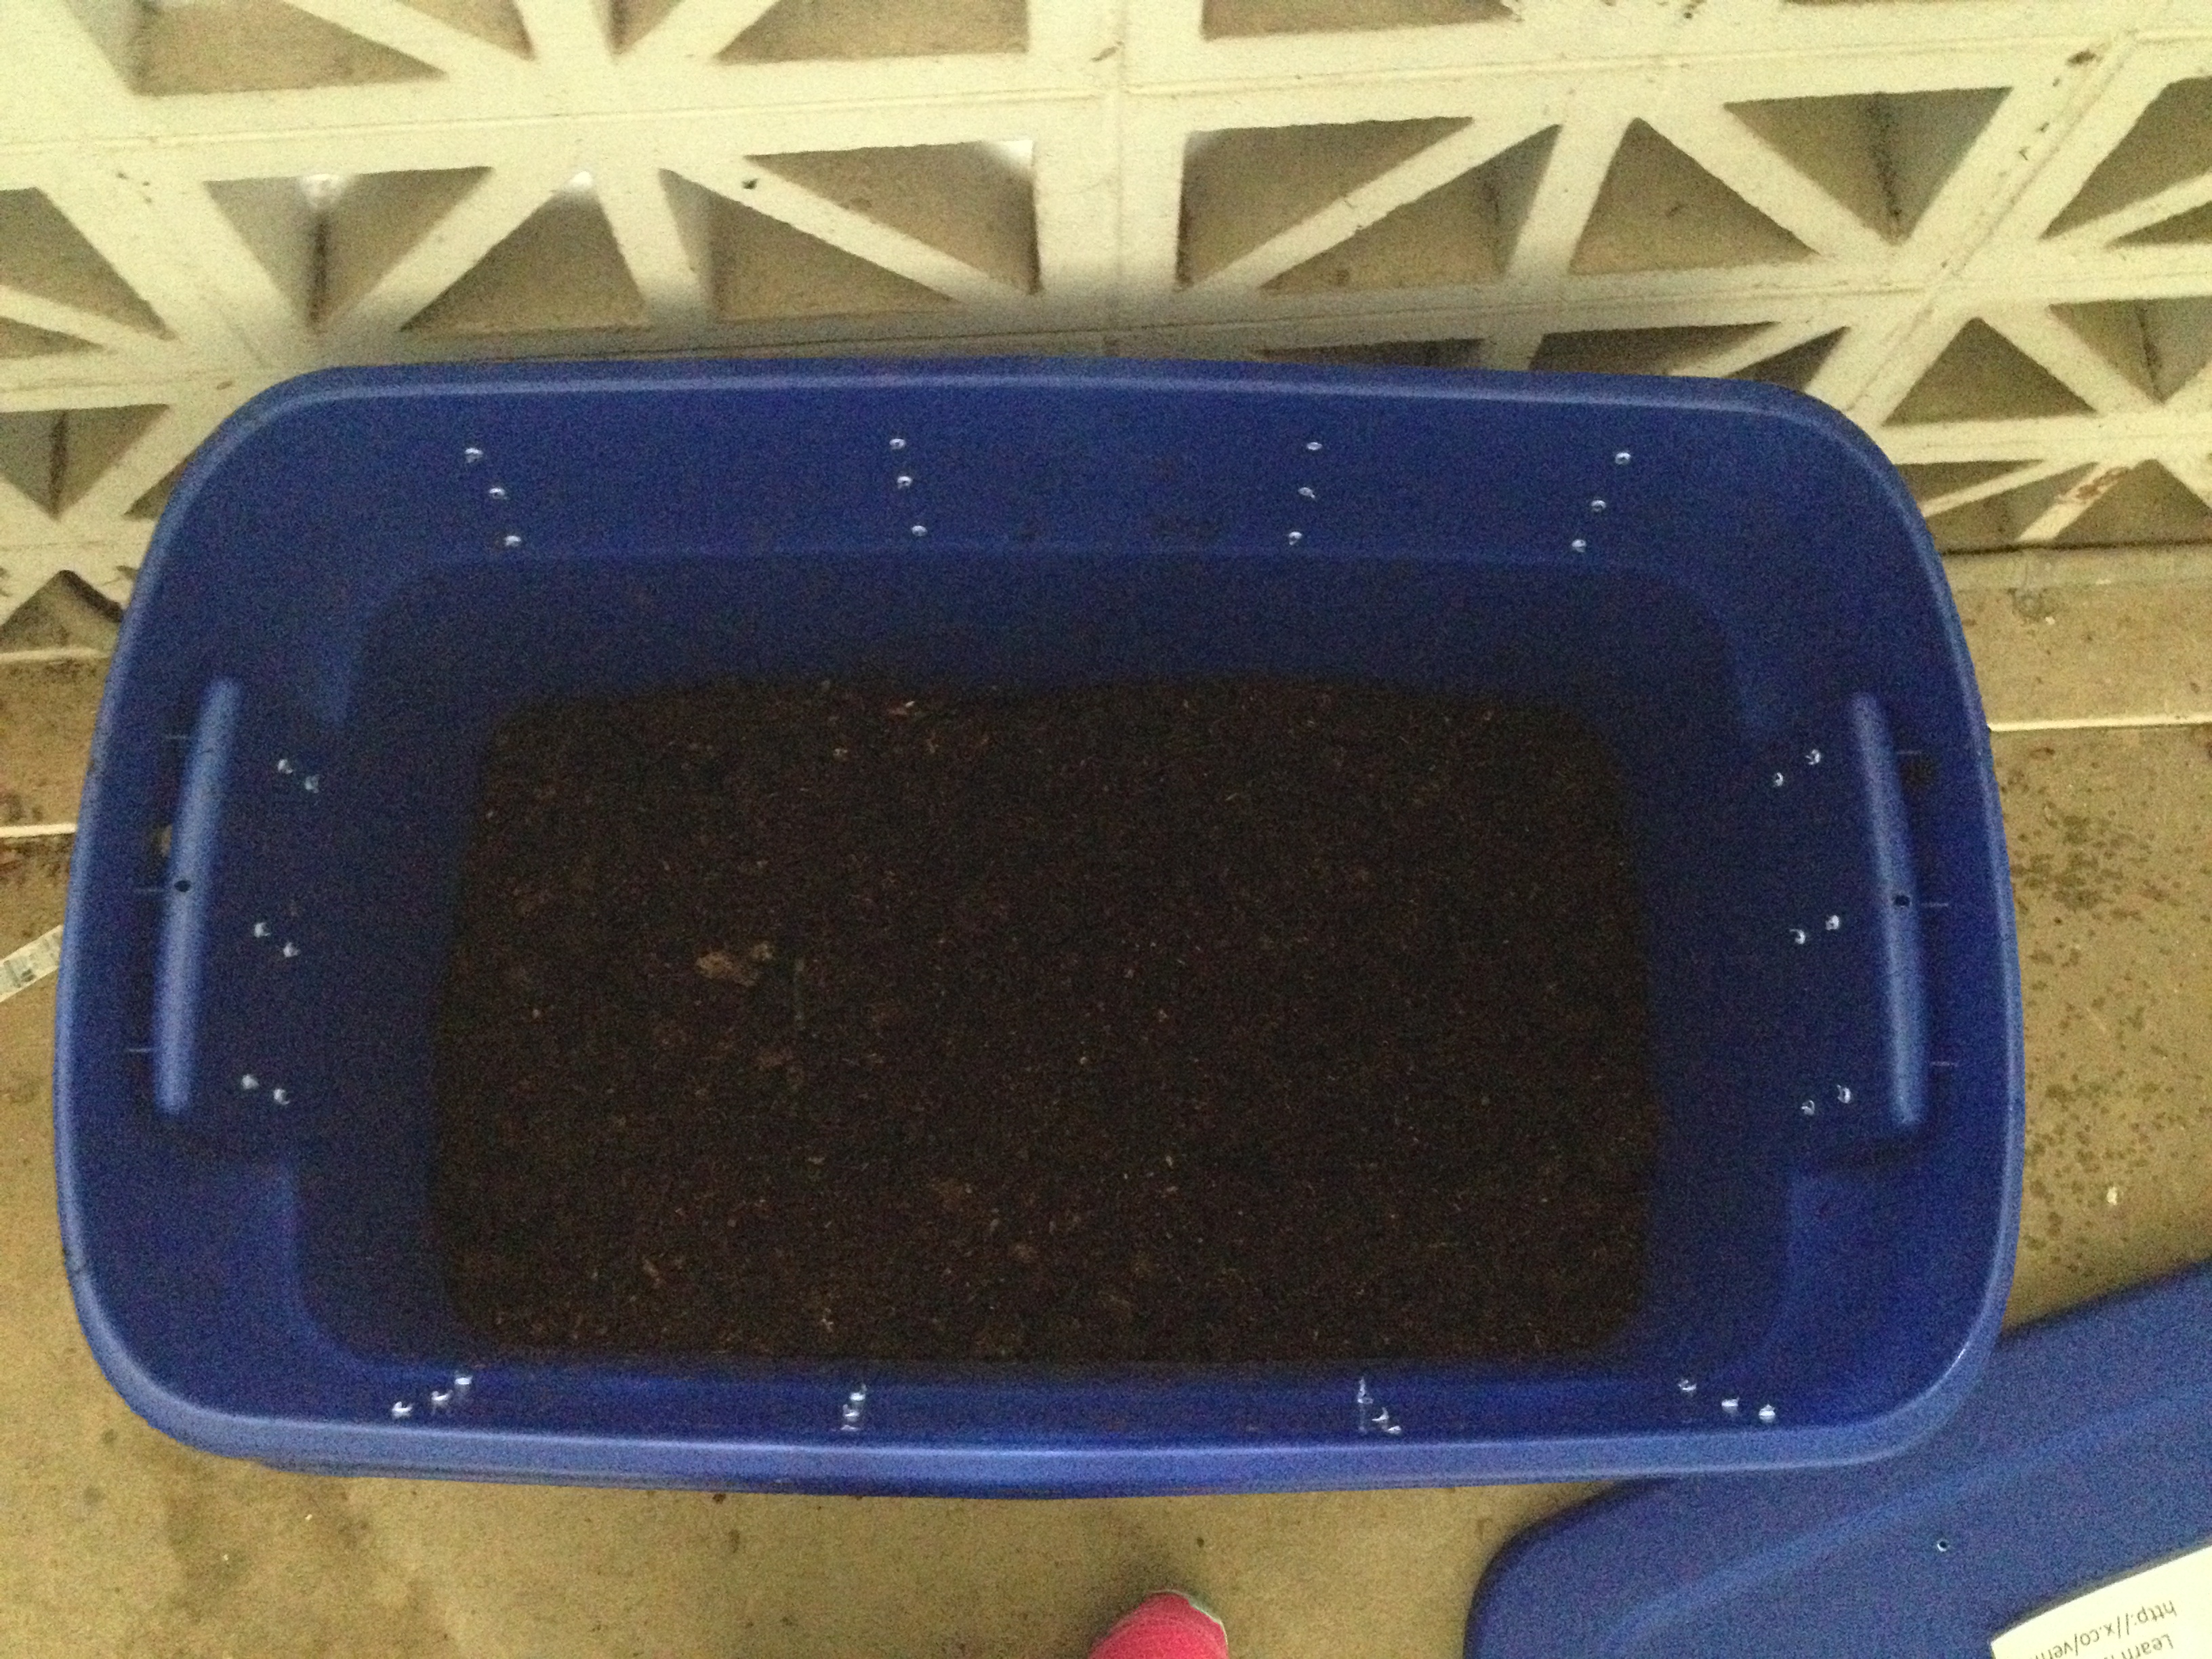
Vermicomposting bin at the Leon County Extension Office.
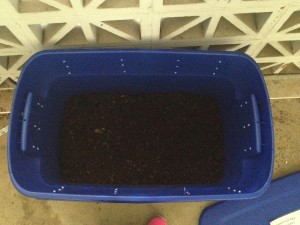
It’s difficult to see, but our worms are hard at work composting leftovers!
Many home gardeners may have thought about composting, but may not have the time, the space or, let’s face it, the patience. Well then vermicomposting is ideal to satisfy those conditions! Vermicomposting is the process of using worms and micro-organisms to turn food waste into a nutrient-rich compost called worm castings. Worm composting bins can take up less space than traditional composting bins and can even be kept inside.
Bins can be purchased or made at home, for those who want to compost on a budget. If the home gardener is planning on making their own there are a few things that should be considered. Make sure that the container won’t absorb too much water (such as cardboard), because worms need to stay moist. The container should also be made of a non-clear material. A good example would be 1-18 gallon plastic (not clear) container or a Styrofoam container with a lid. Holes need to be drilled about 4 inches from the top of the bin. Covering the air holes with a type of screen is a good idea to prevent the escape of the composters.
After the bin has been constructed bedding (shredded newspaper, etc.) will need to be placed at the bottom. The bedding should be moistened and then potting soil added on top of that. This will provide a good living habitat for your worms. The Number of worms that need to be added will depend on the container size. When getting worms, make sure to use red wigglers (Eisenia fetida) or African Nightcrawlers (Eudrilus eugeniae). Unlike earthworms found in the garden, these worms thrive in composting bin conditions. They can usually be found at bait stores or local worm farms.
Now its time to put them to work! Worms can be fed daily or weekly. One pound of worms can be fed about half a pound of kitchen scraps per day. When adding scraps avoid using animals products like eggs, cheese or meat. The ideal meal should include small scraps of vegetables, fruits, coffee grounds, bread and paper. When adding the scraps be sure to bury them under the soil. Store the worm bin in an area that does not receive direct sunlight and stays at a constant temperature of about 60 to 80 degrees. Be sure to have a lid for your container, this will keep light out and will also help prevent the appearance of flies. One pound of worms can turn 65 pounds of garbage into garden compost in about 110 days. Compost should be harvestable in a matter of months!
Vermicomposting is a great way to compost for those living in an apartment or those that have kitchen scraps as a main source of compost materials. Worm castings are used just like normal compost. Add them to plants and gardens as a soil amendment, use them in potting soil, or make a compost tea.
For more information contact your local UF/IFAS Extension Office.