by Taylor Vandiver | Aug 3, 2015
As our world and our lives become more centered on technology it seems that all the information we need is just a touch screen away. After all, you are most likely reading this article from a laptop, smart phone, or tablet. While convenient and portable, there are some places you might not wish to take your electronics and one of those places is in the garden. You may say, “Well Taylor, that’s what they make waterproof, shatterproof, dirt proof, etc. cases for!” and I would say that you’re right. However, technology has many limiting factors such as battery life and screen glare. Now believe me, I am by no means disparaging technology! I come from a generation that considers Wi-Fi as necessary as water and an outlet comparable to oxygen. But there is something to be said for having a book in hand when out in the garden. For one thing your neighbors won’t worry about you as they see you march around the garden with your phone in the air doing the “No Signal Dance”. Also, a book is great to have in order for you to jot down any notes or reflections. I would like to list for you a few books that I often reference when I receive calls from homeowners. These books will cover various topics and all of them can be found on the UF/IFAS Bookstore website, the links for each can be found below. If you have any questions contact your local Extension Office and, as always, feel free to contact me and I can give you a rundown on my collection of favorite reference books!
- New to the UF/IFAS bookstore: “Trees: North & Central Florida” a field guide to 140 common tree species. This sturdy, pocket-sized field guide–the only one of its kind for north and central Florida–is designed for landscape professionals, arborists, naturalists, gardeners, and anyone seeking to know the trees around them. Full color photographs of leaves, bark, flowers and full trees, together with clear descriptions and other information make identifying trees easier than ever. This book also features a handy diagnostic key, an introduction to plant parts, a glossary and a ruler to guide you, whether you’re a trained botanist or a complete beginner.
- “Poisonous Plants of the Southern United States” John W. Everest, Thomas A. Powe, Jr., and John D. Freeman (of Auburn University). Identification of common poisonous plants found along fence lines and in pastures in the Southern United States.
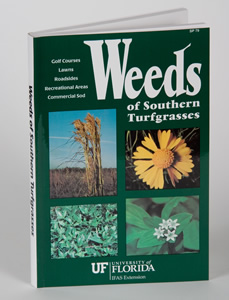
- “Weeds of Southern Turfgrasses” This practical weed identification guide contains 427 color photographs of 193 weed species, their geographical range, and life cycle descriptions. Includes a glossary of taxonomic terms and index of common and scientific names.
- “Disorders and Diseases of Ornamental Palms” Recently revised and updated, this ID deck is a diagnostic tool for landscape professionals and backyard hobbyists. The color photographs and explanatory text helps users identify and distinguish between the nutritional deficiencies, physiological disorders and common diseases of ornamental palms. All palms in the U.S. suffer from disorders and diseases, and identifying the differences can be tricky. These cards feature photographs and descriptions and are cross-referenced for easy comparison between different symptoms and the potential problems causing them. Includes a table of contents and 55 laminated, ring-bound cards.
- “Florida Lawn Handbook: Best Management Practices for Your Home Lawn in Florida” Written in practical language by turfgrass experts, this highly-anticipated new edition offers the most current lawn management information. Color plates identify various grass types, weeds, diseases, and insects—including those that are good for your lawn! Chapters cover selection, establishment, and maintenance for each type of lawn; soil analysis and fertilization; yearly calendars for lawn care and culture; mowing, watering, and calibrating sprinkler systems and fertilizer spreaders; overseeding for winter color; preparing a lawn for drought and low temperatures; safe pesticide application and use; the latest integrated pest management strategies; organic lawn care; and complete, illustrated diagnostic information for weeds, diseases, insect problems, nematodes, and other pests.
- “Sustainable Gardening for Florida” Gardeners today face a unique challenge: how do you create a beautiful, thriving landscape without over-use of fertilizers, pesticides, and water? Sustainable Gardening for Florida might be the first place to look for answers. This book provides interesting, money-saving ideas to reduce your ecological footprint. It includes chapters on composting and mulching, integrated pest management, water-wise irrigation and rainwater harvesting, preparing your garden for disasters, and all aspects of managing meadows, lawns, trees and shrubs, edible gardens, rain gardens and waterfront gardening.
- “Vegetable Gardening in Florida” From James Stephens, the founder of the Florida Master Gardener Program, this is the one resource you need to successfully grow vegetables in Florida. Whether you’re growing beans, tomatoes, herbs, or any other Florida crop, this guide will take you from site selection and insect management through the harvest and storage of your produce. Useful planting guides, gardening measurement conversions, and organic gardening information are accented with full-color throughout.
by Mary Salinas | Jul 7, 2015
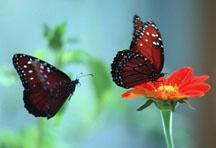
Butterflies are not only beautiful to look at in your landscape; they serve as important pollinators and indicators of the health of our environment. Attracting them to your garden and incorporating some features to get them to stay and make it their home involves a little planning ahead of time for optimum results.
Queen butterfly. Photo credit: Milt Putnam, UF/IFAS.
Choose a location that provides some protection from wind. Trees and shrubs that provide wind protection also serve as a safe harbor from rain and predators. The garden should be mostly sunny with some part sun areas. Ensure that any new plantings have access to a convenient irrigation source so they can be successfully established and maintained in good health.
Now you’ll need to choose the plants. Adults feed on the nectar of many flowering trees, shrubs, perennials, and annuals and, fortunately, there are usually many choices that will meet your site requirements and your taste preferences. In order to keep the butterflies in your garden, certain plants need to be available to serve as host plants for their young. Determine which species of butterfly is common in your area and that you want to attract. Most species have very few plants on which the caterpillars can feed so those host plants need to be chosen wisely. Determine whether any of the plants you already have are host plants and they can be integrated into your butterfly garden. For example, cassia is a host plant for the Cloudless Sulphur and citrus is a host plant for the Giant Swallowtail.
In choosing your nectar plants, select those that are native or Florida-Friendly as they are lower maintenance, giving you less trouble in the long run. Choose plants that have flowers in a variety of color, size, and shape. Different butterflies like to feed at different elevations, so choose trees, shrubs, perennials, and annuals of varying heights. In order to have nectar available throughout the time when the butterflies occur, include plants that bloom at different times of the year. And include some plants that bloom from spring to late fall, like pentas or moss verbena.
Larger plants should be placed in the background with smaller plants layered in the foreground. When you plant smaller annuals and perennials, place them in masses to better attract the butterflies. Consider placing host plants in an area that is in close proximity to the nectar plants, but in an area of your garden that is not a focal point. Host plants can get quite ragged looking from hungry caterpillars!
Good maintenance practices will enhance the health of your garden. Regular fertilization and irrigation if needed will help keep your plants in bloom and healthy; healthy plants are less susceptible to disease and pests. Avoid pesticides as they may harm the very creatures you are trying to attract. Never use Bt or systemic pesticide. If you must, target a pest with lower risk oils or soaps and then only treat the affected plants. Lastly, be aware of beneficial insects that will help you achieve satisfactory control of a pest.
Now that your plants are placed there are several things to do to make your butterfly garden complete. Add a spot where water can puddle on the ground for the adult butterflies to drink. They require minerals from the soil that get dissolved in the water. Also add a rock or log in a sunny spot where butterflies can rest and sun themselves. And consider placing a comfortable place for you to sit and enjoy the beauty of your garden and its inhabitants!
For more information:
Butterfly Gardening in Florida
by Larry Williams | Jun 9, 2015
There are areas in most landscapes where it just is not practical or possible to bring in the tiller and create a flowerbed. A little imagination, a decorative container and appropriate plants can turn a bare spot into a splash of color.
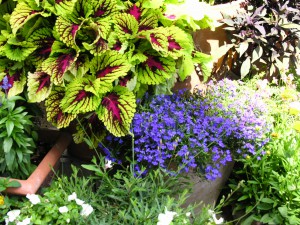
Colorful containers bring life to your small spaces.
Consider using a container of annuals to add color to a backyard deck or a paved entrance way. Or what about that area under the tree where grass doesn’t want to grow and where it would be difficult to till without damaging the tree’s roots and the tiller? How about the dry spot where there is no irrigation but where it would be more practical to occasionally hand water a well-placed container of colorful caladiums?
A wide variety of flowering annuals work well in containers. But be sure to select plants based on the exposure. Some annuals will quickly bake from full sun exposure and others will become leggy and bloom poorly in a shady location.
Impatiens and begonias do well in shaded places and remain in flower almost continuously. Caladiums with their colorful leaves also do well in containers in shady areas.
It’s more difficult to grow container plants in full sun but there are some annuals to consider for sunny spots. A few to consider include blanket flower (Gaillardia), portulaca and salvia.
There are many other annuals that can be successfully grown in containers. There are even sun-tolerant begonia and sun coleus varieties for full-sun places.
Don’t be afraid to try something different. To learn more about this topic, please see:
Container Gardens for Outdoor Spaces
Gardening Solutions

by Beth Bolles | May 6, 2015
Everyone is interested in growing an easy plant that offers interest all throughout the warm season. Look no further than an old favorite, the purple hyacinth bean, Lablab purpurea.
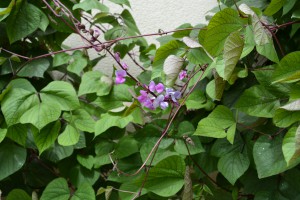
Purple flowers are held above foliage.
An warm season annual vine that grows easily from seeds plants directly in the ground or started in small pots, purple hyacinth bean will quickly cover a trellis, fence, or other sturdy support that you provide. One of the features will be beautiful purple flowers that form on purple stems during the summer. Purple pods will form after the flowers fade and persist until a frost. Mature seeds can be collected and saved for planting the following spring. Seeds that fall to the ground are likely to sprout on their own when soils warm again the following year.
Even though purple hyacinth bean is an edible plant in many parts of the world, it is mostly considered an ornamental in our area. One of the reasons is that raw beans are poisonous and must be properly cooked before eaten. Because of the toxicity of the beans, it is best to plant in the ornamental garden rather than the edible garden.
Additional features of this easy vine are that it is low maintenance, requiring little fertilization and it attracts bees and butterflies. Install seeds or transplants in well drained soil in full sun and you are ensured a plant that will attract attention.
by Taylor Vandiver | Apr 14, 2015
Rain gardens are an easy way to return water to our aquifer, reduce erosion, and help prevent stormwater runoff.
Running down the driveway or patio, rainwater can pick up lawn chemicals and pesticides. A rain garden is basically a low section of the landscape planted with native plants that like to get their “feet” wet. The garden collects rainwater, giving it a chance to “strain” out impurities before draining into the aquifer.

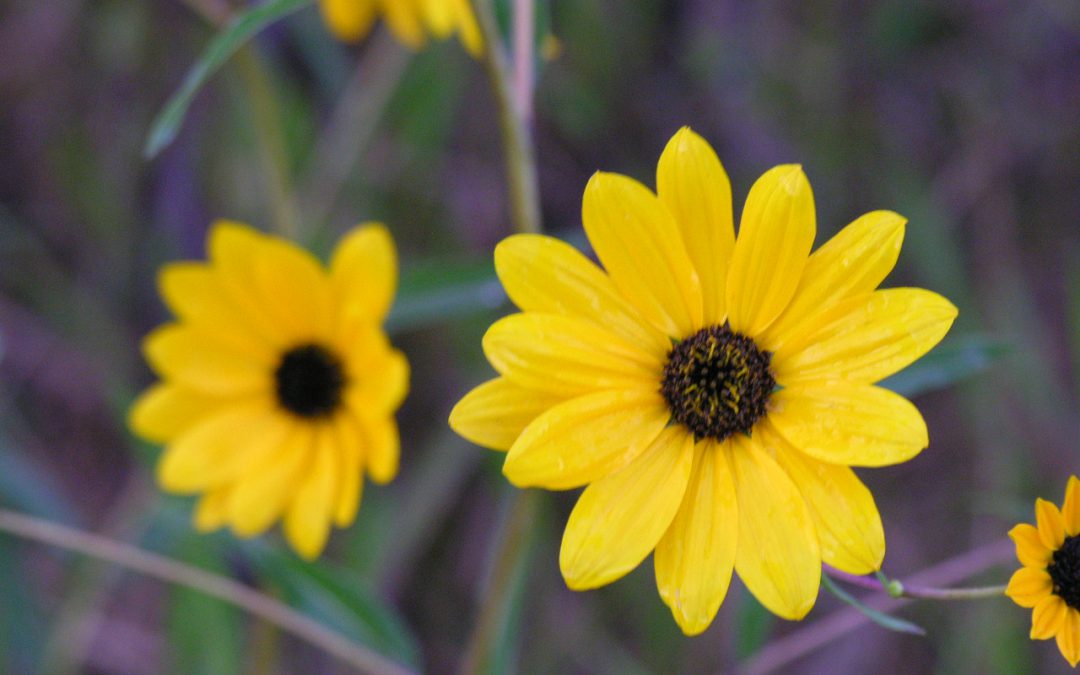
Swamp sunflower. Photo courtesy UF/IFAS.
They work best when they’re placed at the bottom of downspouts or naturally low spots in the landscape, usually where water tends to puddle. They’re especially useful for collecting runoff from paved surfaces. Rain gardens can be any size or shape and can attract thirsty wildlife.
When selecting plants, you’ll need to consider how much sun your site gets and how much space is available. Make sure you select plants that are not just water-tolerant, but also drought-tolerant for the times between rains.
Rain gardens rely on plants that will survive dry spells but then soak up excess stormwater during Florida’s rainy months, preventing the water from running across your landscape.
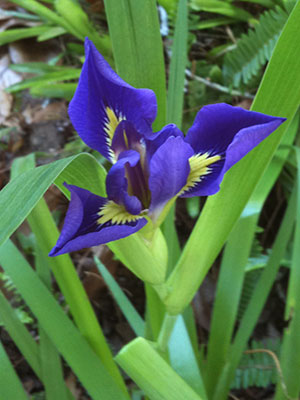
Blue flag iris. Photo courtesy UF/IFAS.
Include different types of plants in your rain garden to create a complete and cohesive look that will provide year-round interest. The following is a short list of flowers, shrubs, and grasses that would perform well in a rain garden.
Flowers:
- Blue flag iris
- Goldenrod
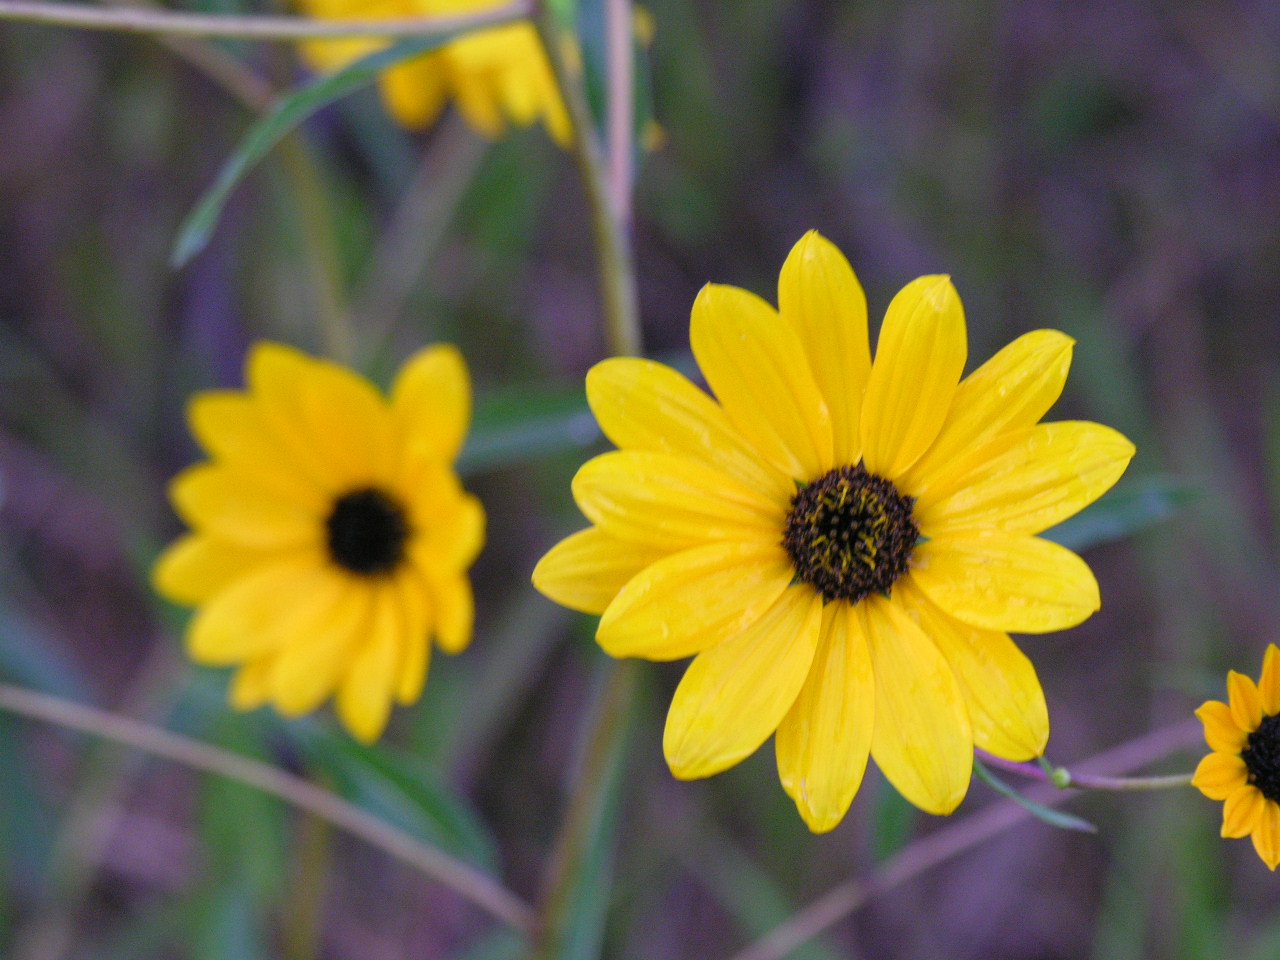
- Swamp sunflower
- Spider lily
- Milkweed
Grasses:
- Florida gamma grass
- Muhly grass
- Wiregrass
Shrubs:
- Virginia willow
- Buttonbush
- Wax myrtle
Here is a list of native plants that will do well in your North Florida rain garden. As always consult your local Extension Office for more information. All of the information in this article was provided by UF/IFAS Extension.
by Julie McConnell | Mar 10, 2015
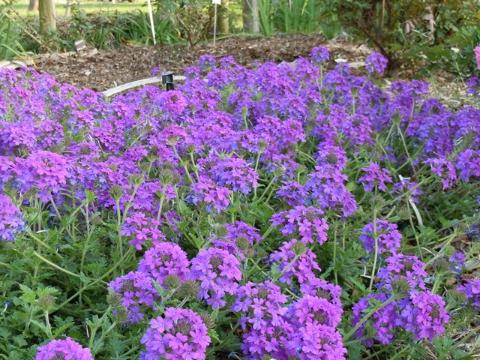
Verbena in full bloom. Image Credit: David W. Marshall, UF / IFAS
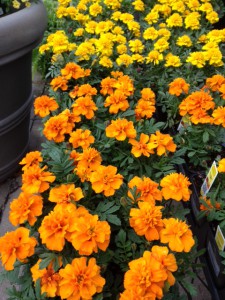
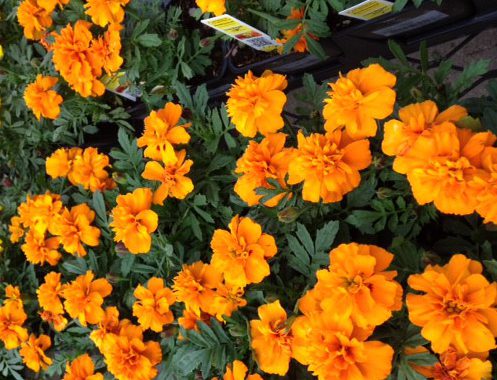
Marigold
As the weather warms and we approach the last expected frost date, it’s time to start planning our warm season annuals.
Annuals are plants that complete their life cycle in one season. In North Florida, we recognize two annual color seasons: Winter annuals (cool season) and Summer annuals (warm season).
Warm season annuals generally cannot tolerate freezing temperatures and perform best during the long, hot days of spring and summer. In our climate we have many choices for our warm season or summer color beds.
It is an extremely important part of the planning process to determine if the site is shaded, part sun, or full sun. If it is part sun, note whether plants will receive direct sunlight in the morning or afternoon and how many hours of sunlight are expected. Check water sources for the site. Different plants have different water needs, so you would not want to install plants with high water needs in a site with no irrigation or limited access to water.
Another factor to consider in coastal areas is the possibility of salt spray or introduction through water sources. Some plants can tolerate salt and others are very sensitive. If it is likely that plants may be exposed to salt, choose plants with a medium to high salt tolerance level.

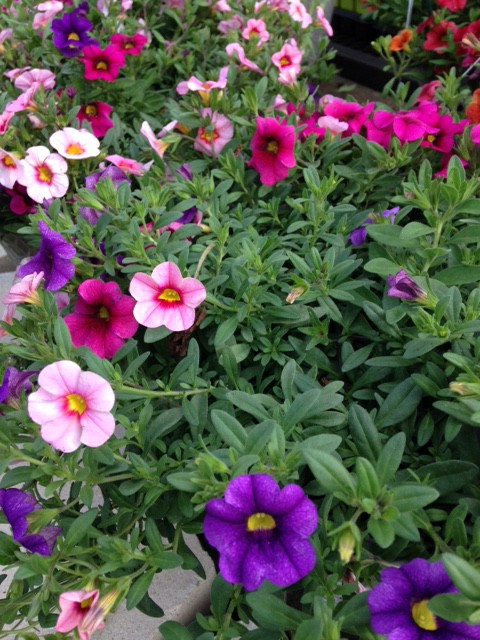
Calibrachoa
After you have assessed your site and determined what conditions will affect your plants, start with your plant selection.
Remember to group plants with similar needs together so that maintenance will be simpler and your plants will have the greatest opportunity to perform at their best. Most annuals will have some fertilizer needs due to their short life cycle. Be sure to amend the soil and provide slow release fertilizer throughout the growing season at the rate needed by your chosen plants. Do not apply fertilizer to plants that are suffering from drought stress, insect infestation, or disease infection.
When selecting plants from a garden center, look for healthy plants with well-developed root systems. If you pull the plant out of the pot you should be able to see bright white roots that are holding the soil together to the shape of the pot. If the root ball falls apart,the plant is not fully rooted and may struggle to get established. Look for disease, weed, and insect free plants so that you do not introduce a problem into your landscape.
To learn more about see Gardening with Annuals in Florida.
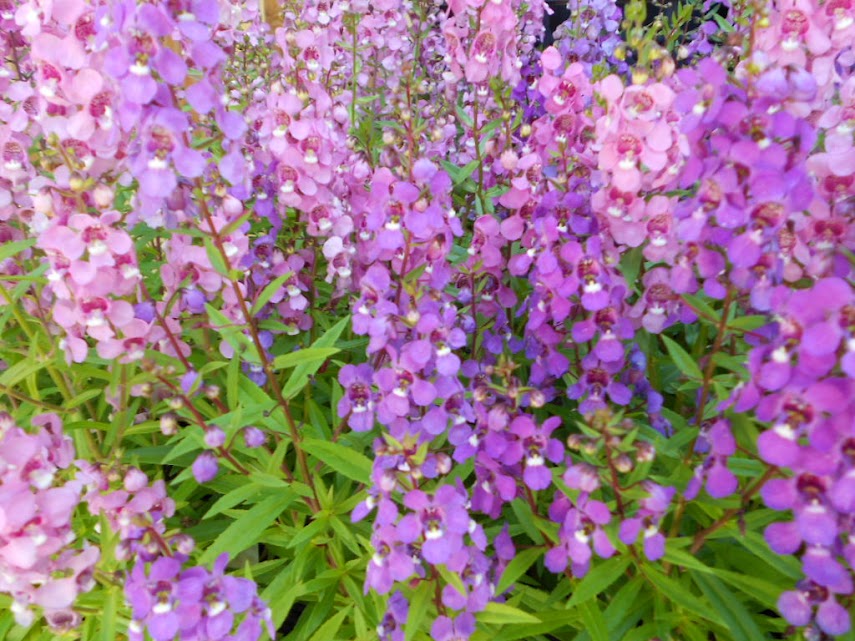
Agelonia
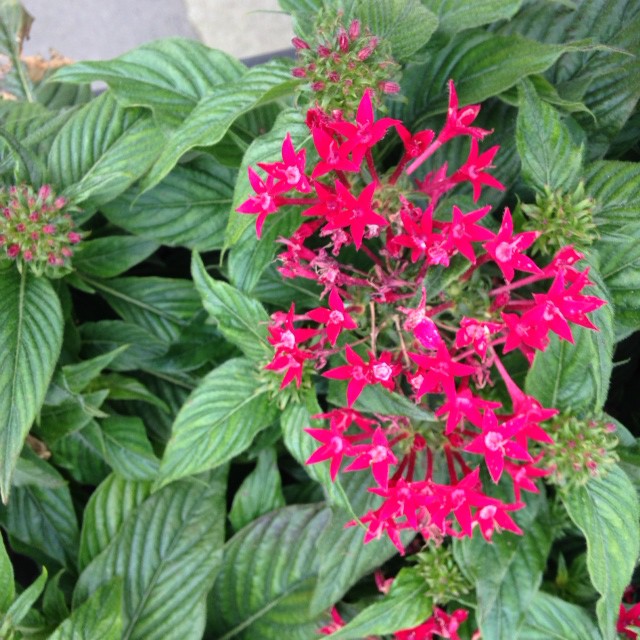
Pentas

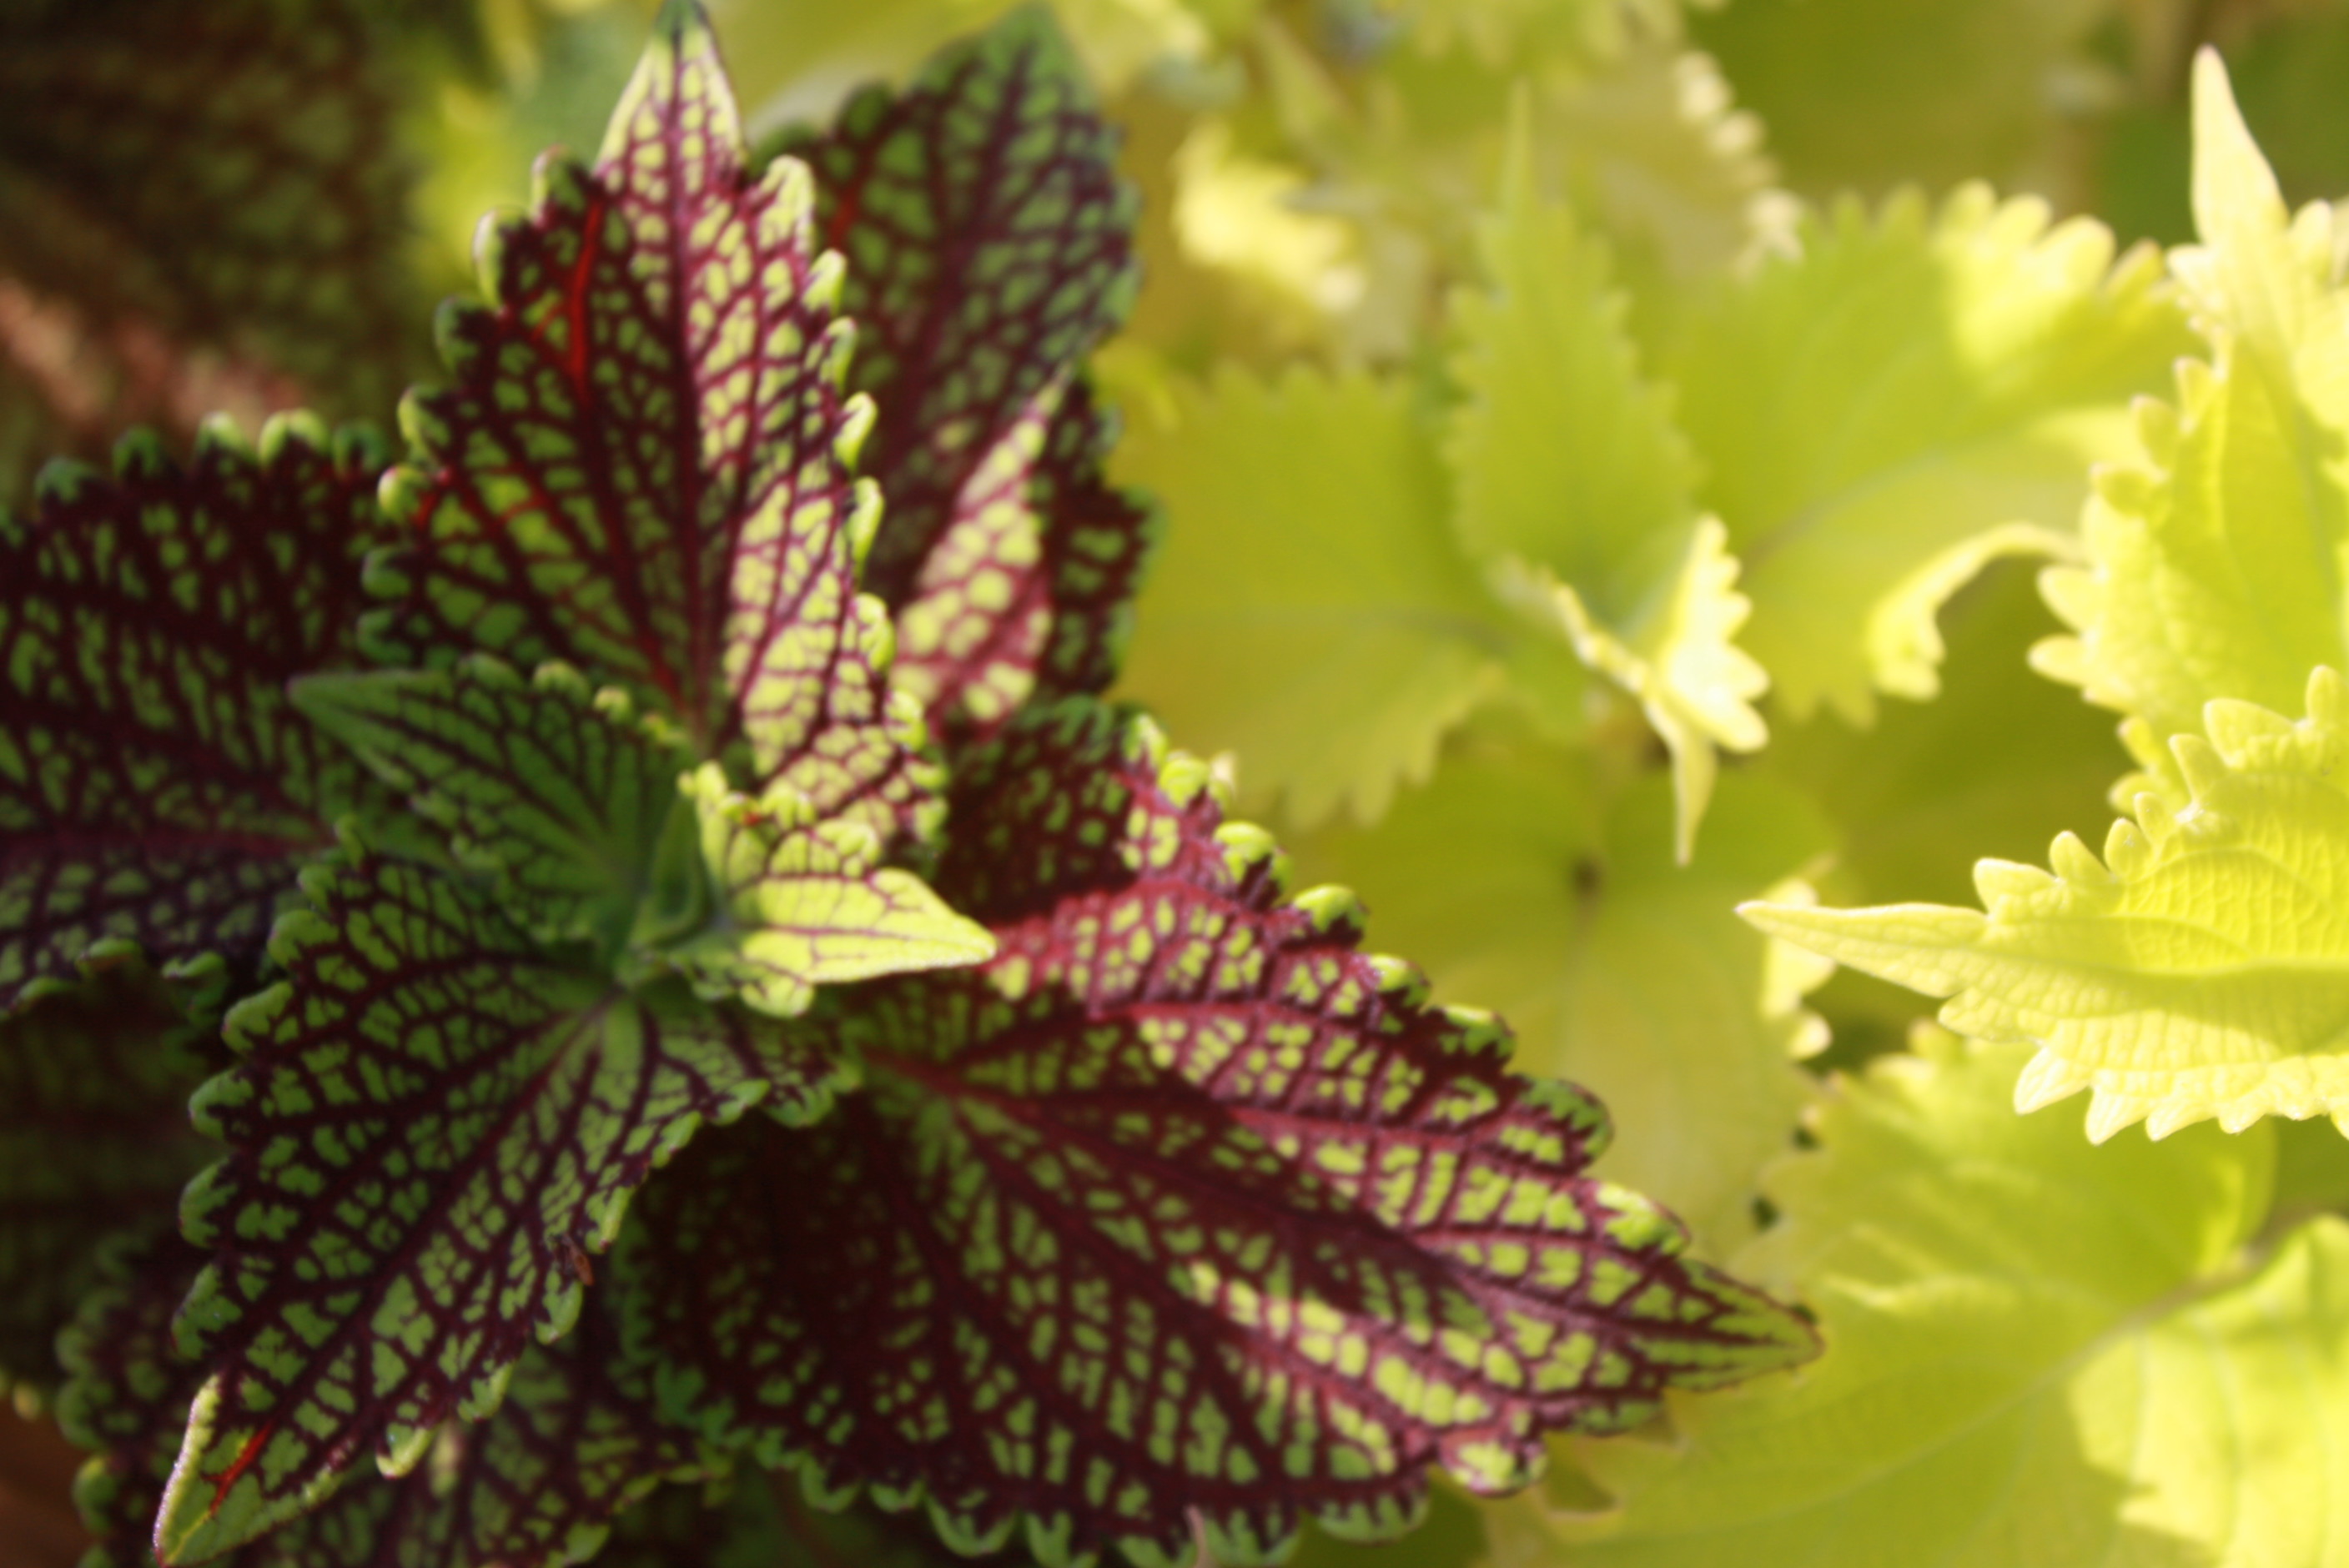
Coleus
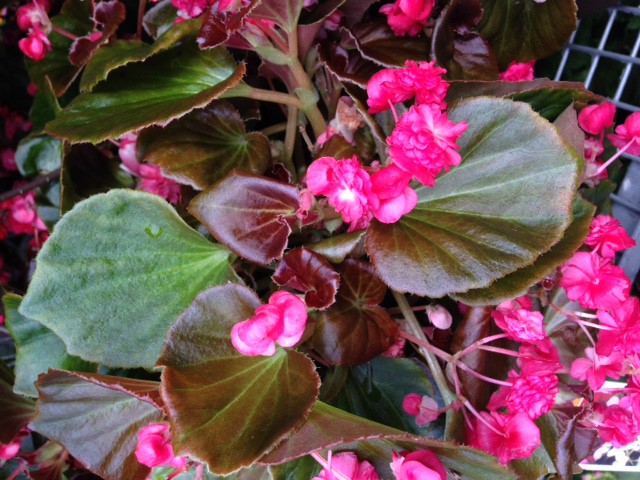
Begonia