Many gardeners enjoy plants that attract butterflies and there is no shortage of beautiful flowering plants to supply nectar for all our pollinators. One critical part of making habitat for butterflies that we may need to improve upon is supplying plenty of host plants for butterfly development. While we enjoy the flight of a butterfly through our garden, we really want to offer features that keeps them around.
Your landscape likely includes a few host plants and maybe you even have a citrus tree or plant parsley every season. What many people don’t realize is how many native trees serve as host plants for butterflies. Some of these plants like specific environments while others can grow in a wide variety of habitats.
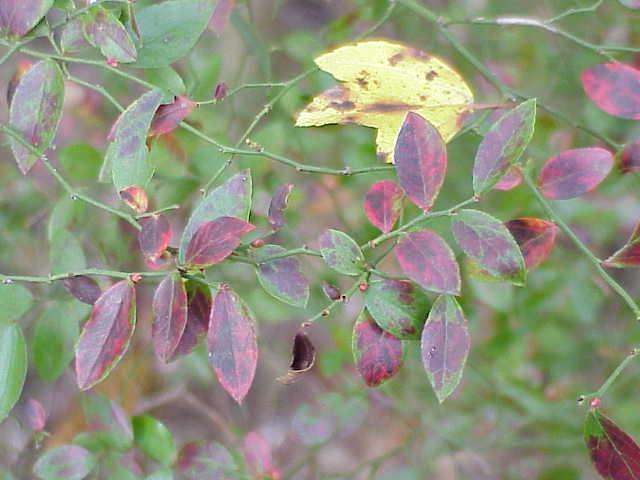
The Black cherry (Prunus serotina) and Cherry laurel (Prunus caroliniana) serve as host to a large number of butterflies. A more well know species that uses the native cherries for development is the Tiger swallowtail. Although we might consider these trees weedy, they can serve as hosts to hundreds of species of butterflies and moths along with providing berries for wildlife. The black cherry will be deciduous while the cherry laurel is evergreen. Both have flowers in late winter or early spring. Just be aware that the cherry laurel fruit can have some toxicity in different developmental stages.
Yellow form of the Tiger Swallowtail. Some females can also have mostly black coloration to prevent predation. Photo: Beth Bolles, UF IFAS Extension Escambia County.
The Winged elm (Ulmus alata) is gaining in popularity as a landscape tree. The Question mark butterfly will lay eggs on plants under the elm and then caterpillars crawl up to feed on elm leaves. The reason we don’t see this butterfly on flowers as much is that it also feeds on manures, carrion, and rotting fruit. Resting butterflies have wing patterns that make them look like leaves.
If you have a site with moist soil or can supply routine moisture, consider the Sweet bay magnolia (Magnolia virginiana). It will attract the Tiger, Palamedes, and Spicebush swallowtails for development. Flowers on the tree are not as large as those on Southern magnolia but you still have similar appearance and even a pleasant fragrance.
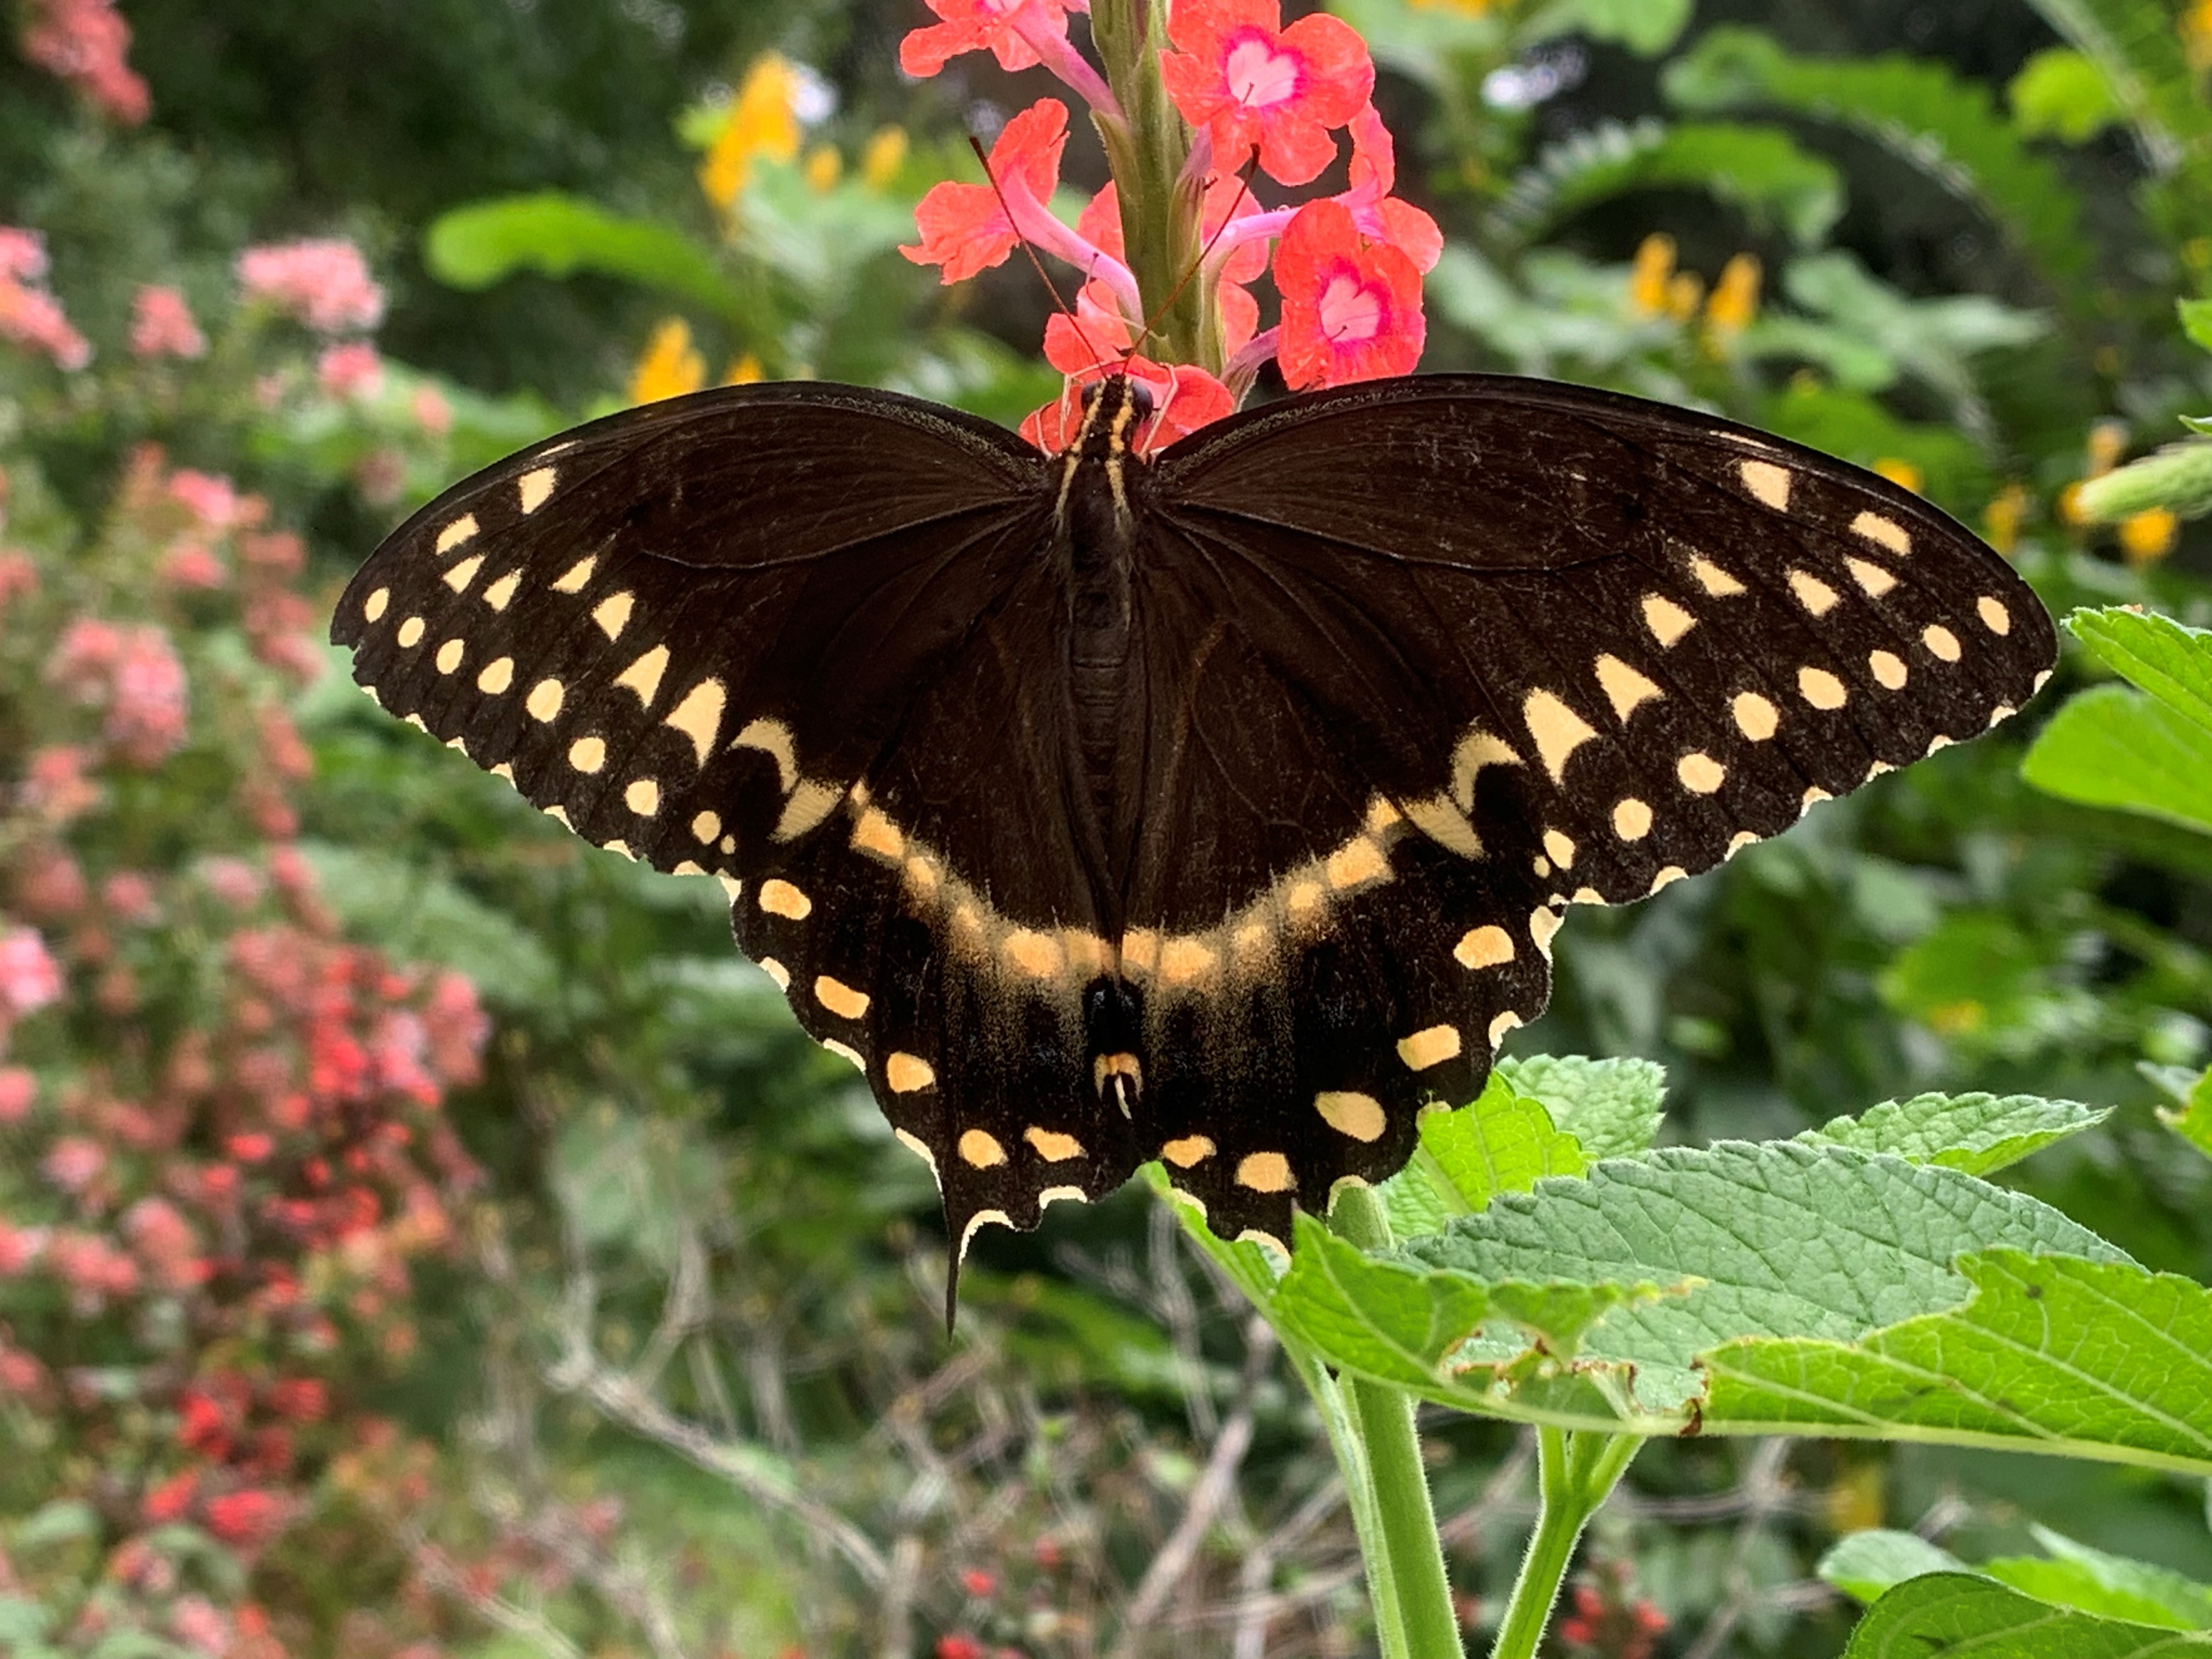
Palamedes swallowtail butterfly feeding on a porterweed. Photo by Beth Bolles, UF IFAS Extension Escambia County.
A couple of understory trees are the Pawpaw (Asimina triloba) and Sparkleberry (Vaccinium arboreum). Look for the Zebra swallowtail to find the Pawpaw while the sparkleberry will serve as host to hairstreak butterflies.
Pawpaw also offers delicious fruit. Photo by Beth Bolles, UF IFAS Extension Escambia County.
Even though landscapes may have limited spaces for every host plant, we can preserve some spaces around borders for native trees. These plants will make a positive impact for butterflies and pollinators.
Hot, summer months are not the time to be using most lawn herbicides.
One issue is the heat of summer. Most lawn herbicide labels include statements such as the following. “Do not apply when temperature exceeds 90°F.” “Do not broadcast apply this product when air temperatures are above 90°F (85°F for St. Augustinegrass) unless temporary turf injury can be tolerated.”
Every year lawns are injured or killed because of lawn herbicides being applied when temperatures are too hot.
Summer is usually a rainy and windy time of the year. Many lawn herbicide labels include statements such as the following. “Allow 12 hours after application before watering lawn for maximum effectives on listed weeds.” “Apply only when wind is no more than 10 mph.” “Applying this product in calm weather when rain is not predicted for the next 24 hours will help to ensure that wind or rain does not blow or wash pesticide off the treatment area.”
It is critical to read and follow the label directions and precautions for any pesticide you use. Pesticide labels, including herbicides, include the following statements. “To the extent consistent with applicable law, the buyer assumes all risks of use, storage or handling of this product not in accordance with label directions.” “It is a violation of Federal law to use this product in a manner inconsistent with its labeling.”
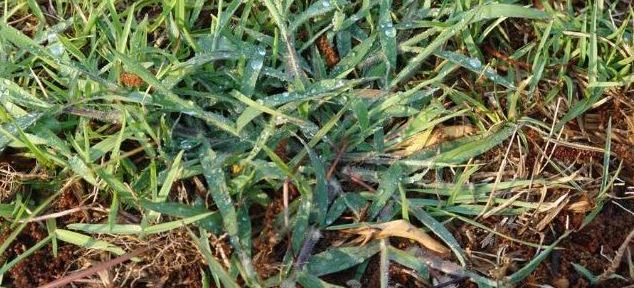
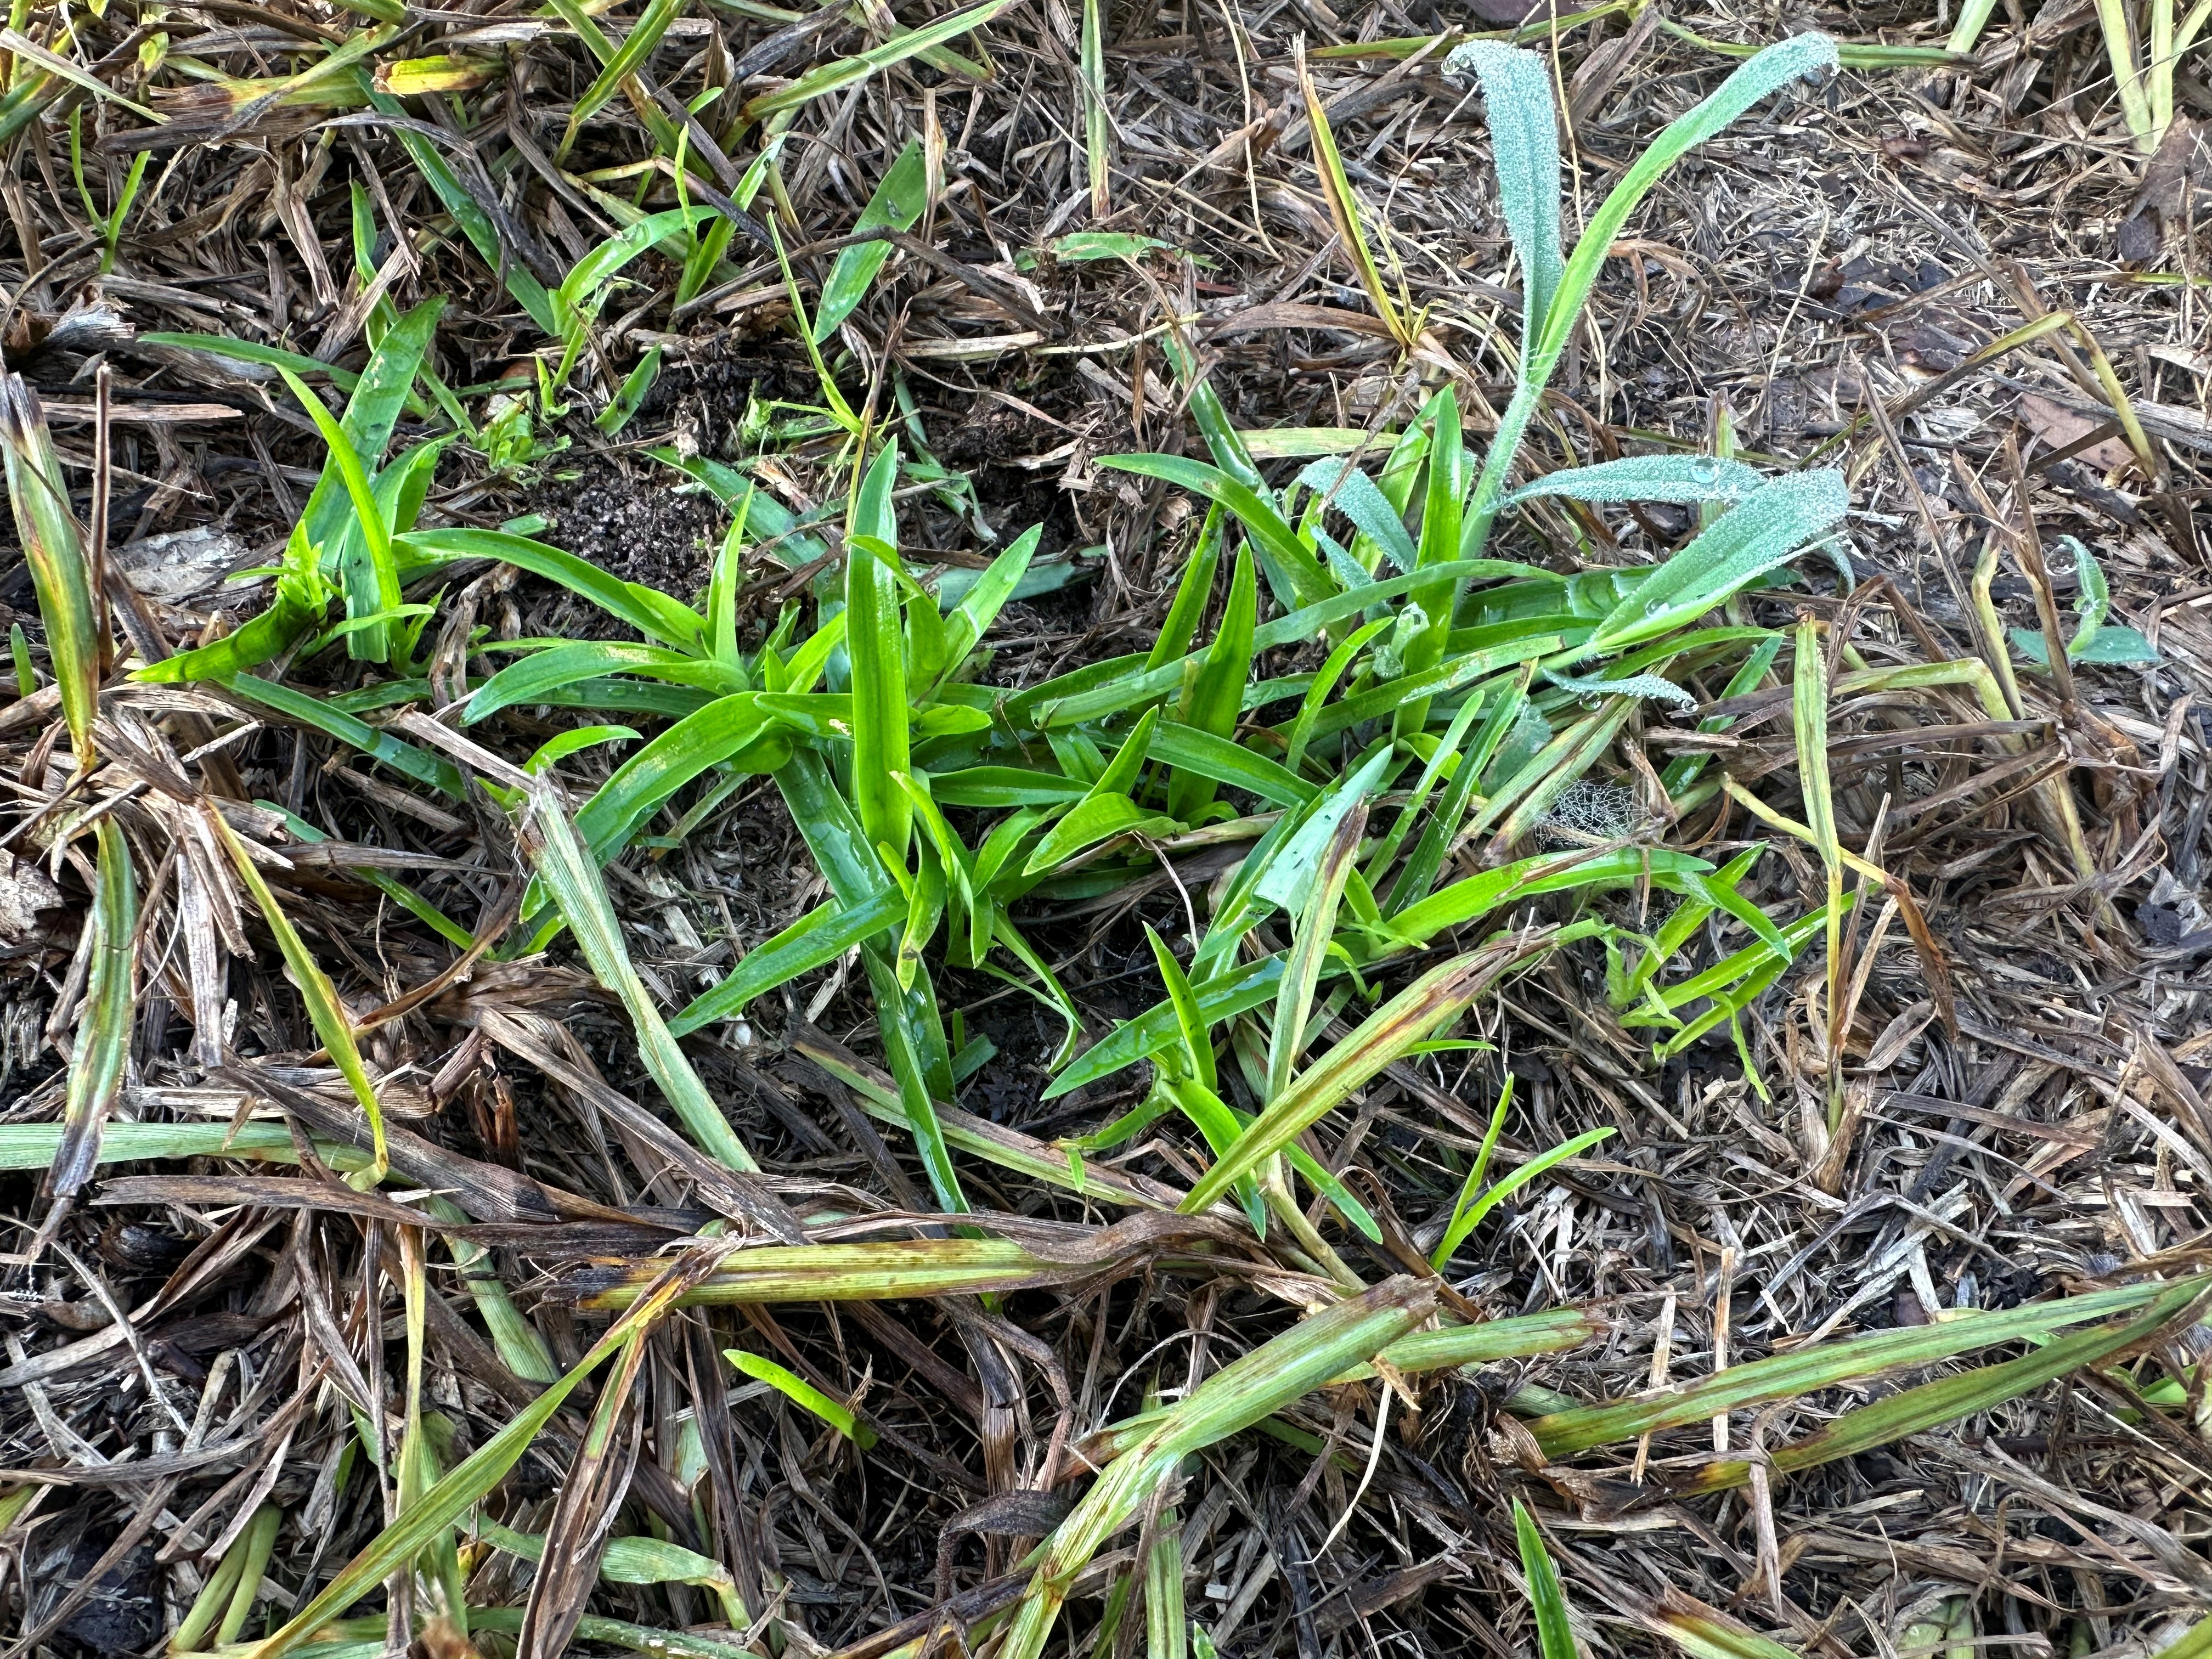
Crabgrass growing in centipedegrass lawn. Photo credit: UF/IFAS Extension
By the time summer arrives, many of the lawn weeds are mature, which means they are well established with extensive root systems. These mature, well-established weeds are more difficult to control. The same weeds are more susceptible to herbicides when they are small, young and not well established. Also, these mature weeds have produced countless numbers of seeds by summer. Most weeds are prolific seed producers.
A single crabgrass plant (a common summer lawn weed) can produce 150,000 seeds!
Applying a preemergence lawn herbicide in February to help prevent summer annual weeds such as crabgrass or applying a postemergence lawn herbicide during spring while the temperature is mild and before the weeds are out of control simply makes more sense than waiting until summer.
The best options now with lawn weed control involve continuing to follow good mowing practices, maybe hand removal of some weeds and just simply waiting for next February and spring to use lawn herbicides.
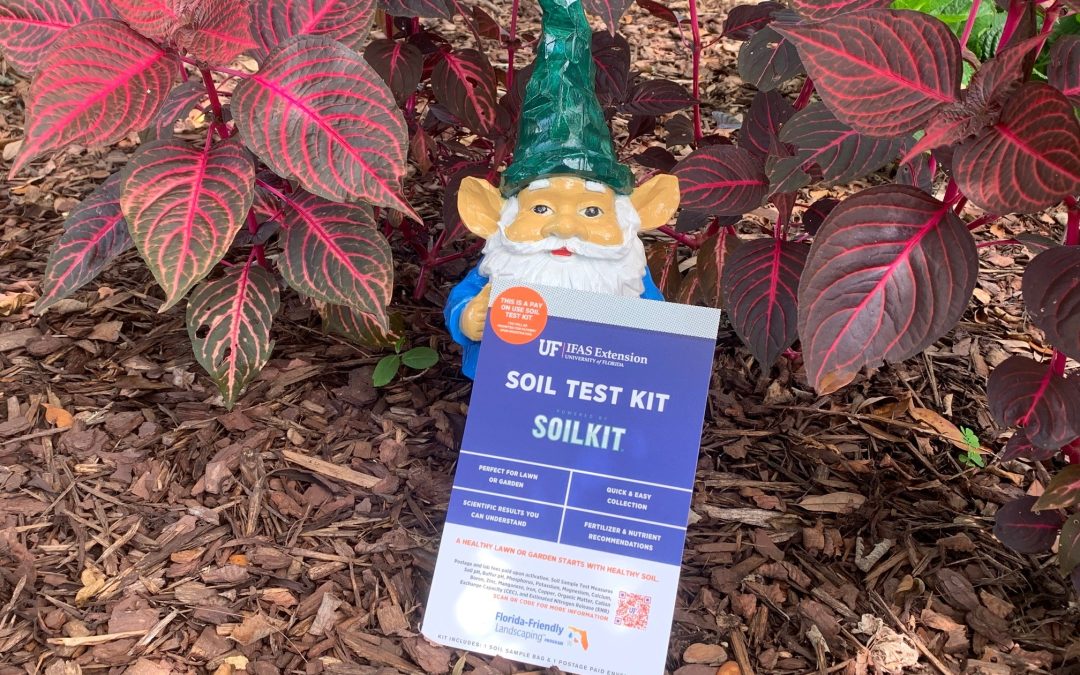
You have probably heard about the SoilKit testing option that is available at local UF IFAS Extension offices. Why would you want to use a new testing kit when the traditional soil testing kit is still available ?
UF IFAS Extension SoilKit is an option for those who want their turfgrass test results based on the latest evidence-based science. This is especially important when dealing with the application of phosphorus, a potentially polluting nutrient. If your soil measures adequate phosphorus for our warm season turfgrasses, you don’t want to add more.
The good news is that UF IFAS turfgrass research has established thresholds for when nutrients like phosphorus are needed. SoilKit is aligned with these thresholds and will only recommend nutrients based on the evidence-based science.
SoilKit does cost more than the traditional soil testing. The convenience is that it includes postage so you put it directly in your mailbox for pickup. Another positive is that when you register your kit online, you can locate your home on a map and mark the square footage of the lawn area. When you get your results in a few days, there is no guess work. You will get a list of products and amounts to purchase for your size lawn.
SoilKit can be used to test other plant groups including gardens and shrubs. If you have questions about using SoilKit, your local Extension office can help.
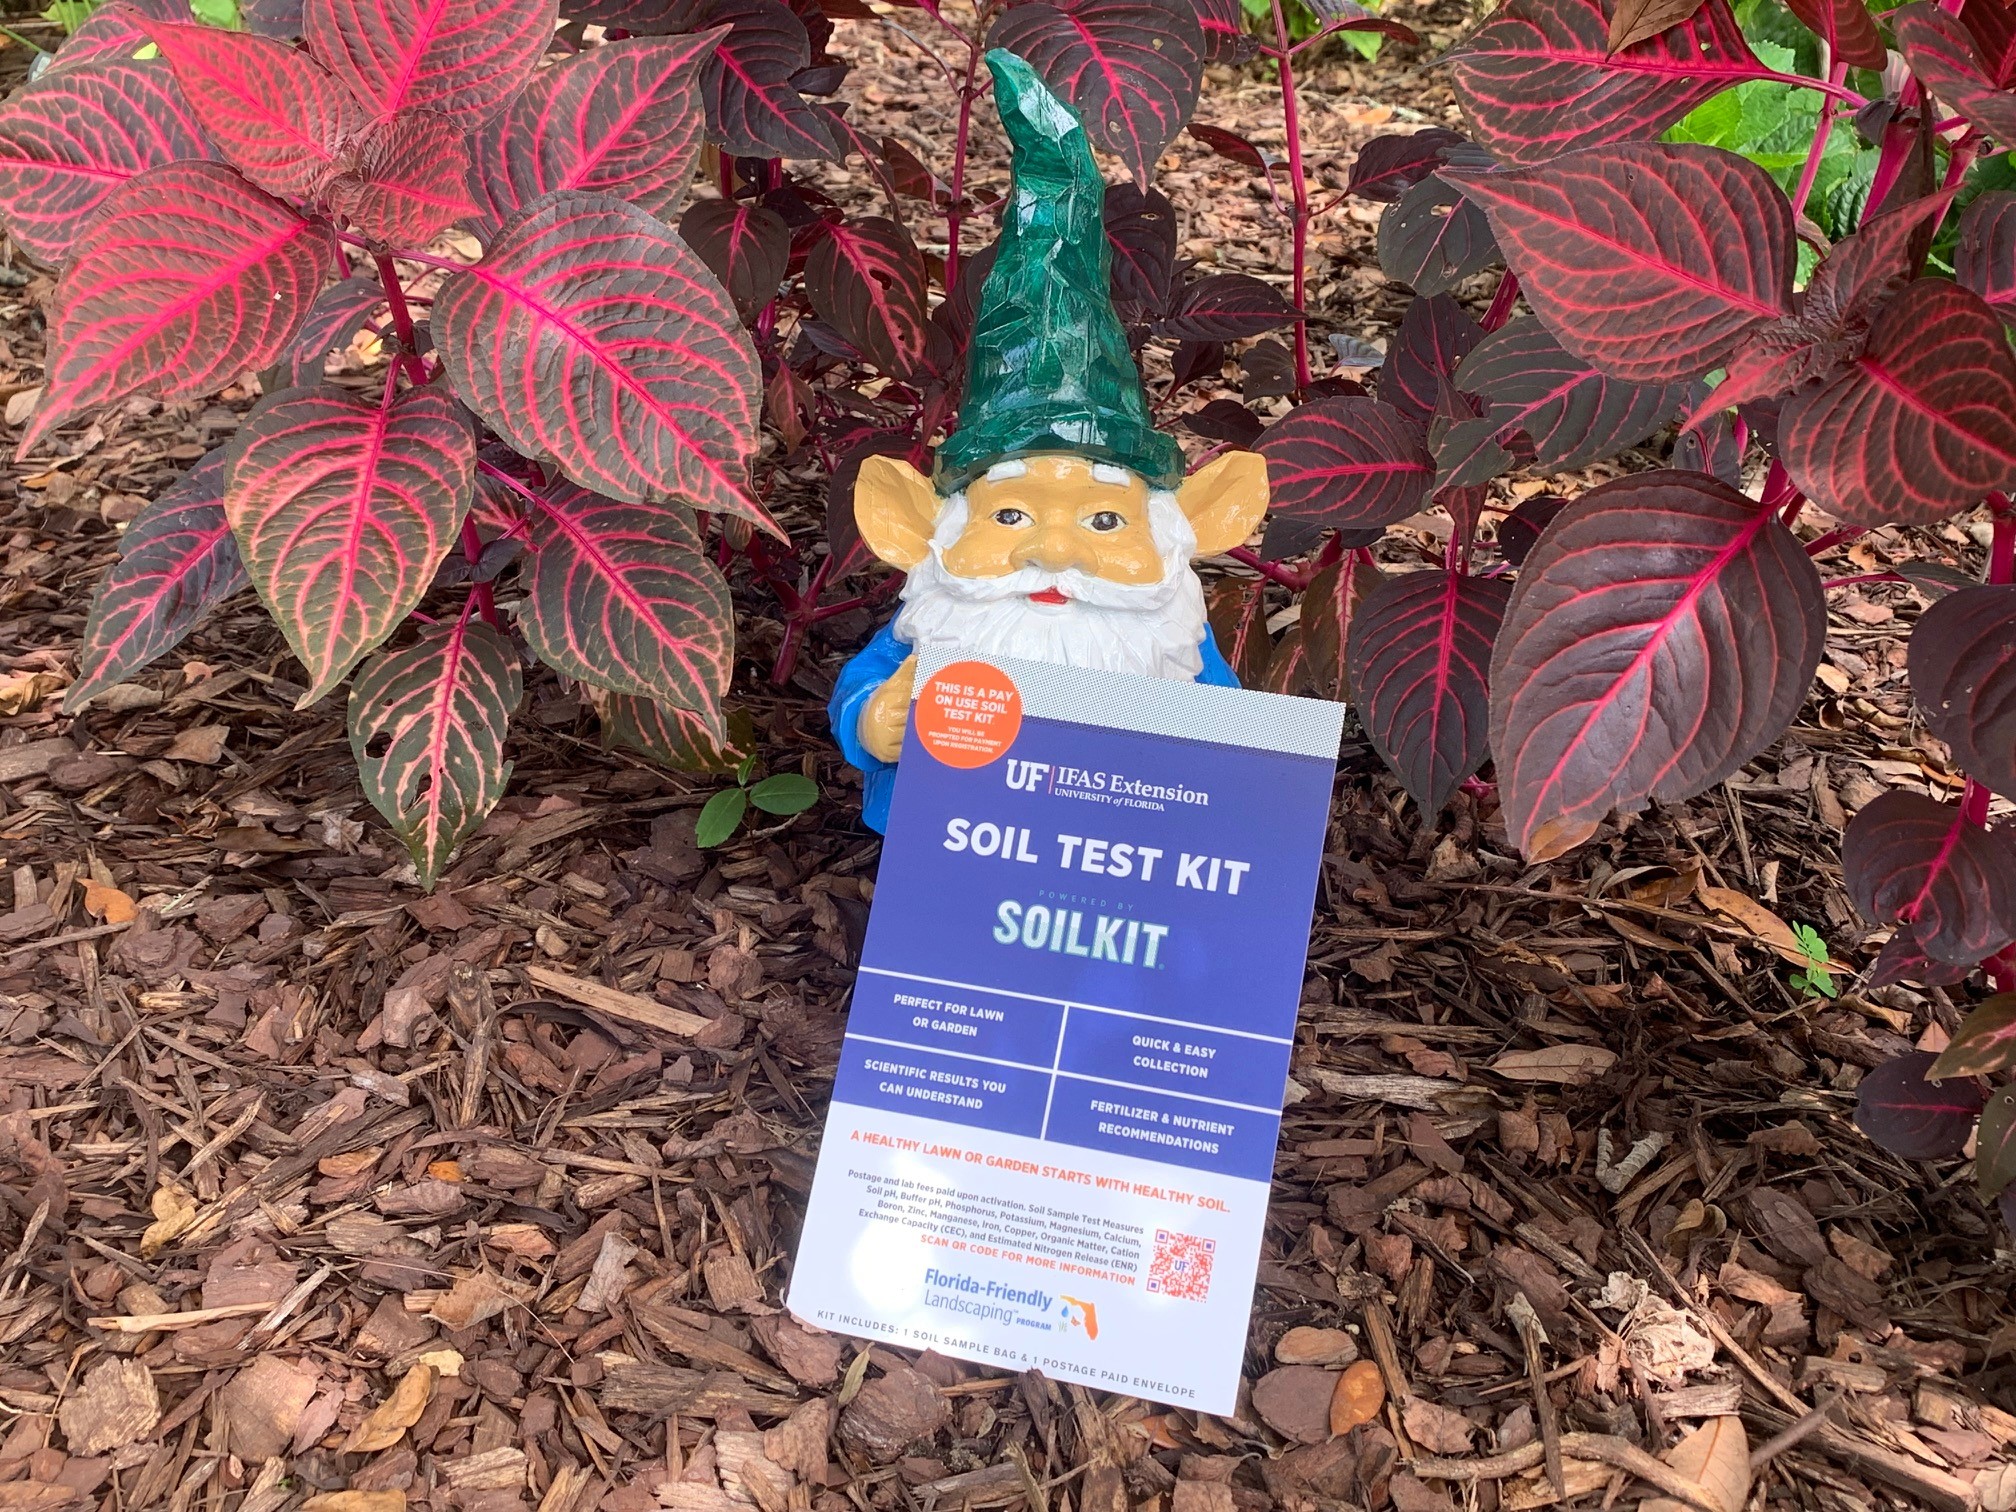
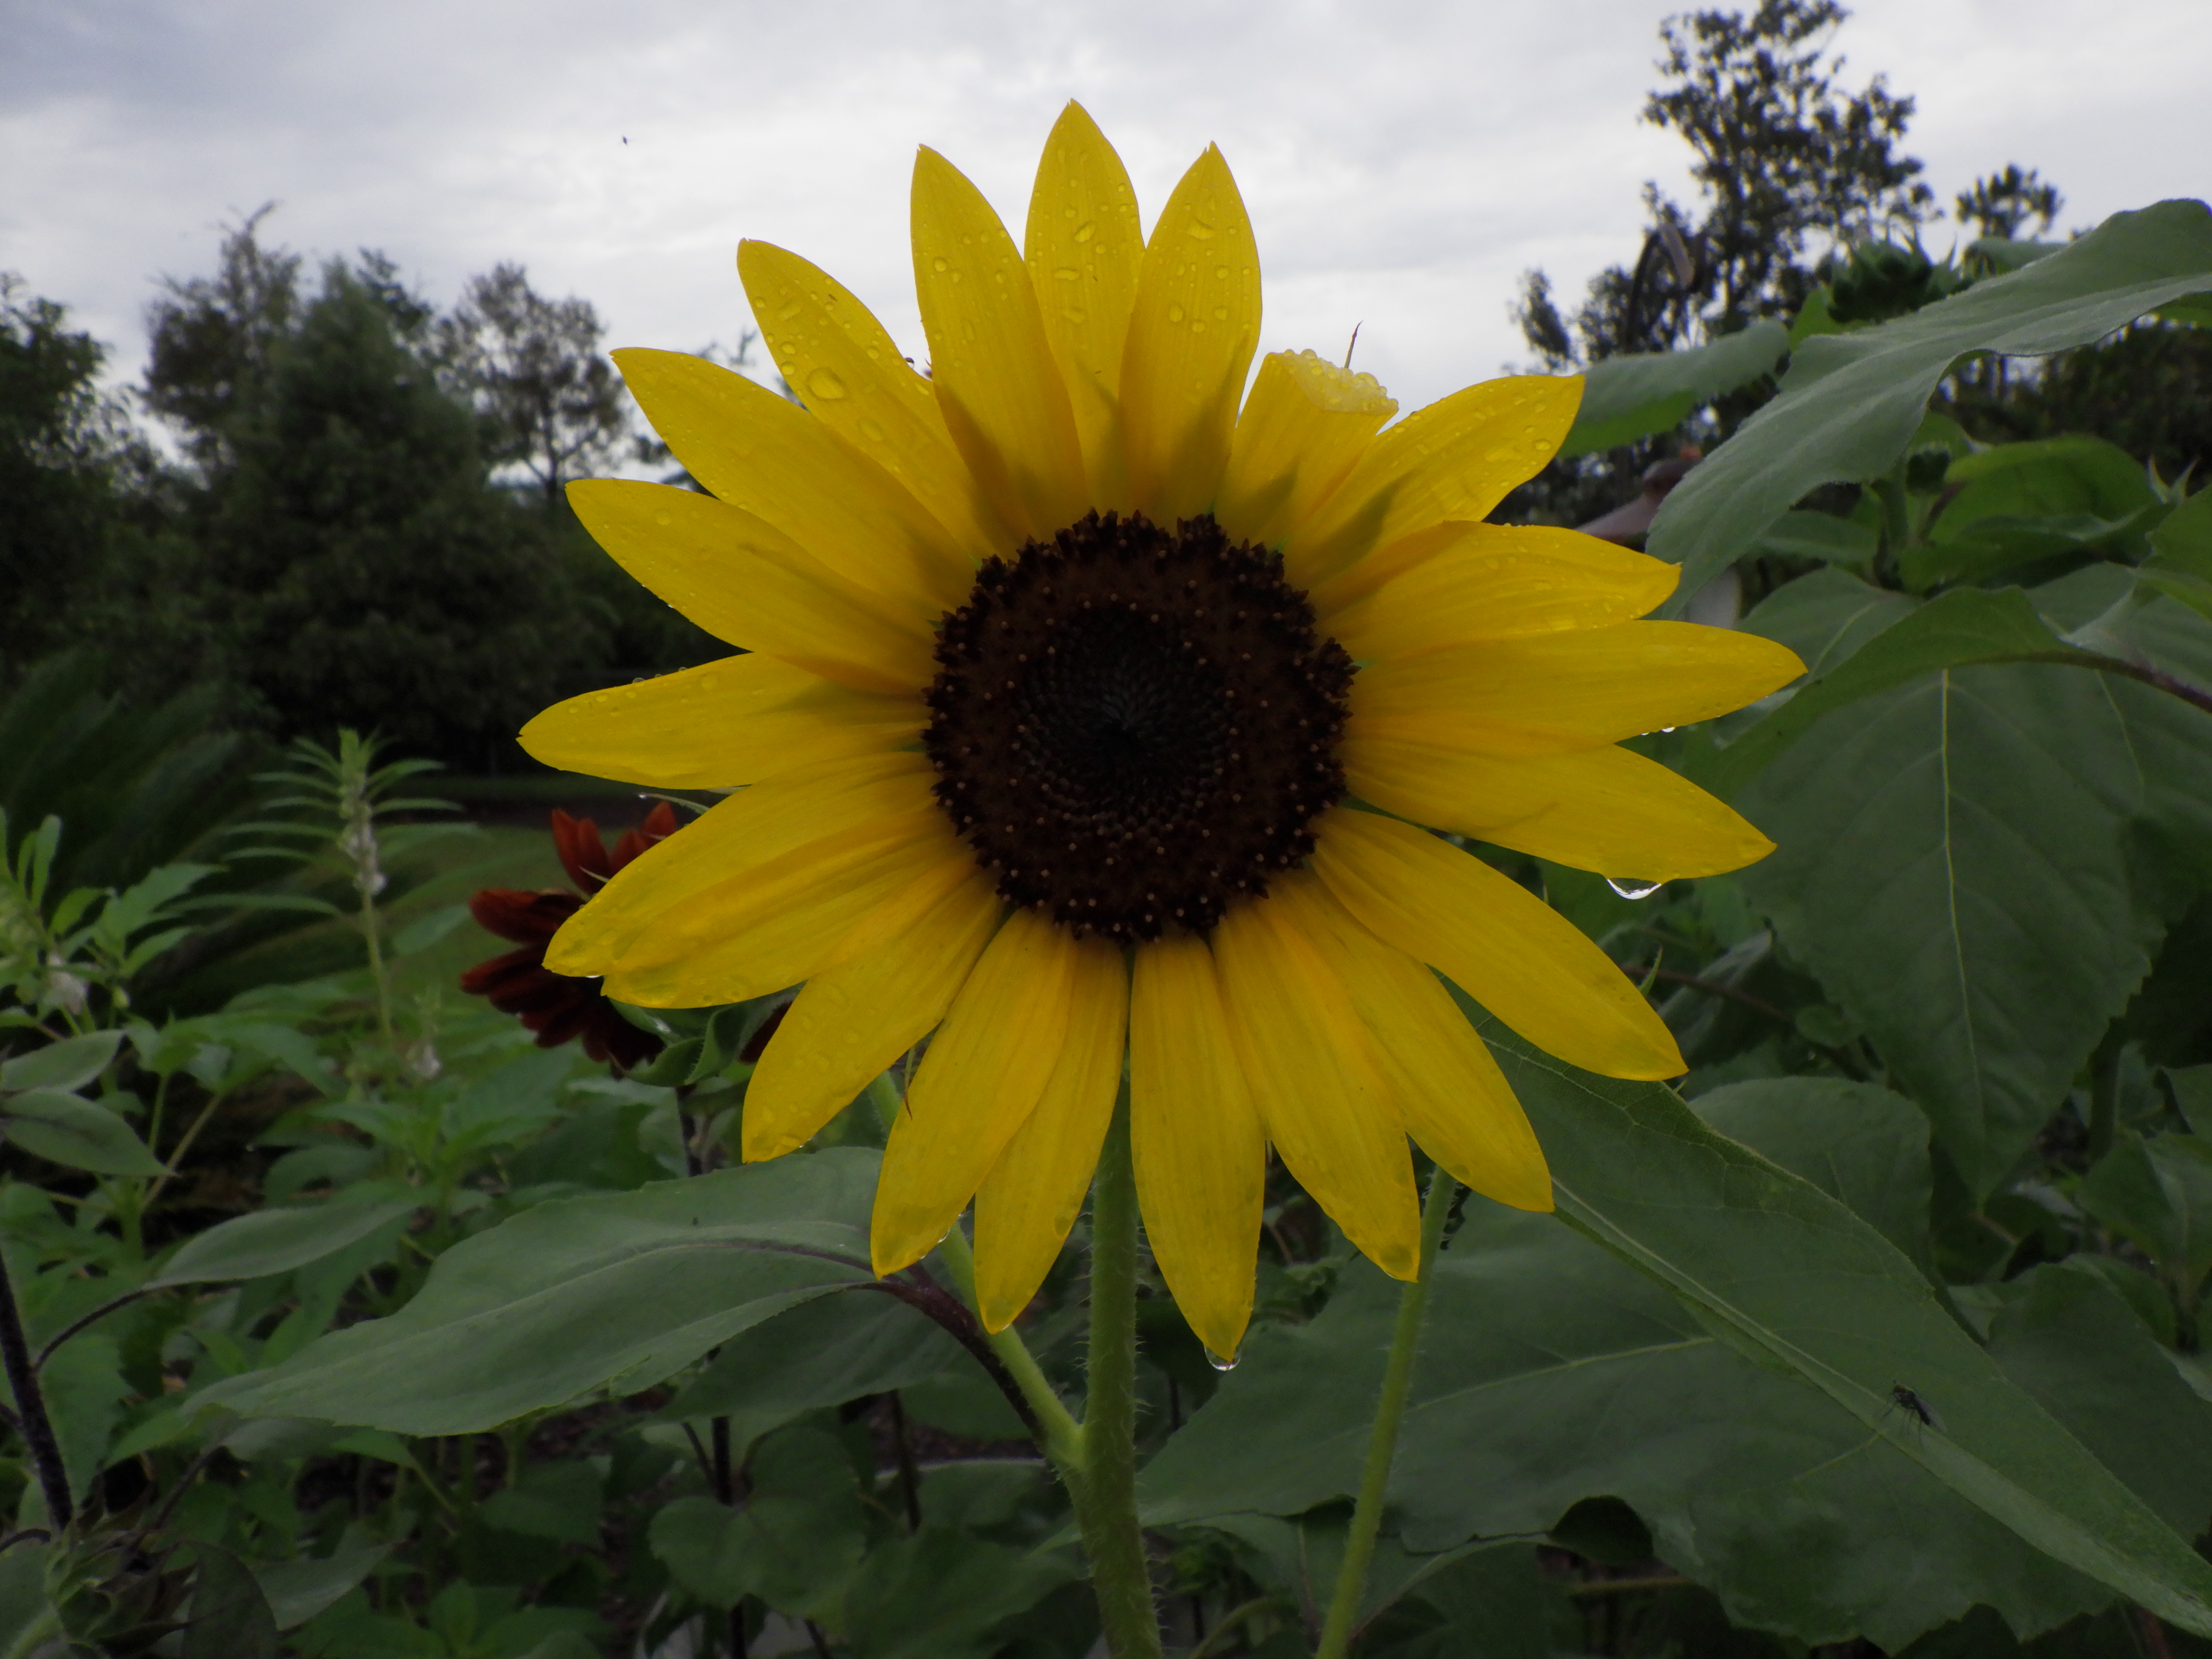
Beach sunflower is an attractive coastal plant that is well suited for many landscapes. The native plant can thrive in hot and dry spots where other plants may struggle. Learn more about Beach sunflower, Helianthus debilis, and how to use it in your landscape.
Sunflower after the rain. Photo: J. McConnell, UF/IFAS
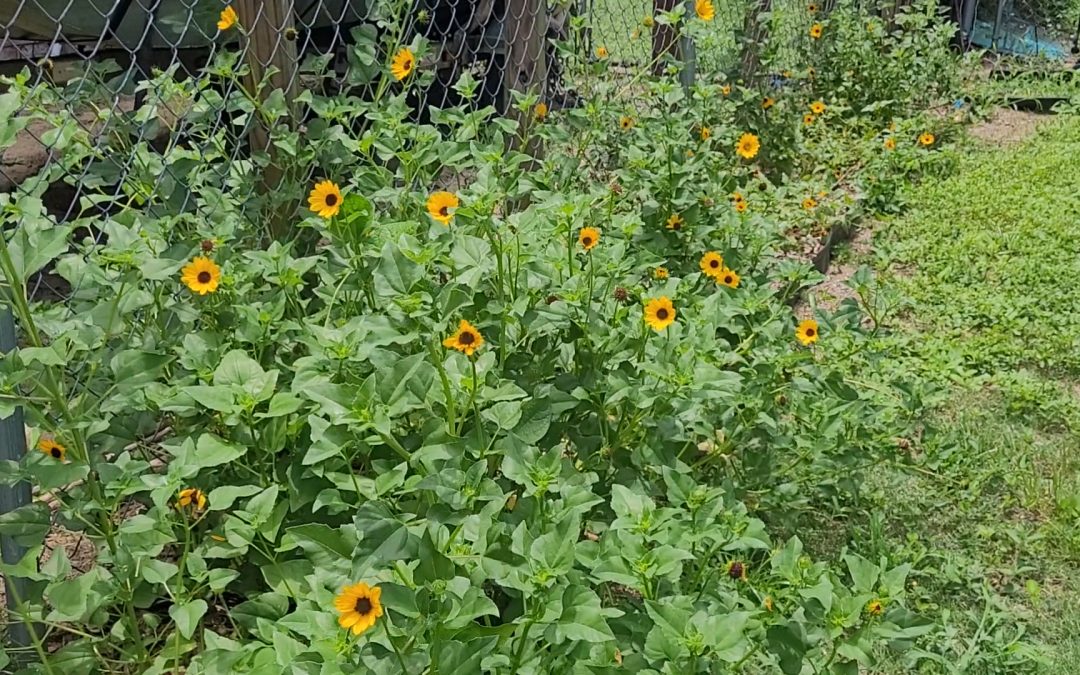
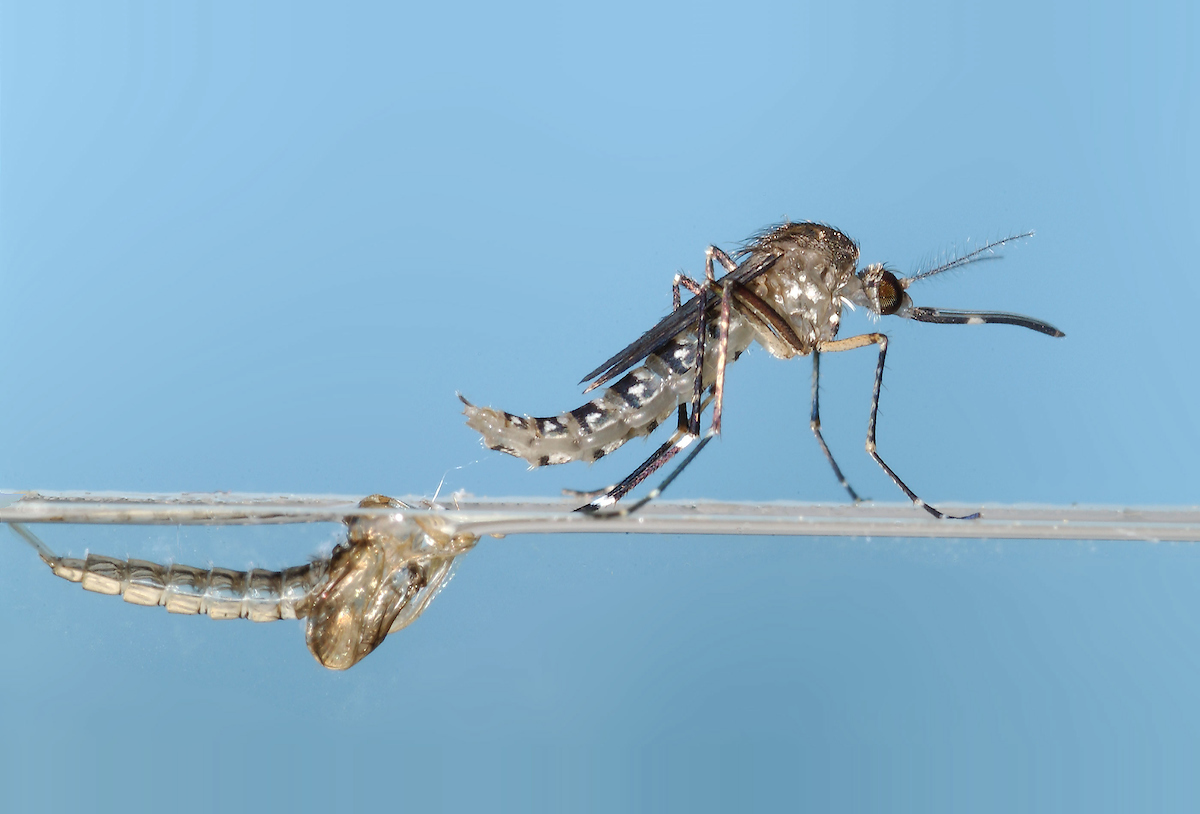
Summer showers are finally giving gardens relief, but in addition to happy flowers, mosquitoes are also benefitting from the rainfall. Mosquitoes are not only a nuisance, but they can also transmit diseases and parasites to people, pets, and livestock so managing them on your property is a matter of public health!
The knee-jerk reaction to mosquitoes is to try to kill the blood-sucking flying fiends, but targeting this life stage will not solve the mosquito problem. Instead, focus your efforts on breaking up the breeding cycle to reduce the population. Less ideal breeding sites equals less larvae (juvenile mosquitoes) and pupae which equals less biting adults!
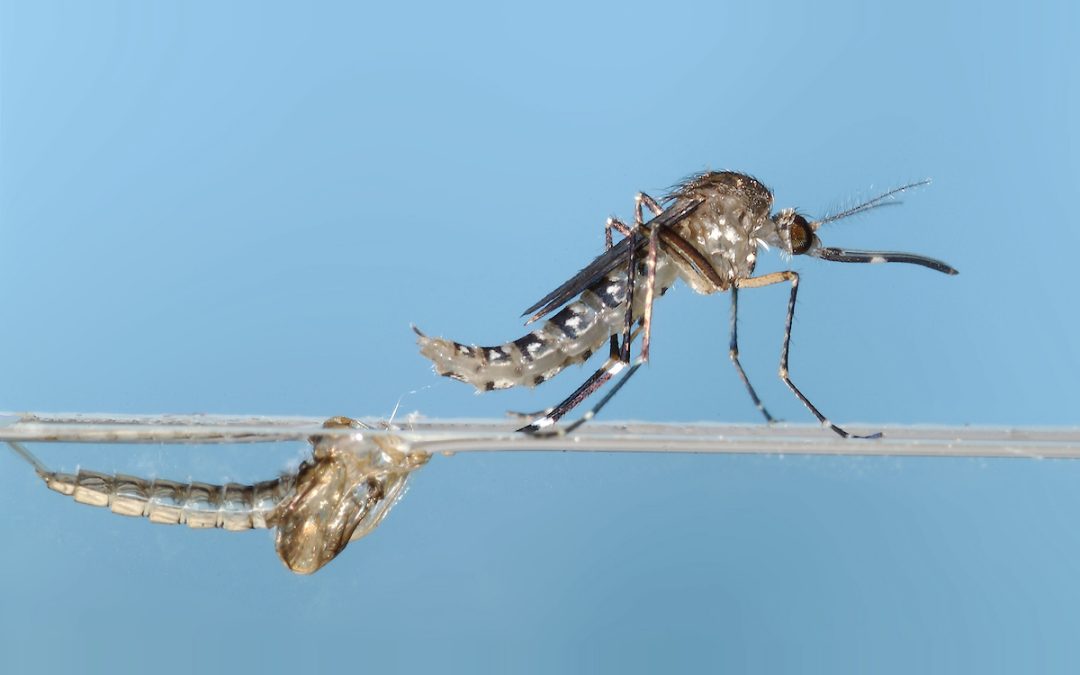
A female black salt marsh mosquito emerges from submerged pupal skin. UF/IFAS File Photo
In addition to being more effective than targeting adults that can fly away or avoid insecticides, most of your breeding site reduction methods are free or low cost; the biggest investment is your time! Step one is to recognize potential breeding sites on your property. Most people recognize that a stack of tires, buckets full of water, or even that decorative bird bath are potential breeding sites but there are also less obvious ones. A covered grill that has an indention that holds a few tablespoons of water, boats or kayaks, children’s toys, gutters that have accumulated leaves or other debris, the saucer under your container plant, or the leaf axils of bromeliad plants are all potential breeding sites.
So, what do you do about this? When practical dump or drain out the water every 3-4 days and wipe down any vertical surfaces of containers where mosquito eggs could be laid. If you are unable to drain or dump, consider treating the water with Bti (Bacillus thuriengiensis israelensis) which is a targeted biological control that only affects mosquitoes, black flies, and fungus gnats. Bti is a naturally occurring bacteria that impacts the digestive system of a few select species in the order Diptera (flies). It is not toxic to people, pets, or wildlife and depending on the formulation can last several weeks before reapplication is necessary. Commonly sold as “mosquito dunks” or “mosquito bits” this insecticide is sold at garden centers and home improvement stores and is relatively inexpensive. As with any pesticide, follow all instructions on the label.
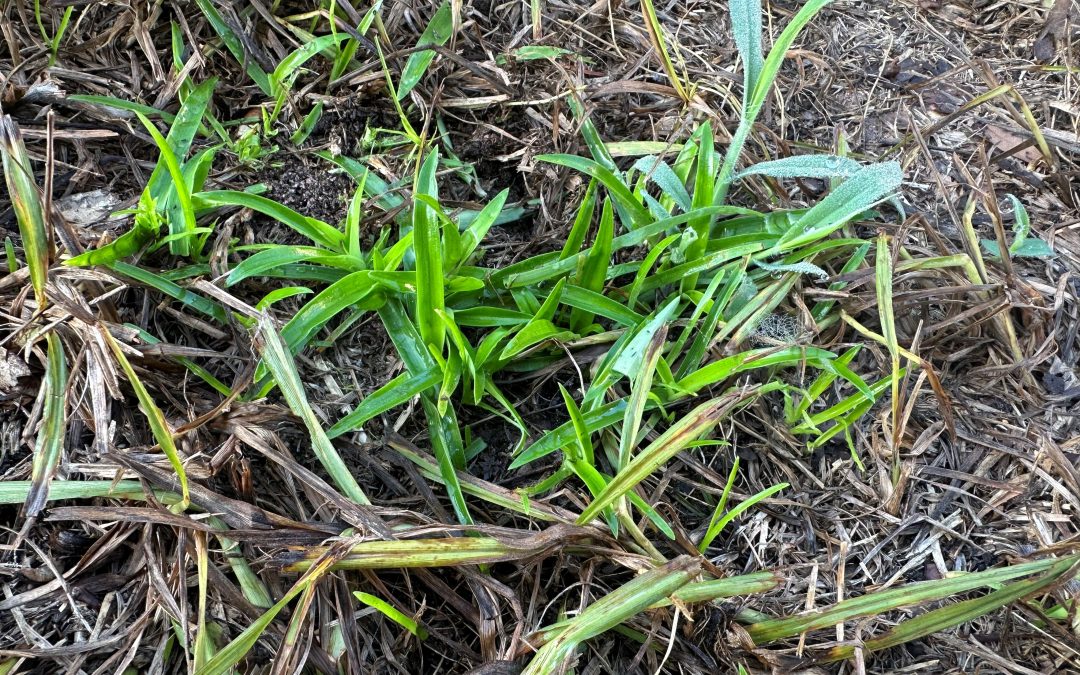
The Panhandle’s dreaded summer heat has finally arrived in force and has brought with it one of the most difficult to control lawn/landscape weeds, our annual enemy Doveweed (Murdannia nudiflora). Doveweed is characterized as one of the world’s worst weeds due to its broad range of growing conditions, ability to root along its stems, forming mats as it grows, massive seed production (each plant can produce up to 2,000 seeds per year), and inconspicuous nature – it looks like a grass to the untrained eye. So, what can gardeners do to control Doveweed that’s already up this year and prevent it next summer? Let’s find out.
Doveweed emerging in a bare patch of a Centipedegrass lawn in late May 2025. Photo courtesy of Daniel Leonard.
First, the best prevention for all weeds, Doveweed included, is a healthy lawn/landscape. Ensuring healthy, thick Centipedegrass turf and landscaped beds that don’t allow light to hit bare soil goes a long way towards reducing the overall weed load lawns and landscapes can experience. For lawns, this can be achieved through mowing regularly at the proper height for your turfgrass (2.5” or so for Centipedegrass), irrigating no more than 0.75”-1” per week in the absence of rain, limiting stress from overfertilization, and removing excess thatch. In landscapes, preventative weed control focuses on limiting overwatering/fertilization and maintaining a 2-3” organic mulch layer of pinestraw, pine bark, leaves, wood chips, etc. Adopting these practices can greatly reduce the occurrence of weeds in your yard, however they will not eliminate weeds altogether and supplemental chemical weed control is often necessary.
Unlike Crabgrass, Florida Pusley, and other commonly encountered Panhandle annual weeds that emerge when the soil begins to warm in early spring (usually late February-March), Doveweed waits until mid-April-May (soil temperatures of 70-80 degrees F). All these annual weeds are best controlled by preemergent herbicides, like Indaziflam (Specticle G), before seeds germinate. For Doveweed, that means the first preemergent application should occur mid-April with a follow-up application 6-8 weeks later. However, for this year that opportunity is behind us and our only option is post emergent herbicides.
Which postemergent herbicide you choose depends on if your Doveweed issue is in turfgrass or in landscaped beds. In landscaped beds, the primary control option is either hand pulling or spot treating Doveweed with a 41% glyphosate product (Roundup and other generic products) at a rate of 3% (3-4oz glyphosate/gal). As glyphosate is a non-selective herbicide, be sure to not get any overspray on any ornamental plant foliage. In turfgrass, Doveweed control becomes a little more difficult. You essentially have three options – atrazine, a generic 3-way broadleaf product, or a commercial grade broadleaf product. Though it provides very good control of Doveweed and has pre-emergent properties to help discourage future weeds, I don’t prefer atrazine because it has a high potential to leach into groundwater following heavy rains in sandy soils, which describes much of the Panhandle. The generic 3-way products (usually a mix of Dicamba, Mecoprop, and 2,4-D) are fairly effective on Doveweed, however follow-up applications are usually required and the 2-4D component can be harsh on Centipedegrass at the higher label rates required for Doveweed control. Though somewhat expensive, the best post emergent option for most people is probably a commercial grade product like Celsius WG. Celsius WG is a very strong post emergent broadleaf herbicide that is very effective on Doveweed and is also very safe on Centipedegrass, even in hot weather. If the cost of the product (>$100) is off-putting, it is helpful to remember that even at the highest labelled rate, a 10 oz Celsius WG bottle goes a long way, enough to cover several acres of lawn.
* Regardless of what method you choose, be sure to get after emerged Doveweed seedlings early, before they mature and begin flowering – even the strongest post emergent herbicides work better on young weeds.
While Doveweed is a nasty little plant that is perfectly capable of taking over a lawn or landscaped bed, there are a variety of preventative and control options available. Using a combination of the above techniques should help achieve lasting Doveweed controls in future seasons! For more information about Doveweed and other summer annual weed control in lawns and landscapes, contact your local UF/IFAS Extension County office.