by Sheila Dunning | Nov 6, 2024

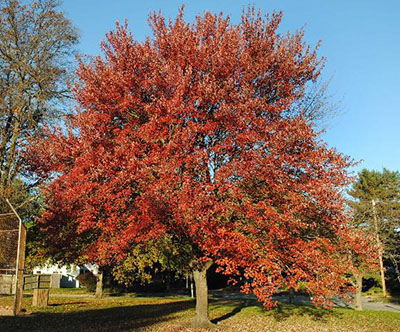
Red Maple structure IFAS Photo: Hassing, G.
Though the calendar says November, the weather in Northwest Florida is still producing summer or at least spring-like temperatures. The nice days are wonderful opportunities to accomplish many of those outside landscape chores. But, it is also a good time to start planning for next month’s colder temperatures. Since we don’t experience frozen soil, winter is the best time to transplant hardy trees and shrubs. Deciduous trees establish root systems more quickly while dormant; versus installing them in the spring with all their tender new leaves.

Remove an inch or more for extremely rootbound trees.
Here are a few suggestions for tasks that can be performed this month:
- Plant shade trees, fruit trees, and evergreen shrubs.
- Do major re-shaping of shade trees, if needed, during the winter dormancy.
- Check houseplants for insect pests such as scale, mealy bugs, fungus gnats, whitefly and spider mites.
- Continue to mulch leaves from the lawn. Shred excess leaves and add to planting beds or compost pile.
- Replenish finished compost and mulch in planting beds, preferably before the first freeze.
- Switch sprinkler systems to ‘Manual’ mode for the balance of winter.
- Water thoroughly before a hard freeze to reduce plants’ chances of damage.
- Water lawn and all other plants once every three weeks or so, if supplemental rainfall is less than one inch in a three week period.
- Fertilize pansies and other winter annuals as needed.
- Build protective coverings or moving devices for tender plants before the freeze warming.
- Be sure to clean, sharpen and repair all your garden and lawn tools. Now is also the best time to clean and have your power mower, edger and trimmer serviced.
- Be sure the mower blade is sharpened and balanced as well.
- Provide food and water to the area’s wintering birds.
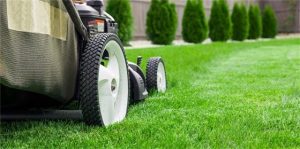
Mowing a lawn. Photo Credit: University of Florida/IFAS

by Mark Tancig | Oct 4, 2024
One of the best parts about working at the Extension Office is all we learn from the questions we field from curious citizens. I recently had a question about ozone sensitivity in a plant and if that meant it shouldn’t be planted near a street. A little research had me learning all about this interesting topic and finding out that there are even ozone gardens being planted to monitor for air quality.
First of all, ozone (O3), also known as trioxygen, is the name we give when three oxygen molecules form a bond. It is present in low concentrations throughout the atmosphere and is important in absorbing ultraviolet (UV) radiation from the sun. This upper “ozone layer” is what we were concerned about when we noticed a hole forming in it, and regulations were put in place to minimize products that damaged this protective layer. However, ozone can also be formed lower in the atmosphere (called the troposphere) near the surface, where air pollutants, such as those related to the burning of fossil fuels and associated with smog, are produced. In this case, the ozone is considered a pollutant because it can cause health issues for animals, including humans, and can also affect plants.

Good ozone is way above our heads while the bad ozone is near the surface. Credit: National Center for Atmospheric Research.
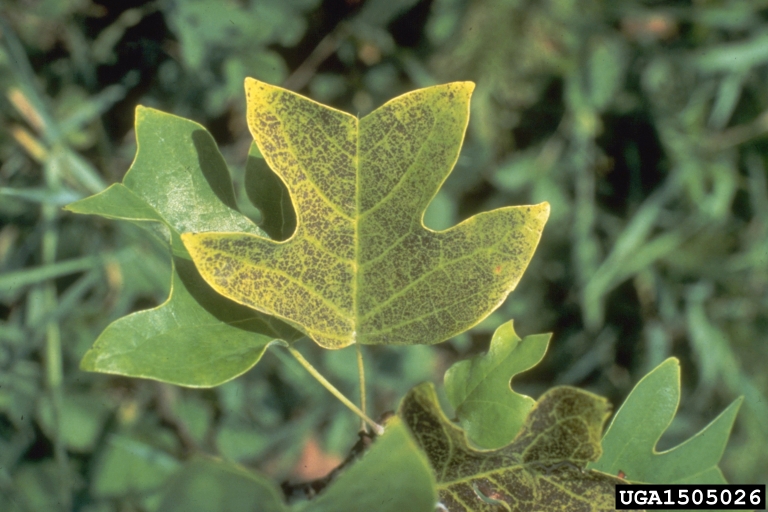
When toxins in the environment harm plants, we call them phytotoxic. In the case of ozone, it can be phytotoxic at certain levels, and researchers are finding that certain plants seem to be more sensitive to ozone than others. The ozone damages plants by entering through the stoma, very small holes on the bottom of the leaves that the plant uses to pull in carbon dioxide and let out oxygen. Once inside the plant, ozone begins to alter normal cellular function, via oxidation, and causes visible symptoms, especially with the more sensitive plant species.

Symptoms of ozone phytotoxicity on tuliptree (Liriodendron tulipifera). Credit: USDA Forest Service – Region 8 – Southern , USDA Forest Service, Bugwood.org
These particularly sensitive species can be used as biological indicators because they show symptoms that can be easily recognized as ozone injury. Several National Parks and other public gardens have even begun installing ozone gardens, planted with these biological indicator species, to assess the air quality of the area.
Are you interested in knowing the plants that are sensitive to ozone? Here’s a list of species, selected from a National Park Service publication (Ozone Sensitive Plant Species on National Park Service Lands), that grow in the north Florida area:
- Trumpet creeper (Campsis radicans)
- Eastern Redbud (Cercis canadensis)
- Flowering dogwood (Cornus florida)
- Tuliptree (Liriodendron tulipifera)
- American sycamore (Platanus occidentalis)
- Black cherry (Prunus serotina)
- Winged sumac (Rhus copallinum)
- Cutleaf coneflower (Rudbeckia laciniata)
To answer the question that started this path down the ozone rabbit hole, the tree would likely be okay to plant near a road. The tree was not on the research-backed list and the ozone levels in our area generally low. Ozone levels in our part of the state average about 55-60 ppb (parts per billion), compared to the standard of 70 ppb, last set by the US Environmental Protection Agency (EPA) in 2008. Planting the tree may even be a fun, and useful, experiment to keep an eye on local air quality.

Ozone levels, as measured and reported by the Florida Department of Environmental Protection. Source: FDEP.
If you’re interested in more information on the impacts of ozone on plants, the National Center for Atmospheric Research has a great website, including a map of ozone gardens across the country. For more information on ozone levels across the country or in the state of Florida, the US EPA and the Florida Department of Environmental Protection (FDEP) have websites containing useful charts and maps. The good news is that surface ozone levels are generally on the decline thanks to regulations put in place to protect people and the environment. Of course, if you have any plant related questions, please contact your local extension office – we need article ideas!
by Molly Jameson | Sep 30, 2024

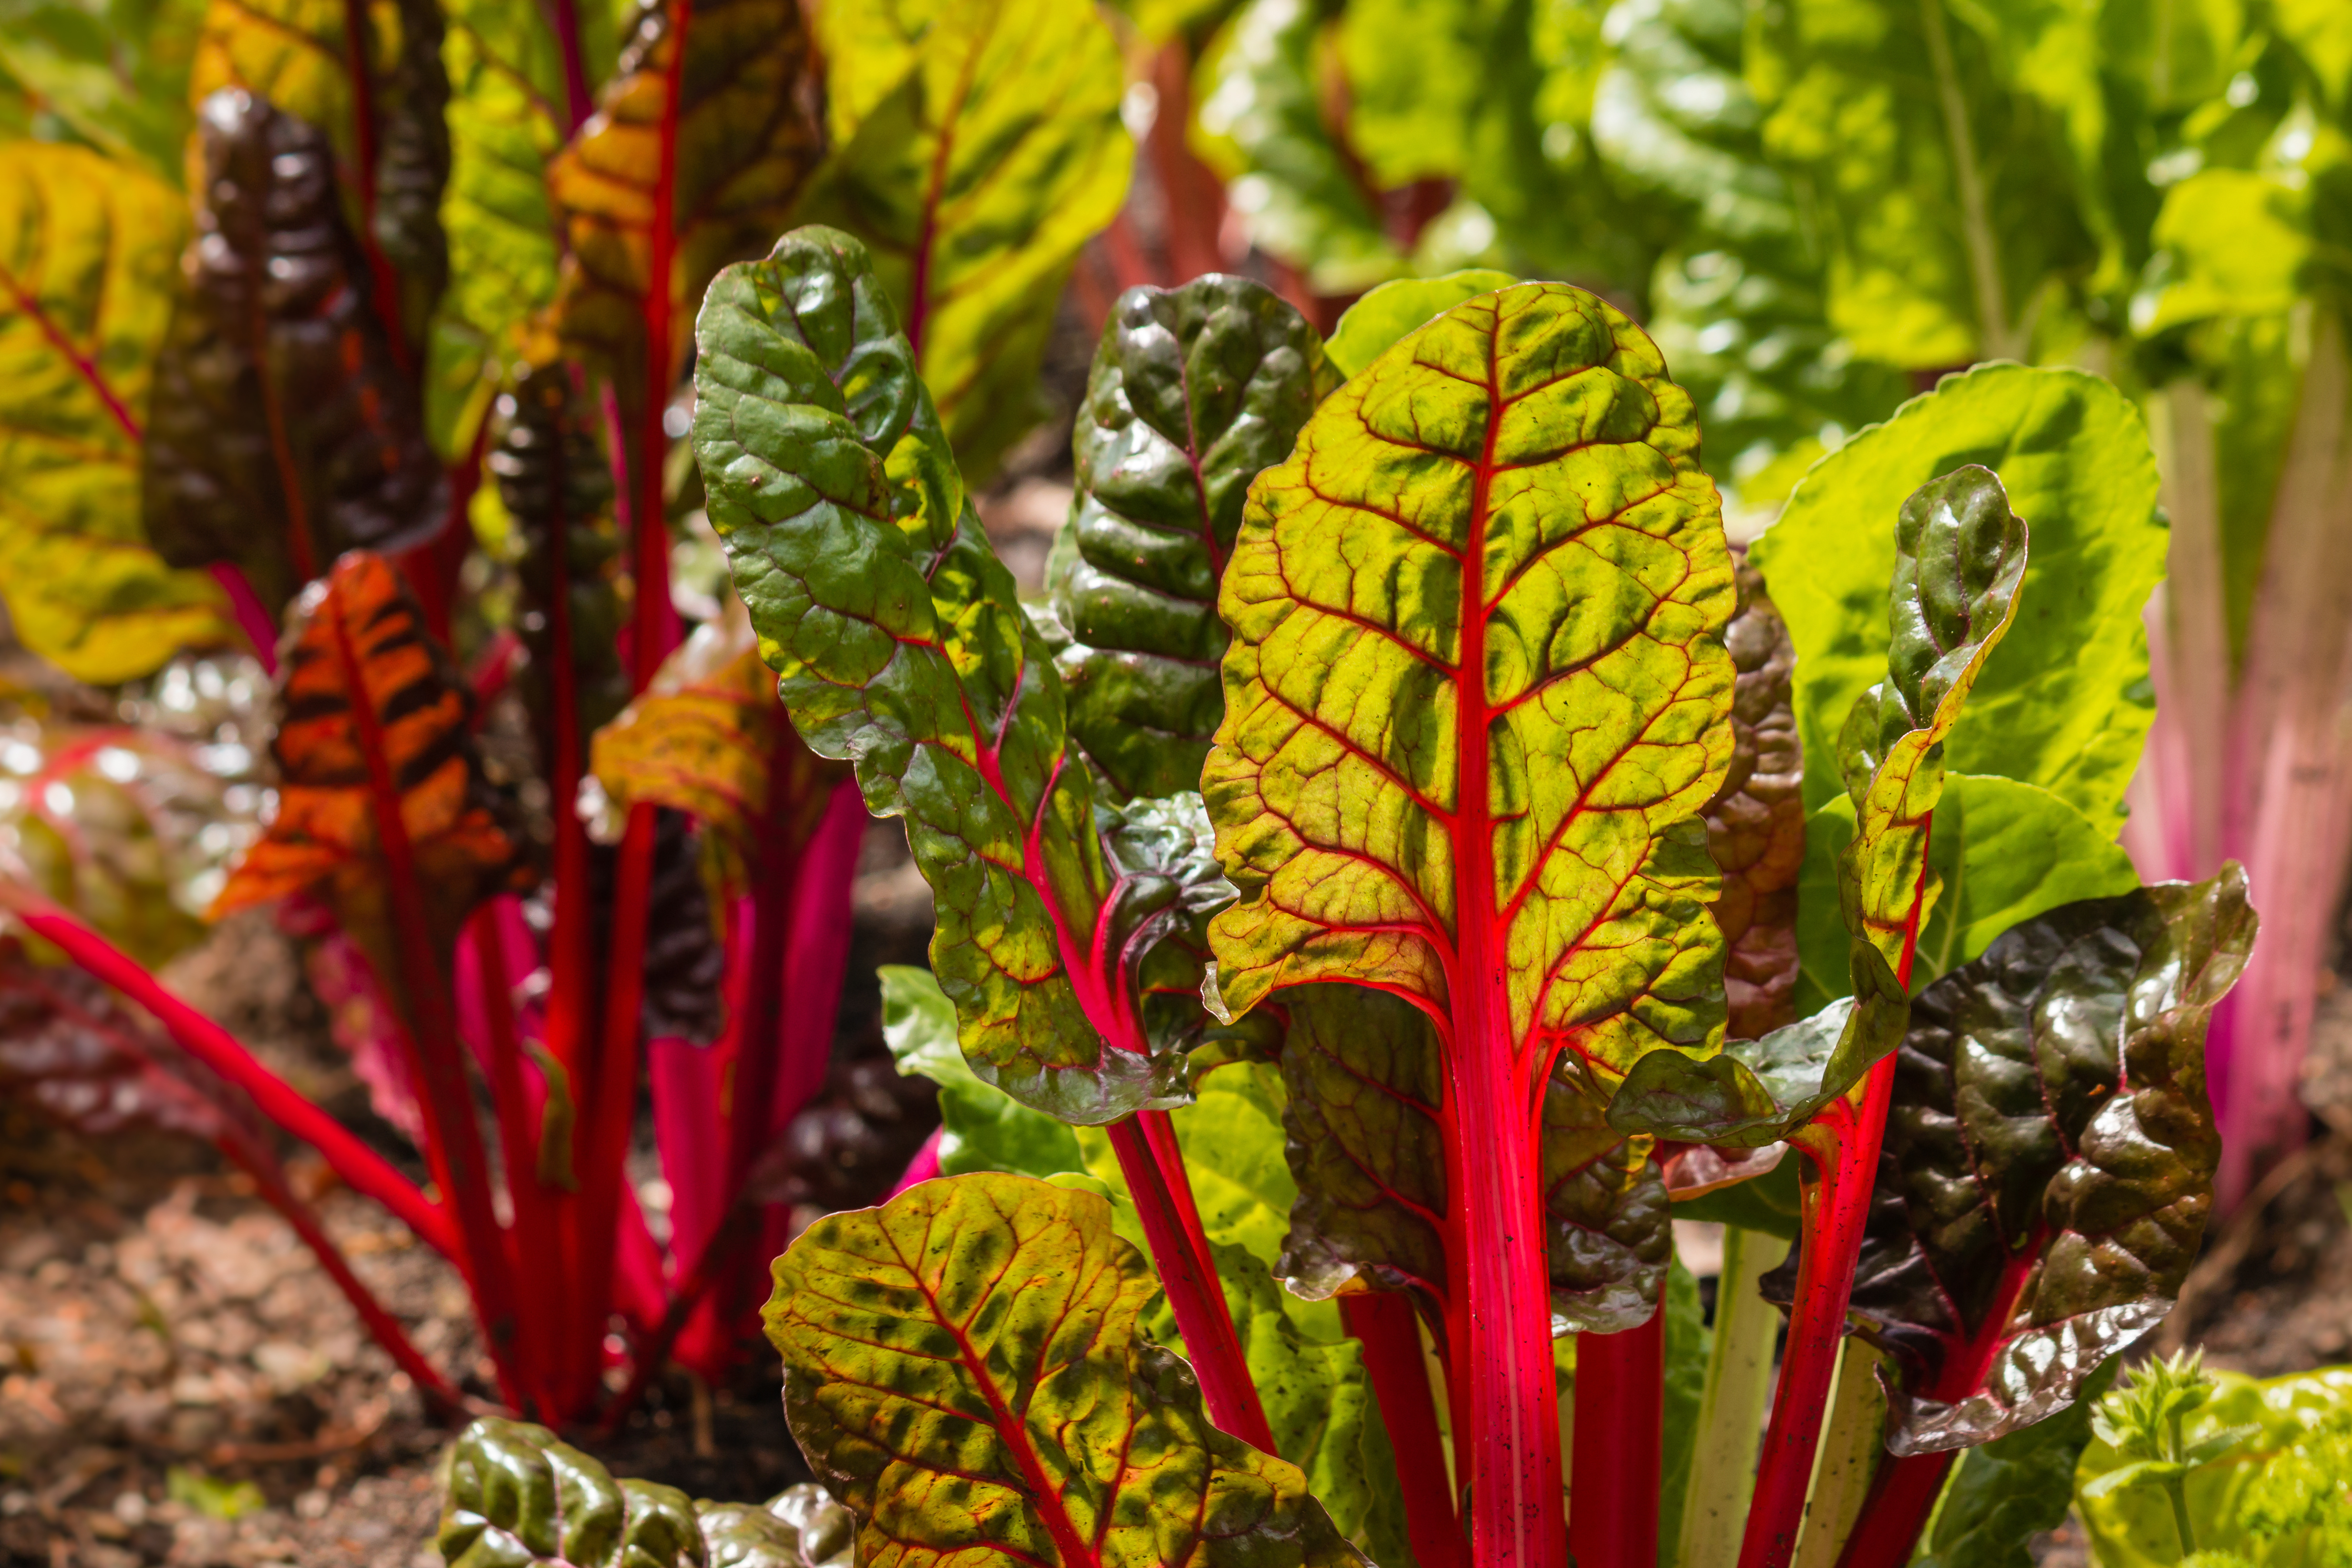
Swiss chard thrives in cooler weather, producing a continuous harvest of large, glossy, deep green leaves with colorful stems in shades of white, red, and yellow. Photo by Patrik Stedrak, Adobe Stock.
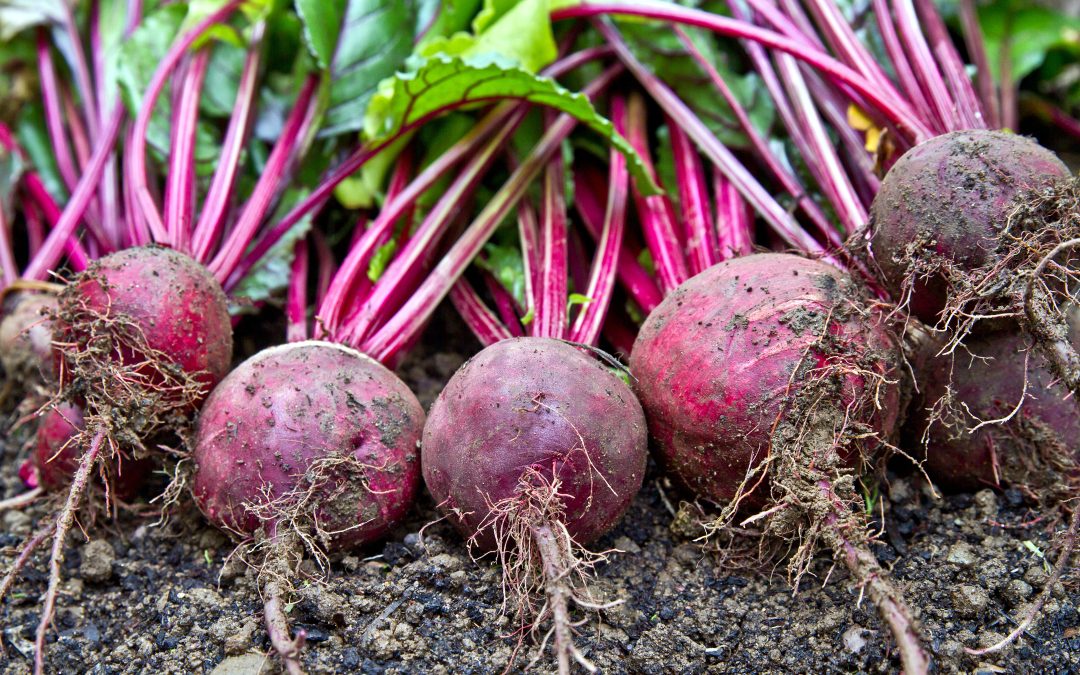
At first glance, beets and Swiss chard might seem like entirely different plants. Beets are known for their edible, bulbous root, while Swiss chard is grown for its large, leafy greens and colorful stems. However, both belong to the same species, Beta vulgaris, in the Amaranthaceae family, and their differences are the result of selective breeding over time.
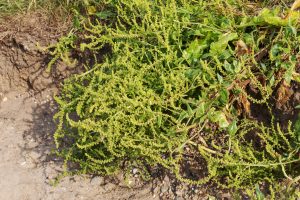
Wild sea beet (Beta vulgaris subsp. maritima), native to Mediterranean and coastal European regions, is the ancestor of cultivated beets and Swiss chard. Photo by Thorsten Schier, Adobe Stock.
Both beets and Swiss chard originate from the wild sea beet (Beta vulgaris subsp. maritima), a plant native to Mediterranean and coastal European regions. Ancient civilizations, such as the Greeks and Romans, bred beets for their enlarged roots, which eventually became the garden beets we know today. Despite its name, Swiss chard isn’t from Switzerland – it was also cultivated in the Mediterranean, bred for its nutritious leaves and stems. The “Swiss” name was added in the 19th century by seed catalog publishers to distinguish it from French spinach varieties.
Both beets and Swiss chard are highly nutritious. Beets, which range in color from deep red to golden yellow, are rich in vitamin C, folate (B9), and essential minerals like manganese, potassium, magnesium, and iron. They contain betalains, antioxidants with strong anti-inflammatory properties, and are a great source of fiber and nitrates, supporting digestion and heart health. Beets can be cooked in a variety of ways, offering a sweet, earthy flavor that intensifies when roasted. They can also be boiled, steamed, or eaten raw in salads, pairing well with tangy ingredients like citrus and goat cheese.
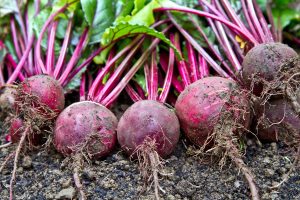
Beets can be grown in the fall and winter in the Panhandle, yielding round, bulbous roots with a sweet flavor and earthy aroma. Photo by Clickmanis, Adobe Stock.
Swiss chard, with its large, flavorful leaves and vibrant stalks in red, yellow, and white, is packed with vitamins A, C, and K, as well as minerals like magnesium, potassium, iron, and calcium. It also contains antioxidants like beta-carotene, lutein, and zeaxanthin, which support eye health and combat oxidative stress. Its high levels of potassium aid in electrolyte balance and heart health, while vitamin K and calcium contribute to strong bones. Swiss chard can be sautéed, added to soups, or eaten raw in salads, with both the leaves and stems being edible.
Essentially, beets and Swiss chard are different forms of the same plant, bred for either the root or the leaves. This explains why beet greens are similar in flavor and texture to Swiss chard, though beet greens are usually smaller and more delicate. Beets provide the advantage of both edible roots and greens, while Swiss chard offers vibrant, nutritious leaves that can be harvested throughout the season. Both crops thrive in cooler weather, making them ideal for fall and winter planting in the Florida Panhandle.
by Beth Bolles | Sep 4, 2024
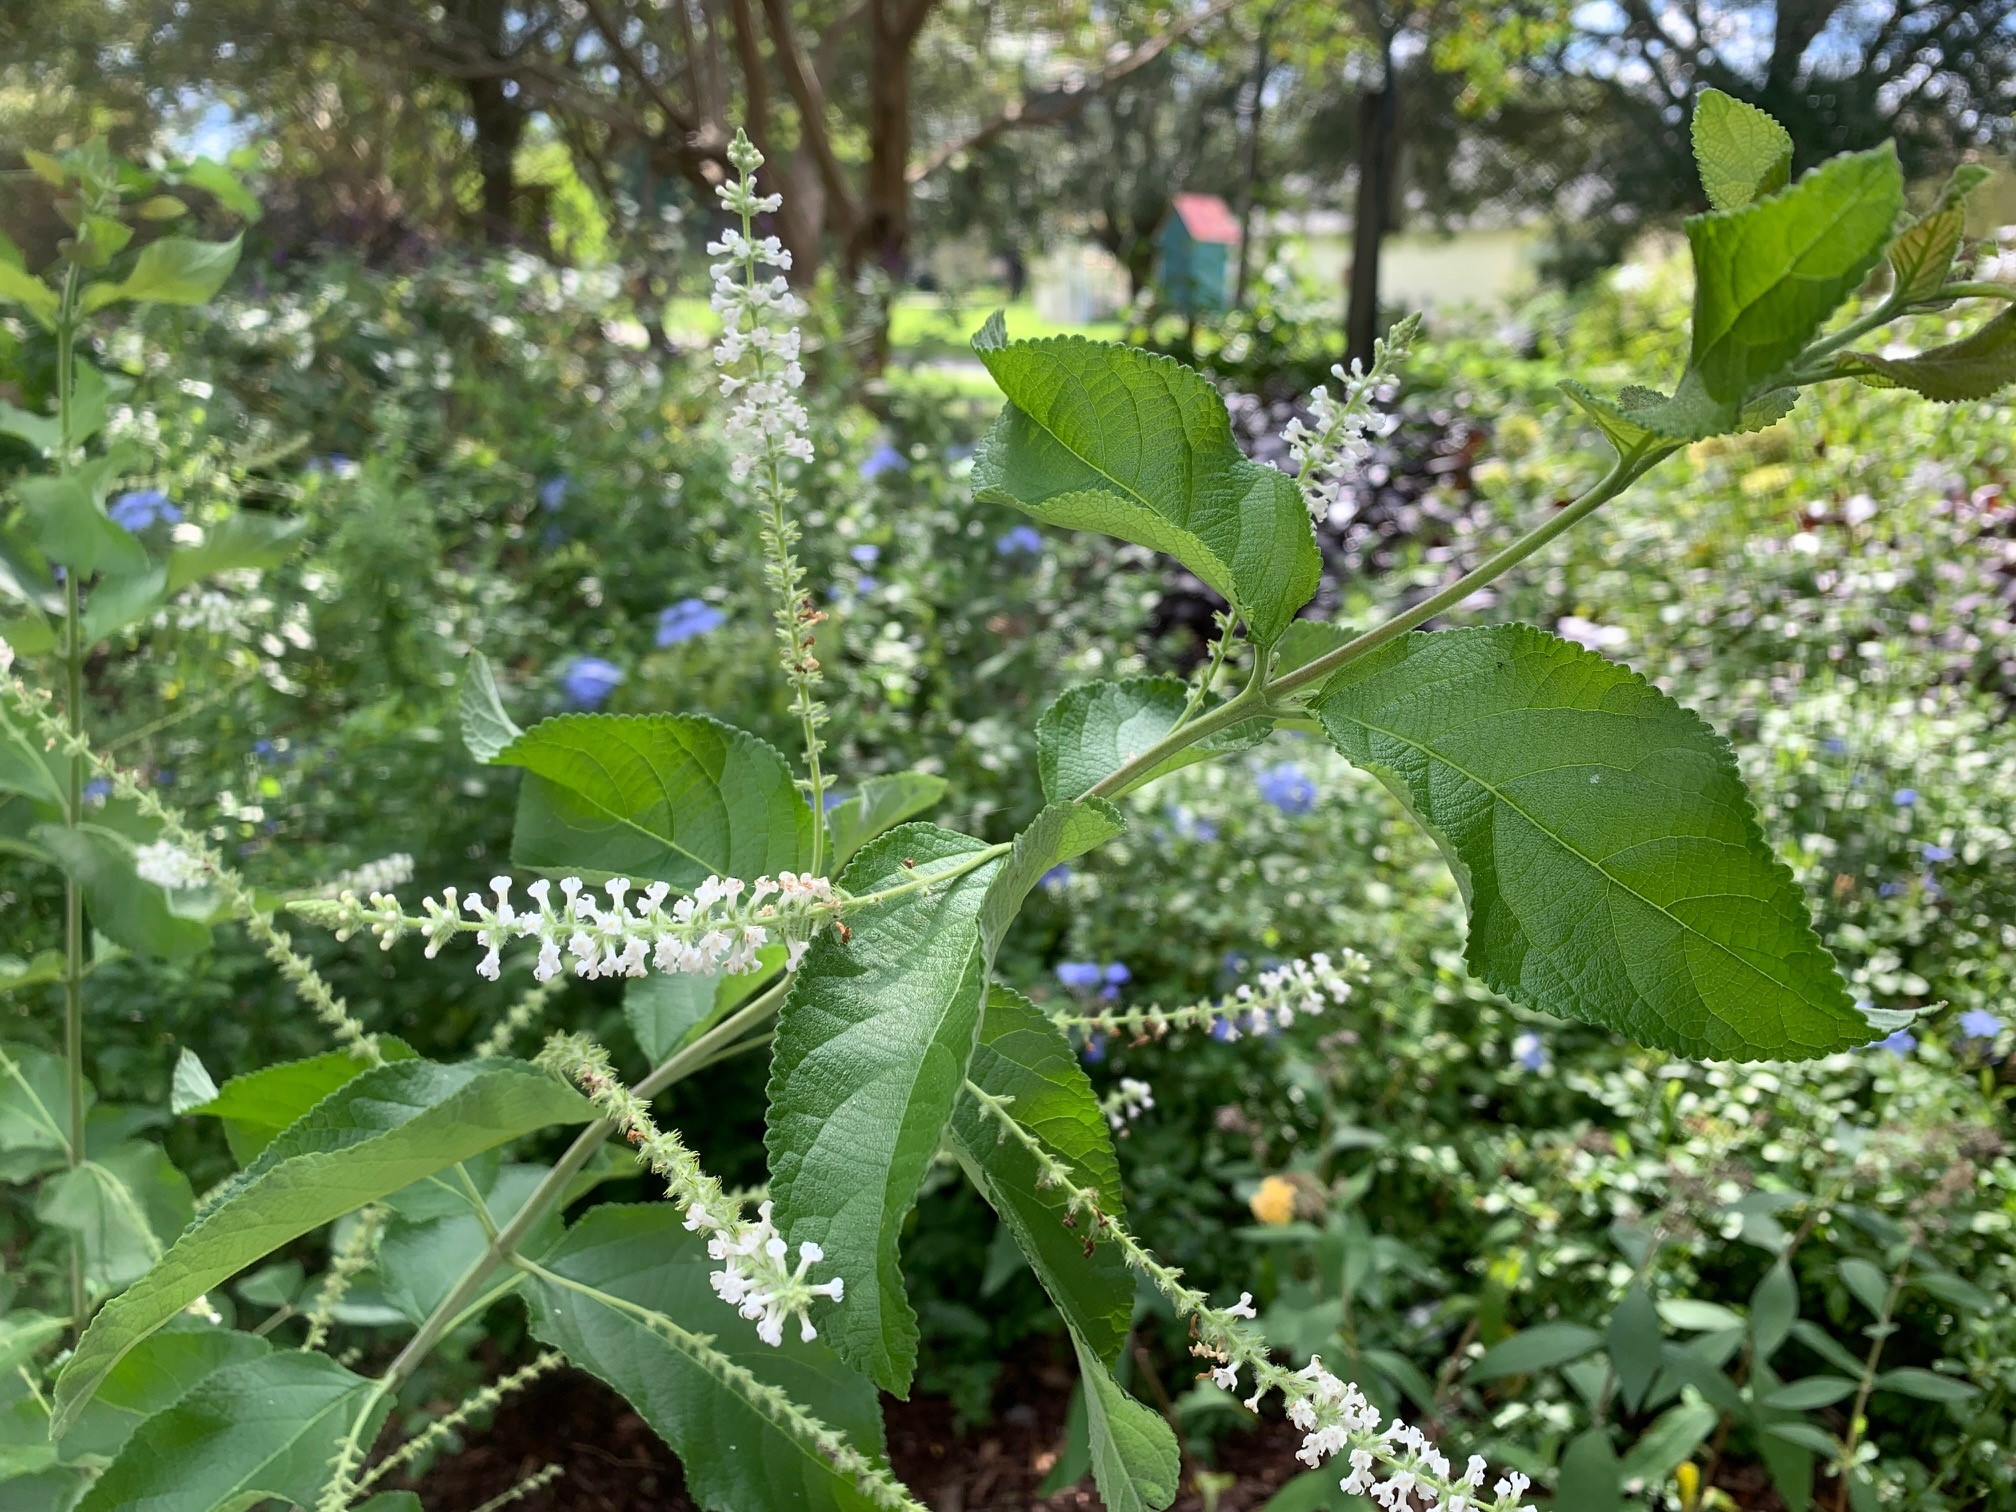
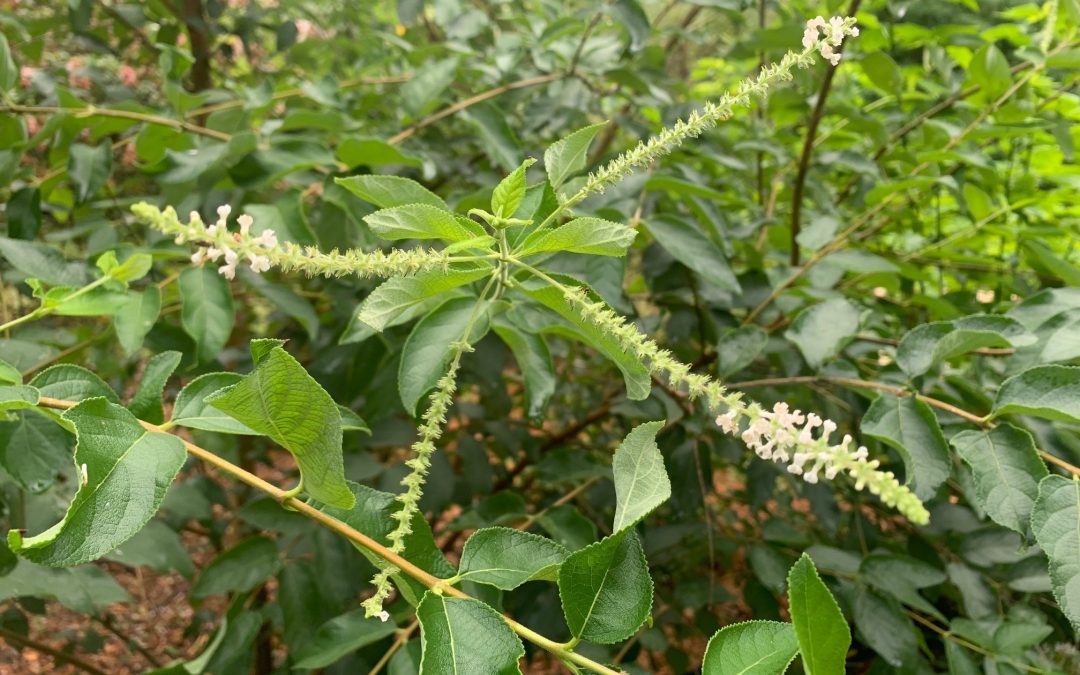
Two years ago, the Escambia Master Gardener Volunteers were gifted with the flowering perennial Sweet Almond bush (Aloysia virgata). It has quickly become a favorite plant of volunteers and garden visitors due to its many attractive features.
Although, Sweet almond bush is not a Florida native, it is Florida-friendly plant for zones 8b -10b. Plants grow very large, from 6-10 feet with branching that can spread out in all directions. In North Florida, plants can be damaged by a freeze but either return from the base or from growing points higher on branches.
One of the best features are the fragrant white flowers spikes that will be present late spring through fall. Many types of pollinating insects will be attracted to the flowers, although sometimes flowers are too high on the plant for many of us to get a good look at pollinator details.
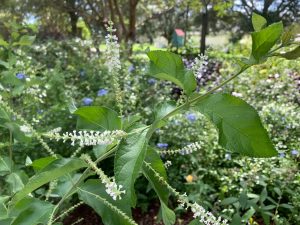
Sweet almond bush blooms. Photo by Beth Bolles, UF IFAS Extension Escambia County
We have plants both in full sun and partial shade that are performing well in the Escambia Demonstration Gardens. Plants do receive water when rainfall is lacking for about 5-7 days (or all of August this year in the Northwest Panhandle). You can shape your plant with a little light pruning during the growing season to keep branches a little more in bounds. Don’t forget to start a few new plants from these cuttings and then share a low maintenance plant with your neighbors.
by Abbey Smith | Sep 4, 2024
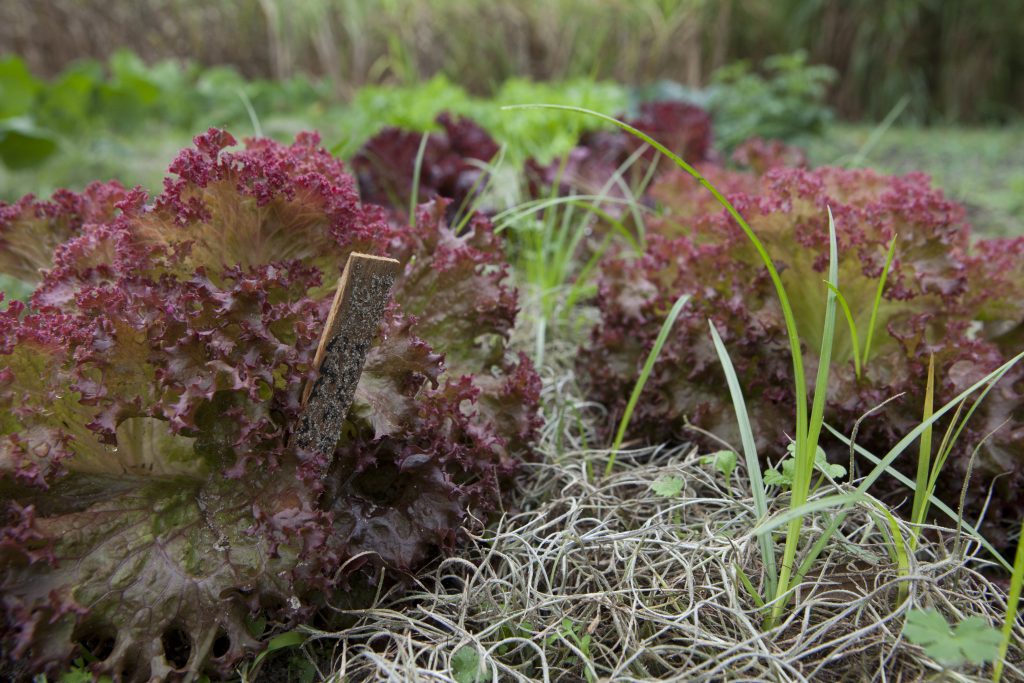
Even though it’s still 98 degrees outside, it’s the time of the year to be looking ahead to plan a fall garden. With the optimal climate of Northwest Florida, the fall season offers gardeners a time to refresh their plots and prepare for another productive season. Here’s a guide to make the most of the fall gardening season!
Site Prep for Fall Gardens
When transitioning from summer to fall, it is important to prep the area where a new crop will be placed. It’s best to remove all dead material from your spring garden so it will not spread disease or bacteria to the new plants. You also may consider adding nutrients to the soil after it has been tilled for fall vegetables. The best method to know how much to add into the soil is by first taking a soil sample. The soil sample results will show what is readily available for vegetables going in the ground and will give you a baseline of how much fertilizer or organic amendments to add. The fall season is also one of the best times of the year to prioritize soil health. Another way to do this in the off season is to incorporate a cover crop into your gardening regimen. For more information on cover crops please visit: https://nwdistrict.ifas.ufl.edu/hort/2023/10/19/cover-crops-in-the-garden/
UF/IFAS Photo by Tyler Jones.
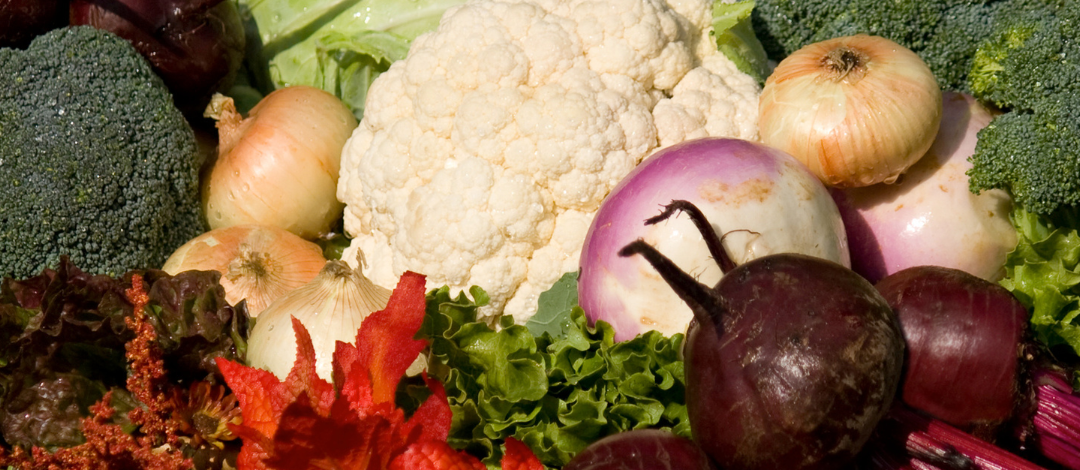
What Vegetables Do I Plant in the Fall?
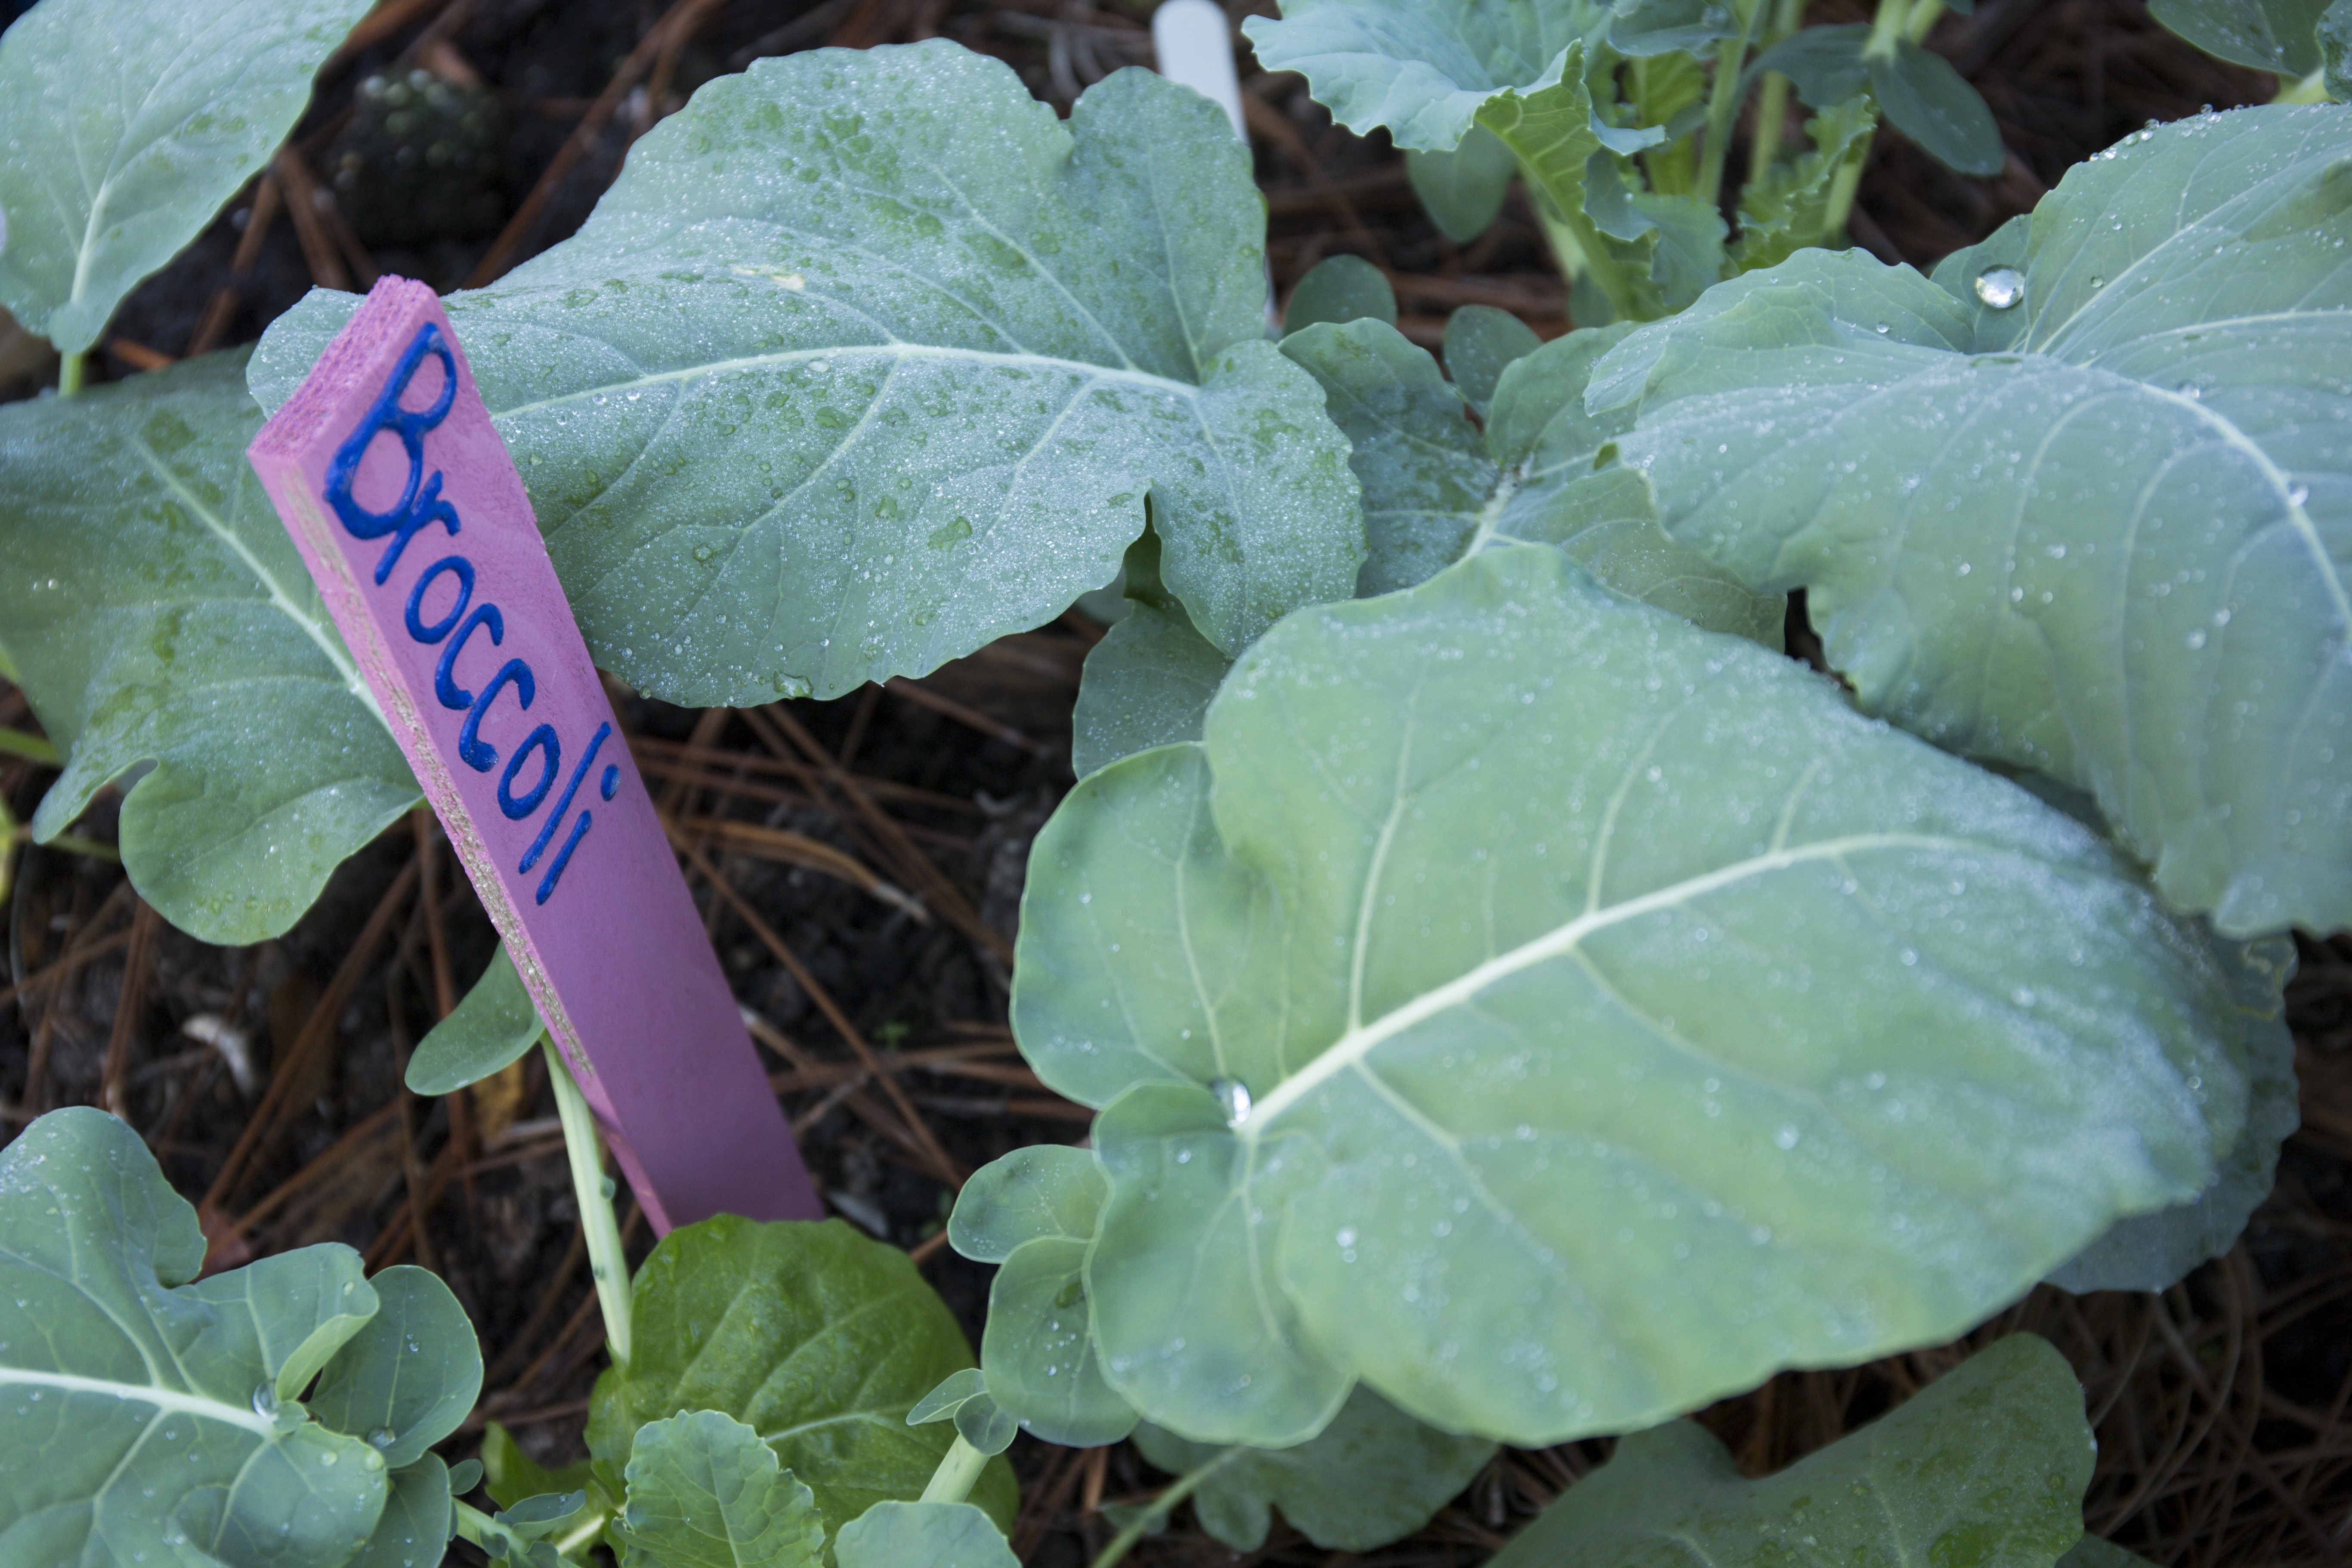
The “cool” temperatures of a Florida fall make it very ideal for a variety of cool-season vegetables. Vegetables can be classified a hardy, semi-hardy, and tender based on their abilities to withstand freeze conditions, cold temperatures, or high heat. That is how can put vegetables in warm-season and cool-season groups. Tender vegetables are considered short season and are typically seen in spring and summer months. Examples of tender vegetables are potatoes, tomatoes, and squash. Semi-hardy vegetables are mostly frost-tolerant but cannot withstand freezing temperatures. Examples are carrots, leafy greens like Swiss chard and Bok Choy, peas such as sugar snaps, and celery. Lastly, hardy vegetables are a true cool-season vegetable that is frost-tolerant and can withstand freezing temperatures up to a certain degree. Examples of hardy vegetables are broccoli, cauliflower, kale, onions, and garlic. To find more information on fall vegetables in northwest Florida, please visit: https://edis.ifas.ufl.edu/publication/EP451

UF IFAS Photo by Tyler Jones
Fall Garden Maintenance
With the temperatures being cooler in the fall months, your garden vegetables will require less water. It is best to water your garden early in the morning to allow the soil to dry out during the day. Doing this will prevent fungal growth and root rot. Utilizing mulch will also help conserve soil moisture, regulate the soil the temperature from the cool weather, and suppress weeds. Even through the winters are typically mild in Florida, it is still best to have a freeze protection plan for your garden. Using row covers or frost blankets will help shield your garden when the temperatures drop.
As you enjoy your fall garden, planning ahead for winter and spring will also set you up for success. Research what crops will follow best behind your fall harvest and consider starting your seeds indoors to get a head start. By embracing these fall gardening tips, you can enjoy a bountiful harvest and a thriving garden throughout the season. Happy Fall!
by Beth Bolles | Aug 20, 2024
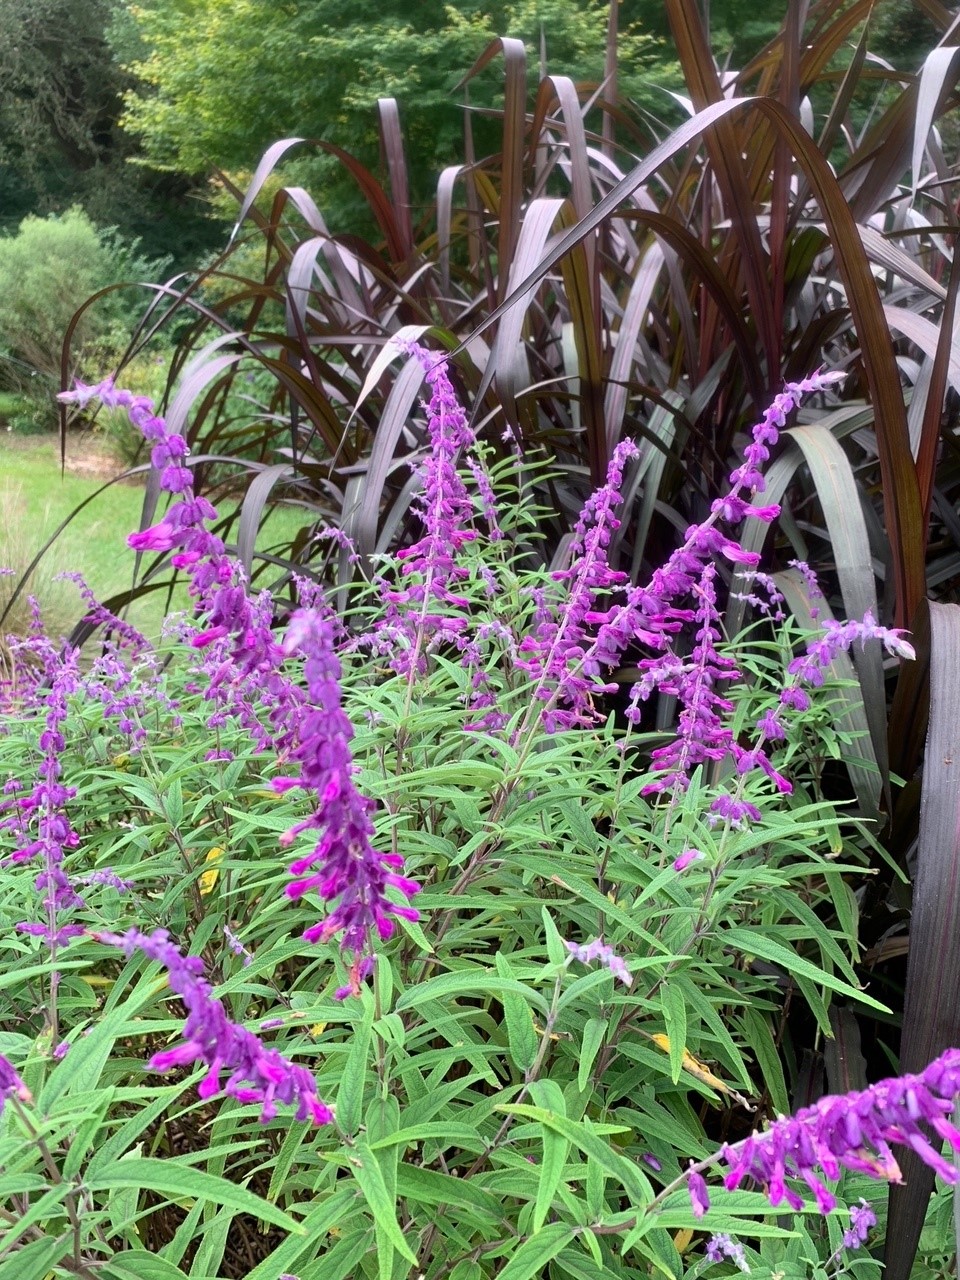
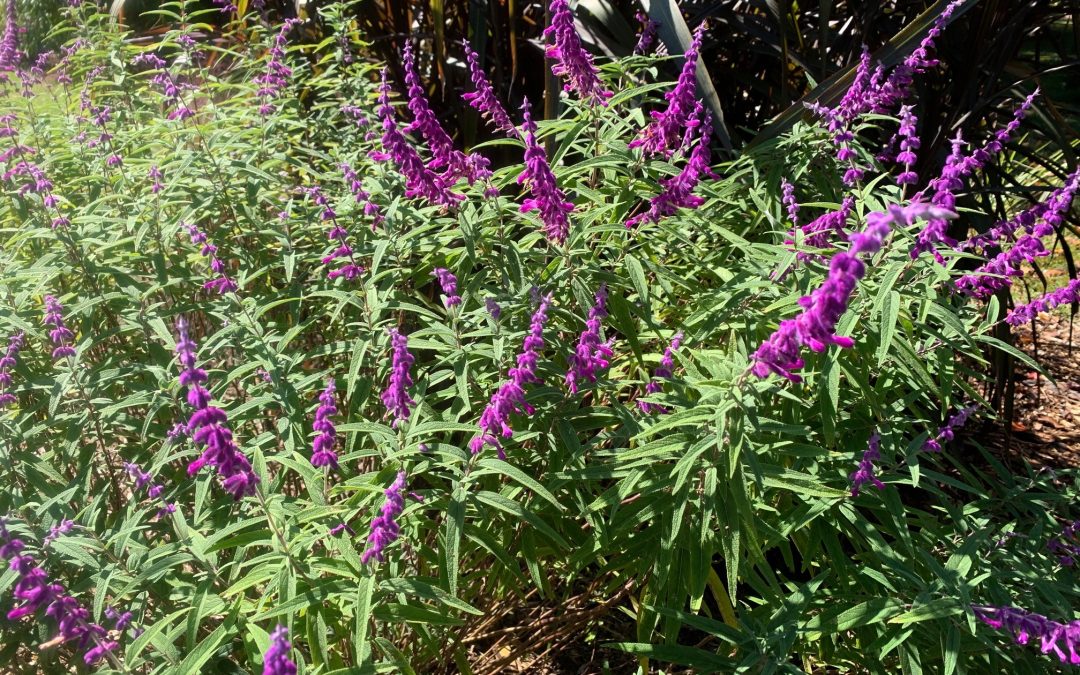
Salvias are a popular group of plants for attracting pollinators and adding lots of color to the landscape. A unique salvia that offers velvety flowers is the Mexican bush sage, Salvia leucantha.
In our heat, Mexican bush sage can tolerate partial shade and likes average water with well drained soils. Plants will not overtake a spot only growing 2-4 feet. The velvety portion of the flower is a purple calyx with the flower petals emerging white or purple. Flower stalks will extend above the foliage to be available to many bees, butterflies, and hummingbirds.
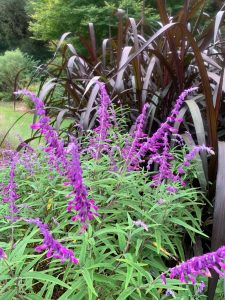
Mexican bush sage planted with ‘First Knight’ pennisetum. Photo by Bolles, UF IFAS Extension Escambia County.
During cold winters, plants can die back to the ground but often return each spring. It is always good to take a few cuttings for new plant starts just in case your plant dies back from heavy rains or drought conditions.
Mexican bush sage can be an accent plant in your garden or used in a small mass of 2-3 plants. Consider adding it with contrasting textures and colors so later summer flowers are easily visible.