by Taylor Vandiver | Feb 17, 2015
Valentine’s Day has come and gone. You were likely showered with gifts from loved ones; gifts covered in chocolate, gifts of the stuffed variety, and more than likely the kind covered in petals. And as you languish in the afterglow of affection it would be wise to remember that your bouquets will need to be shown some affection if you intend for them to remain beautiful.
Duchesse de Brabant, Tea Rose. Photo Courtesy David Marshall.
Fresh cut flowers are a popular gift for Valentine’s Day and a simple, yet elegant way to relay your affections. Flowers have the capacity to brighten up a room and bring a smile to your face. The myriad of colors and scents are admittedly irresistible. However, after a few days your once overflowing vase may seem wilted and despondent. Follow these easy steps to increase the lifespan of your flowers and extend their potent powers!

Carefree Beauty, Shrub Rose. Photo Courtesy David Marshall.
- Re-cut the flower stems using a sharp knife or shears. Remove at least one-half inch of stem to expose a fresh surface. Stems, especially rose stems, should be re-cut under water. A freshly cut stem absorbs water freely, so it is important to cut at a slant to avoid crushing the stem and to prevent a flat-cut end from resting on the bottom of the vase.
- Put flowers in water as soon as possible. Maximum water uptake occurs in the first 36 to 48 hours after cutting flowers. Place stems in 100-110°F (38-40°C) water, because warm water moves into the stem more quickly and easily than cold water.
- Make sure to remove any leaves from the stem that may be submerged. Because transpiration through leaves drives water flow up the stems of cut flowers, don’t strip all the leaves from the stem.
- Use a commercial flower food, they work best at controlling microbial populations, hydrating stems, and feeding flowers. Make sure you follow the directions on the floral preservative packet.
- Removing thorns from your roses may shorten their vase life. If damaged during the removal process flowers may be opened up to microbes that could slow down water conducting cells.
- If your vase solution begins to become cloudy, re-cut the stems and place into a new vase solution.
- Do not place flowers in direct sunlight, over a radiator, or on a television set. Heat reduces flower life since flower aging occurs more rapidly in high temperature conditions. It is important to avoid all drafty locations because warm or moving air removes water from flowers faster than it can be absorbed through the stems.
- Keep flowers away from cigarette smoke and ripening fruit, because they contain ethylene gas, which is harmful to flowers.

Louis Philippe, China Rose. Also known as the “old Florida rose” since it is found at many old historic Florida home sites and pioneer settlements. Photo Courtesy David Marshall.
by Beth Bolles | Feb 10, 2015
Variety is the spice of life and more homeowners are incorporating this philosophy into the design of their homes. Windows especially are becoming more of a design feature, so we should change our philosophy on landscaping around them.
Windows allow us to feel connected to the outdoors and allow natural light to pass into the living area. They let us enjoy flowers, wildlife, and even keep an eye on outdoor activities. Because so many homes are using larger frame windows that may be only two feet off the ground, careful planning of landscaping is necessary so views are not blocked by a mass of branches and leaves.
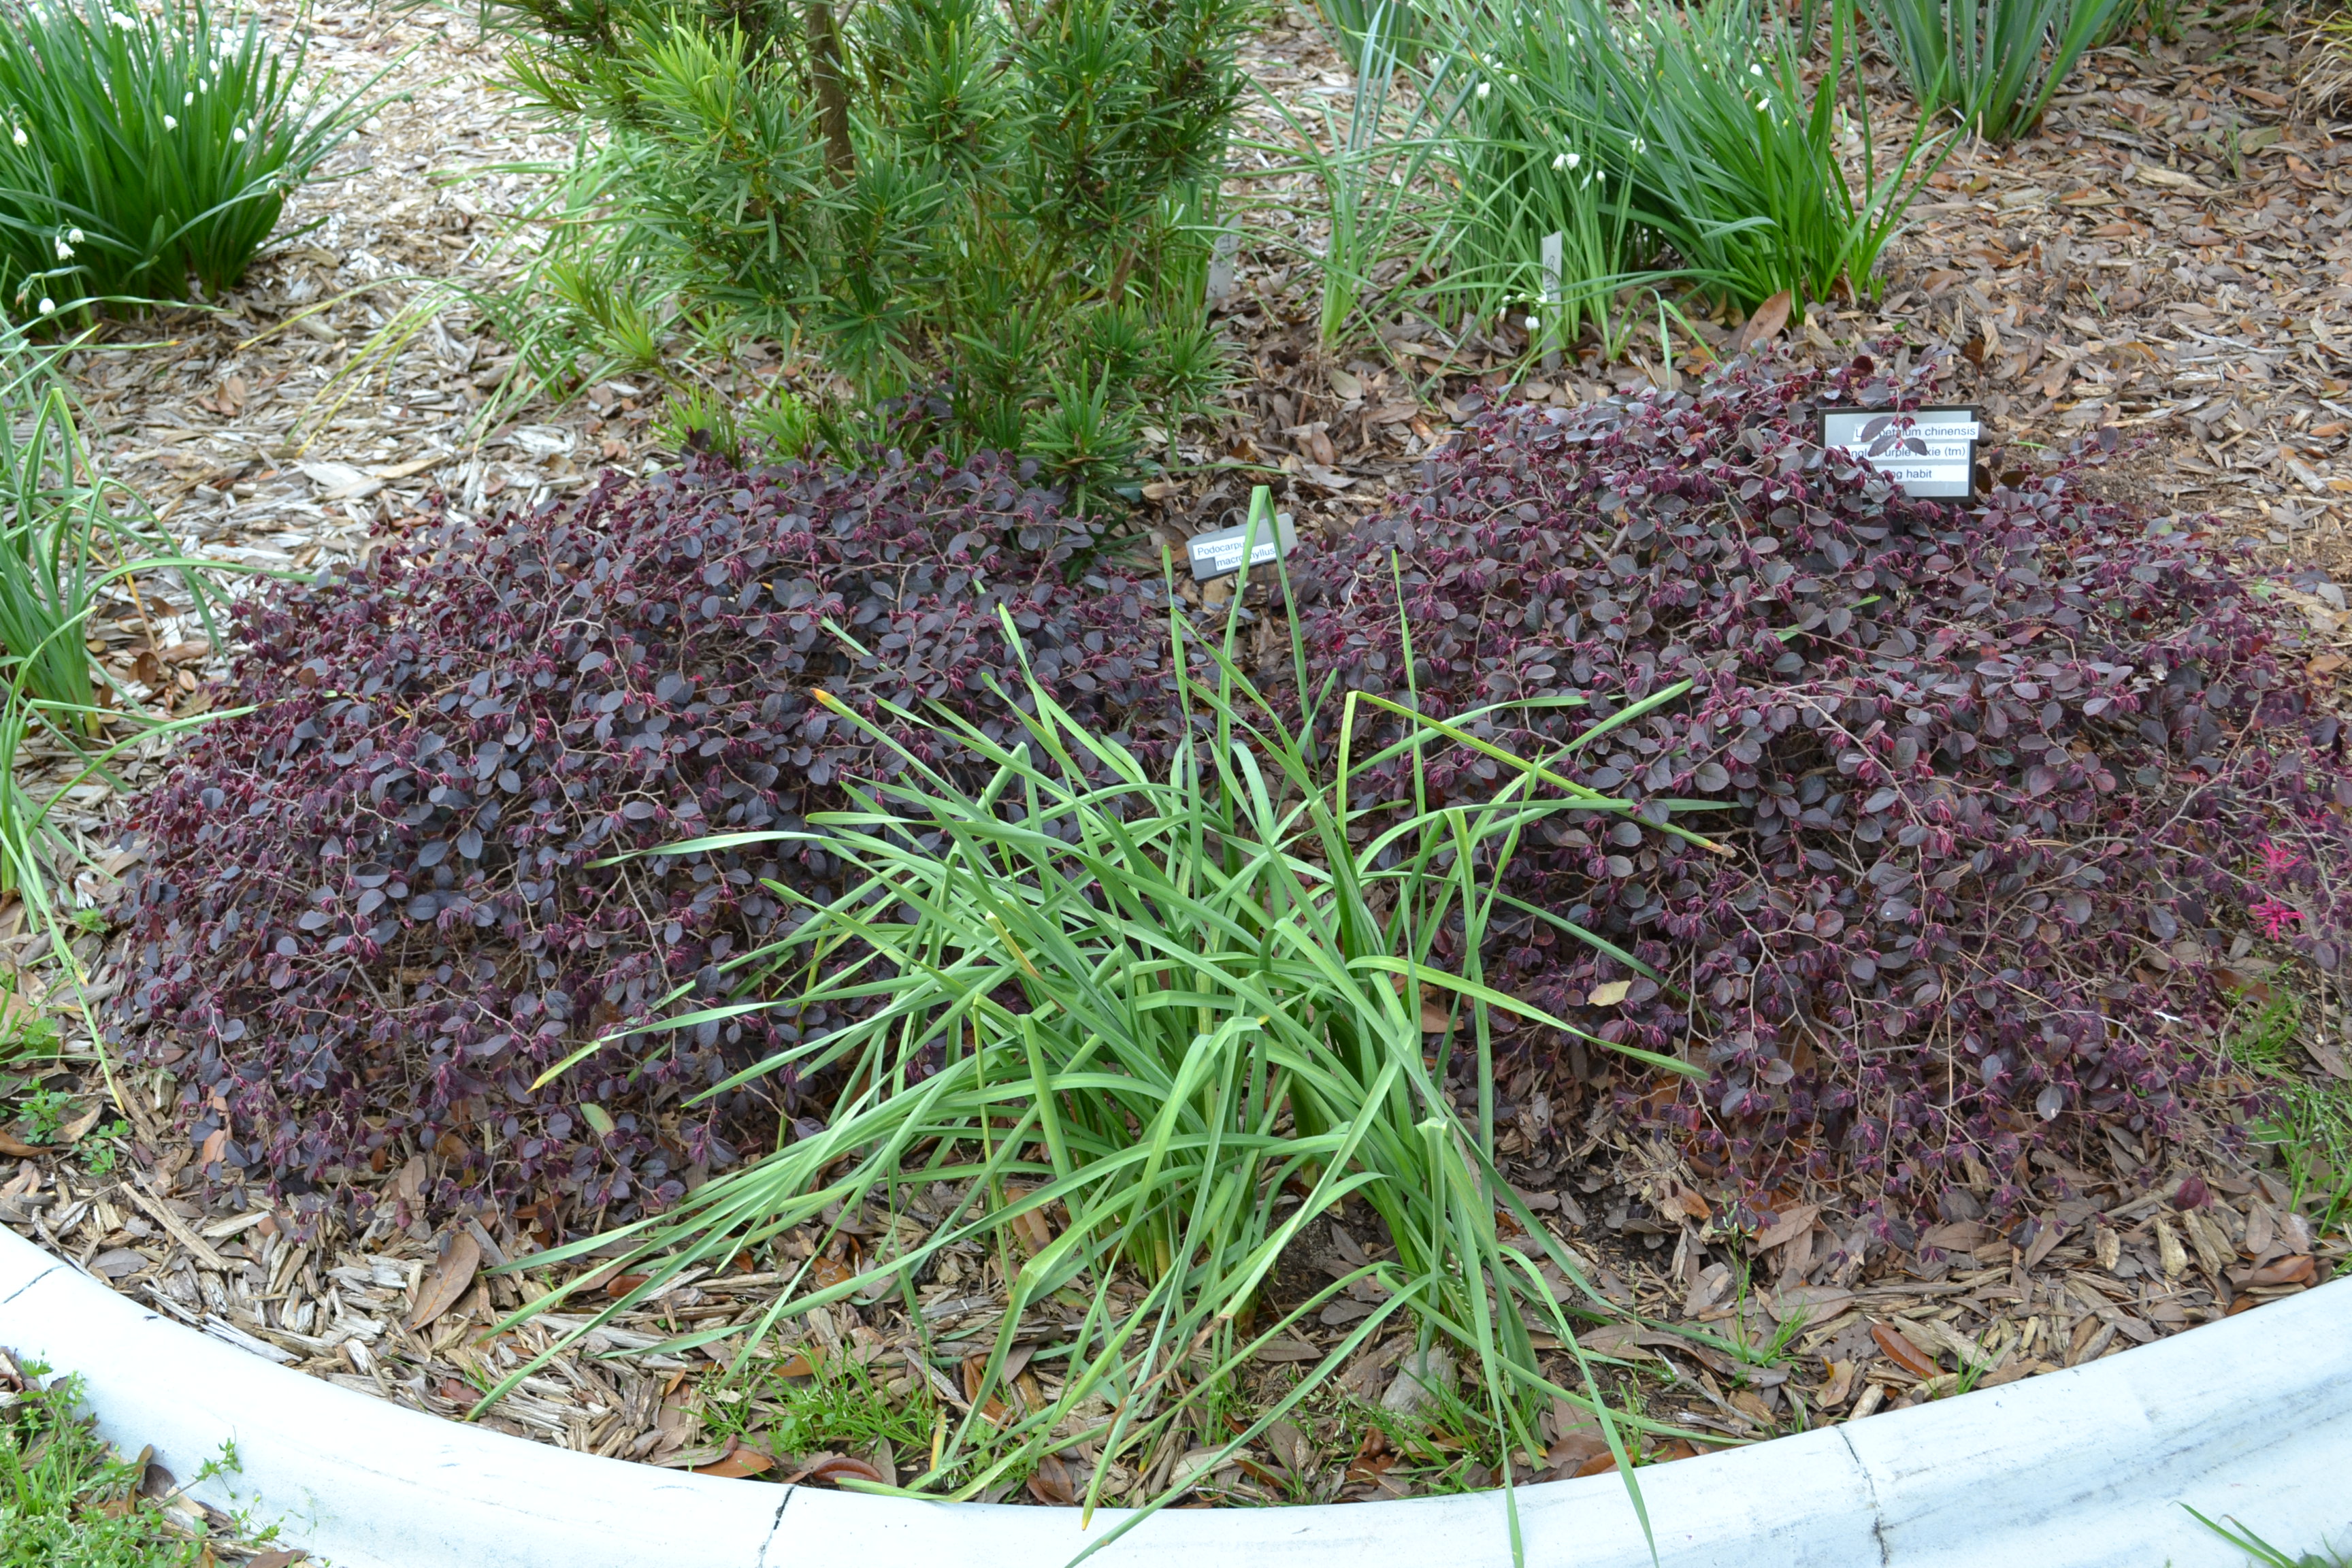
Many common foundation plants that have been planted around homes in the past may not be good choices for homes with low windows. Ligustrum, various holly and loropetalum species, and several types of azaleas will mature to medium‑sized shrubs and block a good portion of windows in a couple of years. Though continuous pruning can keep these plants low, it also can result in pest problems due to frequent pruning wounds and thick growth.
Foundation plants should create a low‑maintenance landscape. Selecting plants that do not grow into the view of windows will save time and money in unnecessary maintenance activities.
Nurseries carry a wide variety of interesting plants. There are dwarf varieties of evergreen shrubs, such as ‘Prostrata’ Japanese plum yew, ‘Purple Pixie’ loropetalum, and many new dwarf nandinas that can be planted in front of some windows.

‘Purple Pixie’ loropetalum.
Groundcovers, or even flowering annuals and perennials, could also be good choices under windows. These plants can break the monotony of a typical foundation planting.
Maintaining a mass of annual or perennial flowers below front windows will require a little more work throughout the year. The flower planting will have to be weeded, groomed and even replaced from time to time. A separate irrigation zone for the flowering plants will need to be established so that other foundation shrubs do not receive too much water when the annuals and perennials are watered.
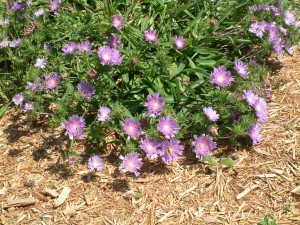
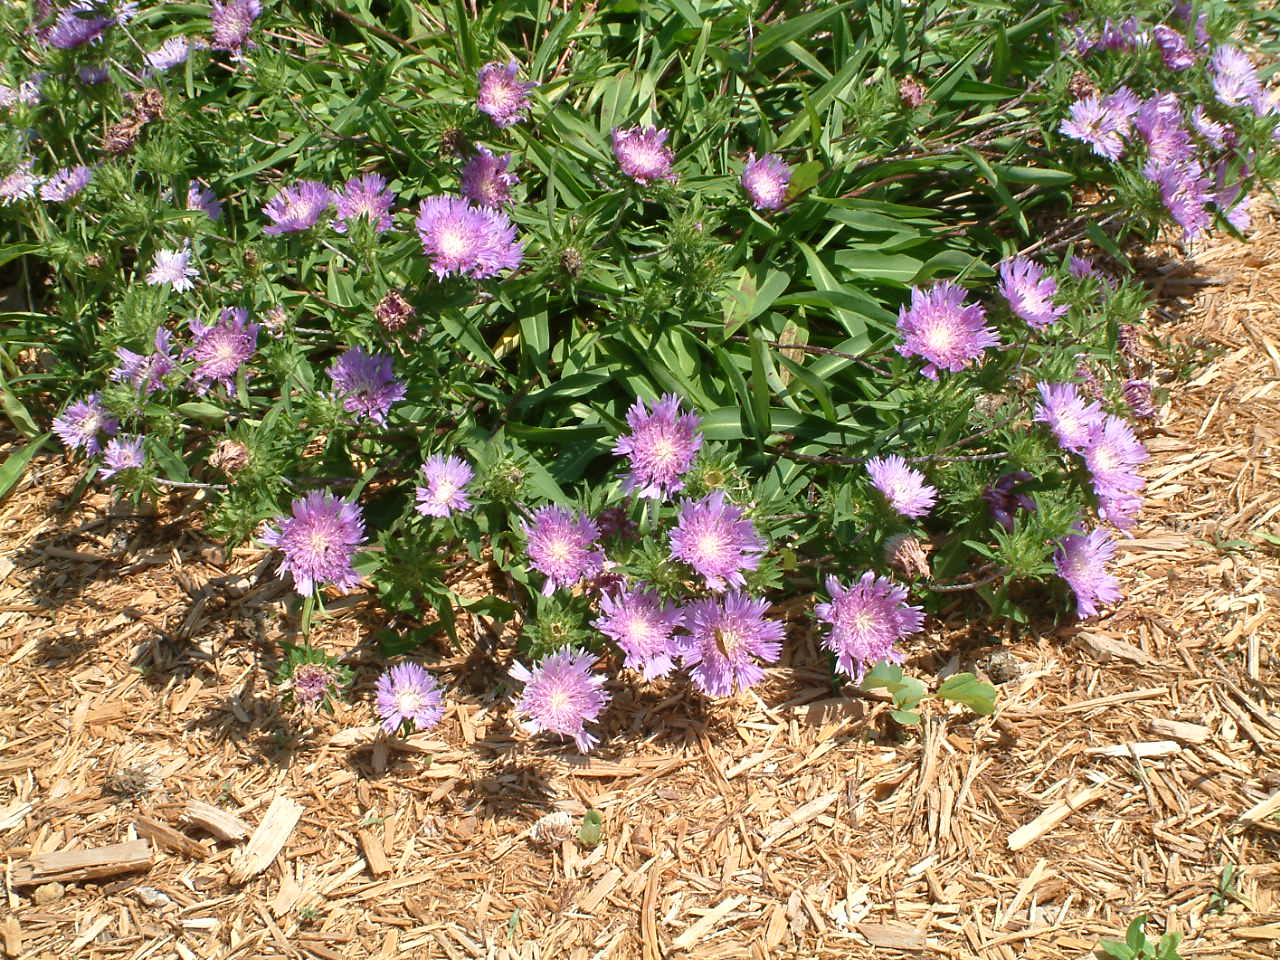
Stoke’s aster is an evergreen groundcover for sunny areas.

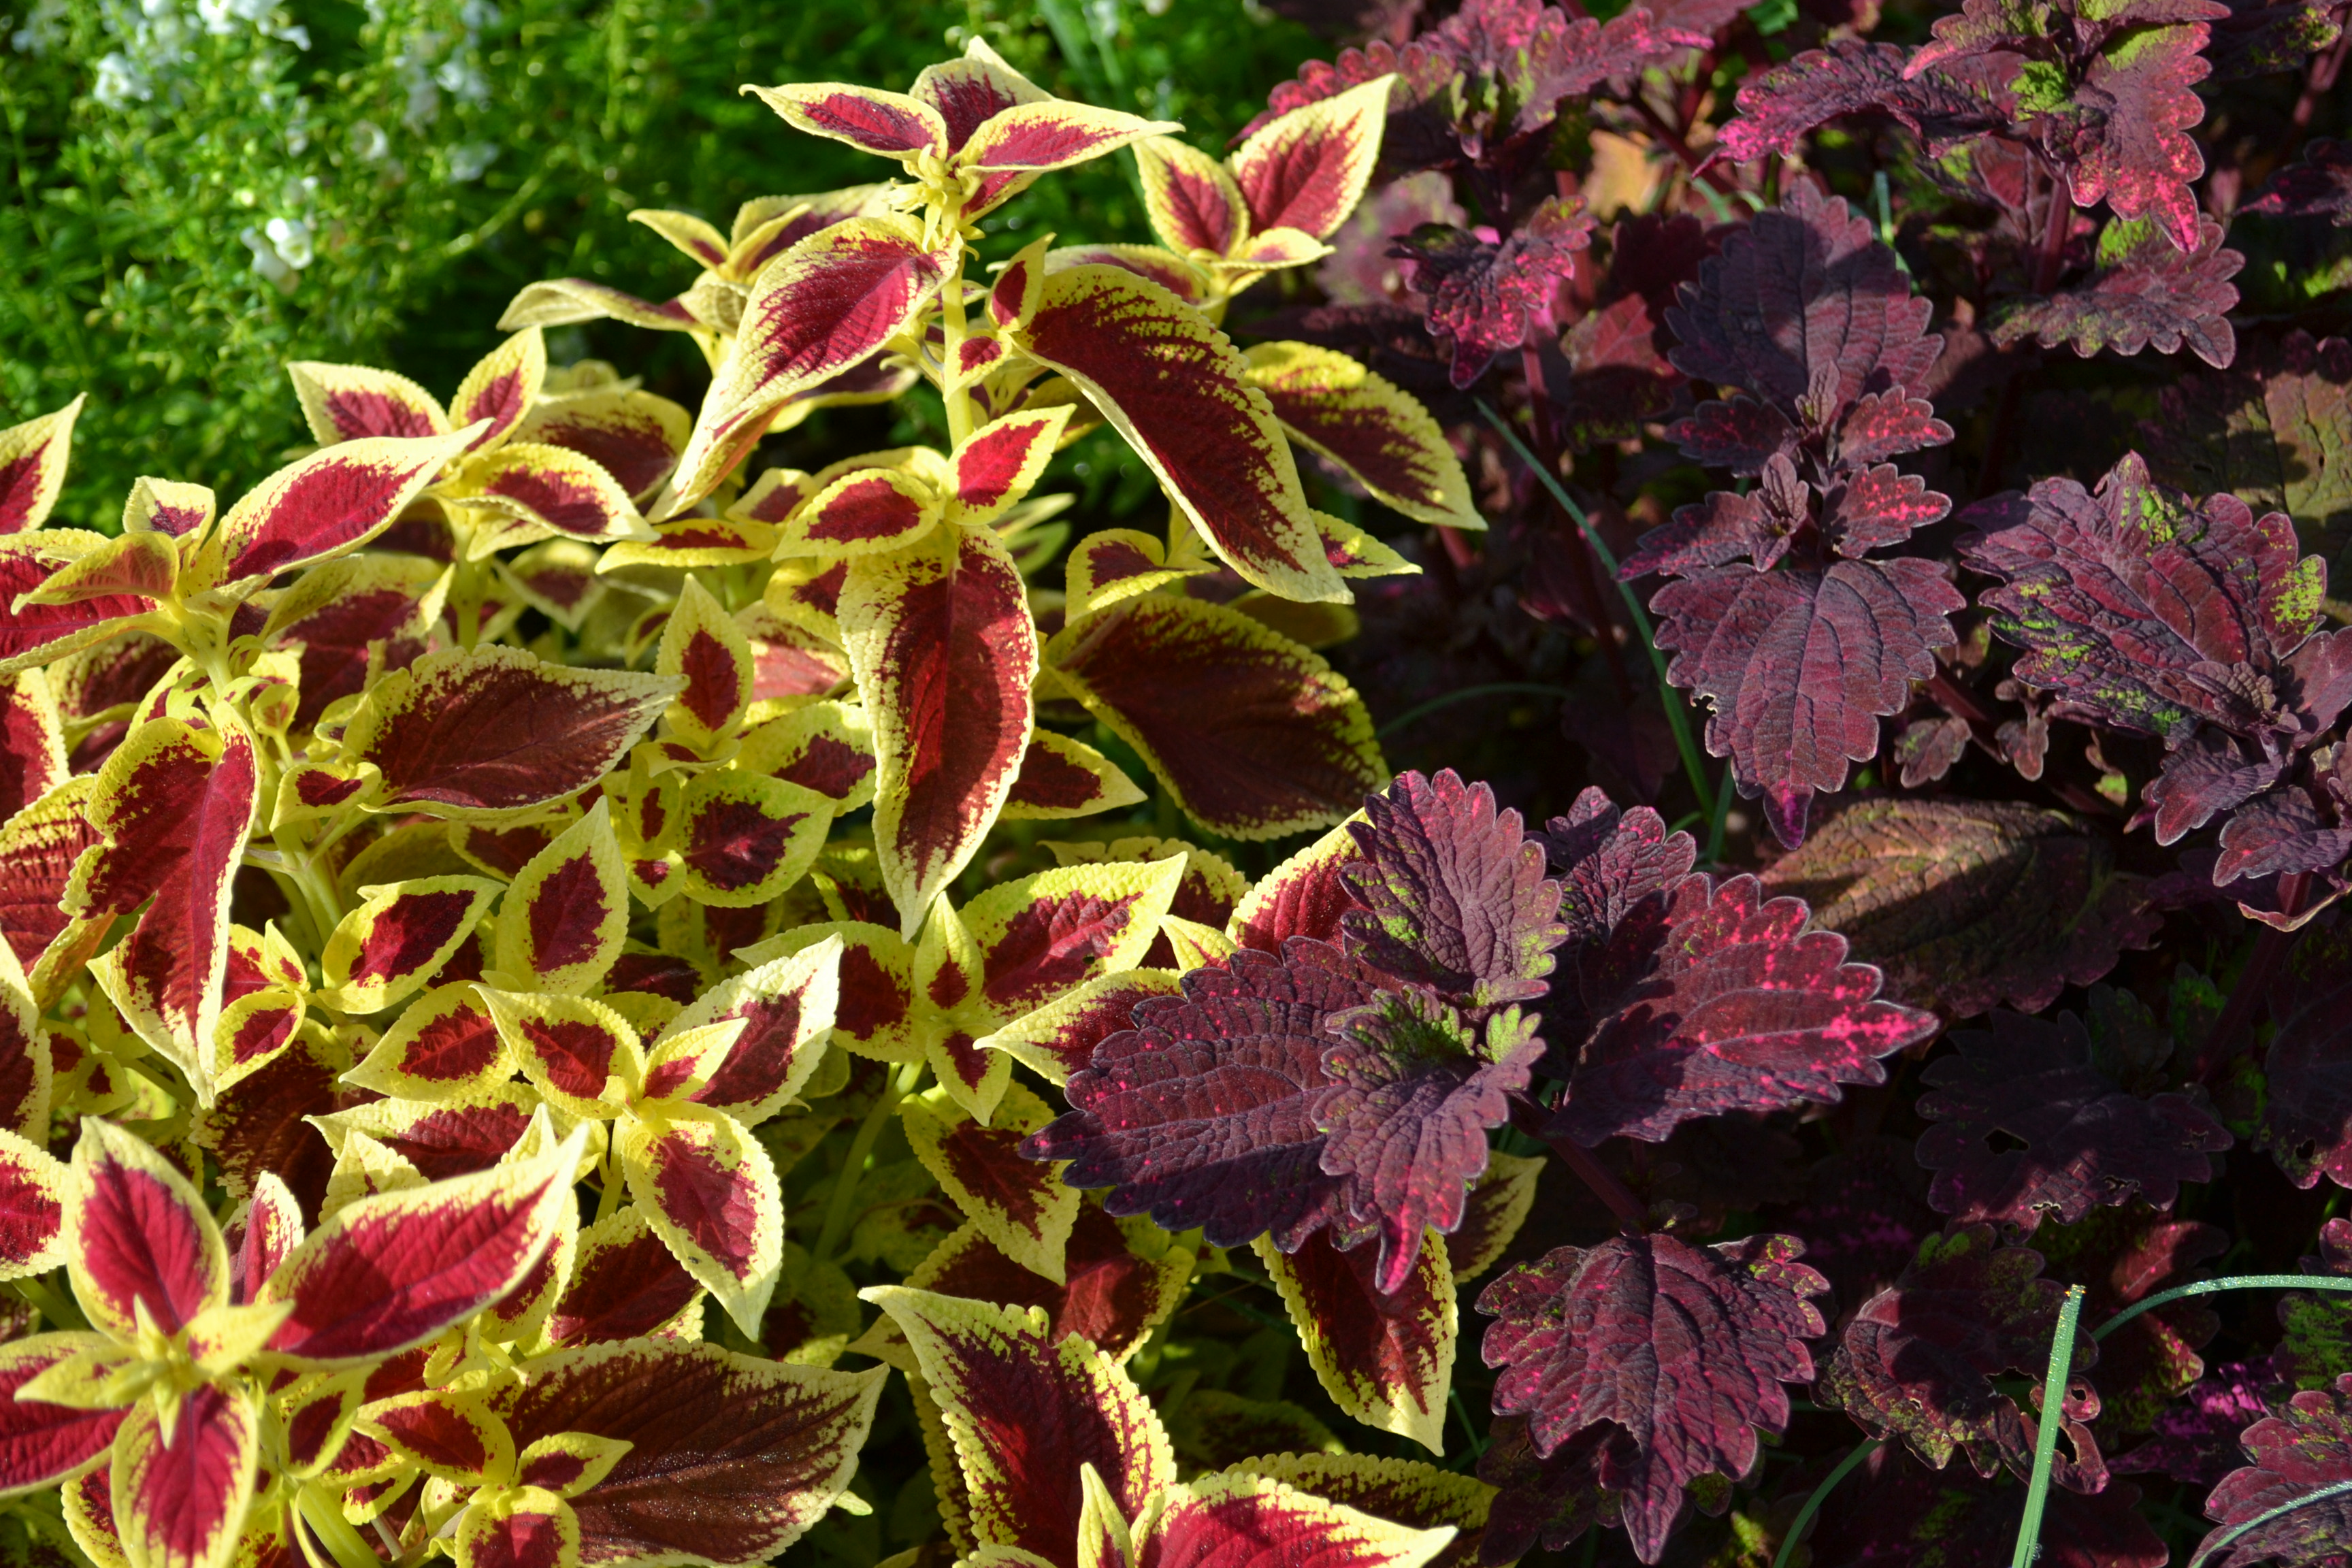
The are almost endless selections of beautiful sun coleus.
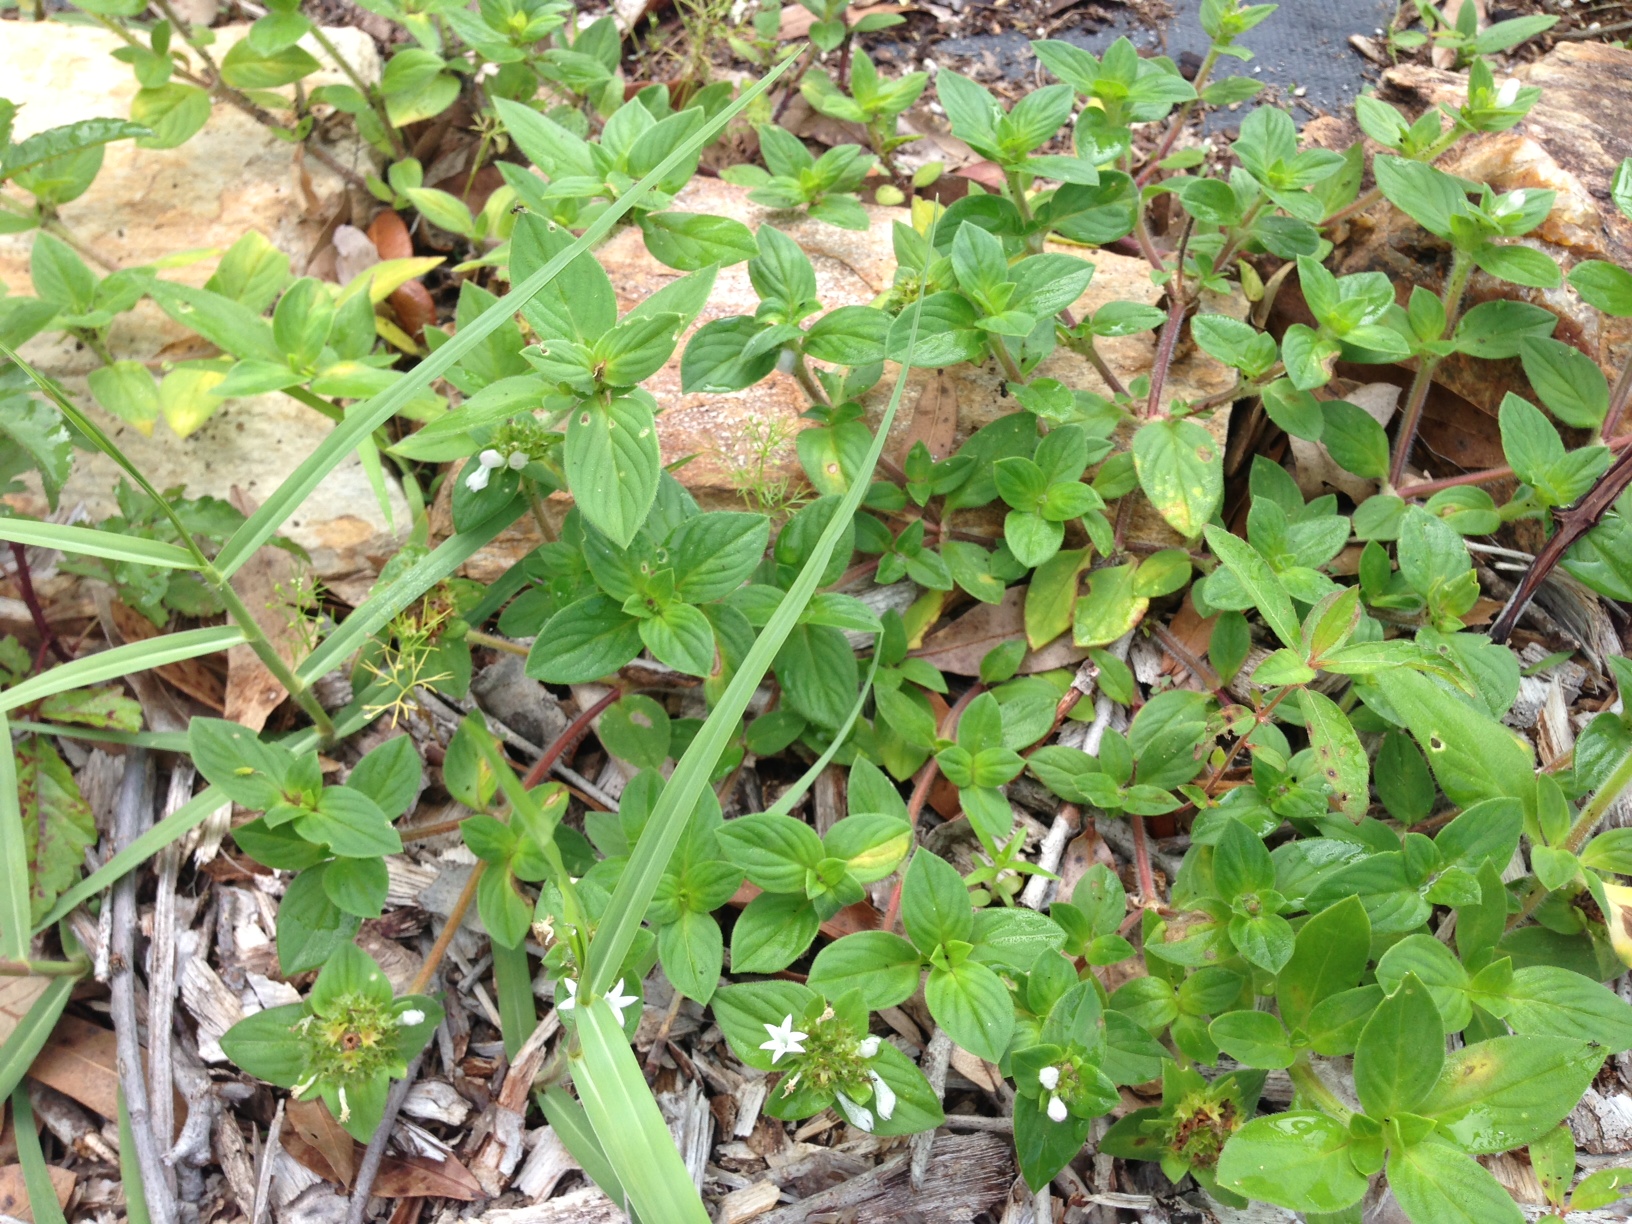
In full sun, consider Stoke’s aster, sun coleus, Dicliptera, daylilies, sedum, or Oxeye daisy, In shade, consider caladiums, ferns and ‘Hip Hop’ Euphorbia.
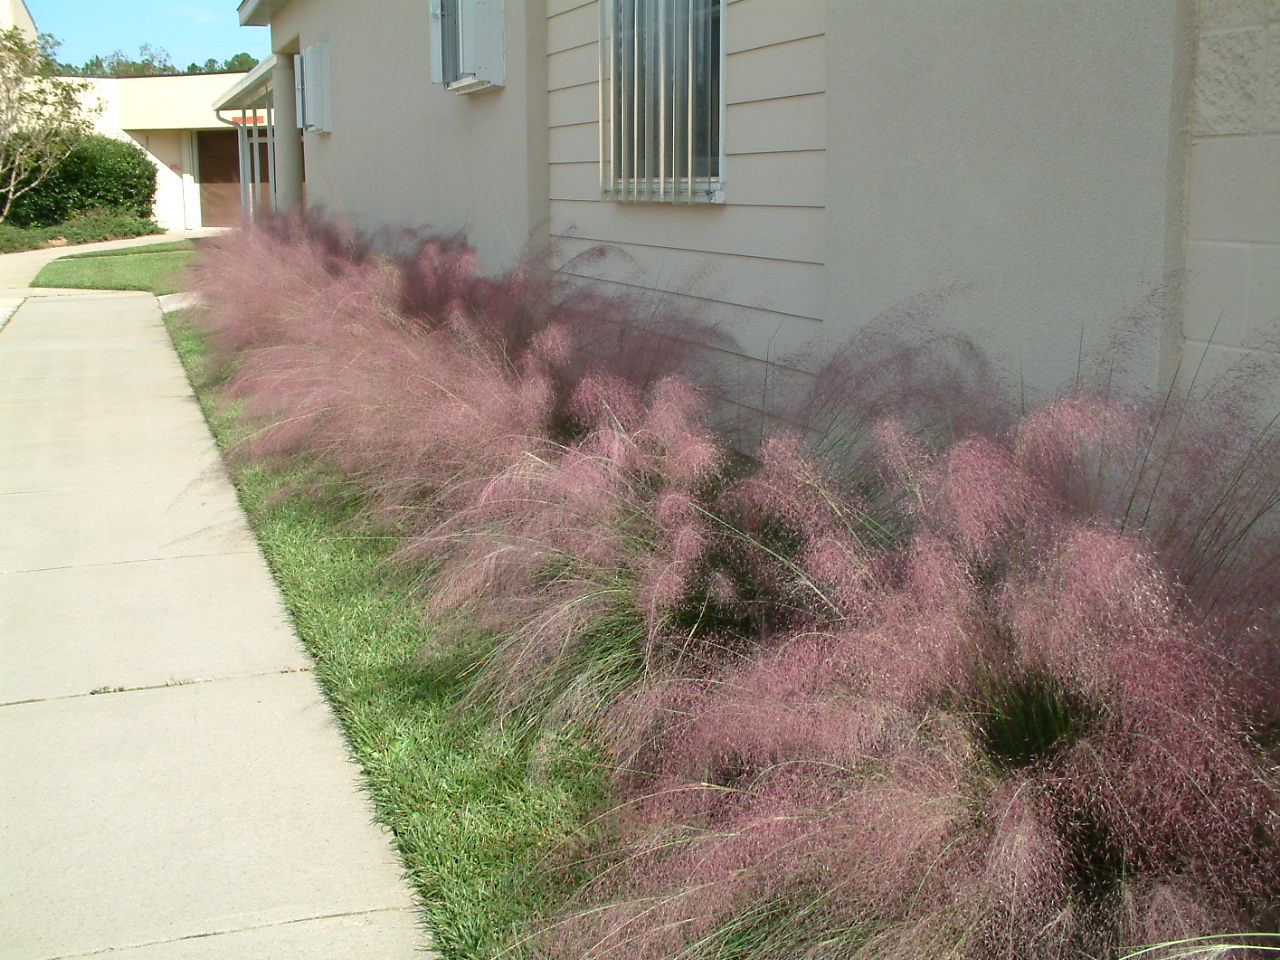
There are many groundcovers that can be used. Know the growth habit of the particular groundcover since many such as Asiatic jasmine and junipers will spread over large areas. Consider clumping plants like muhly grass or ‘Evergreen Giant’ liriope.

Mulhly grass shows off purplish blooms in the late summer and fall.
Plants aren’t the only possibility for areas around windows. Consider garden ornaments, or create a bird window, with a bird bath, feeder or ground‑feeding area for animals that can be viewed from indoors.

by Gary Knox | Feb 3, 2015
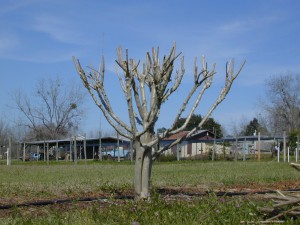
Figure 1. Topping is the drastic removal of large-diameter wood (typically several years old) with the end result of shortening all stems and branches. Topping is not recommended for crapemyrtle.
As the holidays fade and the New Year begins, we often see crapemyrtles being “mutilated” from improper pruning: main stems that are several years old are cut back, often leaving branch stubs 2 – 5 inches or more in diameter. This form of crapemyrtle mistreatment goes by various names, including topping, heading, stubbing, rounding, dehorning and (my favorite) “crape murder”.
Whatever you call it, topping a crapemyrtle is almost always unnecessary. Over the years, many people viewed this type of improper pruning and unthinkingly perpetuated the practice in their own yards, not realizing the unfortunate consequences.
Research at the University of Florida found that topping crapemyrtle delays flowering up to one month. For example, unpruned trees may begin flowering in June whereas topped trees begin flowering in July. This research also found topping reduced the number of flowers and shortened the flowering season. Finally, topping stimulated more summer sprouting from roots and stems. Sprouting results in greater maintenance since sprouts are usually removed to maintain an attractive plant appearance.
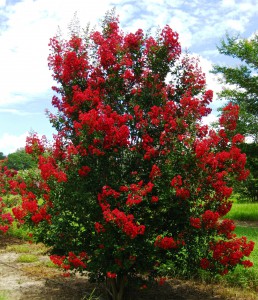
Figure 2. With proper cultivar selection and placement in the landscape, crapemyrtle develops into a beautifully shaped tree that rarely needs pruning. This crapemyrtle is Red Rocket®.
If a crapemyrtle is located where it requires routine pruning to fit into its surroundings (for example, under the eave of a roof), it should be replaced with a smaller growing crapemyrtle. A dwarf crapemyrtle (maturing at a height of 5 feet) would fit this location well. Medium crapemyrtle cultivars (growing up to about 15 feet in height) and tall or tree-size crapemyrtle cultivars (often growing 20 – 30 feet tall in 10 years) are best reserved for open areas.
Crapemyrtle thrives under full sun conditions in areas with ample room for the cultivar size and away from walkways and roads. Proper selection of crapemyrtle cultivar and proper placement in the landscape can result in a low maintenance crapemyrtle without the need for significant pruning.
For more information, please see Crapemyrtle Pruning.
by Mary Salinas | Feb 2, 2015
So often, homeowners wait until weeds have overtaken their lawns in mid-summer before looking for a course of action to control them. Unfortunately, when weeds get to maturity and start producing flowers and going to seed, they are usually quite difficult to control.
[important]The best strategy is to prevent the weeds from getting established in the first place![/important]

Florida pusley, an annual weed that can be controlled with preemergence herbicides. Photo credit: Mary Derrick UF/IFAS Extension.
When properly applied, a preemergence herbicide forms a chemical barrier on the surface of the soil that kills newly germinated seeds when they grow and contact that barrier. Be sure to follow label directions carefully as it is crucial to apply the correct amount and water it in correctly. The soil surface should not be disturbed after application to ensure that the chemical barrier remains intact.
Keep in mind that preemergence herbicides only prevent annual weeds! They do not control weeds that have already emerged.
In North Florida, the time to apply a preemergence herbicide to your turfgrass is coming soon. As a general rule, March 1 is an ideal time. Another indicator that the time is right is when the daytime temperatures reach 65°F-70°F for 4 to 5 consecutive days as that sustained warmth will prompt weed seeds to germinate. Oftentimes, this is also when azaleas or dogwoods start blooming and that can clue you into when to apply the herbicide. For best results, follow up with a second application in 6 to 9 weeks to control those seeds germinating later in the season.
Always follow the label instructions precisely when applying any herbicide! Ensure that you apply the product at the correct rate, that it is suitable for your specific turfgrass and situation, and that it is watered in correctly. For any pesticide, the label is the law!
If your lawn has problems with winter weeds, make a note on your calendar to apply a preemergence herbicide about October 1 in North Florida or when nighttime temperatures drop to 55°F-60°F for several consecutive days.
For more information on weed control in lawns:
Weed Management Guide for Florida Lawns
For general information on lawn care in Florida:
UF/IFAS Gardening Solutions: Lawns
by Larry Williams | Jan 27, 2015
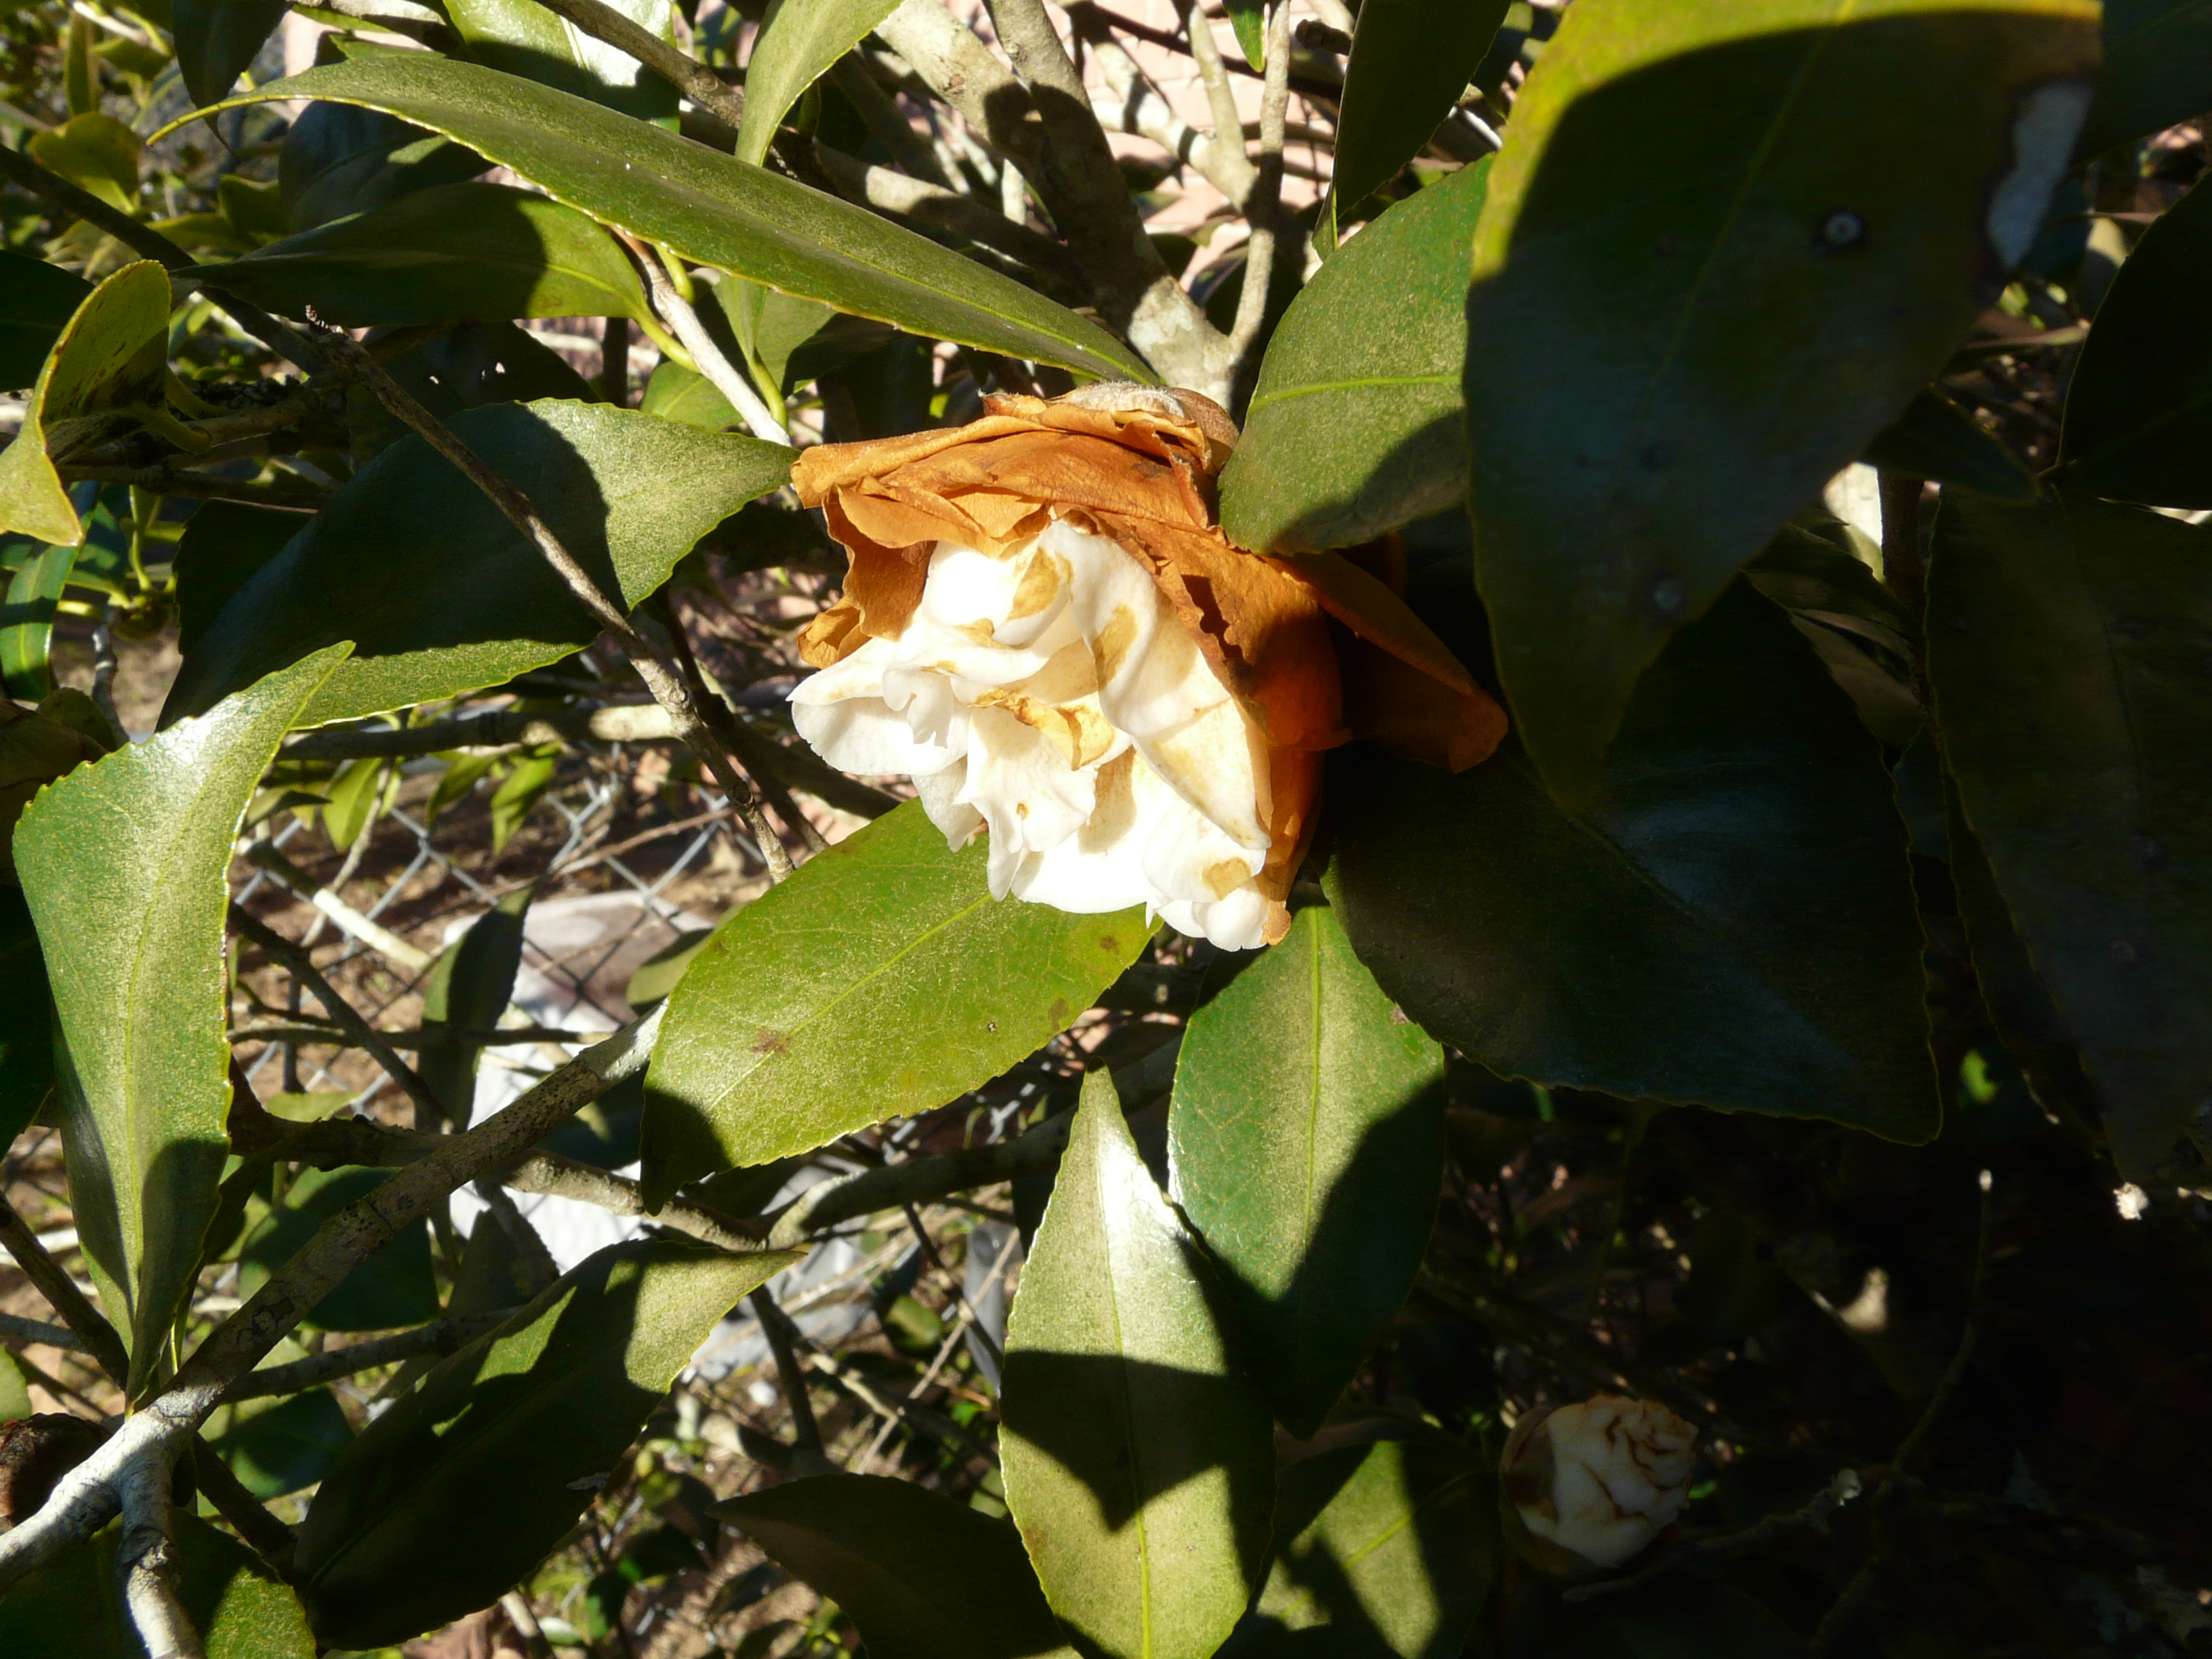
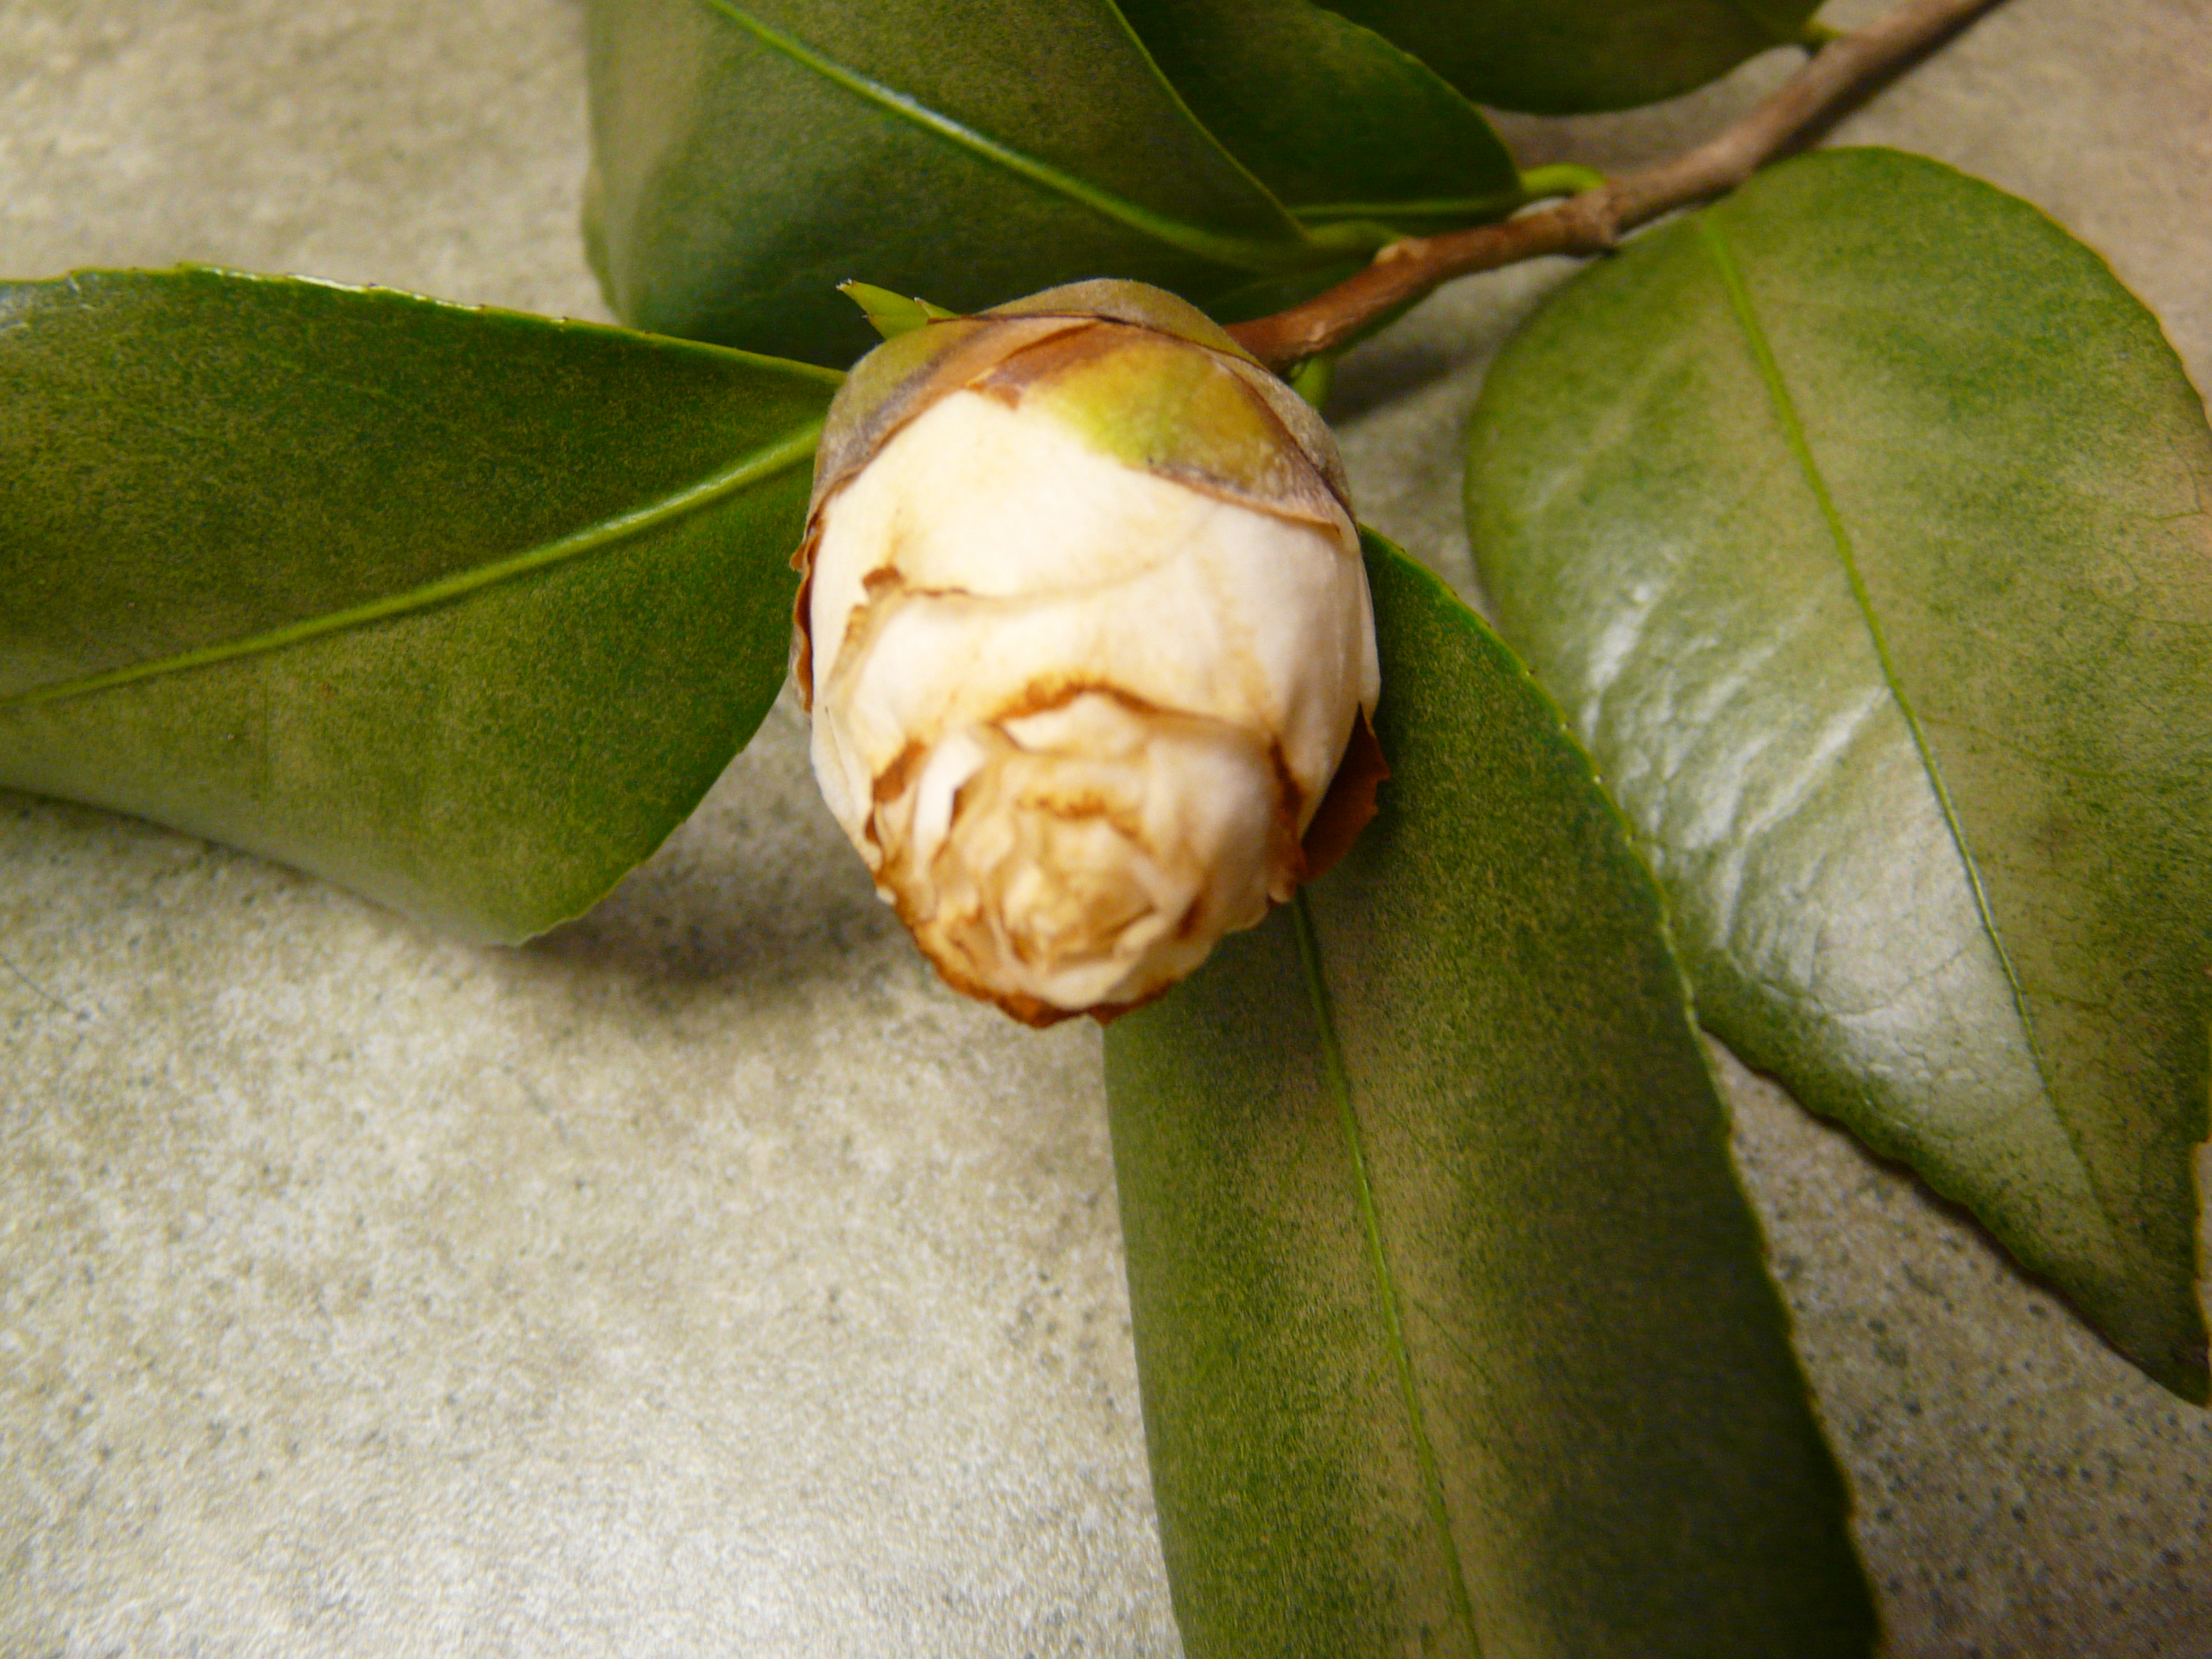
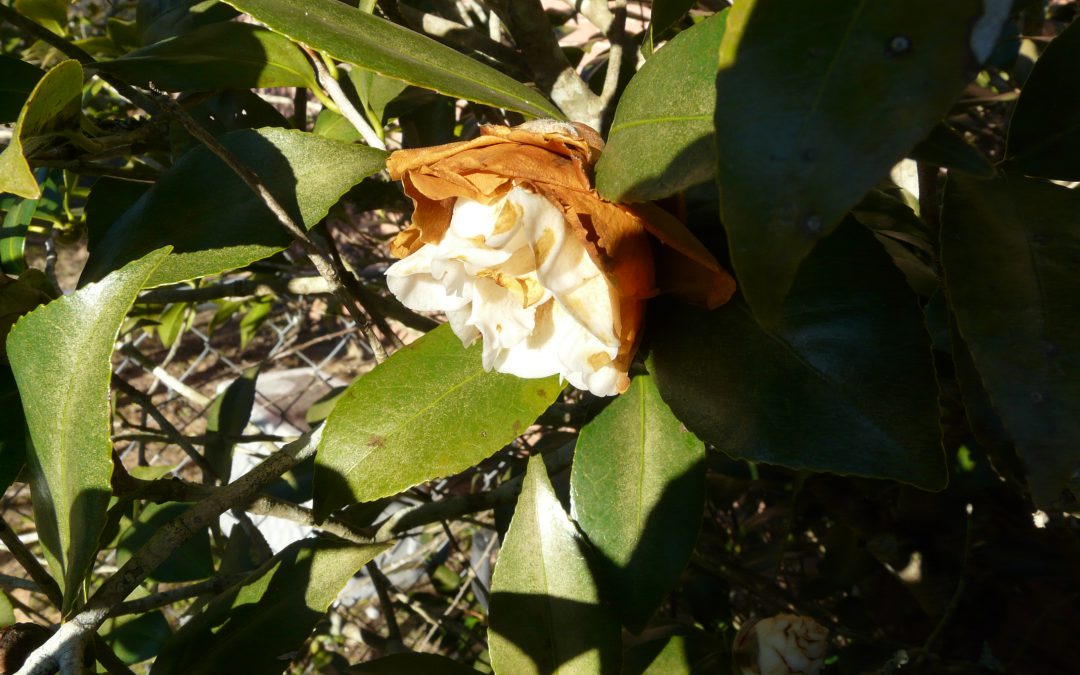
Do you have camellia plants with flower buds that fail to open? Here are possible causes for this problem.
For more information on camellias, contact the UF/IFAS Extension Office in your County or visit http://edis.ifas.ufl.edu/ep002 to access the publication, “Camellias at a Glance.”

by Eddie Powell | Jan 22, 2015
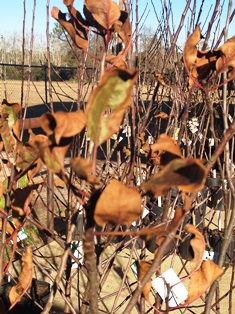
Florida homeowners enjoy a wide range of landscape and citrus plants and often times desire a tropical or semitropical appearance to their landscapes. Many landscape plants are often planted past their northern limit such as here in Northwest Florida, although microclimates differ dramatically. Tropical and subtropical plants can be used in the landscape, but they must be protected or replaced if necessary during cold weather. A good variety of tender and hardy plants should be planted in order to prevent total devastation of the landscape by extremely cold weather.
The site selection for tender plants should be number one on your list when preparing for a freeze. Tender ornamental plants need a higher site with good air drainage, and not in a low area where cold air settles. Arranging tender plants along fences or other barriers to protect them from cold winds improves the plants’ cold protection, especially from very hard freezes.
Poorly drained soils result in weak shallow roots which are more susceptible to cold injury. Plants grown with the correctly applied rate of nutrients will tolerate colder temperatures better and recover from cold injury faster than plants grown with little or no added nutrients. Be aware that late fall fertilizing of nutrient deficient plants or fertilization before unseasonably warm periods can result in a late growth which is more susceptible to cold injury.
Ornamental plants that are planted under large tree canopies can have more cold protection and require less cold prevention for the owner.
Watering landscape plants before a freeze can help protect plants. A well watered soil will absorb more solar radiation than dry soil and will reradiate heat during the night by as much as 2°F . However, saturated soil conditions can damage the root systems of most plants over a few days, so make sure the ground is well drained.
Avoid late summer or early fall pruning which can alter the plant hormonal balance resulting a flush of new growth. This new growth is more susceptible to cold injury. Healthy plants are more resistant to cold than plants weakened by disease, insect damage, or nematode damage. Routine inspection for pests and implementation of necessary control measures are essential.
Here are a few methods for plant protection. Plants in pots or containers must be moved indoors where heat can be available to them. Containers that have to be left outdoors should be protected by mulches around the container or root ball of plants in the landscape to reduce heat loss from container sidewalls.
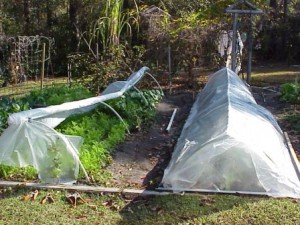
Cold Protection for Veggies!
Coverings can help protect plants more from frost than from extreme cold. Covers that extend to the ground and are not in contact with plant foliage can lessen cold injury to the plant. Foliage in contact with the cover is often cold burned or injured because of heat transfer from the foliage to the colder cover. Some examples of excellent plant covers are cloth sheets, quilts or black plastic. If plastic covering is used, it is extremely important to remove the covering during the day to provide ventilation of trapped heat. A light bulb under a covering also is a simple method of providing heat to ornamental plants in the landscape during the night hours. Cold Damage on Fruit Tree
Pictures By Eddie Powell
Immediately after the frigid weather has passed, plants need to be checked for water loss. The foliage could be losing water vapor or transpiring on a sunny day after a freeze while water in the soil or container medium is frozen. Apply water to thaw the soil and provide available water for the plant. Soils or media with high soluble salts should not be allowed to dry out because salts would be concentrated into a small volume of water and can burn plant roots. Root burn can cause the roots to dry out and not take up water to the plant.
Pruning should be delayed until freezing temperatures have risen or until new growth appears to ensure that live wood is not removed. Dead, unsightly leaves may be removed as soon as they turn brown after a freeze if a high level of maintenance is desired. But it is best to wait until the threat of freezing weather is gone. Cold injury may appear as a lack of spring bud break on a portion or all of the plant, or as an overall weak appearance. Cold injury is usually found in the upper portion of the plant. Branch tips may be damaged while older wood underneath is free of injury. Cold injured wood can be identified by examining the cambium layer under the bark for black or brown coloration. Prune these branches back to a bud 2-3 inches behind the point of discoloration.
For more information on freeze protection of plants see:
Cold Protection of Landscape Plants