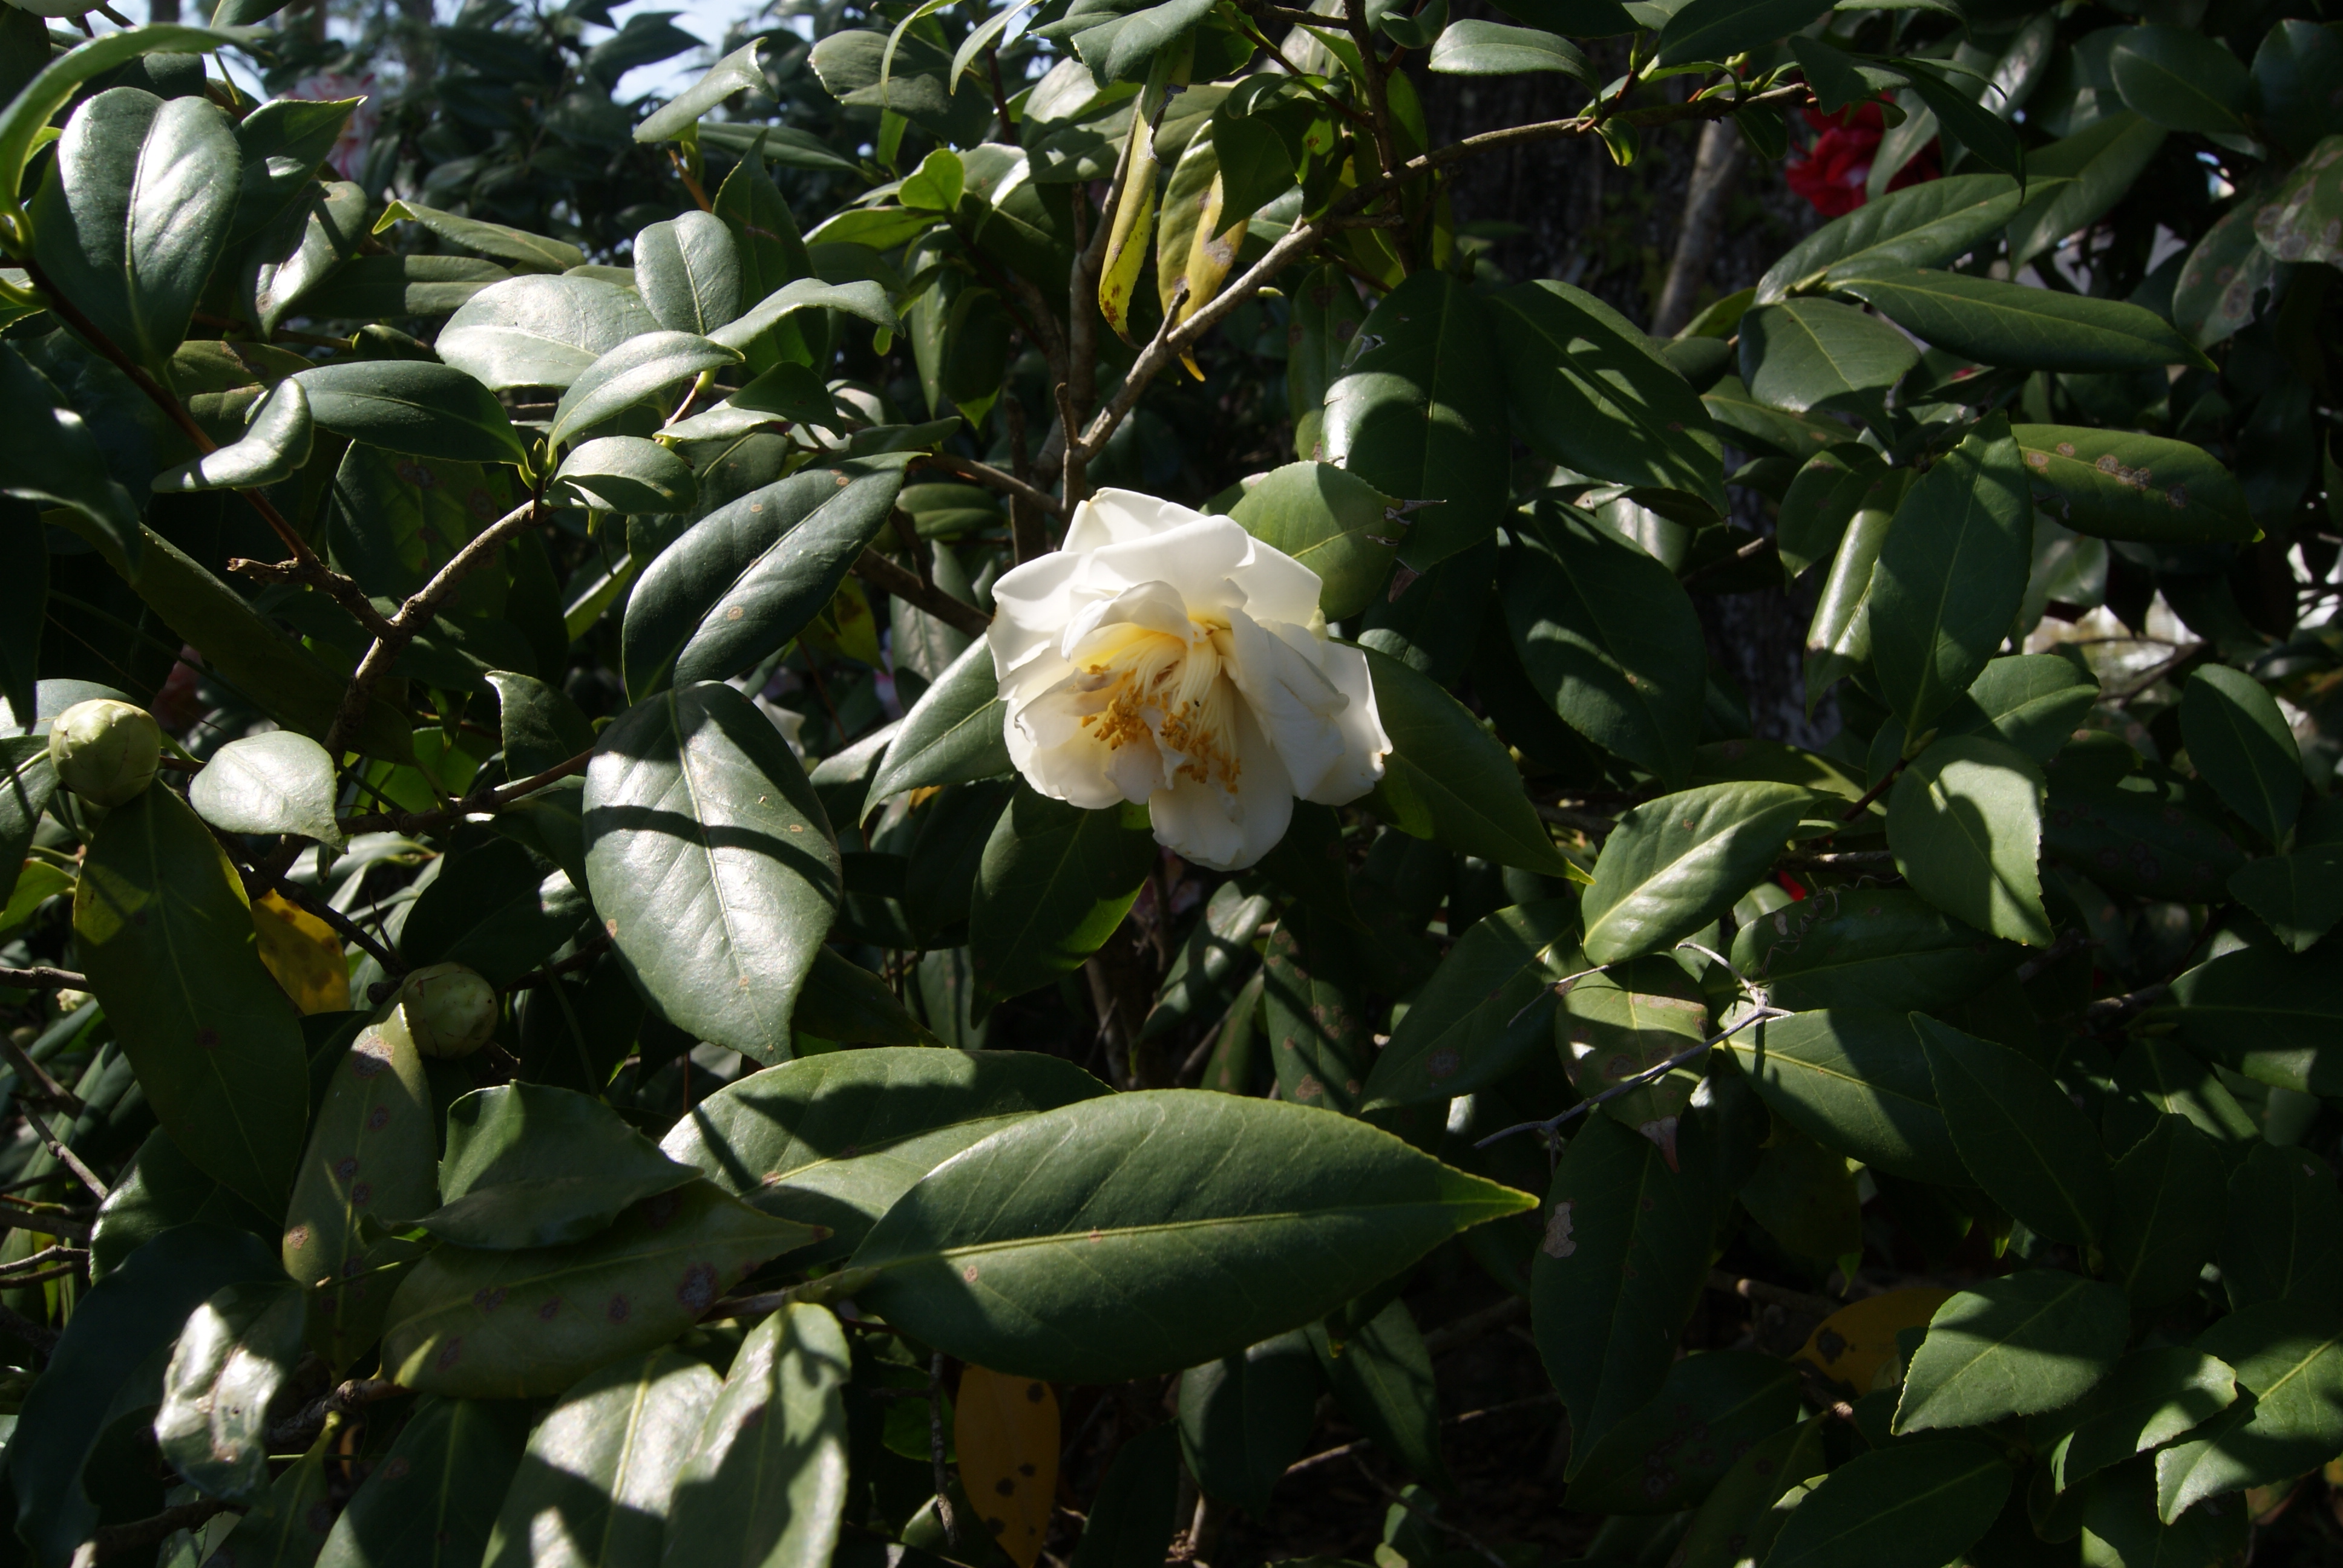
by Beth Bolles | Dec 22, 2016
A new tree or shrub is an investment for the future. When we pick an ornamental plant, we have the hope that it will survive for many years and offer seasons of beauty that enhance our landscape. Time is often spent picking a suitable spot, preparing the planting hole, and watering until establishment. We give it the best of care to make certain that our new plant becomes a more or less permanent feature.
With all of our tender love and care for new ornamentals, there is one important practice that we may neglect. Most homeowners purchase plants in containers and it is common to find root balls with circling roots. If any root ball problems are not addressed before installation, the life of your plant may be shorter than you want.

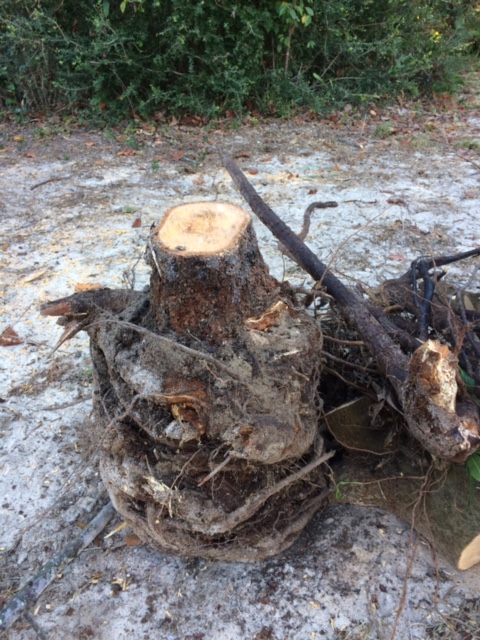
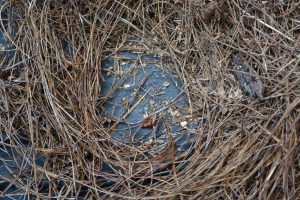
Ten years after installation, this plant was ultimately killed by girdling, circling roots. Photo by Warren Tate, Escambia County Master Gardener.
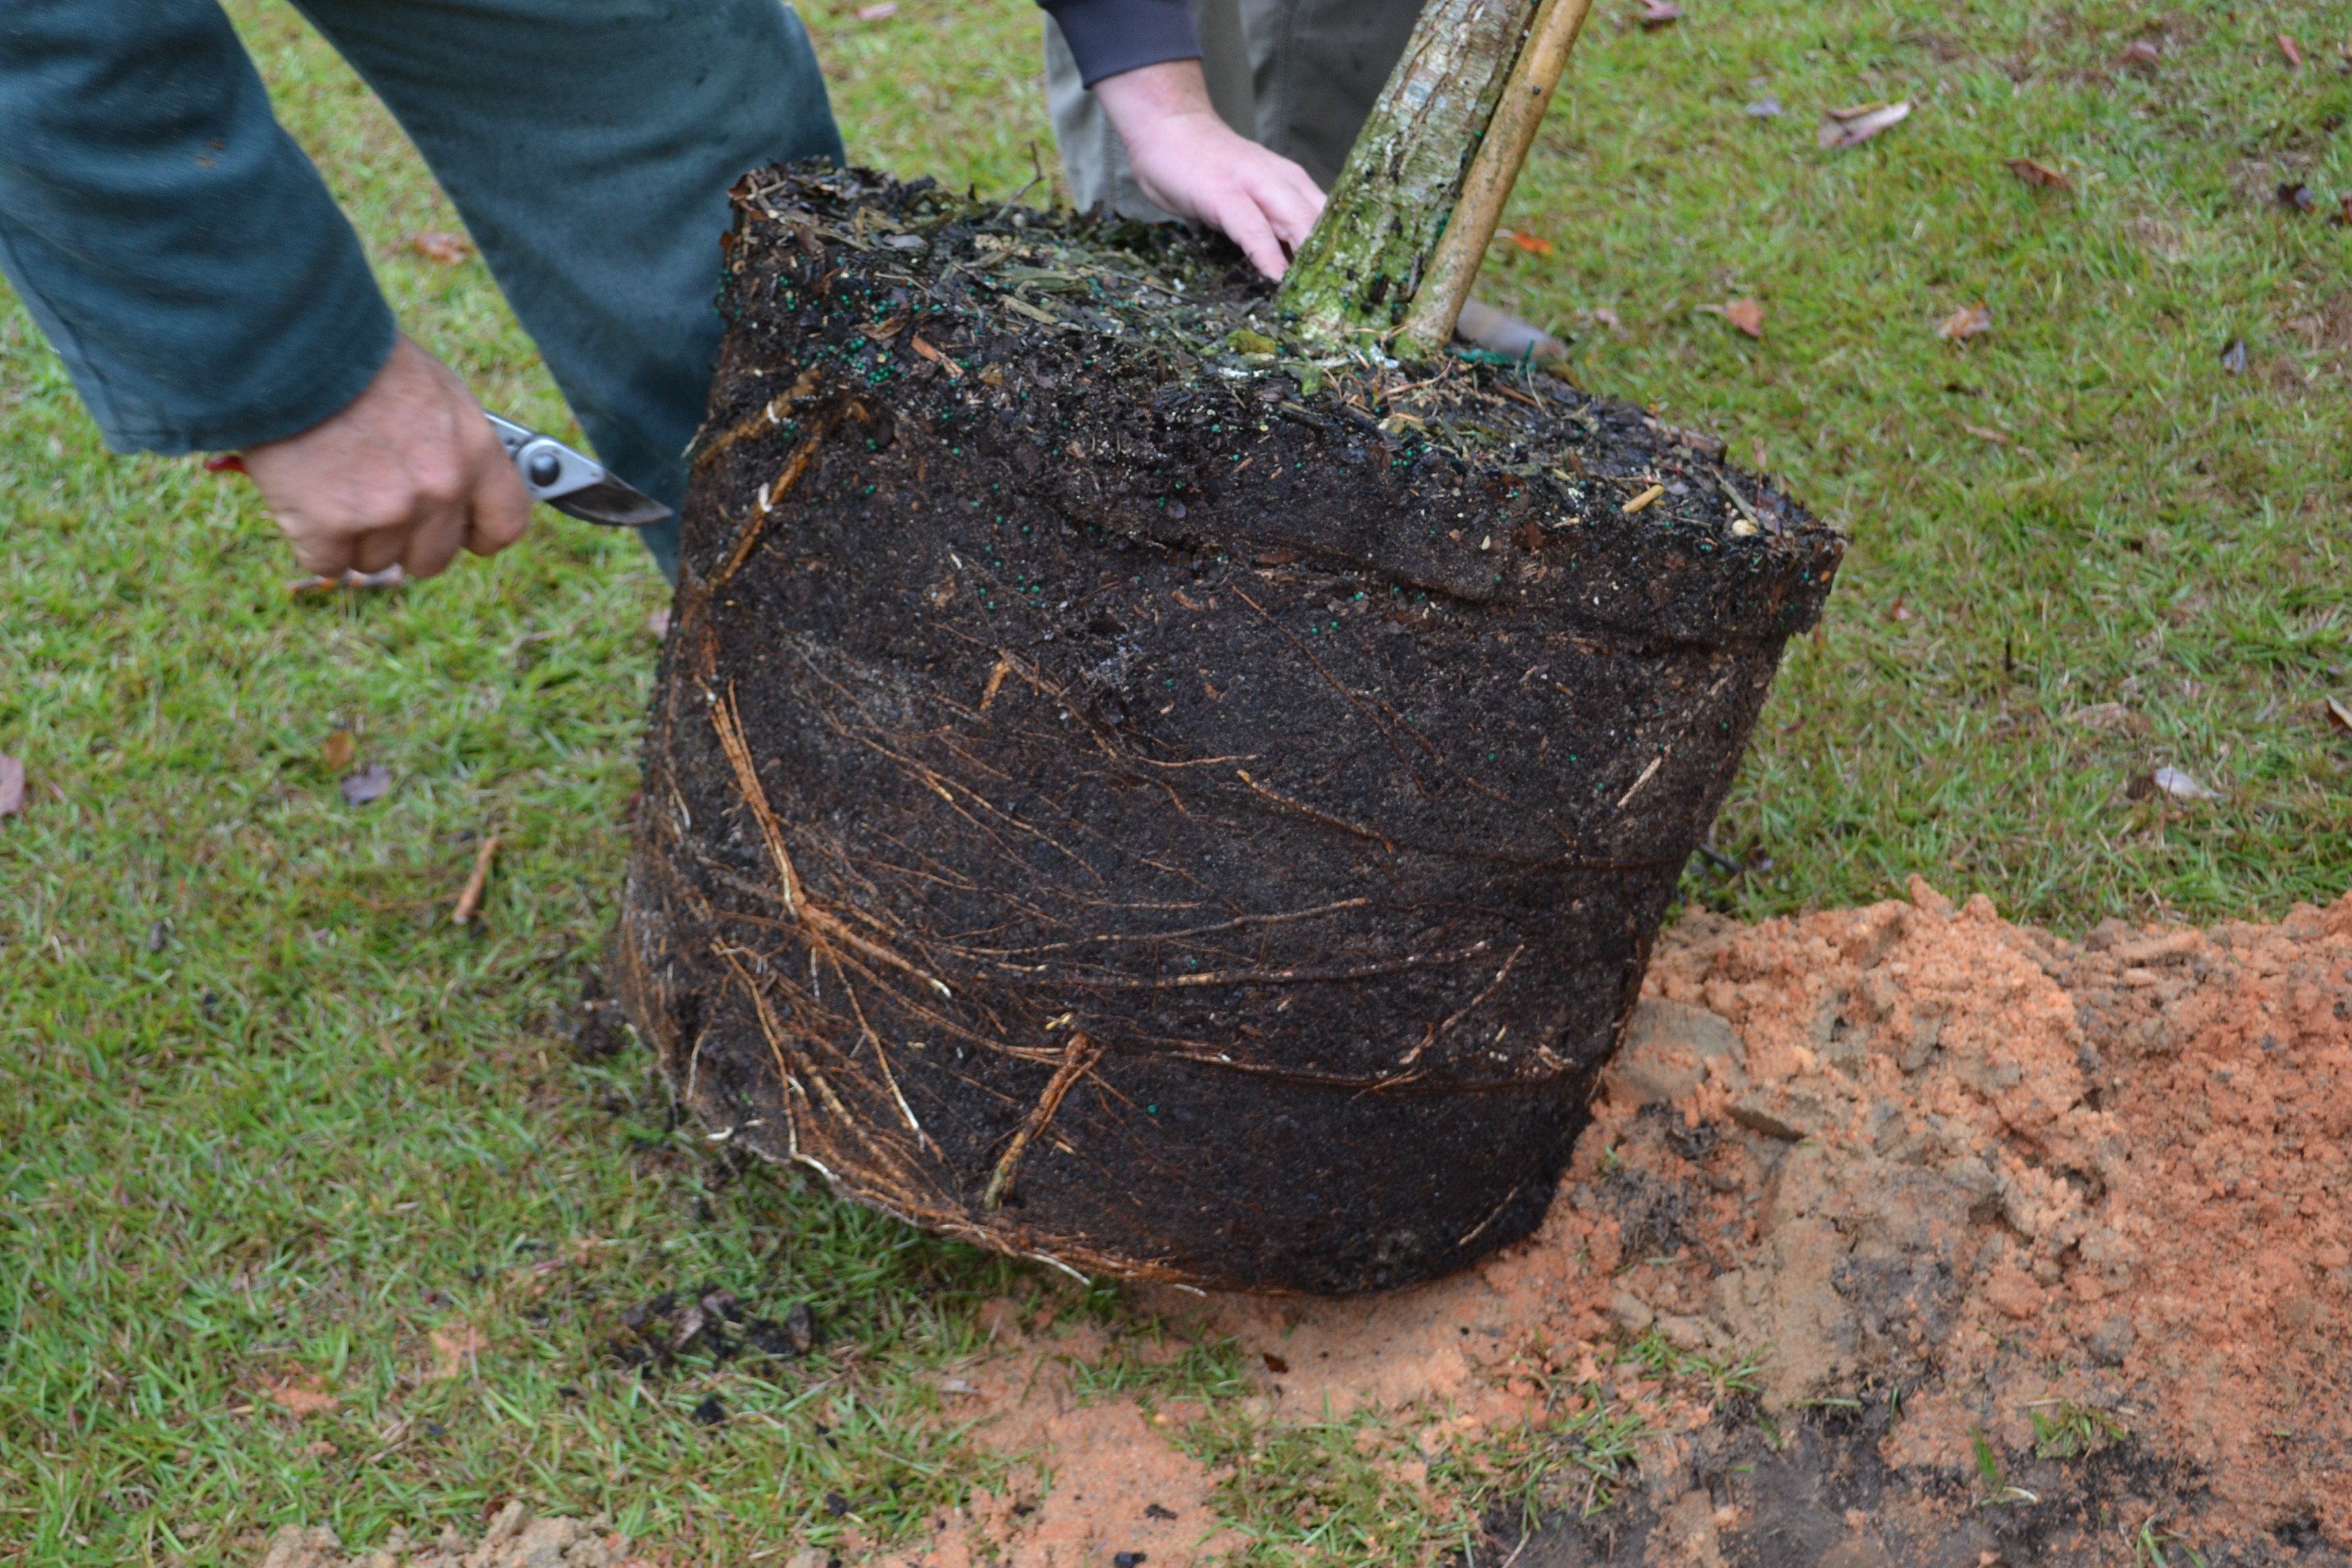
The best practice for woody ornamentals is to cut any roots that are circling the trunk or container. Homeowners may slice downward through the root ball around the entire plant. For shrubs, it is recommended to shave off “the entire outside periphery of the rootball” to eliminate circling roots. These practices allow the root system to grow outward into new soil and greatly reduce the possibility of girdling roots killing your plants years after establishment.

Circling roots are cut before installation. Photo by Beth Bolles, Escambia County Extension.
For more information on shrub establishment, visit the UF Publication Planting Shrubs in the Florida Landscape.
by Julie McConnell | Nov 22, 2016
 Missing rose buds, pulled up pansies, and damaged tree trunks are all signs that something has been visiting your garden while you are away. But what could it be? Most gardeners are familiar with leaf spots caused by fungal diseases or minor feeding damage by insects, but to see half a shrub or an entire flower bed demolished overnight indicates a different type of pest.
There are several mammals that visit home landscapes and may cause damage, especially in times of drought when natural food sources are limited. Because we provide water for our landscapes, our plants tend to have lush new growth at times when plants in natural areas have slowed growth because of a lack of water or other stressors that managed gardens do not face. So, it’s no surprise that herbivores will be attracted to our landscape for a midnight snack.
It is important to determine what is causing damage so that you can employ protective tactics if possible. Some things to look for to try to figure out who the culprit is are footprints, dropping, feeding clues (bite marks, scrapes, etc.), or other distinctive damage. For more details about how to tell the difference between damage caused by multiple pests see How To Identify the Wildlife Species Responsible for Damage in Your Yard.
Once you have determined what is causing the damage you can try some different strategies to deter future feeding. Some plants may be impossible to protect, but before you spend your money and time check out these recommendations by wildlife specialists at the University of Florida in How to Use Deterrents to Stop Damage Caused by Nuisance Wildlife in Your Yard
by Blake Thaxton | Nov 3, 2016
It was a hot summer that has continued into Fall. We hope cooler temperatures are on their way to the panhandle of Florida. Fall can be a great time to spruce up your landscape with some new shrubs.
Image Credit UF / IFAS
It may be time for your landscape to receive a mini-makeover and to get a new look. Perhaps some strategically placed shrubs will be what makes an outdoor living space pop. Proper selection and installation is key to future health of new shrubs.
Selection
There are several factors that need to be considered before installing new shrubs to the landscape. Selecting plants carefully, based on the following points, will help with long-term success of the plant:
- Climate – Be sure that the species are climate appropriate.
- Environment – Study the light level, acidity, and drainage of the planting site.
- Space – Account for the mature size of the plant before planting. This will eliminate the possible need for plant removal if space is not adequate.
- Inspect the plant – Check for mechanical injury (scars and open wounds), cold injury, condition and shape of the canopy, and examine the root system.
Installation
Now that essential considerations have been made, it is time to give the shrub the best chance for survival with proper installation techniques. Fall and winter is an ideal time for planting shrubs. The roots can develop before the tops begin to grow in spring. The following are keys to proper establishment of container shrubs.
- Root ball preparation – Remove the container from the root ball and inspect for circling roots. If there are circling roots than make three or four cuts vertically to cut the roots. Pull some of the roots away so they will take on a new growth direction (massage the roots). Also find the top most roots, as sometimes they are covered by extra potting media. Remove the extra potting media so the top most roots are exposed and become the top of the root ball.
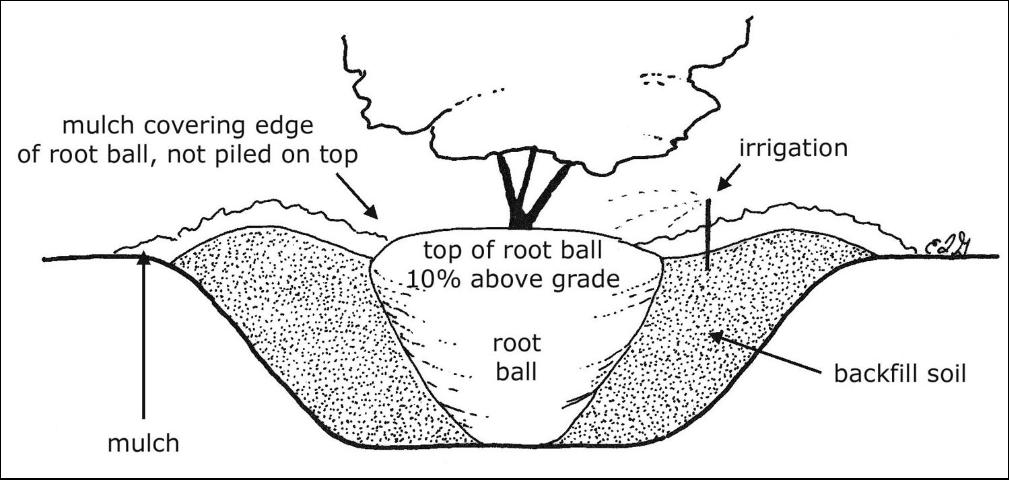
Image Credits: UF/IFAS, Edward F. Gilman
- Wider is better – Dig the hole two or three times the diameter of the root ball.
- Proper depth – Make sure to dig the hole 10% less than the height of the root ball. In poorly drained soils dig the hole 25% less than the height of the root ball. The top most roots should be slightly above the native soils.
- Backfill – Fill the hole with existing soil half way and tamp the soil to settle. Again fill the rest of the hole with the existing soil and tamp again to settle the soil. Do not place any backfill soil or mulch over the root ball as it is crucial that water and air are able to be in contact with the roots.
- Aftercare – Irrigate daily for the first two weeks, followed by every other day for the next two months, and weekly until the shrub is established (For <2 inch caliper shrubs).
If these key points are followed regarding selection and installation, the shrubs will be well on their way to becoming established in the landscape. If you would like read more in detail about installation please read the following:
Specifications for Planting Trees and Shrubs in the Southeastern U.S.
Literature:
Gilman, E.F., (2011, August) Specifications for Planting Trees and Shrubs in the Southeastern U.S.. Retrieved from: http://edis.ifas.ufl.edu/ep112
Black, R.J. and Ruppert, K.C., (1998) Your Florida Landscape, A complete guide to planting & maintenance. Gainesville, FL: University Press of Florida.

by Beth Bolles | Sep 8, 2016
By the look of the crowded nurseries during March and April, springtime seems to be the best time for planting. This is the case for our frost tender annuals and perennials but we are actually heading into our best seasons for planting trees and shrubs.
The fact that above ground portions of trees and shrubs go through a time of slowed growth or dormancy is the good reason for planting during the fall and winter. Although we don’t see it, roots are still growing slowly and the upcoming months give new plants the time for roots to spread into surrounding soil before hot temperatures return. Water stress is also not as significant during the cooler months. Plants still need to be supplied regular water but needs are not as high, especially if rainfall occurs.
A tree installed in the cooler months has more time to establish before hot weather returns.
Start gathering your ideas for new or replacement trees and shrubs that will match your landscape and visit a local nursery this Fall.
If you need an update on tree and shrubs planting and care techniques read more in the UF IFAS publication.

by Beth Bolles | Aug 12, 2016
Homeowners and horticulture professionals spend time to develop an attractive ornamental bed only to have weeds take over months or a few years later. One common method in the attempt to prevent weeds is to apply a landscape fabric around plants in beds and place a layer of mulch on top to dress it up. The thought is that this barrier on top of the soil will prevent a large number of weeds from emerging. The fabric physically prevents the growth of weeds form the soil below and blocks sunlight from reaching weed seeds. Available fabrics are labeled as porous to allow air and water to move through them and reach ornamental plant roots.
On paper, landscape fabric sounds like a good idea and it may work for a little while. Over time, soil particles and decomposing mulch fill up the porous spaces in the fabric which prevent air and water from reaching plant roots. Even with irrigation or routine rainfall, plant roots often do not receive the needed water and air for healthy growth. Plants may respond by trying to send roots through fabric seams which breaks down the intended weed barrier. Other plants slowly decline or may die quickly due to water stress or lack of sufficient air movement into the soil.
Fabric may initially prevent some weeds but it can also prevent air and water movement. Photo by Beth Bolles, UF Extension Escambia County
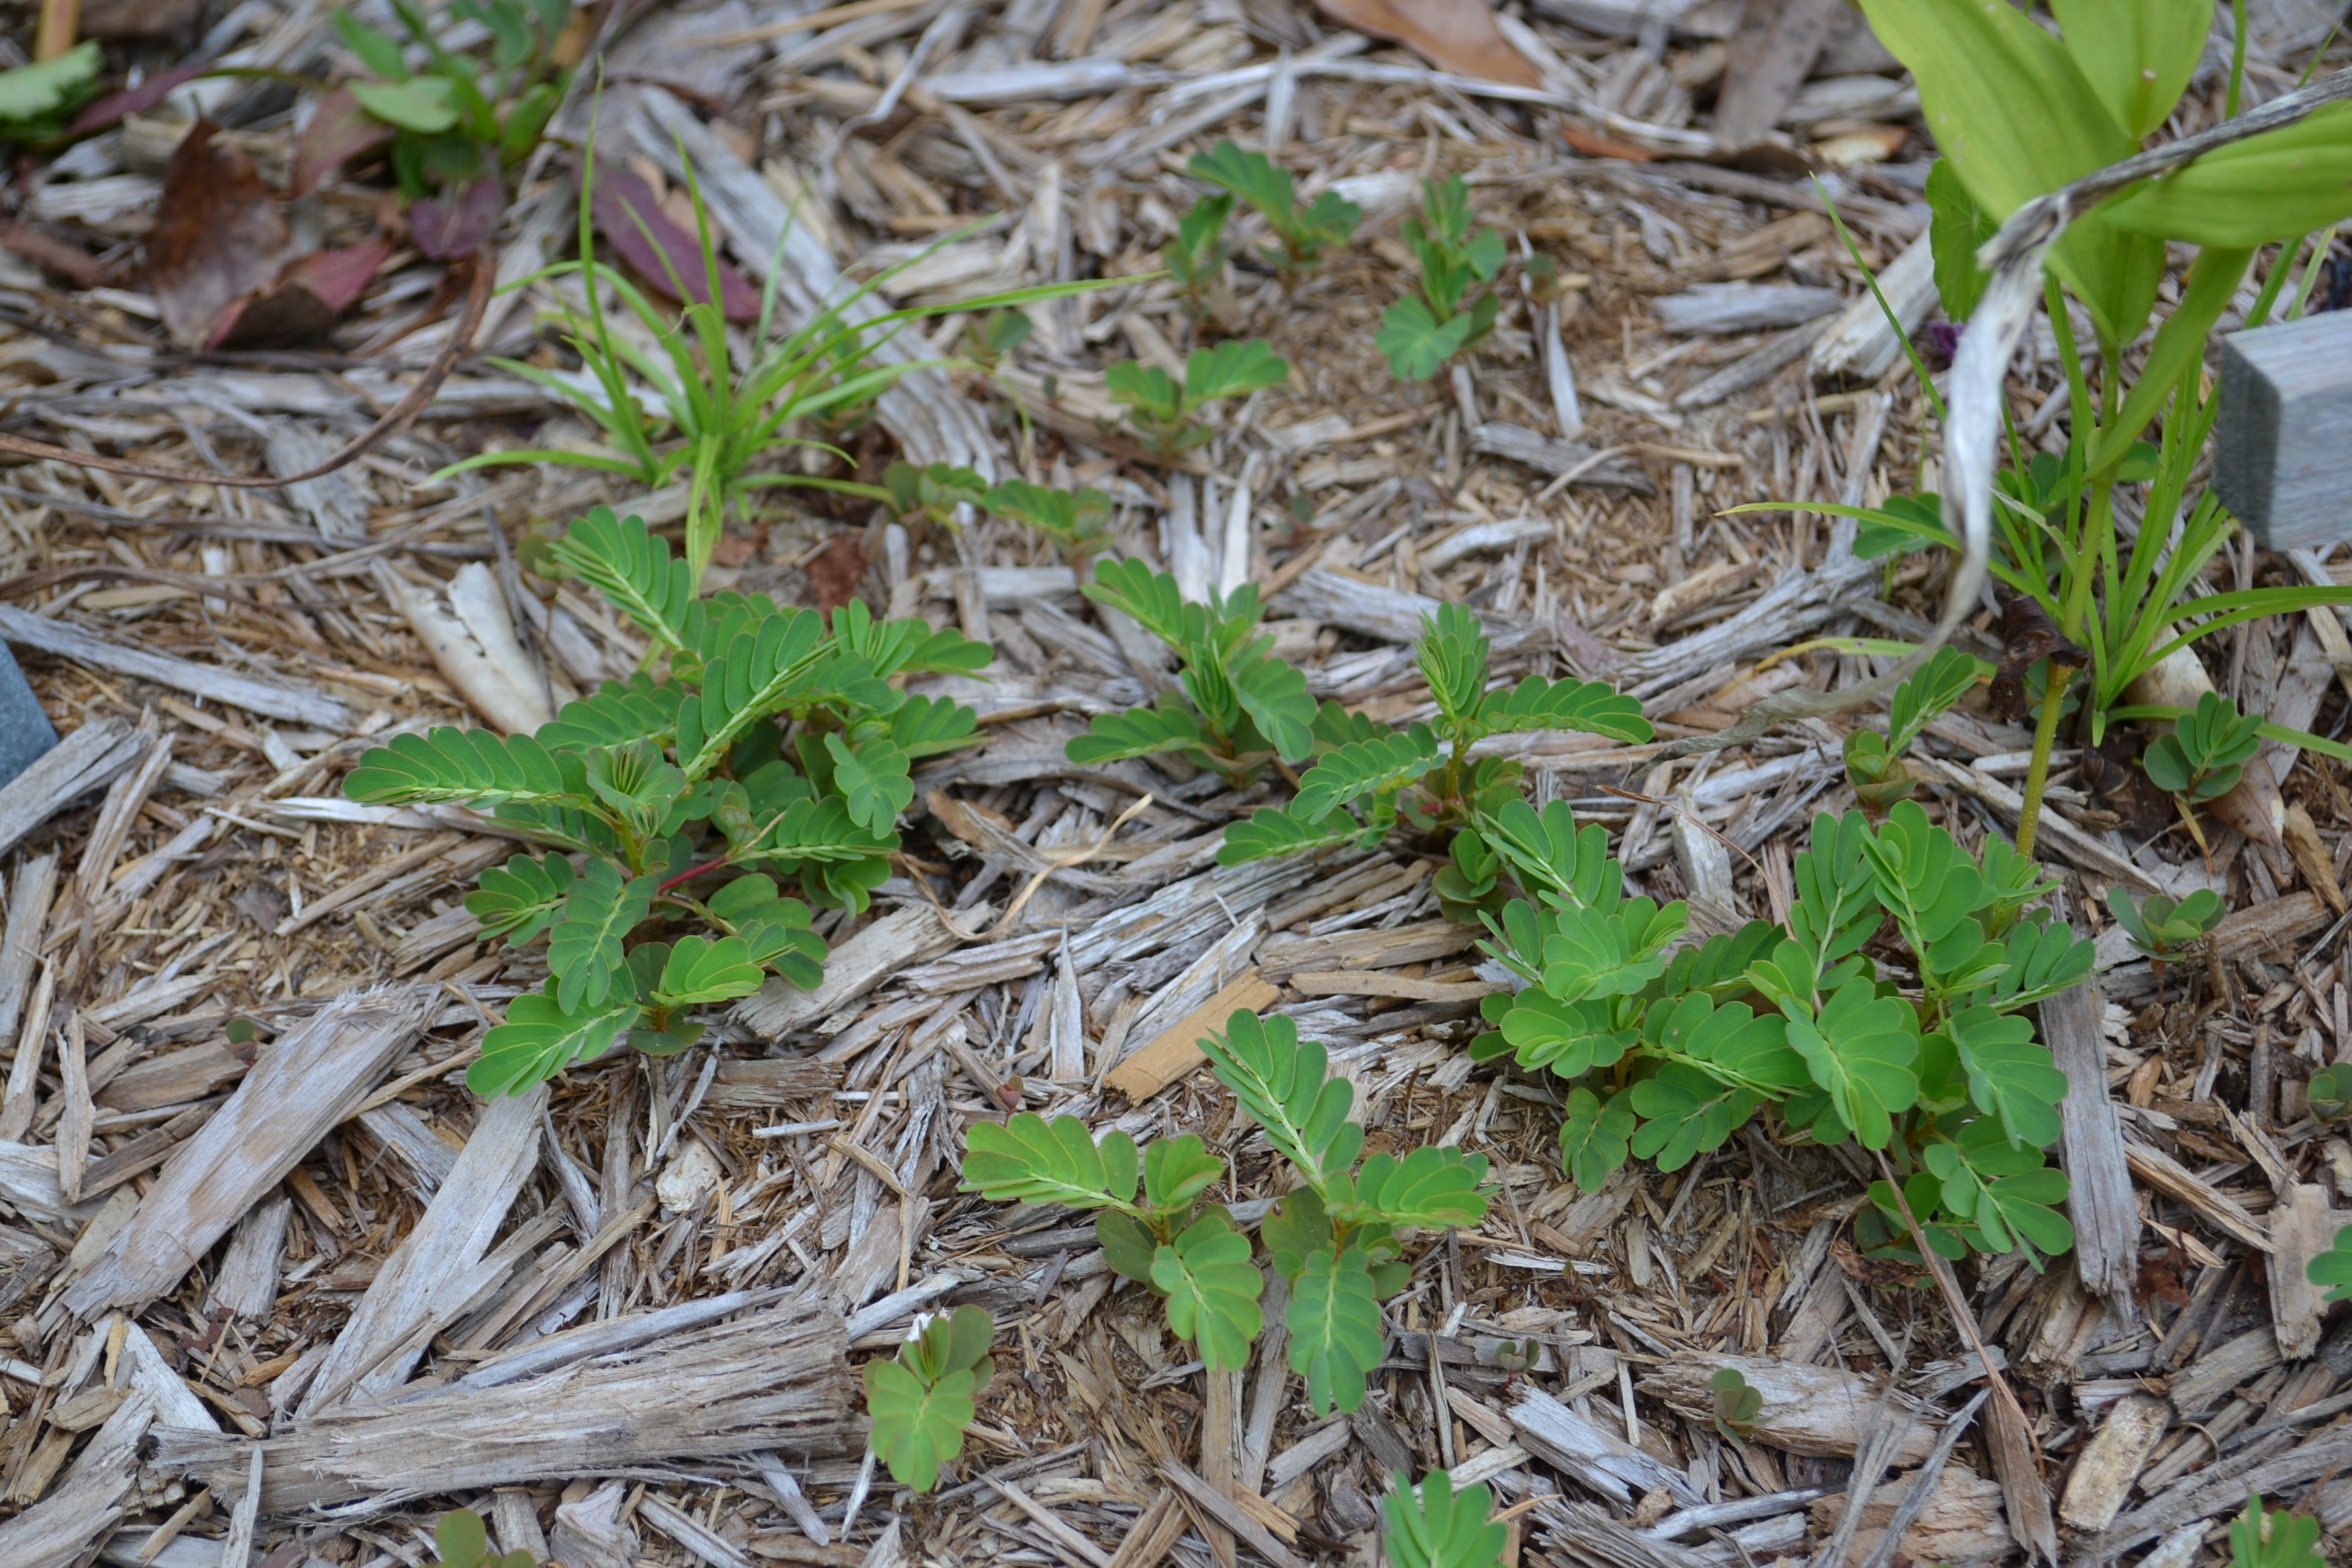
Weed seeds also find their way into the mulch that is on top of the fabric from nearby lawns and landscapes. The next thing you know, you have an entire weed crop growing in the mulch on top of your landscape fabric. Perennial weeds such as torpedograss and purple nutsedge eventually grow through fabrics.
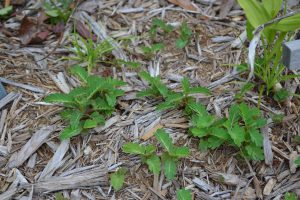
Seeds from annuals like Chamberbitter easily get into mulch from surrounding areas and grow on top of fabrics. Photo by Beth Bolles, UF Extension Escambia County
The best place to consider fabric if you want to install it in the landscape is under mulched paths or other areas without ornamental plantings where a synthetic groundcover is needed. In order to have a healthy root environment for your ornamental bed plants, it is best to keep landscape fabric out of these areas.
by Daniel J. Leonard | Jul 26, 2016
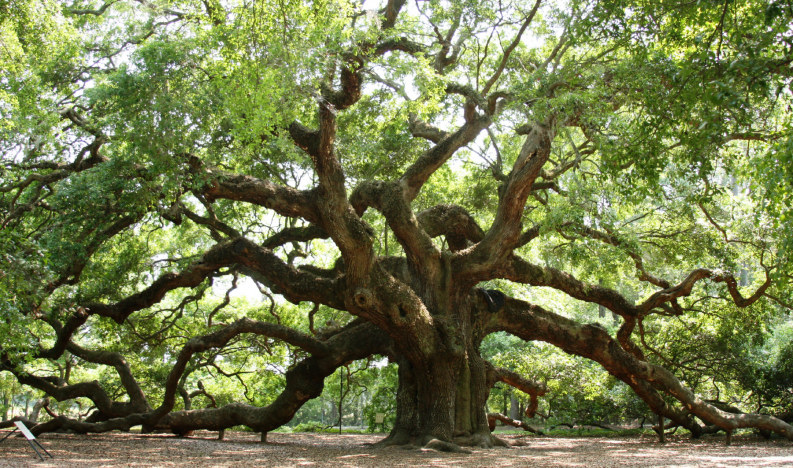
The Live Oak (Quercus virginiana) is one of the most iconic figures of the Deep South. Mentioning the words Live Oak invokes all sorts of romantic nostalgia of yesteryear and the reputation is not unearned. In fact, many Live Oaks still stand that were growing on American soil when the first English settlers set foot on Plymouth Rock. They are long-lived, picturesque trees that also happen to be nearly bulletproof in the landscape. Given these factors, it is not surprising that Live Oak is far and away the most common tree included in both residential and commercial landscapes in the Coastal South. However, even the venerable Live Oak is not without its problems; this article will discuss a few of the more common issues seen with this grand species.

The Angel Oak near Charleston, SC
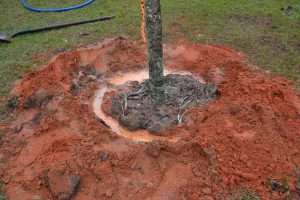
Few conditions afflict live oak but when they do, improper planting or cultural practices are usually at play. Observing the following best management practices will go a long way toward ensuring the long-term health of a planted Live Oak:
- Remember to always plant trees a little higher than the surrounding soil to prevent water standing around the trunk or soil piling up around it, both of these issues frequently cause rot to occur at the base of the tree.
- If planting a containerized tree, remember to score the rootball to prevent circling roots that will eventually girdle the tree. If planting a B&B (Balled and Burlap) specimen, remember to remove the strapping material from the top of the wire basket, failure to do this can also result in the tree being girdled.
Live Oak has few insect pests but there are some that prove bothersome to homeowners. The following are two of the most common pests of Live Oaks and how to manage them:
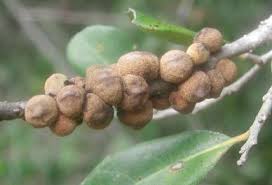
Typical galling on Live Oak
Galls are cancerous looking growths that appear on the leaves and twigs of Live Oak from time to time and are caused by gall wasps that visit the tree and lay their eggs inside the leaf or stem of the plant. The larvae hatch and emerge from the galls the following spring to continue the cycle. These galls are rarely more than aesthetically displeasing, however it is good practice to remove and destroy gall infected stems/leaves from younger trees as gall formation may cause some branch dieback or defoliation. Chemical control is rarely needed or practical (due to the very specific time the wasps are outside the tree and active) in a home landscape situation.
- Black Twig Borers can also be problematic. These little insects seldom kill a tree but their damage (reduction of growth and aesthetic harm) can be substantial. Infestations begin in the spring in Northwest Florida, with the female twig borer drilling a pen-head sized hole in a large twig or small branch and then laying her eggs in the ensuing cavity. She then transmits an ambrosia fungus that grows in the egg-cavity, providing food for the borer, other borer adults, and her offspring that take up residence and over-winter in the twig. The activity of the insects in the twig has an effect similar to girdling; the infected twig will rapidly brown and die, making removal and destruction of the infected branches a key component
In conclusion, though there are a few problems that can potentially arise with Live Oak, its premier status and continued widespread use in the landscape is warranted and encouraged. It should be remembered that, relative to most other candidates for shade trees in the landscape, Live Oak is extremely durable, long-lived, and one of most pest and disease free trees available. Happy growing!