by Mary Salinas | Apr 28, 2015
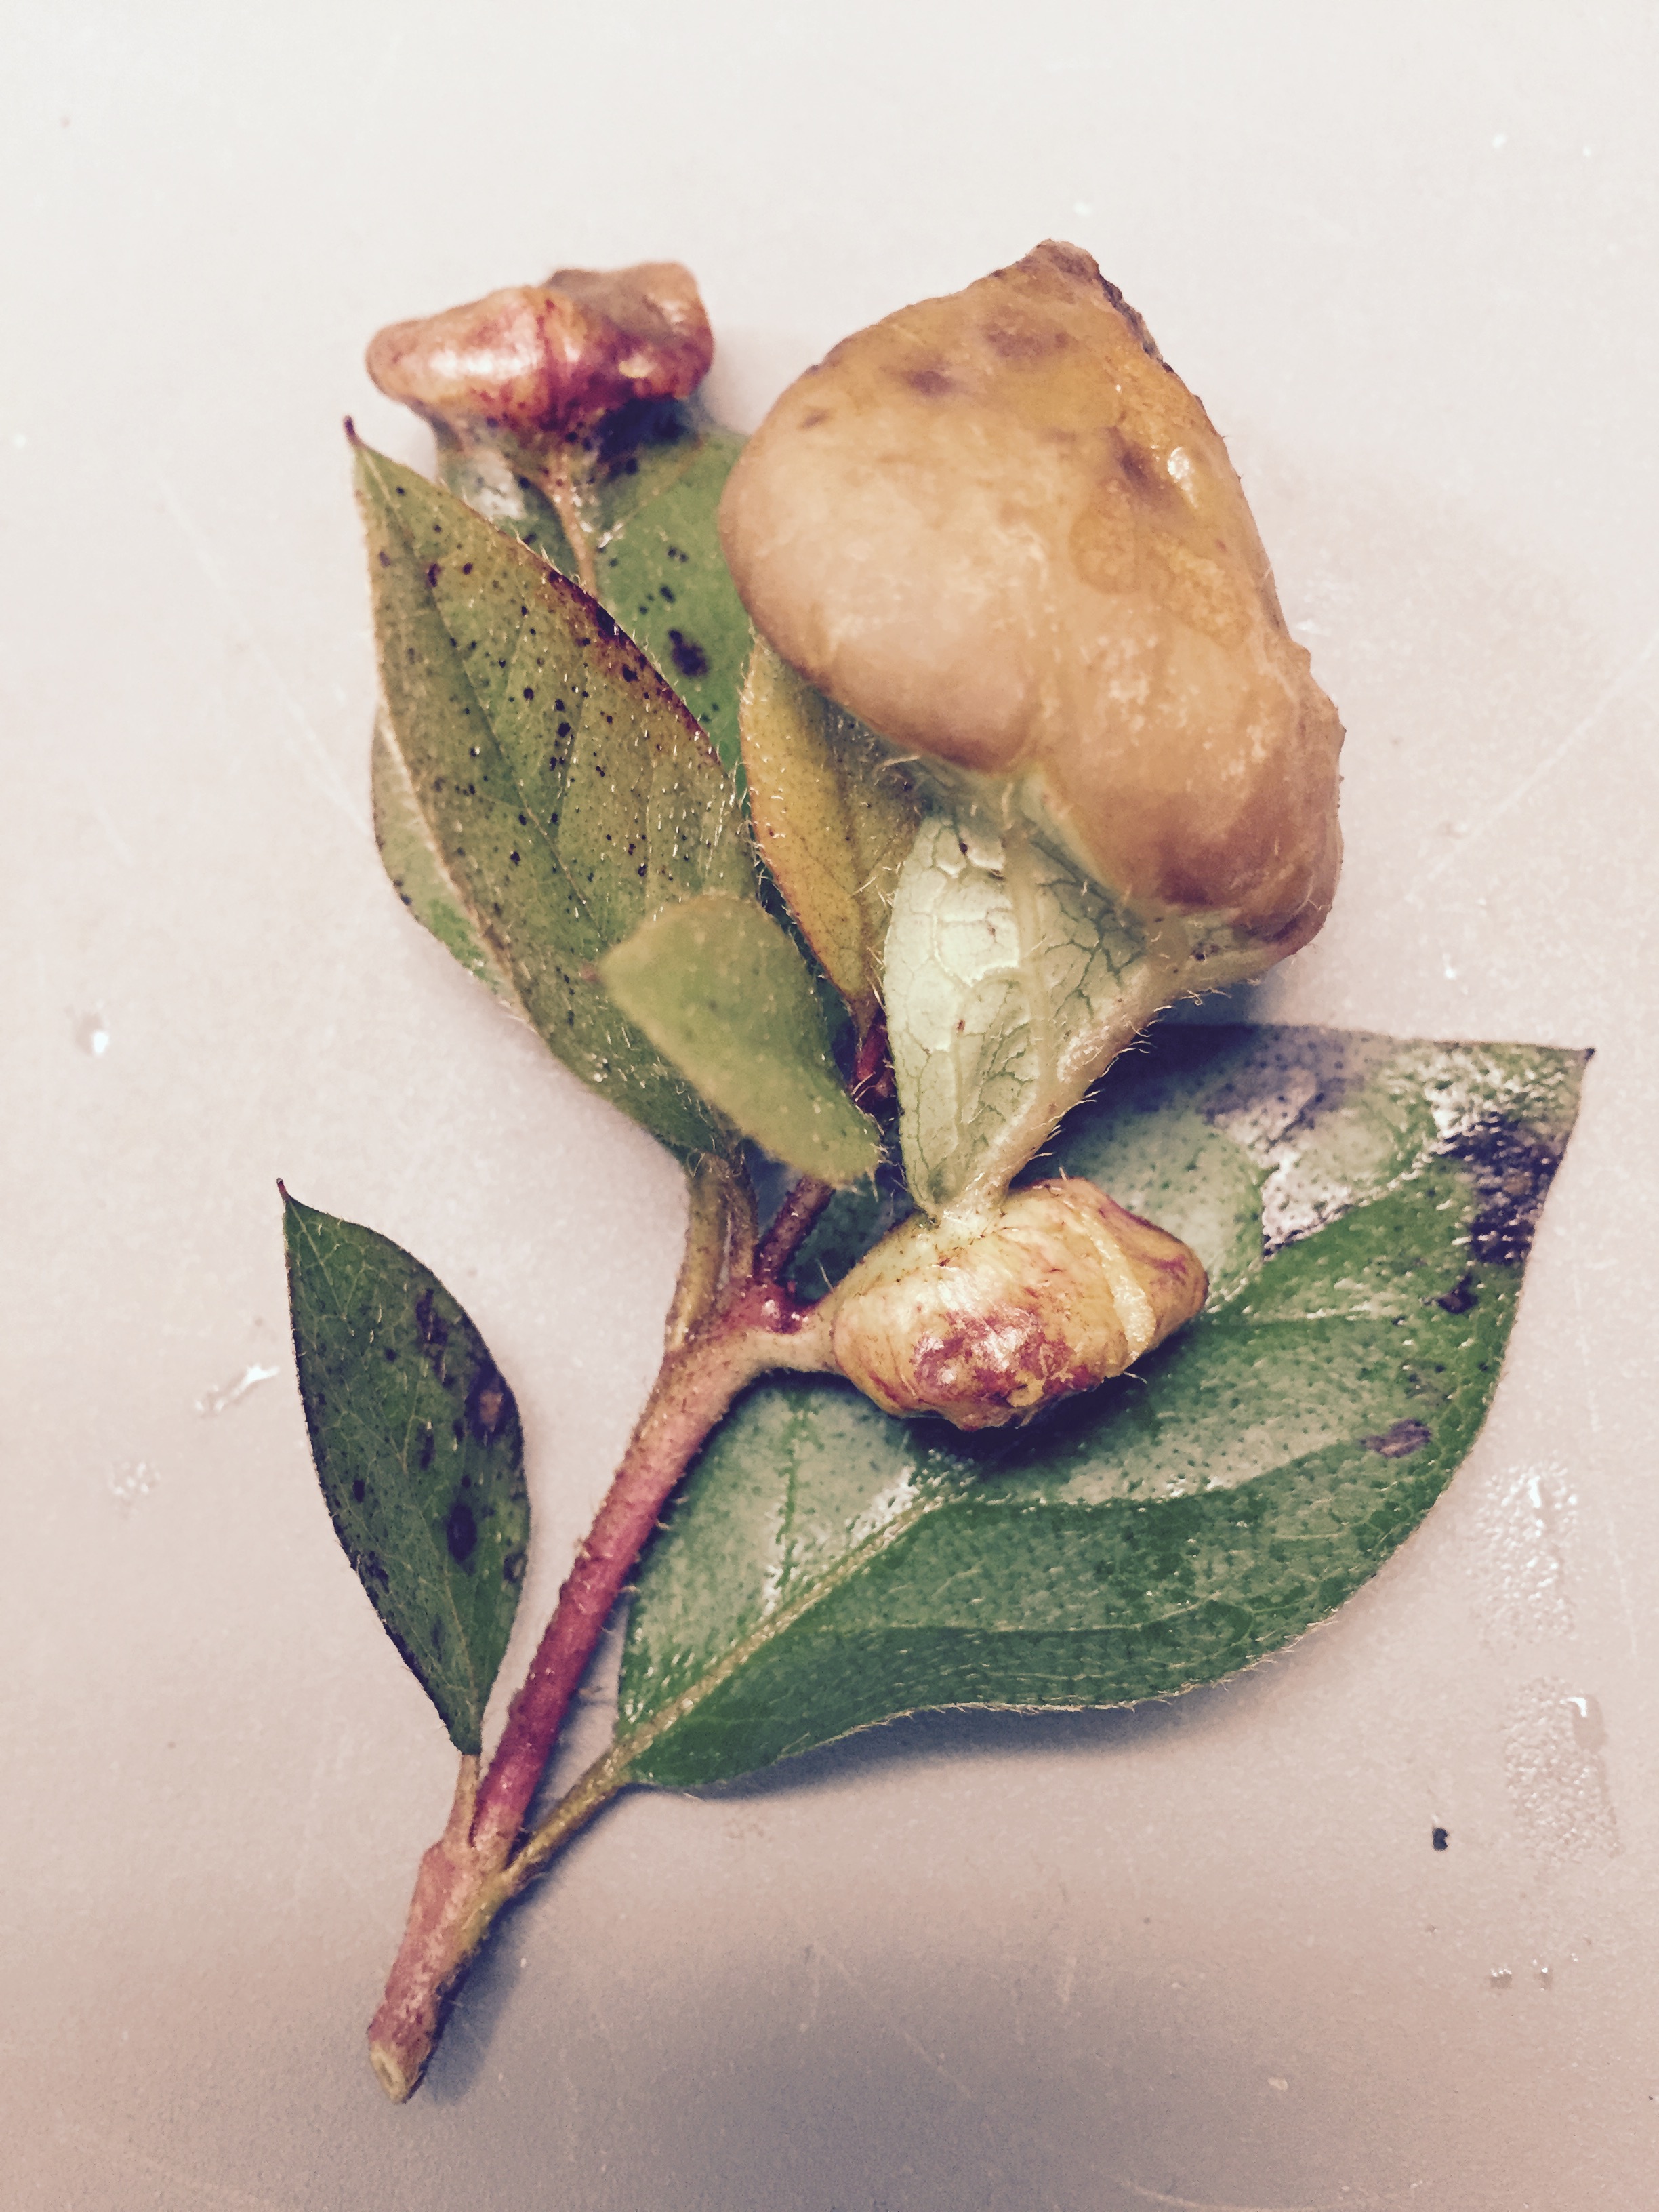
Fleshy distortions are appearing on some azaleas this time of year. What is responsible for this? A fungus, Exobasidium vaccinia, likes our cool, wet spring weather and infects azalea leaves and flower petals. This disease likes a cool, wet, shady and protected environment.

Azalea gall. Photo credit: Mary Derrick, UF/IFAS Extension.
The infection causes the plant to form large, fleshy, distorted tissues known as galls. The galls produce a white powdery coating that is capable of producing more spores that will continue to cause new infections if left on the bush. The gall will eventually turn dry and brown and fall to the ground. Sometimes there are only a few leaves infected or there may be quite a few on a bush.
Not to worry – this is not likely to cause significant harm to your azalea. The best plan of action is to remove the galls as soon as possible and dispose of them in the trash or burn them to prevent reinfection of your plants. Avoid any irrigation that sprays water onto the leaf surfaces as the moisture creates a favorable environment for disease. Once you see this gall forming, there is no chemical control that is effective.
For more information on caring for your azalea:
Azaleas at a Glance
by Julie McConnell | Apr 13, 2015

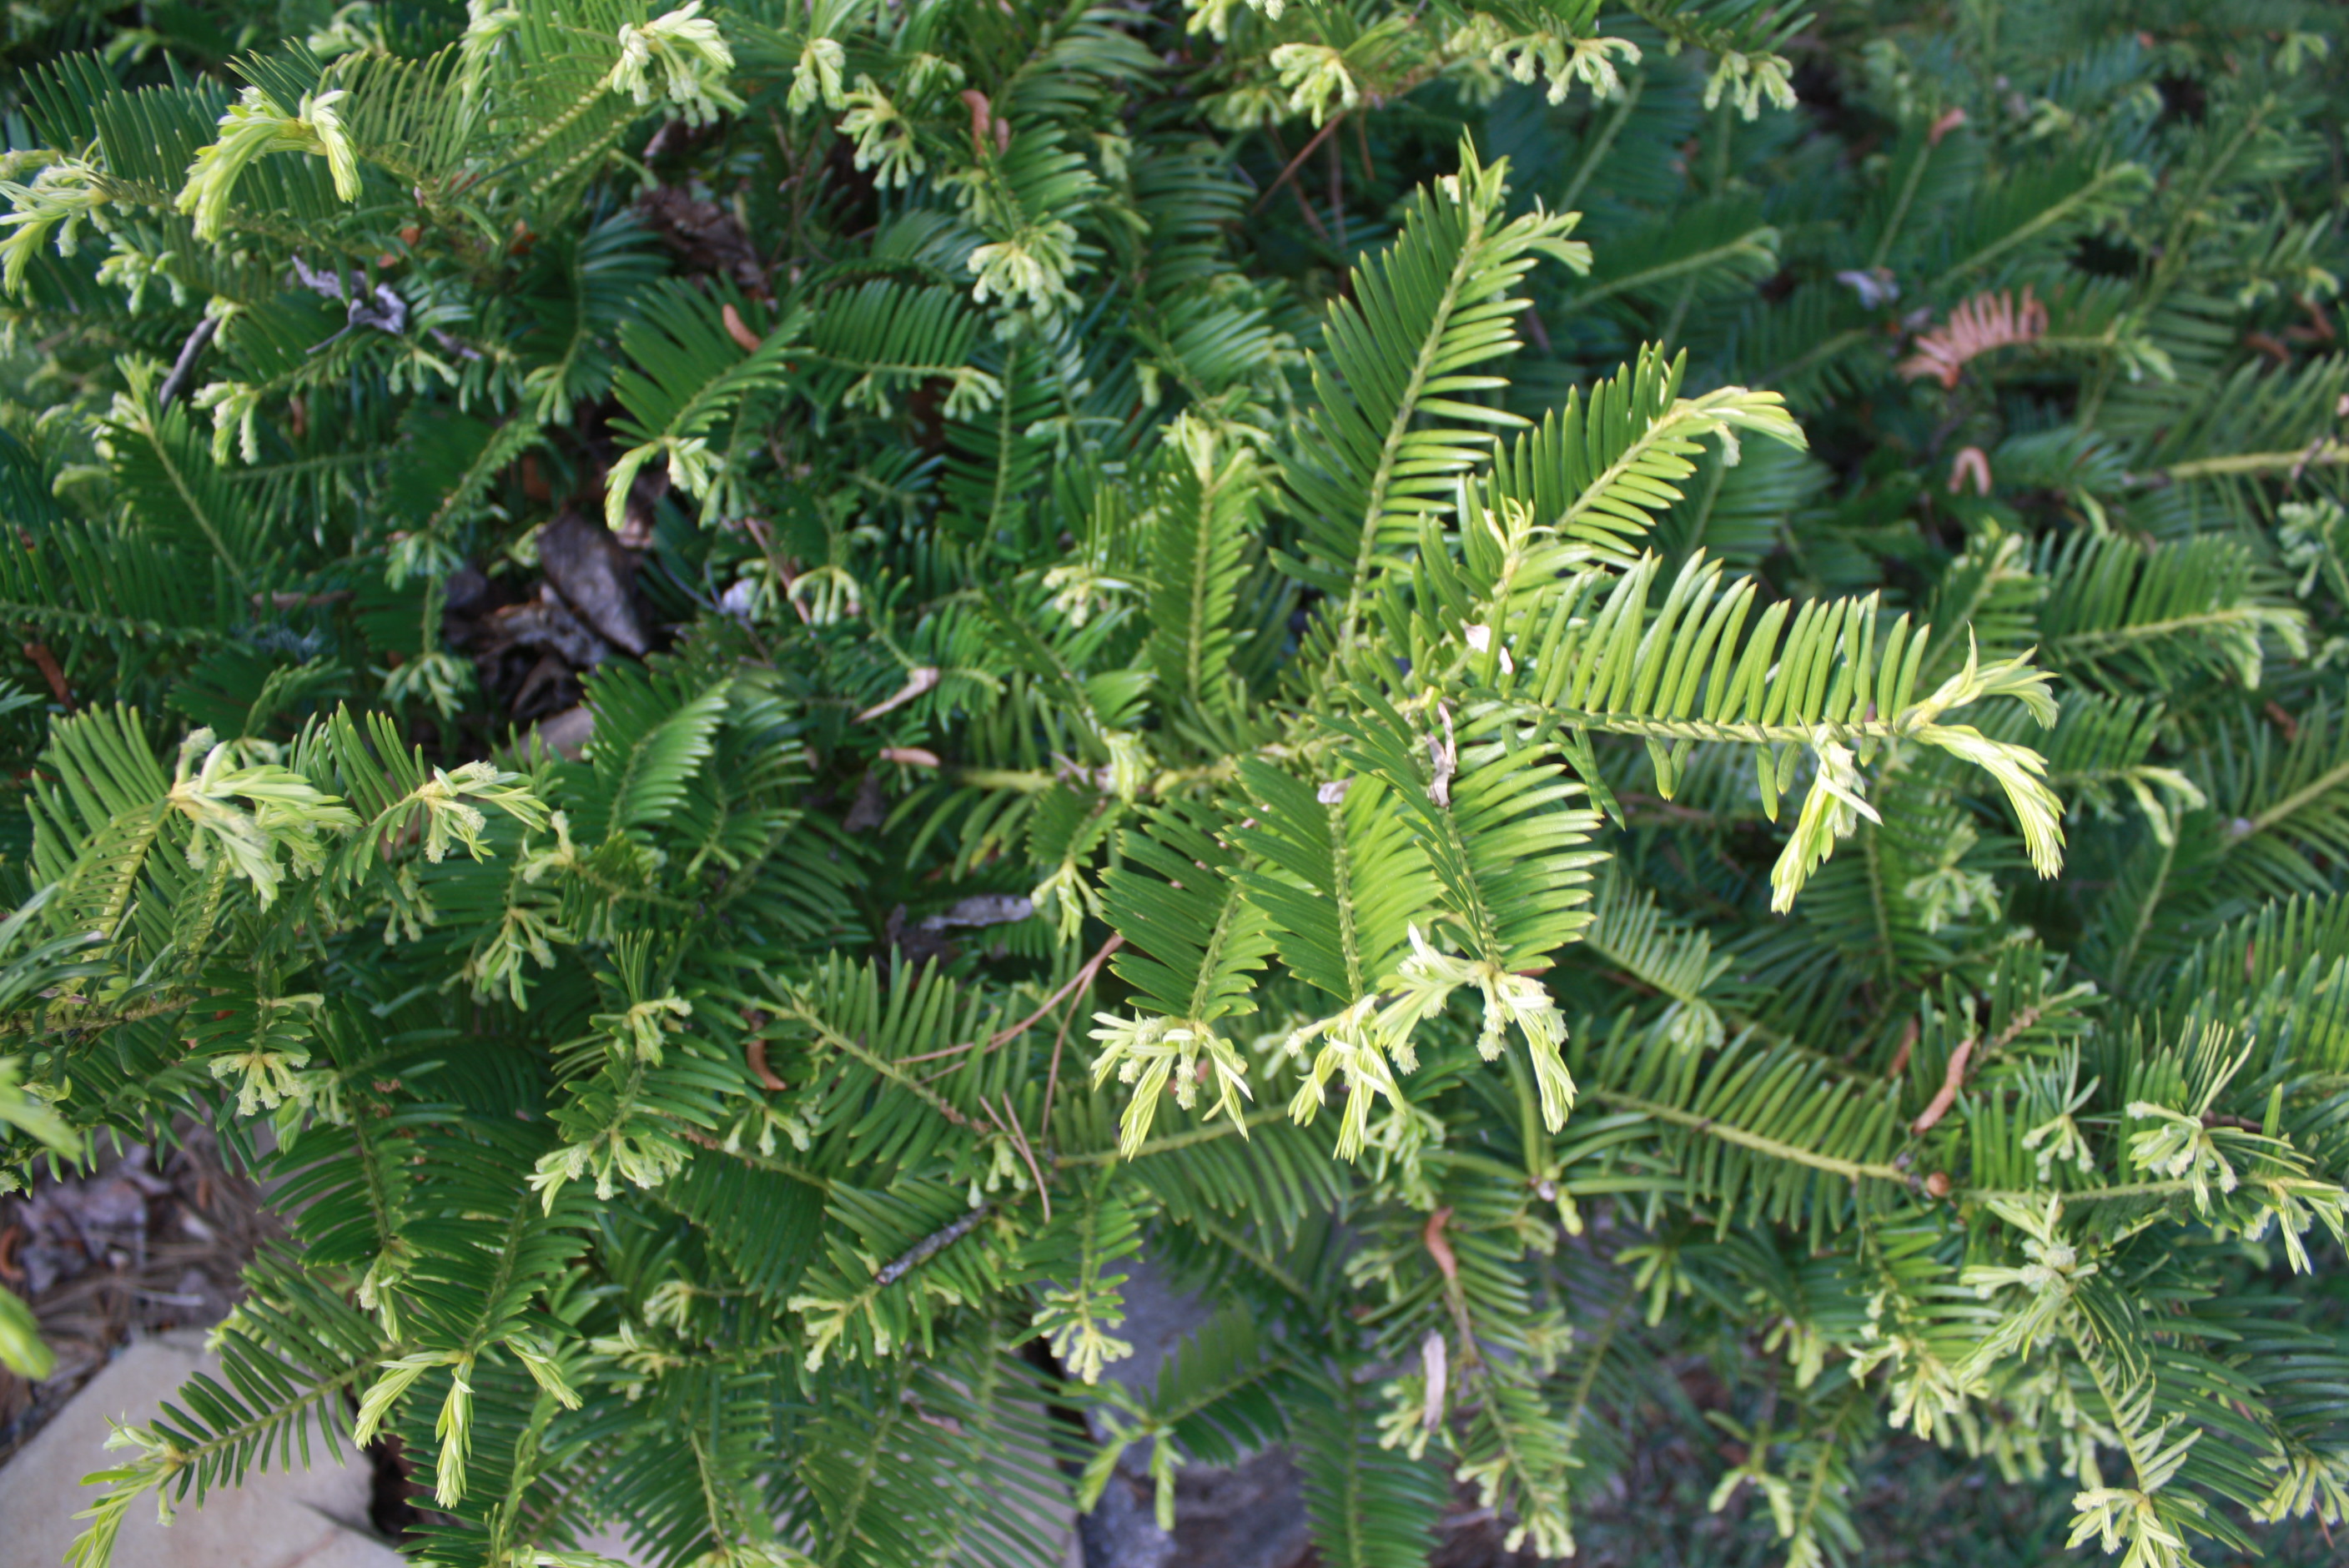
New foliage of Japanese Plum Yew Photo credit: Julie McConnell, UF/IFAS
Trying to grow turfgrass in shaded areas is a losing battle but that doesn’t mean you have to settle for mulch in those dark areas of the landscape. There are many plants that will tolerate shady conditions found under the canopy of large trees, and some offer year round interest!
One of the most important aspects of site assessment is sun exposure. Plants need light, but do not all need the same amount or intensity.
If plants requiring full sun are planted in the shade, they tend to get leggy and do not flower well. Although they may live, they will not perform at their peak.
Shade loving plants grown in the sun may be stunted, show leaf scorch, and will struggle. Most shade plants can tolerate some filtered light or morning sun, but need to be protected from direct mid-day to afternoon sun.
So, what evergreen plants can add some color and texture to your shaded spots?
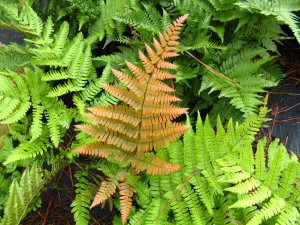
Golden tones of new foliage is what gives Autumn Fern its common name. Photo credit: Julie McConnell, UF/IFAS
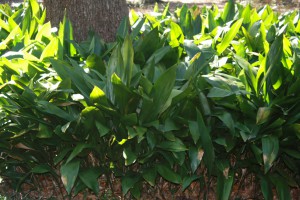
Cast Iron Plants under a live oak tree. Photo credit: Julie McConnell, UF/IFAS
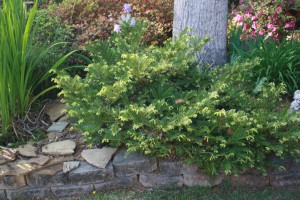
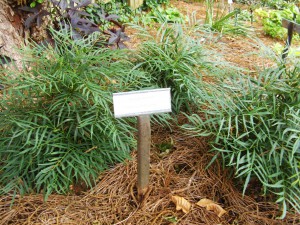
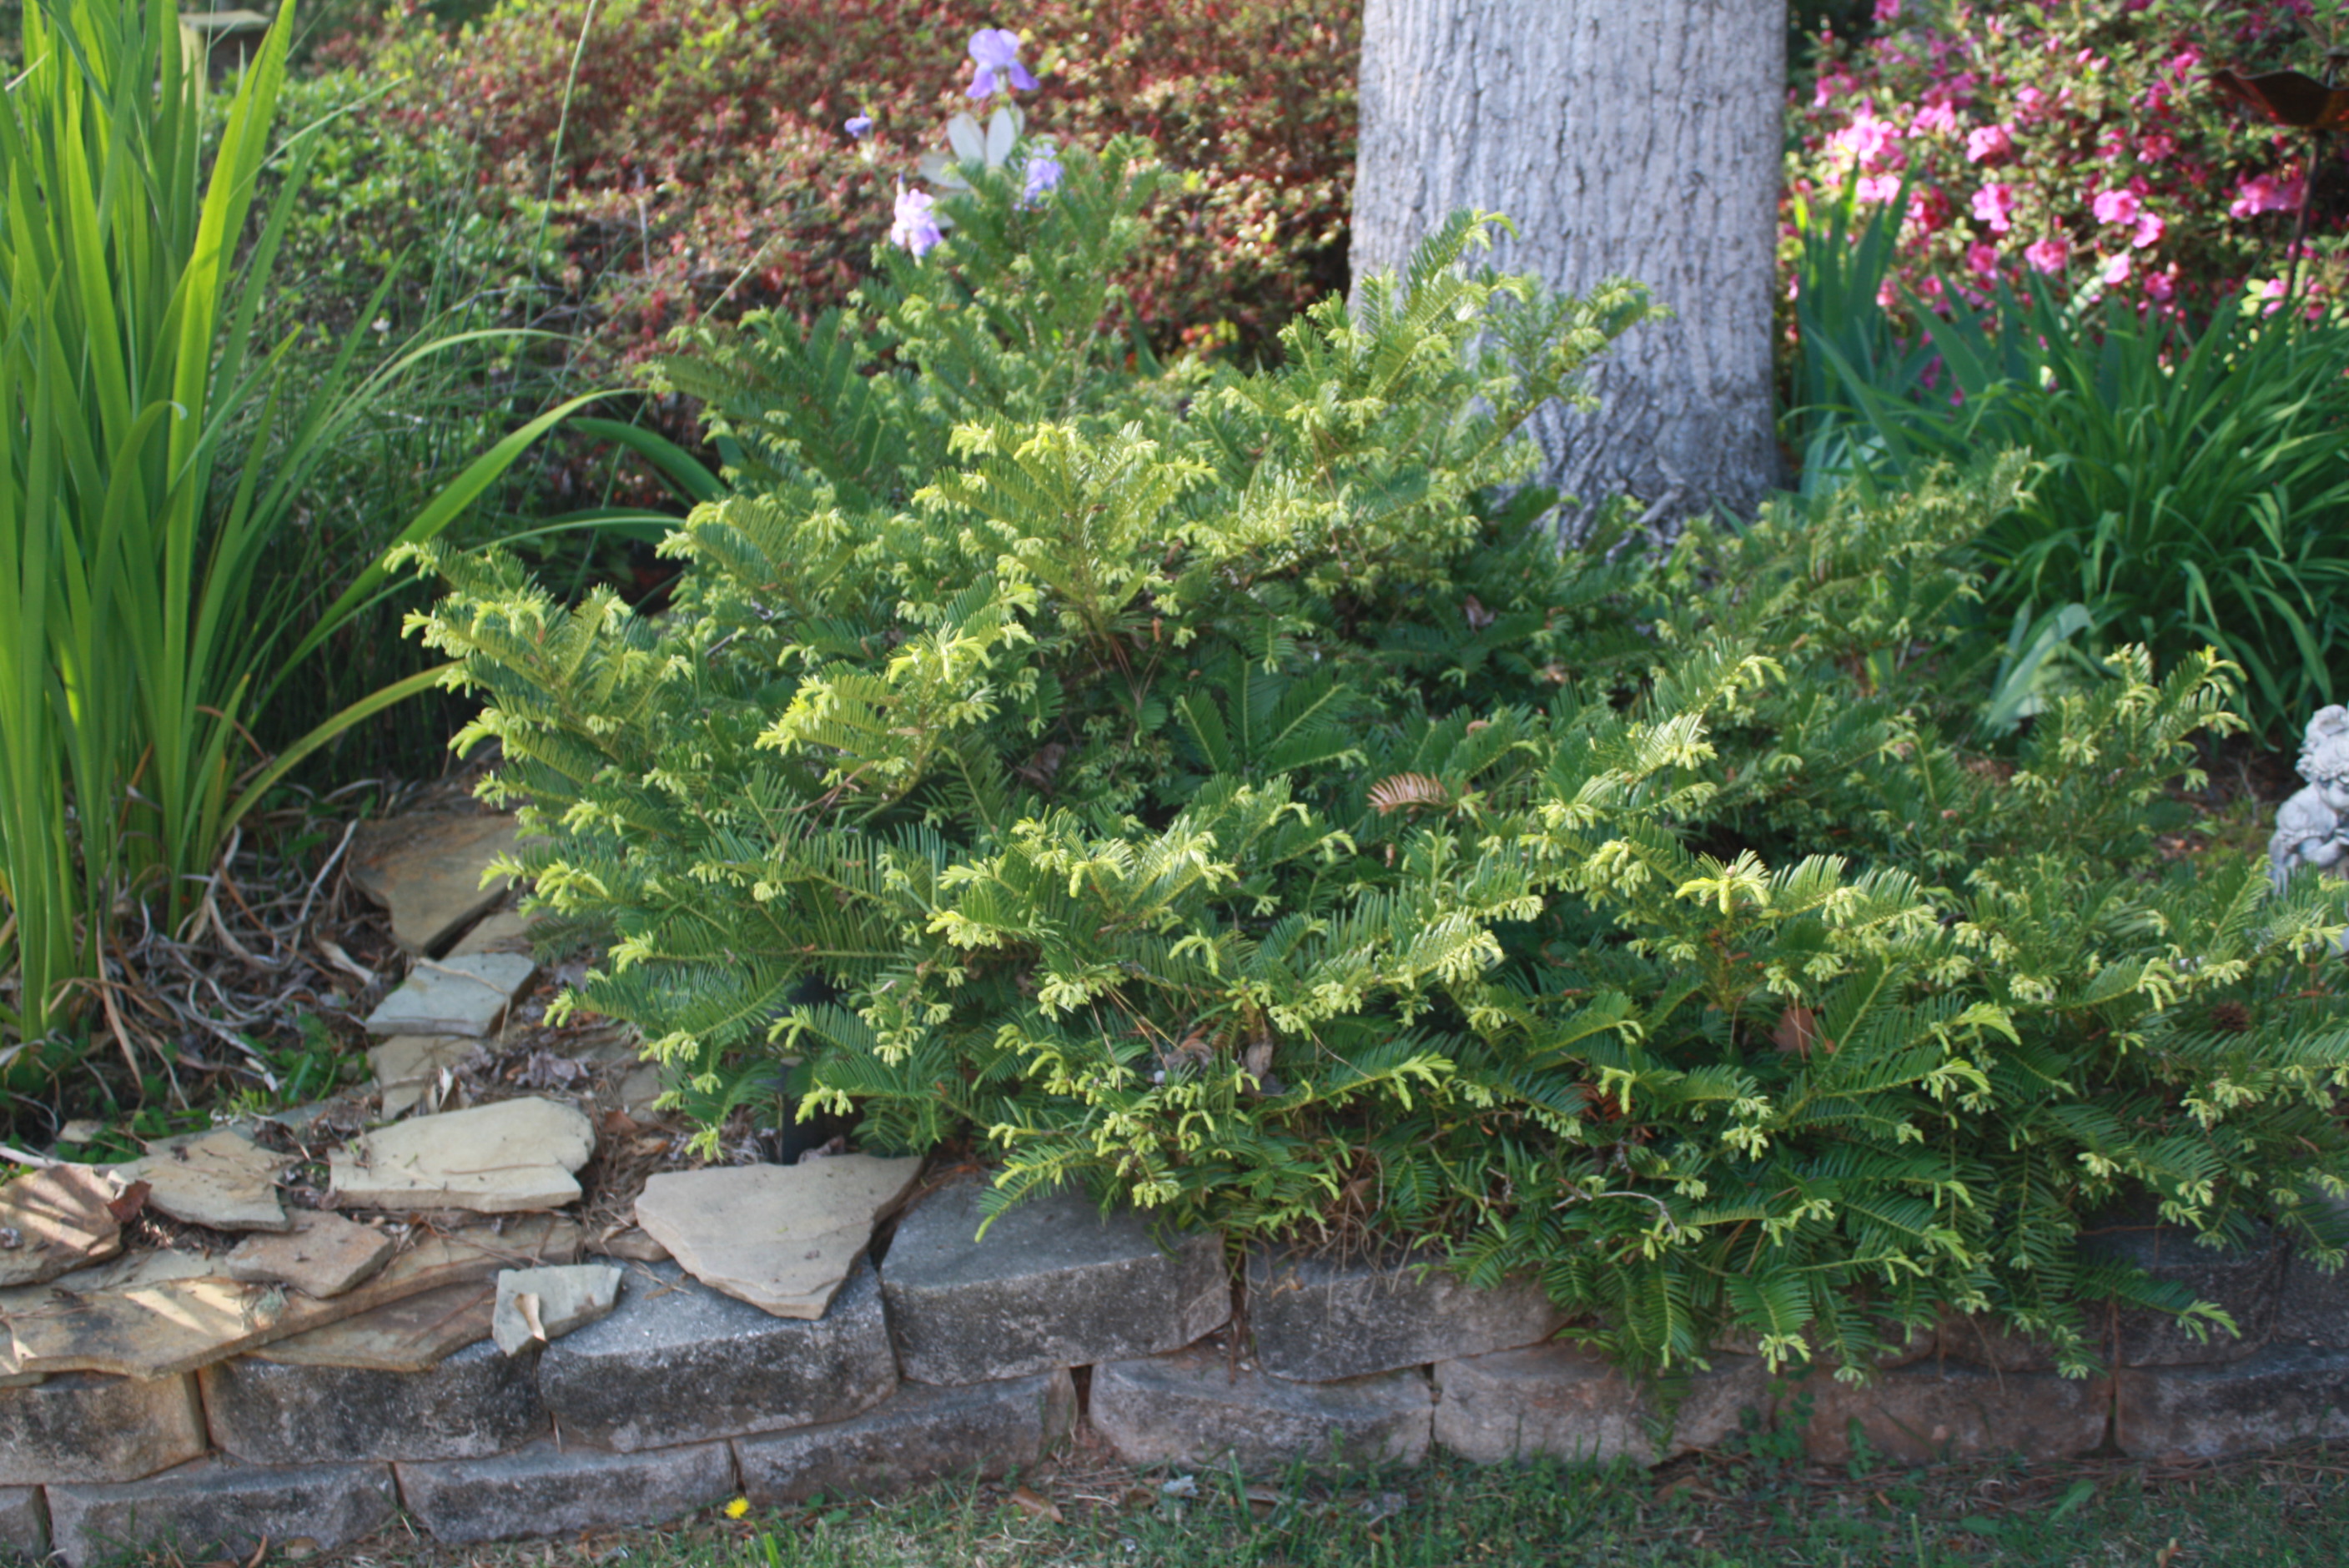
Japanese Plum Yew. Photo credit: Julie McConnell, UF/IFAS
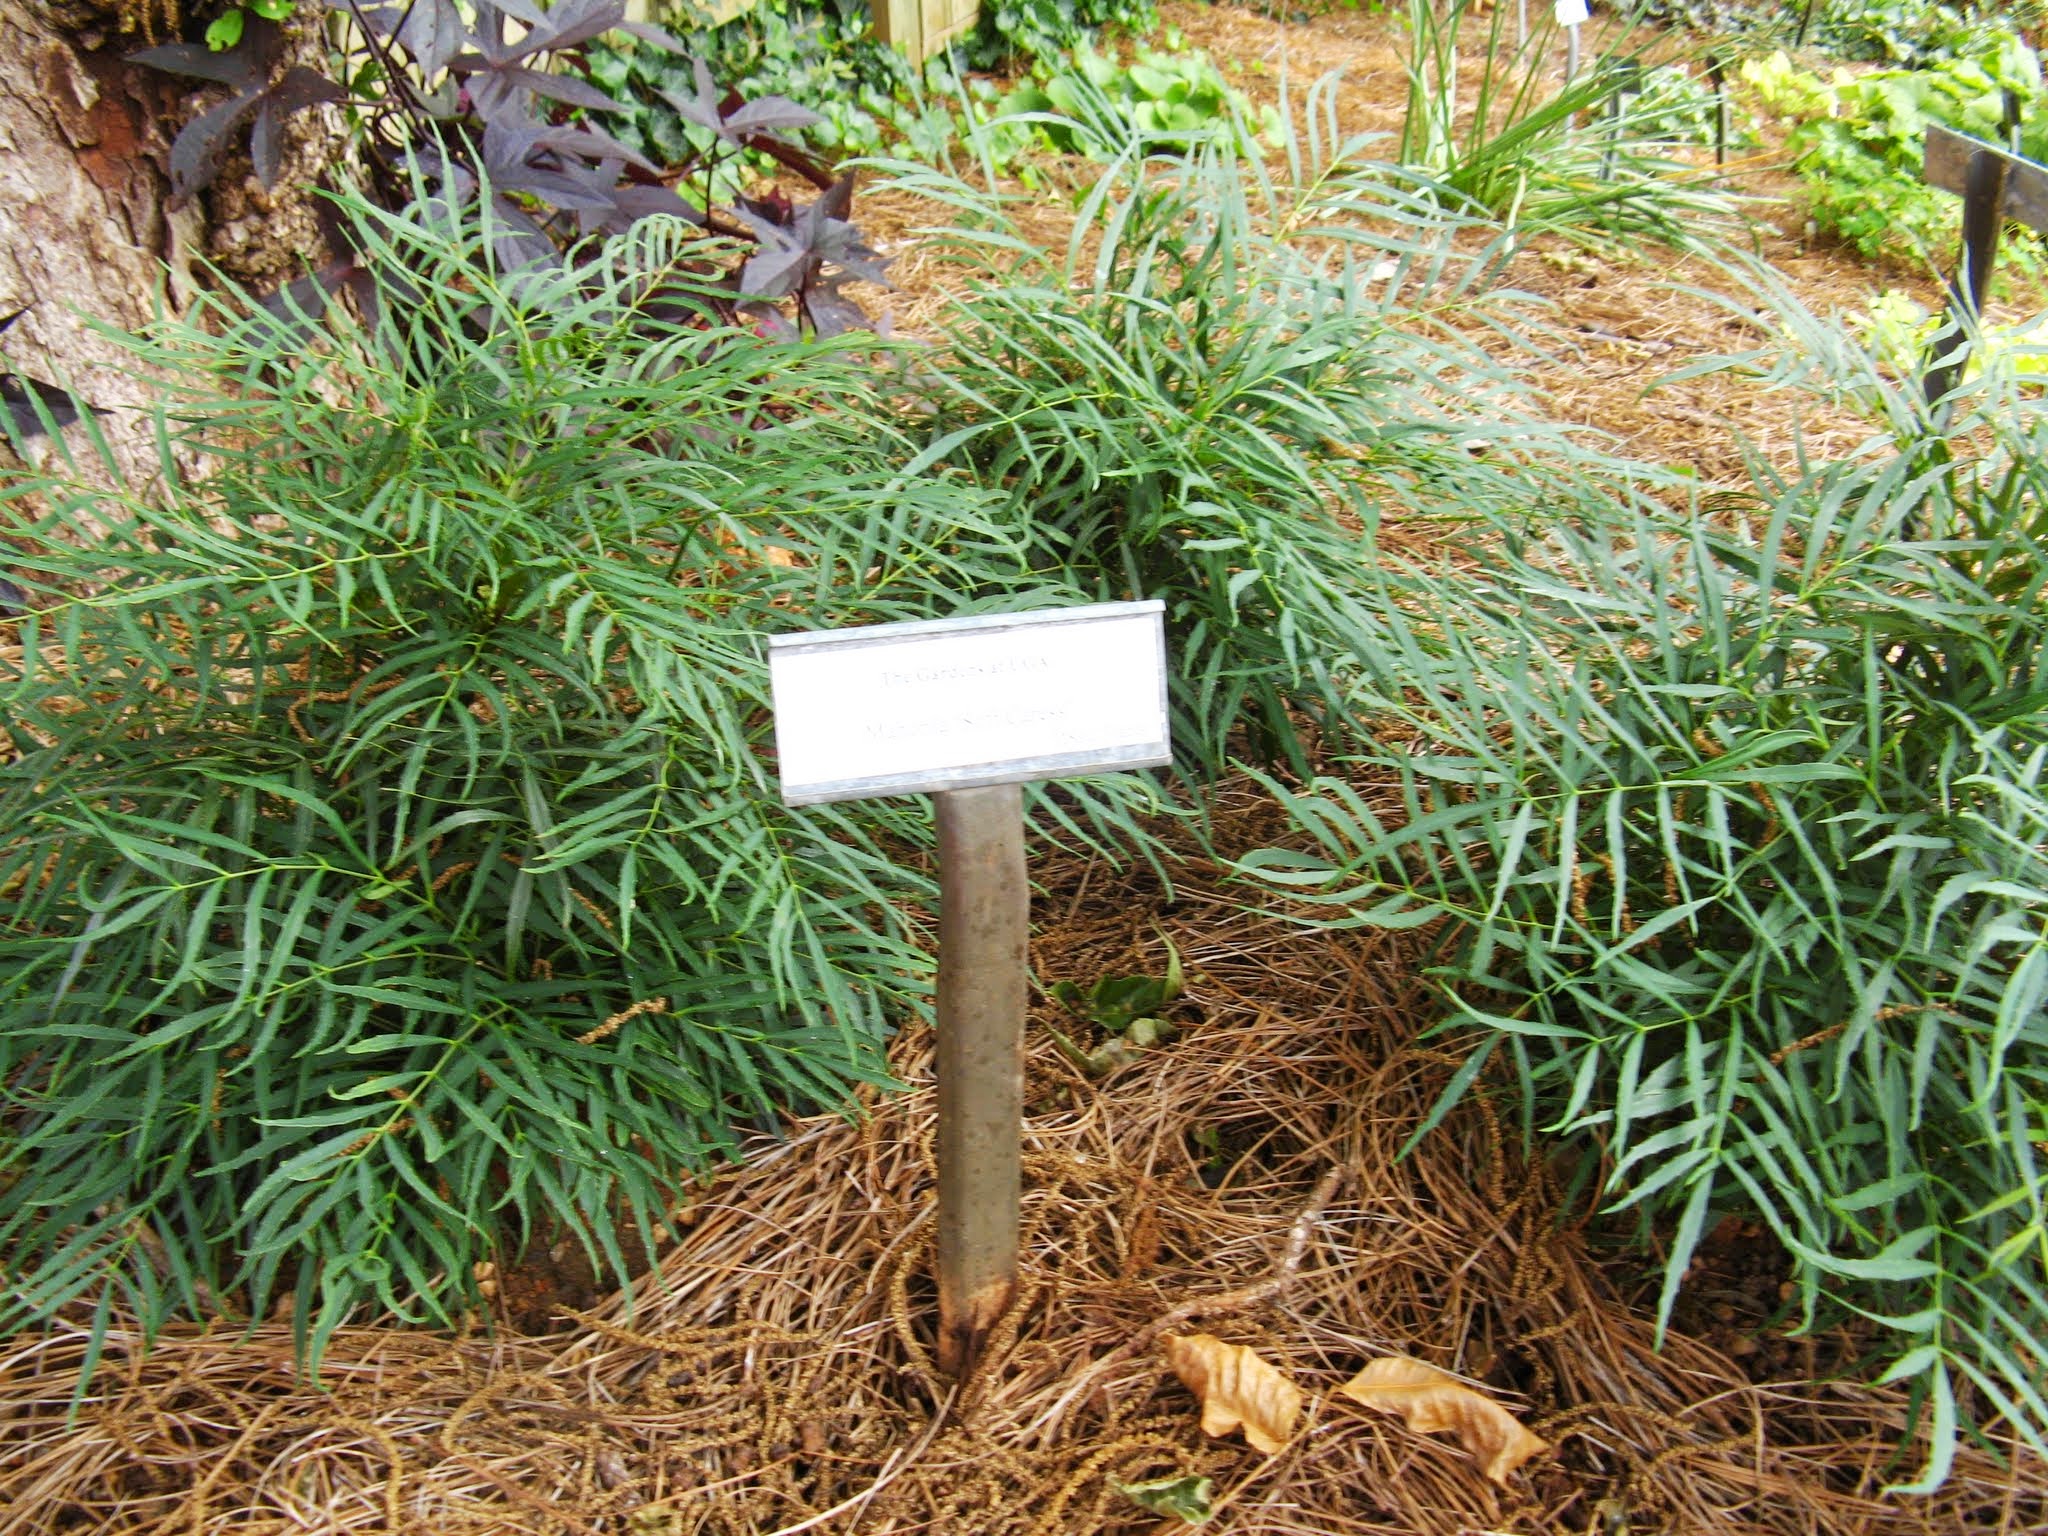
Soft Caress Mahonia. Photo Credit: Julie McConnell, UF/IFAS
by Beth Bolles | Apr 7, 2015
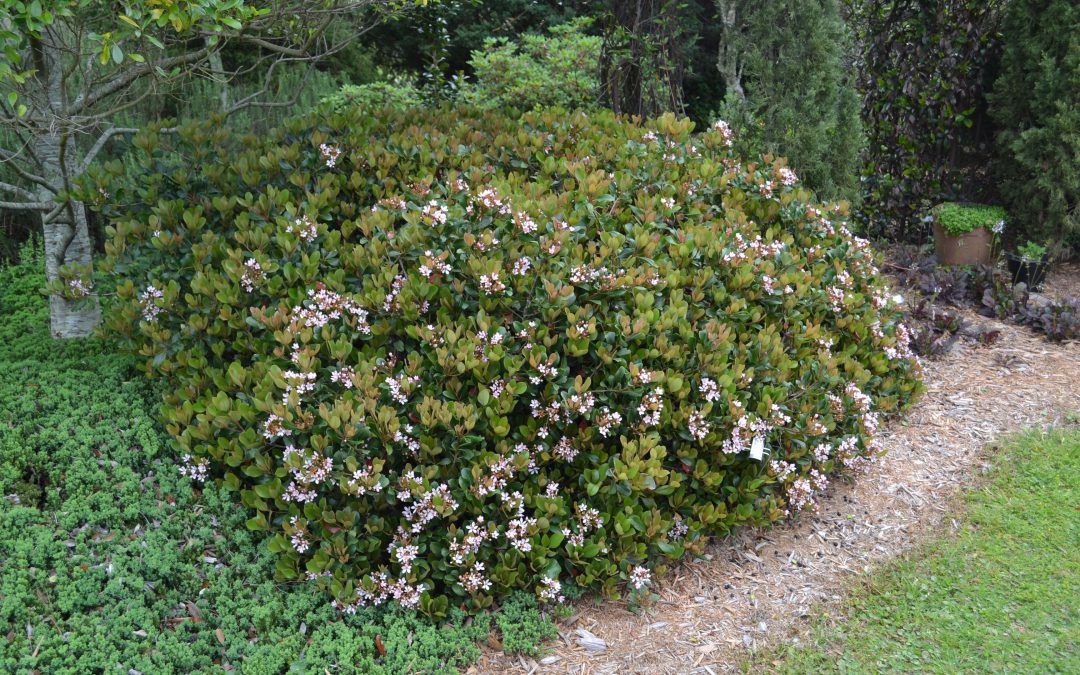
One of the most commonly used shrubs in landscapes is the Indian hawthorn, Rhapheolepsis indica. Although not native to Florida, it can be a very attractive shrub when used properly in landscapes. Plants offer spring flowers in pinks and whites followed by berries that are a food source for birds.
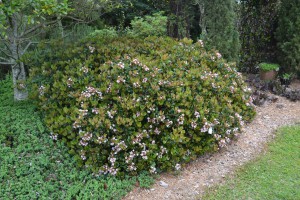
Indian hawthorn as a single planting can be attractive.
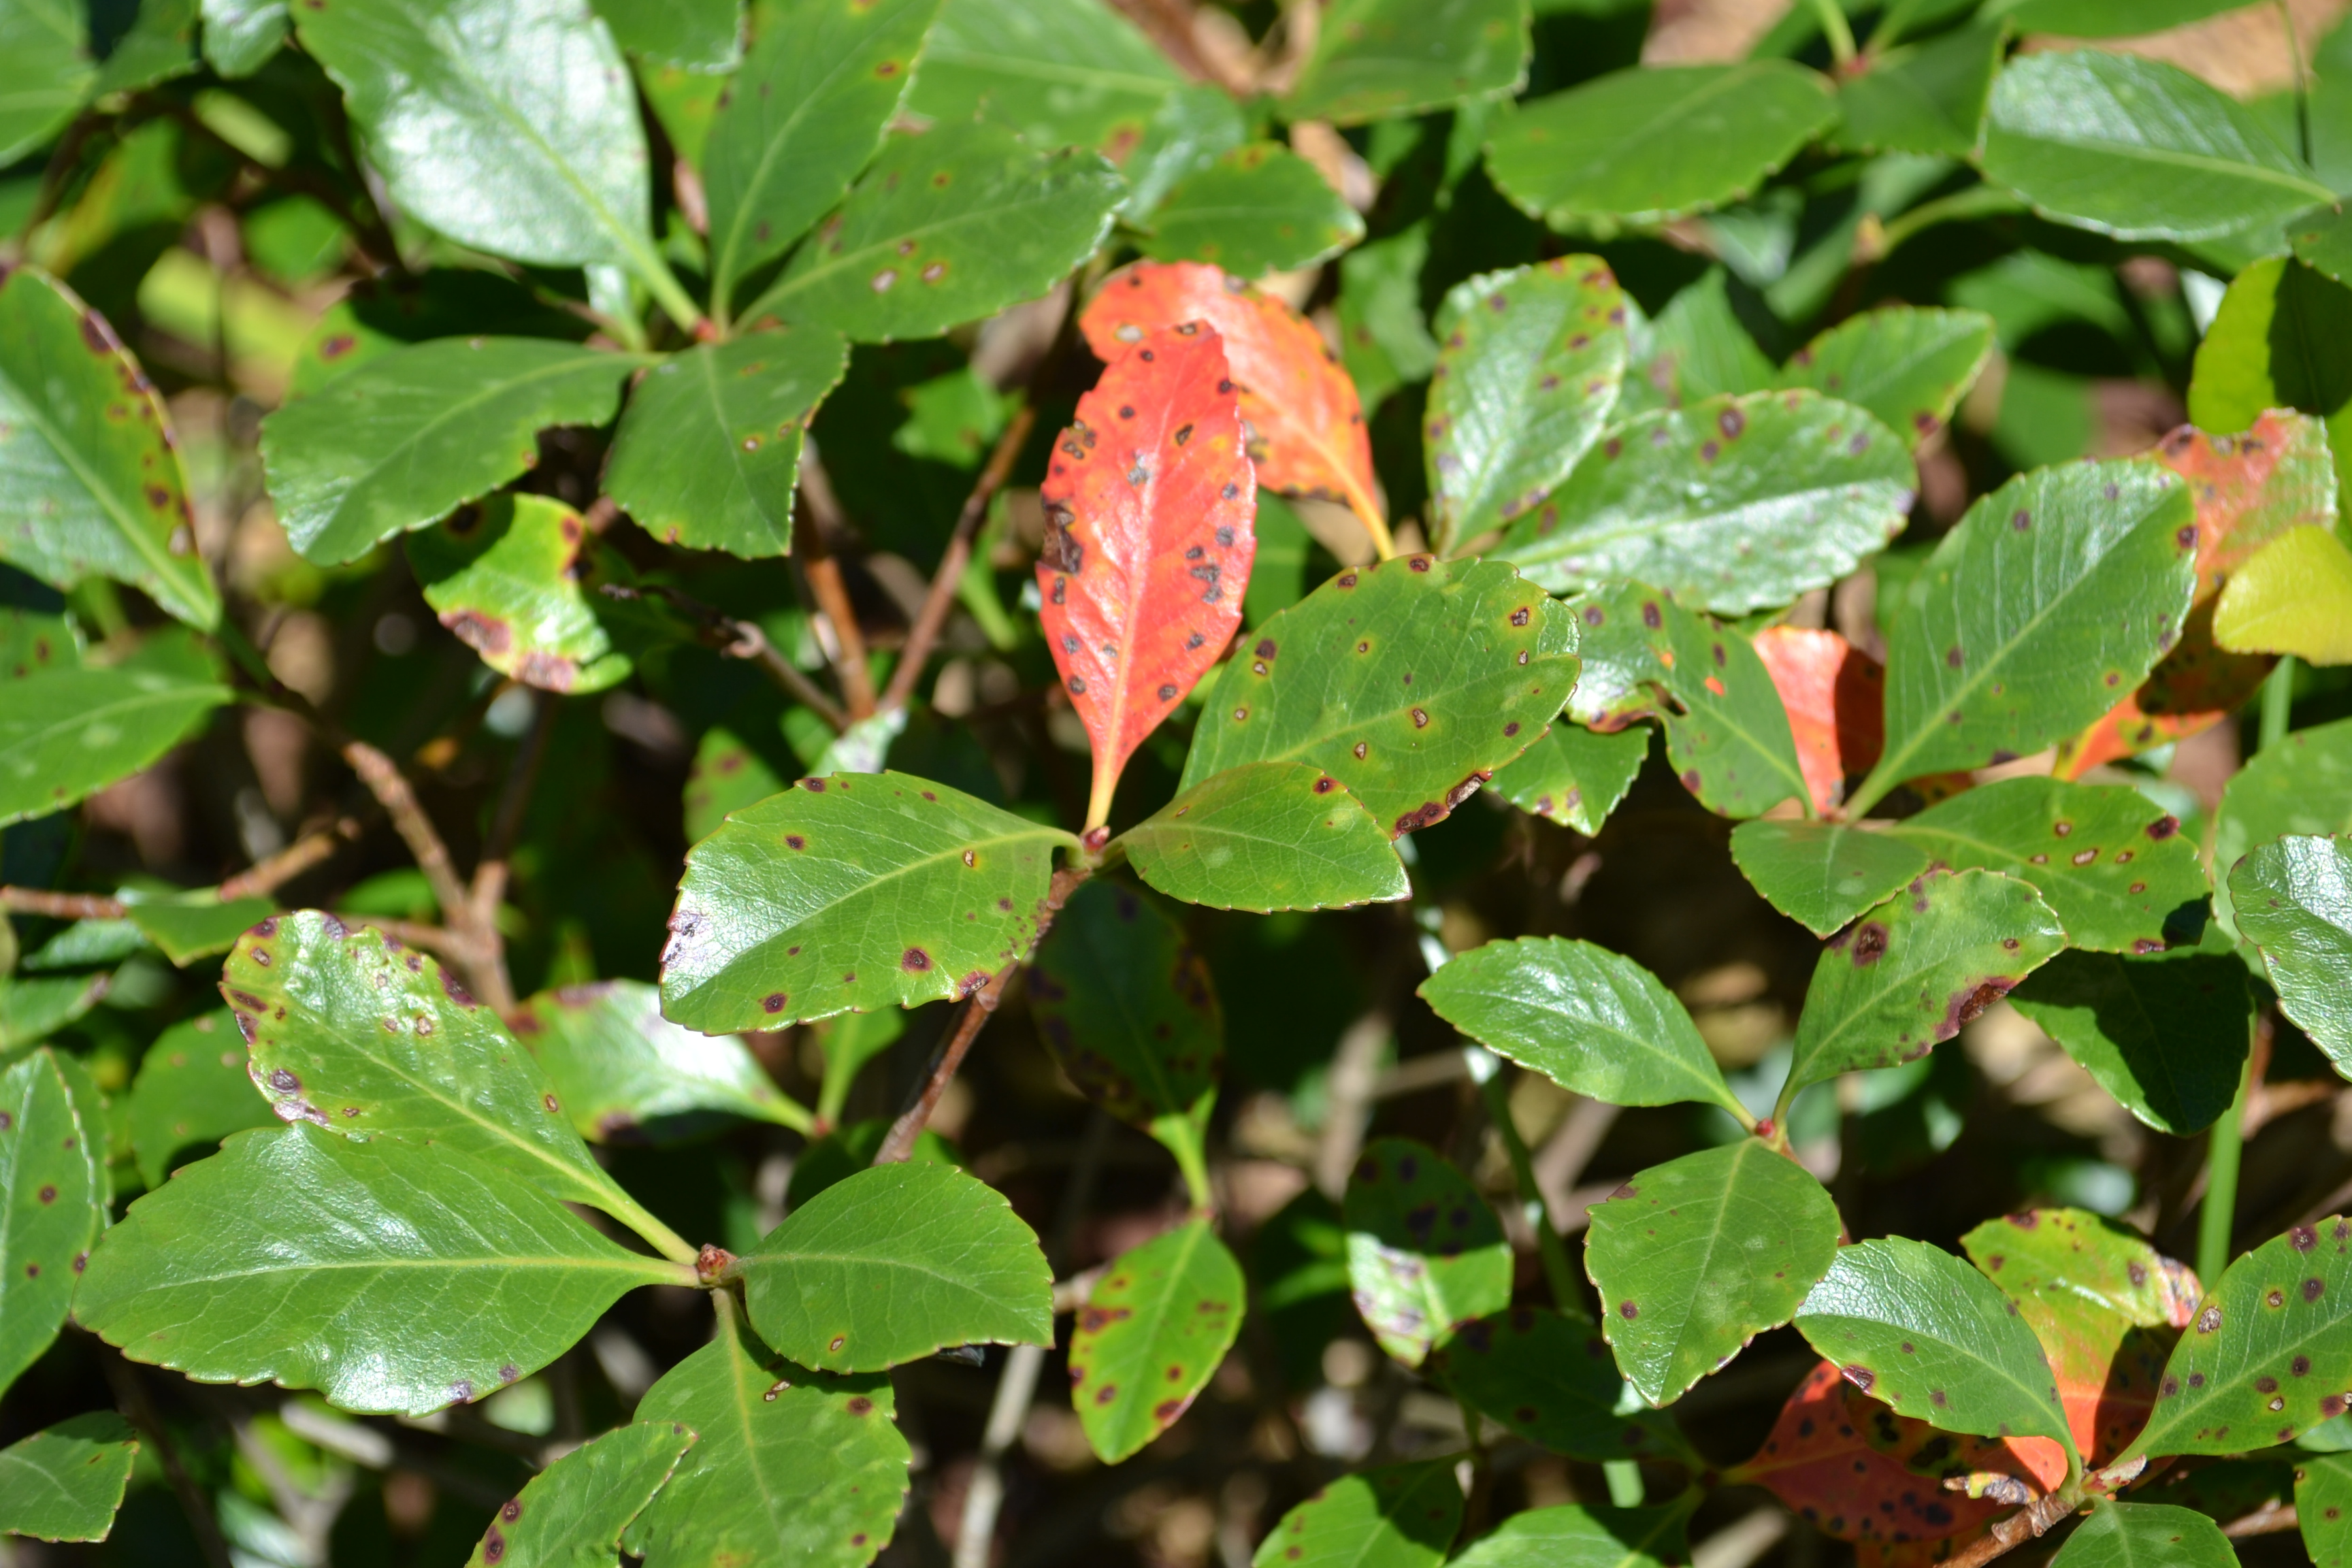
Indian hawthorn plants in landscapes are susceptible to a couple of pests that create unattractive and unhealthy plants. A leaf spot fungus called Entomosporium leaf spot easily spreads from infected plants through irrigation and rainfall leading to leaf discoloration, leaf drop, and dieback of limbs. Scale insects can also be common on leaves causing yellowing and dieback. The fungal problem is difficult to manage on heavily infected plants but the scale can be managed with a low toxicity pesticide choice such as a horticulture oil.

A heavy infection of leaf spot fungi is often too difficult to manage when plants are routinely irrigated.
Most often the problems on Indian hawthorn, especially fungal, are the result of poor management. This shrub likes sun, well-drained soil, and no overhead irrigation. Once established, plants should need little supplemental irrigation and water should only be applied to the base of plants. Since plants normally form a rounded mound, there is also little need for pruning if planted in a correct spot and spaced appropriately when planting. Most landscape installations of Indian hawthorn space plants based on the gallon pot size and not the mature size of the plant which is about 3-5 feet in height and spread.
Indian hawthorn can still be a good selection for homeowners. Buy healthy plants without any signs of spots on leaves and don’t plant a monoculture of these plants in the landscape. If one plant does have serious pest issue it is easier to either treat or remove one plant versus a mass planting.
by Gary Knox | Mar 31, 2015
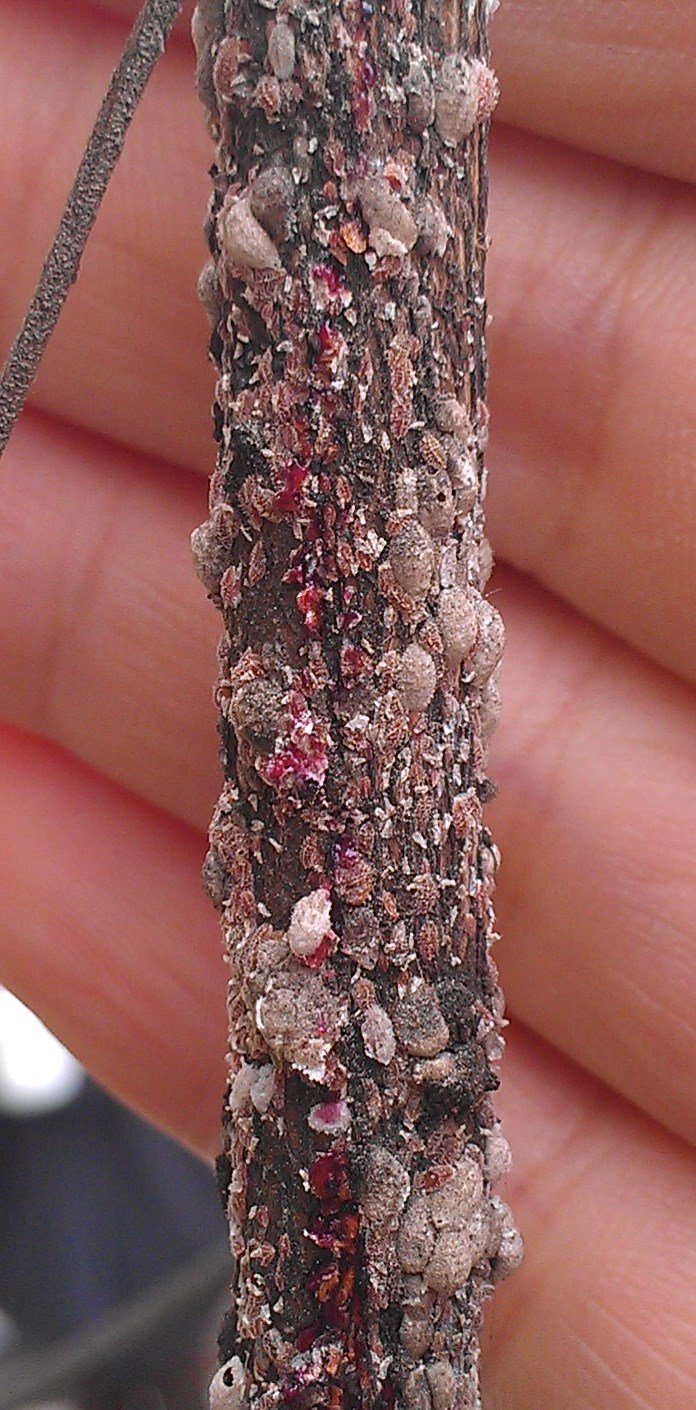
![Figure 1 Note the black sooty mold coating the layers of white and grey scale, believed to be crapemyrtle bark scale, Eriococcus lagerstroemiae. [Photo by Gary Knox]](https://nwdistrict.ifas.ufl.edu/hort/files/2015/03/crapemyrtlescalebark1.jpg)
Figure 1 Note the black sooty mold coating the layers of white and grey scale, believed to be crapemyrtle bark scale, Eriococcus lagerstroemiae. [Photo by Gary Knox]
Symptoms and Appearance
An early symptom of crapemyrtle bark scale is black sooty mold covering extensive areas of leaves and stems as a result of honeydew exuded by the scale (Fig. 1). Individual scale insects are white to gray in color and ooze pink when crushed (Fig. 2). Large populations build up in branch crotches and extend up branches, appearing crusty white to gray. This scale usually is not present on new growth, leaves or slender stems unless infestations are heavy.
For more information and additional photos
Resources, up-to-date information and additional photos about crapemyrtle bark scale may be found at http://www.eddmaps.org/cmbs/. This website will be the major portal for information about this pest.
Figure 2. This white to grey colored scale oozes pink when crushed. [Photo by Gary Knox]
Research
Research on crapemyrtle bark scale is ongoing. Scientists from the University of Florida, LSU, University of Arkansas and Texas A&M are collaborating to develop Best Management Practices to manage crapemyrtle bark scale in the nursery and landscape. Initial research is examining the biology of the host-insect interaction to better understand its life cycle and stages when it may be most susceptible for control. Additional research will evaluate pesticides and other IPM strategies for managing this pest.
The expanding distribution of this scale and my personal observations of crapemyrtle bark scale throughout China suggest this scale could have a widespread and severe impact on crapemyrtles in landscapes. Please be on the lookout for crapemyrtle bark scale, and report sightings to your local county extension agent and Florida Department of Agriculture and Consumer Services Division of Plant Industry.
by Beth Bolles | Mar 10, 2015
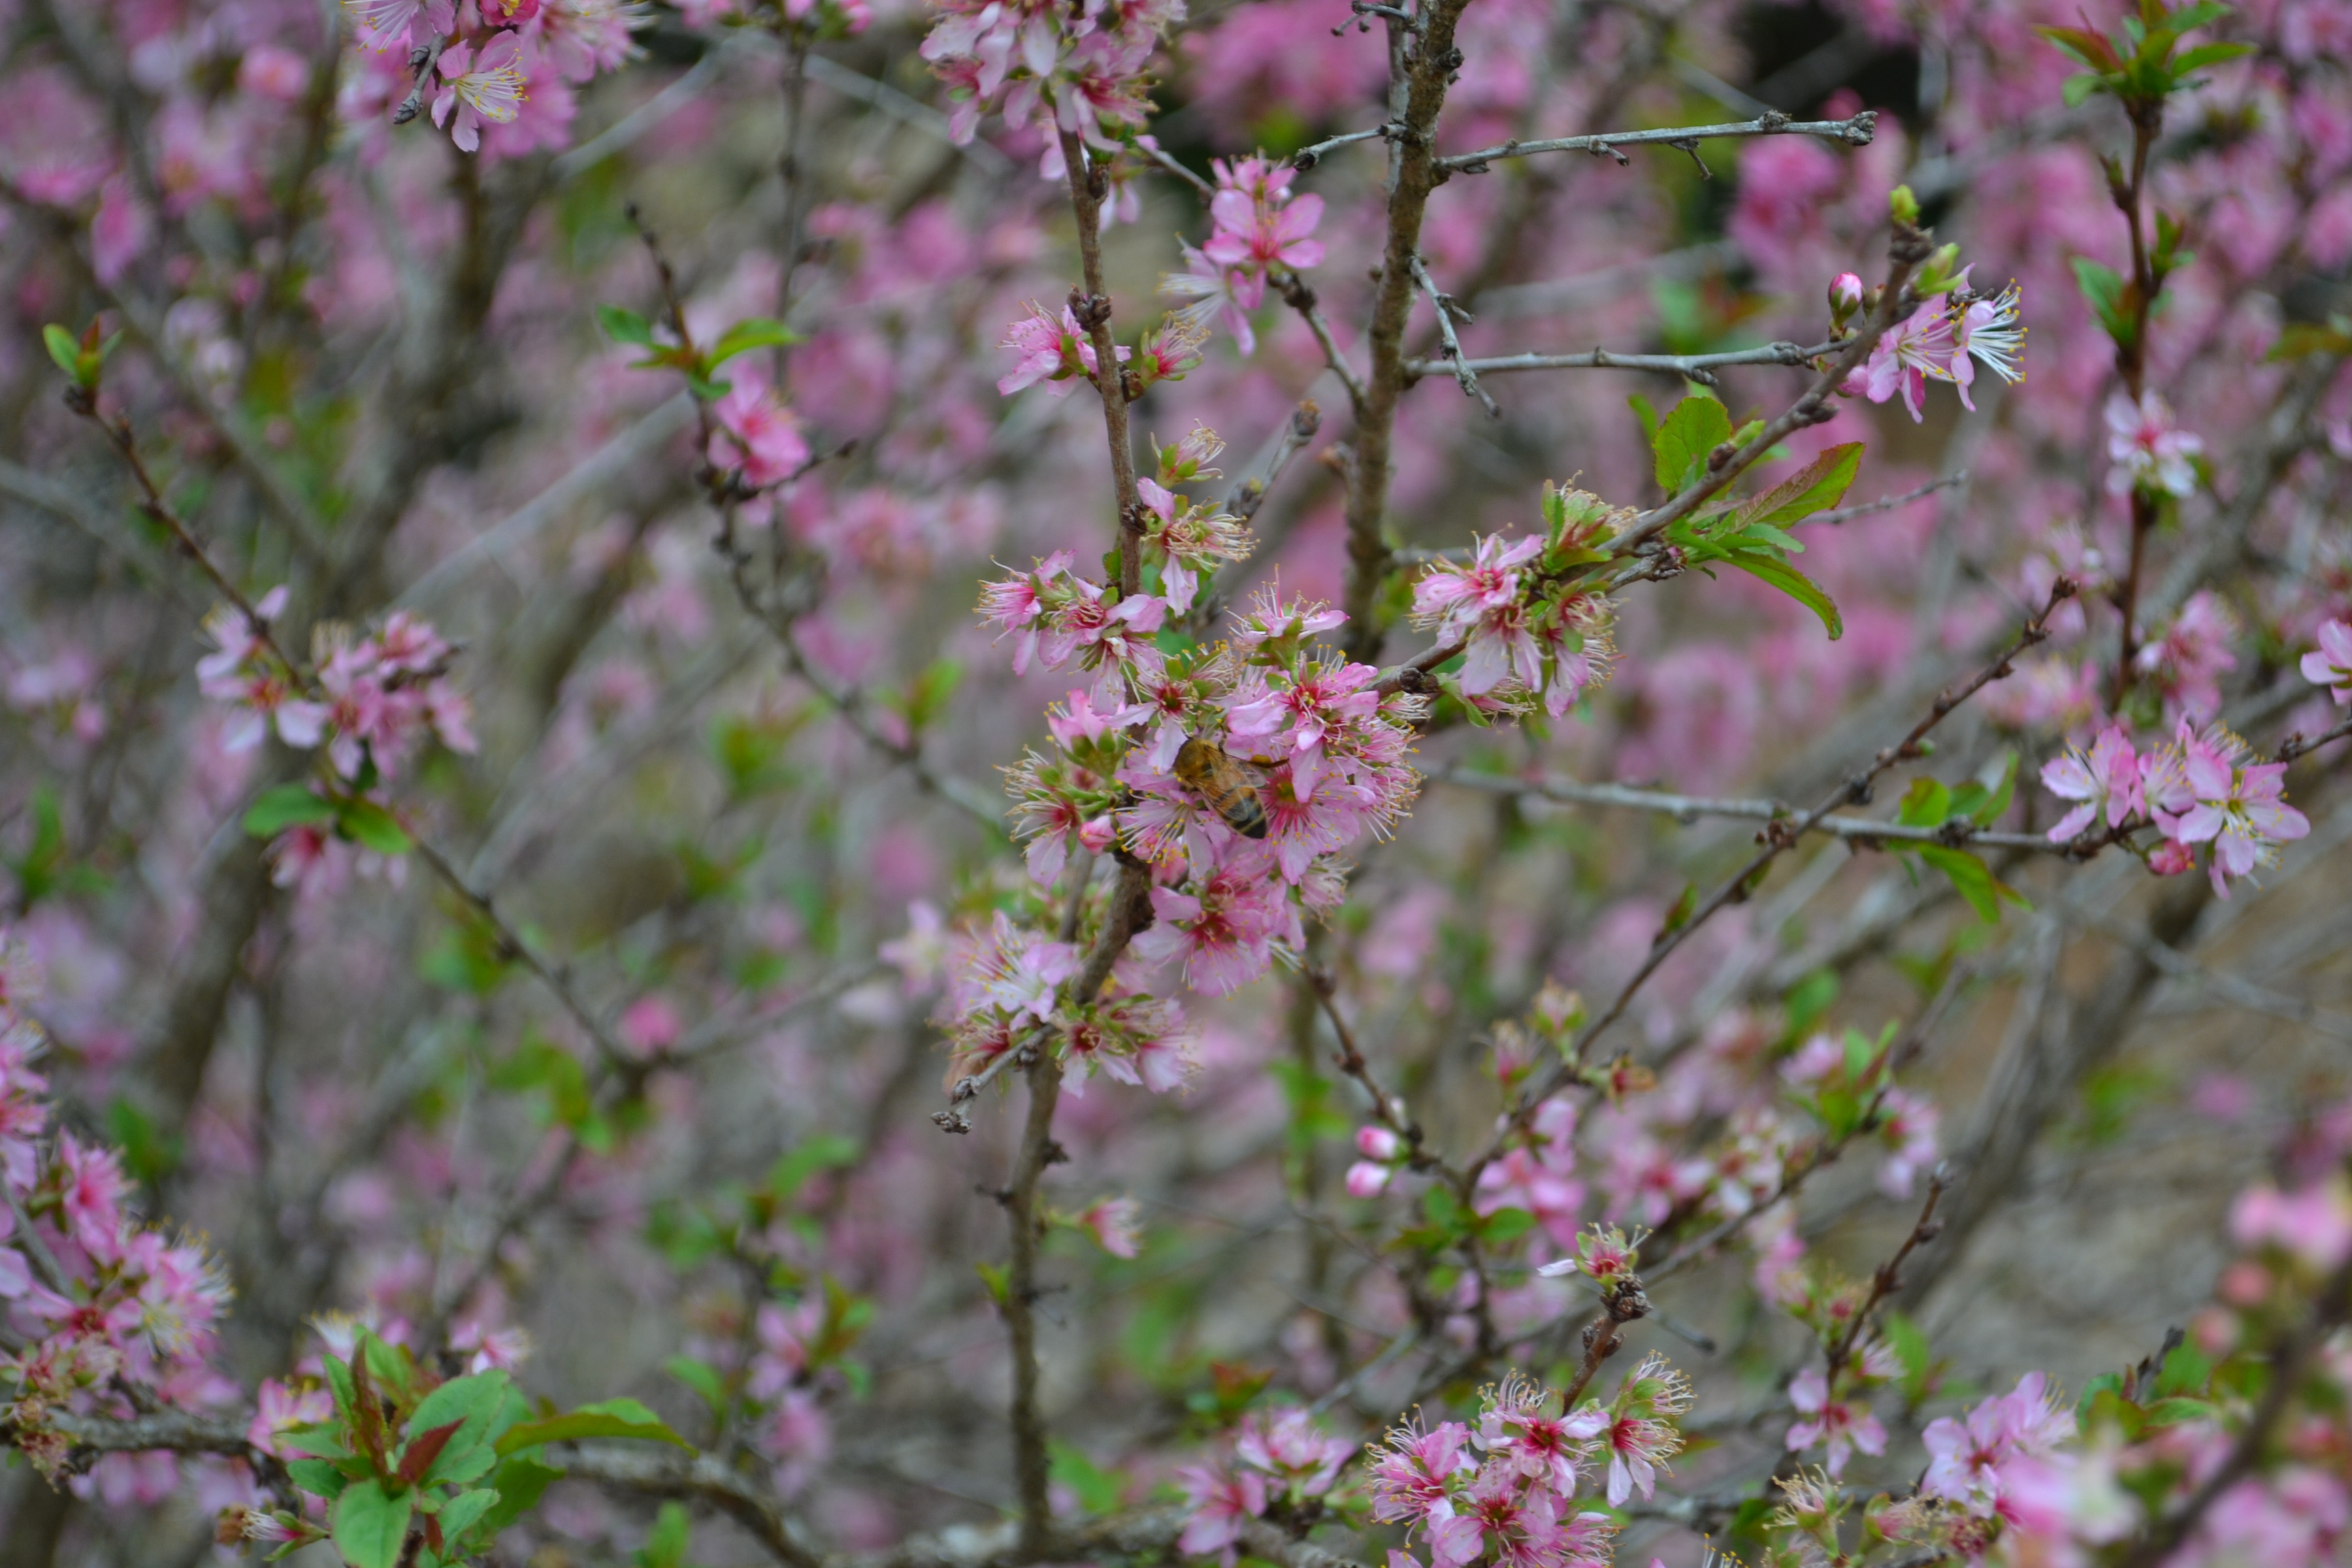
Although we are not able to grow edible cherry trees in more southern climates, there are a few ornamental relatives of the cherry that are worth adding to the landscape. The Bush cherry, Prunus jacquemontii, is an attractive deciduous shrub that is a highlight with pink blooms in late winter. Flowers provide an early nectar source to bees.

Bees are actively visiting flowers.
Plant the bush cherry is an area that receives sunlight and allows for the rounded shrub to grow about 5 feet by 5 feet. Plants like well-drained soil but benefit from some moisture during the growing season. Small berries serve as a food source for wildlife and can be used in jellies and jams. Leaves turn yellow in the fall before dropping. Plants are generally low maintenance and certainly brighten winter days. 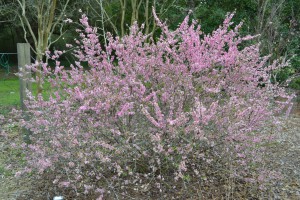
by Matthew Orwat | Mar 5, 2015
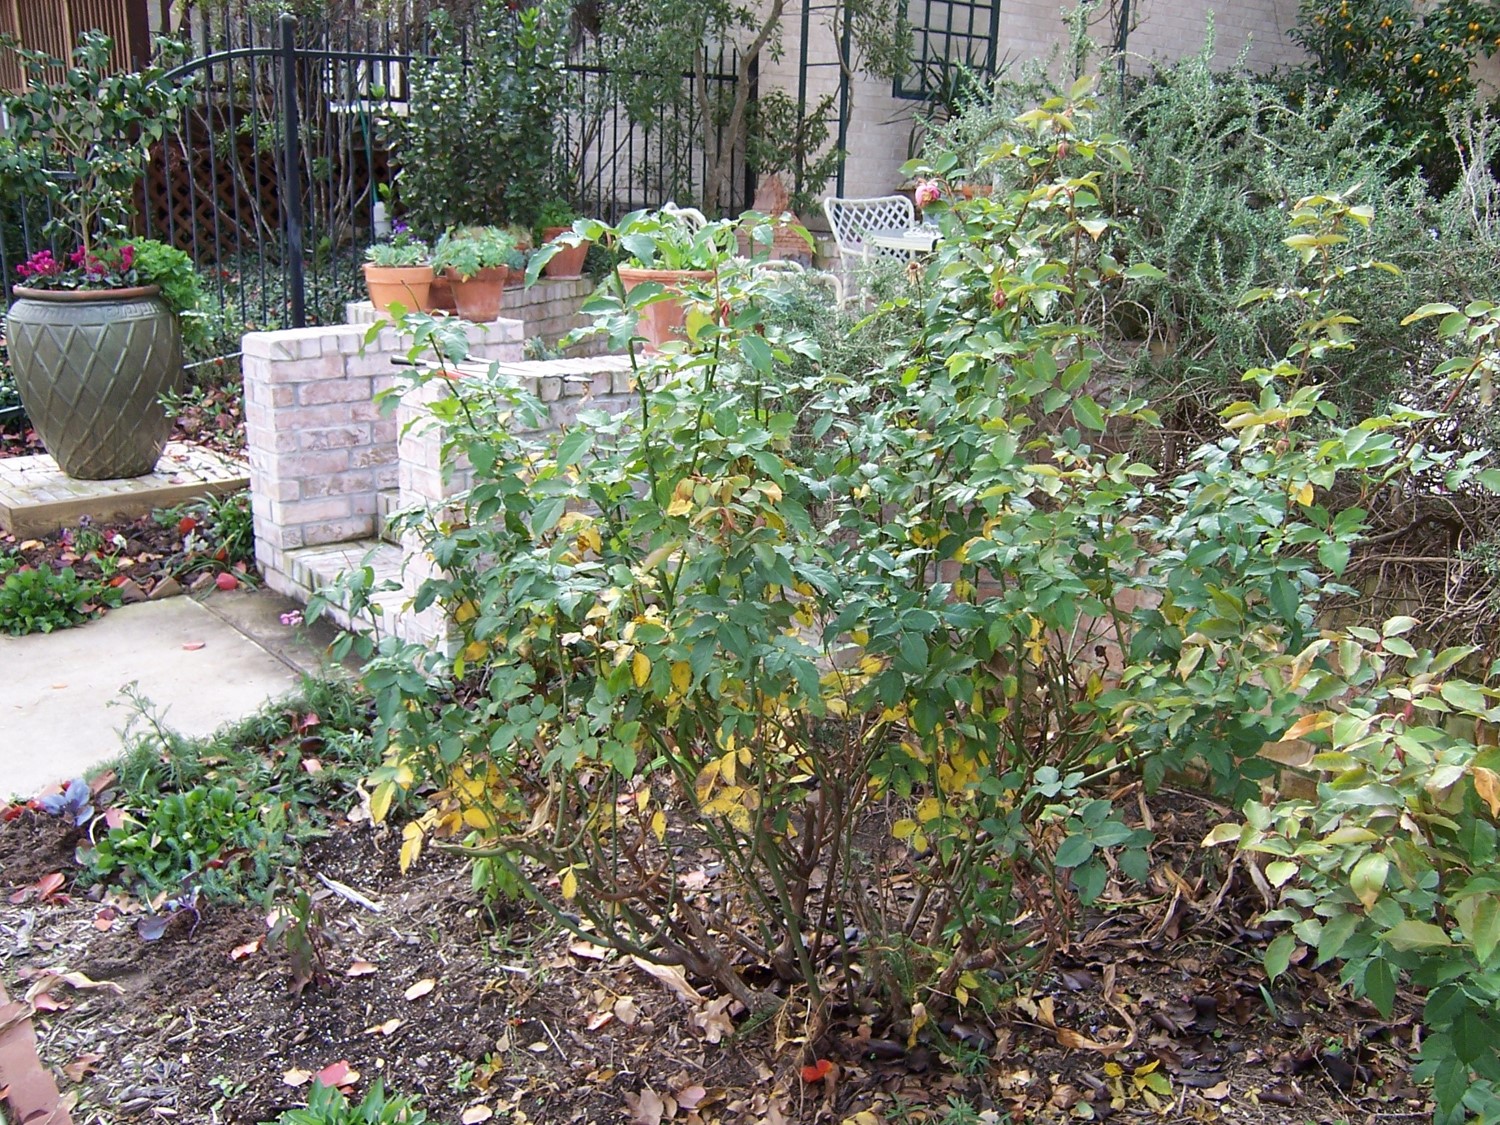
It is said that a picture is worth a thousand words. Please follow as a favorite shrub rose, Belinda’s Dream, is pruned.
Belinda’s Dream Rose – Before pruning, with dense thick growth. Time to open this plant up !
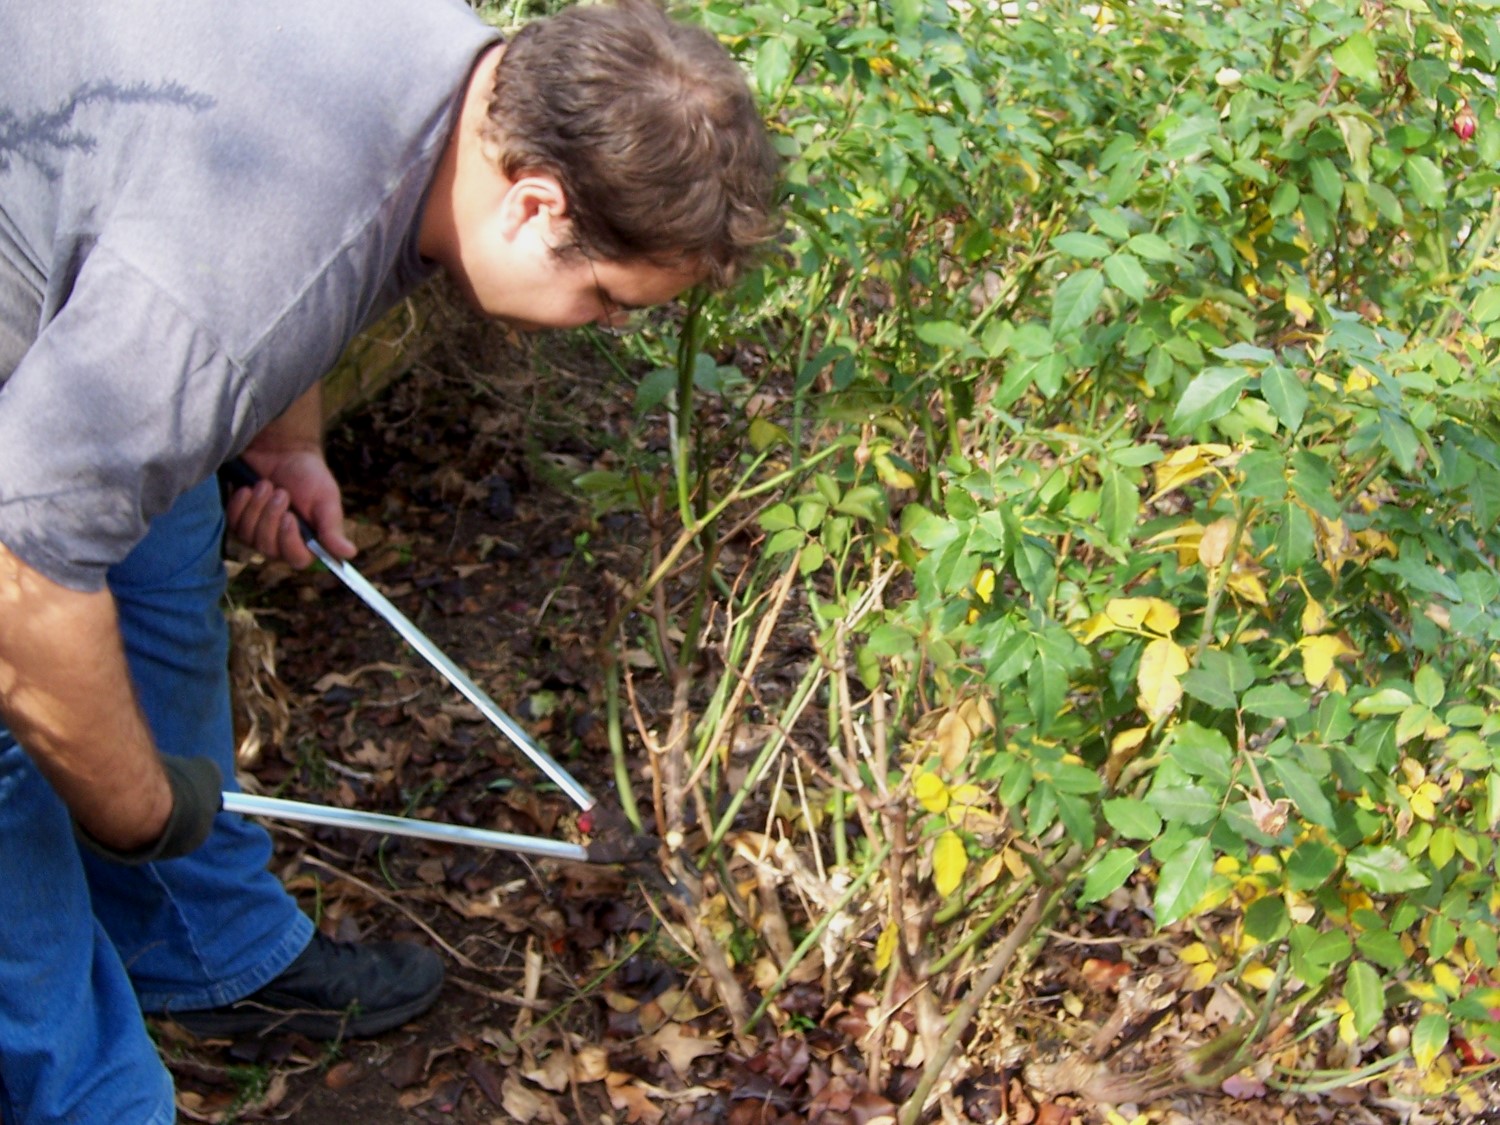
Start pruning by removing dead and diseased wood. Next remove crossing or rubbing branches, unproductive old growth and weak spindly growth
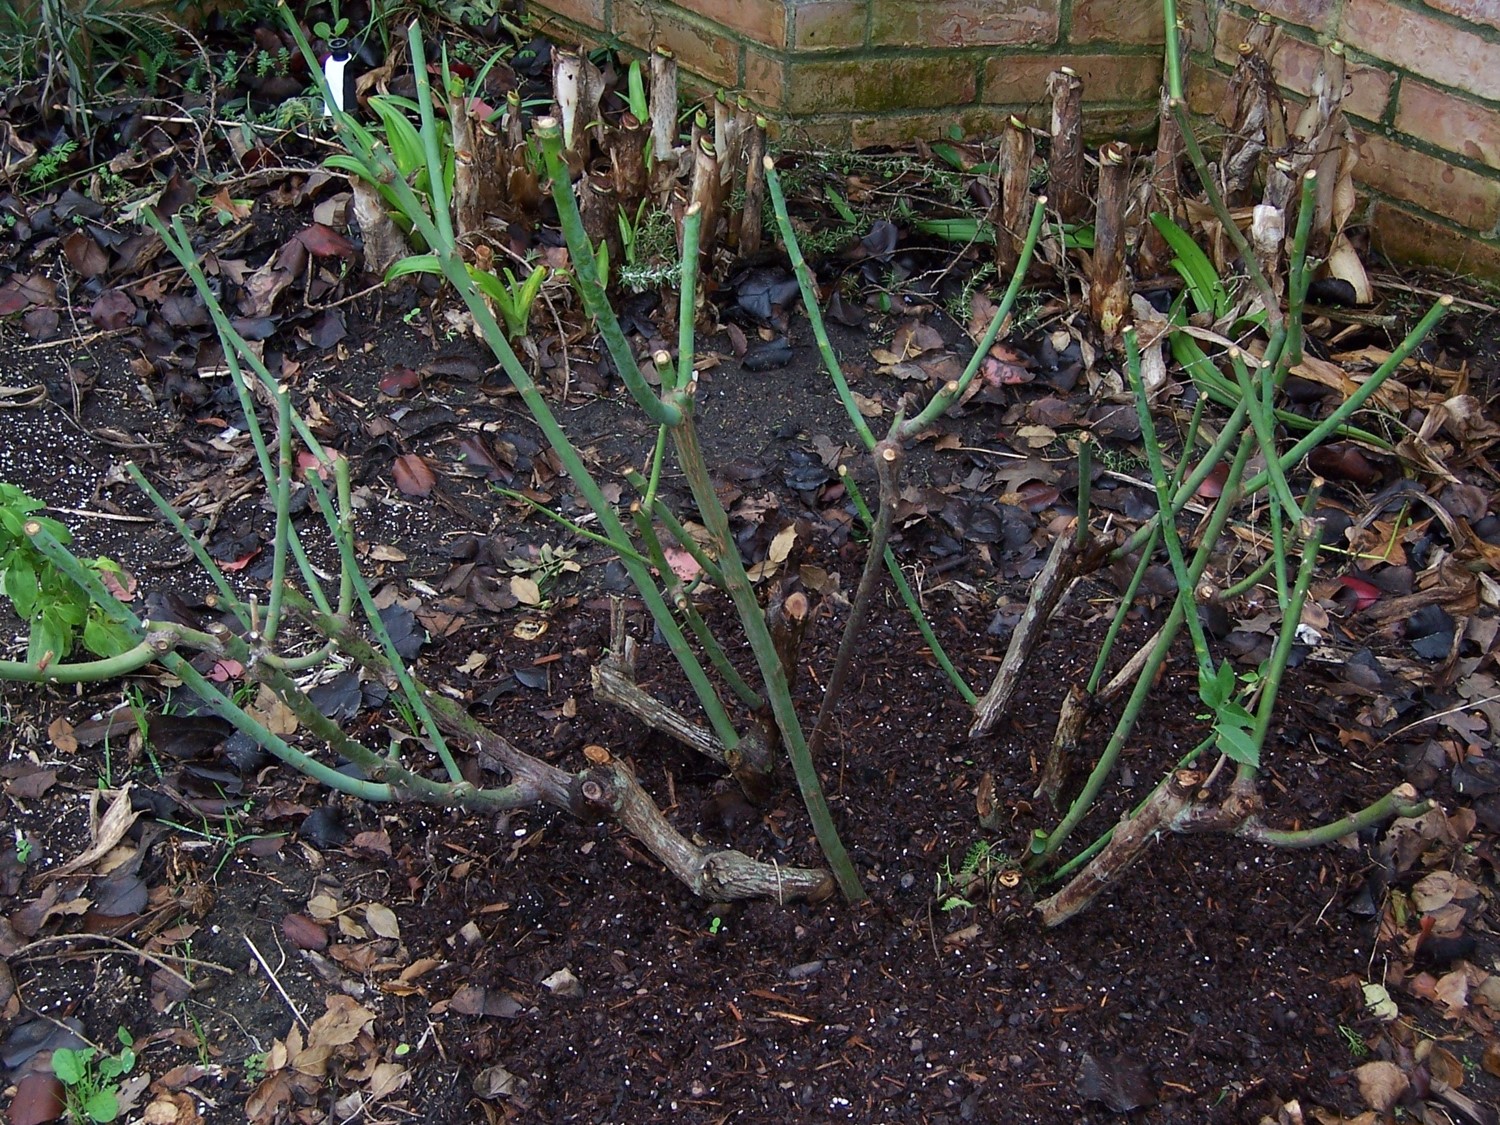
Shorten remaining growth by about half and look ! Your rose is pruned and ready to bear large flowers on long stems for another season !


